|
|
Post by exoRy on Sept 15, 2015 17:47:20 GMT
Kit deposit paid and order form sent!! I've gone for orange panels against the black frame (2015 model) - need to move some stuff from my garage to my house (don't like the idea of storing the car in there, being 5 min drive away and not the "best" area!) Replaced the inner tie rods from ILMotorSport (Germany), a doddle to fit, also put on new boots. 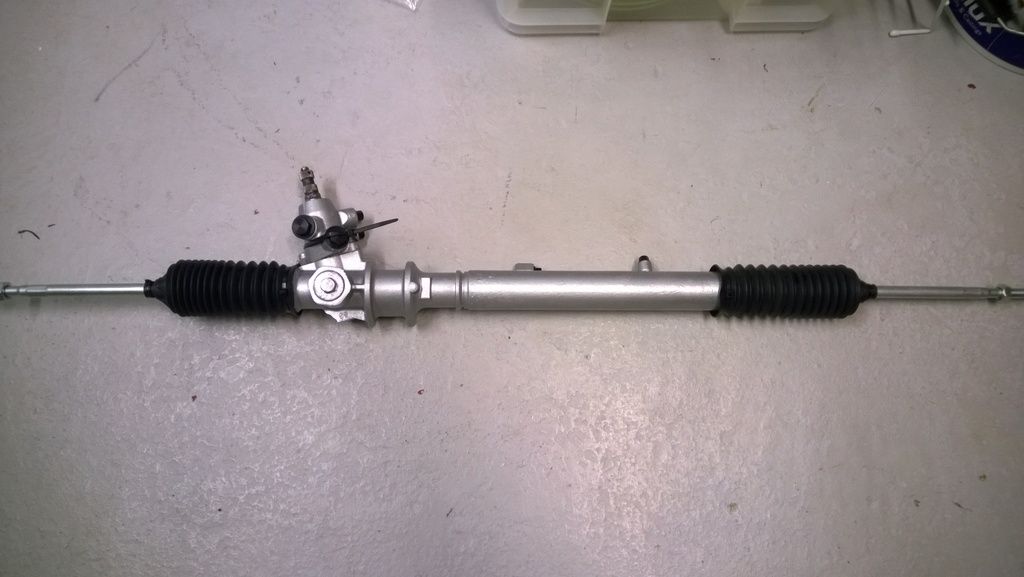 Now just need to fit it to the roller-skate, get it rolling and get it home! |
|
|
|
Post by exoRy on Oct 23, 2015 8:05:02 GMT
Got my Kit collection date (9th November) - have taken the week off work to give me time to get things sorted. Really looking forward to "properly" building a kit car, and working towards getting it started to see if I've screwed anything up. 2 questions: - I posted in this thread ( Fake Gaz Gold Pros???) - is the assembly order in this thread correct for my Gaz Golds?? I want to put the top hats on and am a little unsure. - The steering pinion bearing - does anyone know where I can get a replacement?? Are these "off the shelf items"? Does anyone know of anywhere which stocks the same size bearings?? |
|
|
|
Post by stevednorris on Oct 23, 2015 8:38:19 GMT
|
|
|
|
Post by exoRy on Nov 15, 2015 22:00:36 GMT
thanks stevednorris - I'm building up the shocks next weekend so that'll be a great help! Picked up the kit last Monday and met ian360 there - was great to meet someone at the same stage - we agreed that our builds would not be a race - hopefully see each other at Stoneleigh! Chucked the kit in the van and set off back home - massive thanks to Stuart and Julie for getting me all packed up! Kit is now at home in the garage (the "car" is still my rented garage 5 min drive away). 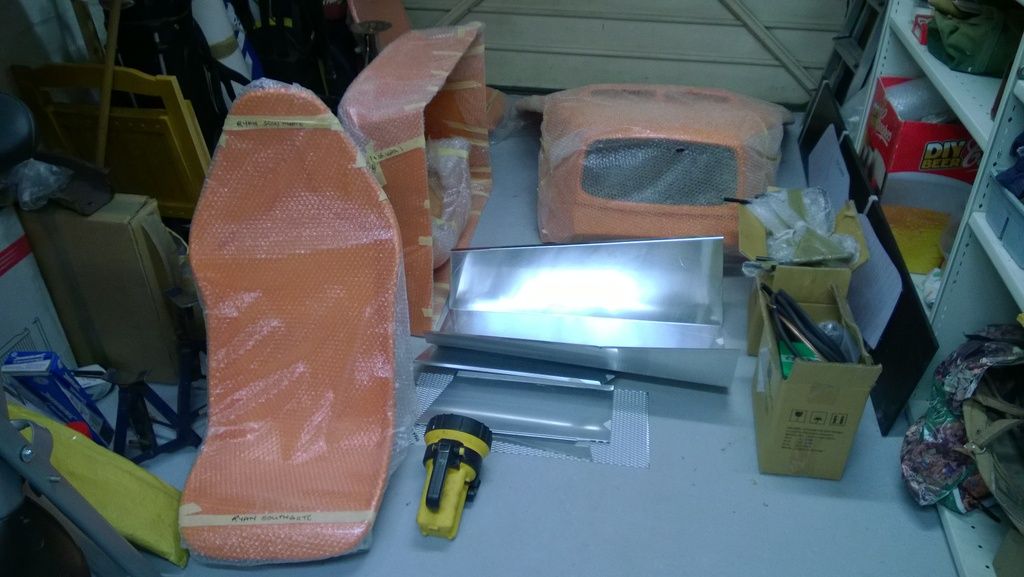 Got the floors cut and riveted 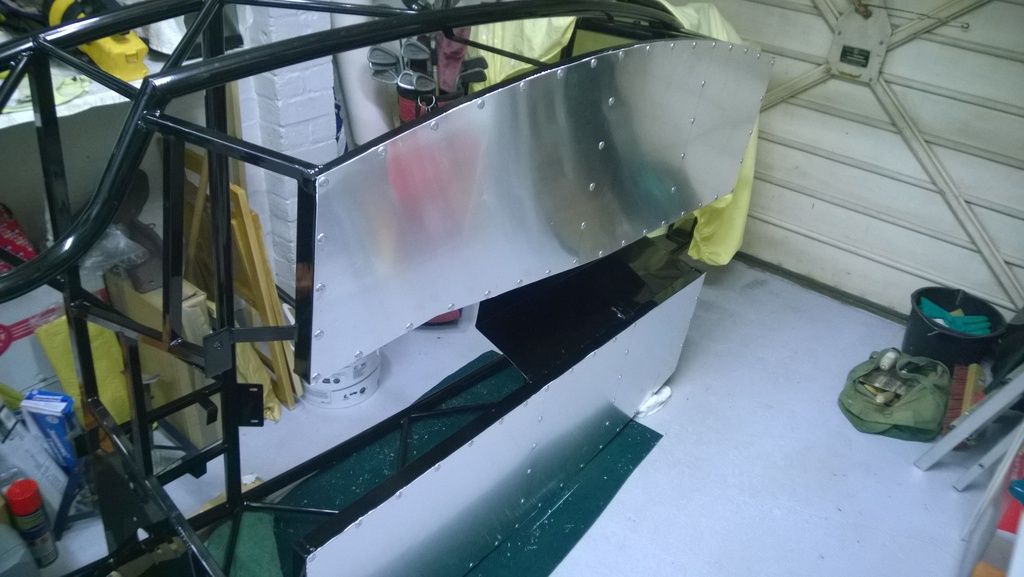 After riveting that lot my forearms/hands were killing - have forearms like popeye now! Almost struggled to hold a pint last night - luckily the first numbed the pain enough to allow me to continue  Next weekend - i'll have to take the frame to the rest of the car to introduce them and get them attached - then I can look at getting it back here (home) nice and safe in the garage. Have been really looking forward to getting the kit, before it felt like a big restoration of an MX5 - but now it feels like a proper build and its nice to see it slowly coming together..... can't wait for the first turn of the key. |
|
|
|
Post by gwnwar on Nov 15, 2015 23:06:38 GMT
Might want to run the brake and fuel lines while frame is turned over.. Better then on your back.. Some builders have used
tabs secured to the frame and up into the tunnel to install lines..
|
|
|
|
Post by ian360 on Nov 16, 2015 13:40:48 GMT
Good to meet you at MEV, but slow down or you will get way ahead of me! I'm just going to unpack and sort through the collected bits tonight!
|
|
|
|
Post by exoRy on Jan 24, 2016 17:04:24 GMT
Hope all had a good Christmas and New Year!!!! Been a hectic couple of months - was in Valencia beginning of December - spotted an "eco-friendly" 4-seater version of the Exocet - with backseat driver (scary)! 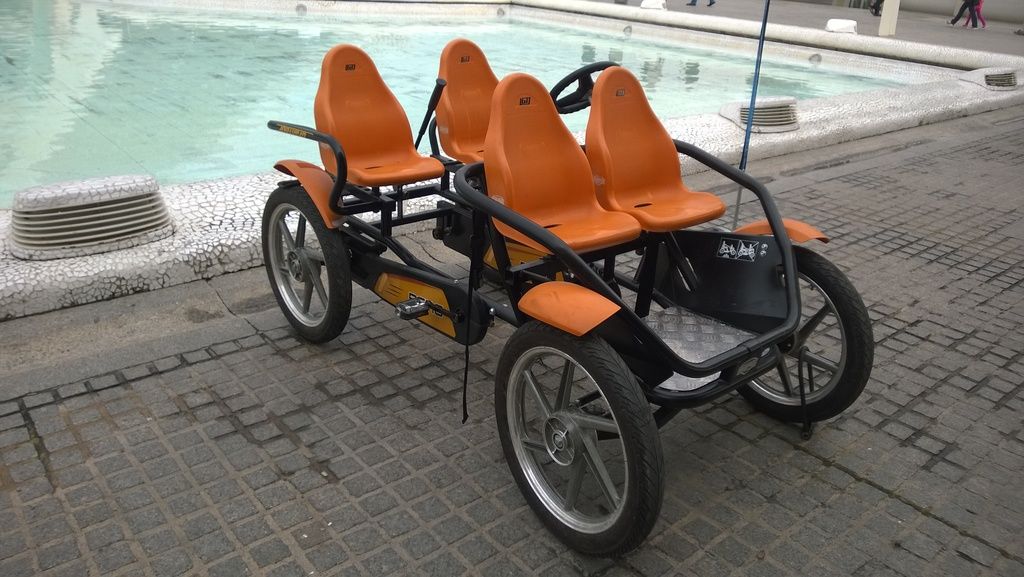 Worryingly that is the colour scheme I've chosen. After festivities and relaxing - it's time to hit the grindstone again... Got the upper front suspension control arms cut and bananas attached! Also took the saw to the front subframe - to allow clearance for the springs and banana. Looks like I've taken too much off on the photo - but I made a template from the fixing points on the kit - the fixing points on the frame and the front subframe points will be flush! I noticed that before the modifications - the arms do clear the subframe fixing points - with the bananas they do not - now with the "modification" there's about 5mm clearance from arm to subframe. 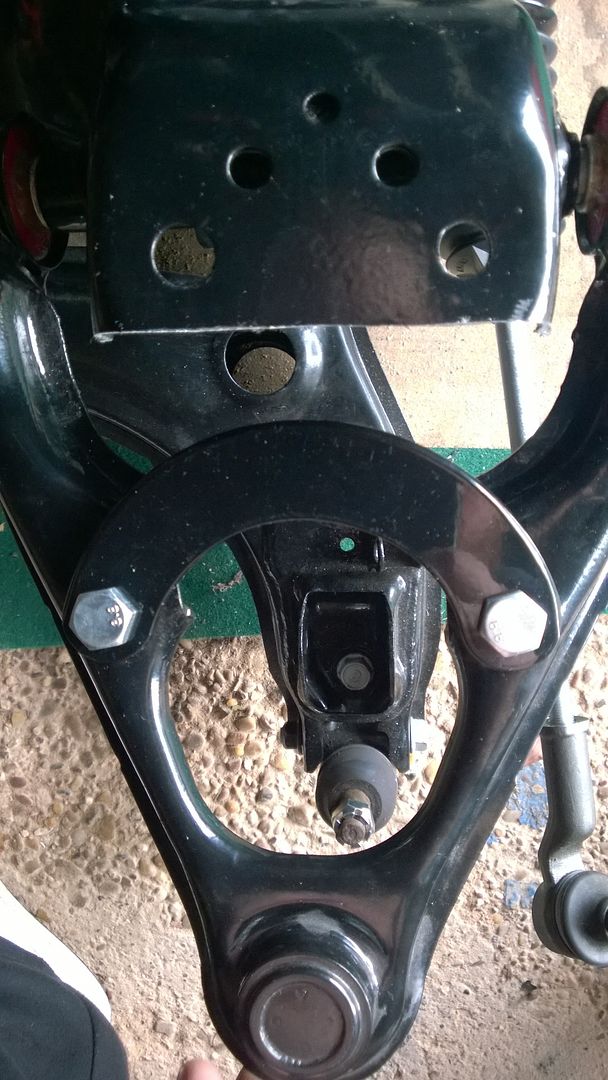 In other news - had to replace and spray my wing mirror cover for my daily driver. Was going through double parked cars on a highstreet and some wise-arse in a fiesta, with no spatial awareness thought he could fit too. He went for it and our wing mirrors hit. My plastic cap fell off, his mirror and indicator glass shattered and littered the road. Strangely proud of my 208 for not coming off worse. New wing mirror cap (primed) = £14 Paint shop respray - £60?!?!?!?!?!?!?!? Managed to find the colour matched spray from micksgarage + lacquer = £16  Before and after 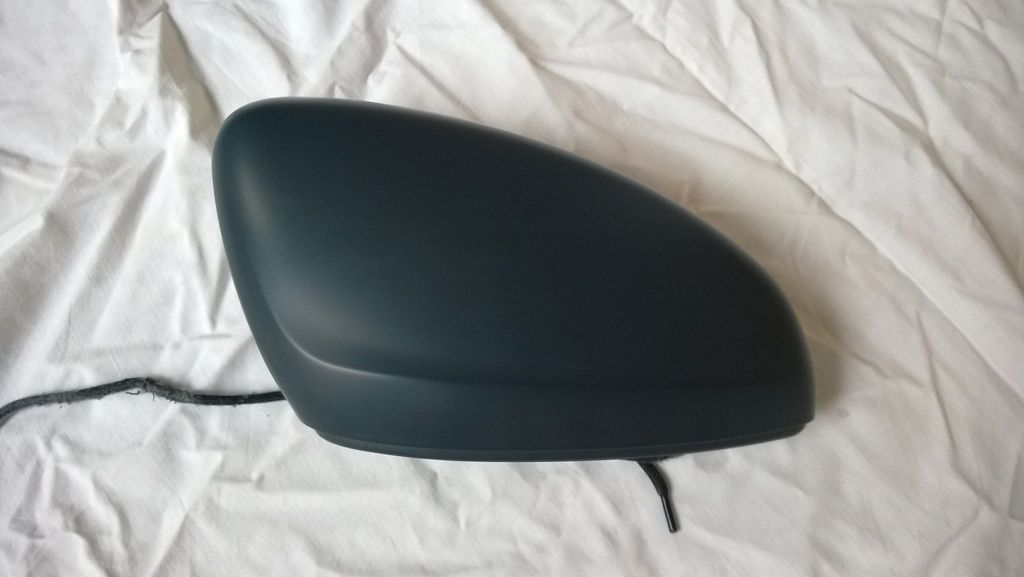 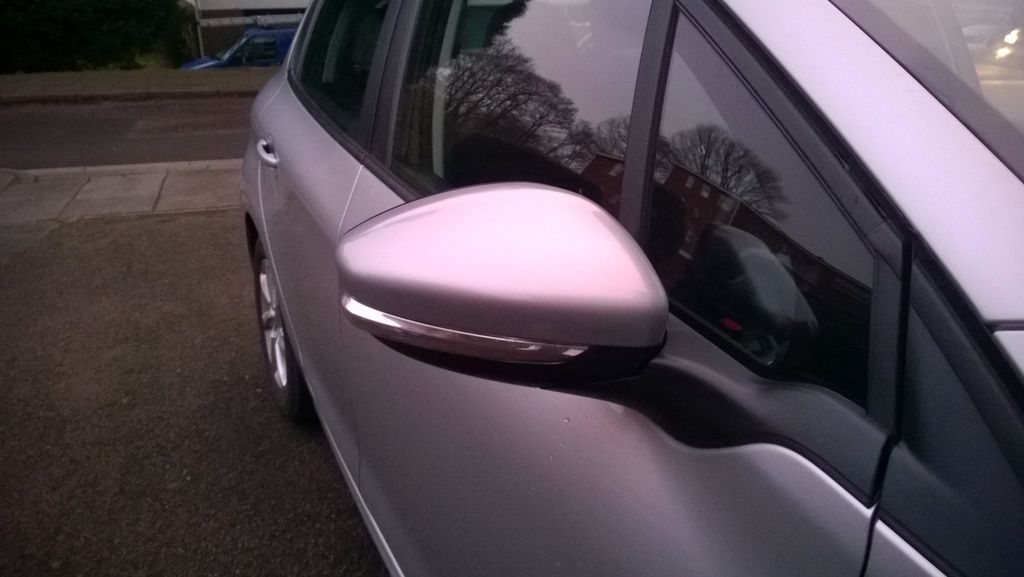 |
|
|
|
Post by gwnwar on Jan 24, 2016 21:15:20 GMT
I think it would be wise to weld a plate downward on the cutoff section for strength to stop any flexing over time.
|
|
|
|
Post by exoRy on Feb 7, 2016 19:50:15 GMT
Thanks gwnwar - will look into that! My Dad was thinking about buying a welder - so might have to have a play with that and see what I can come up with! Today was the first time the kit and the roller skate met each other - never to be separated (hopefully). Looked a bit precarious one the way to the garage - but we did it up really tight - and took it very very easy on the short drive. 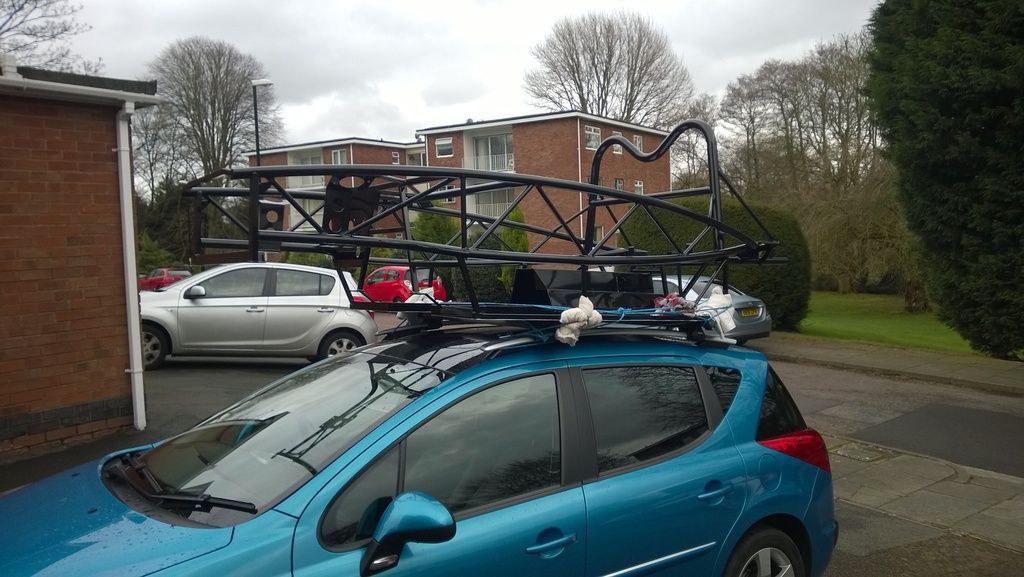 Then got it resting on the roller skate 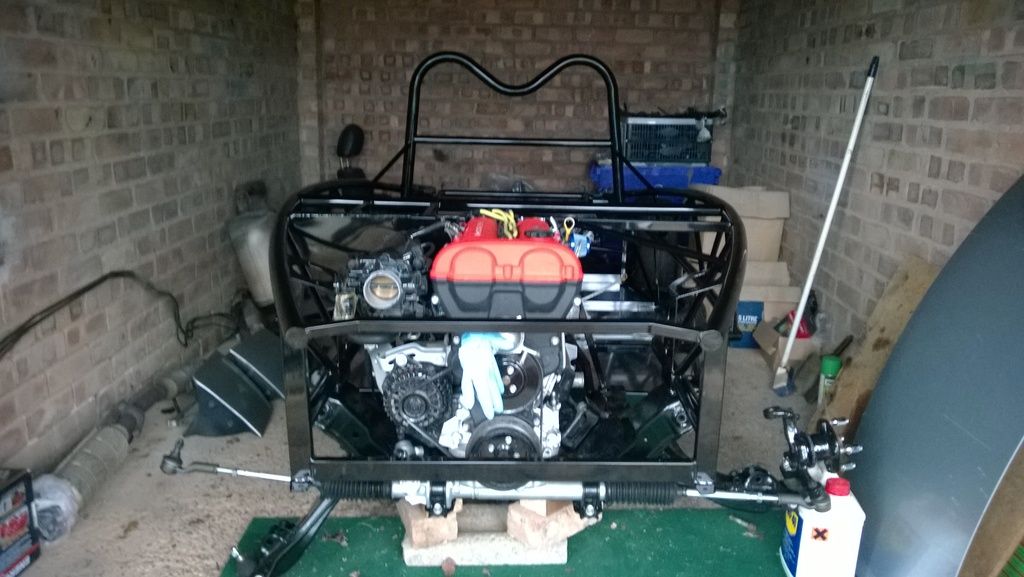 Started to attach the suspension arms and went to get the Gaz shocks on - but hit a bit of confusion. The boxes they came in look like this 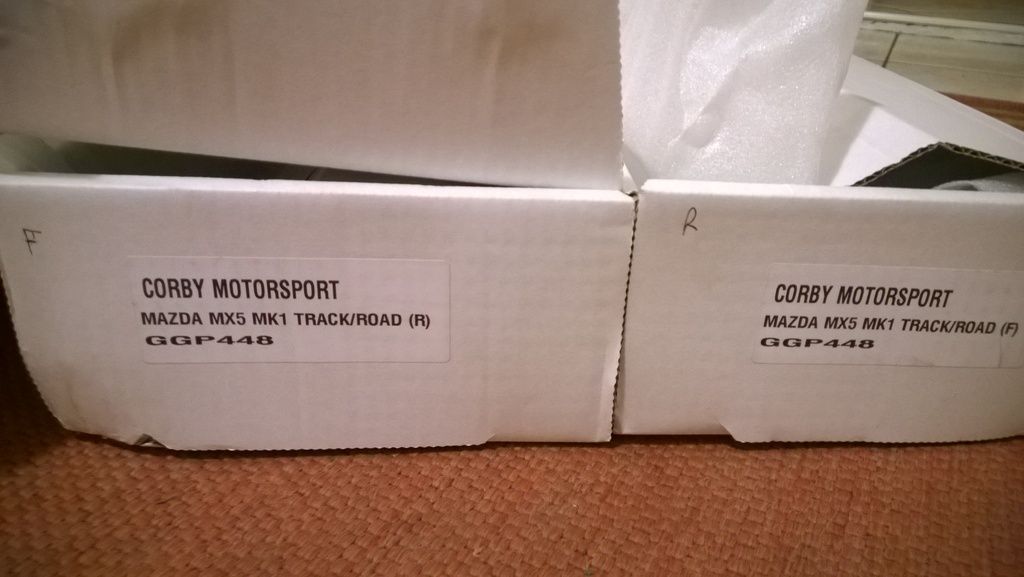 The confusion: each box has both F and R on (one printed and one handwritten) - so i'm not sure which to believe in the Front/Rear debate. Here are the shocks 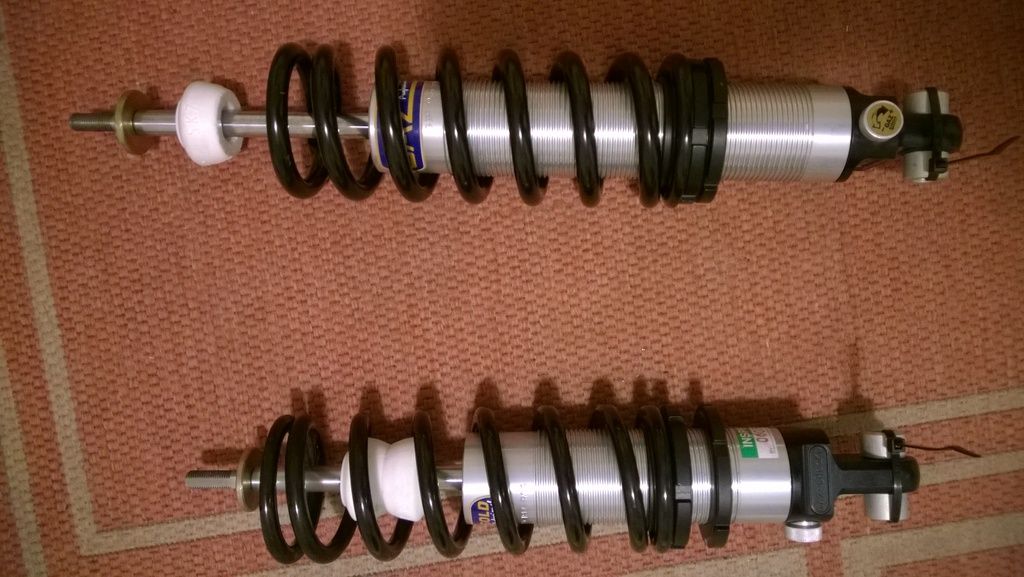 Can anyone with Gaz shocks tell me which one goes where??? I initially thought that maybe the shocks with the longer bodies go at the front?? As the Front shock mounting plates sit higher than the ones on the rear?? Thanks in advance  |
|
|
|
Post by gwnwar on Feb 8, 2016 2:03:52 GMT
longer in front..
|
|
|
|
Post by exoRy on Feb 14, 2016 10:23:08 GMT
very close to dropping the car on it's wheels today. Before I do... I've located the 4 rear bolts - the longest in the pack - have to do a little jiggling to get them to line up but wont be too difficult I hope! I've put the 6 of the smallest nuts and bolts (supplied with the kit) into the front 6 fixing points. I've got 2 medium sized bolts left, I think I've found where they live - see photo. However they seem a little big and I was wondering if they help secure anything else? 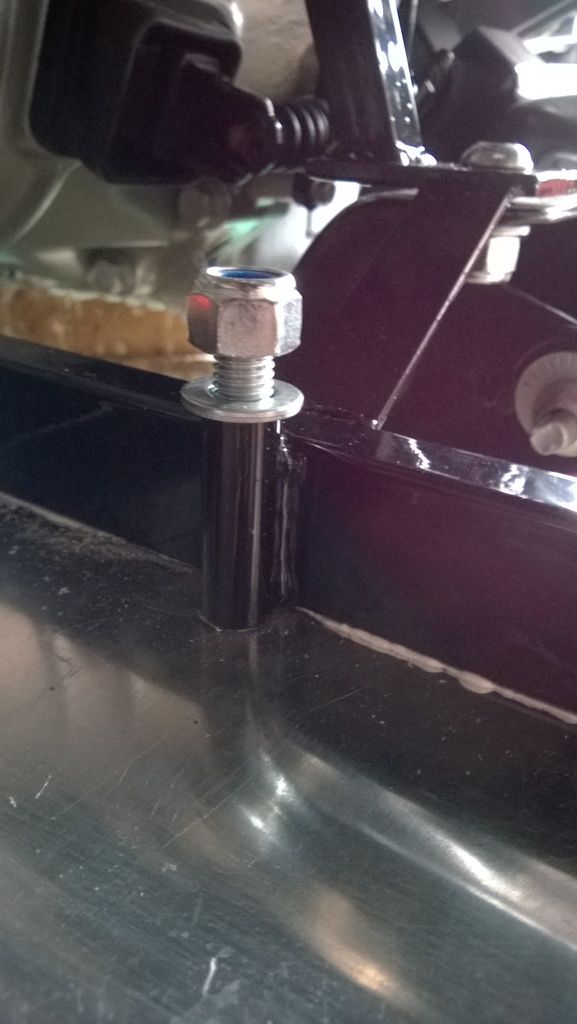 |
|
|
|
Post by miket on Feb 14, 2016 14:18:47 GMT
I think that's normal - mine are like that and I've not seen anything on the forum about using them to secure anything else and I've not found anything else to secure with them. I've not torqued mine up yet so I might be tempted to replace them with shorter ones.
|
|
|
|
Post by exoRy on Feb 14, 2016 19:16:16 GMT
thanks miket - I'll probably nip the end off it with a hacksaw once I've torqued it up! Got the rest of the bolts and the suspension on the car today - ready for letting it sit on it's wheels and then torqueing up. Before I let it sit - I started wondering, the 4 bolts which attach the rear of the kit frame to the rear subframe - do the bottom of the "tubes" (which go vertically through the kit frame) need to sit inside the holes in the subframe? Or is it enough for the bolt to just sit there??? I ask because I'm currently in the state below, and if the tubes are required to sit in the holes in the subframe I'm not sure that's going to be possible because of the "tabs" on the subframe (again below) - keeping the kit frame from sitting flush. The tubes - not 100% sitting inside the subframe holes 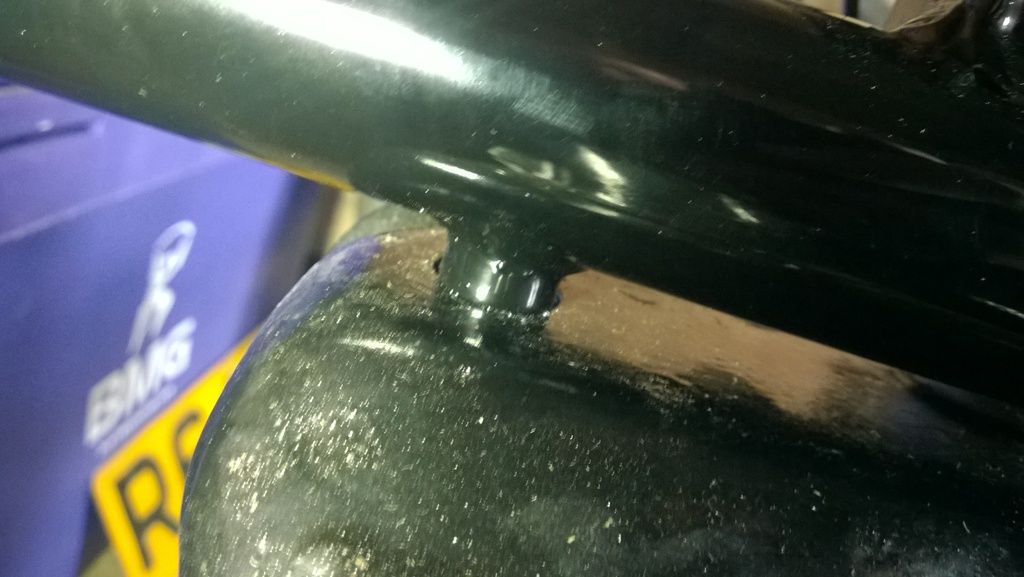 The tabs 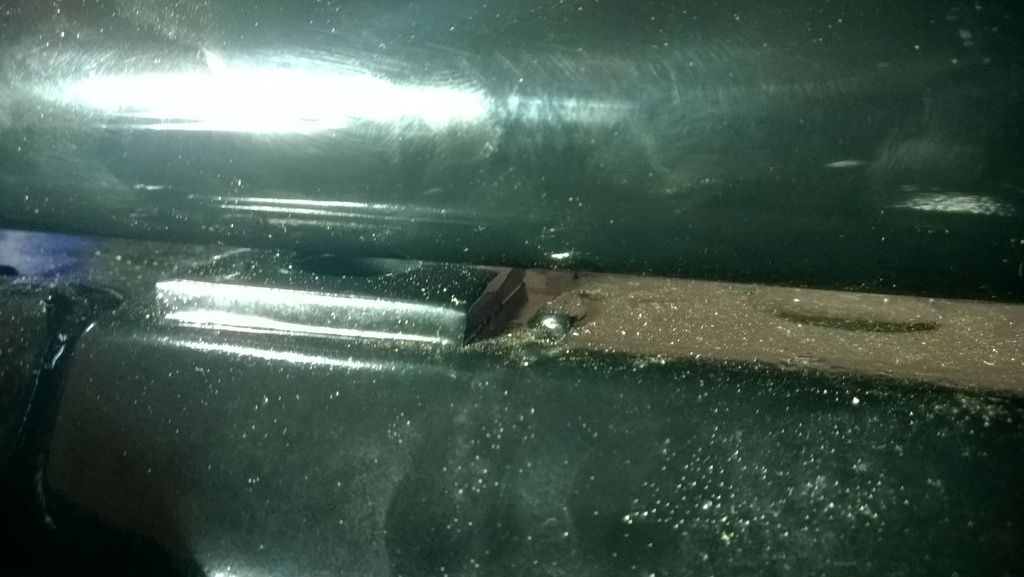 Thanks  |
|
|
|
Post by jgilbert on Feb 14, 2016 23:23:56 GMT
very close to dropping the car on it's wheels today. Before I do... I've located the 4 rear bolts - the longest in the pack - have to do a little jiggling to get them to line up but wont be too difficult I hope! I've put the 6 of the smallest nuts and bolts (supplied with the kit) into the front 6 fixing points. I've got 2 medium sized bolts left, I think I've found where they live - see photo. However they seem a little big and I was wondering if they help secure anything else?  Very minor comment. But I was always taught to orientate bolts downwards, so that if the nut (I known these are nyloc) ever came off at least the bolt was still in place rather than left on the road. Nice job, well done. |
|
|
|
Post by Stiggy on Feb 16, 2016 11:13:56 GMT
Hi, you will need washers between the subframes and the bolt tubes to ensue they are secure, if the tube passes through the subframe the bolt will only tighten against the tube end not the subframe itself. 120 Nm tension/torque for the bolts with 10.9 stamped on the end. If you have 8.8 on your bolts the correct dry torque is 87 Nm. PLEASE NOTE THIS TORQUE IS FOR 12 mm BOLTS. Regards Stuart
|
|