|
|
Post by scottmev on Nov 22, 2016 22:16:40 GMT
Update as to where the build is currently is. Before the frame went to the powder coaters on monday we marked and cut the floors and then turned upside down and fettled and trimmed the floors. 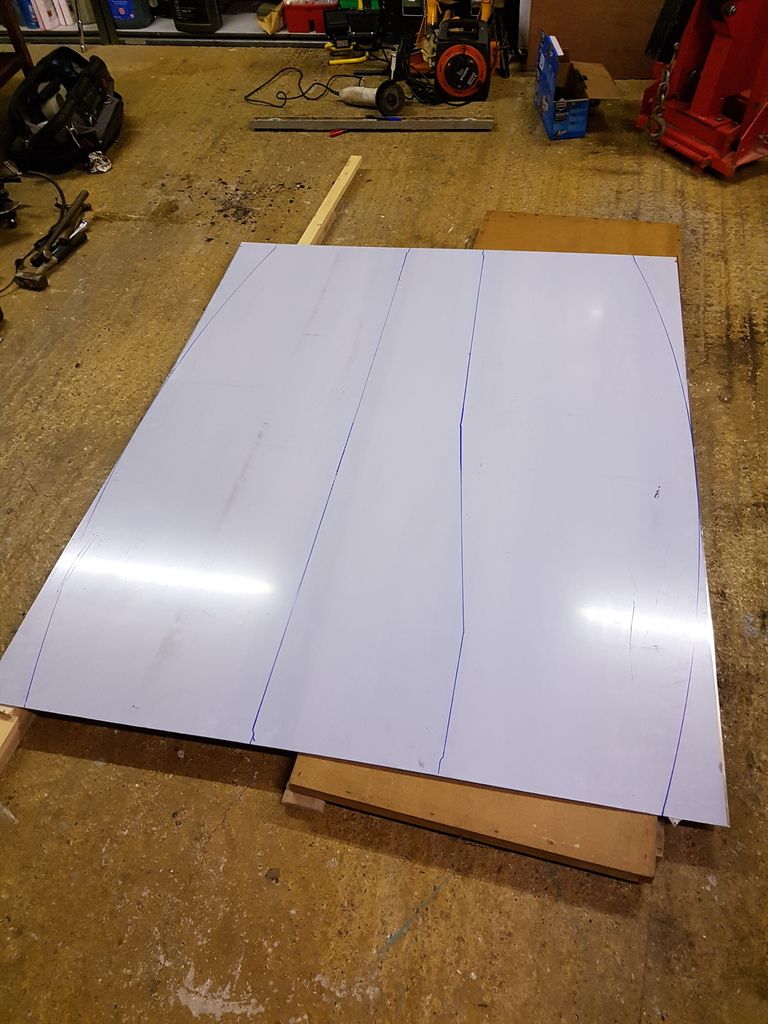 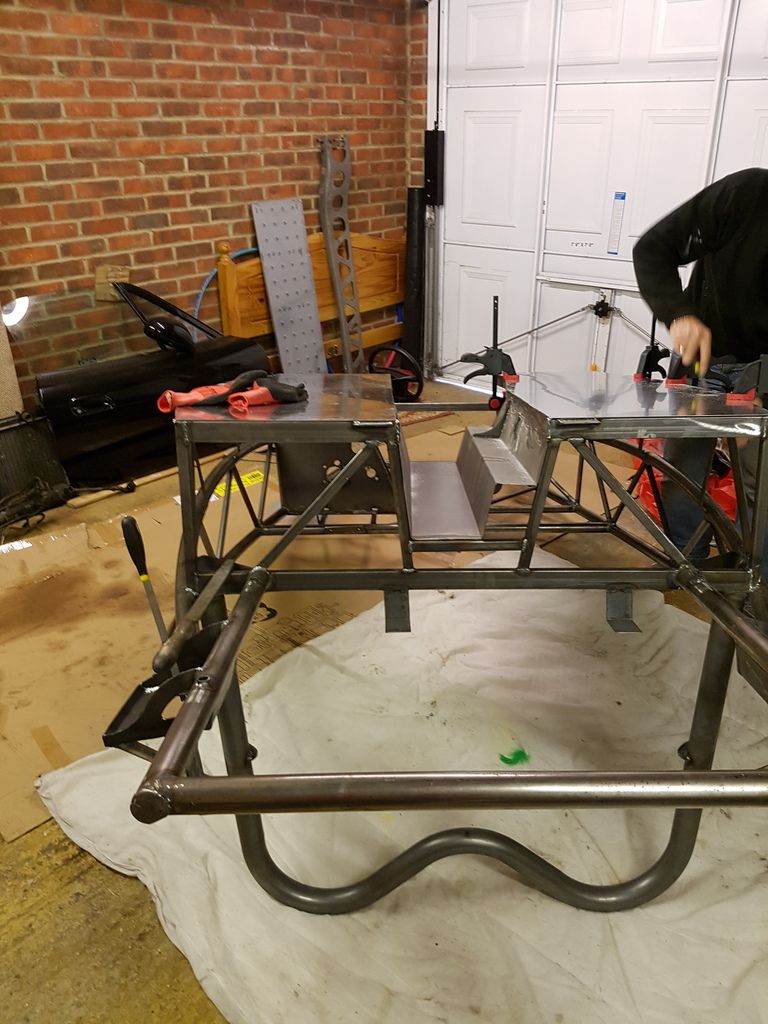 Then powder coated and in a day all ready for re-assembly. subframes all painted along with diff and gearbox ready for assembly. Hopefully have it reassembled this weekend. 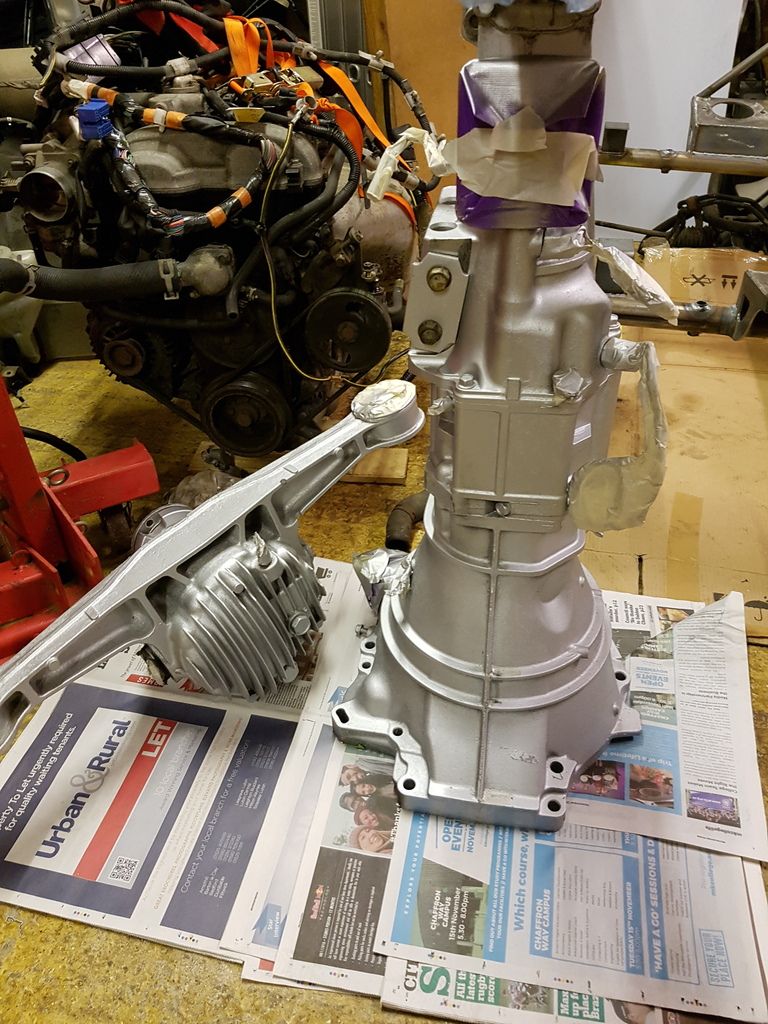 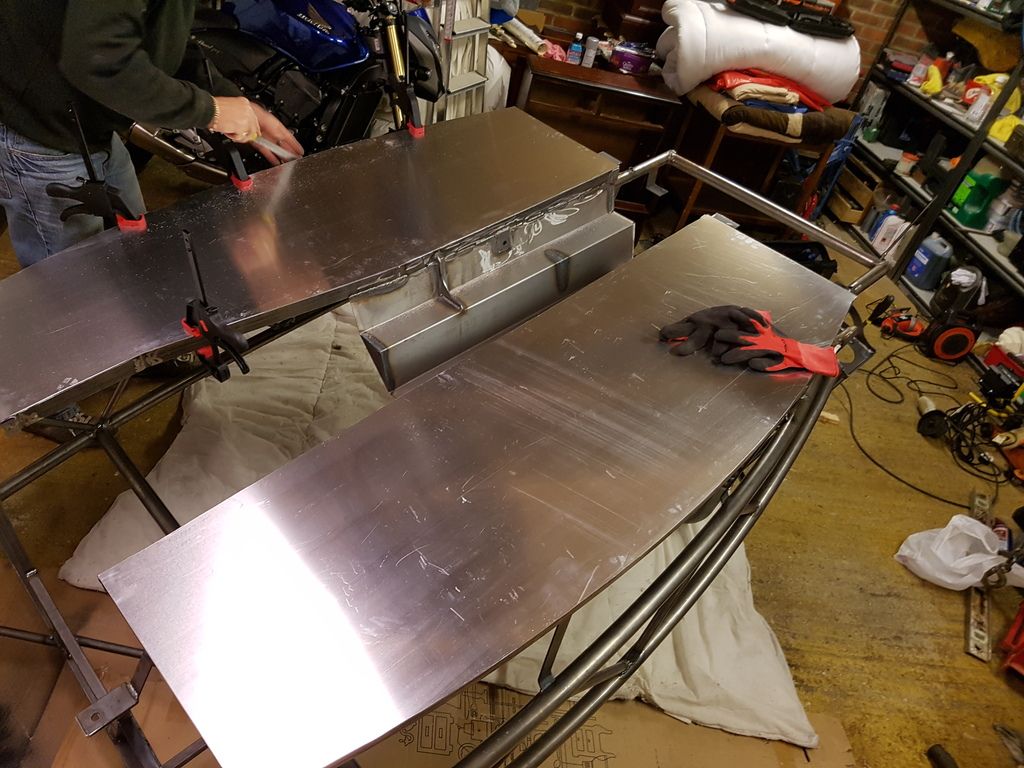 What have people done for fuel lines? Solid pipe or rubber hose? Also where do the seats bolt to? I have two tabs with holes, just wondering where the rear ones are? 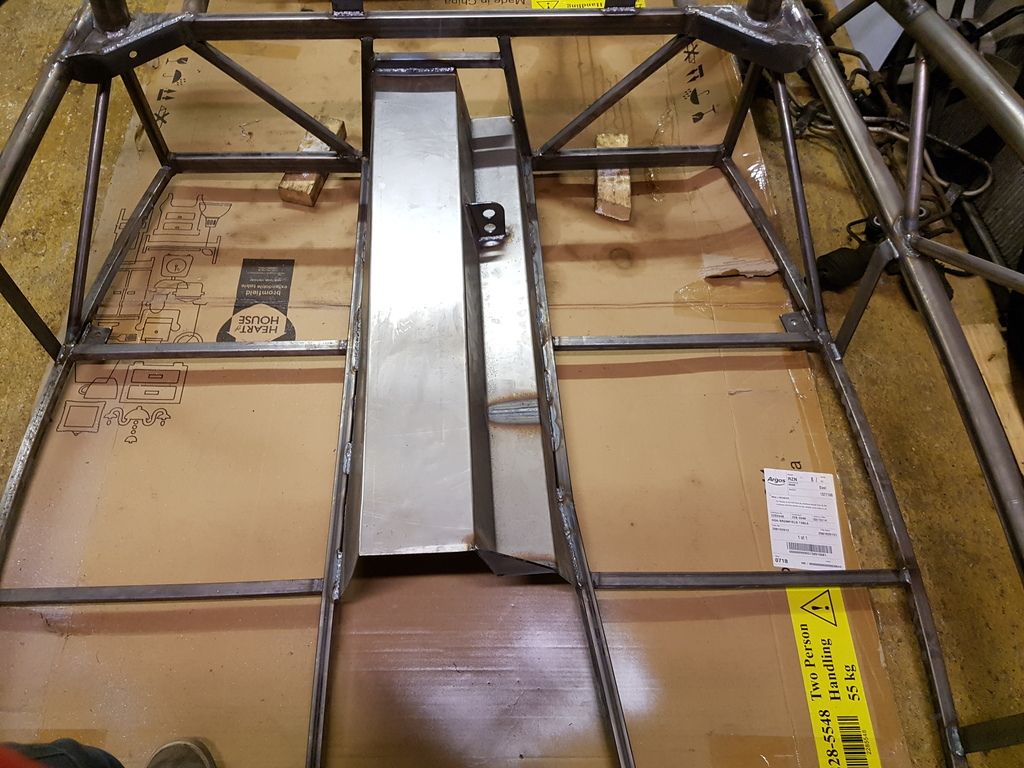 The frame powder coated... 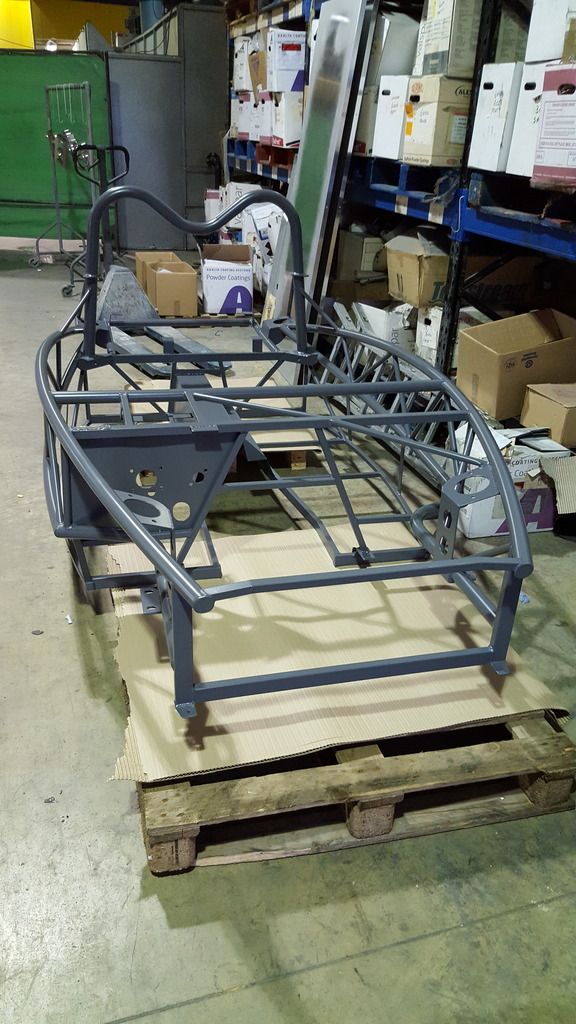 |
|
|
|
Post by miket on Nov 23, 2016 9:15:43 GMT
Coming on nicely.
On the forum you'll find builds with every permutation of fuel line choice: flex/solid (copper/cunifer) routed on chassis/ppf. Whichever you choose a key point is how small and crowded the space is at the back of the tunnel on the rhs between the ppf and the chassis at the point where there's a kink in the rear of the ppf - this area needs a bit planning (or at least care) to get brakes, fuel, loom and ppf-battery earth through successfully/neatly. Also note that there's not much room between the front edge of a stock fuel tank (mounted the standard MEV way round anyway) and the front of the tank-cover - so I'd suggest to route fuel pipes/hoses off to one side/corner to get around the tank's front edge.
The tabs are strengthened points for seatbelts.
Seats on to the 2 chassis cross-rails. Donor seats need the runner ends straightening (there may also be protrusions to remove from the rails but I can't remember). Installing donor seats is one of a build's, er, fun challenges, to get a good movement range on the runners and not have sharp edges to cut through seat-belts... many documented solutions by now tho'.
|
|
|
|
Post by mscott on Nov 23, 2016 9:46:13 GMT
This post may be a bit late from the original part of the thread but just for your reference. The MX150R was built as a "Race Designed" version of the Exocet for use in the Ma5da Race Series which ran with the Mk1's a few years ago. I'm not sure if MEV still make/offer them and the original content has gone from their website now. Might be worth a call if anyone is interested. We now race in the 750MC Sports Specials and are now Supercharged for good measure. The Original name was from memory: - MX (Mazda MX5)
- 150 (150 BHP/Ton as we used the standard Mk1/Mk2 1.8 (non VVT) @ approx 130BHP)
- R (Racing)
The main differences are: - The Chassis Tubes are larger, 50mm.
- The Rear End has a Crash Bar/Bumper to protect the Rear Wheels. (oh how we like to get a bump or two !).
- The Roll Bar/Hoops are replaced with a Bolt In 6 Point (MSA spec.) Roll Cage
. - The Floor is Steel and Welded in with Reinforced plates where the Roll Cage bolts in.
- There is also a "Squarer" Rear Panel without the "Humps" but mine still has the Hump, usually cause I'm thrashing it..

My MX150R was originally built "Road Ready" but I don't think it was ever IVA'd. It's now had all the extra lights etc. taken back off and only see's the Road from the back of my Car Transporter.. The original race series was a very tightly controlled series with the intention of keeping costs down, we now have a bit more flexibility but still trying to retain the original concepts.. Nothing beets the thrill of being on the Grid, starting a race and going for it, track days just don't come close, come and join us racing, you'll never look back. Regards Micky.. |
|
|
|
Post by scottmev on Nov 23, 2016 12:34:03 GMT
Thanks for the advice. I think best course will be to have a gentle fit over the PPF and have a look underneath in regards to where the space is? Another thought was to run them internally maybe?
|
|
|
|
Post by calibuild on Nov 23, 2016 21:07:57 GMT
Just a thought, but whatever you are going to do for flooring, if you do it now you can use the actual exocet to trace it before the floors go on. Think the website has some print outs for grip tape, but it would have been easier if I'd just used cardboard or something at this point of the build to trace it or even cut the final product it if I'd had thought of it!
|
|
|
|
Post by scottmev on Nov 26, 2016 20:15:51 GMT
Got the PPF all bolted back together and then had a test fit of frame. All good plenty of room for 2 fuel lines and brake. Just need to order some clips for them
Also stripped front hubs and took abs sensors out ready for the wheel arch mounts to bolt on. Just need to get some bolts.
While frame not fully on has anyone got advice on how to deal with a coolant bypass? Or did you just loop the heater pipes into each other?
And also how do you know it the PPF is straight....hindsight should of marked where it sat on gearbox as there is a bit of movement available on the gear box end of the ladder?
Cheers
|
|
|
|
Post by scottmev on Dec 4, 2016 20:05:12 GMT
Stripped the power steering pump from the engine today and a few other bits. Any further information on the above points...mainly the coolant heater bypass? is there a pre made coolant pipe available? as that is the last job before frame can be bolted on.
|
|
|
|
Post by timbo on Dec 4, 2016 23:41:53 GMT
Remember you have to run the electrics to the rear lights/fuel tank. If you intend to run them along the inside of the transmission tunnel it's a good idea to drill the holes for the rivnuts before you join the chassis.
Tim
|
|
|
|
Post by scottmev on Dec 7, 2016 21:20:57 GMT
Coming on nicely. On the forum you'll find builds with every permutation of fuel line choice: flex/solid (copper/cunifer) routed on chassis/ppf. Whichever you choose a key point is how small and crowded the space is at the back of the tunnel on the rhs between the ppf and the chassis at the point where there's a kink in the rear of the ppf - this area needs a bit planning (or at least care) to get brakes, fuel, loom and ppf-battery earth through successfully/neatly. Also note that there's not much room between the front edge of a stock fuel tank (mounted the standard MEV way round anyway) and the front of the tank-cover - so I'd suggest to route fuel pipes/hoses off to one side/corner to get around the tank's front edge. The tabs are strengthened points for seatbelts. Seats on to the 2 chassis cross-rails. Donor seats need the runner ends straightening (there may also be protrusions to remove from the rails but I can't remember). Installing donor seats is one of a build's, er, fun challenges, to get a good movement range on the runners and not have sharp edges to cut through seat-belts... many documented solutions by now tho'. So done some drilling and tapping for fuel clips on the PPF and holes for brake pipe clips on the frame. Further to the above quote does anyone have any build photos of how the routed pipes etc at the rear? As planning on routing and doing floors tomorrow evening. Have people sealed down floor panels when riveting on? Think I may have two of the same wingstays.... 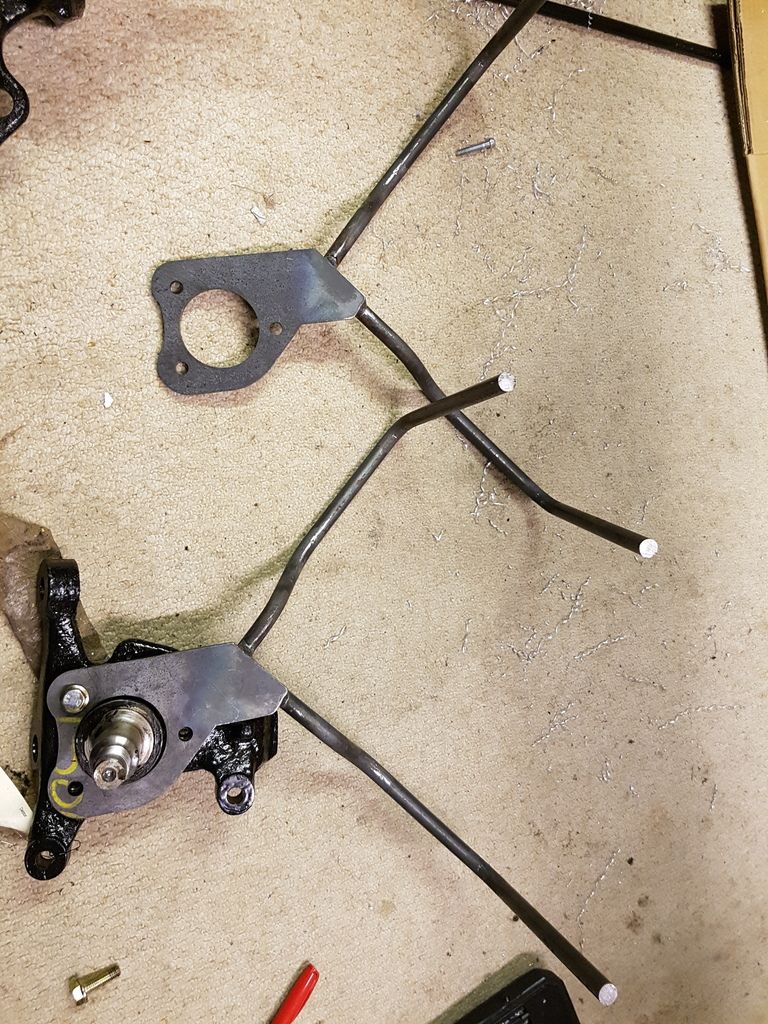 Also do they need a trim as the correct side doesn't match with top hole as part of bar catches with knuckle. 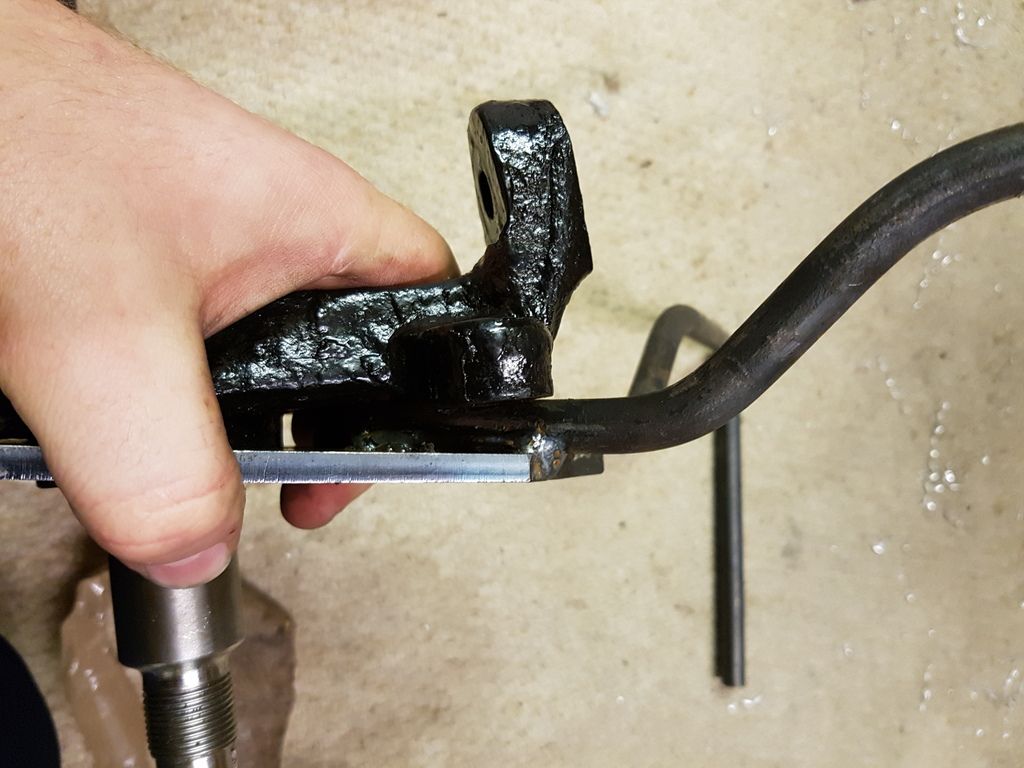 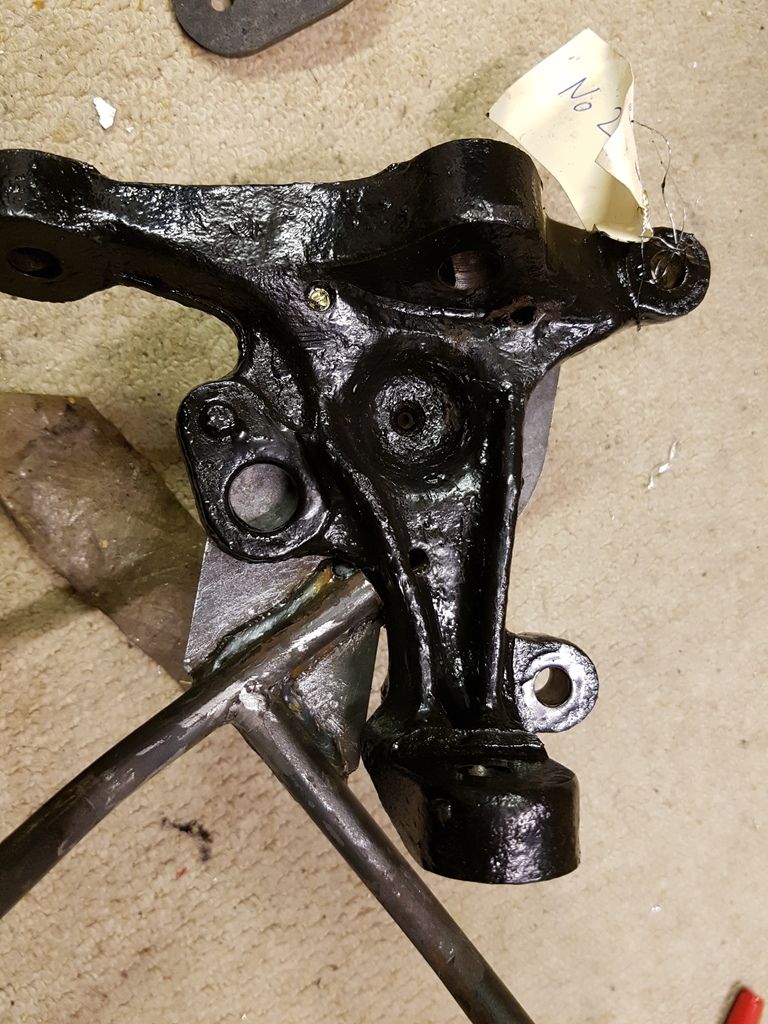 |
|
|
|
Post by miket on Dec 8, 2016 10:48:59 GMT
On your (much) earlier query - yes I just joined the two bits of the cut-down heater pipes. Here's how I planned and initially implemented the rear pipes, but this took the fuel pipes vertical near the centre where there's not enough room for hoses between tank-front-edge and tank-cover (mine's a Mk1, might be different Mk2) - so I later had to bend the pipes out to the RHS so that hoses could be routed through to under the tank cover on the front right corner. I.e. DON'T do it like this picture below, but perhaps route them out alongside the brake pipe and then upwards:-  I PU'd the floor panels as well as riveting, but I'm sure others won't have felt the need. Try to avoid putting a rivet where the seat bolts will be. I didn't need to trim the stays, but again that might be 'cos mines a Mk1. |
|
|
|
Post by scottmev on Dec 8, 2016 18:56:53 GMT
Yeah got all floor measured and drilled. Then was about to put down a line of PU and thought just check the rivet...seems to be too long on the outer edges and won't sit flush on the floor to start the rivet....also did a test panel and found very long process to get the snap off. And it also bent whilst pulling.
Having used rivets at work a bit I would think they should be shorter so a straighter and quicker pull.
For reference we are using a lazy tongue riveter.
Any pointers appreciated.
|
|
|
|
Post by miket on Dec 9, 2016 9:20:57 GMT
I was a novice on rivets, read a bit and bought some appropriate rivets based on grip range.
I also had to grind off some excess welding to let the floor sit flush on the chassis.
|
|
|
|
Post by scottmev on Dec 17, 2016 21:06:28 GMT
Update, So more progress made today floor all bonded and riveted. Brake pipe run and bent into place (just need to flare it). 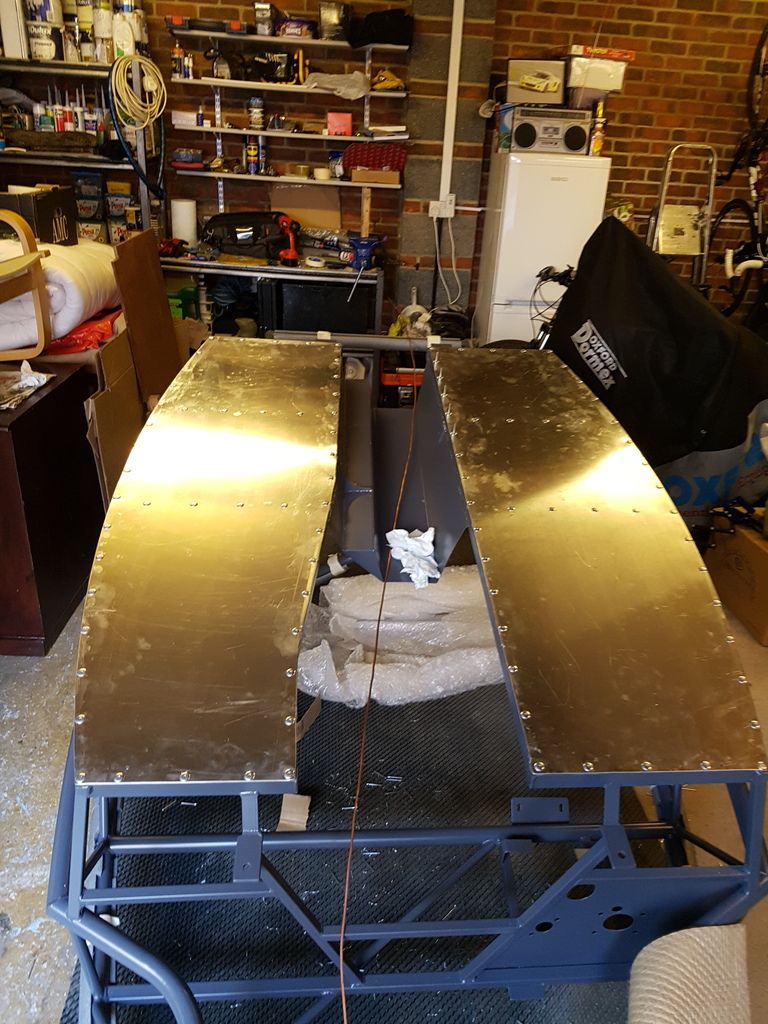 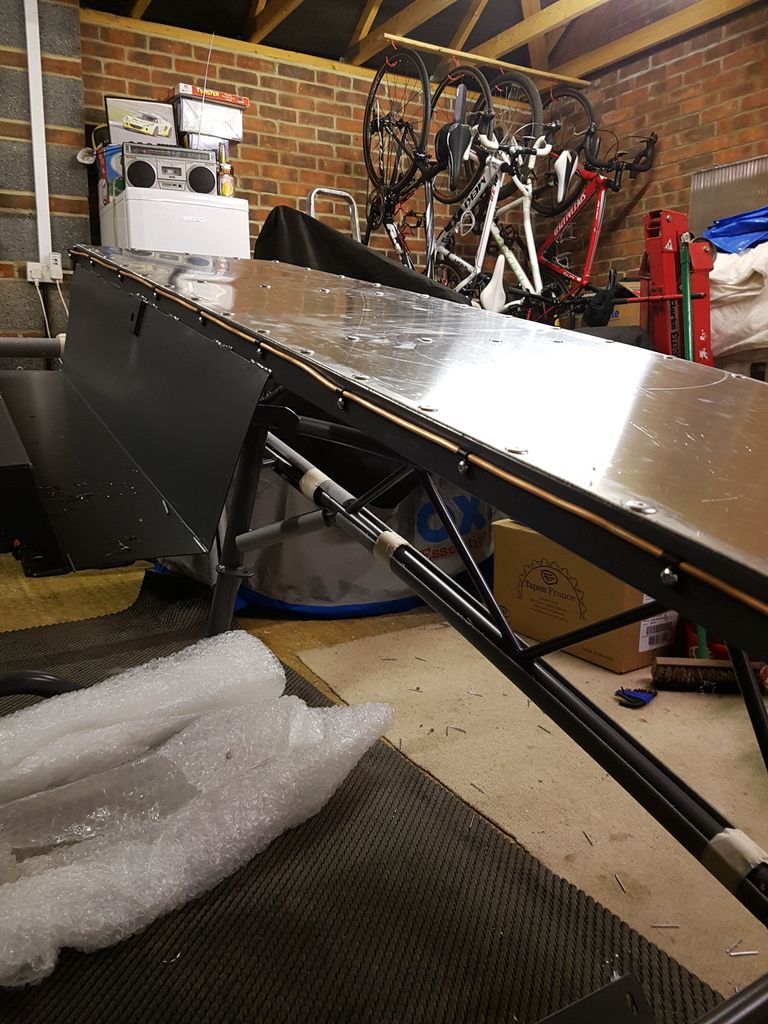 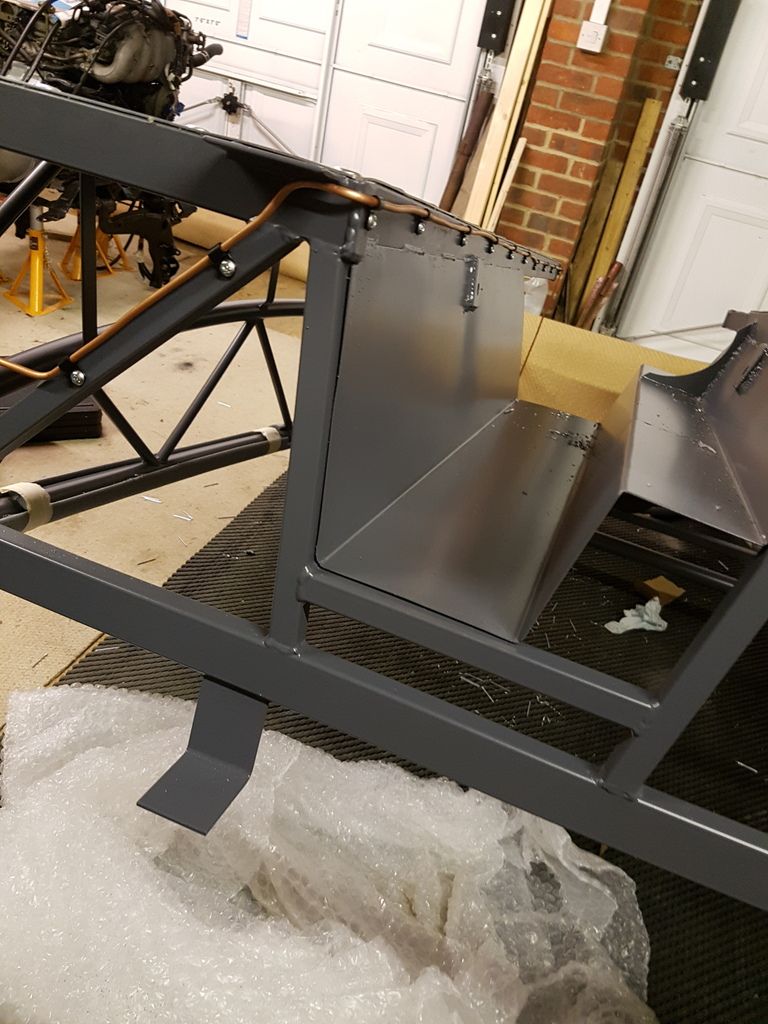 Then got chassis bolted down to PPF. 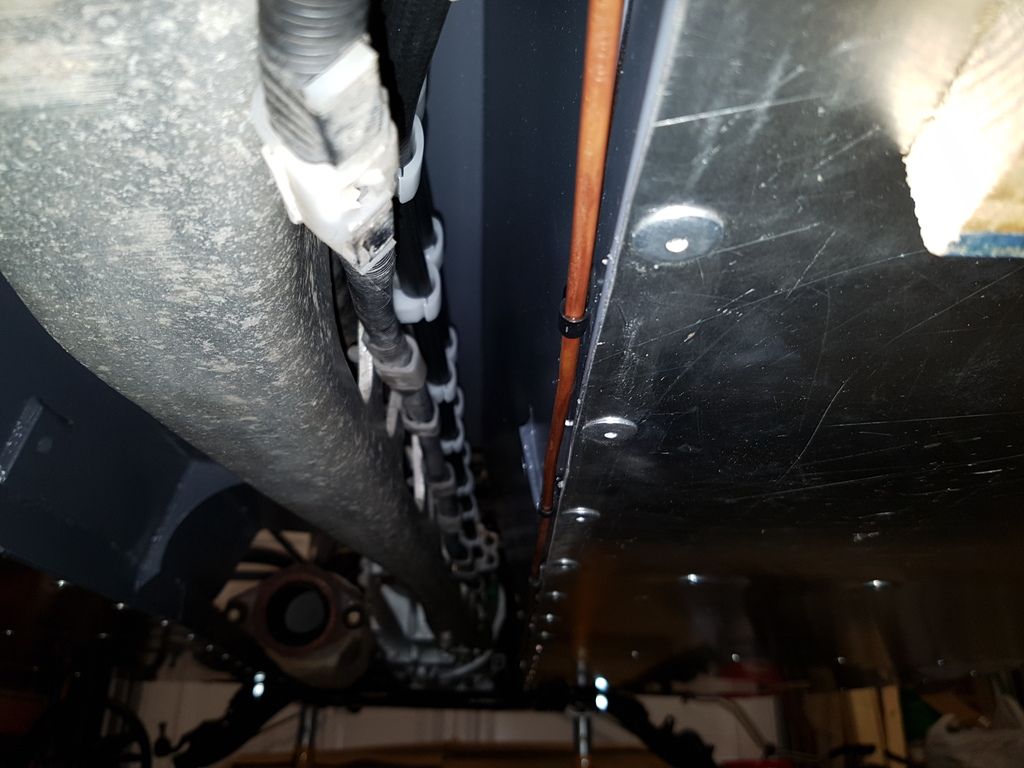 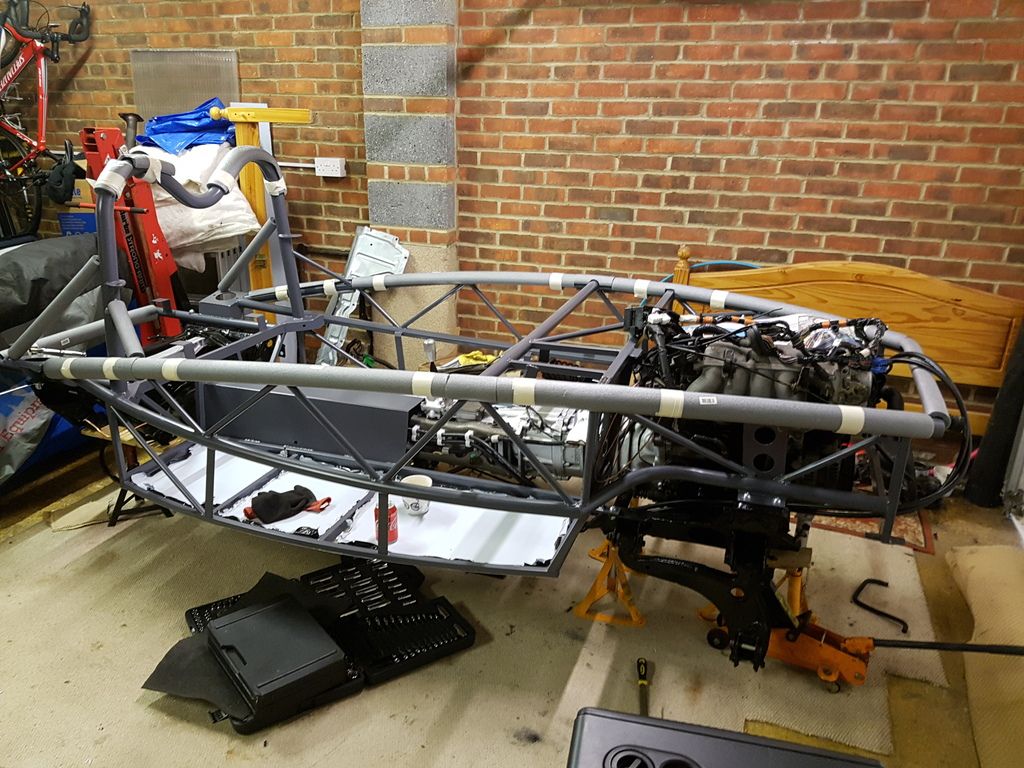 Also new bushes pressed into the rear lower arms. Steering rack de-powered and fitted. Just waiting to source upper front ball joints to then rebuild front corners. Next come some questions/queries that some more experienced among you may have some good advice for.... a) Clutch hard pipe from master cylinder to flexi - did you use the original and make a bracket or shortcut it with a shorter homemade pipe? b) Spacers on clutch pedal - are they to be cut off and placed otherside of bulkhead as per the brake peadl/servo ones. c) Fuel pipe connections - any pics? and plumbing in if not using carbon canister etc? d) Rear brake T-Piece - has anyone relocated this as original position is quite close to rear if putting pipe in as per OE. e) How have people plumbed in brake system if they had ABS and are now running without? 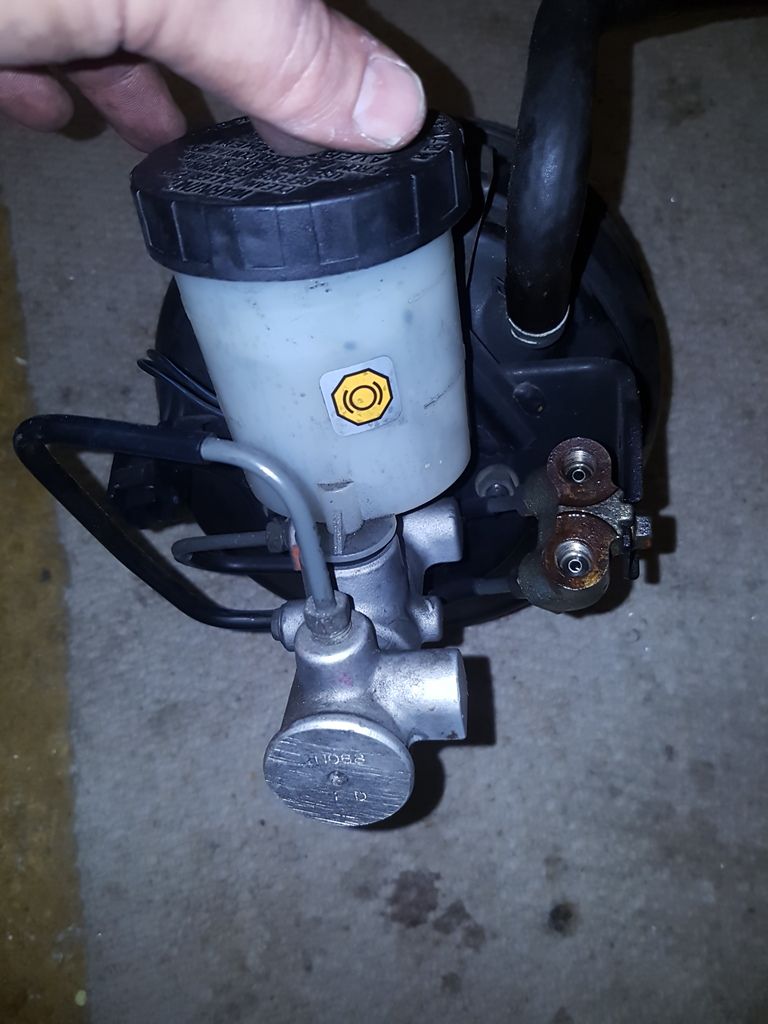 Other big simple question - - Anyone have an idea on what order to now progress now to make stuff easier, (not fit this then realise need to remove then refit etc?) Just a rough idea would be helpful. |
|
|
|
Post by miket on Dec 18, 2016 10:26:55 GMT
On your Qs:-
a. I used the original but replacing would be tidier.
b. Pedals & spacers are one of the big 'games' of the build - it seems best to offer up your column and pedals first, see what's needed for your particular build and take it from there. Plenty of different scenarios covered in build threads.
c. Fuel pipe plumbing shouldn't be affected by canister removal - what's the specific concern?
d. You can fasten in current place but pivot - per build guide.
e. ABS! - luxury. Not had that issue.
Re. planning:-
Side panels later rather then sooner / basically keep as much access available as possible.
Electrics tray at same time as front bulkhead panels 'cos they'll probably need to mate up.
I fabricated bits, took them off to store safely and then fabricated next bit. When all the bits came back out of storage to be fitted I found many of the places where they interfaced needed, er, fine tuning. I'd be more aware of this for my next build.
|
|
|
|
Post by scottmev on Dec 18, 2016 17:08:38 GMT
Hi miketThanks for response. Will have to look again at build guide didn't see that mentioned! 🤔 Yeah wish I didn't have ABS...Proving more quandaries to get ride off haha. In response to the fuel...I can only seem to find the feed onto the engine. So was just wondering if you could send a photo of your plumbing where you come into engine bay from the tank...And what to do with the return? I could be missing something obvious, possibly too much time spent looking at it. |
|