|
|
Post by jgilbert on Jul 8, 2015 20:34:35 GMT
Timbo,
Coming along very nicely. In answer to your seat mount bolt question 8.8 grade (a few posts back). 8mm, I think I ended up with 40mm long bolts. Tool Station from memory do pack of 10 you can also get large M8 penny washers and nyloc nuts from the same place.
Also on your second to last photo - gear lever hole. I was advised to make this a big as I could to add gearbox removal (if ever needed) easier now that once its built. Looks like even removing the small gear lever rubber gaiter would be difficult with the current hole size.
|
|
|
|
Post by timbo on Jul 18, 2015 15:23:30 GMT
Thanks, John. I decided to start small just in case it wasn't quite in the right place  Have pondered what to do with the gear surround for a little while, then came up with re-using the original...so out with the angle grinder and... 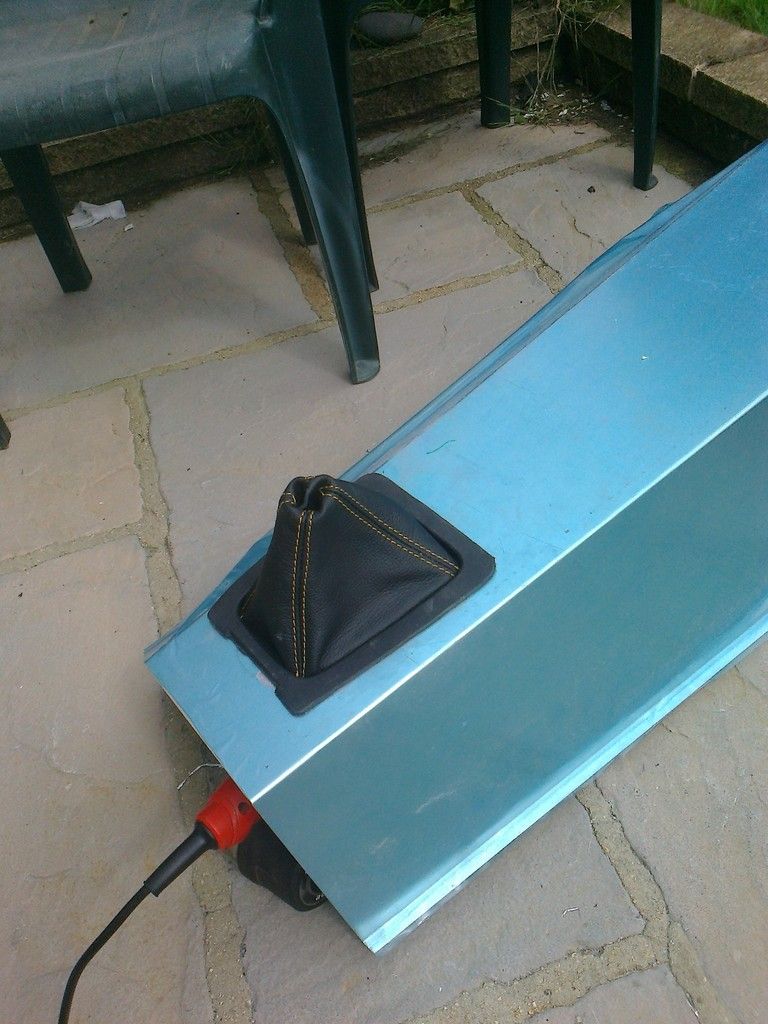 Needs a bit more filing and finishing but overall I think it works. No bolt heads from above, and in theory to remove the tunnel in the future all I will need to do is undo the gear knob and bolts at the chassis rail and lift it off. |
|
|
|
Post by timbo on Jul 19, 2015 16:37:48 GMT
Interior nor far off now. Was surprised how long it took to do the tunnel and bulkhead panels. May get a longer gear gaiter at some point. 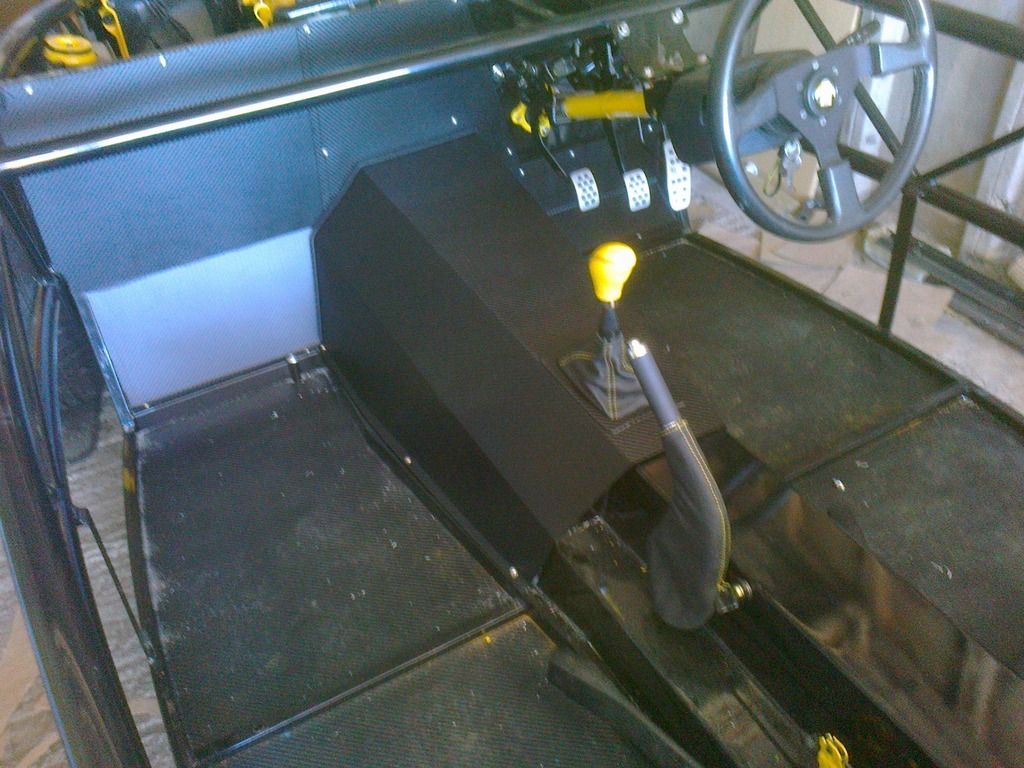 Now on to the nosecone and bonnet, then the radiator. Tim |
|
|
|
Post by gwnwar on Jul 19, 2015 20:09:57 GMT
If that is the OEM shifter you may have it to high.. To lower loosen the 3 bolts on front of PPF to trans.
lower back of trans some.. You don't want to over load the "U" joints. Only need a degree of load..
Nice work on tunnel and bulkhead looks good..
|
|
|
|
Post by timbo on Jul 21, 2015 13:49:12 GMT
Thanks George. I've tried loosening off the front 3 bolts on the PPF as suggested. However, the back of the transmission doesn't appear to want to go any lower as there is a lug sticking out of the gear turret which hits the top of the PPF: 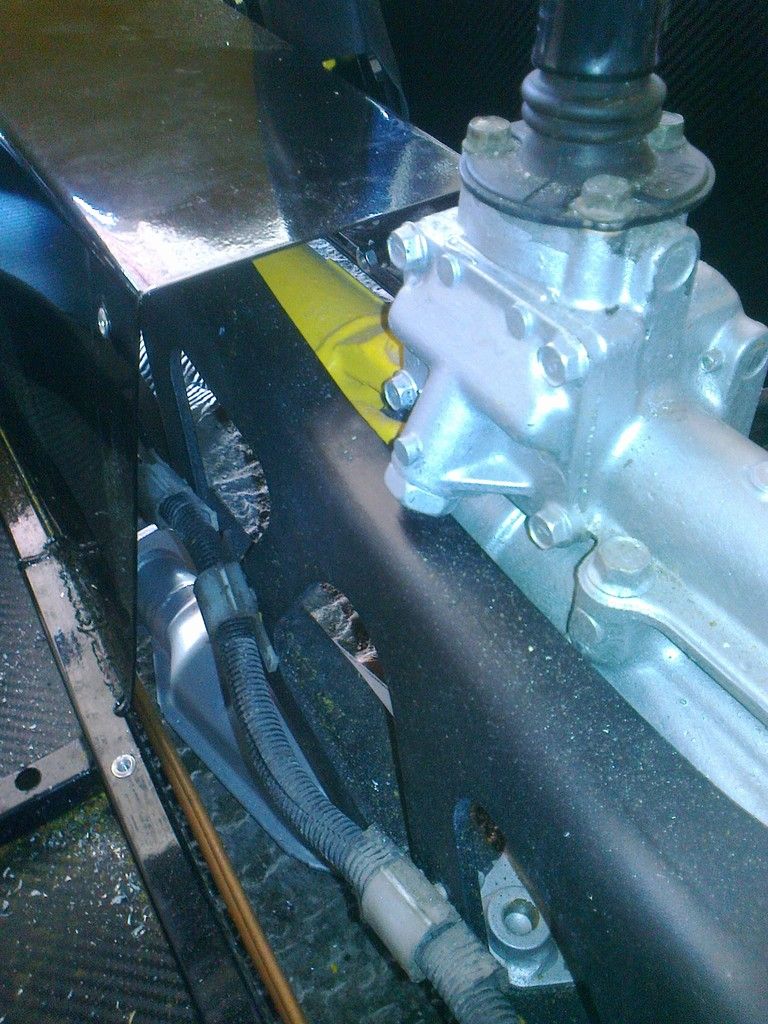 Do I need to loosen off the engine mounts and jack the chassis up a bit instead?? Thanks Tim |
|
|
|
Post by gwnwar on Jul 23, 2015 5:30:54 GMT
Sorry for the late reply I have been on way back from west coast with a car for my grand daughter still have 1100 miles to go..
Answer No don't need to touch engine mounts..push it back up some till the straight line from trans to diff with just a slight load on the "U" joints.
|
|
|
|
Post by timbo on Aug 12, 2015 15:05:11 GMT
Have installed radiator and horns: 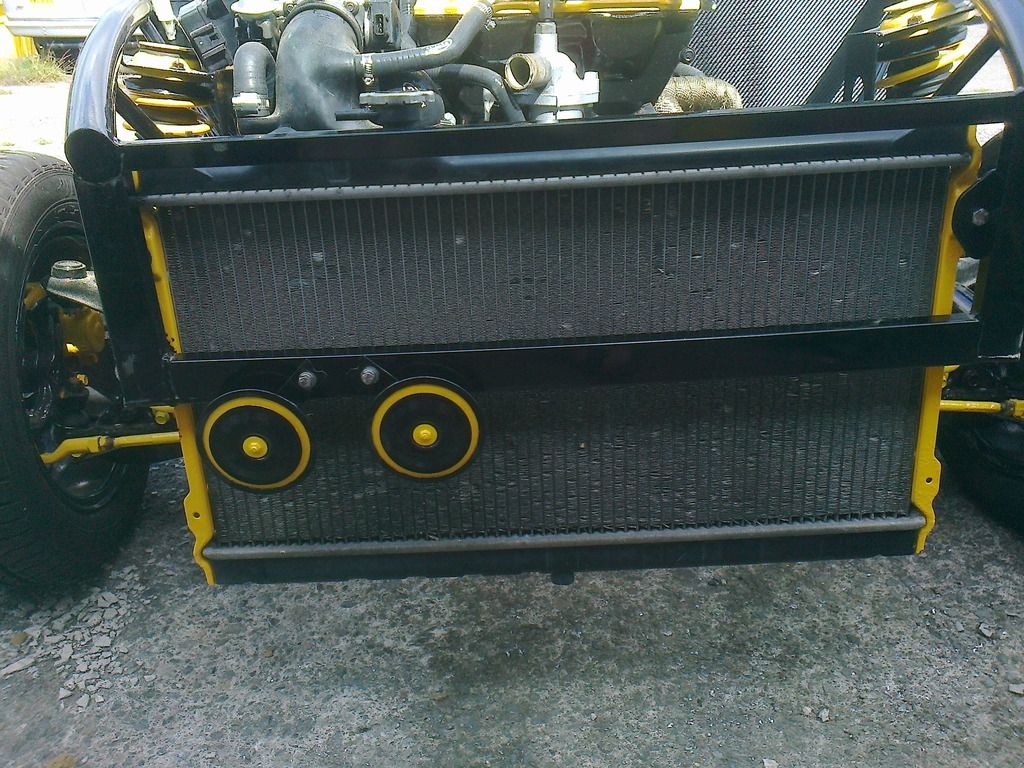 Mounted the rad slightly off centre using a small bracket as the frame is just too narrow to bolt both sides straight into: 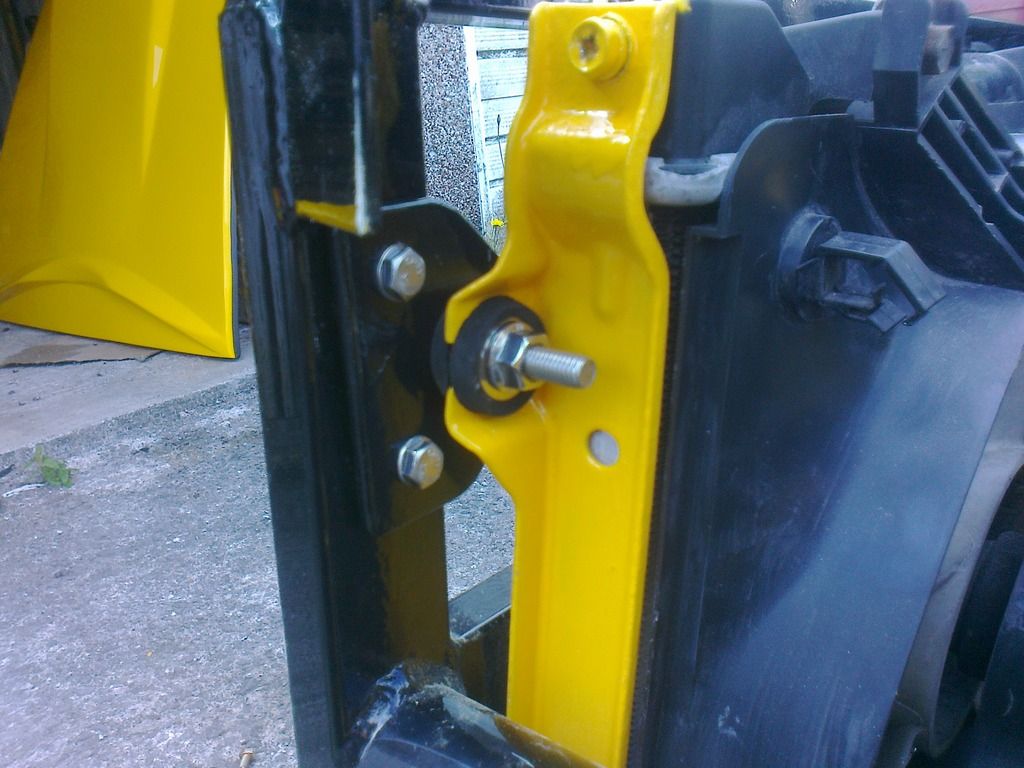 Coming together: 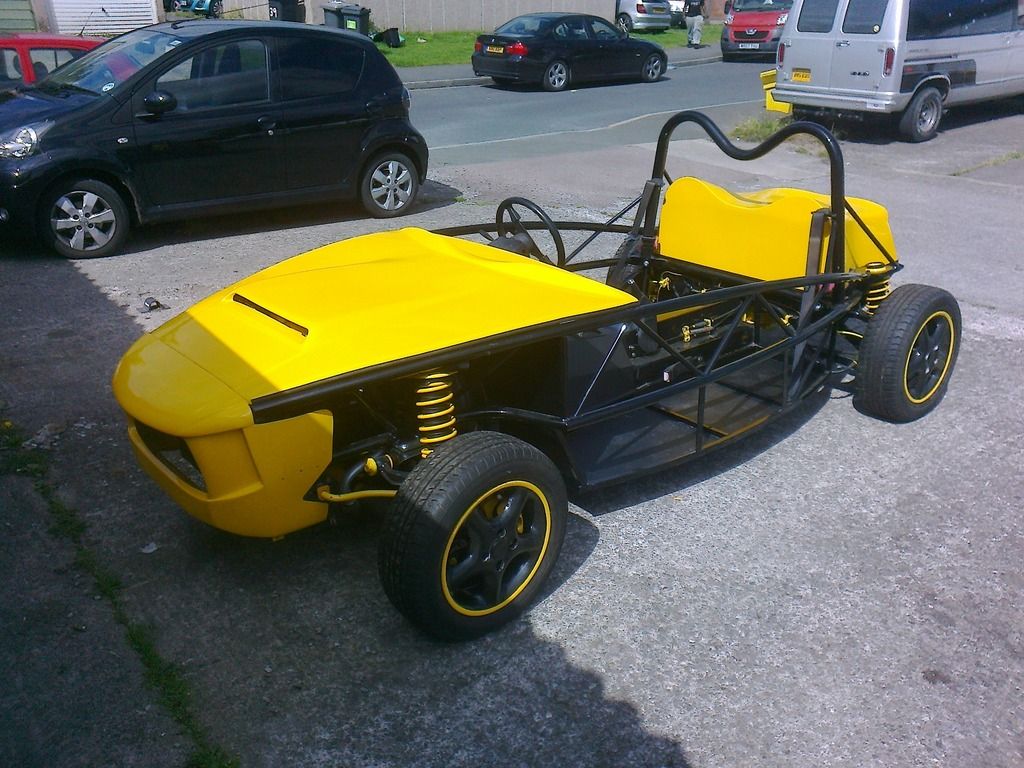 Now starting to plan the wiring... |
|
|
|
Post by timbo on Sept 16, 2015 10:28:10 GMT
Been a while since the last update, the last month has sped by without as much progress as I would have liked. Expansion bottle has been mounted (sorry poor quality pic): 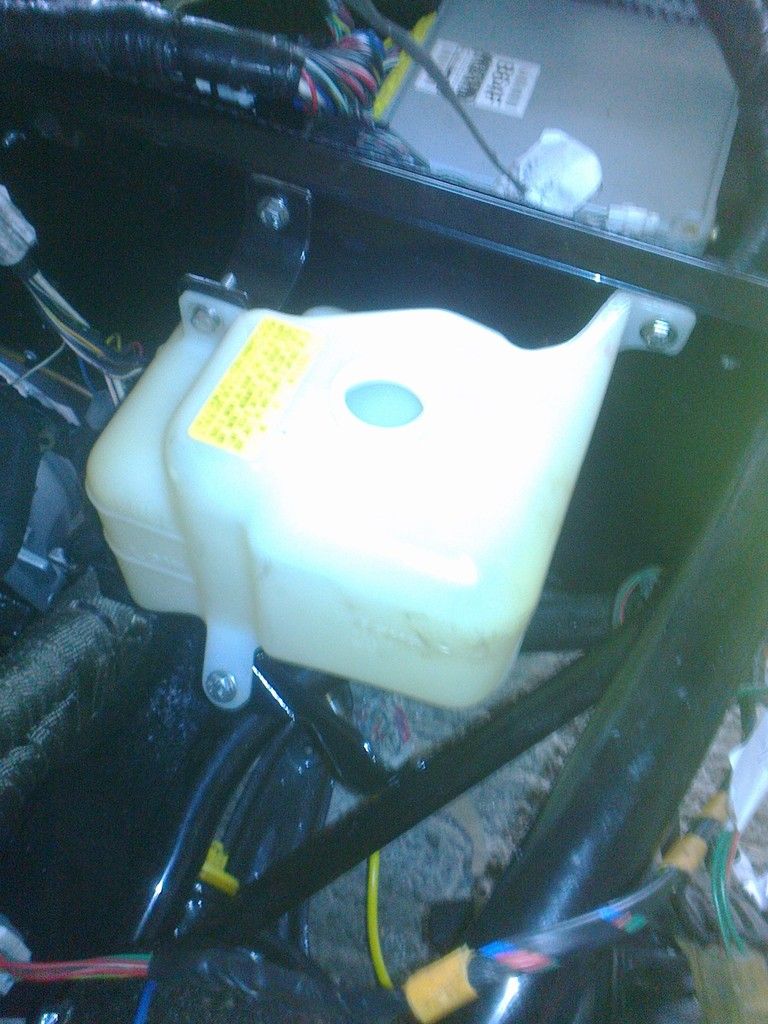 Wiring tray installed: 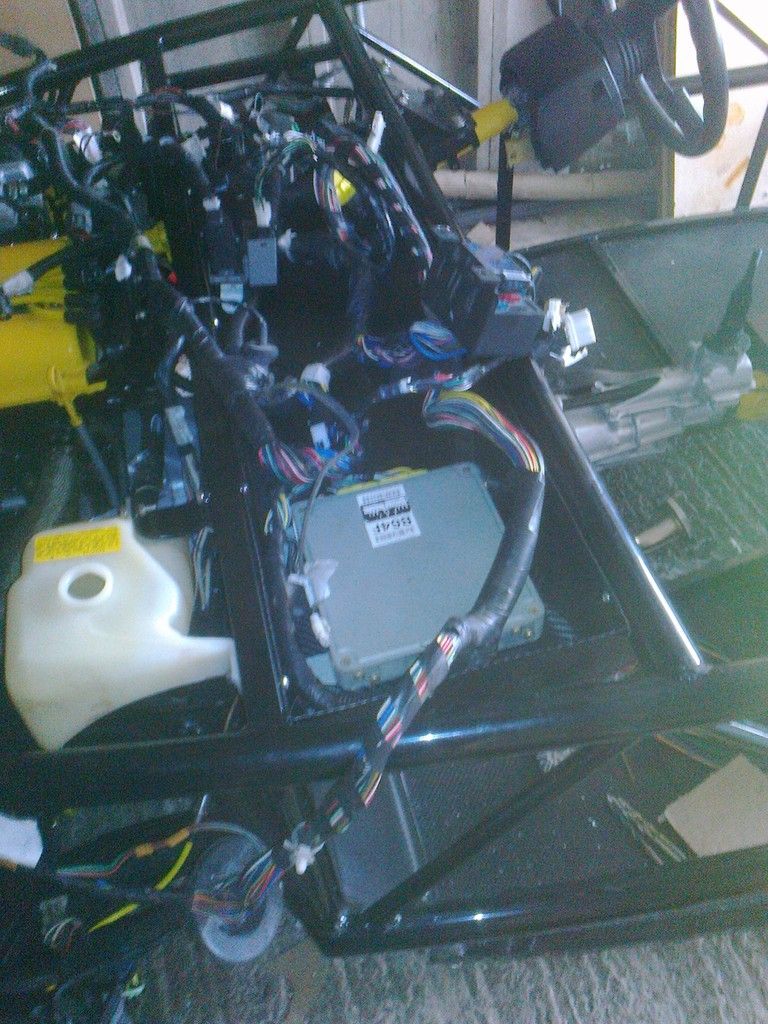 Started to make the bracket for mounting the dash: 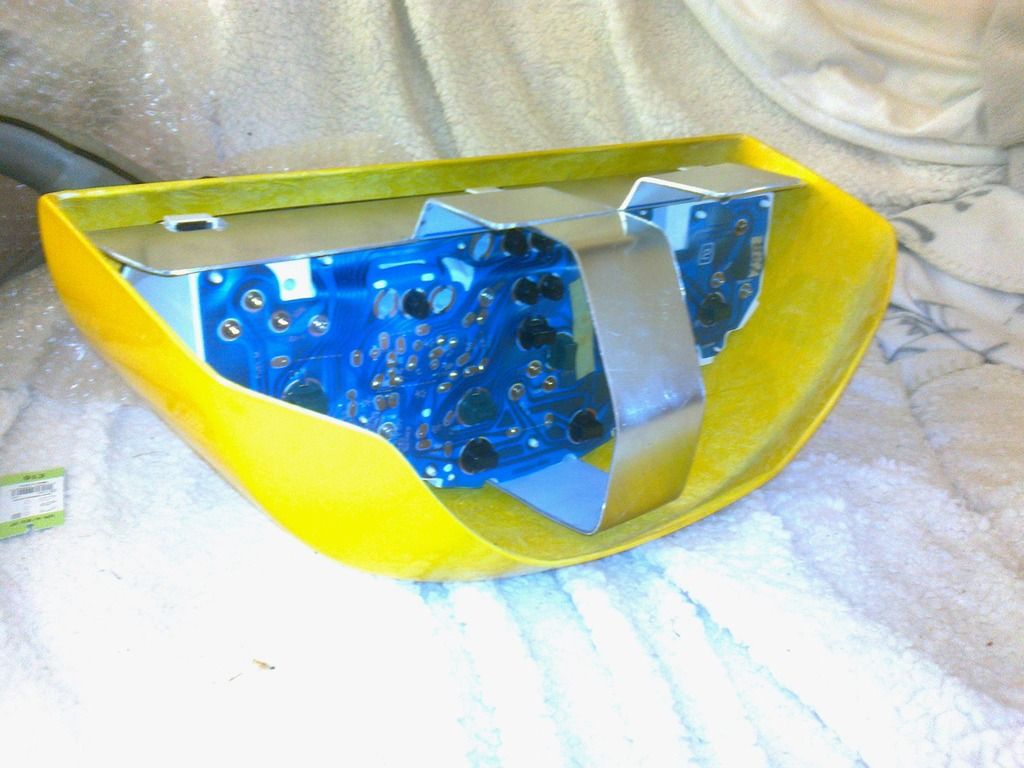 Thanks to all for the ideas on the mounting bracket. |
|
|
|
Post by timbo on Feb 26, 2016 19:35:22 GMT
Apologies for lack of progress on the Exocet. Have taken a short break in order to complete previous kit car, a Marlin Sportster with a 2.5l BMW engine, which has suffered from wiring/immobiliser problems for the last 6 years until I finally found someone who could modify an M52 ECU. 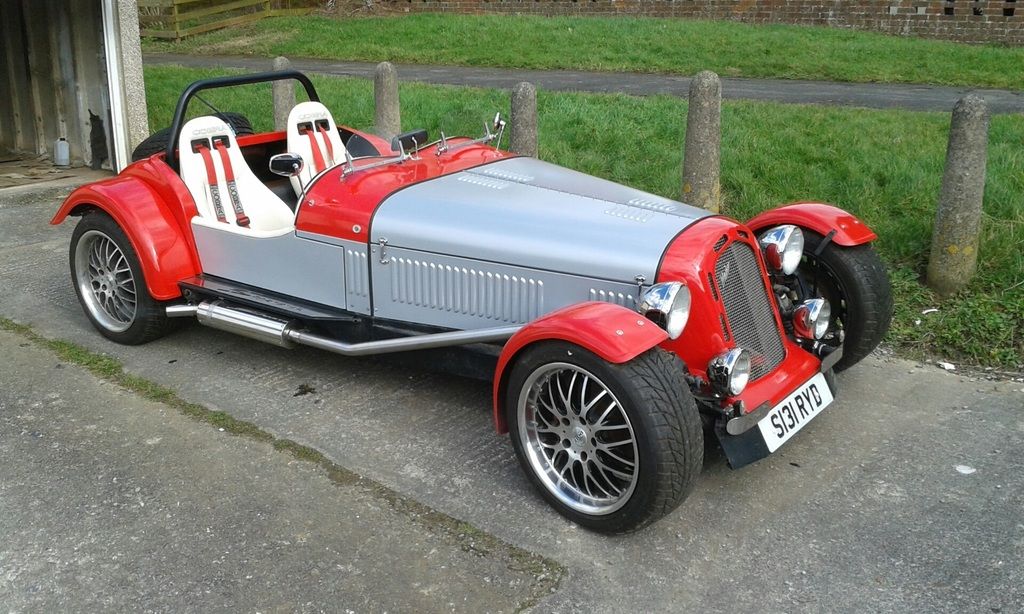 Just need an MOT and it's up and running for the summer  Then I can get back on track with the Exocet.....Thank God it uses the original wiring harness!! Tim |
|
|
|
Post by timbo on Jun 4, 2016 11:09:00 GMT
After a lengthy delay due to work and ill health, I am pleased to be back on the Exocet build. I wanted to complete the rear so that I could get fuel supply for when I want to try starting the engine, so I decided to tackle the lights. As we need to have them within 400mm of the outside of the vehicle for IVA, I needed to mount them just a few cm from the bodywork. After much deliberation, I came up with the following solution: 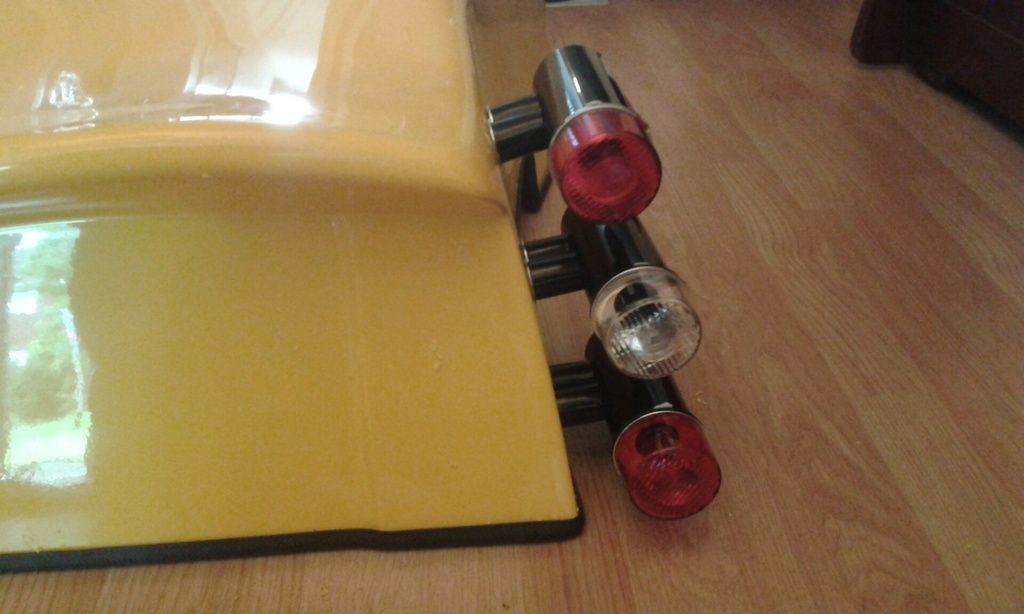 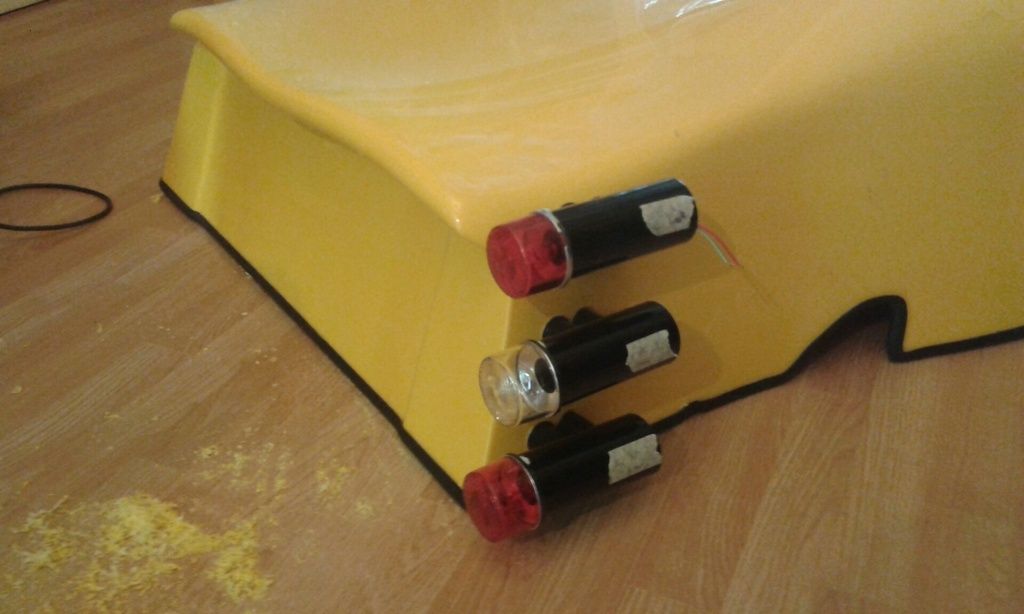 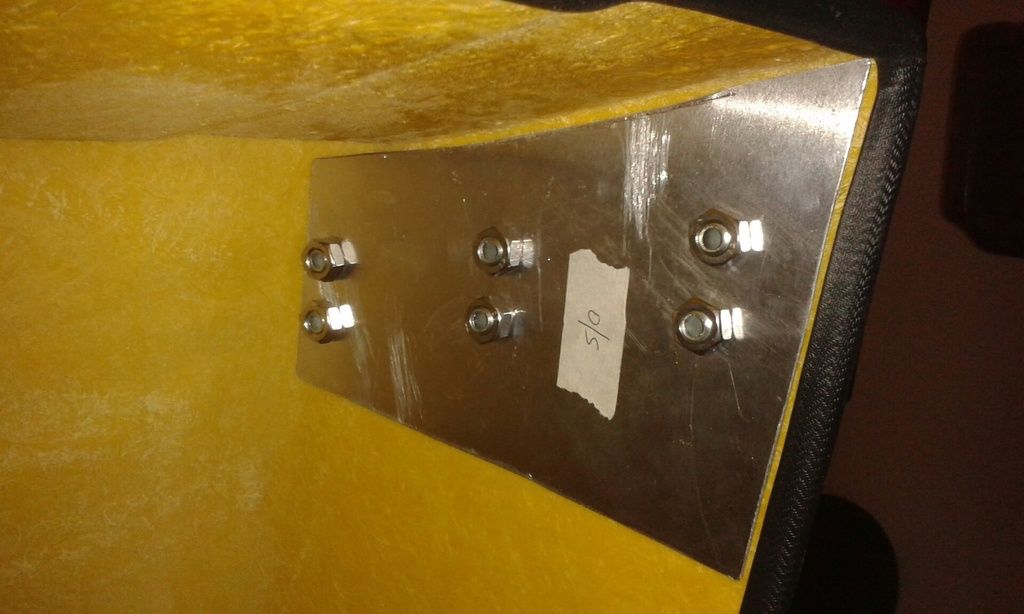 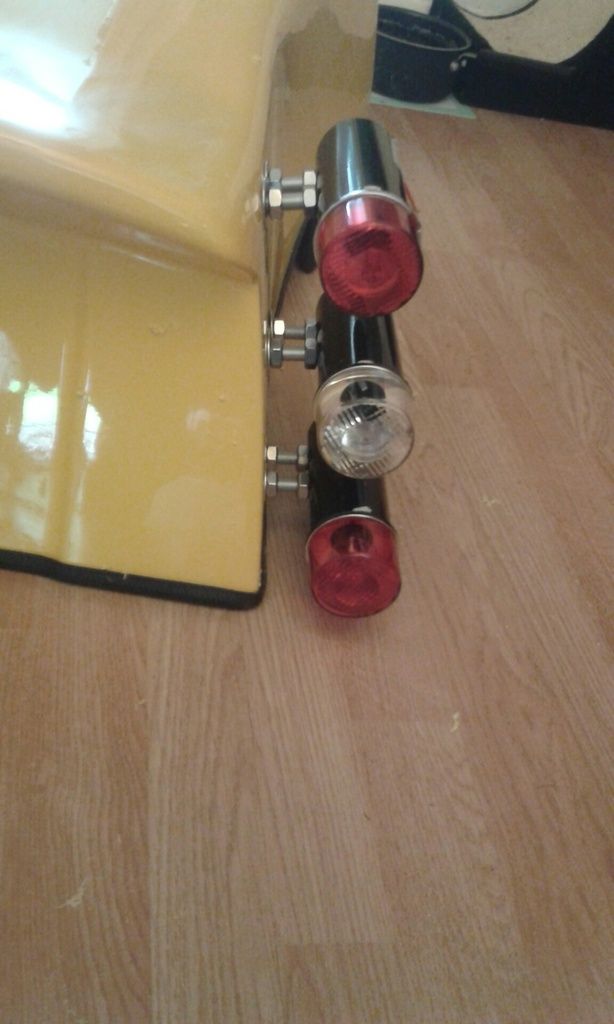 I used 10mm hollow threaded bolts, so that the wiring will all be hidden, and covered the bolts with 19mm black silicone hose, also re-inforcing the back with some 2mm aluminium sheet. The top brake/side lights are 120mm above the fog light which is also an IVA requirement. I have also decided to rotate the fuel tank in order to make it easier to attach the filler arrangement, so next job is to make some brackets to mount it. Tim |
|
|
|
Post by timbo on Jun 19, 2016 14:21:21 GMT
Back end now starting to take shape: 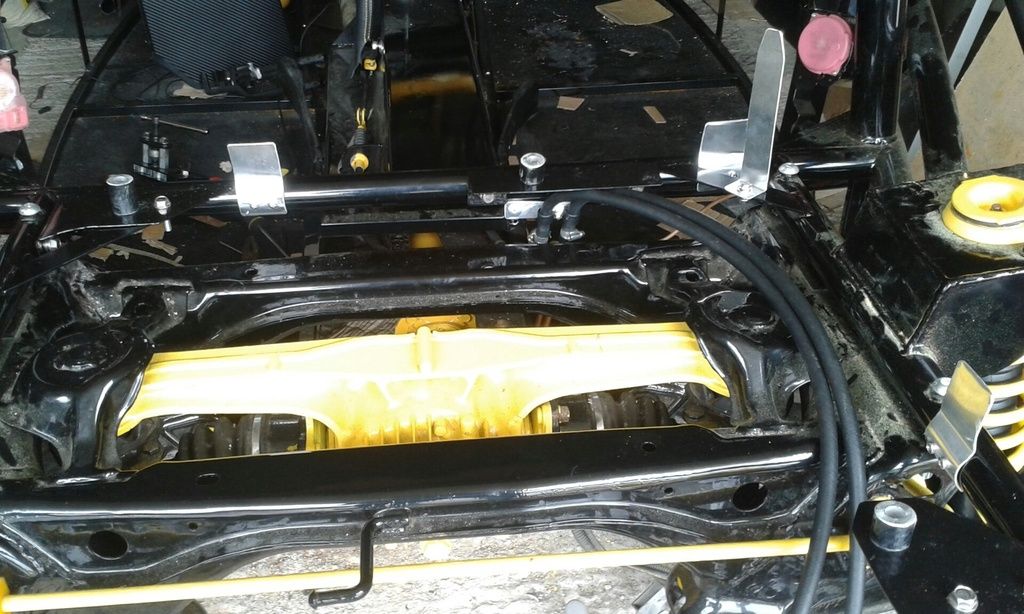 Brackets for rotated fuel tank in place, also brackets for holding cover, bracket for holding fuel filter, bracket for holding filler pipe, also re-did the fuel connections from the copper tube to the flexible tube. Now working on rear bulkhead, though I need to work out battery positioning and wiring before fixing in place. And also then hold my nerve for drilling a hole in the cover for the fuel cap. I had originally planned an elaborate mounting for the fuel cap, using the dog bowl idea (thanks trident) but my final solution was somewhat over-engineered so I have decided to opt for the simpler solution as per the instruction manual and just let it poke out through a suitably sized hole (roughly top right in above pic). Tim |
|
|
|
Post by gwnwar on Jun 19, 2016 21:29:44 GMT
For cutting the hole.. have a string from the over head down to the center of the filler were it would come through the boot. Then with out moving the car drop boot in place under string.. That is a good starting place.. drill small pilot hole and check were it lands with filler..
Start small so you can move the location some..
|
|
|
|
Post by timbo on Jul 10, 2016 8:04:57 GMT
Thanks for that suggestion, gwnwar. The hole is cut, just waiting for a couple of mounting brackets to dry in order to assemble it. There was a lot more to 'finishing off the back' than I had anticipated. Tip for new builders: work out how you are going to route the lighting wiring to the back of the car early on. If you want to hide it down the transmission tunnel, drill the holes for attaching it at the same time as you install the brake/fuel lines - afterwards it's rather tricky! Heat shield/drip tray installed: 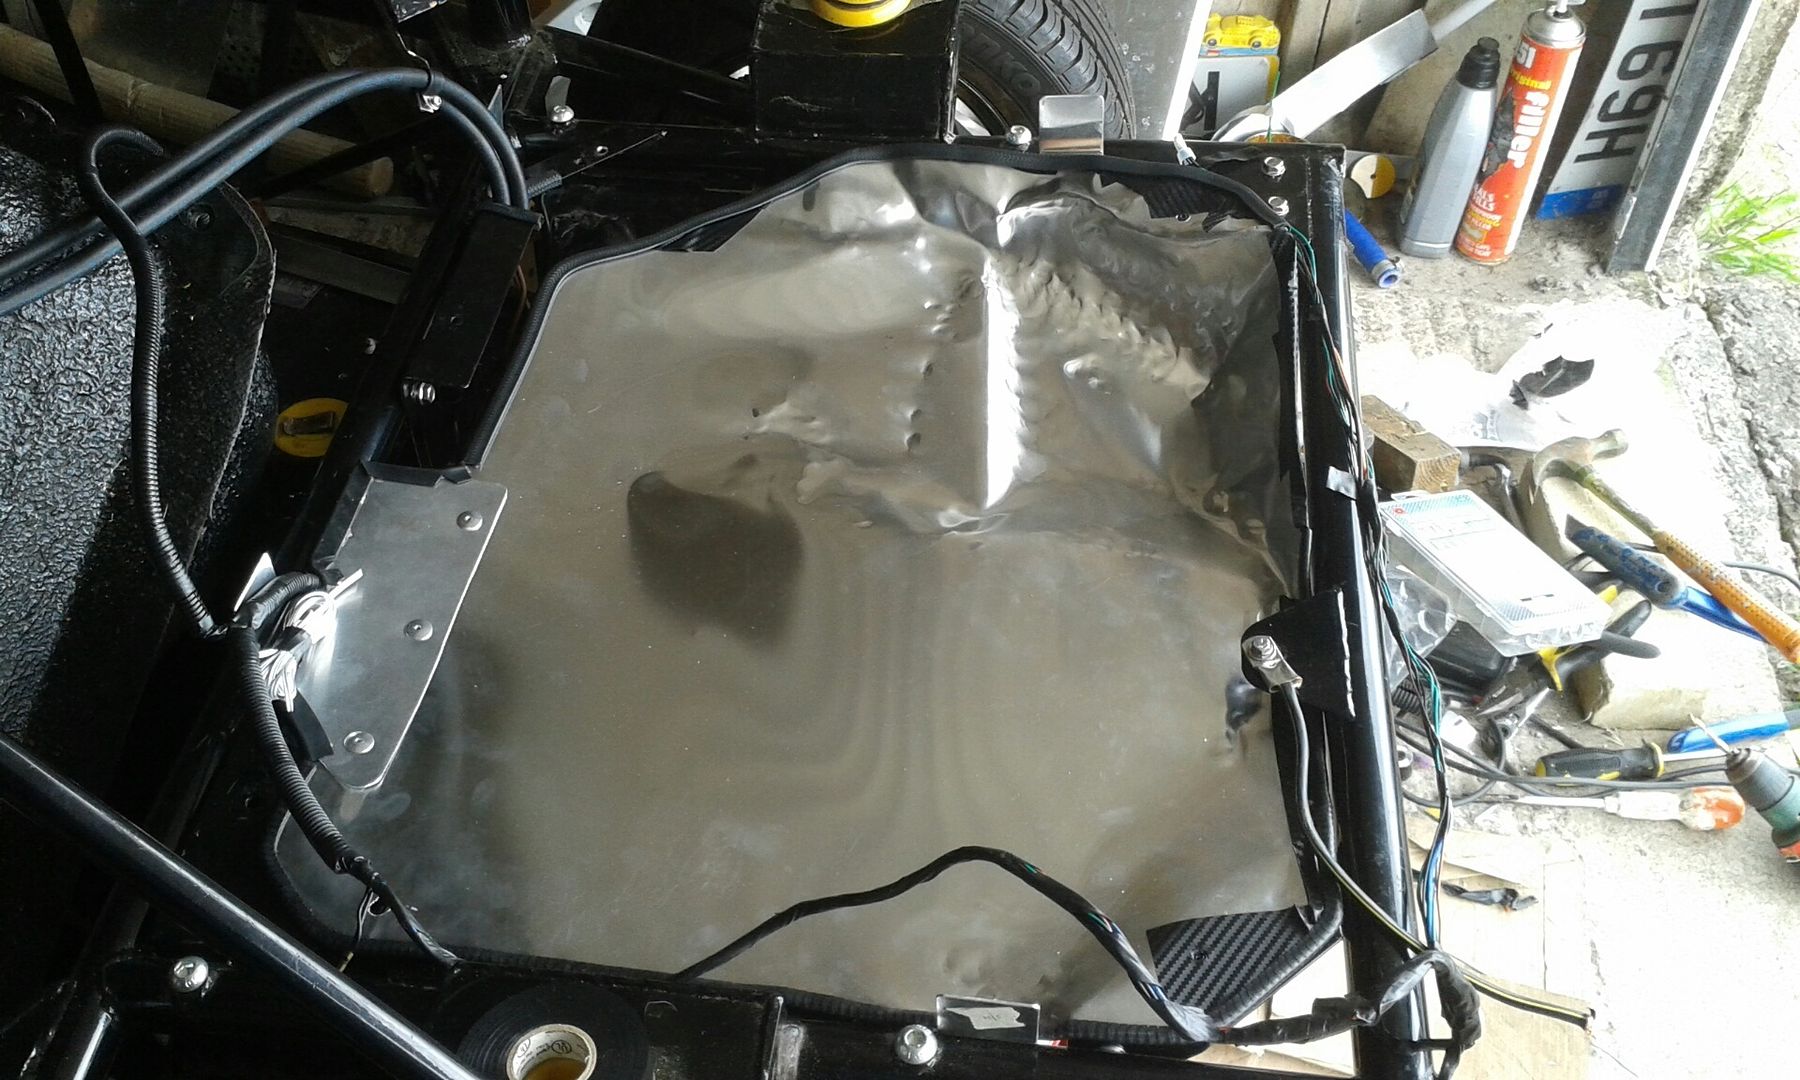 Not the easiest or neatest thing to construct but most of it won't be seen and should be ok for IVA man. Remembered to fit an earth strap before putting the tank back on. Optimistically included some speaker wires in case I ever get round to fitting a stereo!! Now just a few finishing touches to assembling the rear tub and then to make more progress on the rest of the wiring. Tim |
|
|
|
Post by timbo on Jul 11, 2016 17:54:01 GMT
Fuel tank back in: 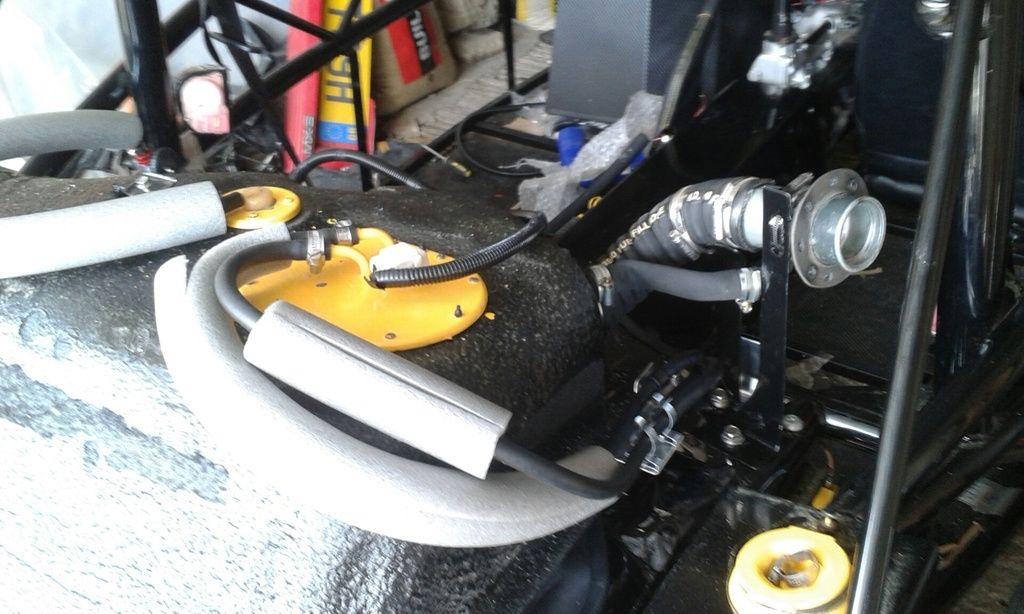 One way valve fitted (you can just see it top left), exits just above rear N/S brake line so nowhere near the exhaust. The fuel filler has a few mm movement so that the cover fits on then the filler just pokes out of the hole. All the earths at the rear of the exocet now in place - I used the spare welded tab behind the rear bulkhead as a convenient earth point between battery/chassis/PPF. Just the lighting wiring to attach now, presumably it's ok to cable tie it to the tank by way of adhesive cable tie bases?? Oh yeah and the fuel filter (goes where the spring clips are in the above pic). Tim |
|
|
|
Post by timbo on Jul 13, 2016 20:40:35 GMT
My plan is to re-locate the rear fog and hazard switches on the centre console, just to the right of the gear stick, using savage switches.
Without butchering the Mazda loom too much, I was hoping to wire as follows:
Hazard: Orange wire from original switch into Pin 1 and out from Pin 2. Illumination from side-light feed (red-black) so hazard switch is illuminated whenever the side lights are on.
Rear Fog: Red-yellow wire from headlight motor into Pin 1 and out from Pin 2. Double up Pin 2 into the illumination so that rear fog switch is illuminated whenever it is switched on.
If I read the wiring diagrams correctly, the original hazard switch connects the orange wire to earth when switched on. If so, can I just run Pin 2 to earth instead???
|
|