Deleted
Deleted Member
Posts: 0
|
Post by Deleted on Mar 2, 2014 19:55:02 GMT
How did you get on with the DB check mate?
|
|
|
|
Post by nobby on Mar 2, 2014 20:31:43 GMT
Didn't get round to dB checking the exhaust as the meter is down in Southampton but I did fire it up and I'm happy with the sound. It's loud but not totally anti-social.... I plan on doing the rear lights this month so I will be posting for electrical advice soon, (wigglies aren't my strongest). Has anyone used the multipin locking connectors from cbs? They look relatively professional but are there any other easy/better solutions? www.carbuildersolutions.com/uk/multipin-locking-wiring-connectors-2-way-eachI also plan on starting the wheel refurbishment using a colour which will sink or swim......it's a match of volk racing's bronze.... 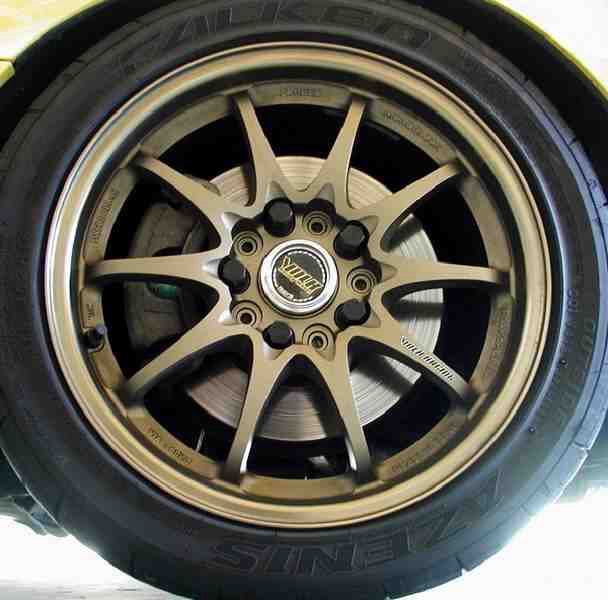 |
|
Deleted
Deleted Member
Posts: 0
|
Post by Deleted on Mar 2, 2014 21:14:38 GMT
I don't have any experience of those connectors but those cheap ones always look week to me. Would much rather stick with bullets and some silicone or at least tape mate.
I do stand to be corrected because I would love to know of some reliable multi plug connectors |
|
|
|
Post by nobby on Mar 8, 2014 21:23:20 GMT
Hello all, Got majority of the car fitting done today (majority of the credit needs to go to my old man, he did a great job), really pleased with the overall look, still got driver's mat and behind passenger's seat to do. The carpet used was surplus stuff from my parents marquee hire company and is fastened with marquee Velcro. Here's a before shot. (The 'clearance' around the shifter is my f*** up, feel free to take the mick....) 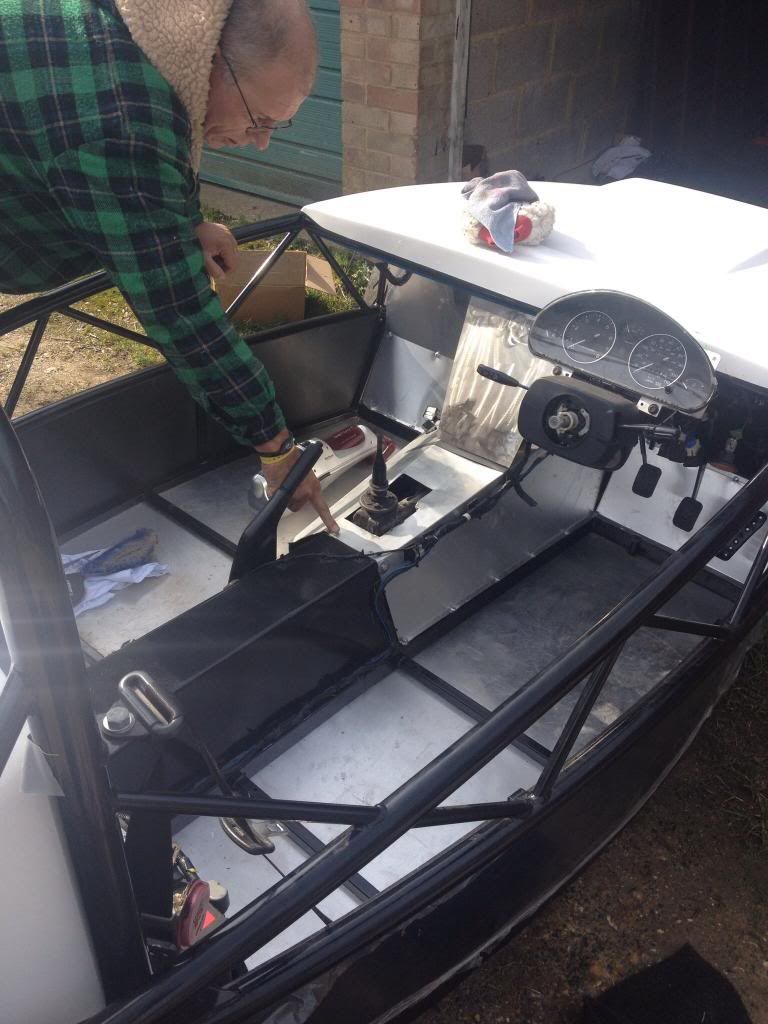 We made the central tunnel and hand brake covering piece from a single piece. 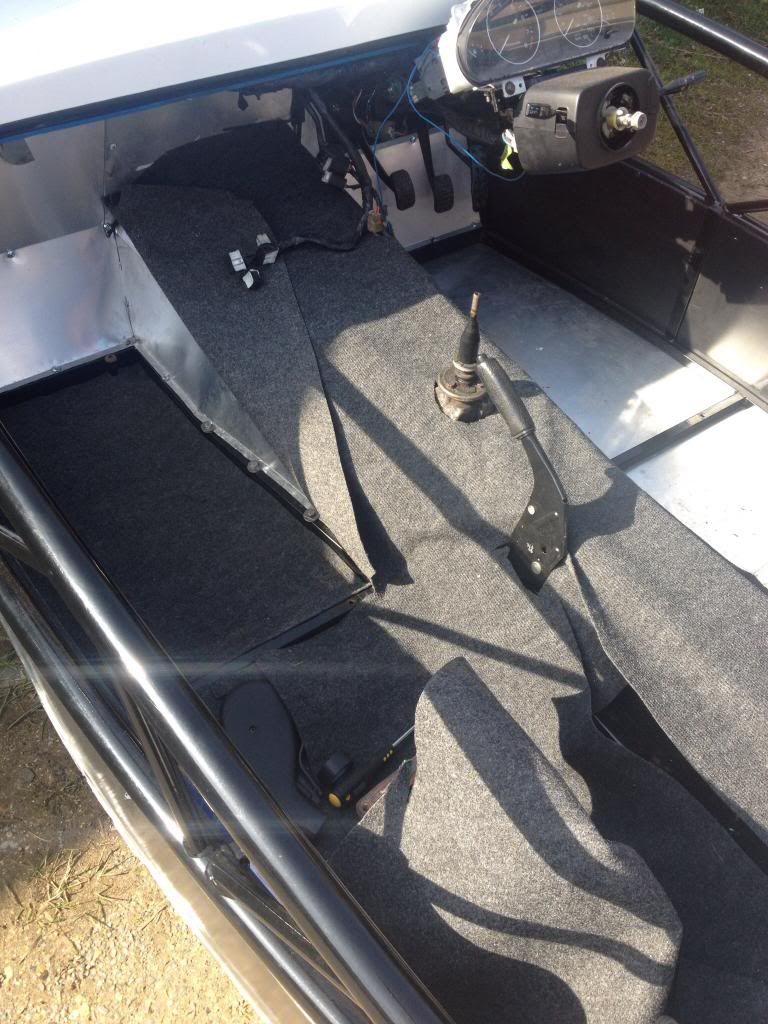 We used tape for marking cut points and angles, not one straight and simple piece on the exocet but very satisfying to do it yourself. 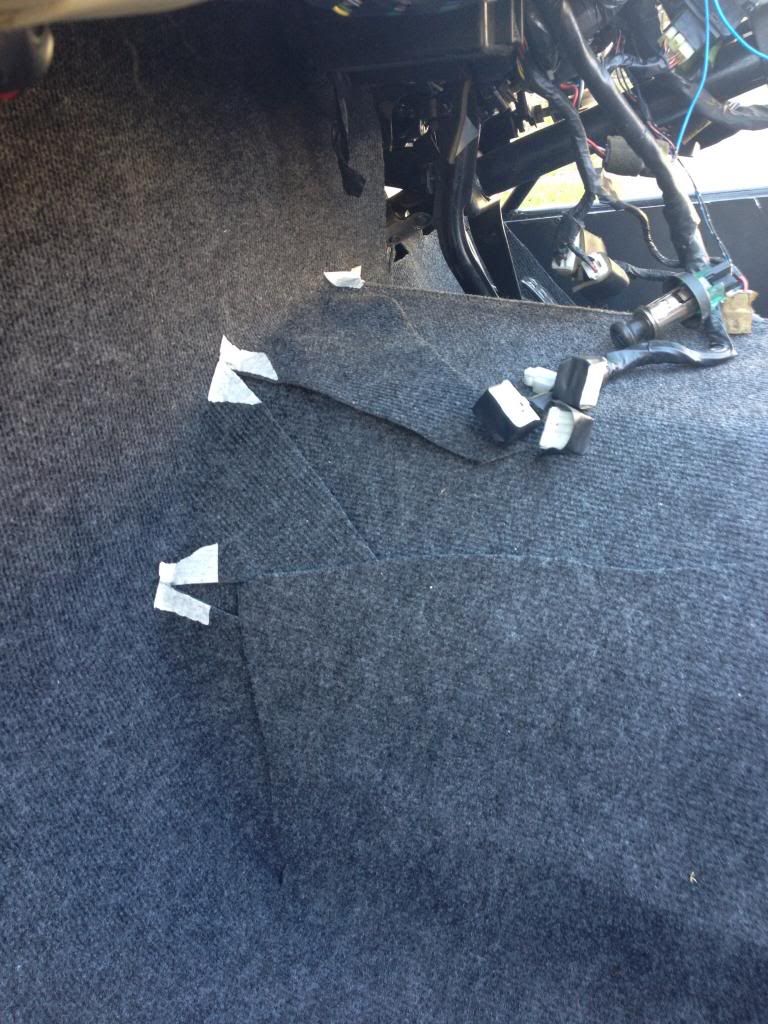 Finally decided on carpeting the centre console type panel. 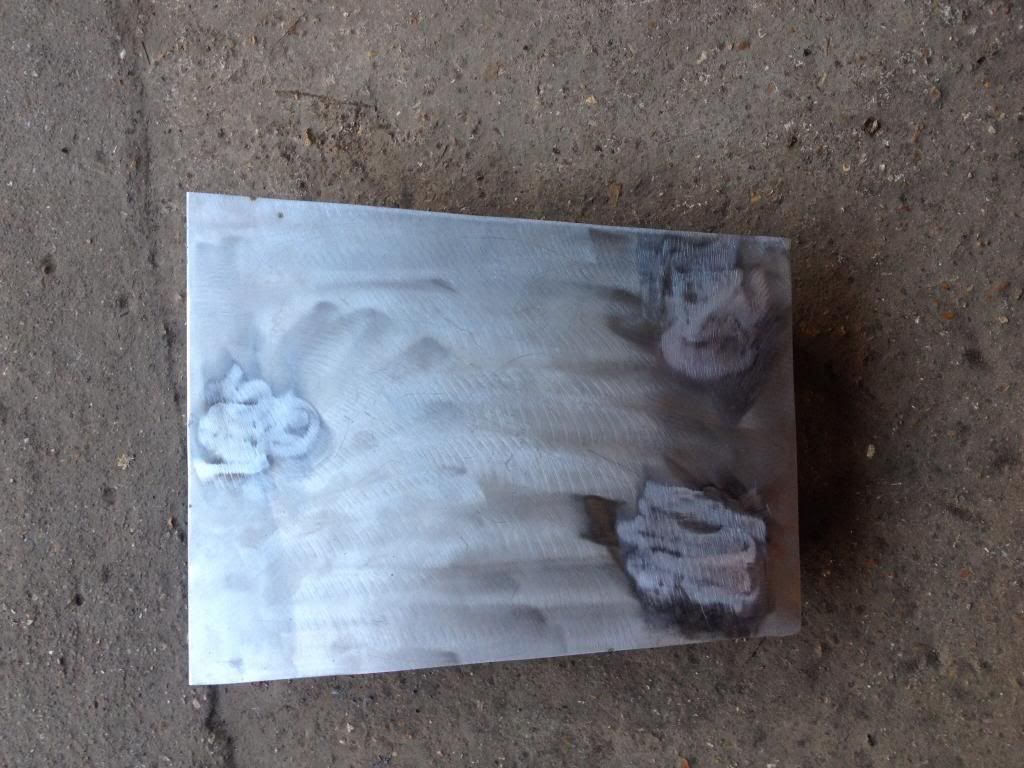 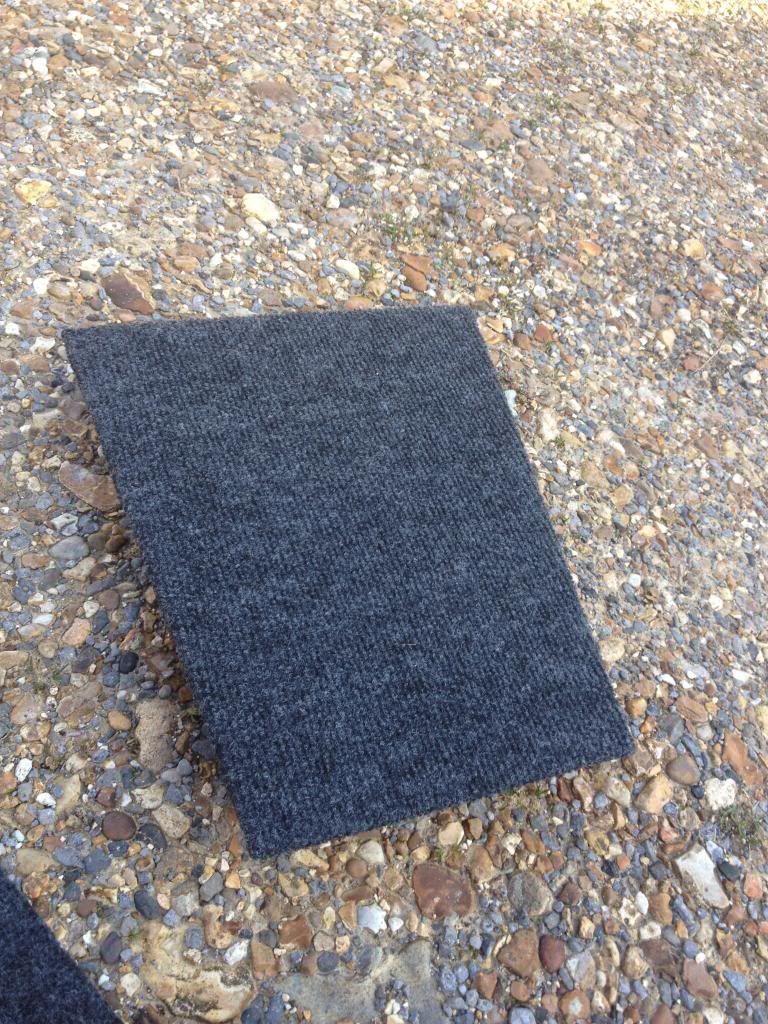 Passenger front side and centre panel done. 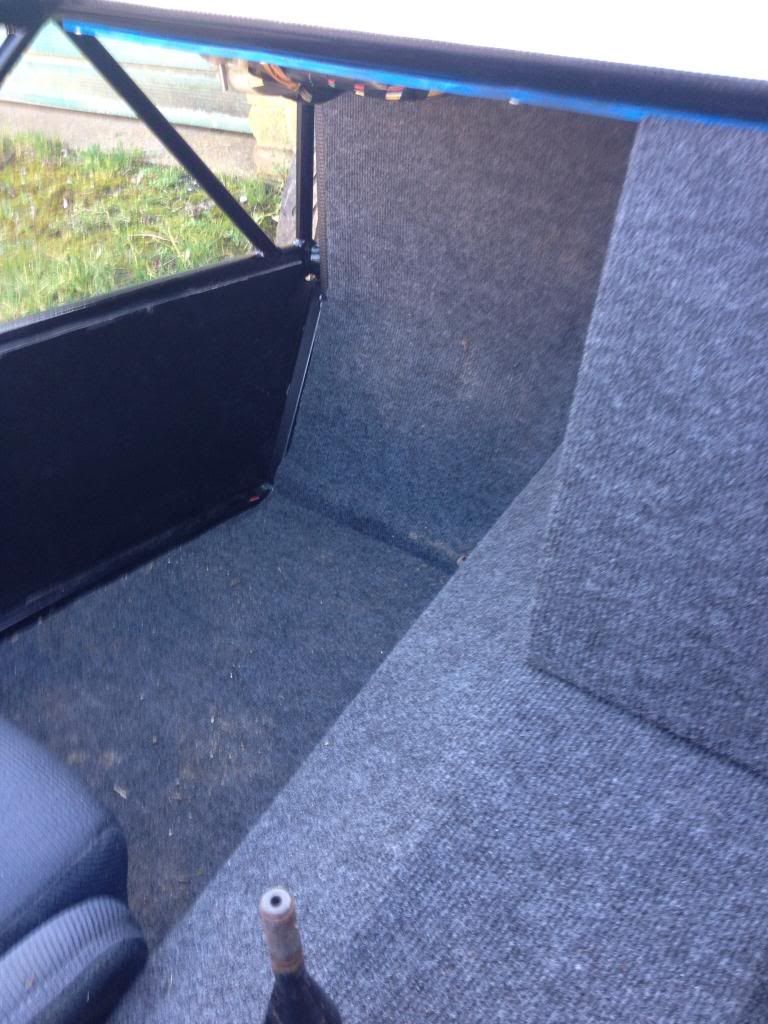 Another nearly completed view. 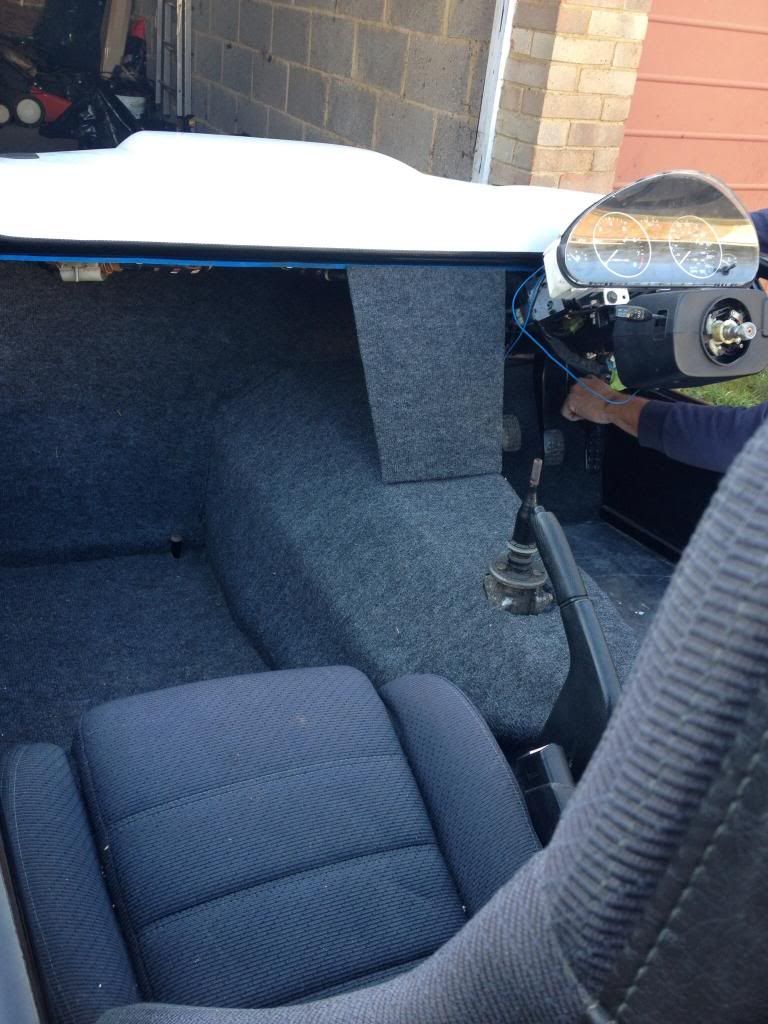 I'm really getting close to finishing now and preparing for testing, a job change and relocation to Oxfordshire could make things interesting....but I hope to be on the road by summer this year. Rear lights have arrived so will crack on with them next. 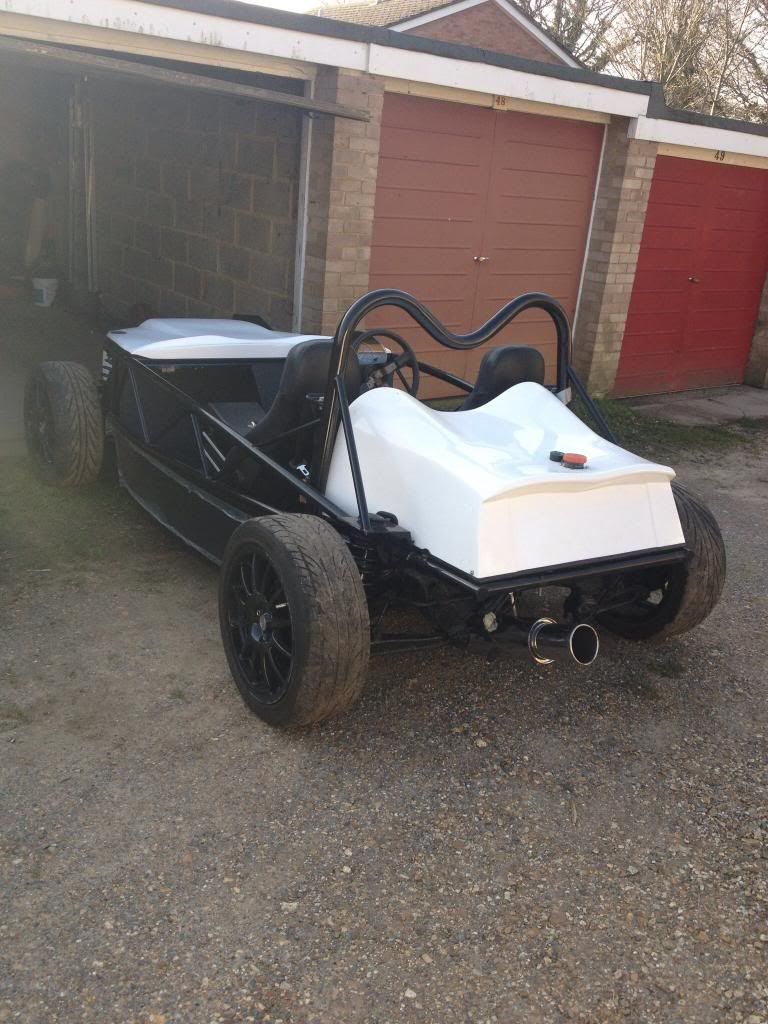 |
|
|
|
Post by scooby1929 on Mar 8, 2014 21:40:33 GMT
Have to be honest the job you have done on carpeting your interior is superb great job. Car looks fantastic
|
|
|
|
Post by nobby on Mar 8, 2014 21:53:27 GMT
Thanks scoob, I have to give the credit to my dad, he's been hanging wall paper for longer than I've been alive and I guess it's a transferable skill!
I urge anyone to have a go at diy trimming, it is time consuming but this took us about 4 hours and the final product is very satisfying, it's all about having a go and learning new skills.
|
|
|
|
Post by biggunz on Mar 9, 2014 7:36:22 GMT
Looking good mate!
|
|
Deleted
Deleted Member
Posts: 0
|
Post by Deleted on Mar 9, 2014 9:32:15 GMT
very nice job mate
|
|
|
|
Post by gwnwar on Mar 9, 2014 18:09:41 GMT
Very pro looking.. Maybe a carpeted tray behind the center panel for bits and bobs would blend right in..
|
|
|
|
Post by nobby on Mar 10, 2014 20:03:03 GMT
Thanks for the kind comments all. I've been thinking of some sort of storage box behind the passenger seat for fire extinguisher, tape, cable ties, basic tools and emergency bodge-it-home equipment but I think a tray behind the centre panel is a good idea gwnwar, it will aid in hiding some wiring and keep the boiled sweets accessible!
Got a wiring question whilst I'm here, my stop/tail/ind lights came last week and there is no wiring instructions/colour code, is it likely to be the same as trailer lights colour coding? Or shall I employ a trial and error technique?
Cheers
|
|
|
|
Post by nobby on Mar 28, 2014 18:37:28 GMT
Brief update, progress has been slow this month due to a 3 week outage at work, new job and relocation imminent! Anyway I've started making the brackets for the lights. I tried to use the side rails as inspiration for the design. Here is my blue peter template. (Paper is easier than metal people) 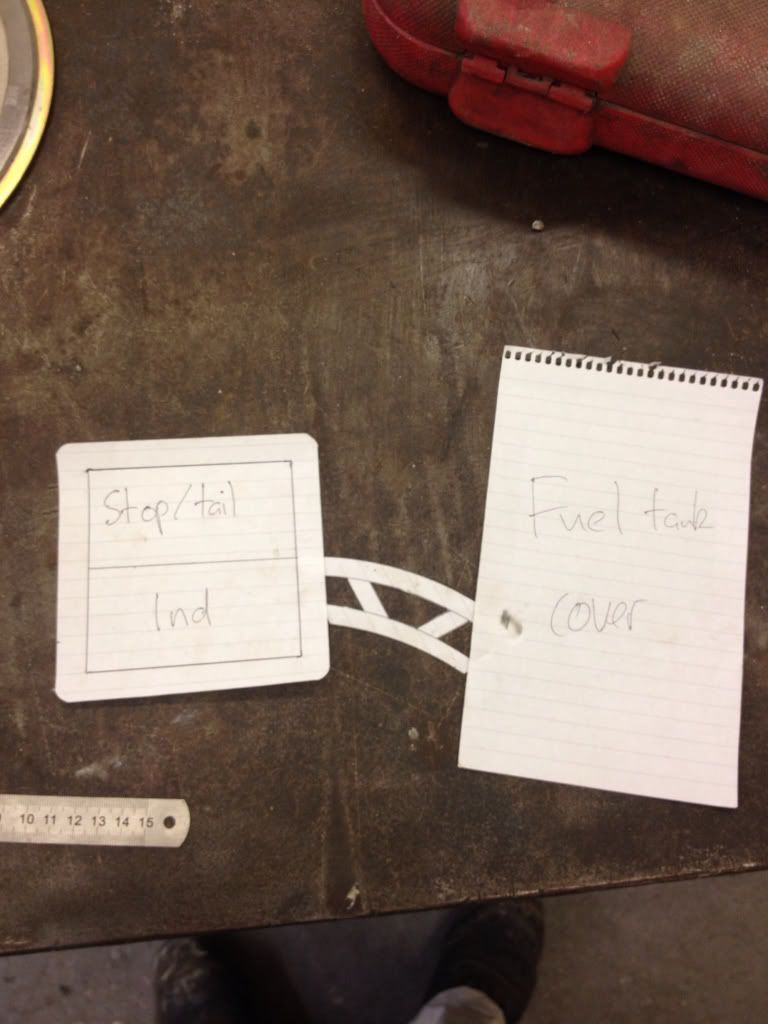 I used thin wall 10mm stainless pipe and bent round the arse end of a bucket for the curved pieces and straight lengths cut to my template for the hatching. Here is the rear hatching bits. 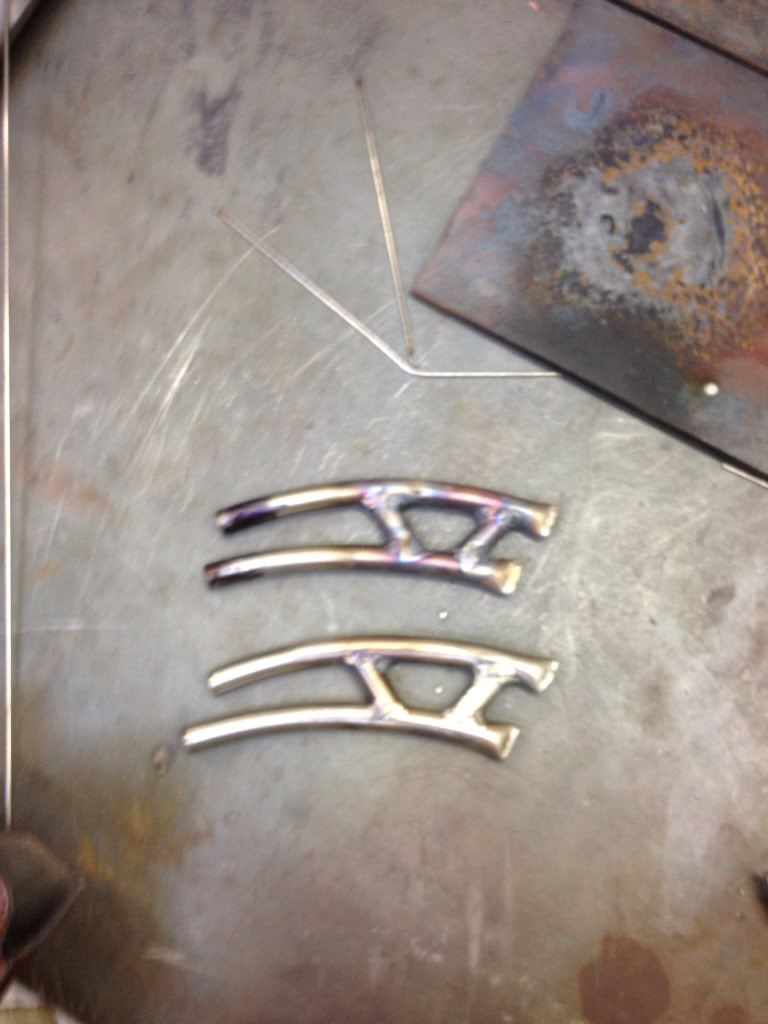 I then cut some square pieces for mounting the light units. I used a 1/4" pipe socket to mark the corner radius. 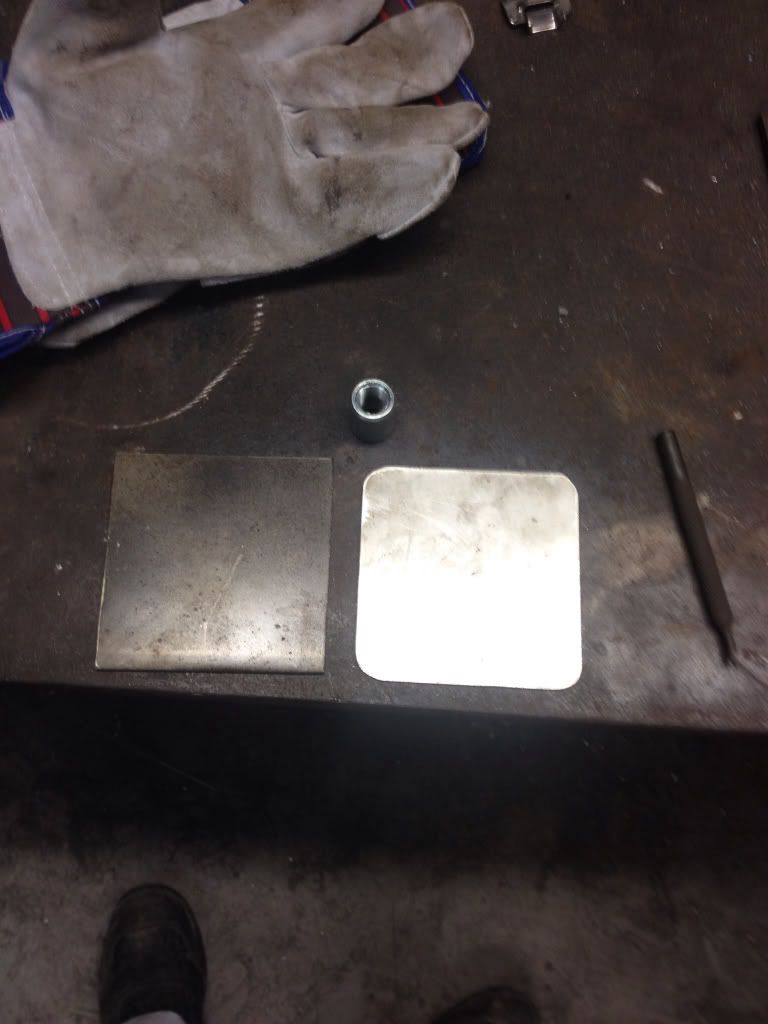 I then drilled holes for mounting screws and wiring and welded the two pieces together. 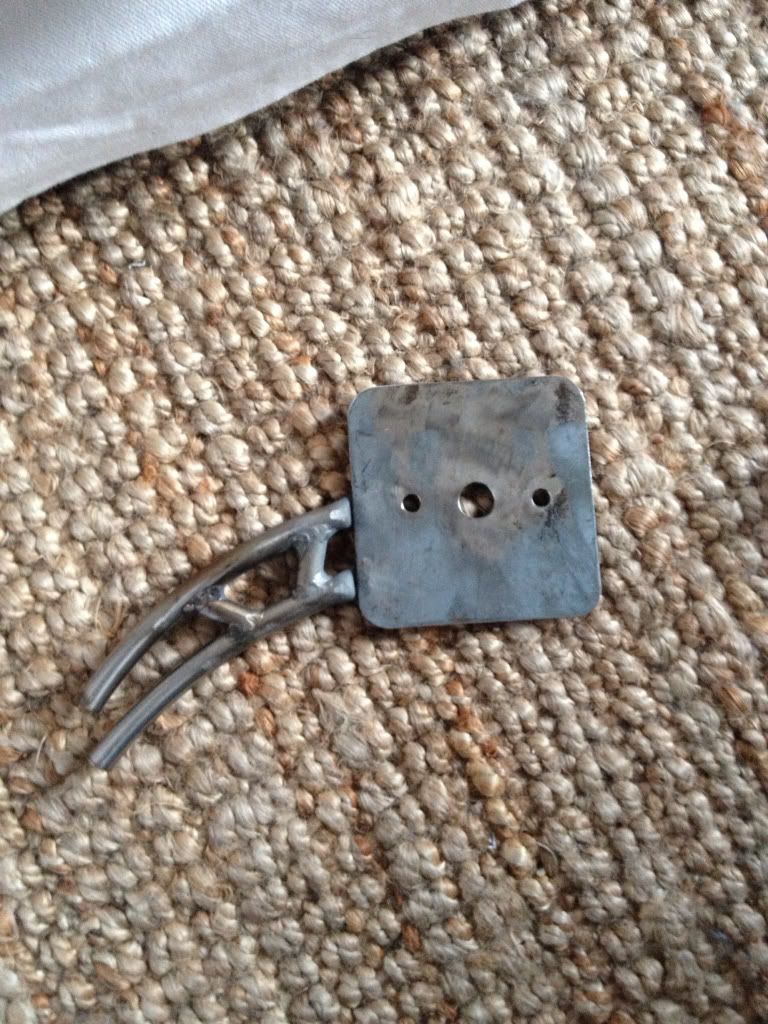 I still need to offer up the brackets to get the fuel tank cover angle right so I can mount it to the GRP. Here is a picture of the front head light brackets. 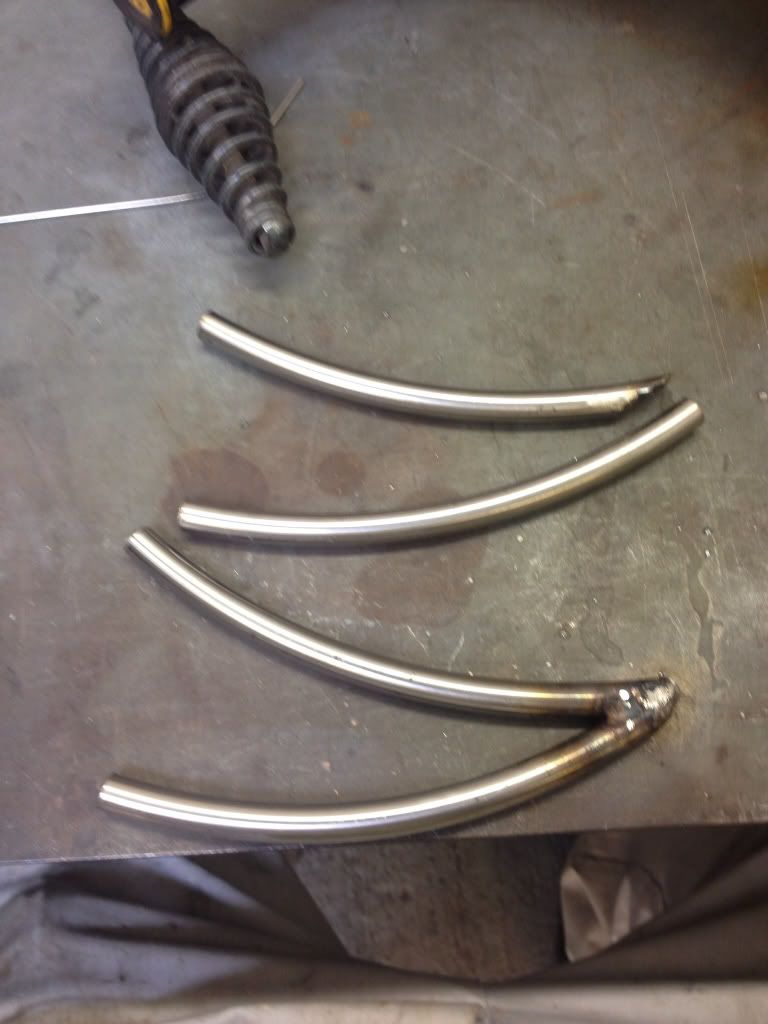 I then made a mounting plates. 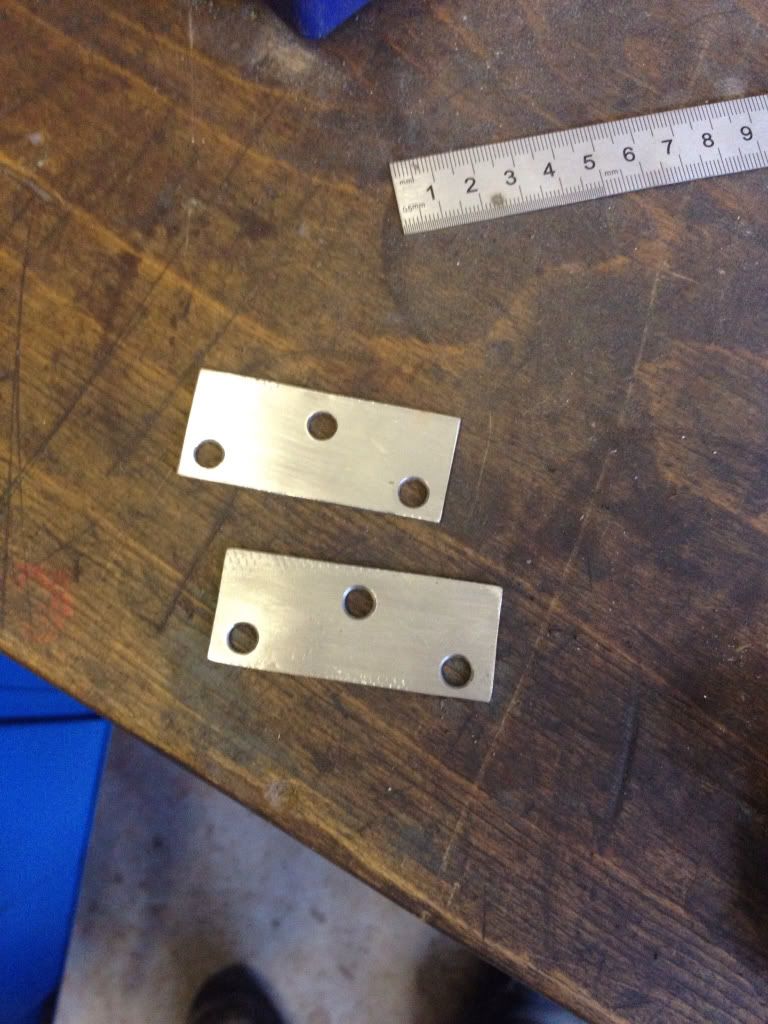 I profiled the corners to match the M6 button head Allen bolts I'm using to mount to the car. I made a rubber gasket to help stop vibration and scratching and wad punched rubber washers to match the penny washers to help spread the load on the GRP. 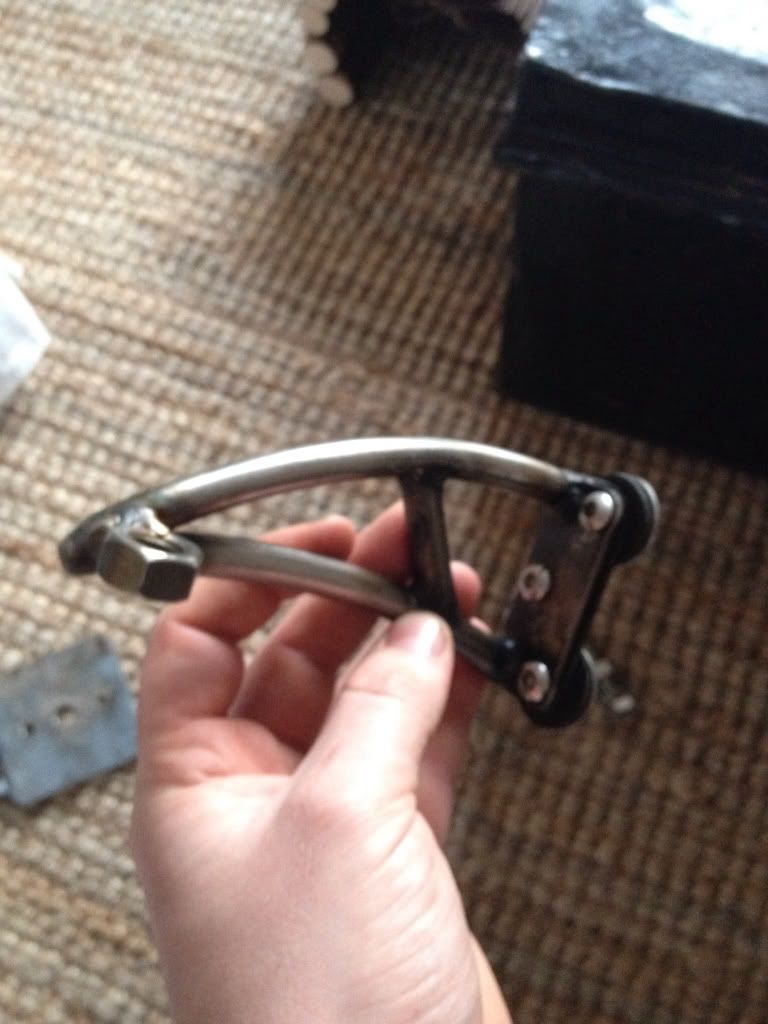 Still need to finish the rears, paint them and then start wiring up the lights but this house move could hinder progress....... Does anyone know if colour coded wires that come with cbs lights are the same as standard trailer lights? Cheers Nobby |
|
|
|
Post by scooby1929 on Mar 28, 2014 19:48:10 GMT
Very nicely made sir. If you are mounting them on the fuel cover you need to ensure they are square to the ground as the cover has a taper on it
|
|
|
|
Post by biggunz on Mar 28, 2014 20:16:02 GMT
Yep I like those!!
|
|
|
|
Post by mathew on Mar 28, 2014 22:10:34 GMT
Im liking those a lot but be aware that during the IVA the inspector can ask you to remove any part of the car i.e the fuel tank cover. Will this cause a problem regarding the mounting and wiring of the lights?
|
|
|
|
Post by jgilbert on Mar 28, 2014 23:47:53 GMT
Nice design work.
|
|