|
|
Post by nobby on Apr 8, 2014 17:34:59 GMT
Wired in the rear lights today. For the stop/tail/ind light units I used male spade connectors with water proof covers pushed straight into the OEM plugs, after all they are just female spade connectors in a plastic moulding. I had to trim the covers a smidge. 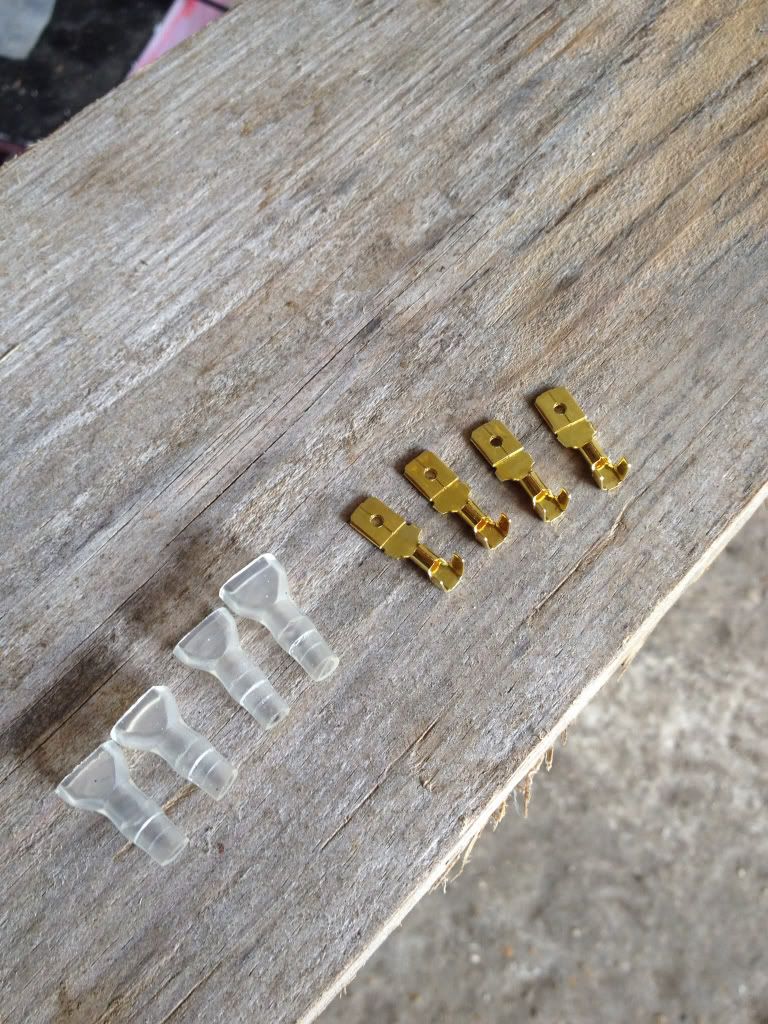 I used the trailer wiring colour code as mentioned in the rear lights wiring advice thread, they fit perfectly into the OEM plug. 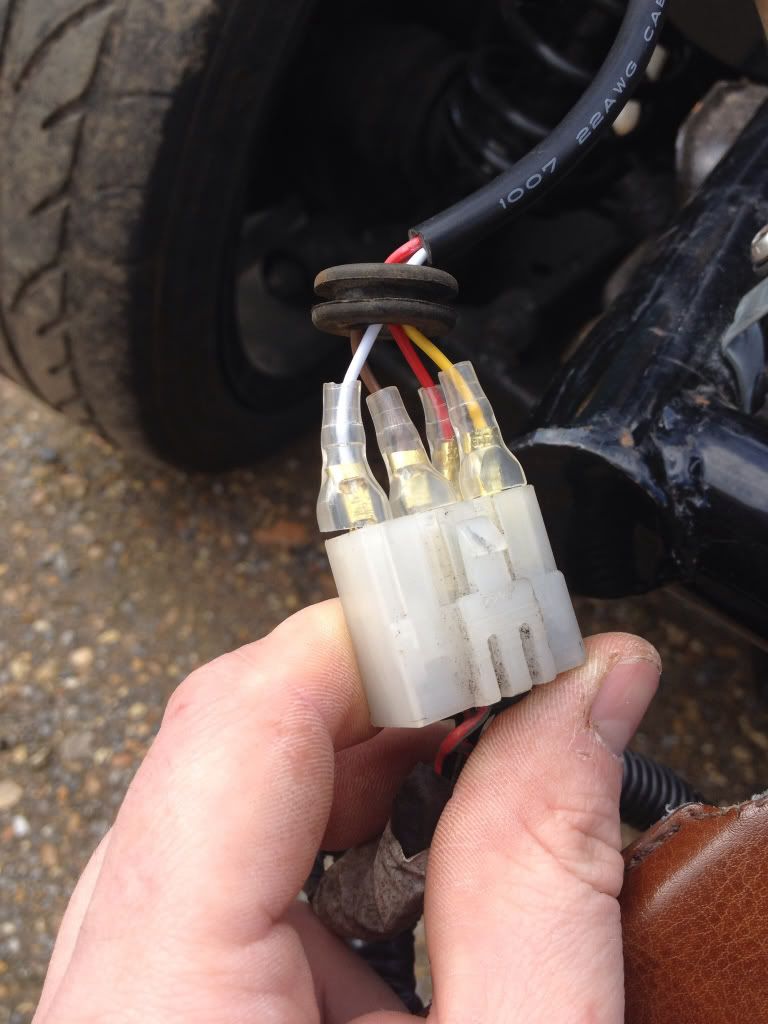 I managed to time the camera to get a shot of the tail and indicator at the same time. 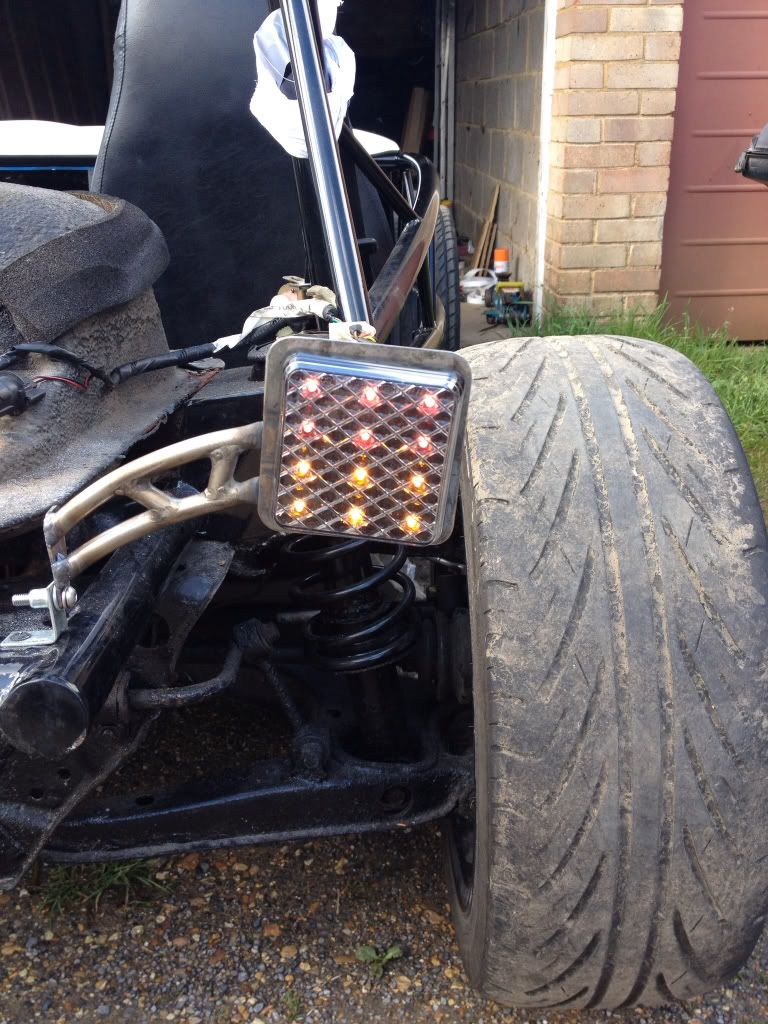 Here's a shot of everything wired and working. 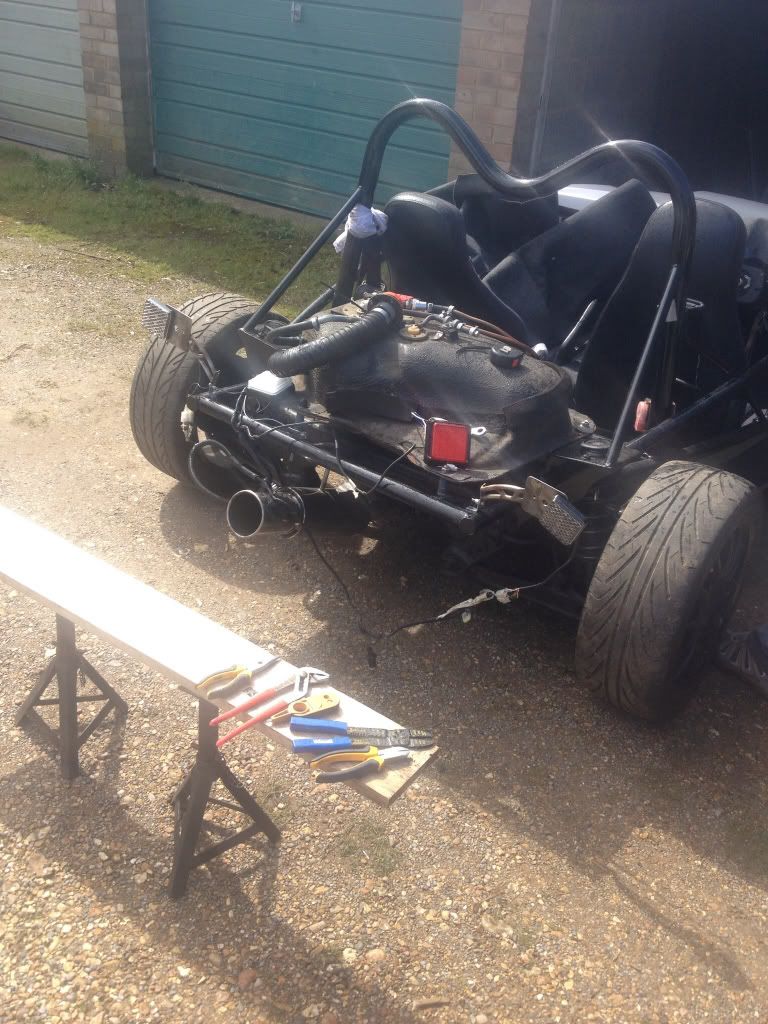 My dad made a new battery box out of ply to replace stainless one I made which weighed more than the engine and finished the carpet. I wired up the horn which is intermittently working, I checked switch and circuit out with the meter and it's all good so I think the horn is a bit dodgy, I had this problem on my DD and sorted it with some penetrating oil and a technical encounter with a mallet. I need to paint the brackets, finish the fog and reverse lights brackets.(these will be mounted just under the rear frame tube not the fuel tank cover, should make the stop/tail brackets and units stand out more). Another update tomorrow! |
|
Deleted
Deleted Member
Posts: 0
|
Post by Deleted on Apr 8, 2014 20:17:04 GMT
Good work mate, cant wait to see the brackets when finished. Top tip as per many builds, use some silicone so that when you remove the light connections you know what goes where
|
|
|
|
Post by scooby1929 on Apr 9, 2014 12:45:04 GMT
Great job. Thanks for sharing
|
|
|
|
Post by nobby on Apr 9, 2014 16:40:00 GMT
Things took a bit longer than planned today but having this time off before starting my new job is helping! Right, primed the brackets.  Painted them gloss black, took a while but the little and often technique always gives good results. 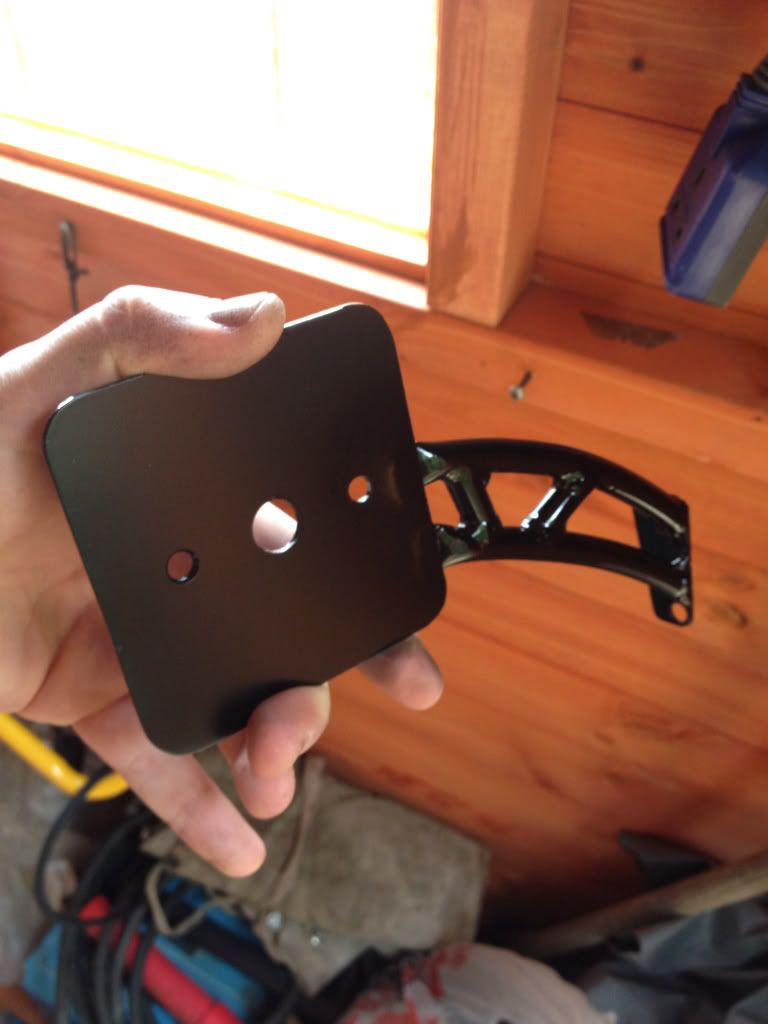 I was originally going to mount to fog and reverse on the fuel tank cover so I bought surface mounting lights, I then changed my mind so I made new brackets and a plastic plate to act as a surface and seal the rear of the lamp unit. 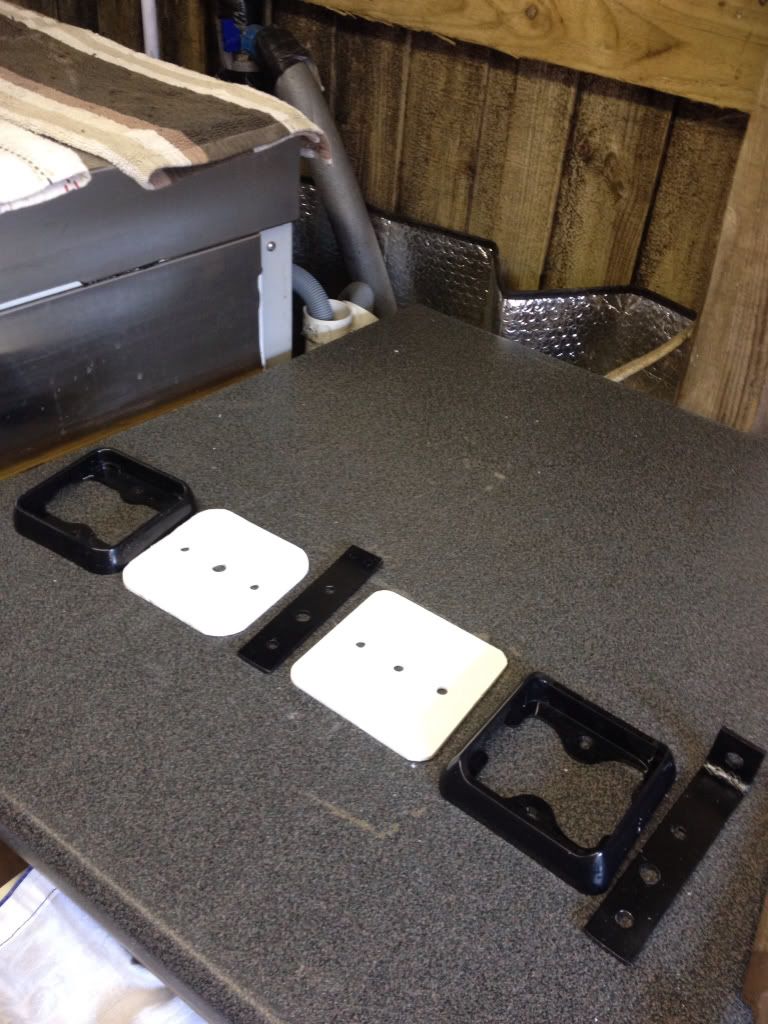 I mounted the reverse and fog lights, the fog uses a fuel tank bolt and the reverse a couple of self tappers into the rail. The lamp units aren't pushed in in the photo because they are a total pain in the arse to pop out again, so I'll wait until I'm sure I won't have to take them off again. 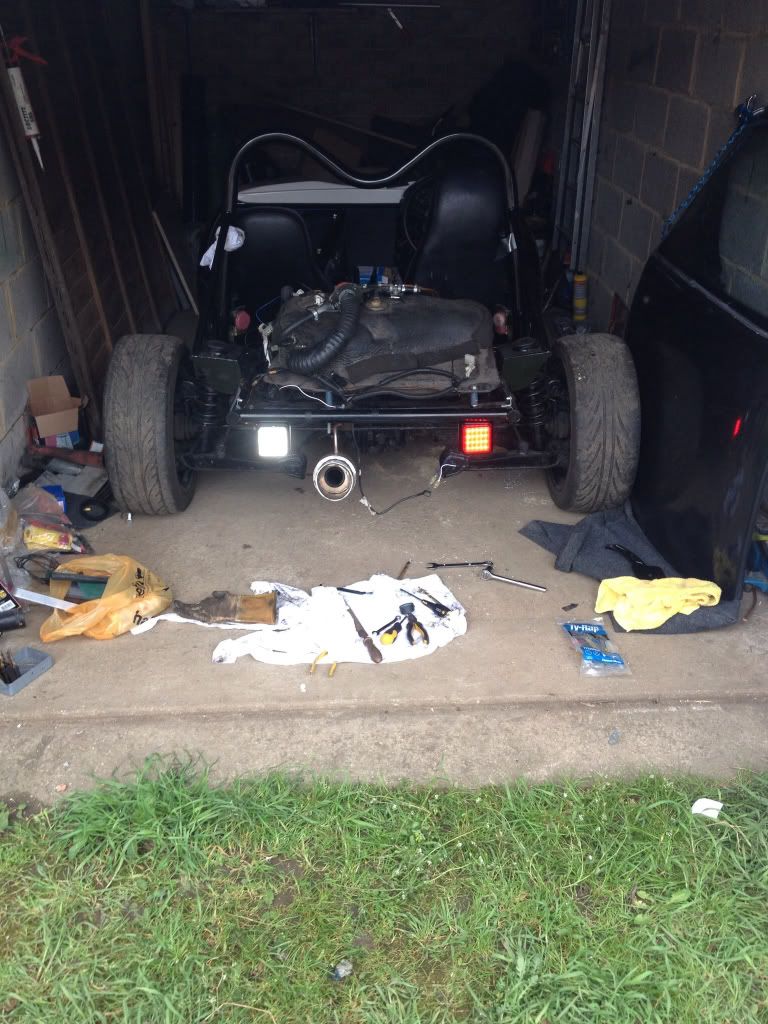 Really impressed with how bright the lights are, I should be mounting the rear lights tomorrow, the paint is just too soft to fit at the moment. |
|
|
|
Post by nobby on Apr 10, 2014 16:47:36 GMT
Got the lights on today, still need to secure the wiring etc. 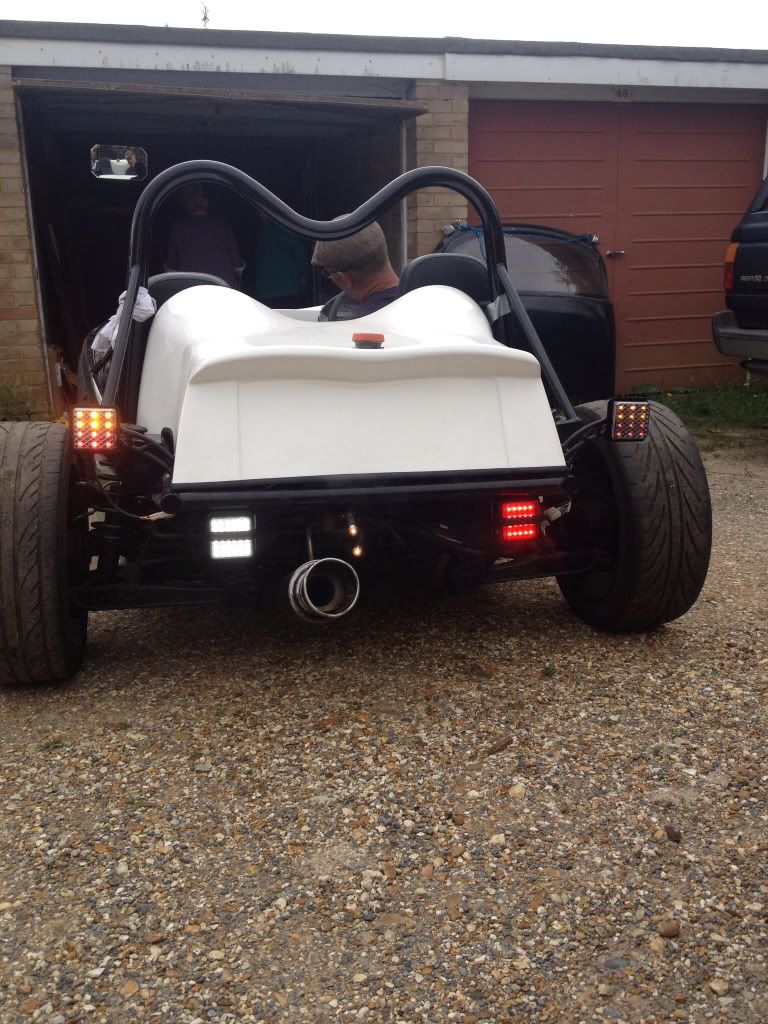 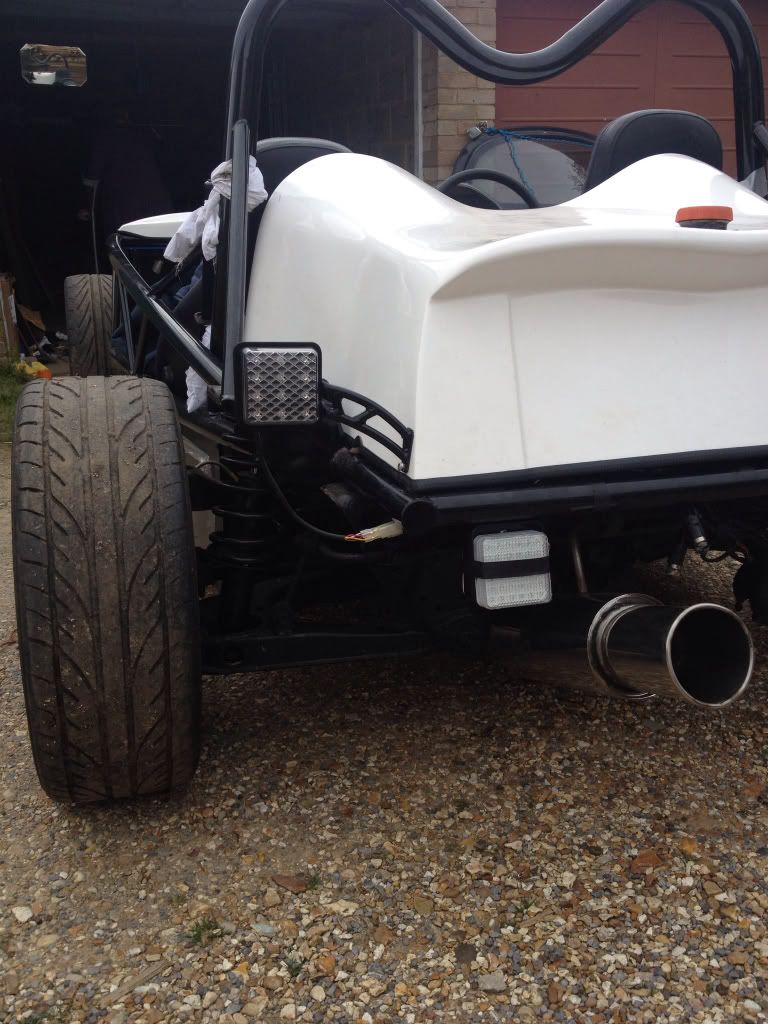 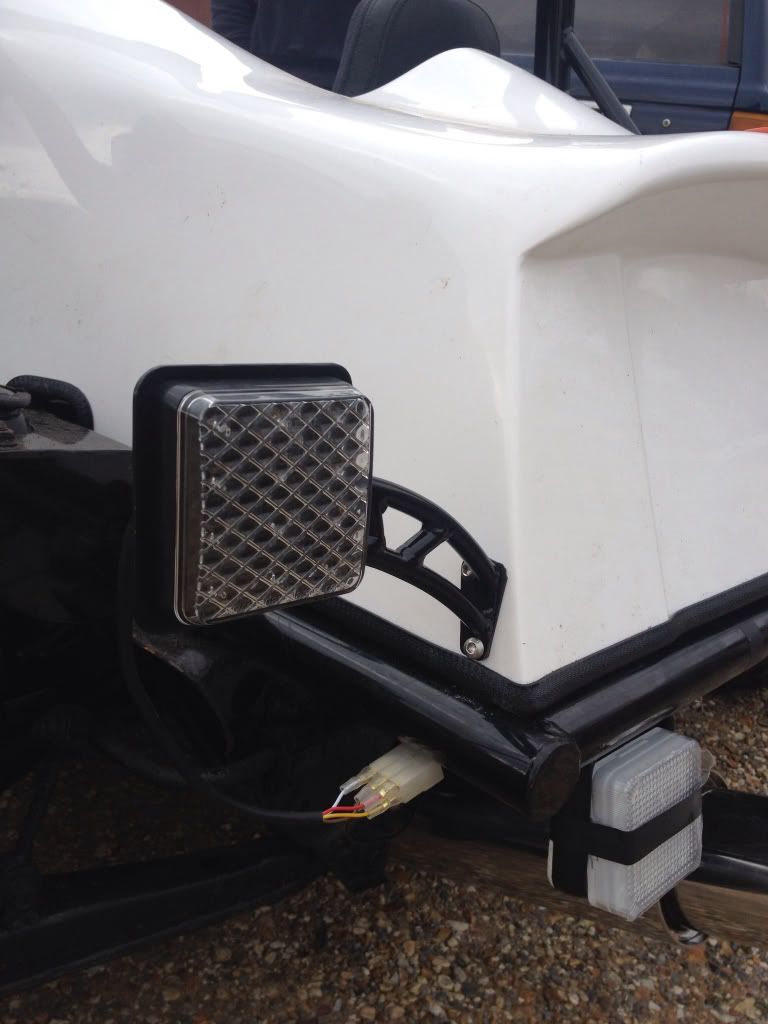 My grandad came round to see the car today, so there I was showing it off and blatting the throttle, all going well, just about to put it away and water pump decided it had enough and made a huge puddle under the car.....was on the list anyway.....oh and a rivnut started turning on me......:-) |
|
|
|
Post by scooby1929 on Apr 10, 2014 17:43:11 GMT
Looks alot better than I thought it would great job. I take it you will tape up the connectors to prevent water getting in
|
|
|
|
Post by nobby on Apr 10, 2014 18:10:23 GMT
Yeah I will revisit sealing all connections etc when I do the final iva proofing jobs, not sure whether the use a grommet in the fuel tank cover for go underneath the rail yet
|
|
|
|
Post by nobby on Nov 17, 2014 20:51:57 GMT
Right, I haven't worked on the car for a while (6 months!) but a new job, relocation, 2 house moves and no broadband has got in the way.....the car is now in my 40' bin in the Oxfordshire countryside and is ready for fettling again! Just need to remember where I left off...... I finished off the battery cover and secured it down to the floor. 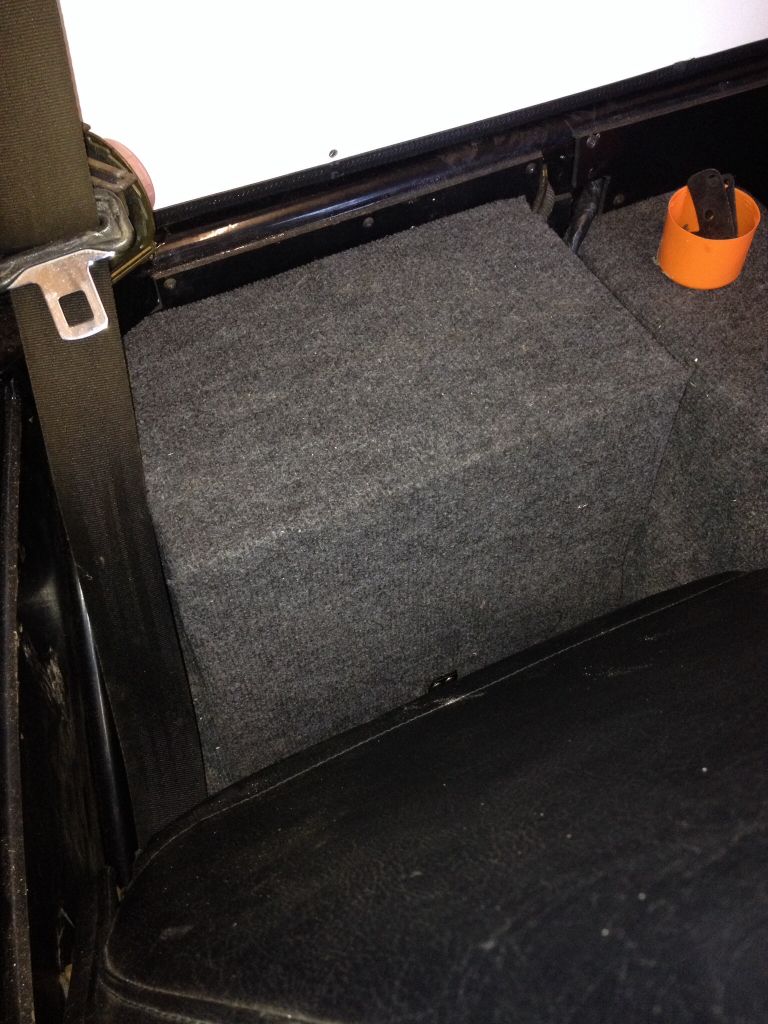 I also fitted the gear stick gaiter and secured the 'centre console' panel down. 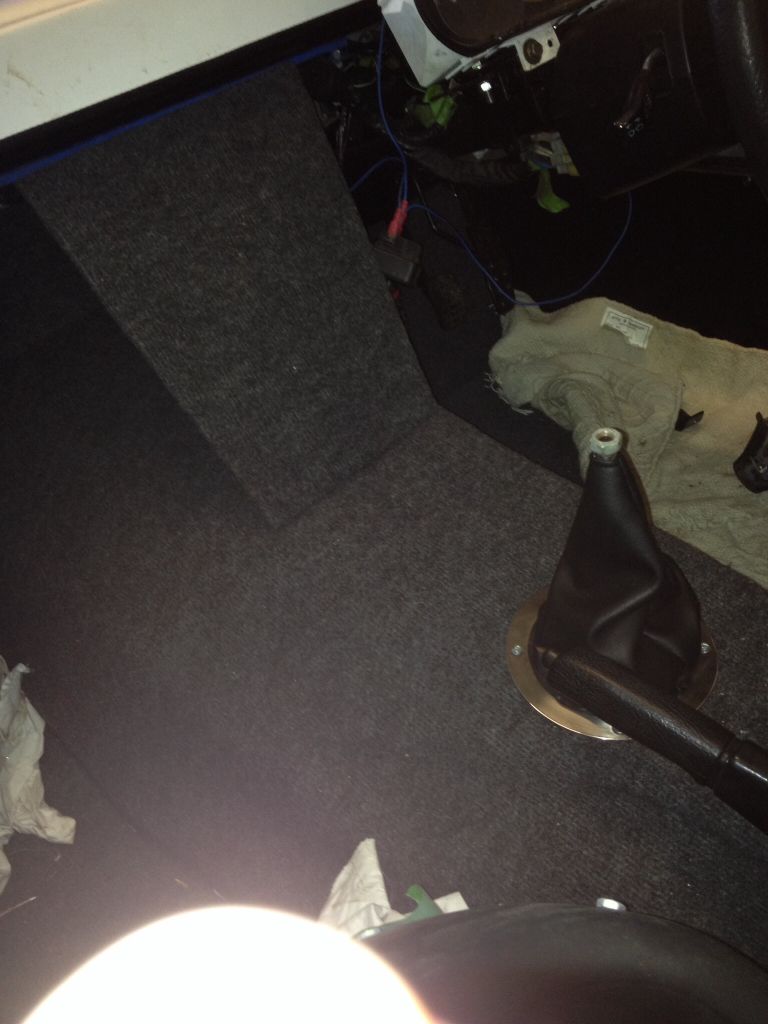 I'm still deciding whether to turn and knurl a nice aluminium gear knob or just buy a cheapo universal one. Engine maintenance is the topic of the week and potentially an order for some new wheels :-D |
|
|
|
Post by jgilbert on Nov 17, 2014 22:48:17 GMT
I like your rear light brackets, nice job and very original.
|
|
|
|
Post by nobby on Nov 18, 2014 19:36:43 GMT
Started the strip down for the maintenance work on the engine today and got a head start on some of the rusty /seized bolts whilst I'm waiting for parts from the motor factors. I just thought I'd share a quick tip for people who haven't done a cambelt on an mx5 before. The first time I did I really struggled with the crank pulley bolt so I made this handy (and highly technical) tool, it's a piece of flat bar with two M8 bolts going through it..... 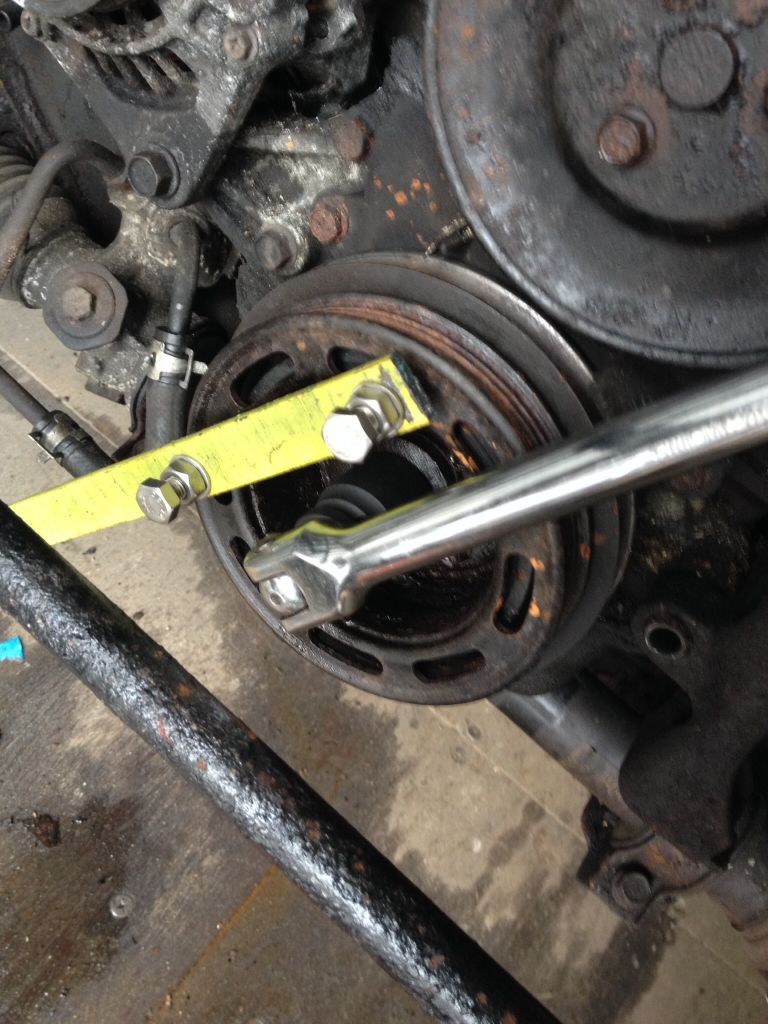 Insert the bolts into the slots on the pulley and wedge the bar against the ground. 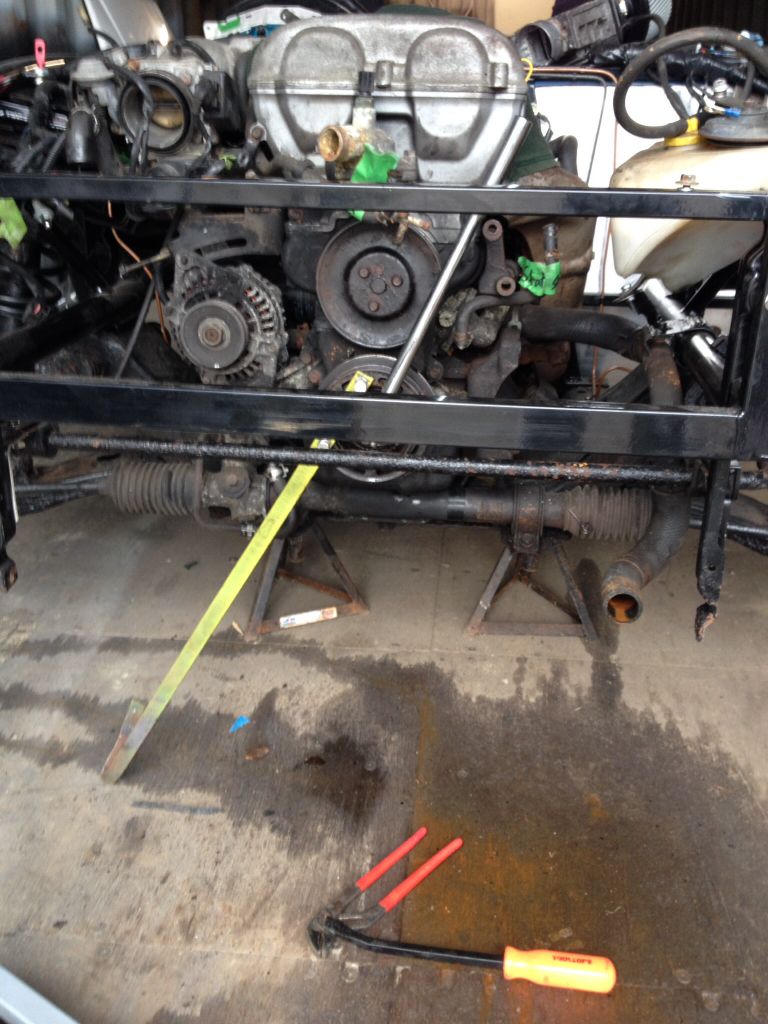 Put it in gear, hand brake on and give the breaker bar some yee-hah. Sorted. Hope this helps someone because it would of helped me the first time I did it. Thinking of going for a set of these beauties, rota grid 15x7 et20. Hoping I should get away with no spacers. 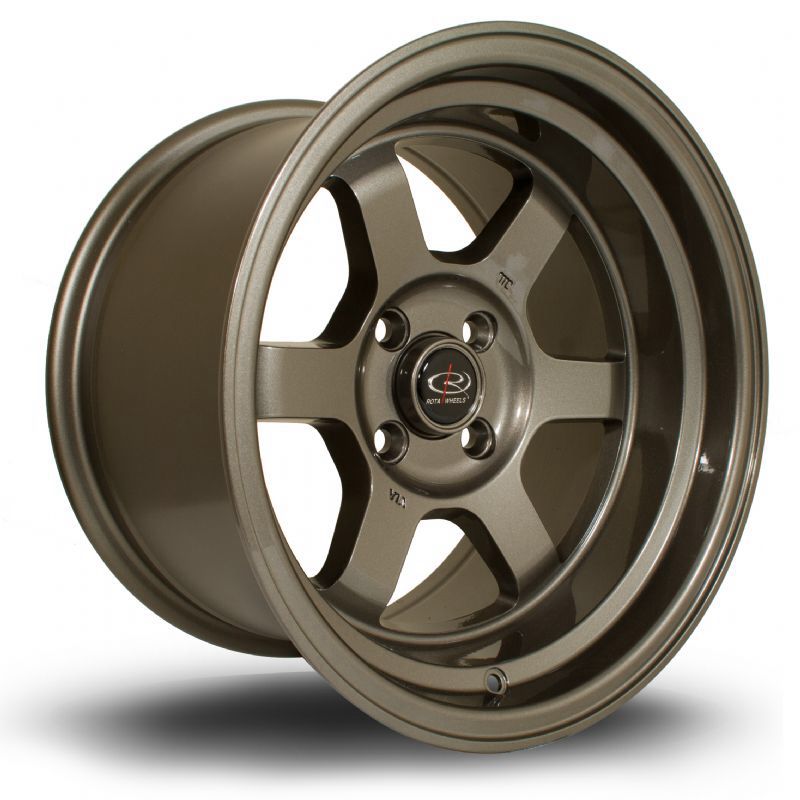 |
|
|
|
Post by mawdo81 on Nov 19, 2014 18:20:26 GMT
Ooh where did you find them please?
|
|
|
|
Post by nobby on Jan 17, 2015 18:06:53 GMT
Made some decent progress this week, spent a lot of time tidying and securing wiring that is never going to be seen and loads of odds and sods jobs but all needed to be done. Right, nearly finished the rear end. Just need a new number plate and it's done. I had to change a resistor in the flasher unit as the LEDs were causing the indicators to flash too fast. 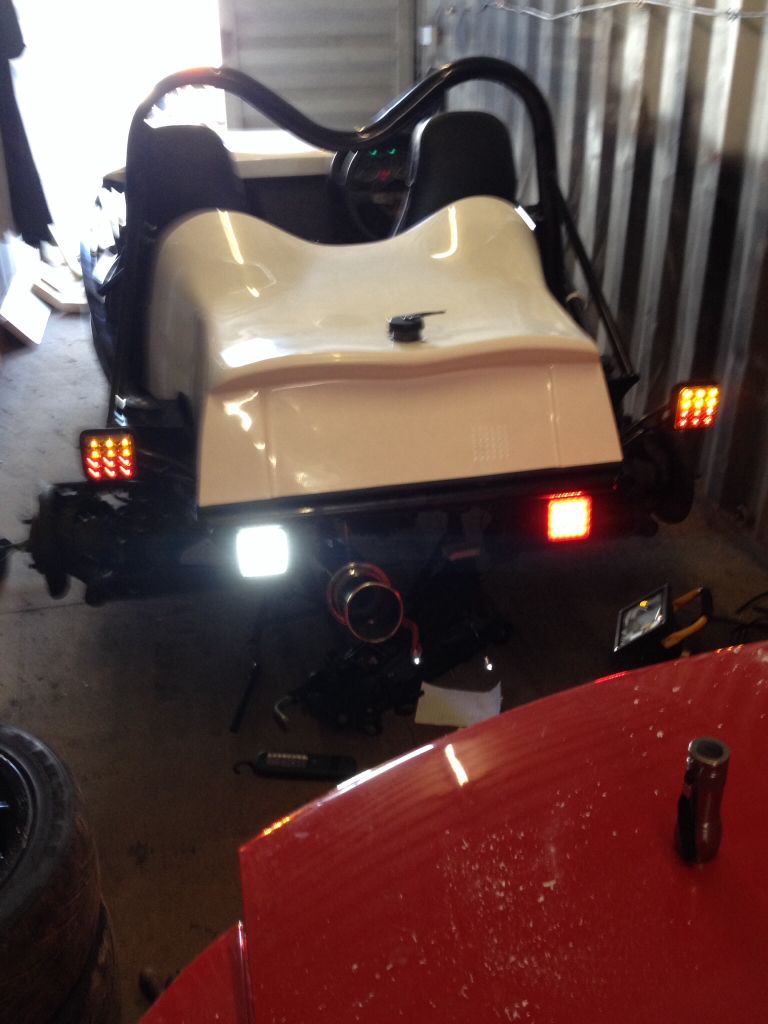 I will be fitting a proper filler cap but it won't pass IVA so I used some ring crimps on a length of stainless braided wire with heat shrink over it and painted the filler cap black. (Actually looks all right) 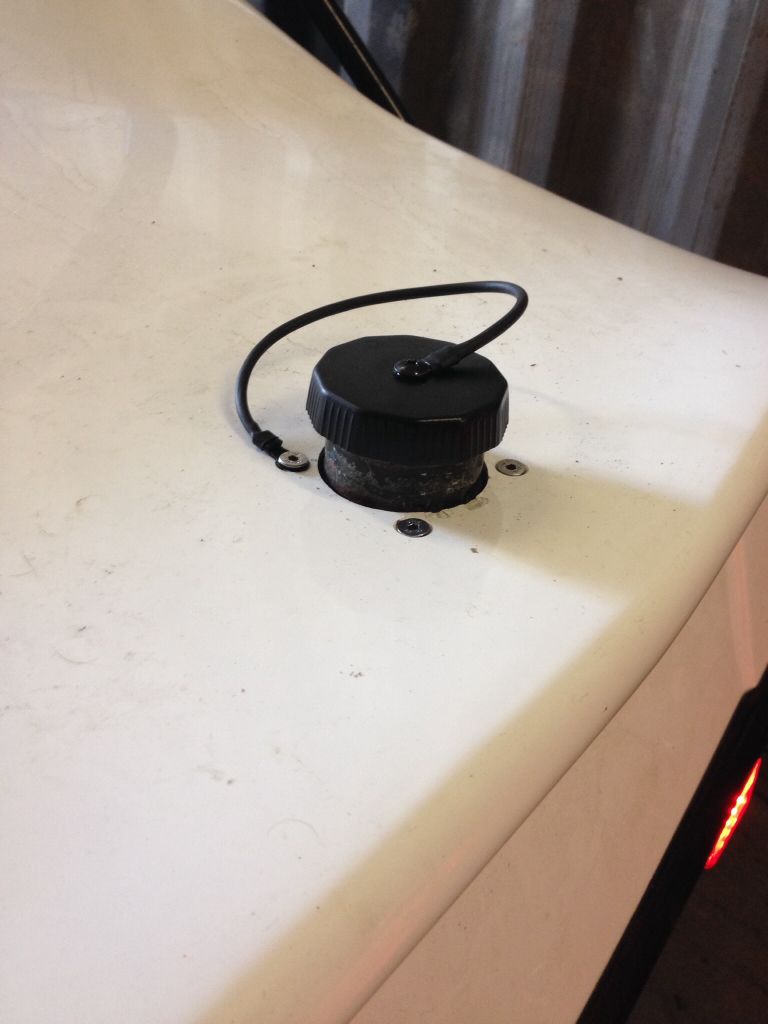 I refurbished the after market gear knob that came with the donor and fitted the gaiter I bought at Stoneleigh. 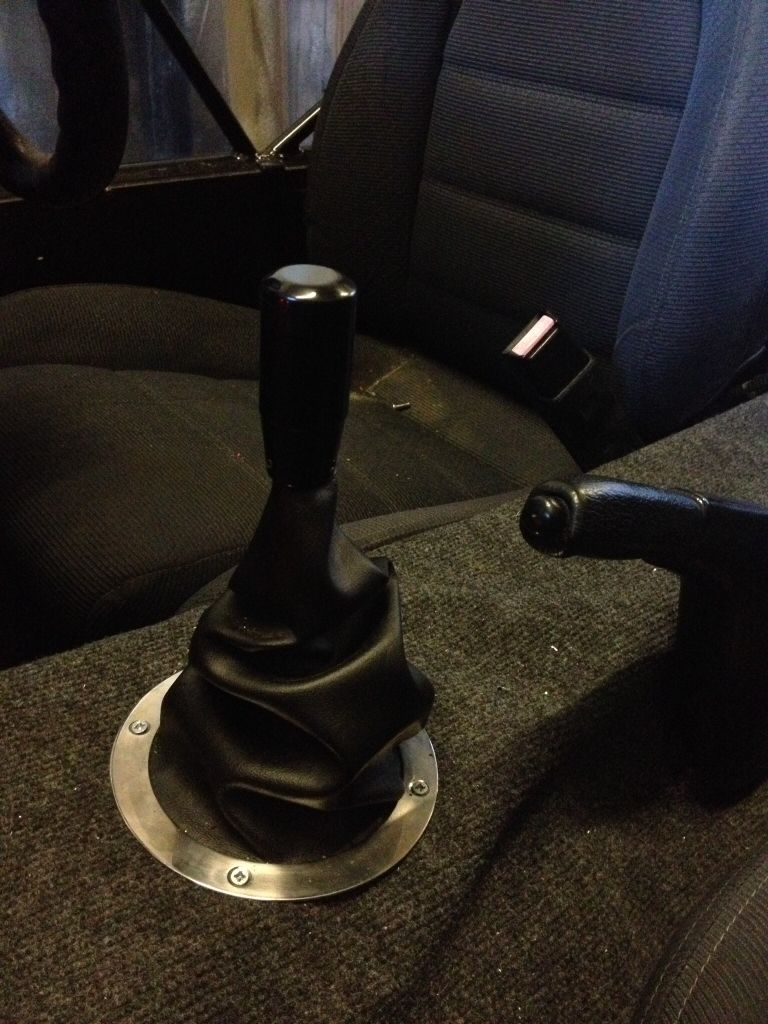 I used the original instrument cover and bent some ali to fill the gaps. Mounted with some simple L brackets on to the instrument cluster mounting points. 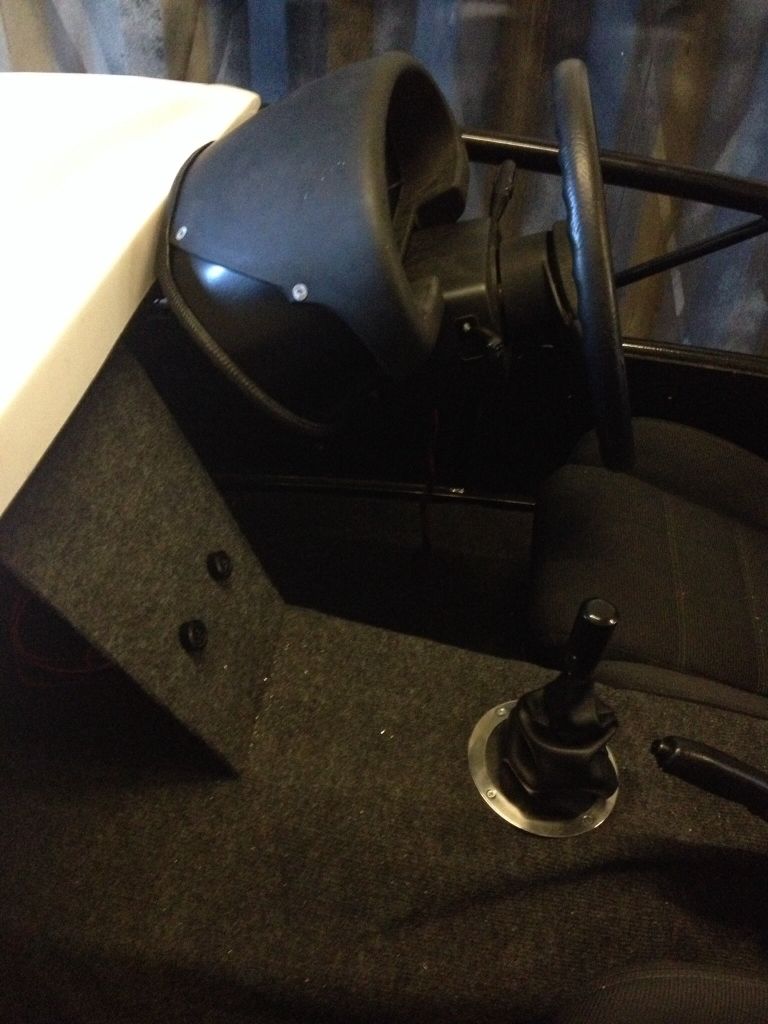 Also mounted the fog and hazard switches in the centre console panel. 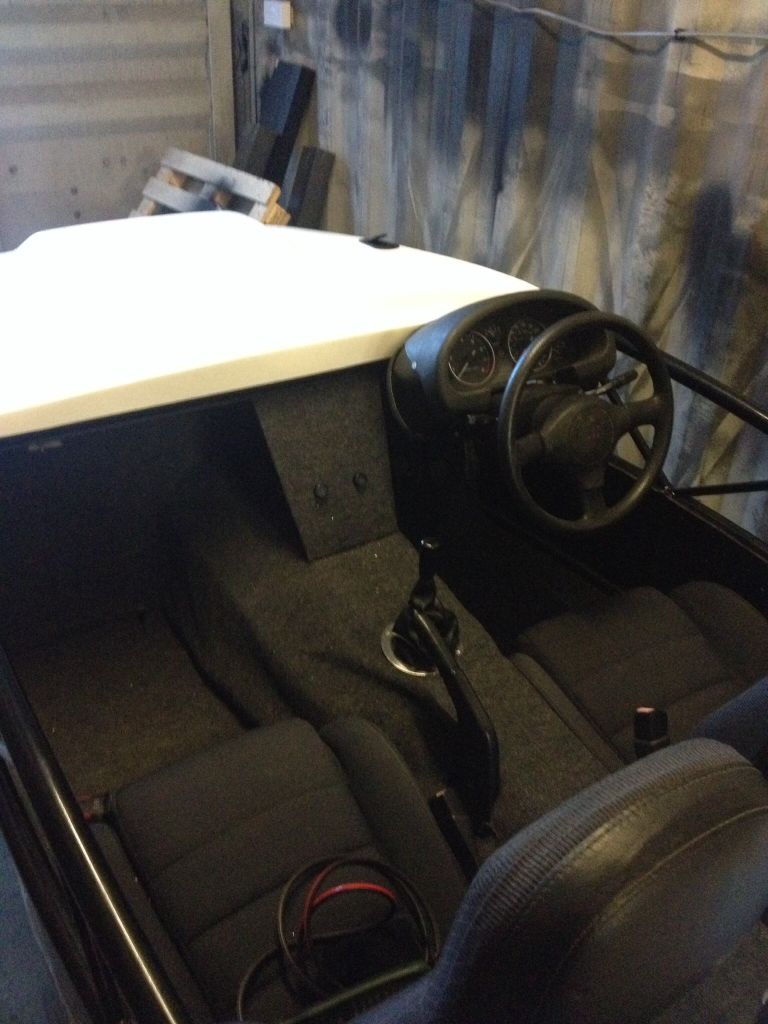 The interior is 95% complete now, just a few wiring tidy ups under the dash and a good vacuum. Next is head lights, bleed the brakes, change the oil and take it for a test drive on the farm.... |
|
|
|
Post by nobby on Jan 18, 2015 19:16:47 GMT
Mounting the headlights and indicators today. The brackets are similar to the rear ones but turn down. Bent some 10mm stainless and TIG-ed it in an 'exoskeletal' shape. 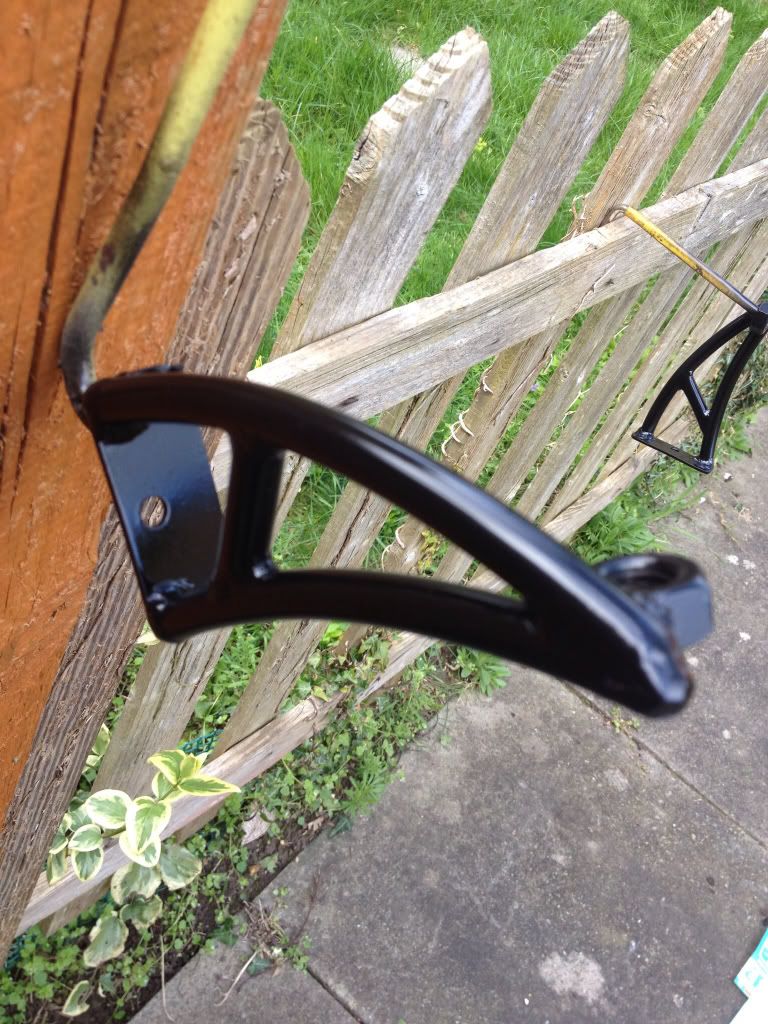 Here are the lights mounted, still need to connect up the wigglies but it was too cold in the bin today. 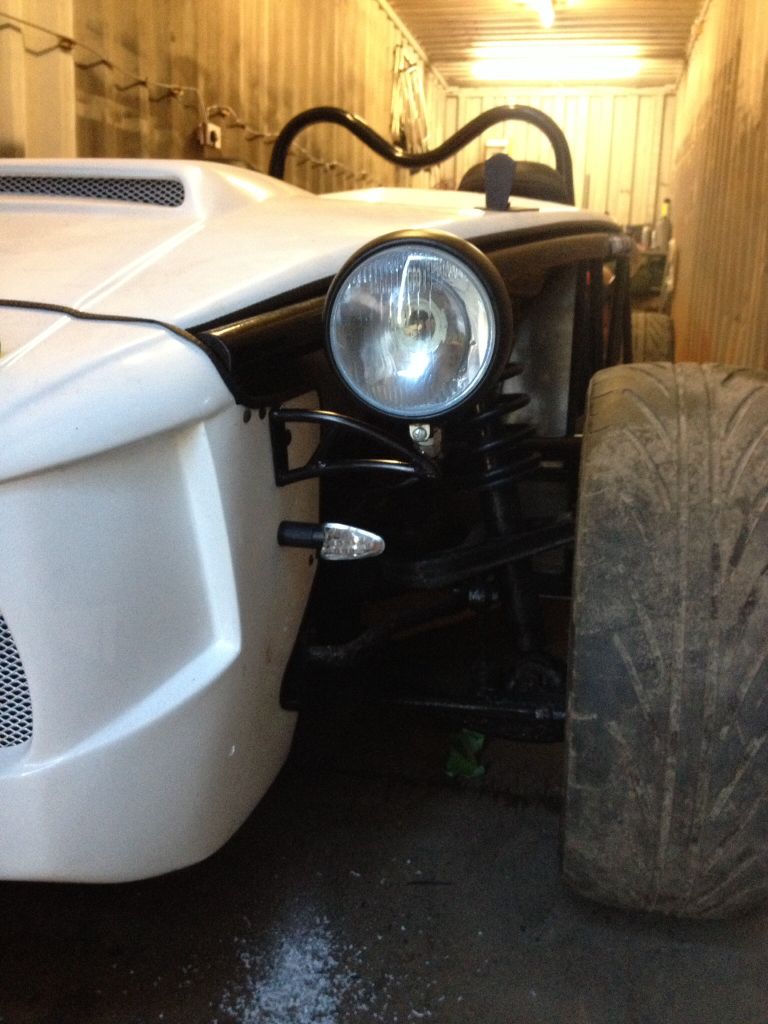 These are spreader plates that will be drilled and bonded on the inside on the nose cone. These are to stop any flex and take the strain of the GRP. 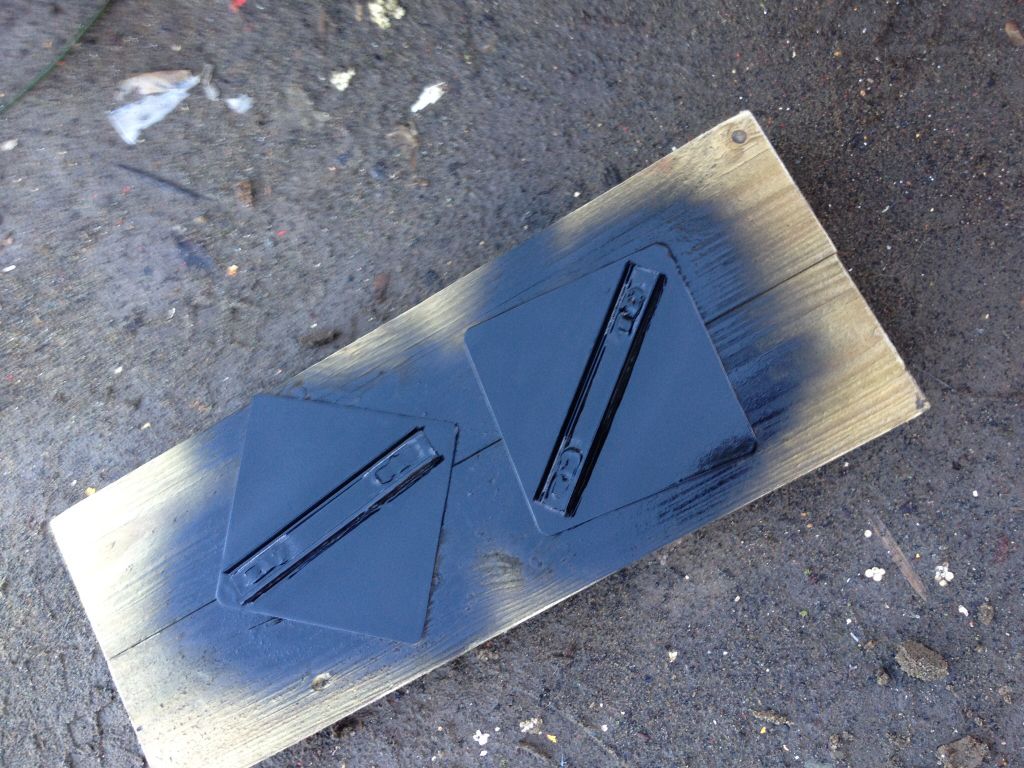 Starting to think about IVA stuff now, just need the new wheels and to work out what paperwork I need to fill out! (a link/guide would be much appreciated cough cough) Nuts and bolts are easy, pen pushing however.... |
|
|
|
Post by scooby1929 on Jan 19, 2015 18:28:28 GMT
Nice headlight brackets but would you not be better with 2 holes were it mounts to the chassis otherwise Iit will pivot??
|
|
|
|
Post by nobby on Jan 19, 2015 19:42:36 GMT
There are three holes per bracket, the picture doesn't show it well. The other two holes are behind where the tubes are welded to the plate on the picture hanging on the fence. I'll get another picture.
How are people setting up their lights in regards to beam angles and direction?
|
|