|
|
Post by gnc on Feb 28, 2013 18:26:21 GMT
Adam, after cleaning one of the control arms, it appears that they only have a light surface rust beyond fetching off the original coating. There was also a large degree of grime from years of being on the road mixed in. Not as bad as we first feared.
We don't however think the car was garaged due to the level of build up on all the parts.
The bit that appears to have suffered the most rust wise is the lower insert/block at the bottom of the diff/ppf mount. Not sure if this was a lower grade metal but its condition is really poor. Considering having a new one made from Sheffields finest stainless steel.
|
|
|
|
Post by gnc on Apr 6, 2013 16:14:57 GMT
Seems to have been forever since we had a bit of time with the car. Needed to get the engine removed from the front subframe, so a little tool hanging around the workshop came in very handy. 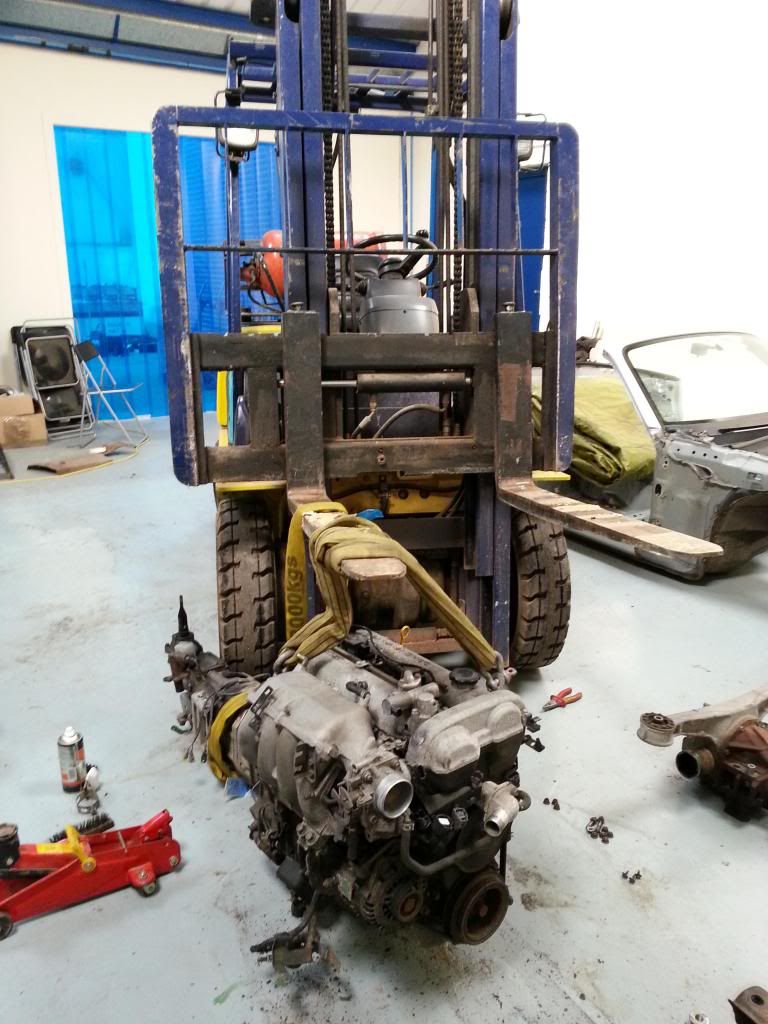 Spent the rest of the day drilling out any bolts that had snapped during the strip. 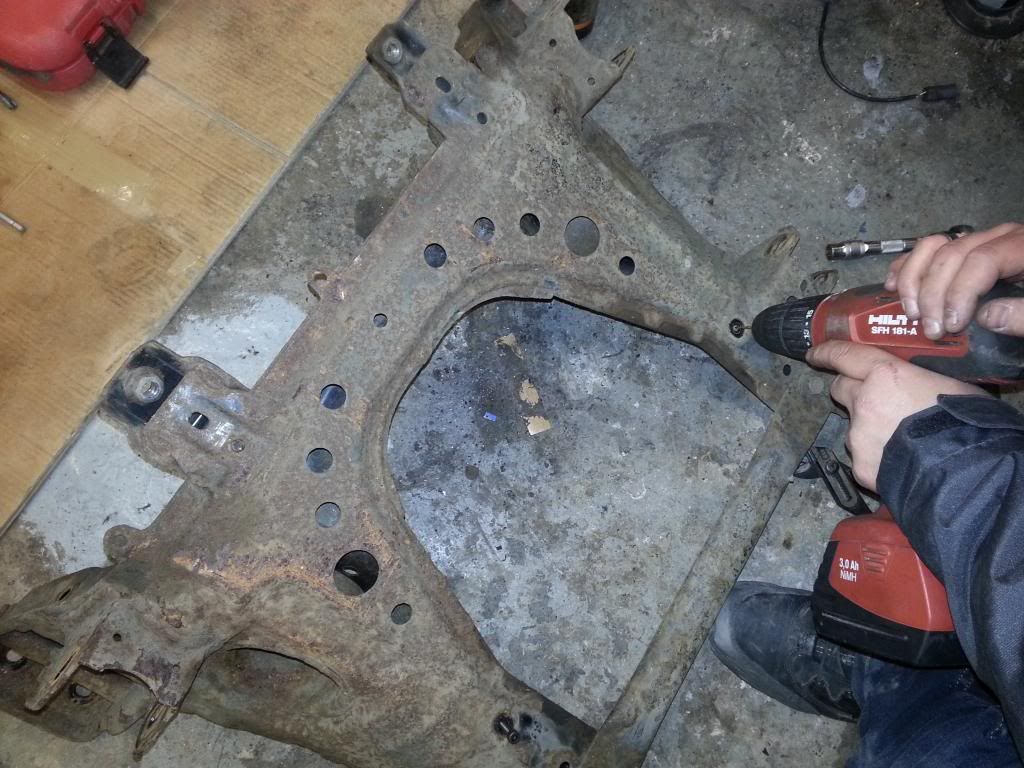 Many of the bolts were corroded beyond being able to extract them so had to be re-tapped. 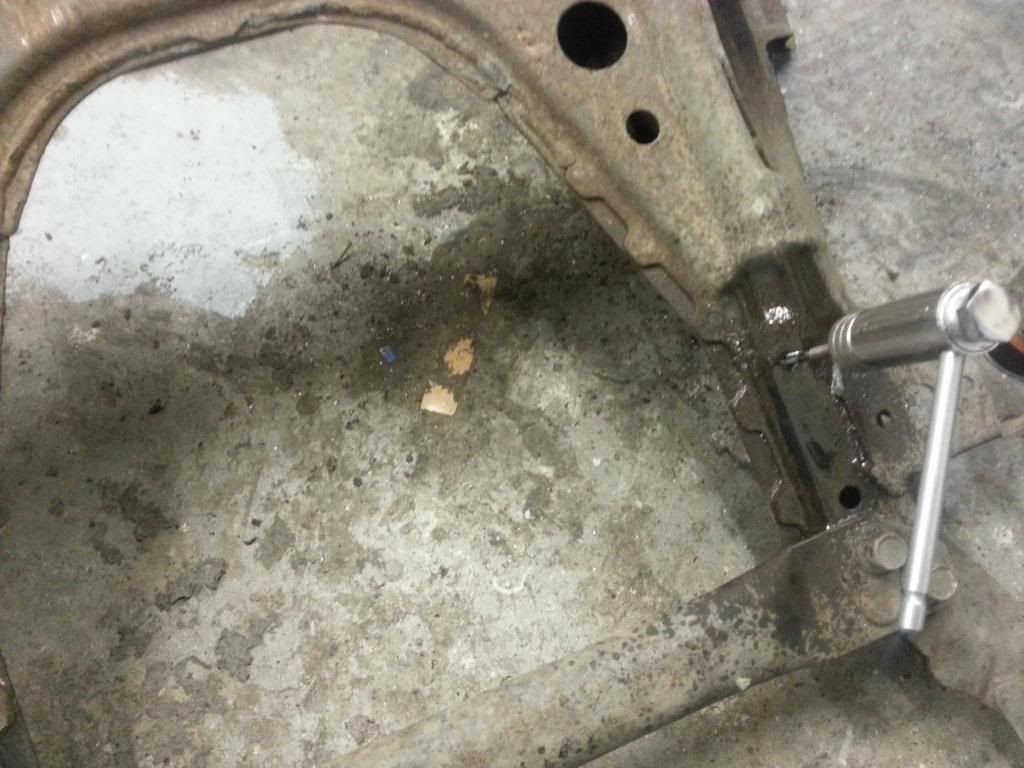 Wanted to remove the rear ABS sensors so that the knuckles can be coated but as per many other blogs, they all snapped. Tried plenty of oil, heat, extractors. Absolutely no chance. Left with no option but to drill oversize and to tap for a helicoil. New threads checked for alignment, the sensors fit perfectly. Holes being tapped after drilling. Had to be careful to allow the drill to go through the seized bolt but not any deeper as it would be easy to go straight through the casting.  Fitting the helicoil is so simple and gives a perfect new thread. 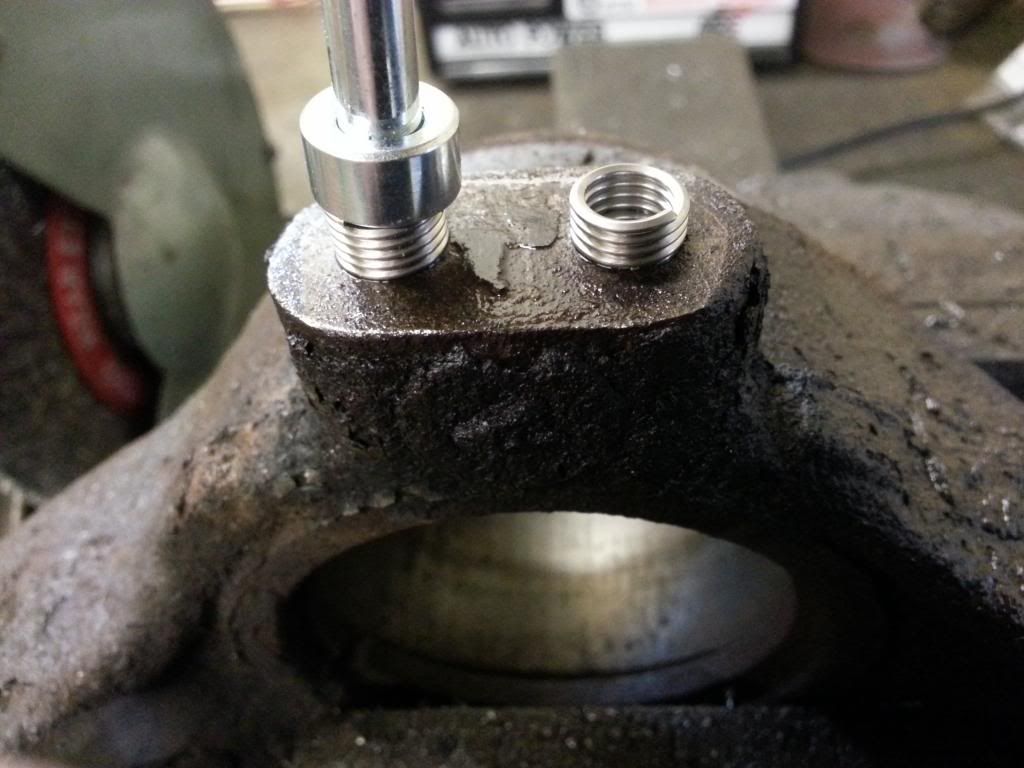 Checking the fit of the ABS sensor bracket. 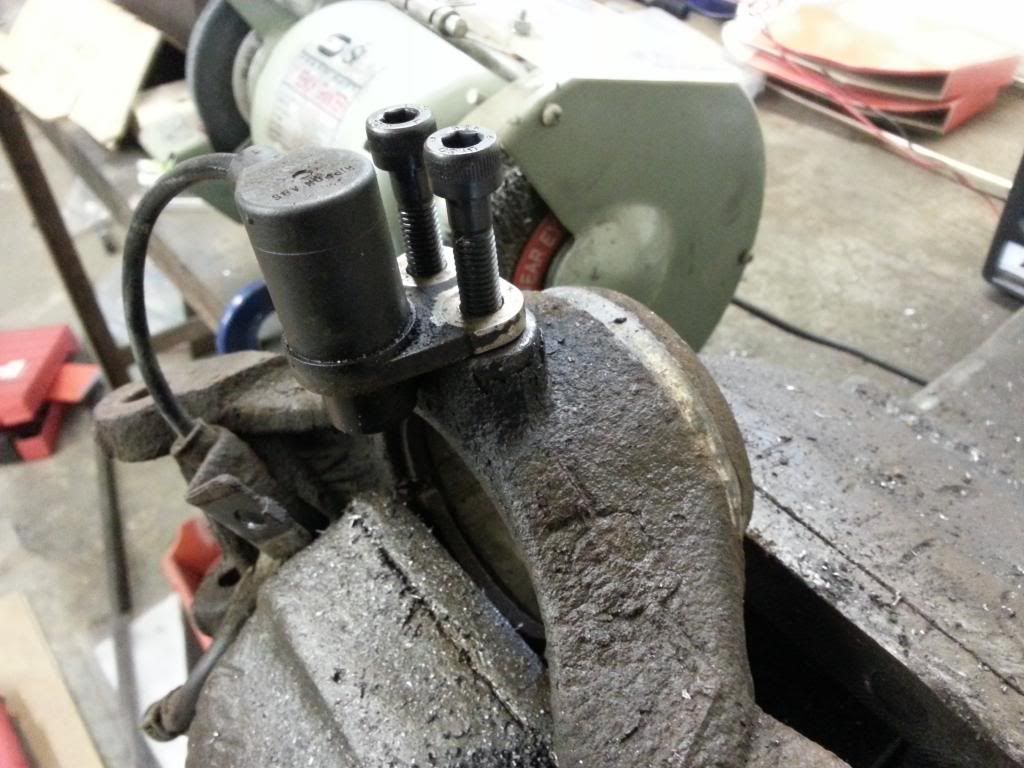 |
|
|
|
Post by gnc on Apr 6, 2013 16:39:03 GMT
Thanks to the Freak, we will be ordering a bush set in the very near future. Only problem is, we really need to get the parts ready for them to go into when they arrive. Spent the day making sure all the threads had bolts inserted, all rubber removed etc. Getting the upper ball joint boots off was really simple, just required a very small chisel or screwdriver to tap them off. 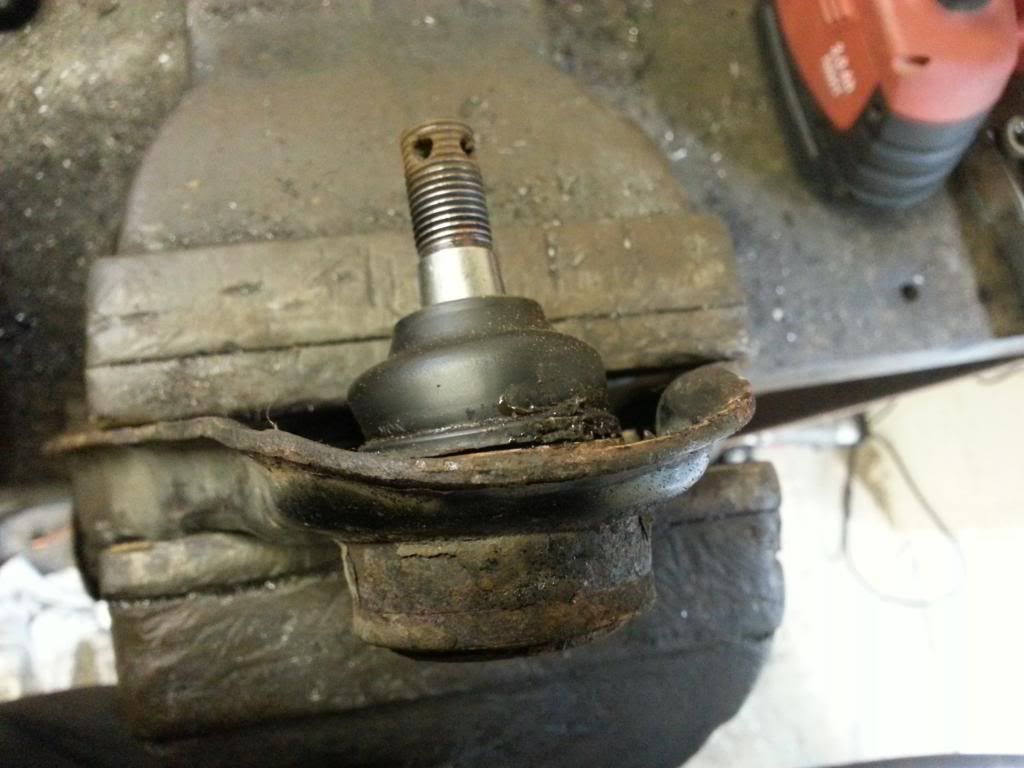 Agreed to drop off the parts on Saturday morning so started loading the van. Any parts not needing coating were masked off. 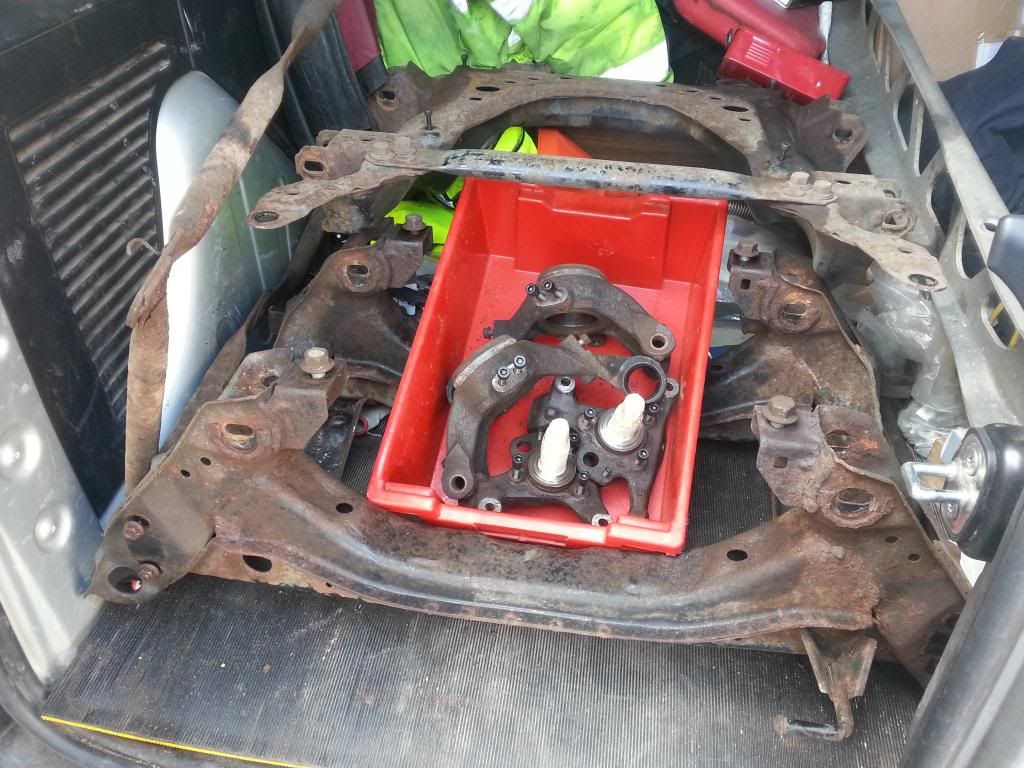 Arrived at the powder coaters to find..... HE DIDN'T TURN UP!! Never mind, the parts can stay in the van ready to be delivered on Monday. Now to sort out the bushes with The Freak. |
|
|
|
Post by gnc on Apr 30, 2013 20:02:13 GMT
Very excited at the recently received phonecall to say the bits were ready for collection. Parts came back from the powder coaters... 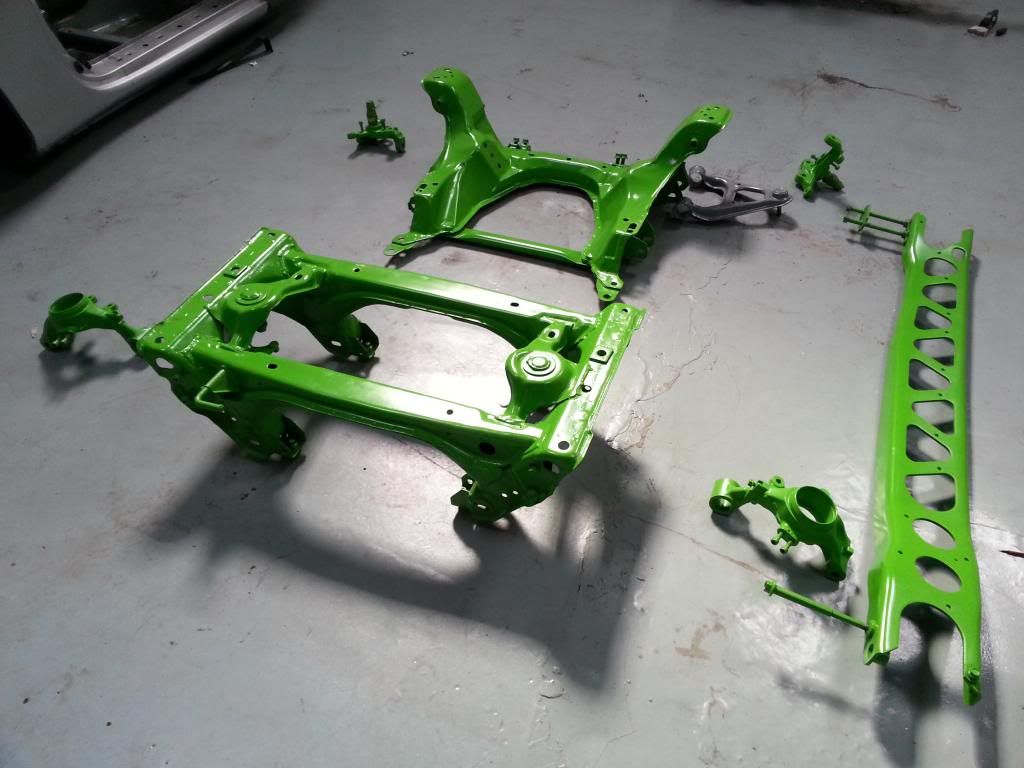 Did a little lacquering to the wishbones to give a shine similar to the chassis. The silver looks a little darker and the green a little more vivid than in reality, but you get the idea. 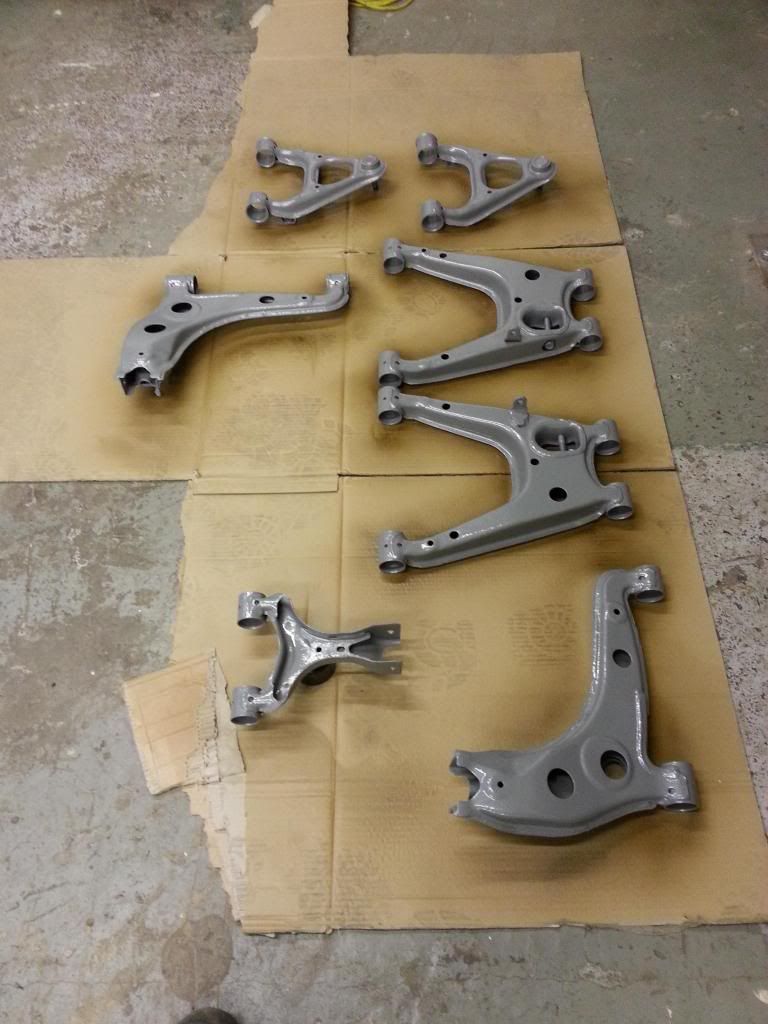 Did a little refurb to the driveshafts whilst waiting for the lacquer to dry. Removed any grime with a wire wheel and a buffer before priming with putty primer. Left a nice smooth finish. 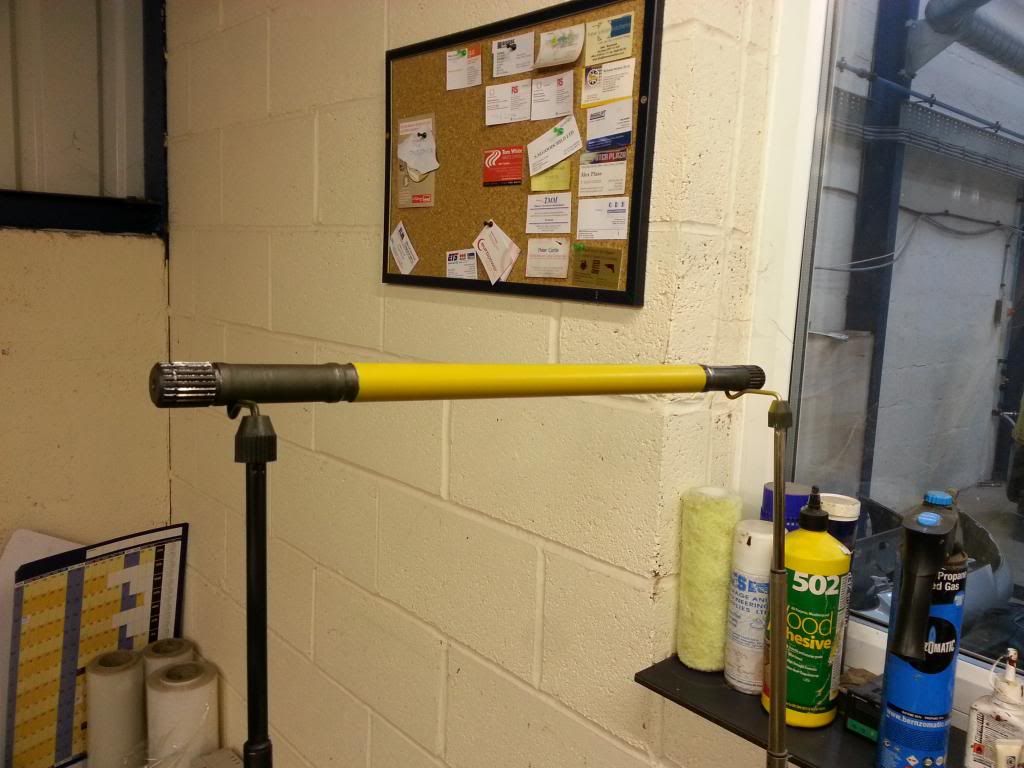 Once all the lacquering was completed, simply had to put the parts in line with the subframes to have a look how the colour scheme is working together. Really happy with the results so far. 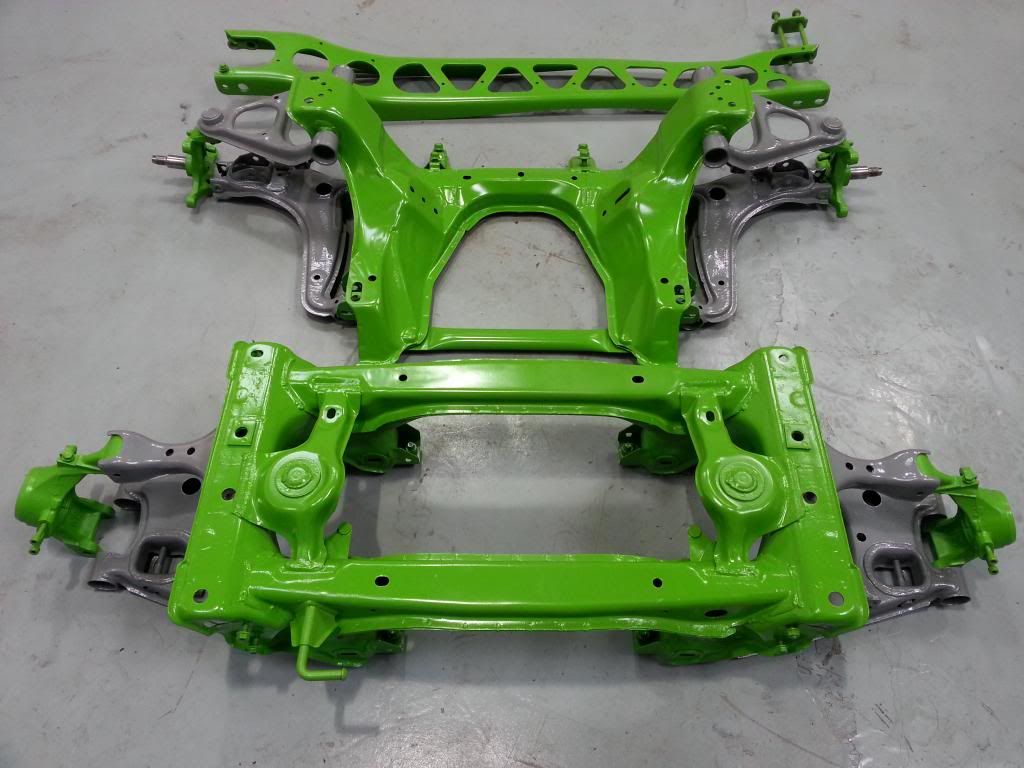 Now waiting for new parts, some ordered, some being considered. Such a big wish list!! |
|
lad
Junior

Posts: 79
|
Post by lad on Apr 30, 2013 20:10:07 GMT
Nice, I'm liking that green!
|
|
|
|
Post by jgilbert on Apr 30, 2013 20:18:48 GMT
Yep agree, very Green. Its nice working with clean parts after all the rust and grease. Full steam ahead boys keep the updates coming.
|
|
|
|
Post by gnc on Apr 30, 2013 20:56:37 GMT
Thanks guys, it sure is bright and also very clean. So nice after months of working with grimy rusty parts!
Have been looking for replacement bolts but suppliers seem to be very low on stock. It would be nice if someone did a complete suspension bolt set!
|
|
|
|
Post by gnc on May 1, 2013 19:01:19 GMT
Had a delivery from the UPS version of Santa... 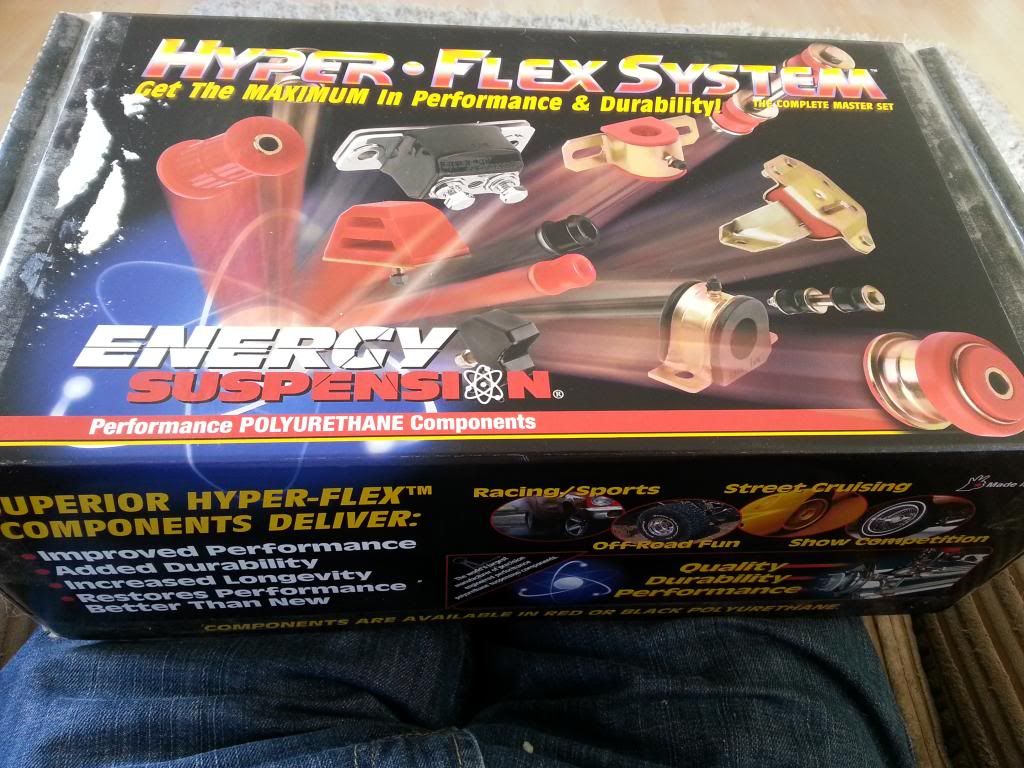 This little package should allow things to move on a little bit more. Set about laying up the right parts for the right positions etc. 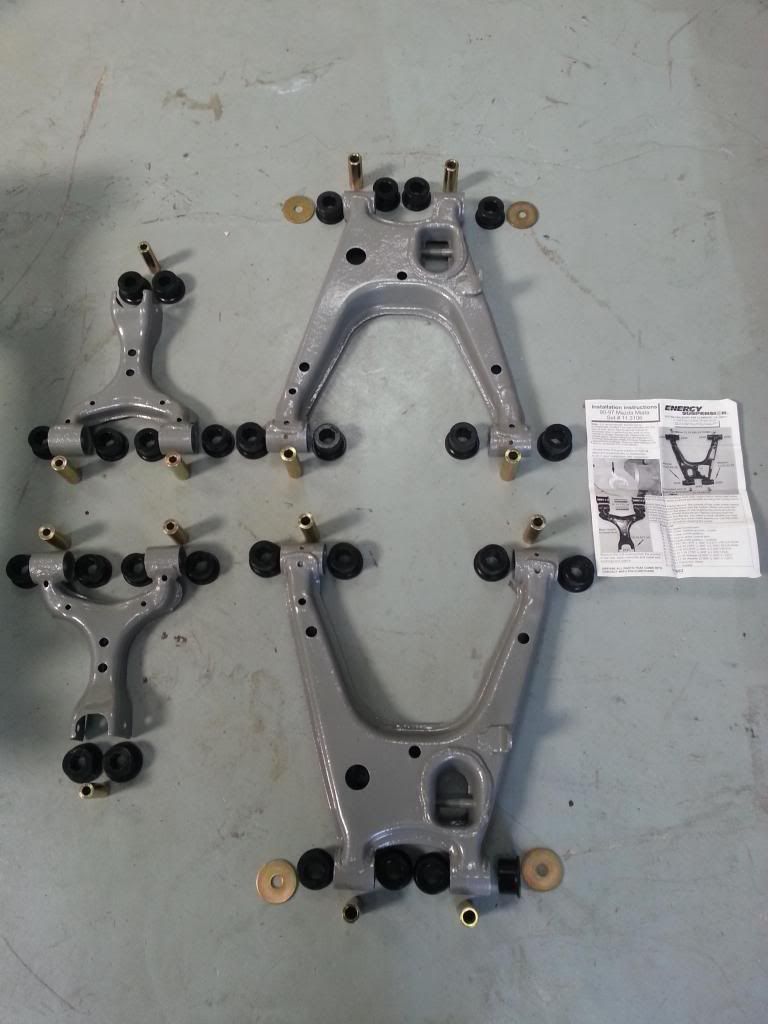 Using the correct pot of Formula 5 grease supplied with the kit, the bushes go in with relative ease. Be warned....... This stuff is REALLY sticky. Would definitely recommend using disposable gloves!! The bushes slide easily into the apertures and the inserts an be pressed in without too much effort. A vice did the job with ease. 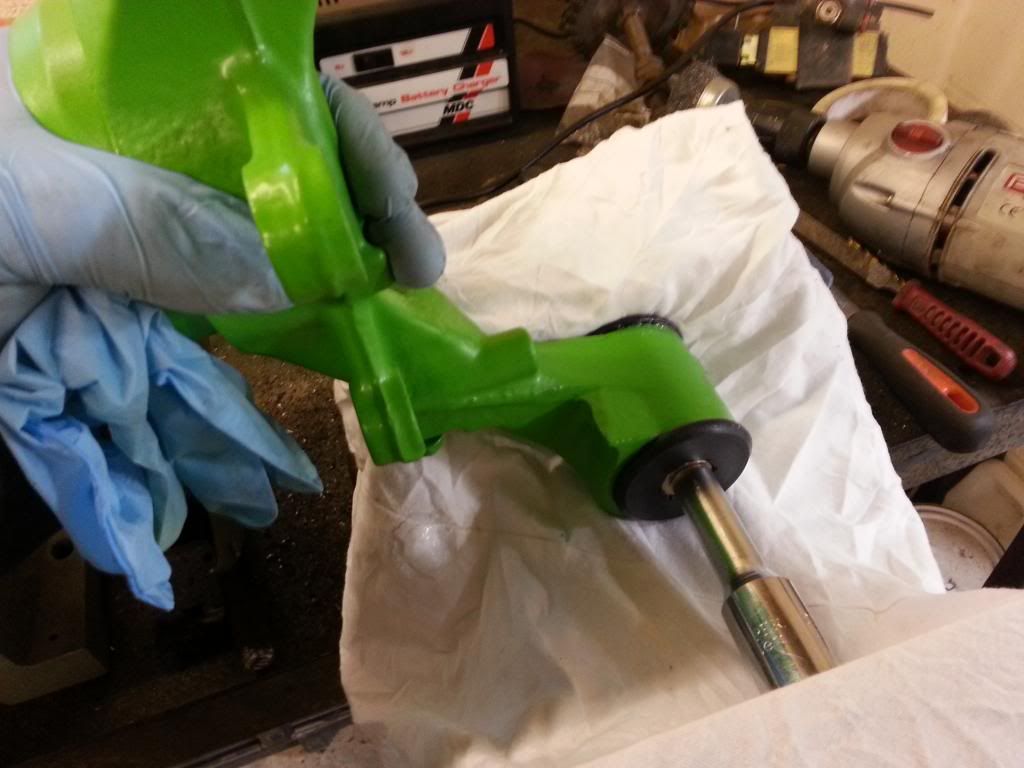 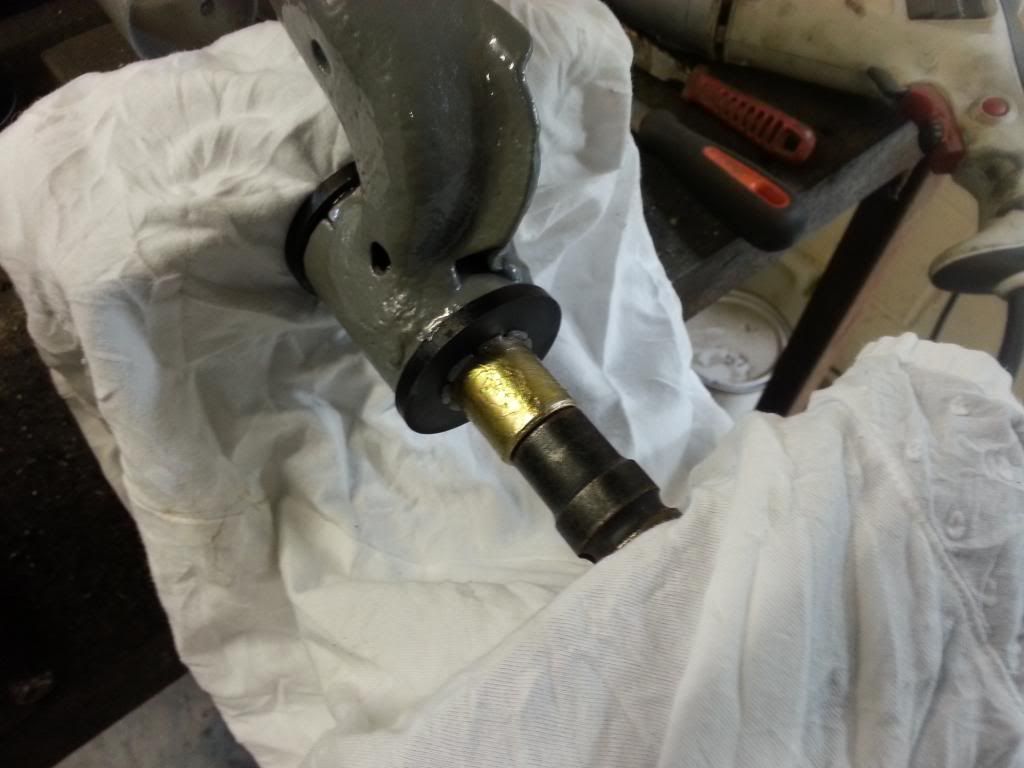 It is indeed a time consuming and tedious job but well worth the effort. Luckily we have some concentrated industrial solvent ( its pretty dangerous stuff ) that removes any excess lube instantly with a little wipe and leaves the bushes untouched. The parts are coming together now... 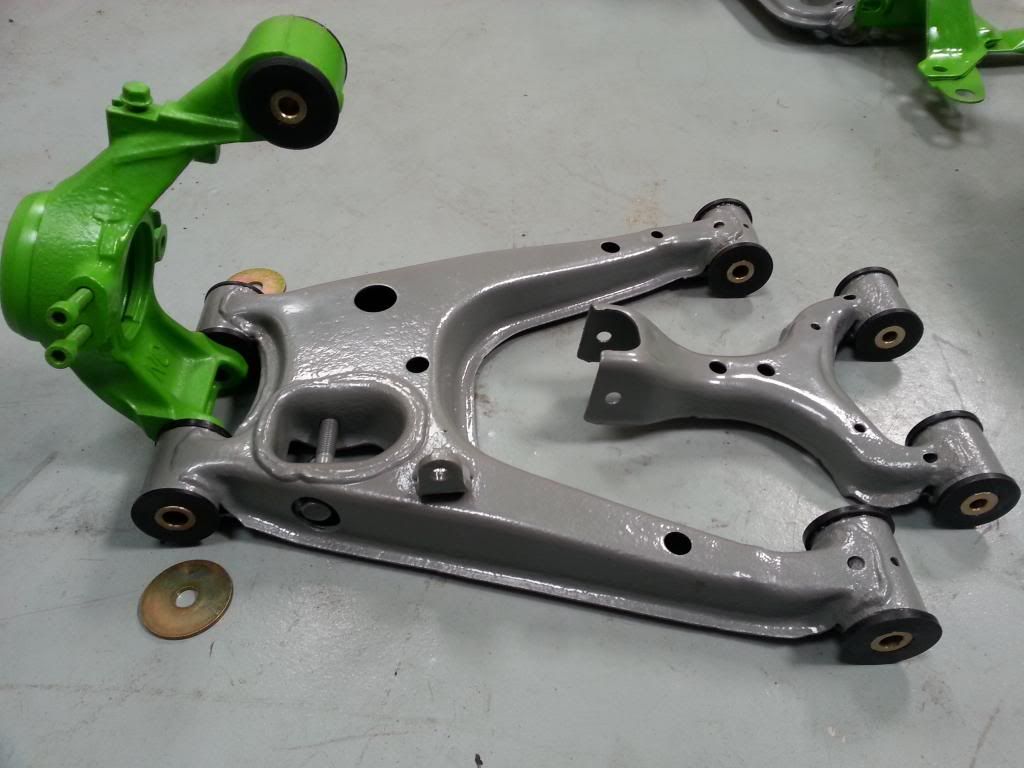 The back is done, now more of the same with the front. Will post a pic when they're all completed. |
|
|
|
Post by driver on May 1, 2013 21:18:11 GMT
High attention to detail great wrk
|
|
|
|
Post by gnc on May 16, 2013 19:45:46 GMT
Fitted the remainder of the bushes into the front wishbones and started to put things together. 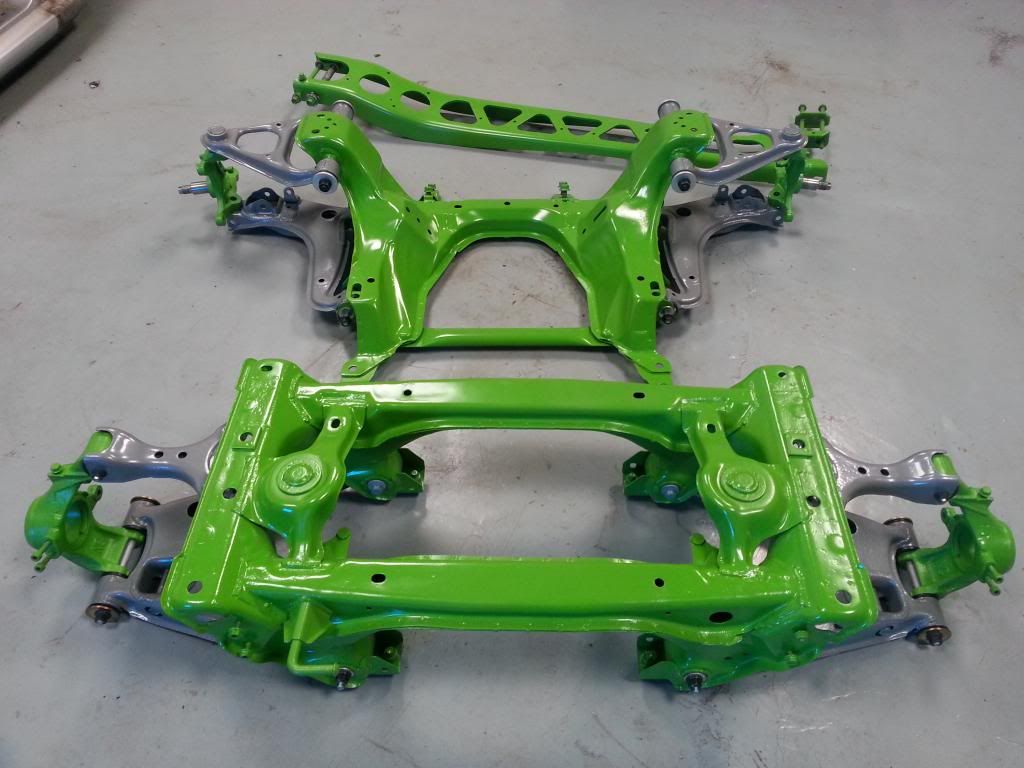 Decided to replace as many of the bolts as possible. Managed to get everything brand new except for the upper front wishbone bolts. The bolts cleaned up rather well but the large disc washers were to say the least a little corroded! Made four new ones, didn't see the point in these looking tatty against everything else. Primed them and painted them with silver high temp paint, should be a little bit more robust. 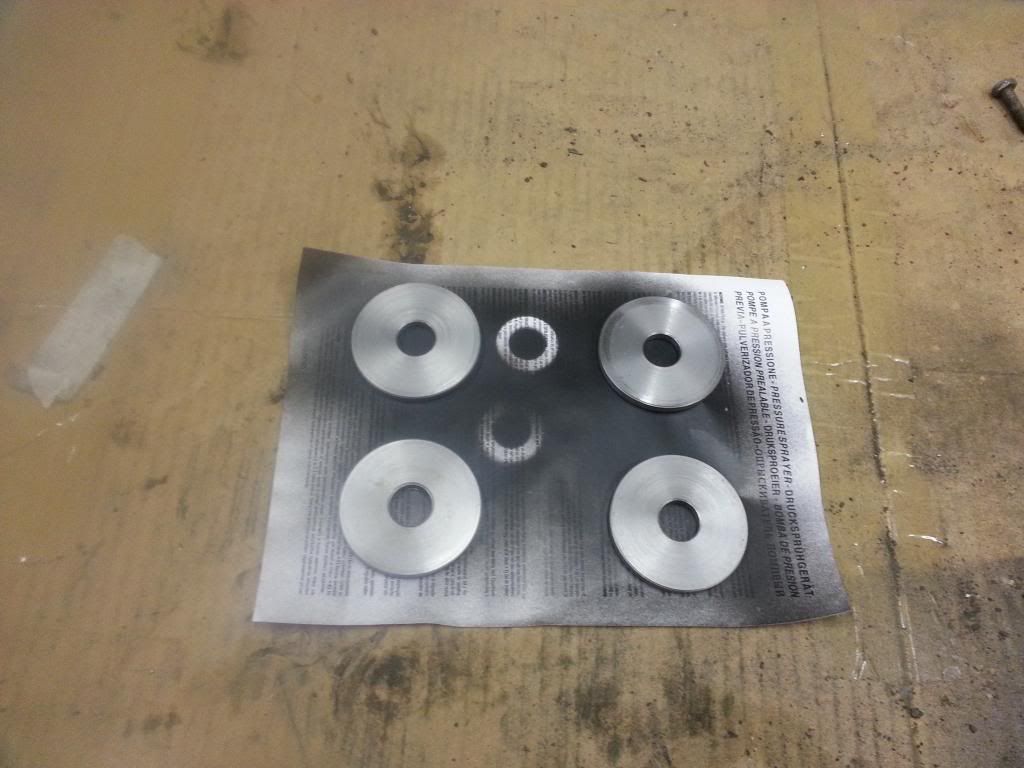 Taking shape, all looking nice and shiny. 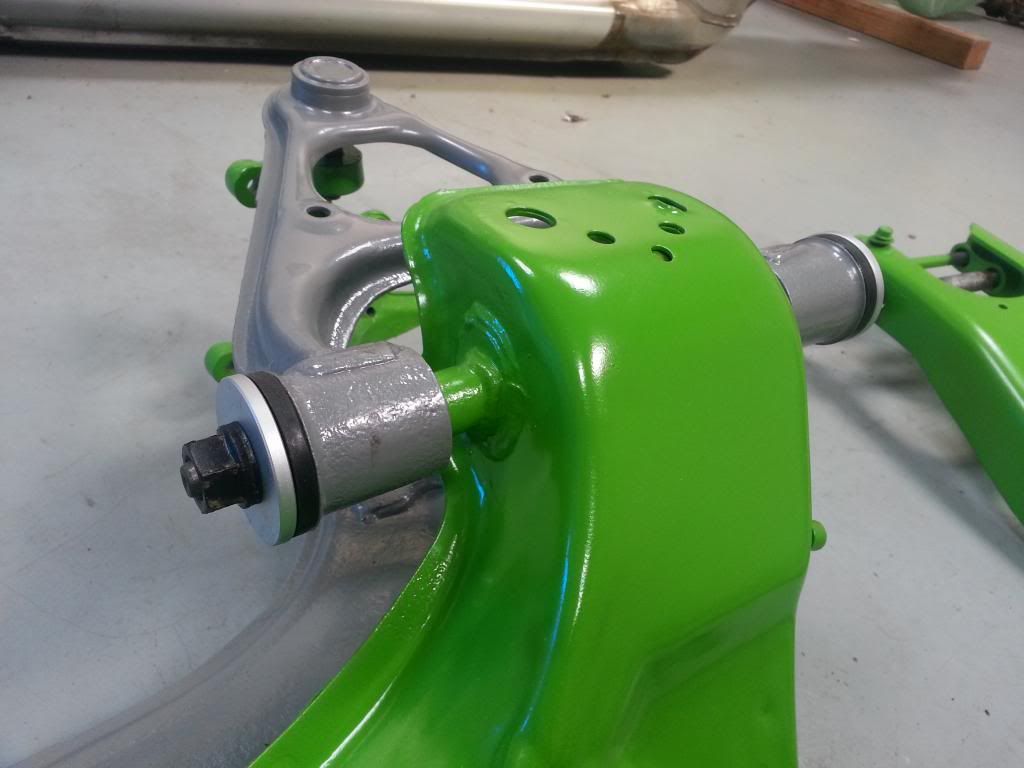 Have to decide which parts to order next, all in good time, so for now will start to repair the diff to get rid of a nasty little oil leak we spotted just before we removed it from the subframe. |
|
trident
Senior
 Improvise, Adapt and Overcome
Posts: 629
|
Post by trident on May 16, 2013 21:25:11 GMT
Very nice... I'll be watching your build with interest.
|
|
|
|
Post by jgilbert on May 16, 2013 21:48:53 GMT
very nice guys keep up the good work!
|
|
|
|
Post by gnc on May 17, 2013 9:31:40 GMT
As I said in the last post, there was a leak coming from one of the differential side seals which would require some attention. First job was to get access. The inner CV housings were removed by using gentle leverage between the diff housing and the CV casing. Once out, these were degreased, cleaned, primed and painted. 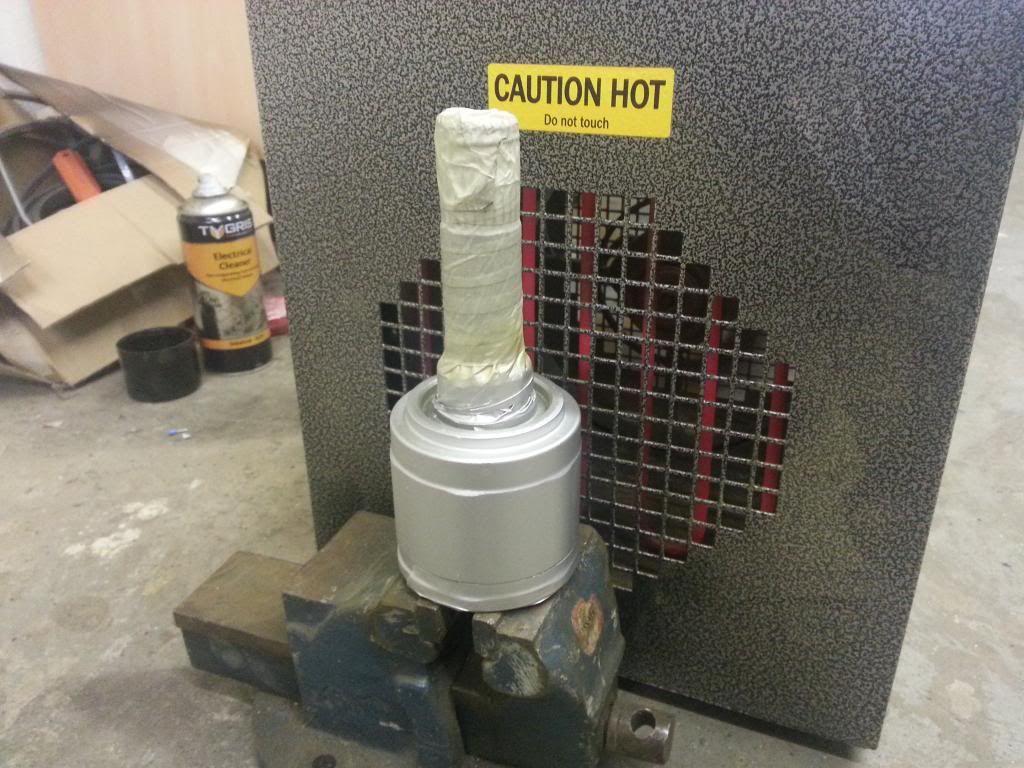 We used a heater to dry and cure the silver VHT paint, gave a great finish and was indeed hardened after the heat treatment. Left each one baking for one hour, took just as long to cool down afterwards. The masking tape adhesive goes all gooey after the heat treatment, so a little solvent was used to clean this off and complete the job. 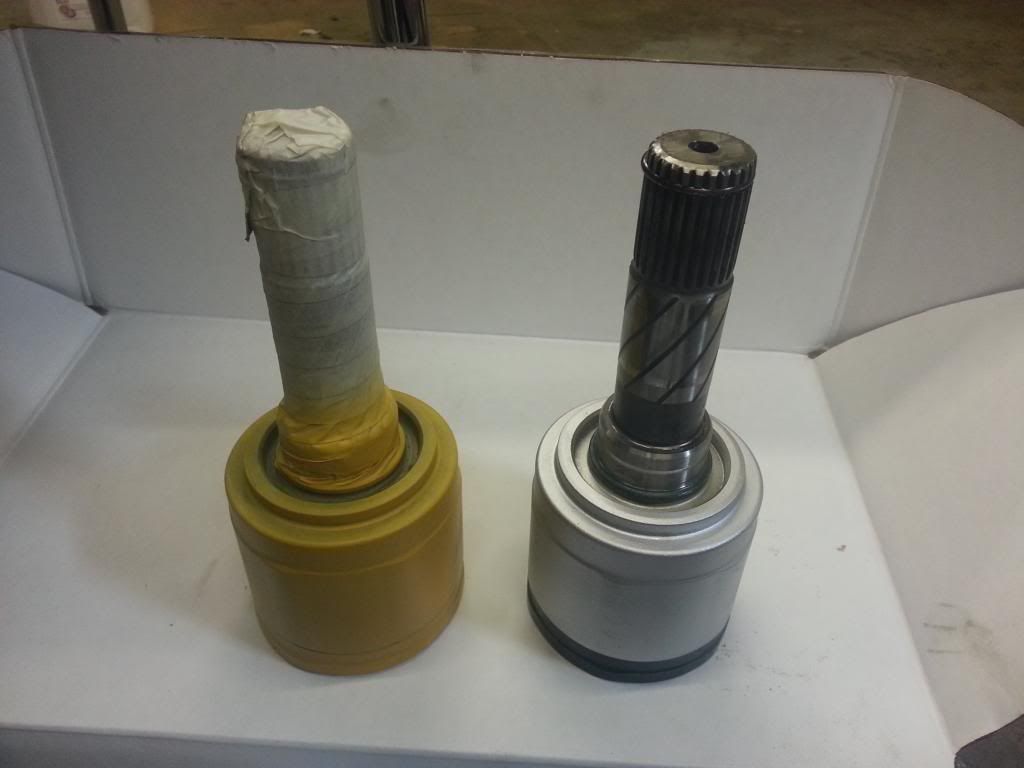 Should have the diff all painted and waiting for seals by the end of the day hopefully. |
|
|
|
Post by gnc on May 18, 2013 8:11:58 GMT
The diff was in need of a little TLC, even after shot blasting it was looking a little tired on the outside. After draining the oil and removing the CV joints, we decided to open her up and take a look at the gears for any signs of wear or damage. 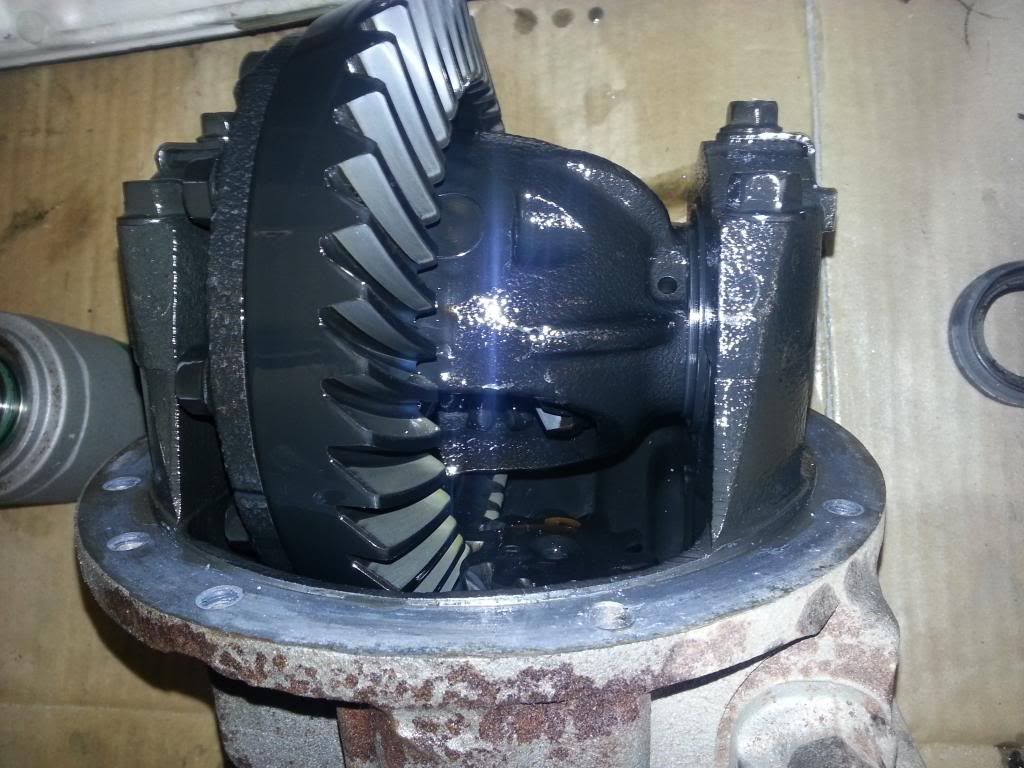 All the gearing looked in great condition with no signs of wear. A good sign was the almost total lack of anything metal attached to the magnetic drain plug. With the diff casings in two parts, it is now very easy to remove the side oil seals by tapping from inside the rear casing, this will avoid trying to gouge them out from the outside and prevents the risk of damaging the bore. 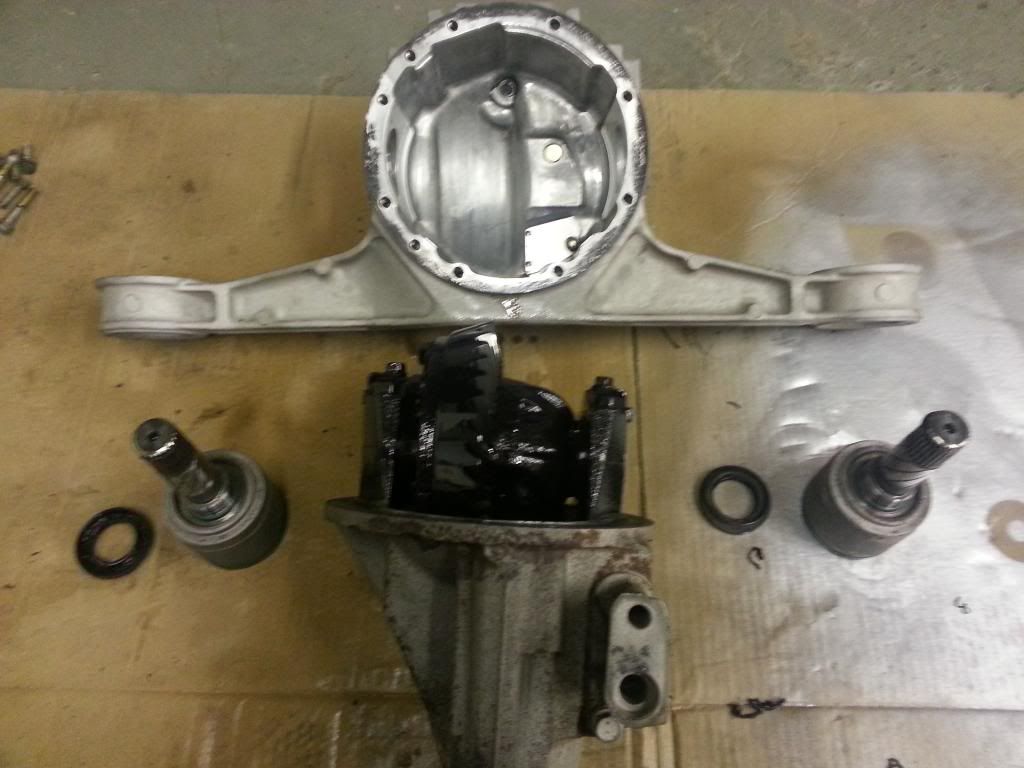 |
|
|
|
Post by gnc on May 18, 2013 8:20:19 GMT
Cleaned any deposits on the casings and wherever else possible, making sure the two mating flanges were spotless before putting them back together. Re-assembled the diff, applying a bead of RTV silicon gasket sealant to the rear casing, and bolted it all back together. Removed any oil and grime deposits from the two oil seals and very loosely inserted them back in the holes to allow them to be blanked off for spraying. 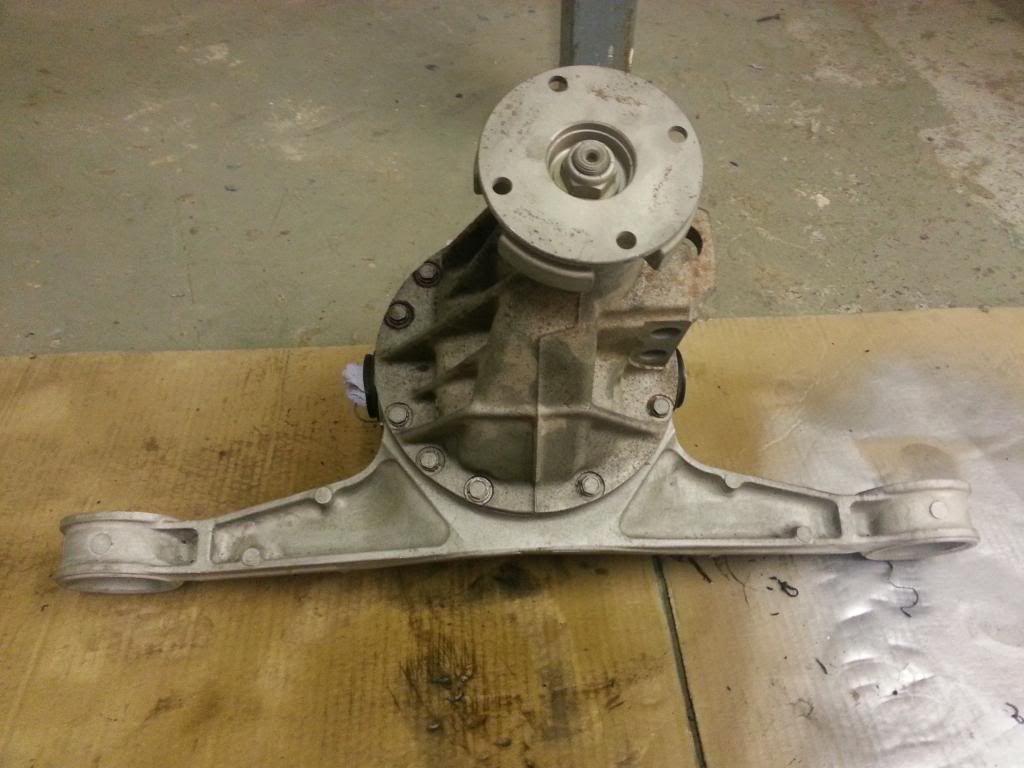 Gave everything a good degreasing before painting, then applied the paint. Here are the diff and inner CV joints all ready for re-assembly. Added the bushes, now just waiting for the oil seals to arrive.  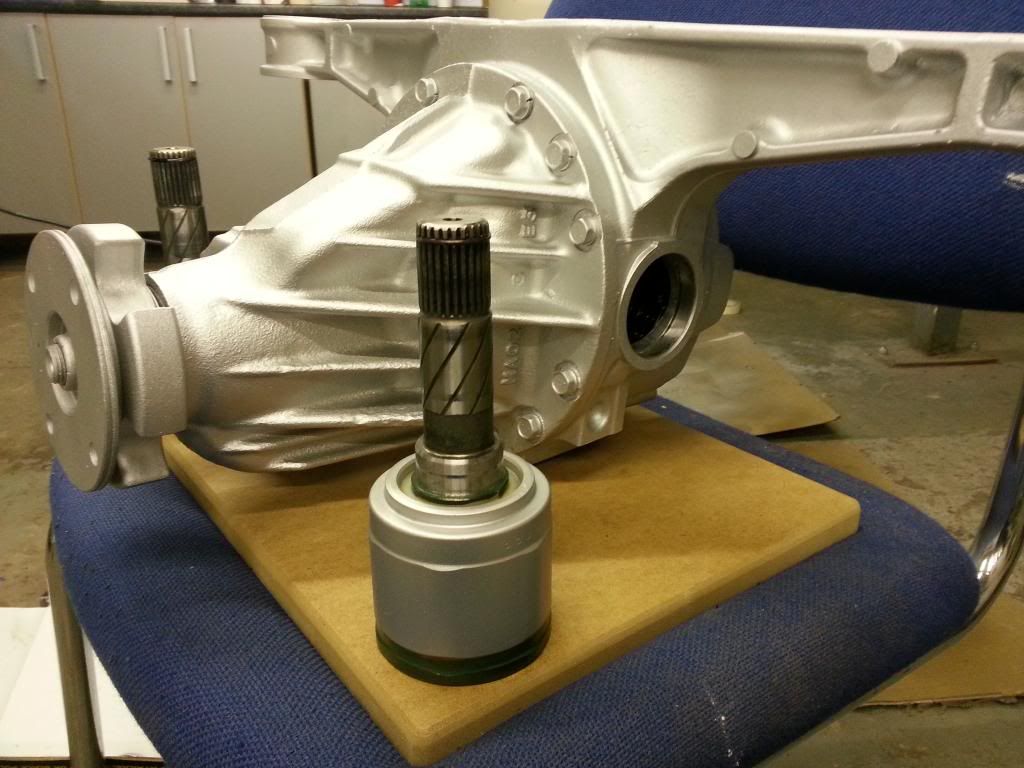 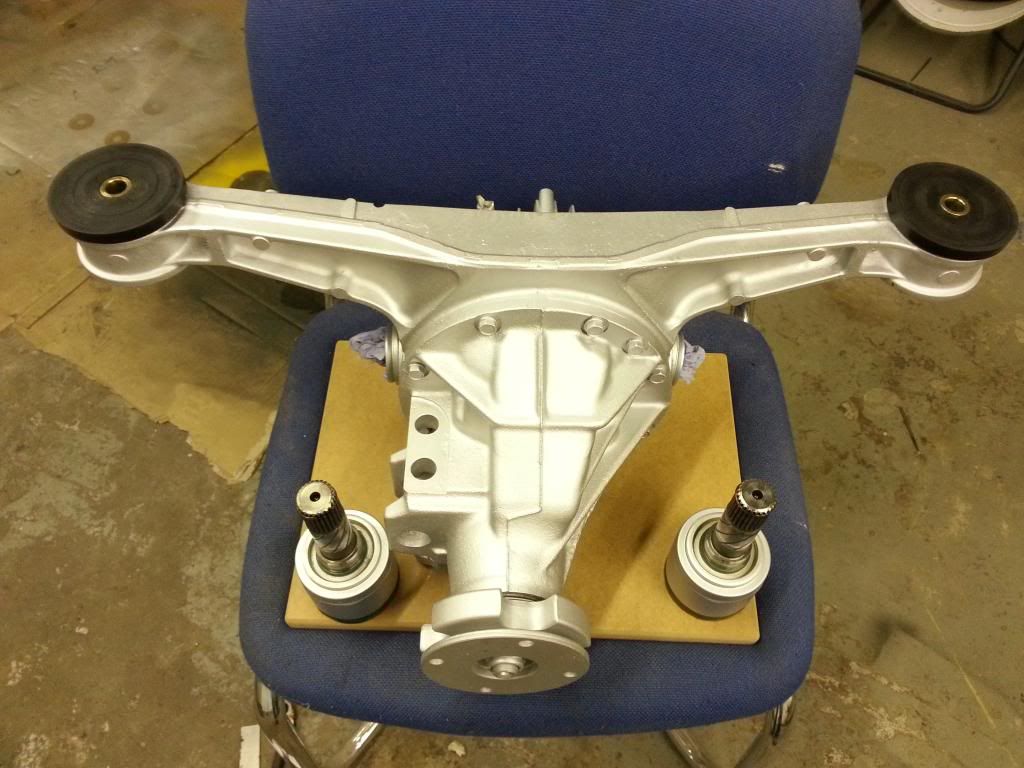 Made sure the holes have been blanked off while we wait to prevent any bits getting into the gears, it is in a workshop after all. |
|


