|
|
Post by gwnwar on Jan 24, 2013 2:48:16 GMT
If you drop the rear of the trans now you with have gear oil out the back and all over the place. Get yourself a bag of oil dry or cat litter to soak up any oil spilled..
|
|
|
|
Post by gnc on Jan 26, 2013 13:03:35 GMT
Ok, so its fantastic to have a nice workshop. But its an absolute pain when its 50 miles away and this happens overnight....  I suppose the best things come to those who wait! |
|
|
|
Post by gnc on Feb 3, 2013 22:20:10 GMT
Its been a while but got the chance to do a little more stripping this weekend. Started by removing the front offside suspension. Do the brake dust guards really need to go back on? The ones coming off are absolutely rotten. 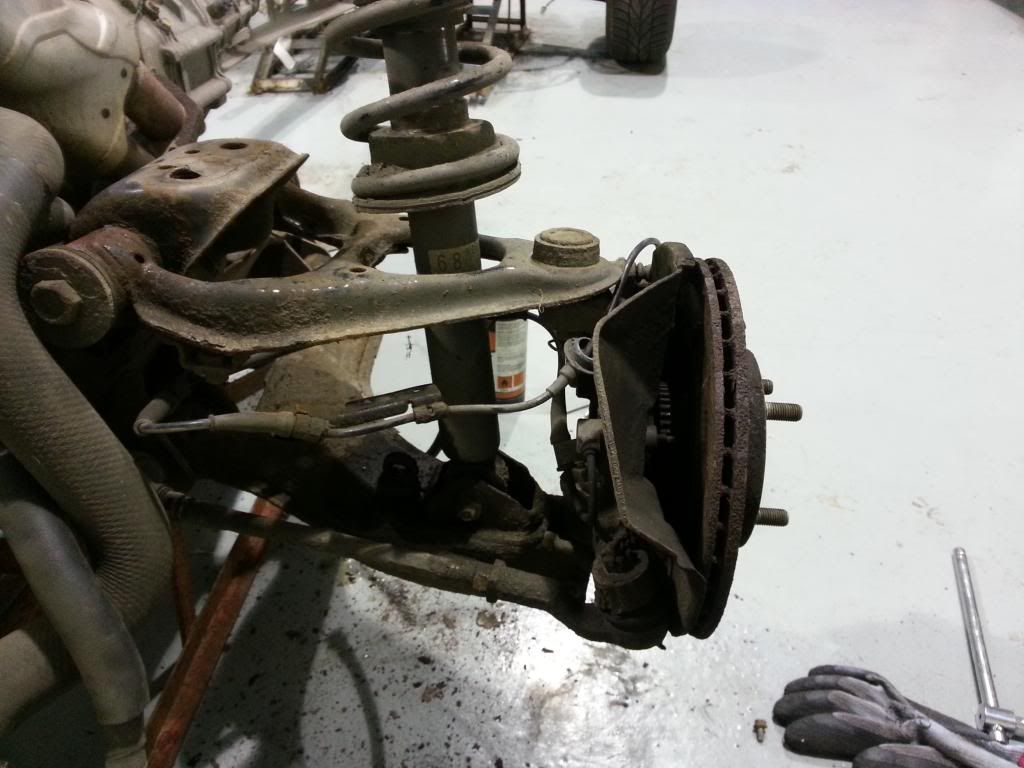 Finding lots of parts here that should be replaced, ball joints, dust guards, boots, ARB link bars. I can see the cost beginning to rise, but if its not done now it will be regretted later. 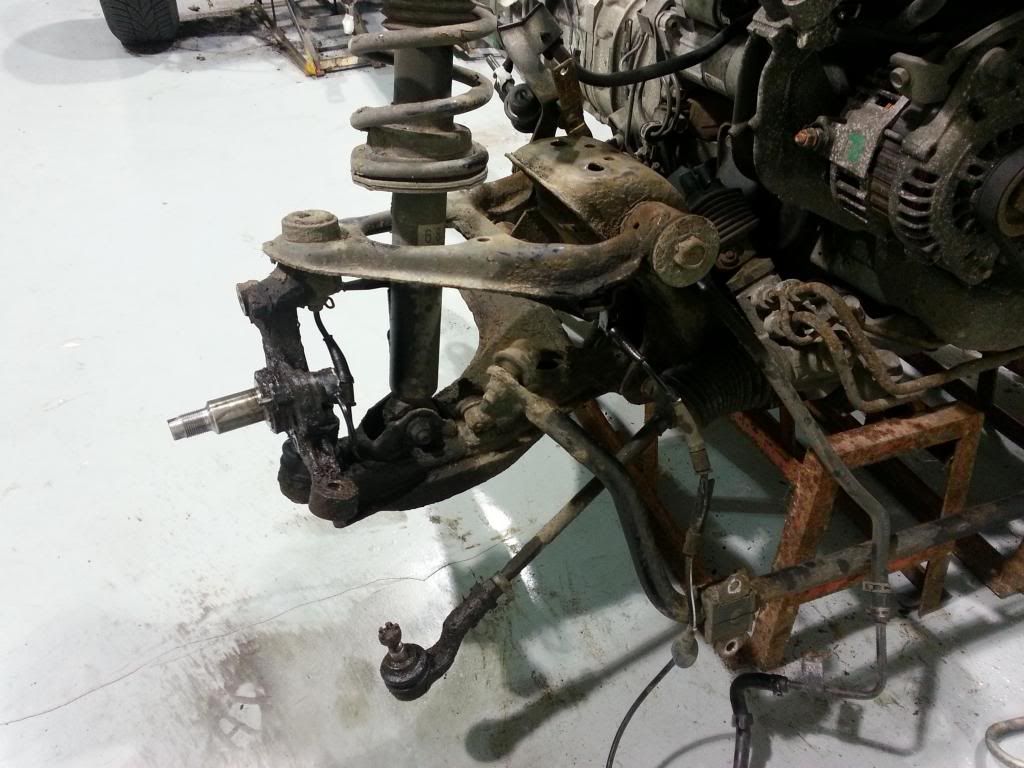 It really will need a good dose of shotblasting to get this lot cleaned up. Carried on until both sides had been taken apart. 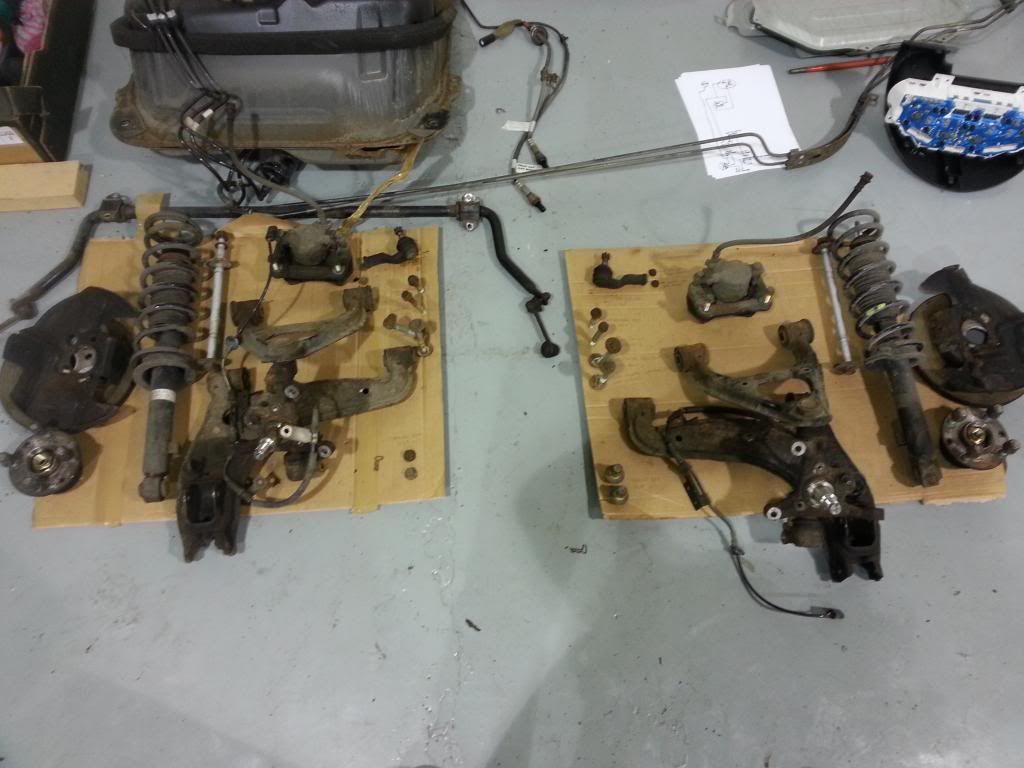 |
|
|
|
Post by gnc on Feb 3, 2013 23:01:21 GMT
Power steering and steering rack taken off in one piece for refurbishment.  It wont be too difficult to blank the power steering, but I can't help but imagine how light the steering would be with it left on! Lots of tidying up to be done now, bushes out, abs sensors removed ( if by some means the bolts will come out, not looking likely at the moment ), parts prepared for shotblasting and powder coating. Two wheels on our wagon, and we're still rolling along, until..... we tried getting the abs sensors removed. Currently looking for a fresh supply of patience, being severely tested at the present, and a bit more penetrating fluid. They're only sensors after all ( or are they ? )  Will try to get all parts coated at the same time, so the next step is probably to split the engine and transmission from the subframe and seperate from the PPF. |
|
|
|
Post by gnc on Feb 10, 2013 23:15:57 GMT
Decided on a change of direction, the transmission and engine can wait until the back end has been stripped. That way, we can get the forktruck in to help with lifting. Cannot put off what many seem to describe as one of the worst parts of the strip, removing the rear hubs. 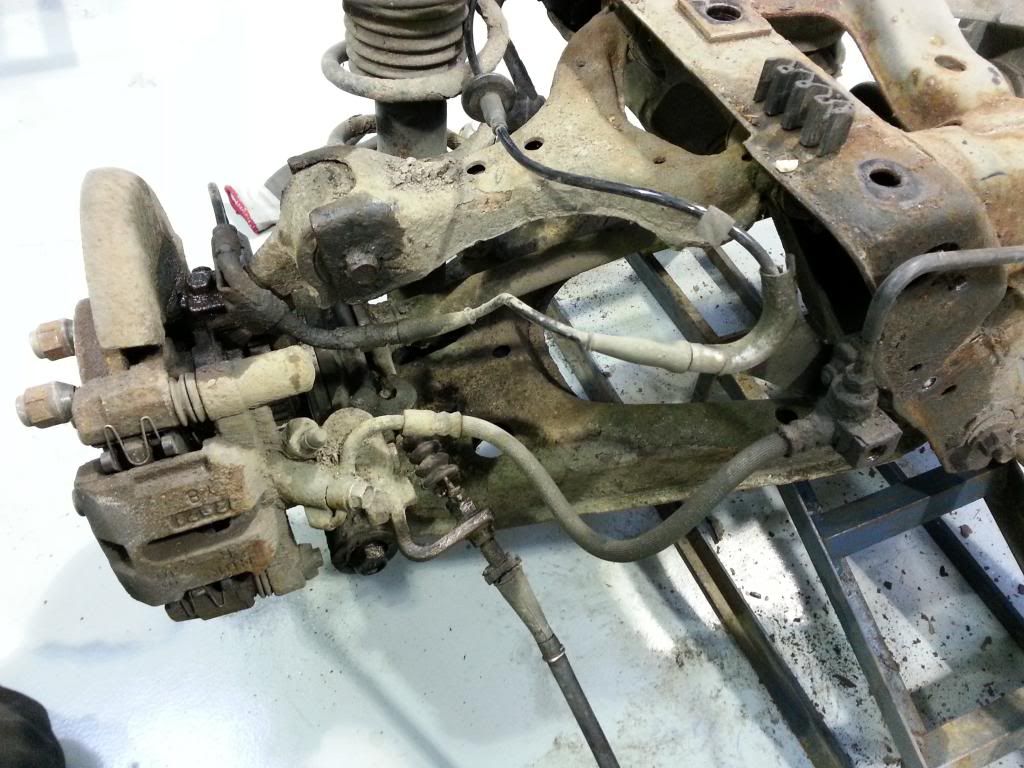 Thought a simple pull might do the trick. 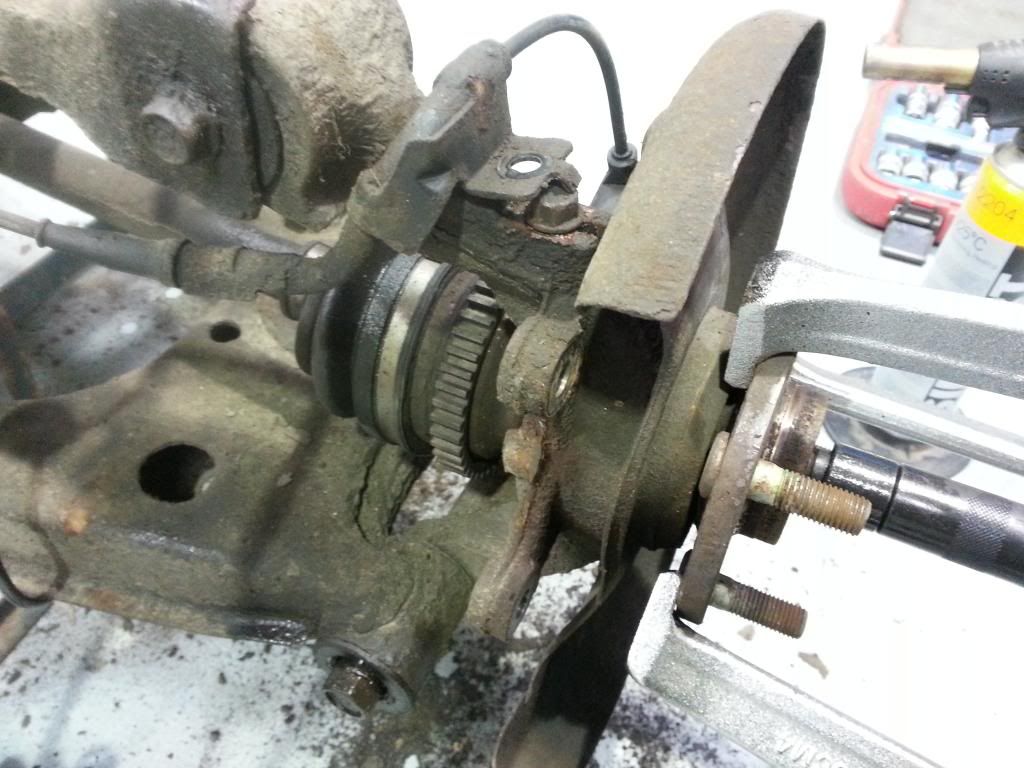 Used the recommended technique of only applying force with the T handle...... Didn't budge..... Hmmmmm.  Used a pry bar on the legs of the puller and forced the puller as much as possible...... Didn't budge. Next thing to try was a little bit of heat. 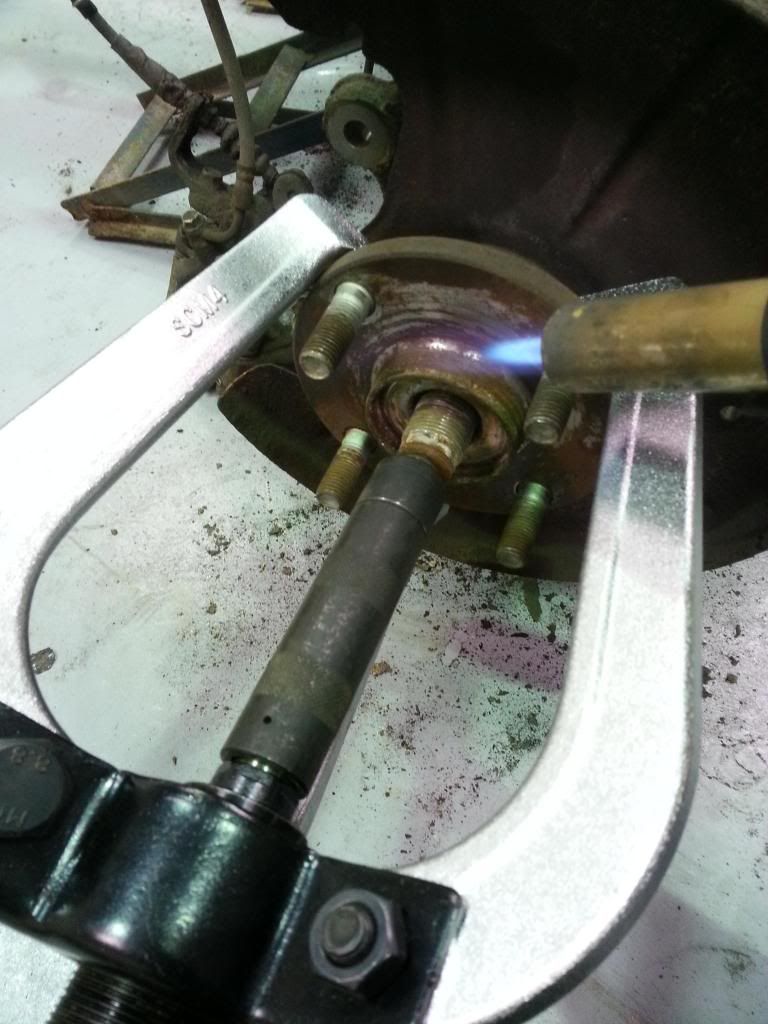 And a little more force on the puller, and then shock treatment, tapping the hub with a lump hammer whilst heating and under force. Finally, after a bang like a shotgun and the hub has released. Still required a fair amount of force to pull the hub clear. Removed both sides to make sure this task was out of the way. |
|
|
|
Post by gnc on Feb 10, 2013 23:53:19 GMT
The rest came apart relatively easily, albeit with a little bit of force to get the seized bolts out. Lower knuckle bolts were absolutely solid!  Will replace all the suspension bolts where possible if a source can be found. Did some initial searching and mx5parts seem to be a good source. 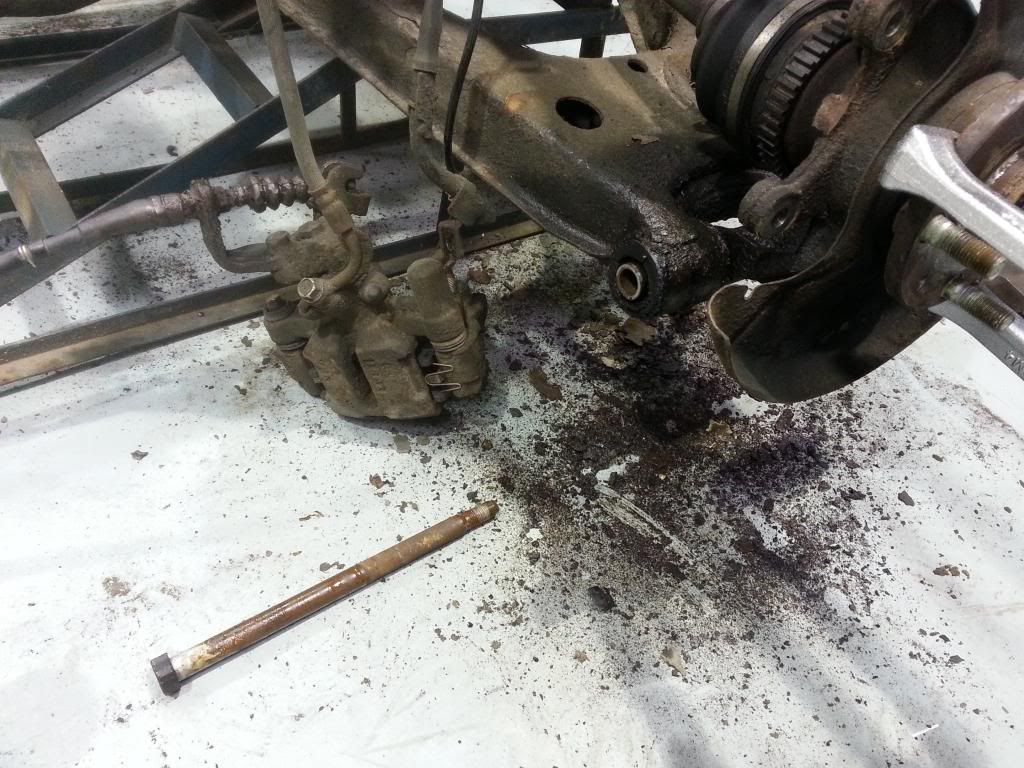 Rear suspension almost stripped. 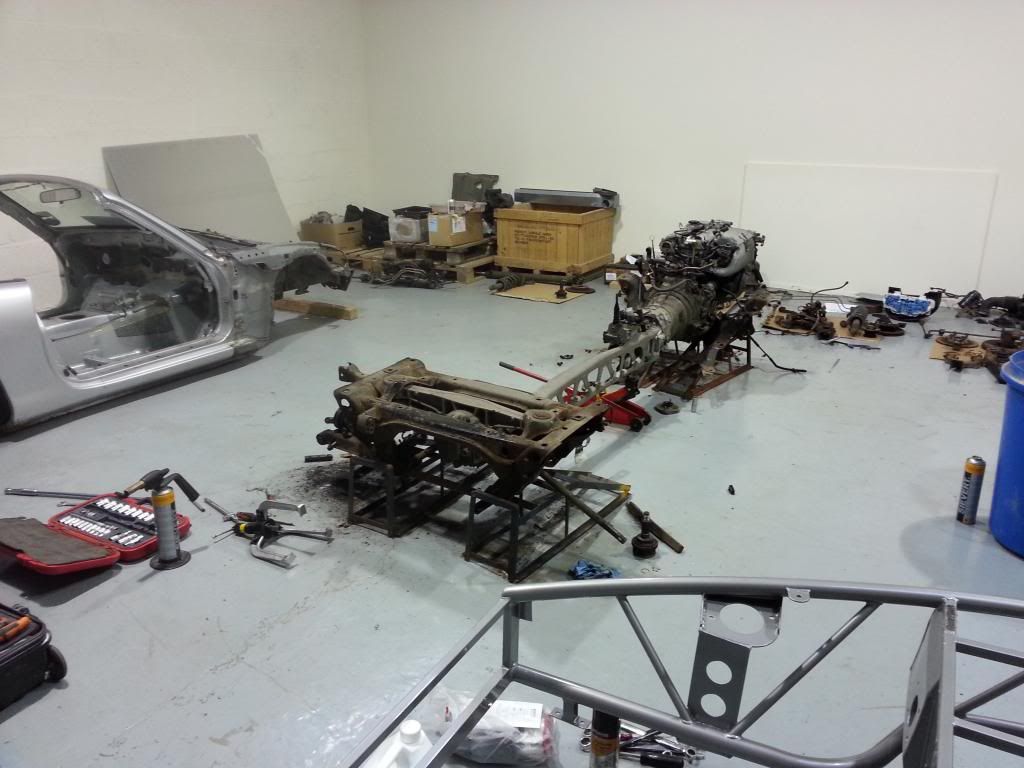 Not much further to go on the back end. Plenty of bits stripped, all suspension off. 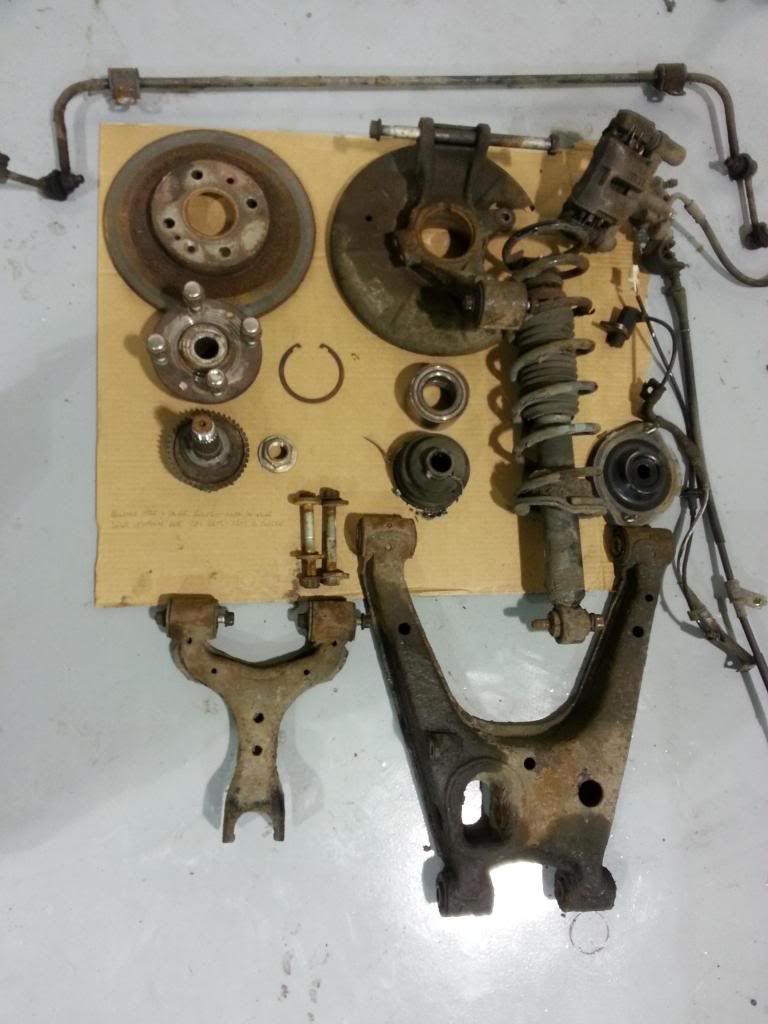 Diff and the rest of the back end/PPF to be finished off next week some time. |
|
|
|
Post by gnc on Feb 10, 2013 23:58:17 GMT
Have read on a few mx5 forums that the rear dust guards shouldn't be taken off unless they are damaged but don't give a good reason why.
New ones are readily available quite cheaply so I cannot think why not. It would seem much easier for coating if they were taken off.
Has anyone had any problems with fitting new units or is it as simple as it looks?
|
|
|
|
Post by gwnwar on Feb 11, 2013 0:13:13 GMT
FYI.. the front bolt holding the PPF to the rearend has a sleeve that center the PPF.. When you tighten the bolt it forces it up into the block on the diff. You can tap it down from top when bolt is removed or install a long bolt 14mmx1.5mm up from the bottom screw into sleeve and pull it down.. Don't remove the pressed in nuts on top of PPF..Nice work shop you have..
|
|
|
|
Post by gnc on Feb 11, 2013 19:36:48 GMT
Thanks gwnwar for the info, the ppf should be being separated any time soon so it's good to know. Unfortunately we can't get enough time in at the moment, really want to get everything stripped so the parts can be cleaned up but work stops play !
|
|
|
|
Post by gnc on Feb 24, 2013 10:16:28 GMT
Time to split the PPF! First part removed was the rear subframe. A little bit dirty but generally sound. 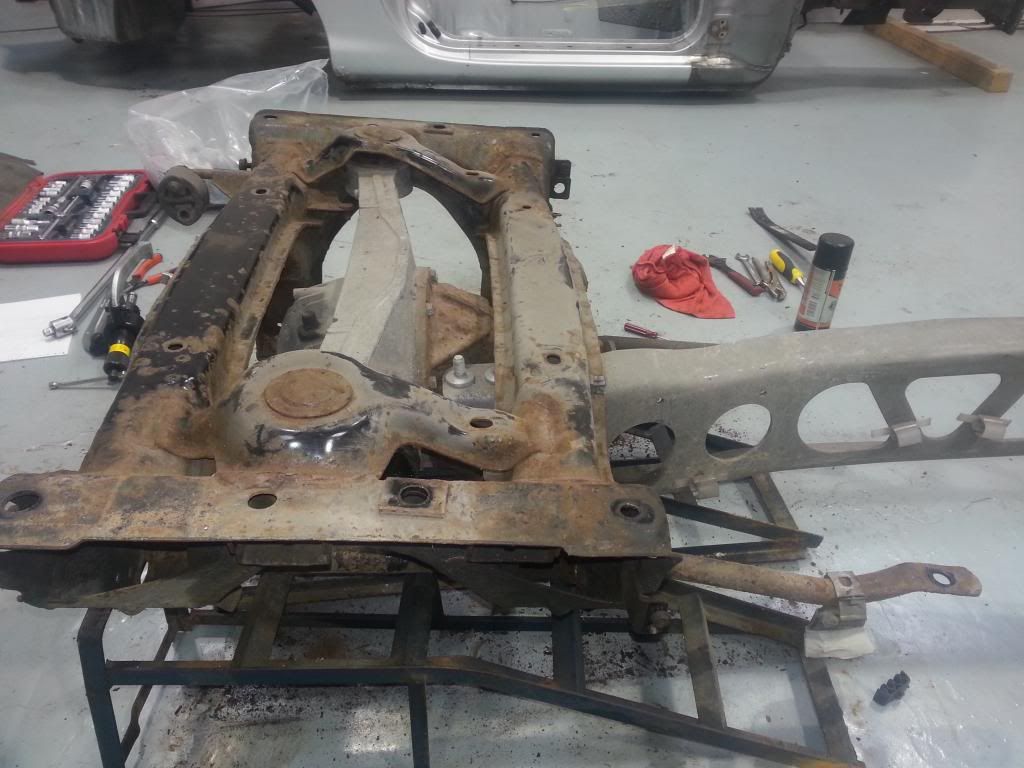 The diff now ready to be removed from the PPF 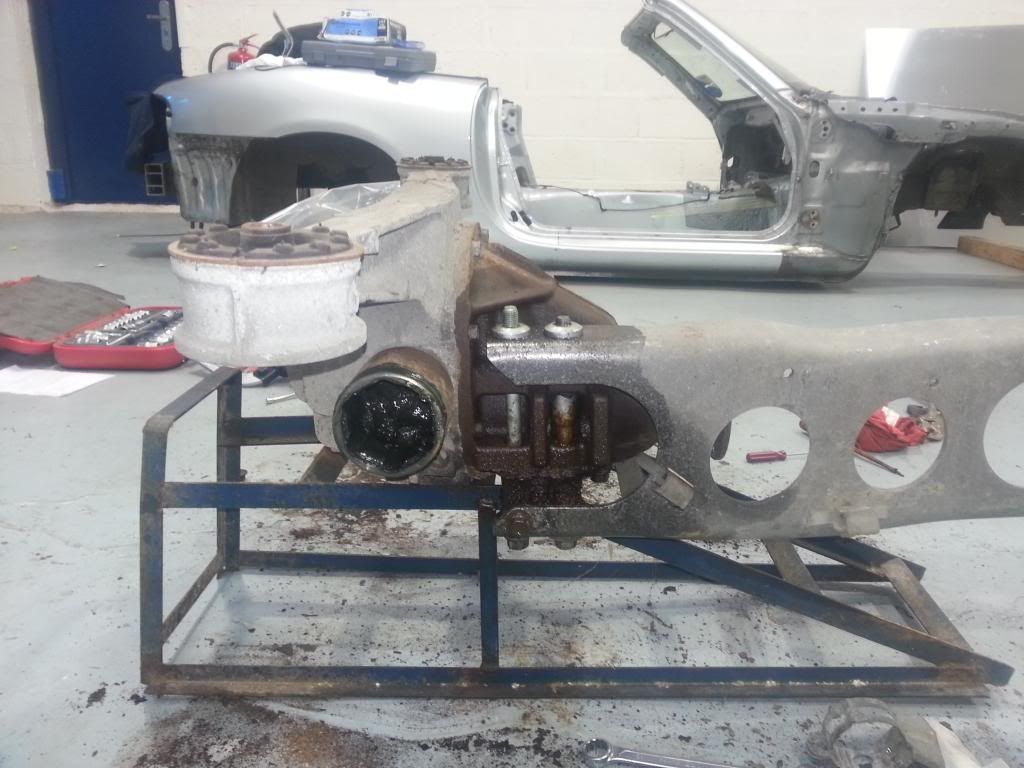 The bolts and spacer seperated relatively simply 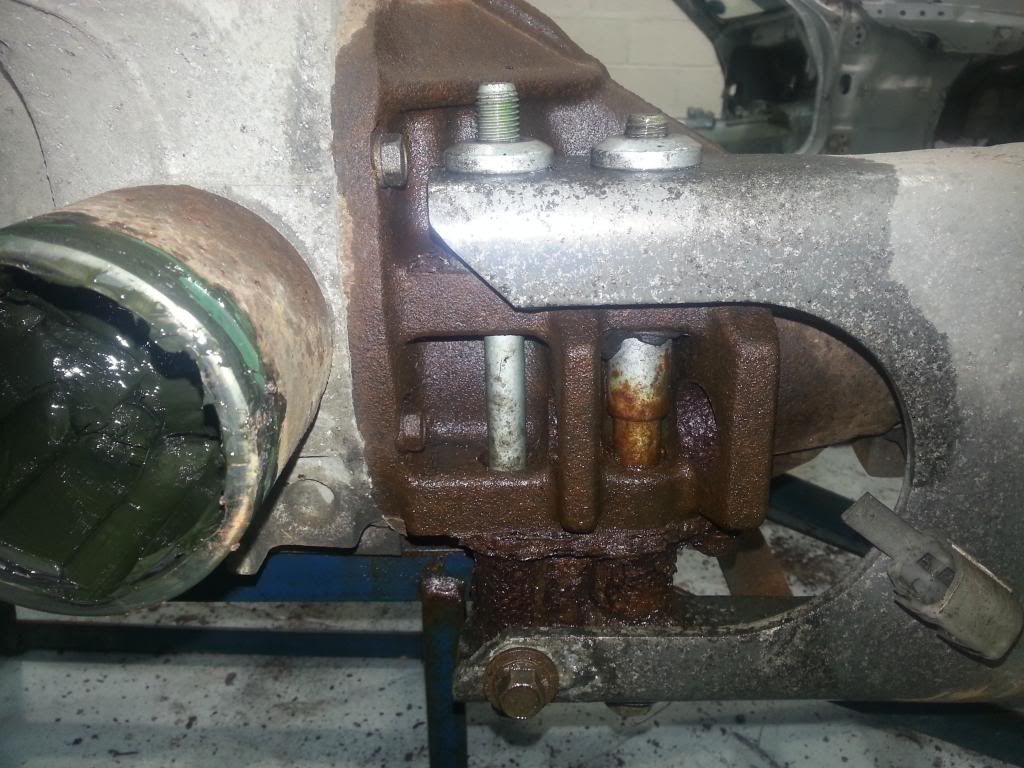 But the lower PPF spacer was a totally different issue altogether. Levers, oil, heat, steel on aluminium was NOT going to shift so..... Tapped the spacer with an M16 x 2 tap, used a series of extractors and it was, after immense effort, OUT!!! Round to the engineering company next door to make a new one  |
|
|
|
Post by gnc on Feb 24, 2013 10:24:30 GMT
Spent a day (or part of it) getting things ready for shot blasting. Did what us boys do best....... Man plays with Fire!! 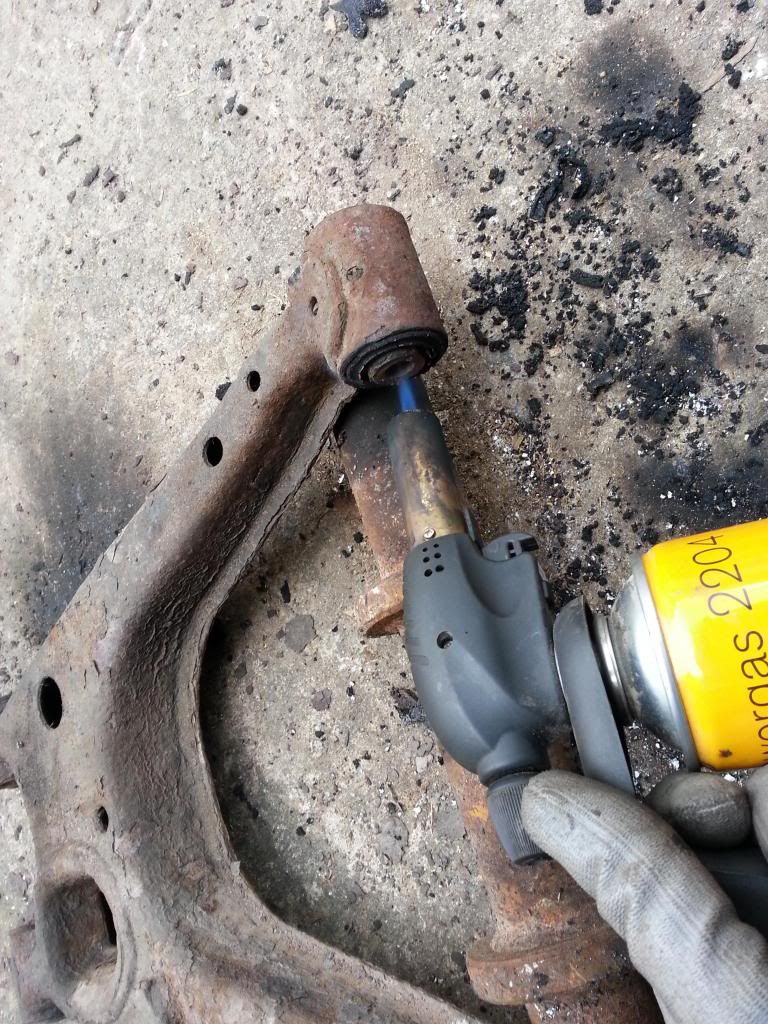 Did nothing but burn the bushes out today, but a job well done. |
|
|
|
Post by denisbaldwin on Feb 25, 2013 11:00:25 GMT
This is a sweet build! Thanks for taking the time to document all of this. It's going to help me a lot when I do my build.
|
|
|
|
Post by welshy1 on Feb 25, 2013 18:59:20 GMT
For the dust guargs they are not needed, one of the front wing stays bolt into the the holes for the dust guards and the rears need to be removed due to the rear wing stays best to just bin them. The only purpose of them is to limited rusting to the rear of the discs but as these are fair weather cars not going to see much rain.
Build is going well nice unit you got.
|
|
|
|
Post by gnc on Feb 25, 2013 22:13:48 GMT
Had a phone call from Stuart today to tell us the fibreglass will be ready for collection from Thursday, haven't been in any rush for it but will be good to see all the parts together.
Still not decided which parts of the suspension to do in which colour.
Decisions decisions.
Thanks for the dustguard advice Welshy, thats some new parts to take off the needed list. Every little helps.
Denis, will try and give as much information as possible from this point, so far its just been creating a few piles of parts. Will try and detail all the bits we repair, replace or modify as we go along. Thanks for the kind words.
|
|
|
|
Post by importcars on Feb 26, 2013 15:36:25 GMT
I am just amazed with the rust on the chassis components. Only being a 10yr old car. It looks like our 20yr old cars in mid-western USA. Yours is very nice compared to other older Miatas I see on here. But, just amazed how badly rusted everything is to begin with, and how well everyone is bringing them around to being really nice after.
Great work so far. I hope to order a kit sooner than later and tear my NB apart.
Adam
|
|


