|
|
Post by boyracer on Jul 21, 2015 21:38:07 GMT
My Exocet is for sale if anyone is interested.
|
|
|
|
Post by adelaideexocet on Jul 22, 2015 8:15:11 GMT
Sorry Lou. I think I'm going to enjoy the build on mine now that the frame is ready. All the best with the sale mate
|
|
|
|
Post by boyracer on Aug 3, 2015 8:29:03 GMT
Evan, can you please give me a call??
|
|
|
|
Post by Phil on Sept 14, 2015 13:53:08 GMT
Howdy - been a while between drinks. Sadly it seems Exocet Australia has folded, but the build goes on. Exhaust saga continues as pic below shows cut to right length and re-welded, but still a clash near diff. The gap that needs to be threaded is too narrow - needs more comprehensive re-routing - bummer, move on to another task for now... 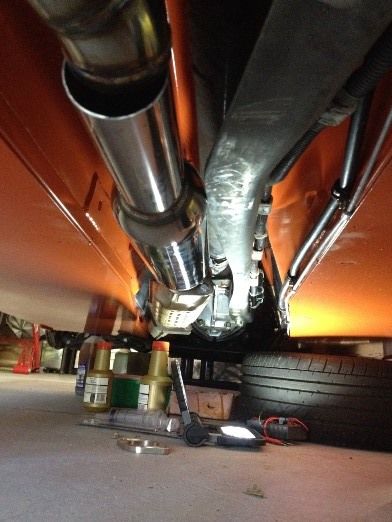 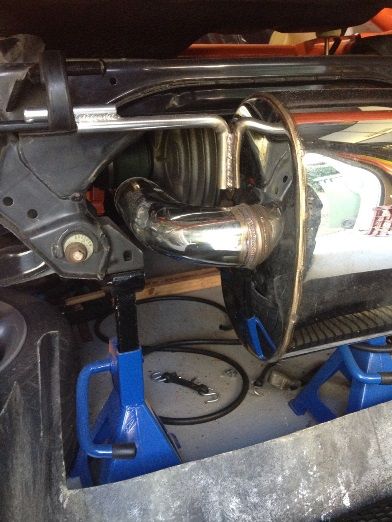 |
|
|
|
Post by Phil on Sept 14, 2015 13:56:41 GMT
|
|
|
|
Post by adelaideexocet on Sept 15, 2015 0:23:39 GMT
Looking good Phil. I'm running into a similar issue with my exhaust with the resonator. I'm thinking of shaving about 2-3mm off the PPF. I ended up getting a small 9inch bridging pipe to deal with the gap that I had this means that the pipe is actually routed reasonably well except where it is to close to the PPF as stated.
That dash will look like the ducks nuts when it's done, I probably should start a build thread too, but with both you and James (WA) doing one I have a feeling it might just be rehashing some of the stuff you guys are doing.
I've also joined my local clubbie association and they have been awesomely helpful!
I'll stick up a pic of my exhaust gap if I can figure how to do it from the iPad!
Chat soon
|
|
|
|
Post by adelaideexocet on Sept 28, 2015 0:49:09 GMT
Hey Phil did you need to cut your rear panels (the ones behind the seats) to fit? Mine need a bit of trimming to actually get into the space that they're meant to go.
|
|
|
|
Post by Phil on Oct 12, 2015 10:09:09 GMT
Hey Phil did you need to cut your rear panels (the ones behind the seats) to fit? Mine need a bit of trimming to actually get into the space that they're meant to go. Hi Evan, good to hear your build is moving ahead. Yet to start your blog ? Your profile pic looks good, esp wheels. They are pretty much last on my list - any learnings you have about rim size, offset, spacers, etc ? As far as I can tell, 16" with 25mm or 32mm spacer is the go, but I have yet to work out mud guard mounting arrangement, so don't want to invest in wheels before getting my head around guard mounts. Any how, plenty to do in mean time, brief update below ! all the best for now, Phil PS rear panels fitted fine - just minor filing needed. I did custom petrol-tanker style overlapping circular polish finish then clear lacquered. Overkill probably, eh ! |
|
|
|
Post by Phil on Oct 12, 2015 10:15:54 GMT
Hi again, intermittent input of late. Bonnet config done (went back to basics after various attempts to make my own hinges).... Also, headlights mounted which have given me some mojo as the car now seems to have a degree of personality - I can finally look it in the eyes ! 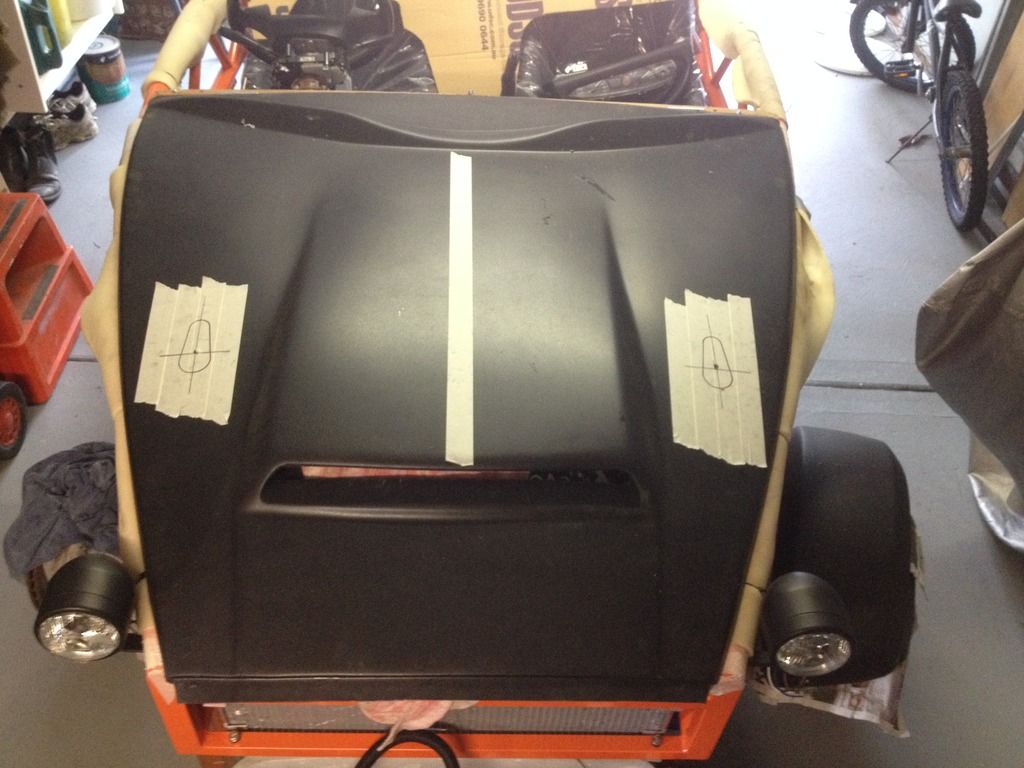 |
|
|
|
Post by Phil on Oct 12, 2015 10:34:01 GMT
Also been chipping away at panels. I found taking direct measurements off the space frame a bit tricky to do accurately due to the curves and 3D complications, so took photos with reference scale and then dimensioned panels off digital photos, cut cardboard templates then refined, cut, refined, cut, etc then transferred shapes to large CF sheet and cut production panels when happy. Intention is to bolt through to carbon film wrapped internal perspex sheet using flush mounted flat headed joinery / allen key (ikea-style) screws. Nickel gal, so I hope will last a little while. Made mistake of buying 20 x 80mm long half thread connecting bolts (nearly $100) with intention of cutting back thread, but there's not quite enough thread remaining on shaft, so have to buy 50mm long fully threaded bolts and chop about 10mm off. Also note in pic bonnet clips on, loom starting to go in. 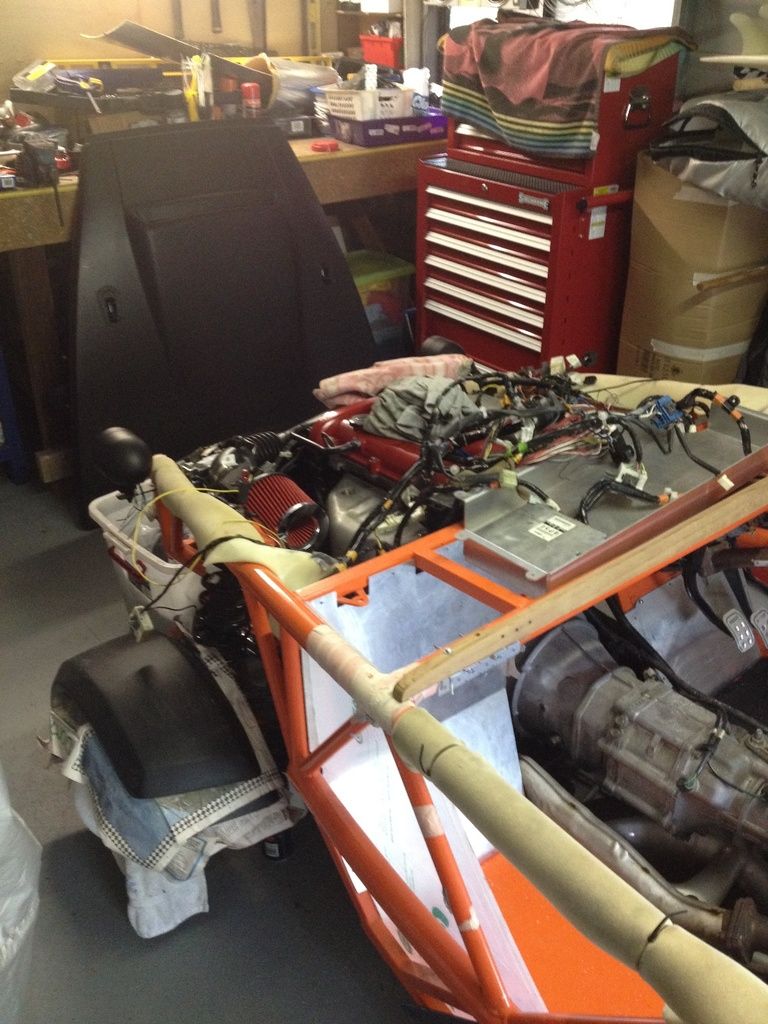 |
|
|
|
Post by Phil on Oct 12, 2015 10:56:24 GMT
Panels in process of fitting. Upper shot gives the idea of design intent, although loose and not yet positioned 100%. 5 panels in all. Will see how end result looks / drives before deciding on need for other infills - not really intending to drive extensively in wet, plus I quite like the naked / exoskeletal look a la aerial atom. Lower shot is before final perspex trimming, covering with carbon wrap, etc. 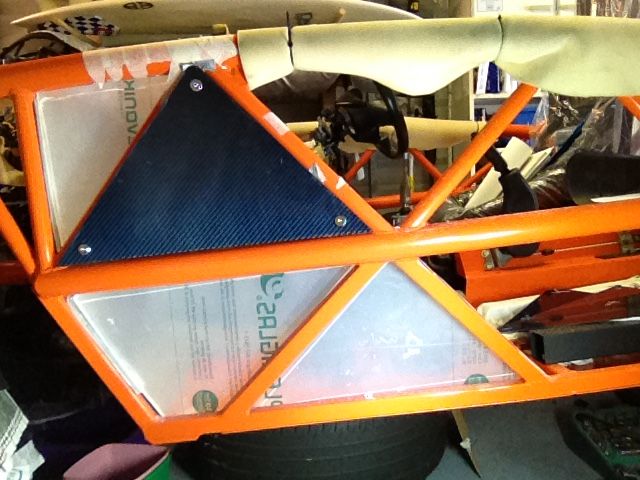 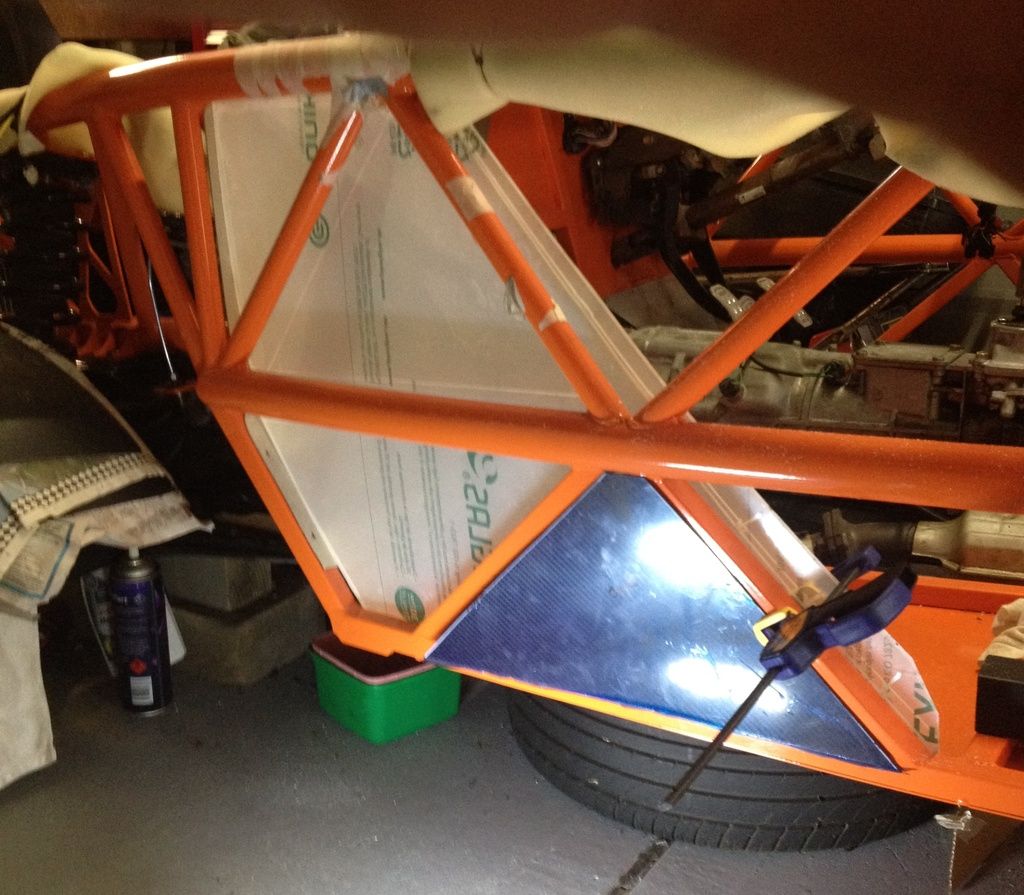 Cutting internal perspex to shape. Next is to drill through-bolts to external plates and carbon wrap internal. There's actually potential to cut out recesses in internal facing to create storage compartments, but I might save that for another life ! 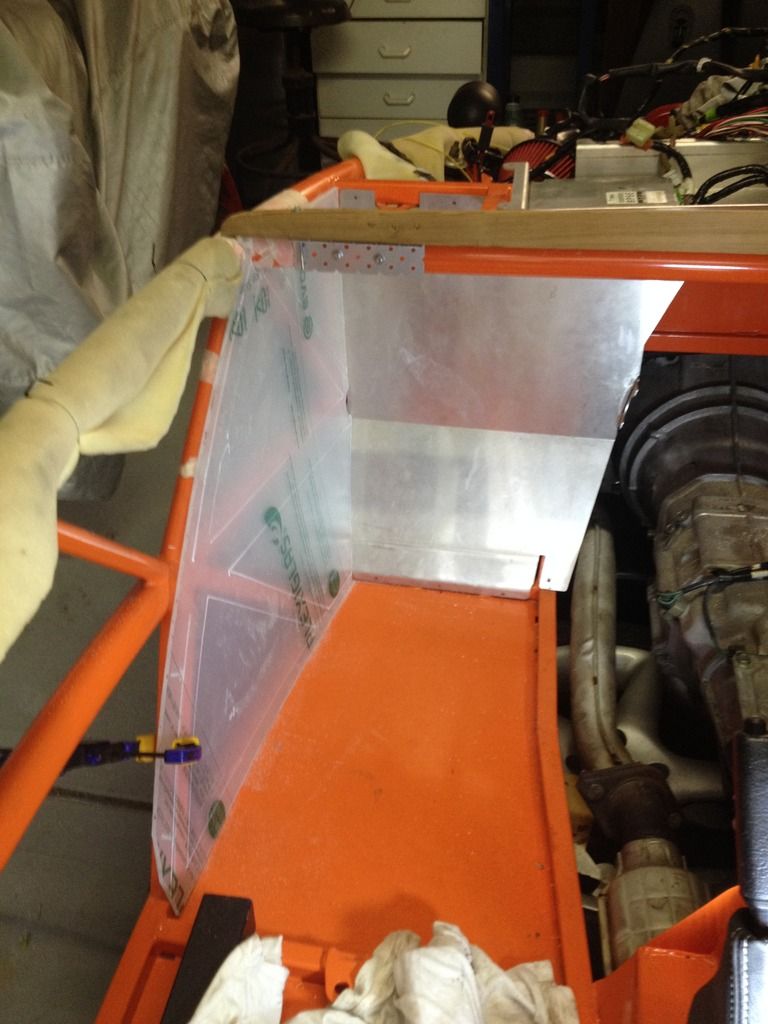 |
|
|
|
Post by Phil on Oct 12, 2015 11:12:32 GMT
Actually, while I remember, I did find some wicked orange and black carbon+kevlar hybrid plate in the US which I think would have been pretty damn cool but raw material and freight arrangements were very $$$ and I couldn't bring myself to do it. Eventually bought CF plate (1.5mm external panels, 3mm dashboard panels) from shanghai at half cost and postage at 10% cost (huh ?!) Here's the orange/blue/red stuff : www.rockwestcomposites.com/browse/raw-material/carbon-kevlar-hybrid-fabric |
|
|
|
Post by jgilbert on Oct 12, 2015 23:11:50 GMT
Phil, Liking the Orange and Carbon look  How about sandwiching your carbon wrap between two sheets of perspex. This might give a good 3D effect? |
|
|
|
Post by adelaideexocet on Oct 13, 2015 10:56:02 GMT
hi Phil.
Looking great as always and thanks for the comment on the wheels , as for the spacers/rims etc. I am modifying my guard mounts to be about 20mm further inboard than most others. The reason for this is that although in SA registration with wheel spacers is legal on an ICV (as long as they are bolt on) the trouble is that motor reg has specified my front and rear track which is only 25mm above stock, so I can't fit the recommended spacers until after registration.
The wheels that I am running are just standard MX5 Enkei rims from a mx5 sport model they are 15"x6" and I will run 205 tyres on them. I have painted these matt black to see what they look like and I kind of like them so I'm going to get them powdercoated soon. I also have a wider set of 16x7 that I will probably use for road use and use the 15" for track and hillclimb use.
Dunno about doing a blog, not a lot of new stuff compared to what everyone else is doing. I'm just keen to get it on the road now that some of the nicer weather is here! But new baby has slowed progress
|
|
|
|
Post by Phil on Oct 25, 2015 2:01:52 GMT
Howdy Firstly thanks Evan for wheel info. Figuring I'll get onto this after electrics, mechanicals. Thanks also john for carbon comment - to be honest the time and labour involved in getting to stage shown in the pics below has been enough without adding in more layers! Also, weirdly, perspex is actually quite expensive - about a third of the price of the thin carbon sheet I bought... A couple of recent learning's along the way for others: 1. Perspex is a weird material to work with - can use grinder (1mm steel cutting disk) for cutting (a bit smelly) but when drilling it basically turns more brttle - almost like working with glass. This included issues with biting, spalling, splintering and cracking, even when using multiple pilot drills. Best results seemed to be going slow with blunt drills or slow with conical hole opening tool. interesting thixotropic behaviour. 2.when using expensive carbon wrap, take the extra time and effort to squeeze out bubbles before applying heat. I had trouble getting rid of cold bubbles on the transmission tunnel 'cos the ally panels were very flexible and I just seemed to get into a vicious circle of chasing them around only to have others appear. Subsequent heating then turned small remnant bubbles into big bubbles and made invisible bubbles into real bubbles. Bugger of a time with overheated hands working under hair dryer chasing hot bubbles around and evenutally deciding that the best option was to pop them with a pin. Ended up with scarred wrap in places :-( 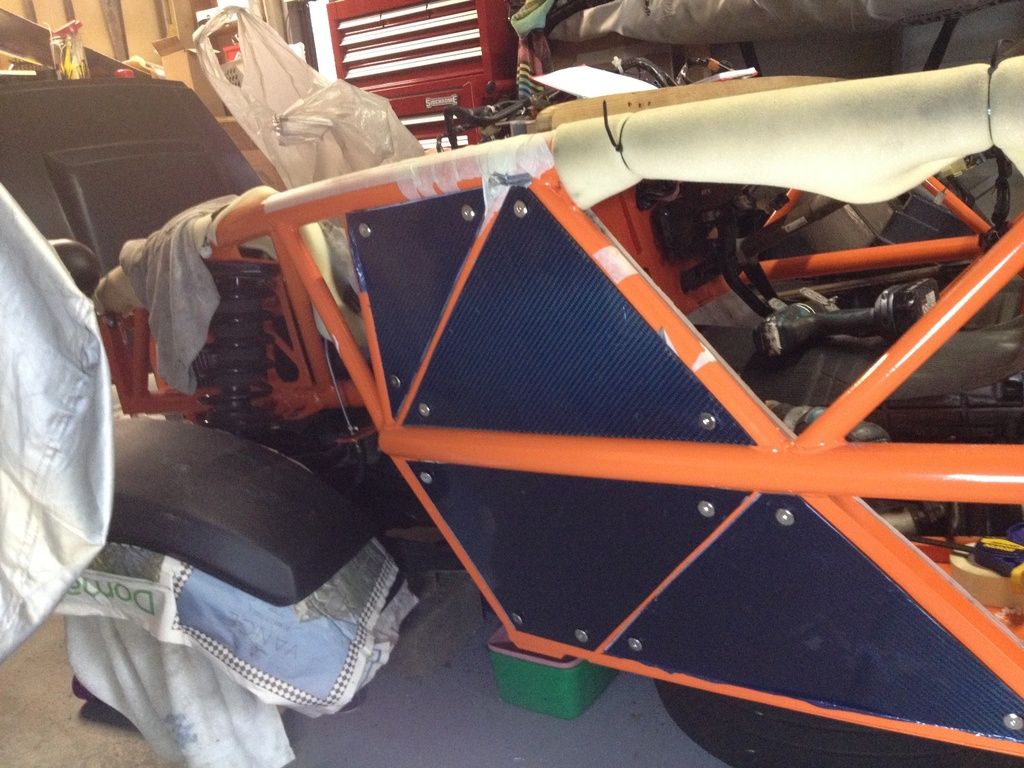 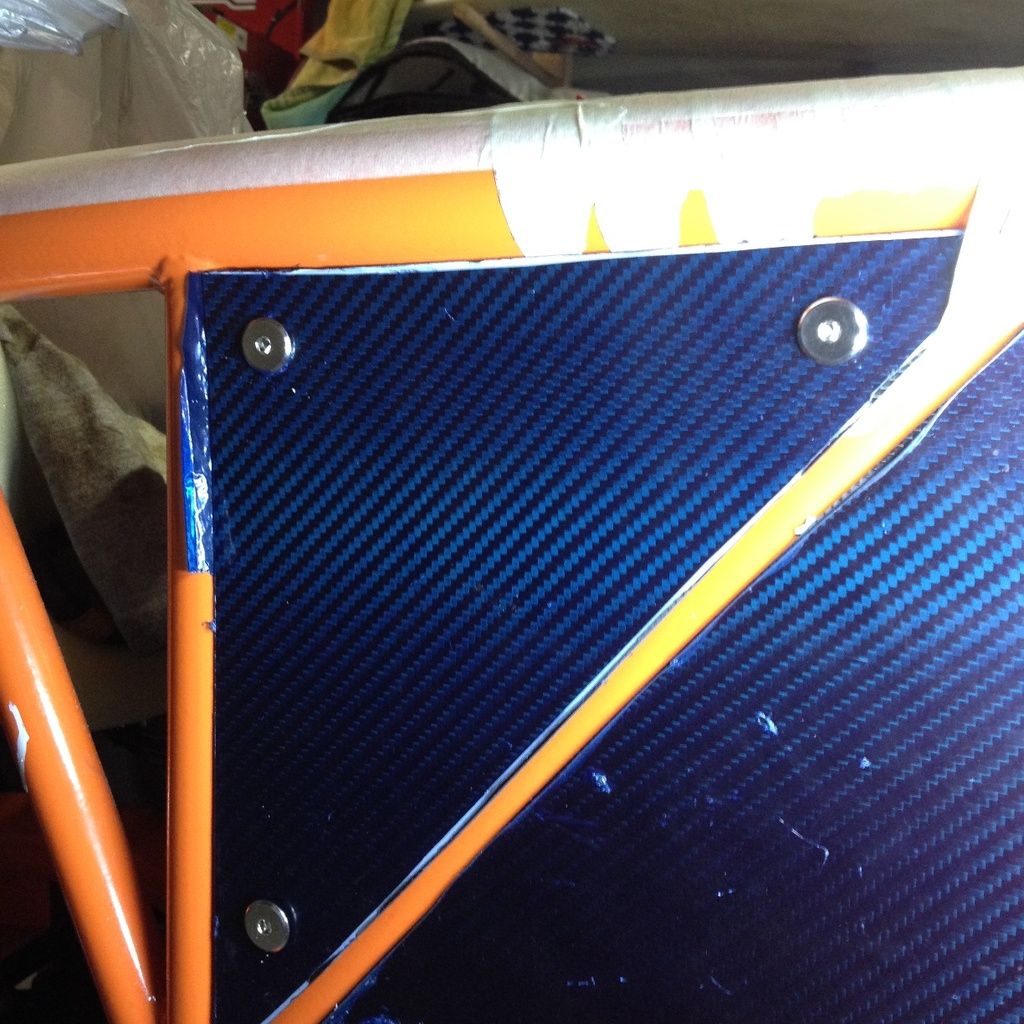 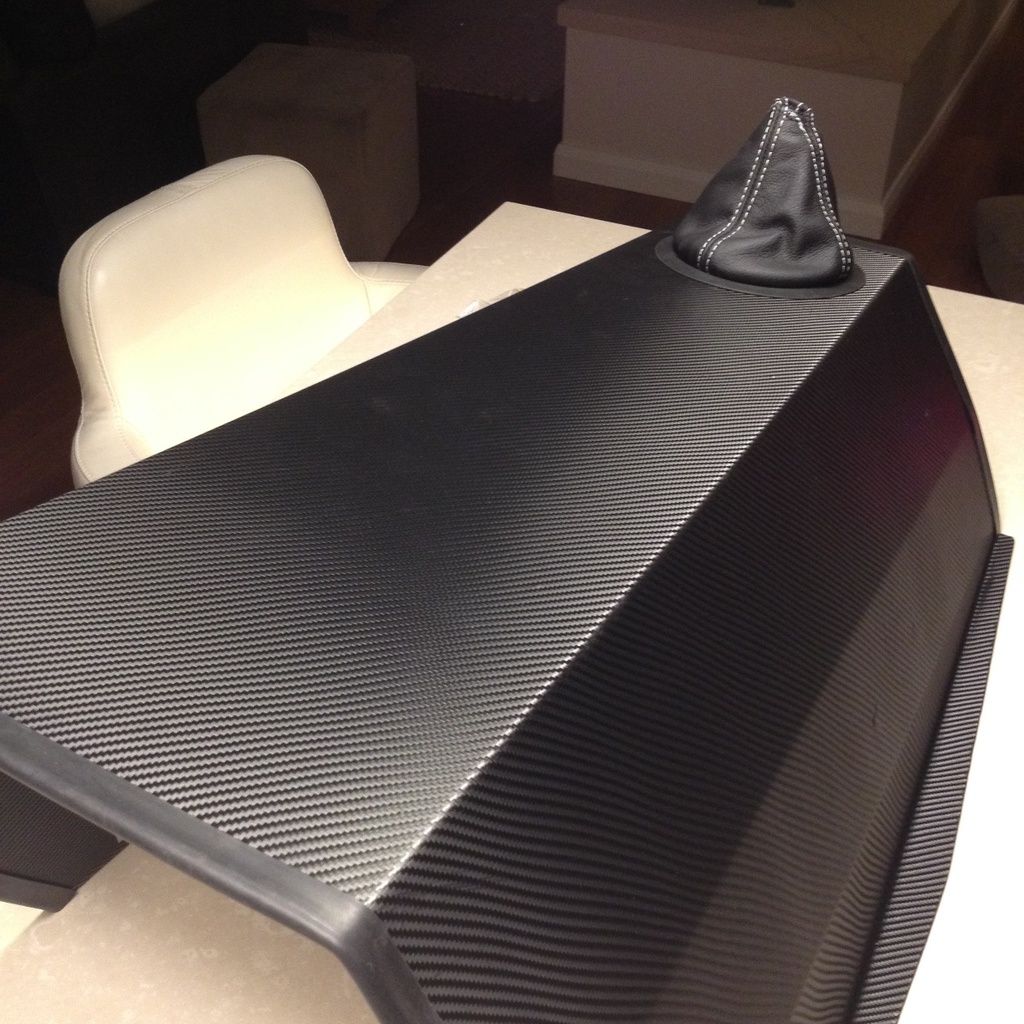 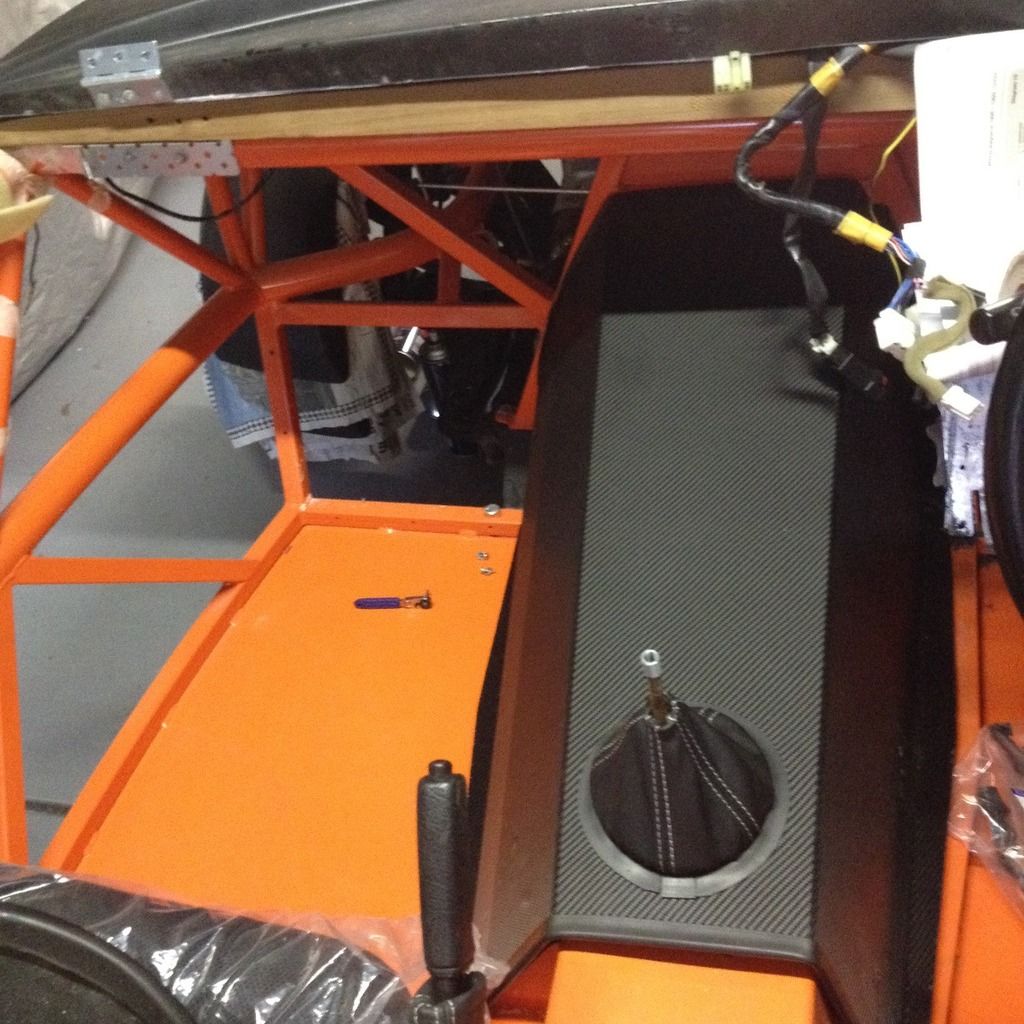 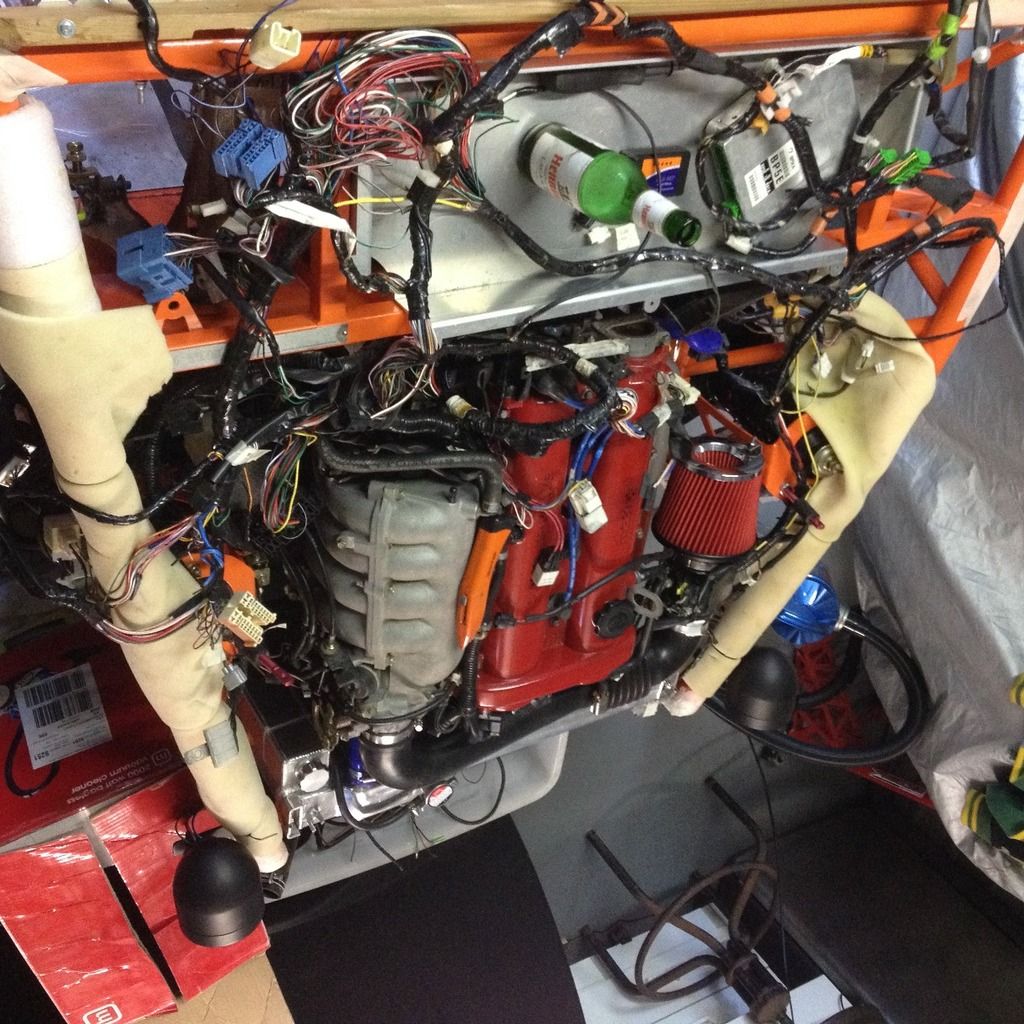 |
|