|
|
Post by erik on Oct 30, 2013 21:26:59 GMT
As promised. the steering wheel is positioned as far forward as possible. Now the steering column can be cut to lenght. Will use a piece of the An400 steer as a pipe to weld the steering colume to the desired lenght. Scott helped me out on the bushes and bracket issue and hope to get some more work done early next week when i have gathered the bolt list on the wishbones,throttle cable and brake cilinder linkage. greets! Erik btw, I notices Roger's throttle disc is rotating counter clockwise and mine clockwise. the throttle cable will be facing downwards  front bracket seat 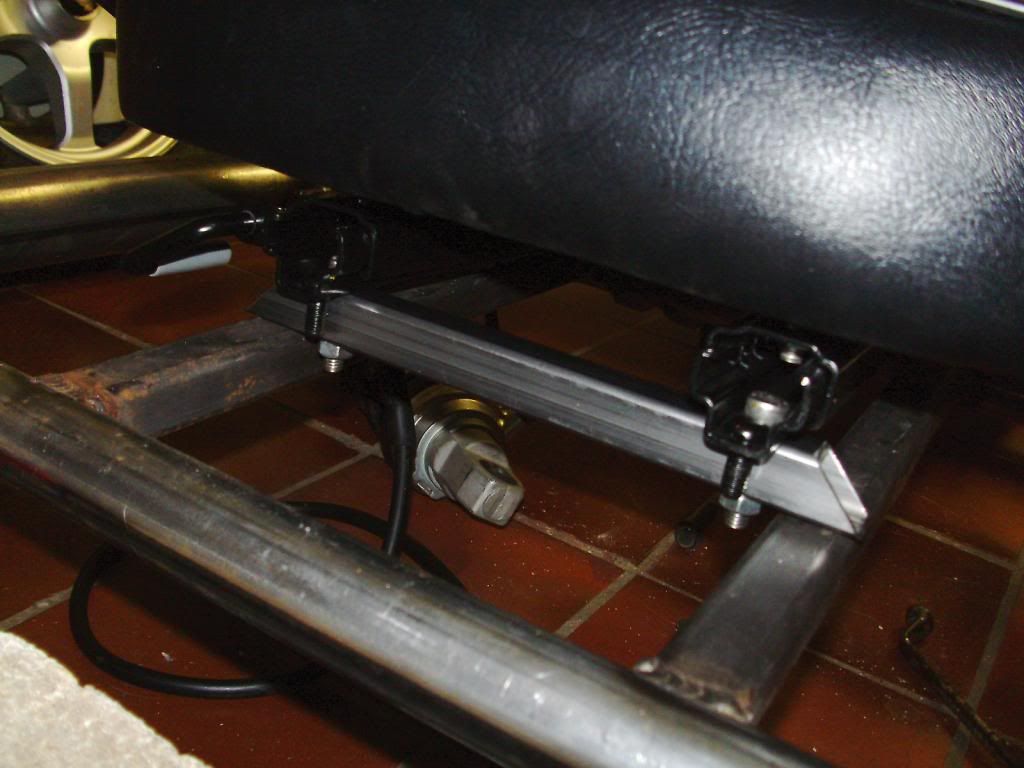 rear bracket seat 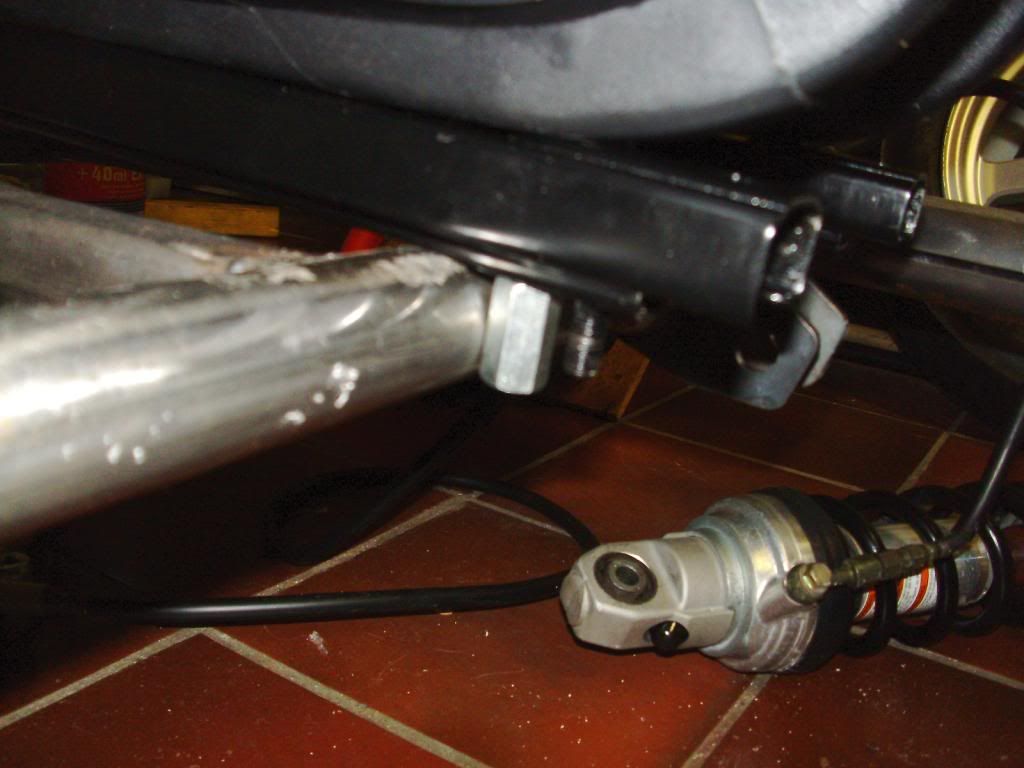 bottom view seat: 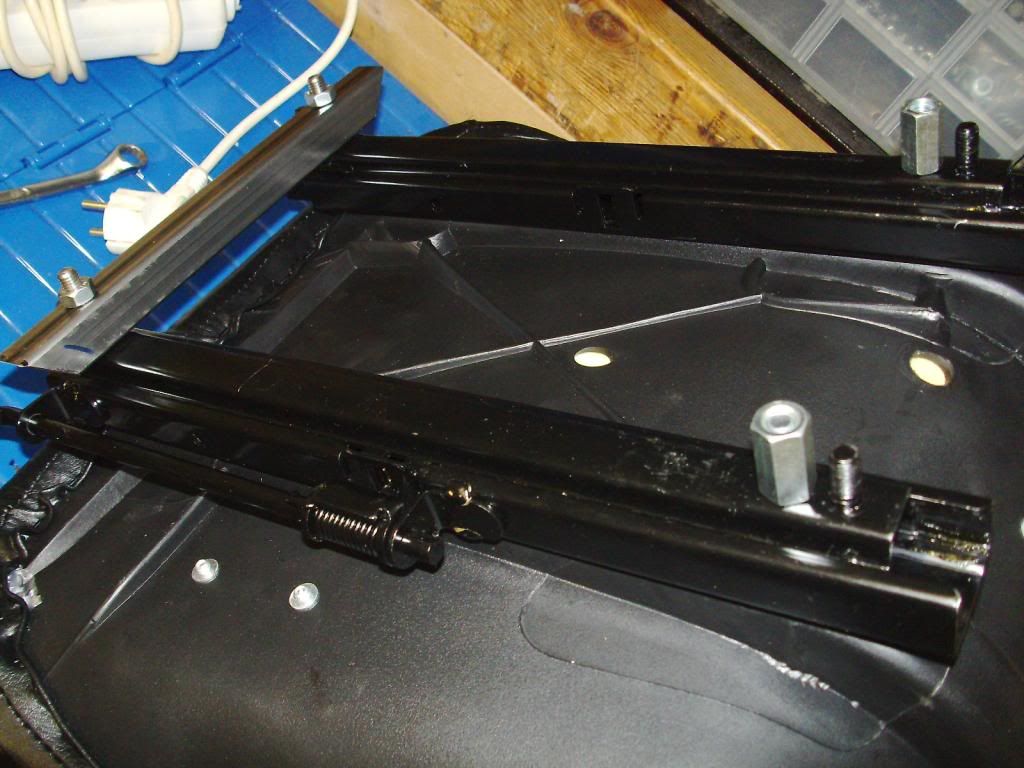 brake cilinder 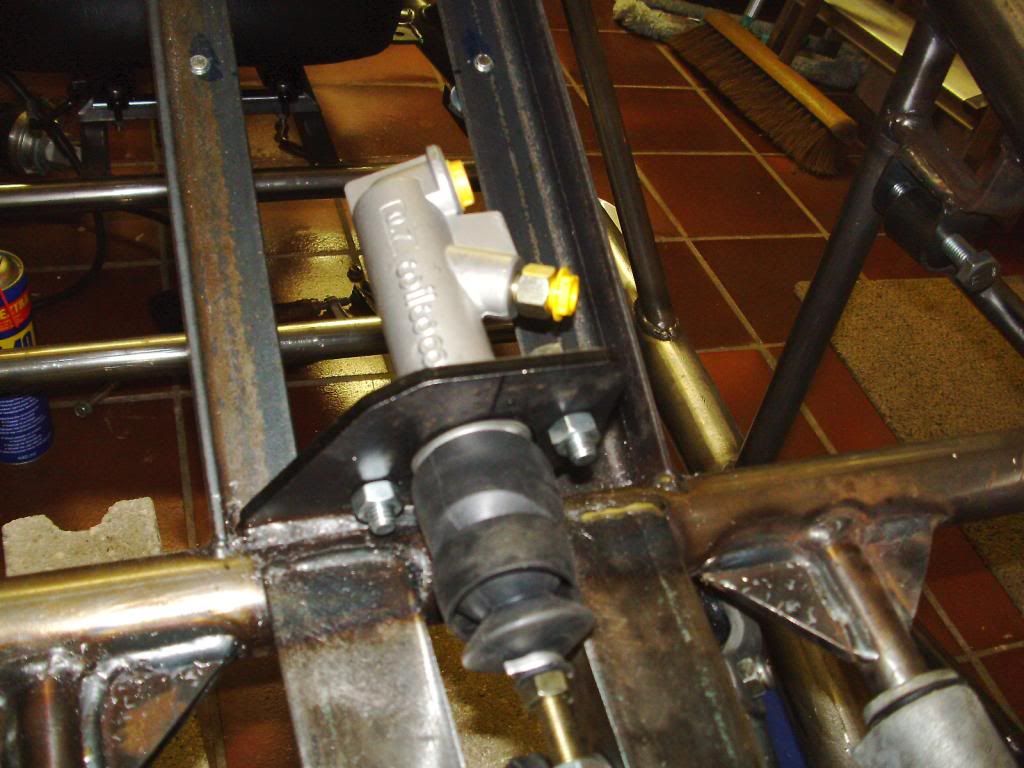 console trimmed 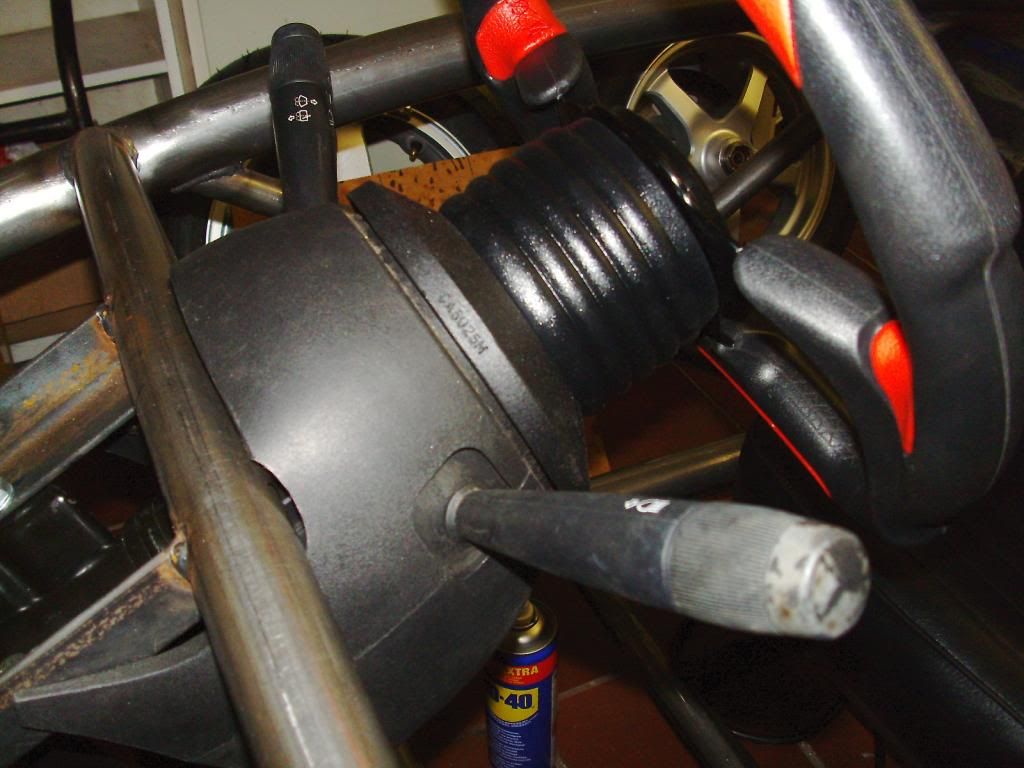 blue key 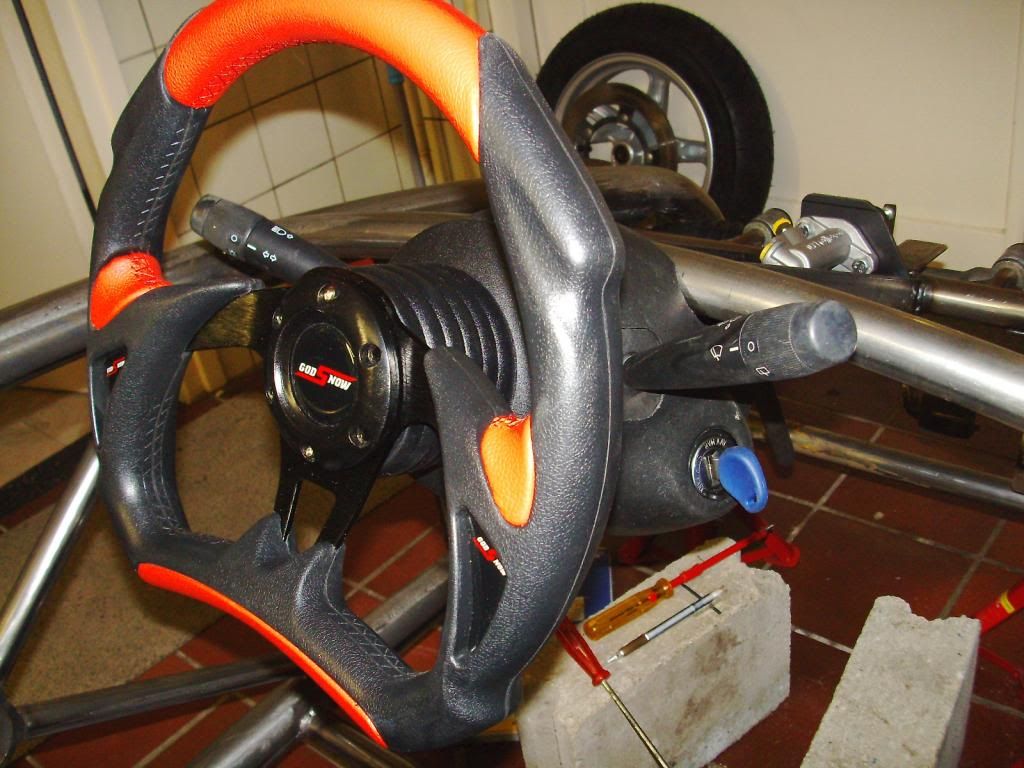 overview 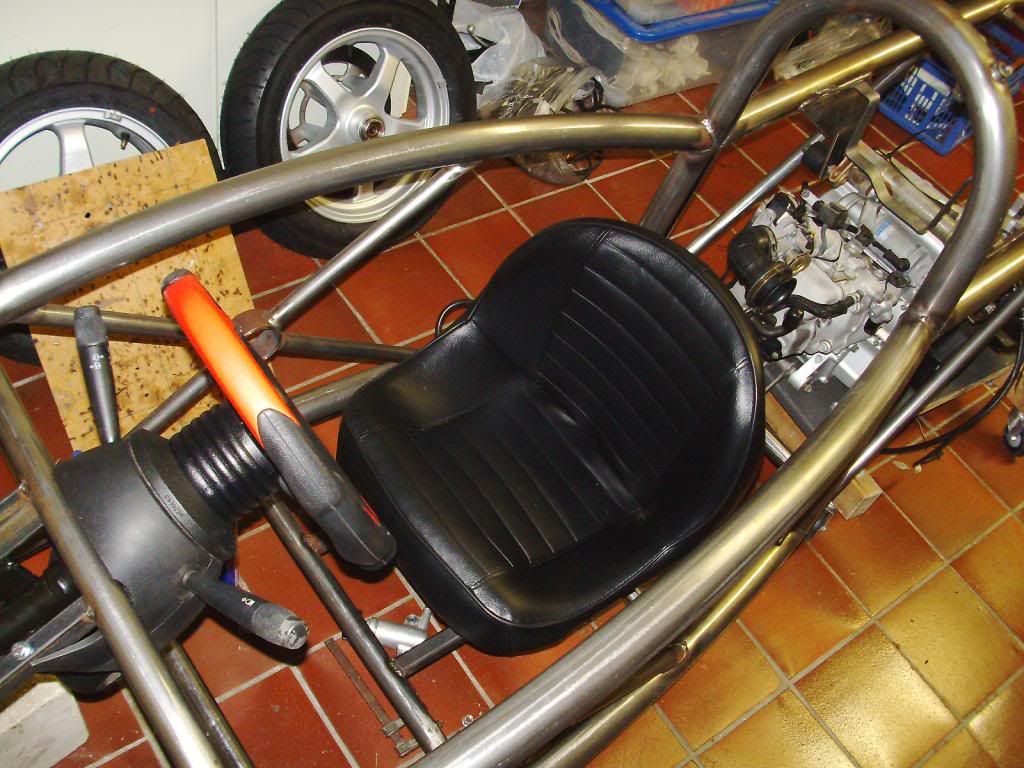 |
|
|
|
Post by erik on Oct 30, 2013 21:41:37 GMT
Notice the front seat bracket acts like a spacer as well to angle tthe seat in the best position. The extended nuts will be a fixing point on the chasis next to the shock brackets.
|
|
|
|
Post by roger32849 on Oct 31, 2013 0:42:25 GMT
Erik
Looking good on the project. I like the steering wheel and how you trimmed the console. I believe you might get caught up rather quickly. This is probably an easier job after doing the TR1KE. On the throttle comment. Mine pulls from the top rather than from the bottom. I am not sure on the rotation. What are you using for a seat? It looks comfortable.
Roger
Worcester Massachusetts
|
|
|
|
Post by erik on Nov 1, 2013 21:02:09 GMT
Hi Roger,
The seat is kreidler FunKart bucket. This is a street legal kart without suspension and the seat add the comfort I have been looking for. The mounting points and seat rails are spot on. However, I needed to raise the front by 20mm for comfortable angle unlike the exploded view on the Funkart shows.
The bucket is wery comfortable. Kart bucket seats appeared to be too small for my hip bone width and this seat is much more universal for Dutch sized people. Still the backrest could have been a little more higher for comfort tough.
Thx for your comment on the console.
I'm still a bit amazed how close the steering wheel is positioned to the driver. I'm not sure if i should maintain the console and stalks for this moment. I did use the original bike steering switches on my tR1ke and if I use them on the Exo as well the steering wheel can be moved forward quite a lot. This would simplify the wiring sheme to simplicity. Personally i don't have a good feeling using car indicator stalks in an open kitcar. I suspect them to show big electric problems when wet. the original bike switches have been designed to cope with rain.
I think I will have to make up my mind on the console later. As like my Tr1ke, I feel the Exo is a bike engined 3 wheeler and not a 3 wheeled car and like to honor the original bike concept as well so to simplify the concept, the bike switches do make sense.
Yes the build should be much easier as the tR1ke but the exo shows a few more challenges to deal with and I'm still puzzling on several details. When this is set it'll be a breeze.
Unfortunately, I'm not able to oder a lot of accesoiries before I know if Ican use an identical seatbelt as I used on my tR1ke. I may have to order a longer or shorter version. Having the tR1ke not here forces me to wait ordering parts to reduce shipping costs AND waiting time. Ordering parts from UK to Netherlands is snail mail. Because of this my tr1ke build took over a year to complete.
I just noticed simple throttle cable routing from the head to the front isn't that simple when a few hoses spoil a smooth curvature. Hope to get me some parts tomorrow to start on the pedals.
grreets!
Erik
|
|
|
|
Post by edvb on Nov 1, 2013 23:18:38 GMT
Looking good Erik!
I would like to see a picture of all the builders seated in their trike to get a comparison how far they are from the steering wheel. That give a good idea how their driving position is compared to others.
I must have the record for time as it took from February this year to sort out the frame and get all the tabs welded to the locations needed.
I do not plan to ride in the rain but I think the stalks will work ok. It is pretty close to what the other MEV owners have in their vehicles and I have not heard of too many problem so far.
Keep up the great work you have done so far.
Edward
|
|
|
|
Post by erik on Nov 3, 2013 19:27:40 GMT
Hi Edward, The steering wheel is a little closer to me as on your avatar witht he OMP steering hub fitted. I do reconsider to remove the crush tube when it's street legal if i cannot live with this position. same thing with the throttle pedal leverage. For my engine I had to connect the cable as high as possible for acceptable pedal leverage but the pedal travel could be 1" or so less. After I placed the bonnet I can see how much space is left to increase the top arm of the pedal. I do not hink the throttle body needs to be open for 100% to work 100% so pedaltravel might be spot on. I can modify this when street legal as well. yesterday I made the throttle cable and connected the throttle and brake pedal. It took me several hours to make this and it runs smooth like snot using an braided steel, nylon coated fishline. The end connected to the throttle body is routed to prevent throttle changes when bouncing on bad roads. This weekend I spend a lot of time trying to figure out the best position for the seat rails ,pedals and steering wheel. For this moment I think I have found the best positions me and my (smaller) girlfriend are happy with. Next step is to spot weld the new shock+seat brackets and get the rear on it's feet. Need to test my mig welding machine with filled thread first. I do hope I'll be not in need for Argon anymore. These pressure bottles are way too expensive for only a few brackets welding I am in need for. 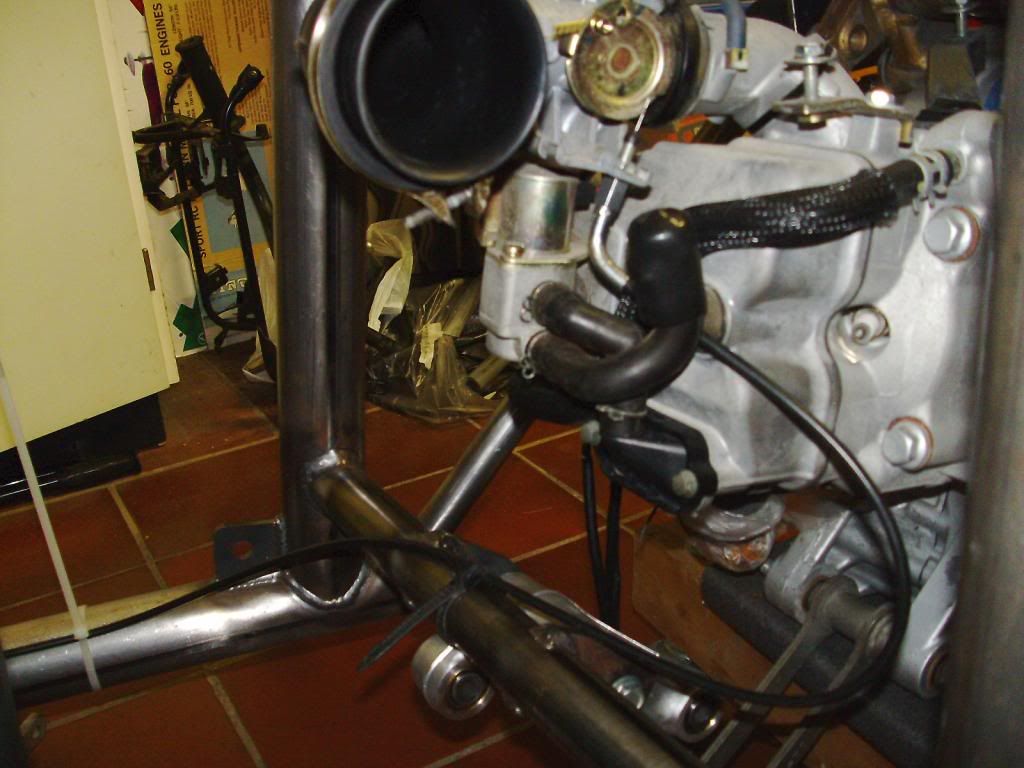 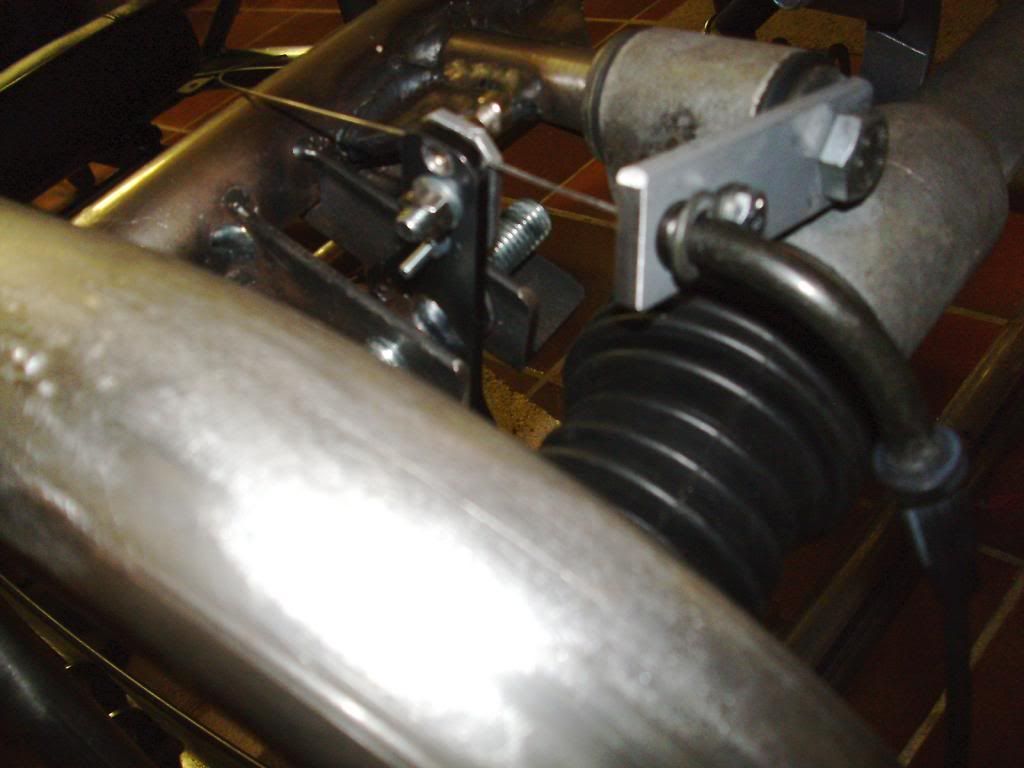 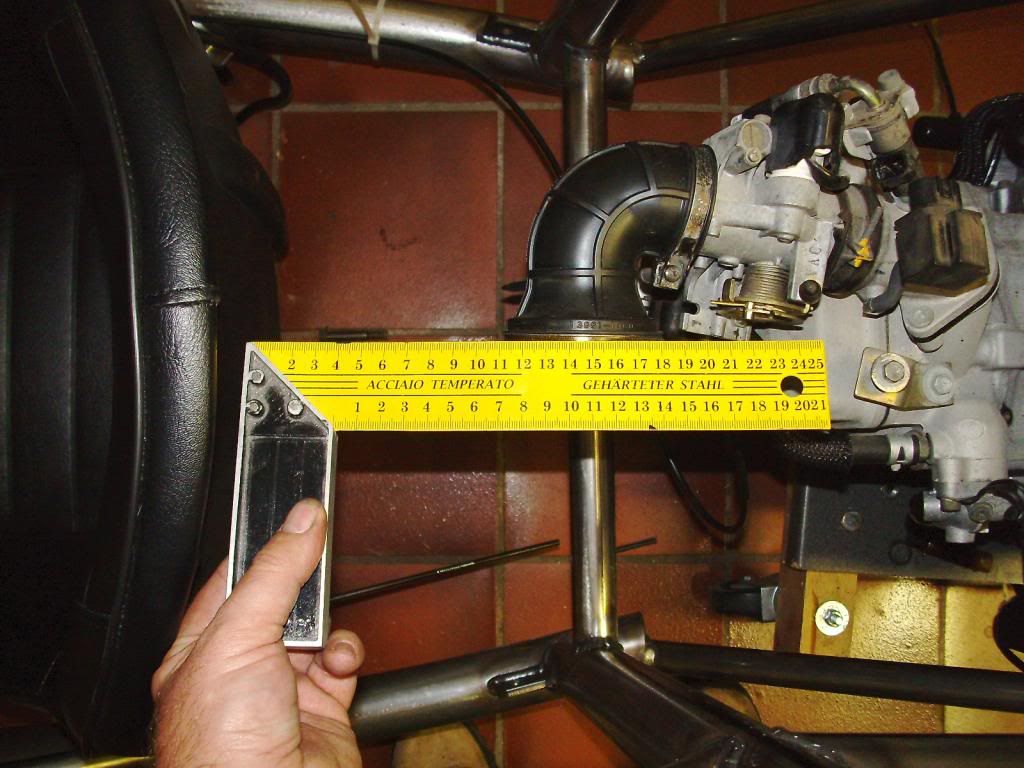 |
|
|
|
Post by erik on Nov 9, 2013 22:04:49 GMT
Hardly any progress made this week. The filled Mig wire didn't meet expectations so had to source a small 85/15 tank locally without hiring contract. The tank is still on order waiting to arrive.
Only managed to remove 1 rear shock bracket and preset a new bracket to be welded (thx Scott for the fast response and exellent service). I purshased a longer bolt and will use washers to position the shock lever.
Being a bit feverish this week made me clean up the garage only. The kit had to be placed in the corner for now because the tR1ke will be picked up on monday and needs to have a little maintenance.
br,
Erik
|
|
|
|
Post by roger32849 on Nov 16, 2013 13:06:52 GMT
Erik, I know what you mean by having the welder sub par. I had to buy new welder because the high amp circuit was not working. The new one (Lincoln) is great and best of all works on a low amp circuit breaker and wiring. I use15% Argon/85% Co2 and push it through at 12 pounds of pressure for most welding jobs. I bought a gas bottle for short money and I found a place to fill without a contract.
I am writing to see if you can post more pictures of your progress with your Eco-Exo. Ed tells me you have your other project at home and are working on it, but, keep in touch.
Roger
Worcester Ma
|
|
|
|
Post by erik on Nov 17, 2013 8:35:47 GMT
|
|
|
|
Post by edvb on Nov 17, 2013 14:25:03 GMT
Hi Erik Yes the third party really eats up the time. It is taking much longer to have my frame painted but it is in primer and getting there. I am at a standstill till I get my frame back. How come the seat needs to be replaced? Will you be using a different steering hub? That seems to take the most space. If I find the wheel too close after driving it for a while I will get a steering hub machined out of aluminum that does not have the collapsible insert. I could gain quit a bit that way. Once you get your bottle the fun starts with adding all those tabs on  |
|
|
|
Post by edvb on Nov 17, 2013 14:28:54 GMT
Erik
Can you post a few pictures on how you attached the throttle cable to the gas petal?
|
|
|
|
Post by erik on Nov 19, 2013 19:05:45 GMT
Hi Edward,
The steering column needs to be replaced. It's a tad to close for my liking. Moving the steering wheel forward gives more entry space as well. I don't think I'll change the steering hub. i like to use the steering lock and covers and it's likely they will be moved forward as far as possible. Not set in stone yet.
The bottle arrived. Unfortunately, the pressure gauge went defect inside it's body and had to be replaced. Strange enough, no signs of damage to this item and I've been carefull on this pressure valve assembly on the tr1ke project. when the tR1ke leaves the garage it's time to get on with the Exo again. Weather seems to get colder at the end of this week so no sign at all to drive her this year.
For this moment, I cannot get to the throttle pedal for pics. I bored a 6mm hole as high as possible and bolted a strip plate tot he top of the pedal. In between the pedal and strip a few washers have been added. Through the 6mm holes a cable bushing has been placed and the throttle cable is running through the bushing and the "fork" I made, simiilar as on the throttle body side. It would be better if the pedal was a little higher and the hole raised a tad higher as is possible now. This would reduce pedal throw ideally to match my throttle body movement.
|
|
|
|
Post by edvb on Nov 19, 2013 19:45:09 GMT
Erik
Are you replacing the steering column with a different model?
With the throttle cable let me see if I have this right.
The cable goes between the washers and through a hole you drilled into the cable bushing.
When you tighten the "fork" it squeezes the washers against the cable holding it tight. The cable bushing floats free and just keeps the cable centered. Is this correct?
Would you not want as much travel as possible on the gas petal without hitting the cross bar to have a better feel of the petal when making small speed adjustments? So long as you could get full travel I would think of finding the best height for that seems to be about the same spot the hole is drilled already.
|
|
|
|
Post by erik on Nov 20, 2013 17:11:33 GMT
I think the rotary disc on your throttle body might be a smaller size as mine is. My pedal travel is too much thus I need to make a higher located hole to reduce pedal travel to a more comfortable lenght.
the fork is: pedal, washer, strip. the hole above the washer is where the cable bush gets in. the cable runs in between the pedal and plate through the cable bushing. In the cable bushing a bolt fixes the lenght of the cable. The bushing and cable move free in this fork.
No, I will use the original steering column, only moved forward.
hope this helps,
Erik
|
|
|
|
Post by erik on Nov 23, 2013 21:15:00 GMT
Ok. Not done anythhing on the Exo lately exept reworking the tooling. I picked up the bottle and the flow gauge appeared to be defect. Luckely the hardware store was very helpfull to supply me a new gauge. The welding machine has been fixed now 100%.
Today i received the documents for the tR1ke and I will be able to get her insured and plated in short time notice. Then I will be able to make place in my garage and continue the Exo project.
i did remove one seatbelt from the tR1ke to testfit in the Exo. if the lenght is correct I'll do some shopping for the accesoiries and hope to reduce shipping costs.
br,
Erik
|
|