|
|
Post by jgilbert on Feb 22, 2015 16:44:28 GMT
Been finishing a couple more fiddlely bits over the weekend on the interior, Surprising how long this takes. So fitted my savage rear fog and hazard switches in my centre console, keeping it simple for the IVA. Then fitted a carbon ring to the opening for my gear lever. I was planning to get a vinyl gaiter but as luck would have it the gear level rubber gaiter fits the carbon ring cut out perfectly, Look quite business like so I may just leave it as it is and paint the white plastic ring black. Also cut in my handbrake panel, needs a bit more work on the handbrake cut out. Happy with the overall result. 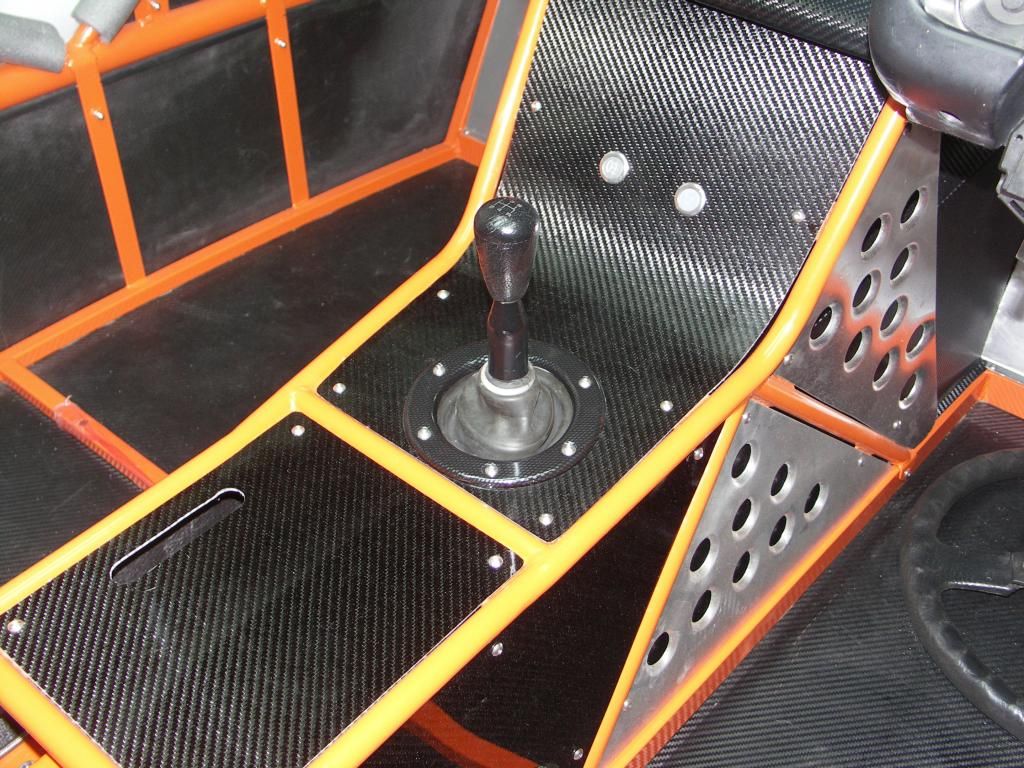 Then added more carbon side panels to my console, long process of templating and cutting to fit. But satisfying when its finished and looks ok. 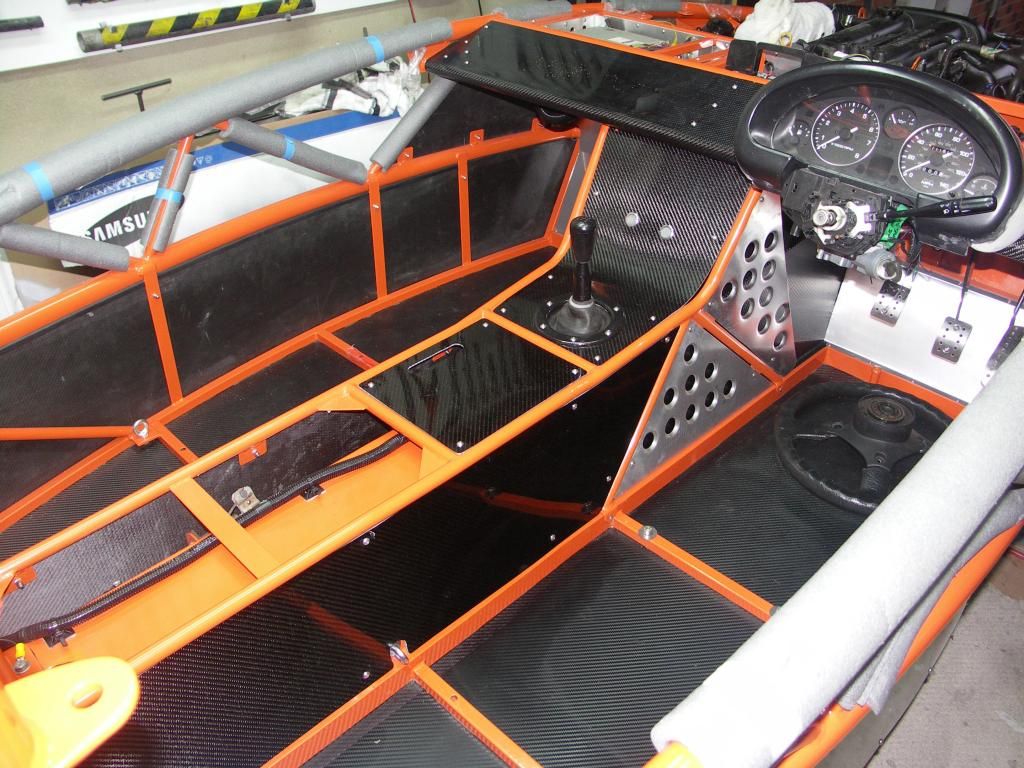 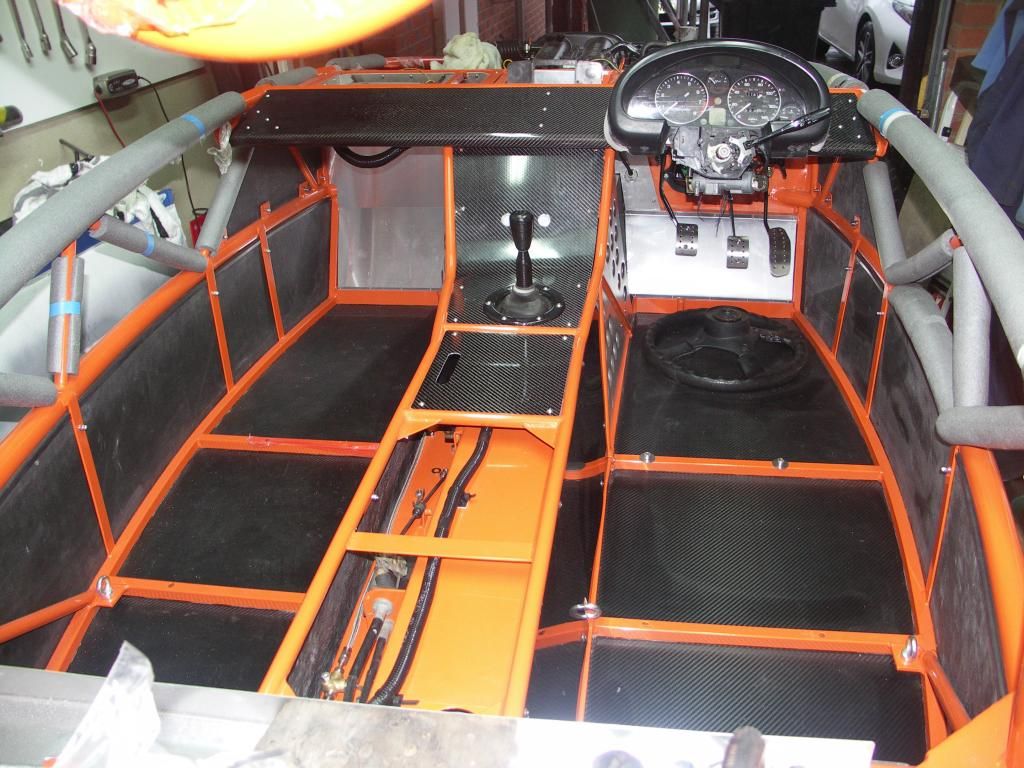 Also fitted my dash board, finish isn't as good as my other carbon panels as my skill level has improved, need to remake this at some stage. One strange thing is my instrument binnacle that we modified to fit has a gap where it should mate to the dash. Mystery ? something must have moved during our build. Will look to sort this next week. 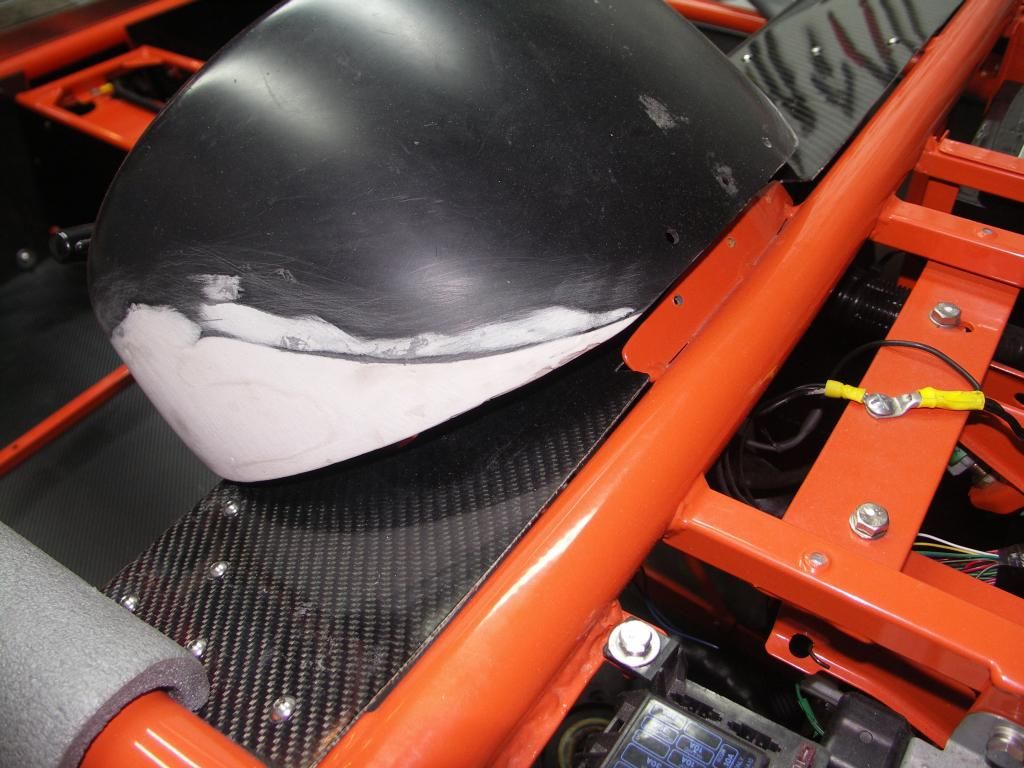 |
|
|
|
Post by gwnwar on Feb 22, 2015 22:01:36 GMT
Just wondering your gear shift look very high above the console.. Adjustments can be made from front bolts on PPF to trans (3)if needed.. Do you have a short kit installed.. What is the angle on your drive shaft trans to diff..Can your fog and hazard switches be reached from seat when strapped in..
Very nice work again..
|
|
|
|
Post by jgilbert on Feb 22, 2015 22:20:53 GMT
Just wondering your gear shift look very high above the console.. Adjustments can be made from front bolts on PPF to trans (3)if needed.. Do you have a short kit installed.. What is the angle on your drive shaft trans to diff..Can your fog and hazard switches be reached from seat when strapped in.. Very nice work again.. George, very good points will need to check, forgot at about the need to operate the switches whilst strapped in. Hopefully all ok as others have fitted in a similar position. Anyway, trip to the pub yielded an additional piece to the jigsaw. Harness bar made from 'Scheduled' stainless steel bar by a 'Coded' welder with supporting paper work to prove. Next job is to drill the locating holes and check radius and then get polished. In preparation, had to check our harnesses. Only one make and only one colour would fit our build.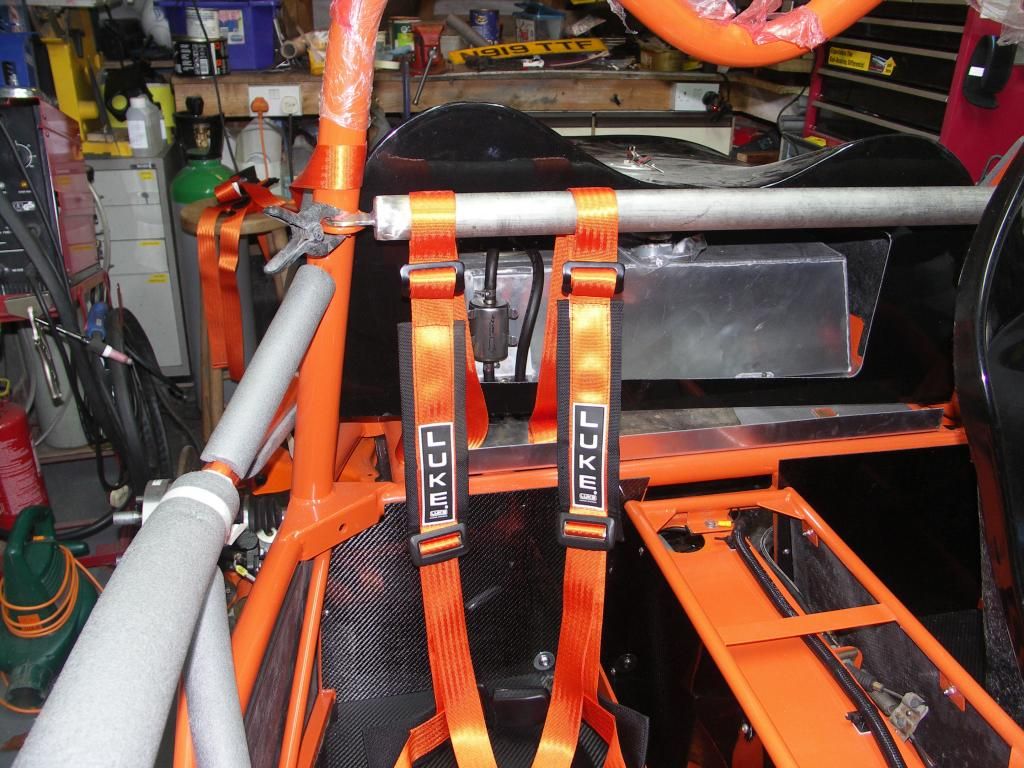 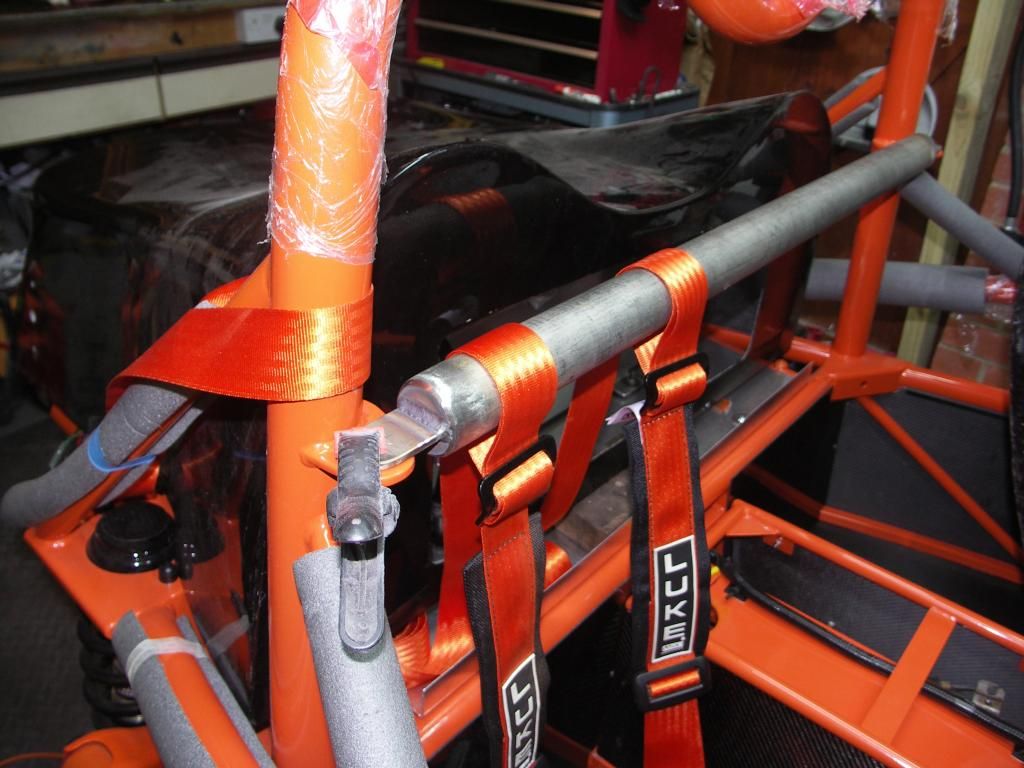 |
|
|
|
Post by greg on Feb 23, 2015 1:20:15 GMT
Just wanted to say that this build is probably my favorite on the forum. All the attention to detail and engineering whatever you need. True carbon fiber panels made from scratch.... Just amazing!
|
|
trident
Senior
   Improvise, Adapt and Overcome
Posts: 629
|
Post by trident on Feb 23, 2015 9:22:24 GMT
Very nice mate however I have a feeling that Luke will want this as his first car in a couple of years… after all it does have his name on it.  |
|
|
|
Post by jgilbert on Feb 23, 2015 23:42:06 GMT
Very nice mate however I have a feeling that Luke will want this as his first car in a couple of years… after all it does have his name on it.  Just wondered if anyone has attempted their driving test in one? |
|
|
|
Post by jgilbert on Feb 23, 2015 23:45:13 GMT
Just wondering your gear shift look very high above the console.. Adjustments can be made from front bolts on PPF to trans (3)if needed.. Do you have a short kit installed.. What is the angle on your drive shaft trans to diff..Can your fog and hazard switches be reached from seat when strapped in.. Very nice work again.. George, not sure I understand how to adjust the trans and PPF? could you explain a bit further please. Surely the trans high is dictated by the engine as this is where the gearbox mates to? |
|
|
|
Post by gwnwar on Feb 24, 2015 5:55:02 GMT
Engine and trans pivot up/down from engine mounts.. Loosen the short bolt that secures the PPF to the tab on tail shaft aft of the 2 long bolts that secure PPF to trans housing. Then loosen 2 long bolts on PPF to trans.. When loose you will be able to move the tail of trans and engine up and down. Floor jack helps move trans up/down.. You don't want a straight run trans to diff but like 1 deg from straight just to light load U joints.. How far up is the console deck were shifter goes through from trans cover deck.. If you have to lower the trans you might end up with an extension on the shifter. You can get one off eBay (Miata shifter extension) or make one.. Or leave it low to console..
|
|
trident
Senior
   Improvise, Adapt and Overcome
Posts: 629
|
Post by trident on Feb 24, 2015 19:52:48 GMT
Very nice mate however I have a feeling that Luke will want this as his first car in a couple of years… after all it does have his name on it.  Just wondered if anyone has attempted their driving test in one? Now that would be good. No reason why he couldn't. I would love to see the examiners face when they went out to the car. Recon this is what it would look like.  |
|
|
|
Post by jgilbert on Feb 24, 2015 20:45:56 GMT
Just wondered if anyone has attempted their driving test in one? Now that would be good. No reason why he couldn't. I would love to see the examiners face when they went out to the car. Recon this is what it would look like.  Provisional licence in 5 months ! so he reckons he is up for it. |
|
trident
Senior
   Improvise, Adapt and Overcome
Posts: 629
|
Post by trident on Feb 25, 2015 19:59:15 GMT
Now that would be good. No reason why he couldn't. I would love to see the examiners face when they went out to the car. Recon this is what it would look like.  Provisional licence in 5 months ! so he reckons he is up for it. Yes, but are you !!!! |
|
|
|
Post by jgilbert on Mar 1, 2015 13:18:38 GMT
Few more small but time consuming jobs crossed off the almost never ending list. Harness retaining loops. My harness doesn't have any snap lock clips for the top harness straps as its the loop around the harness bar type. A was worried about these loops moving along the harness bar so I found some 5mm stainless and formed 4 small retaining loops for the top straps. 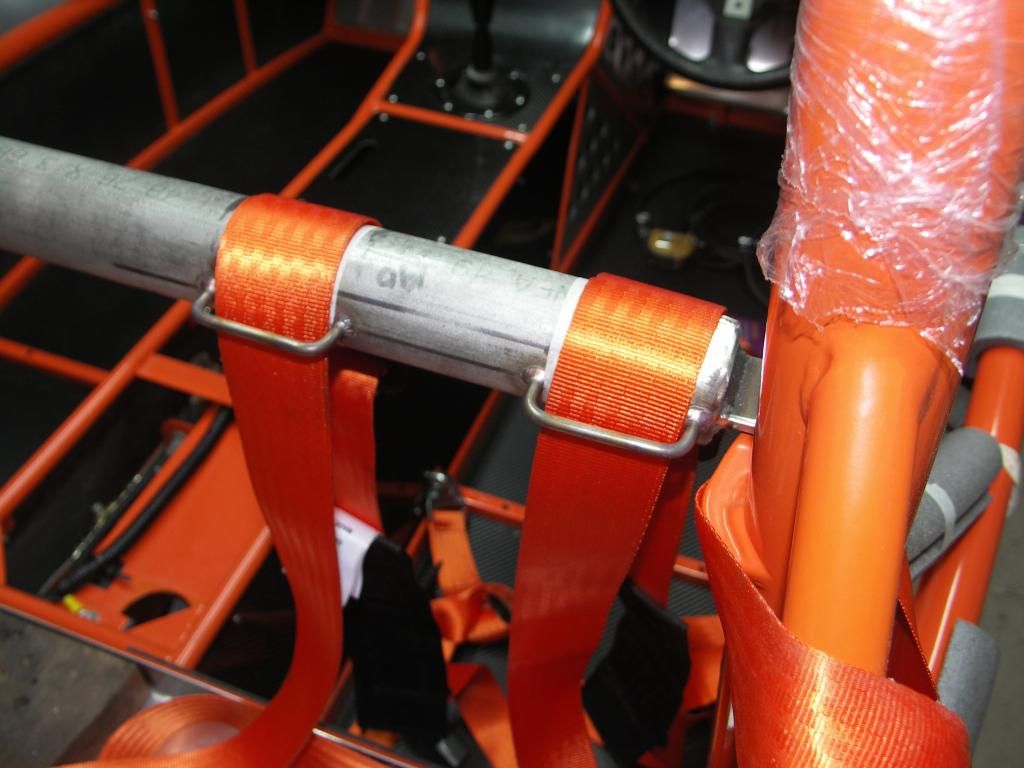 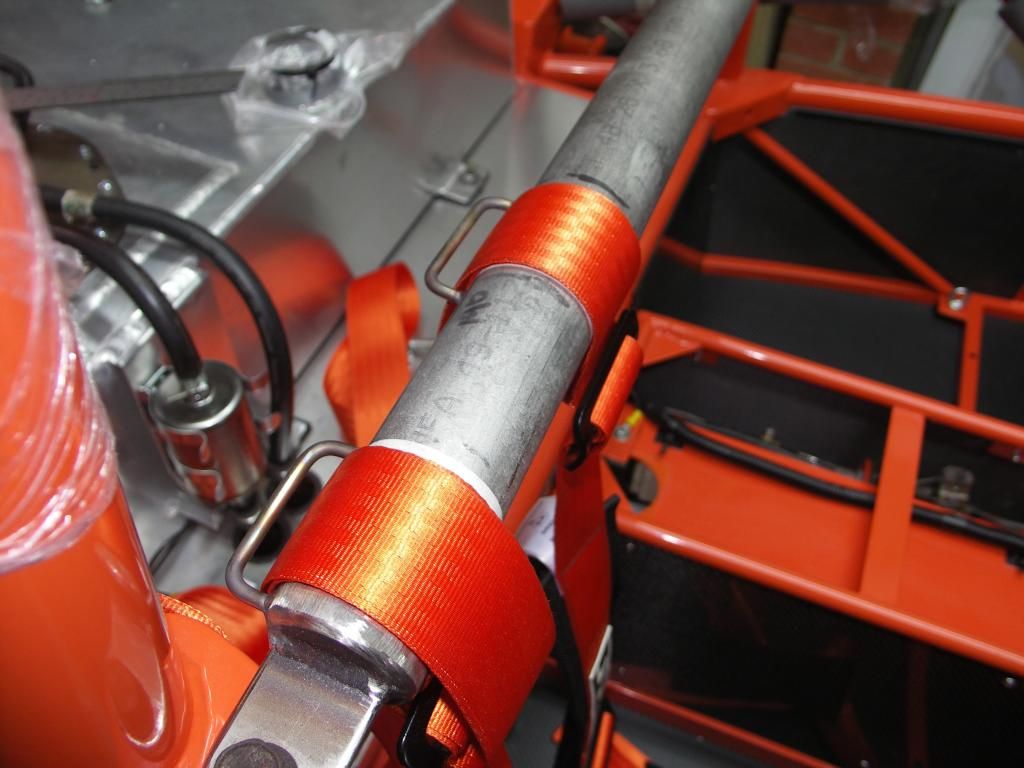 Nice and neat. Next job was to cut the seats for the harness to pass through. I have to admit that I was very nervous as I couldn't visualise what the seats would look like with the holes cut. Anyway ended up going for elongated ovals after several different designs. 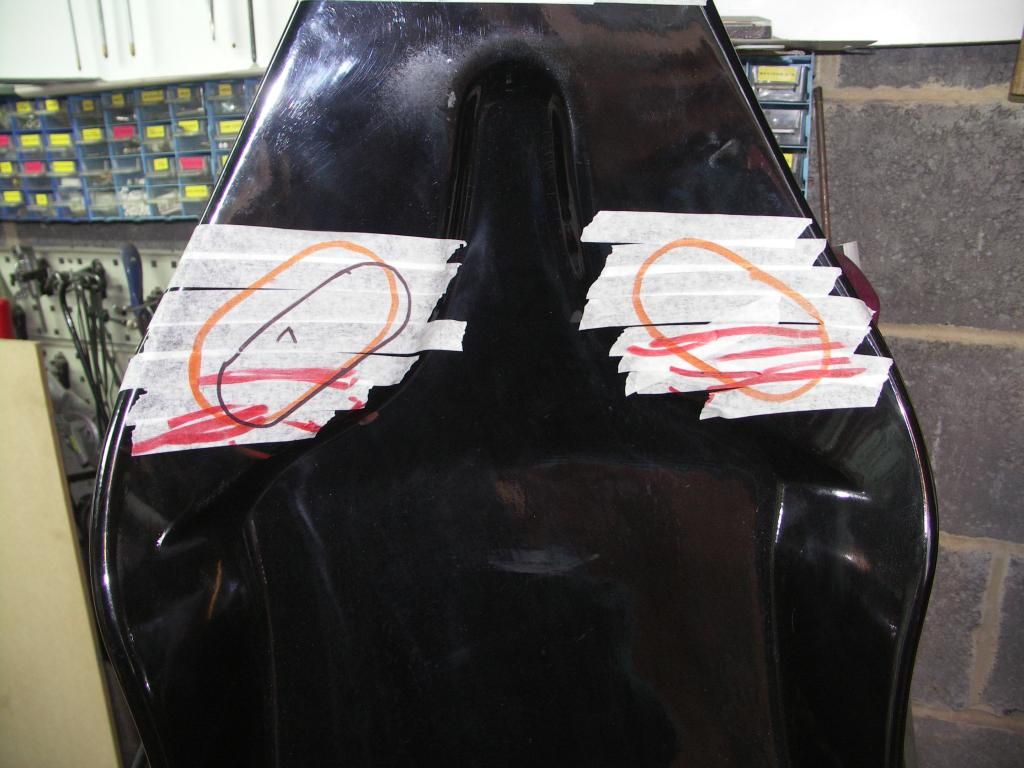 and the moment of truth. 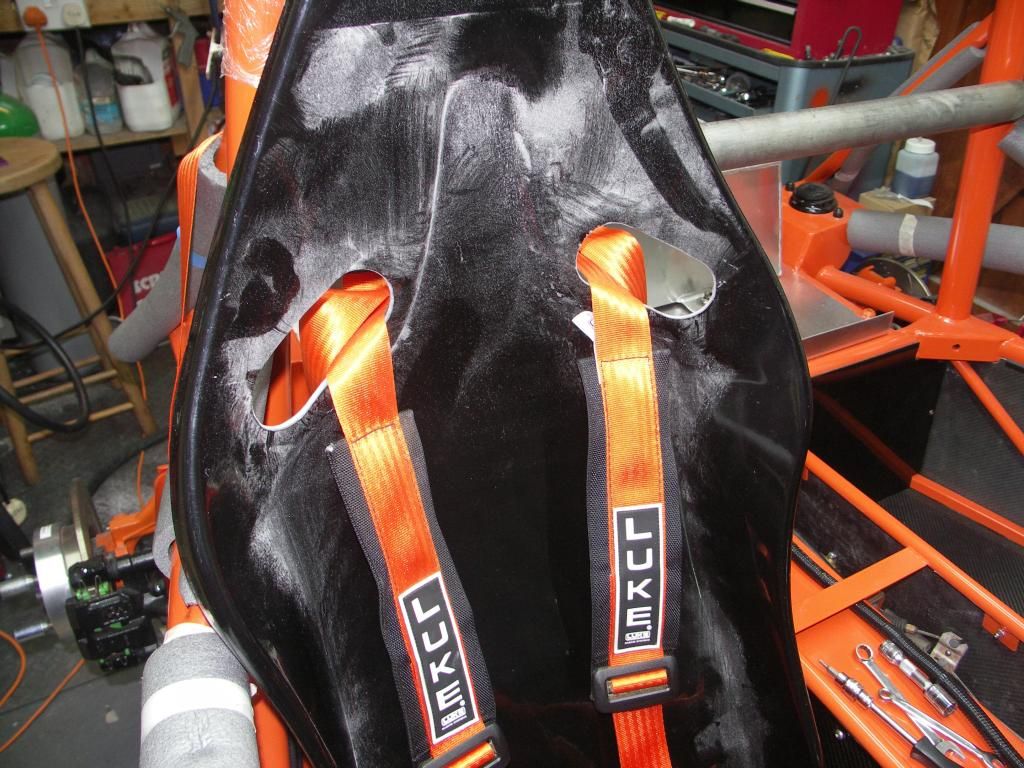 Last job was to glass the undersides of the wheel arches where I had mounted my stainless mounting brackets. Two layers of woven matting should prevent any malfunction. 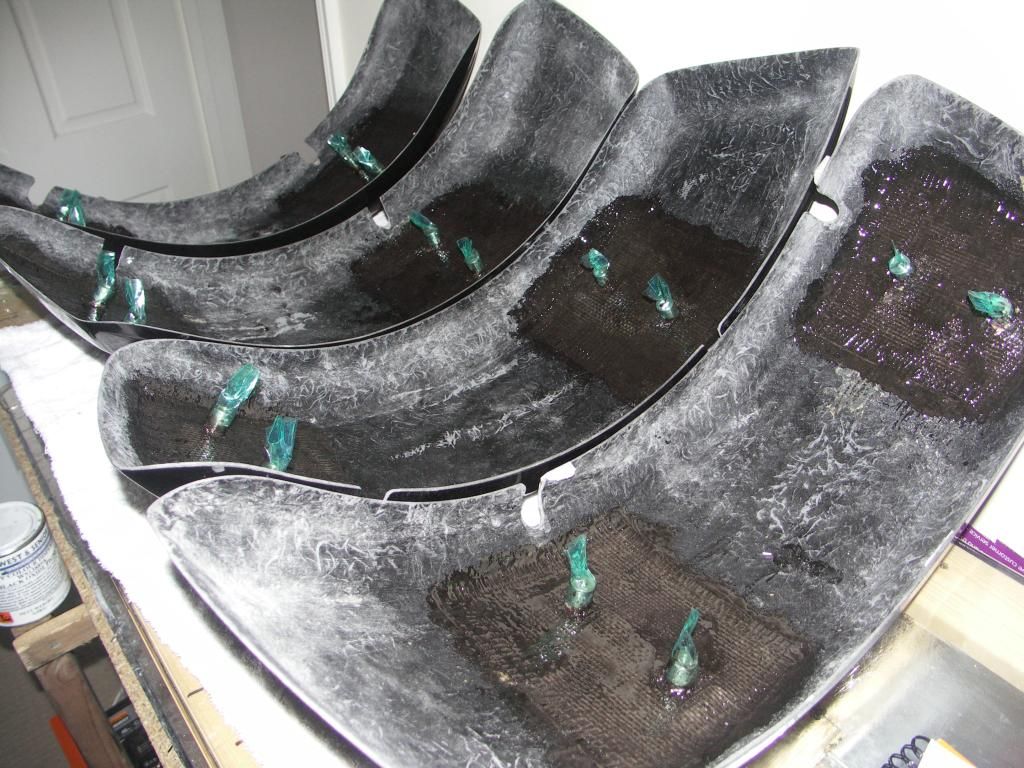 |
|
|
|
Post by pincherrn on Mar 1, 2015 15:46:31 GMT
Hi John.
What did you use as a reference when you cut the holes in your seats. Just so the holes are at the same height and distance from the centre. I can't find any straight lines so was going to wait until the seats were mounted in the car, level the chassis and use a laser leveller to put a line on the seats. A bit of a faff but the only way I could think of.
Colin
|
|
|
|
Post by jgilbert on Mar 1, 2015 21:24:50 GMT
Hi John. What did you use as a reference when you cut the holes in your seats. Just so the holes are at the same height and distance from the centre. I can't find any straight lines so was going to wait until the seats were mounted in the car, level the chassis and use a laser leveller to put a line on the seats. A bit of a faff but the only way I could think of. Colin Colin, agree that was the scary bit. I started by marking my shoulder high on the seat and then check this against my harness bar position. I then made a template that followed the side of the seat profile and the inner recess profile and then used this (flipping it over for the opposite side). I have the RTR seats, I would happily scan in the profile I made and email it to you if you wanted it as a reference. |
|
|
|
Post by jgilbert on Mar 1, 2015 21:27:52 GMT
One other update, I also shortened the seat position ratchet arm as It seemed to stick out to far on my set up. Very please I did this now. Easy to cut with the runners off the seats and then just weld back. Will post a photo when i get chance.
|
|