|
|
Post by scooby1929 on Jun 18, 2014 21:02:59 GMT
Looks fantastic. How come your garage looks narrow but looks like a double from outside?
|
|
|
|
Post by donboy1983 on Jun 18, 2014 21:58:24 GMT
It looks awesome, Who did you use? I'm in Andover and the place I'm planning to use is in Newbury, he had quoted £350 for the Exocet chassis and I was unsure if this was a good price. They quoted £170 to do grit blast, zinc prime and coat all the old arms and subframes which seemed good to me.
|
|
|
|
Post by mrjingles705 on Jun 18, 2014 22:32:25 GMT
Wow. Just wow. Great finish.
|
|
|
|
Post by jgilbert on Jun 22, 2014 10:06:13 GMT
Floor done. Nice contrast. 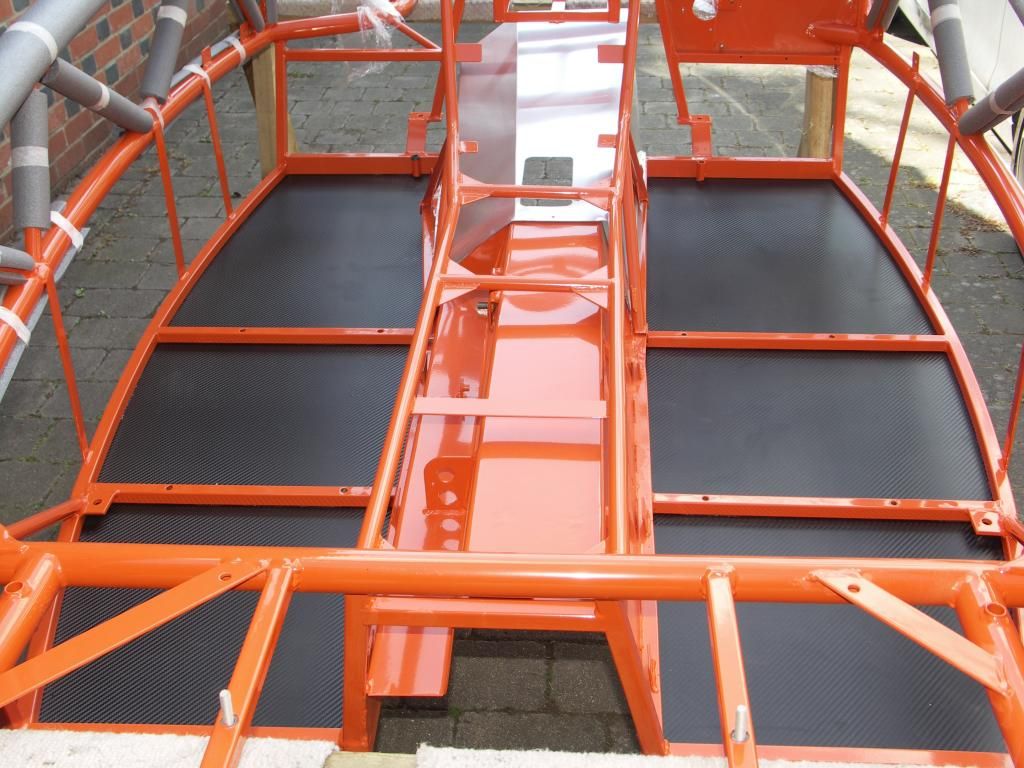 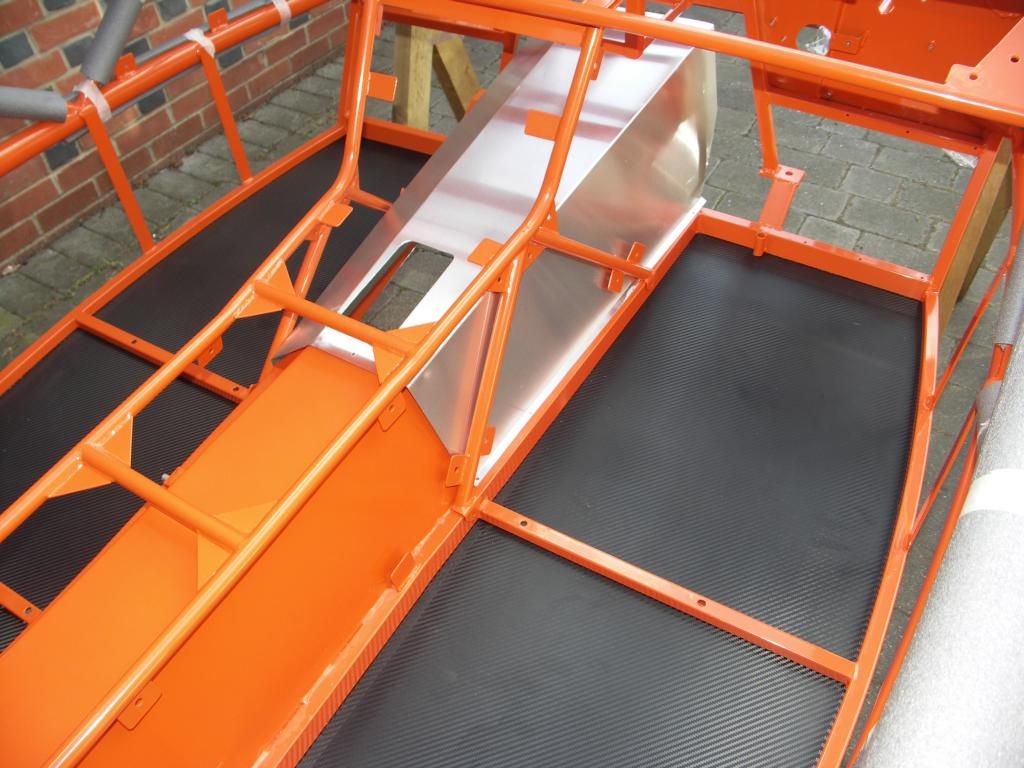 |
|
trident
Senior
   Improvise, Adapt and Overcome
Posts: 629
|
Post by trident on Jun 22, 2014 10:52:55 GMT
Bet you're very pleased
|
|
|
|
Post by jgilbert on Jun 29, 2014 19:04:19 GMT
Sun shining, hopefully lots of folks enjoying their cars. For us more garage work! So pushed the running gear out into the sun and reunited the chassis and PPF. My favour photo. I think it looks mean! 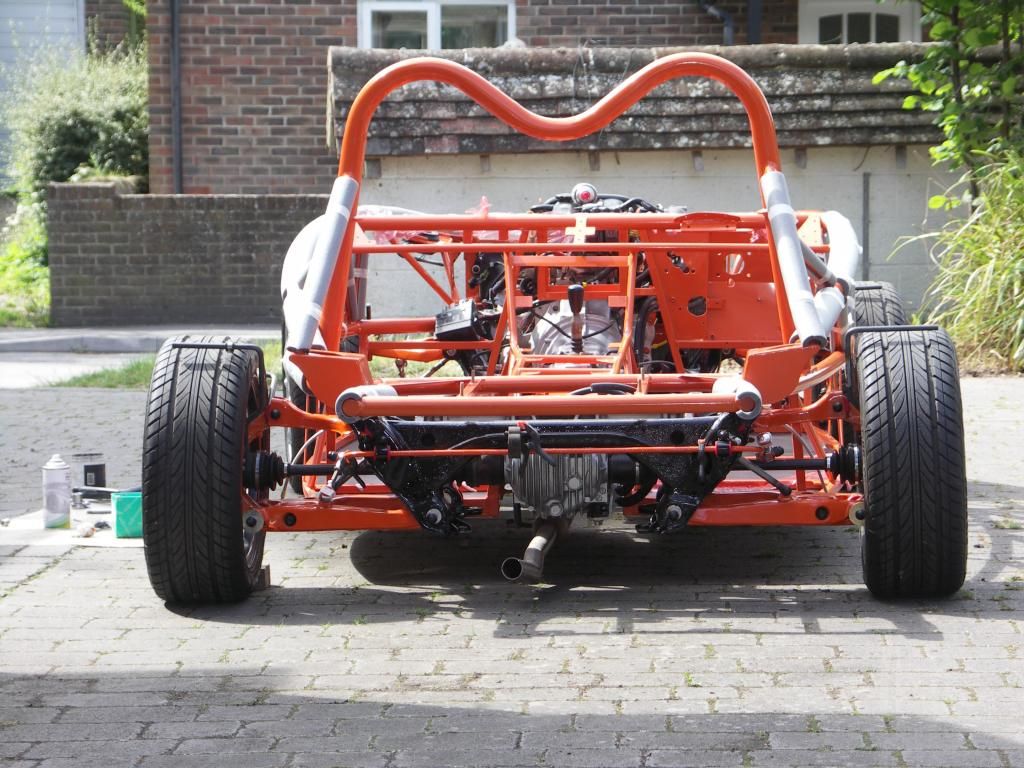 Fuel line run through and painted the frame bolts to match. 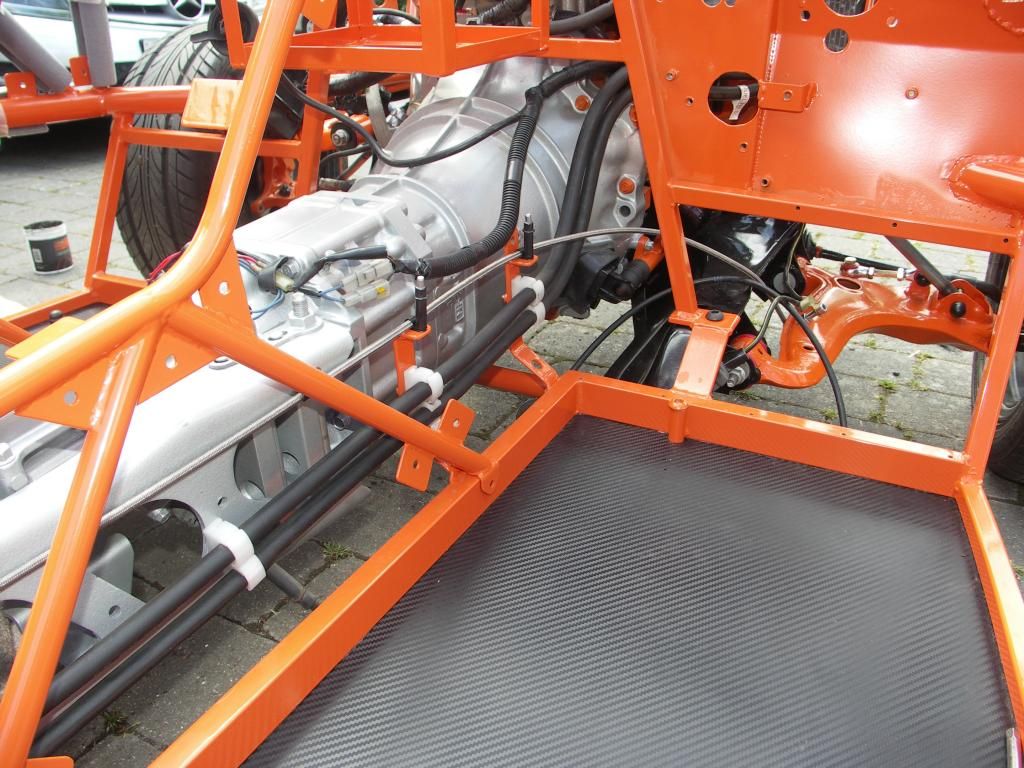 Then added the radiator and expansion tank using the brackets we have previously made. 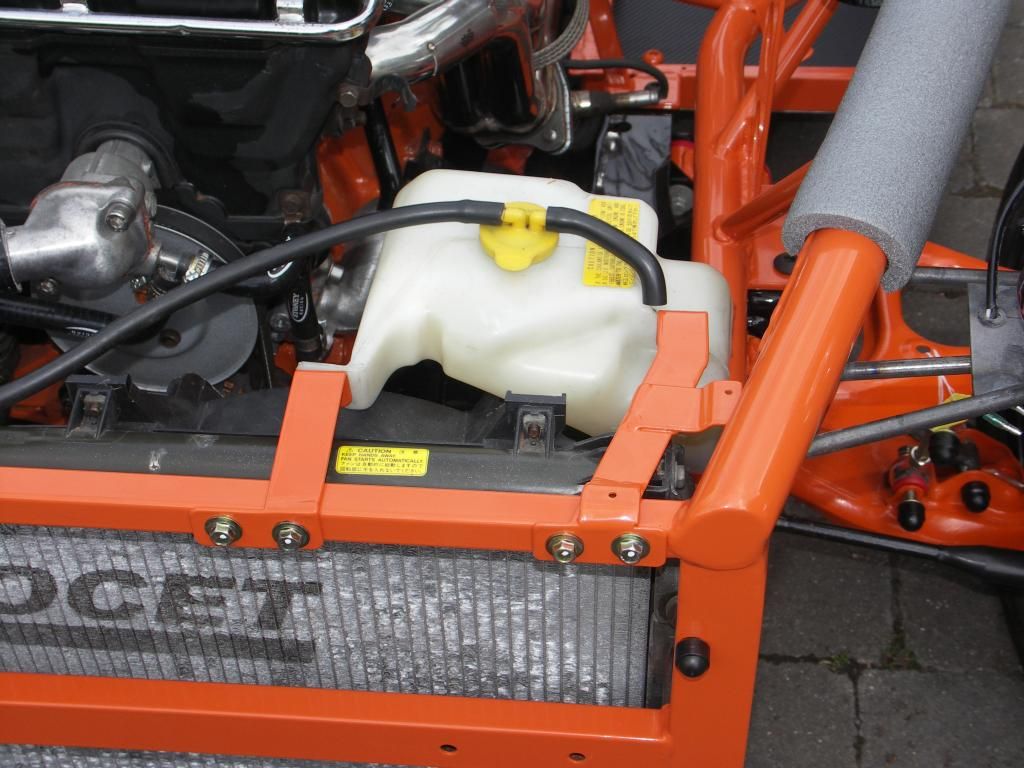 The white dots on the bolt heads are our way of knowing we have tightened the bolts! 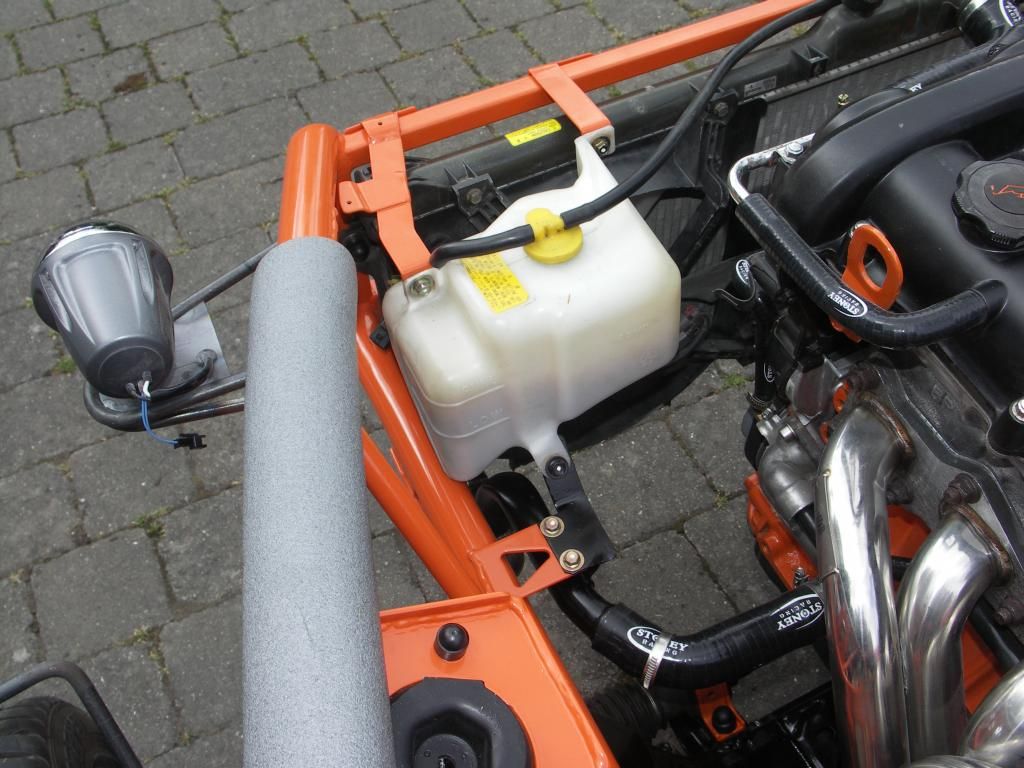 |
|
|
|
Post by mathew on Jun 29, 2014 20:00:10 GMT
Everything is so clean!!!
Looking very good!
|
|
|
|
Post by jgilbert on Jun 29, 2014 20:17:47 GMT
Everything is so clean!!! Looking very good! Matthew, thanks. My immediate response was a the famous NASA janitor quote (para phased) "I'm not a cleaner (I'm not building a kit car) I'm sending a man to the moon" But seriously we're only going to do this once! So it going to be our best effort.! |
|
trident
Senior
   Improvise, Adapt and Overcome
Posts: 629
|
Post by trident on Jul 1, 2014 16:39:19 GMT
Looking very neat and tidy. Top class build.
|
|
|
|
Post by gnc on Jul 2, 2014 20:25:52 GMT
This really is turning out to be an EPIC build. You must be incredibly proud of what you are achieving
|
|
|
|
Post by jgilbert on Jul 6, 2014 11:32:17 GMT
This really is turning out to be an EPIC build. You must be incredibly proud of what you are achieving Thanks for your comments. So started the reassembling process. Shocks fitted, really nice when everything goes together easily. Very nice sense of achievement. Read a few threads lately about annoying squeaks when driving the car. So decided to try to dampen any points where two metal parts meet. Ordered some 1mm thick rubber sheet from ebay and using double sided sticky tape have made up strips and washers to go between the ally tunnel and the chassis and my center console and chassis. 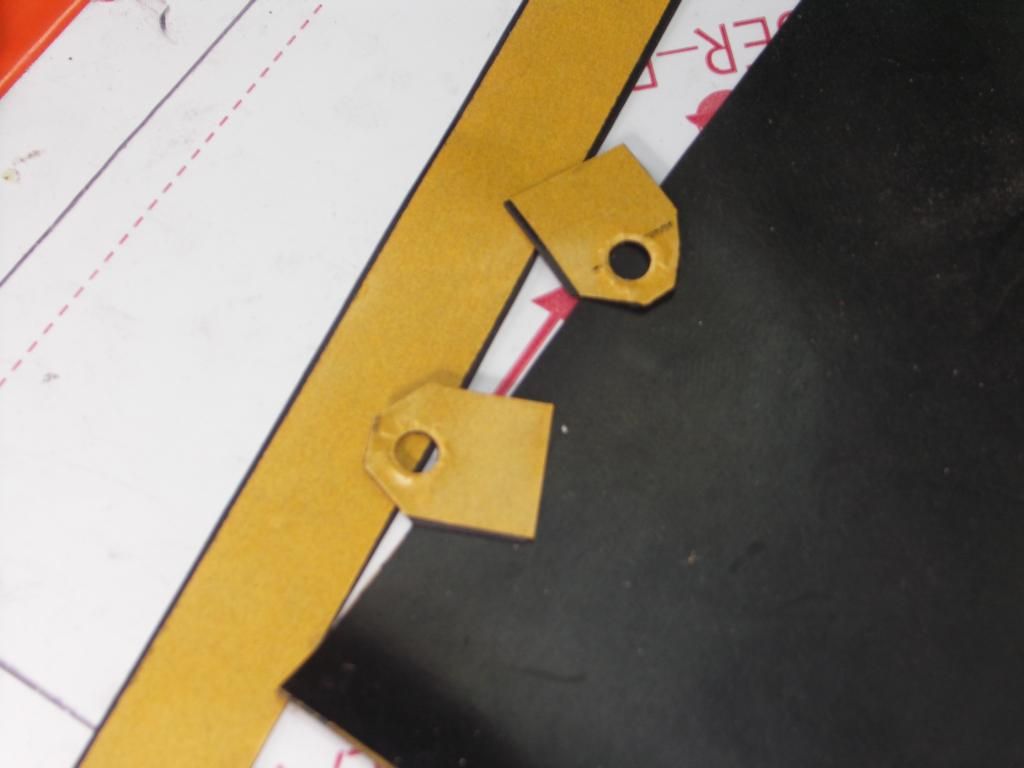 Simple enough job to cut out various shapes and then parts. The two above go between my center console and chassis. 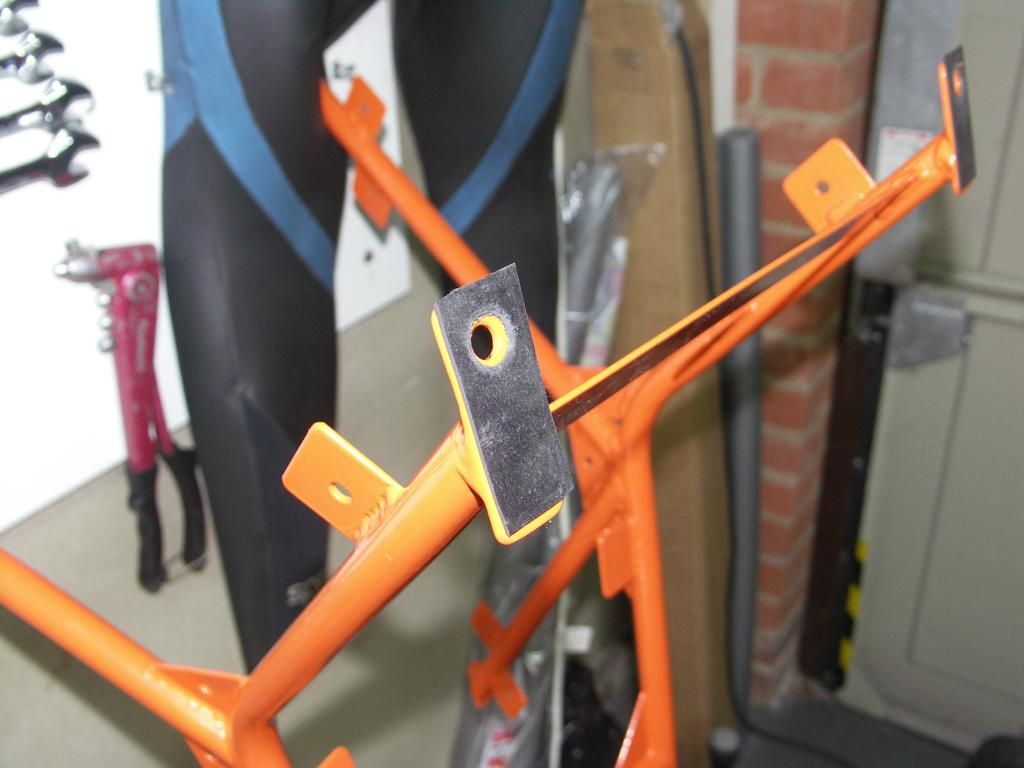 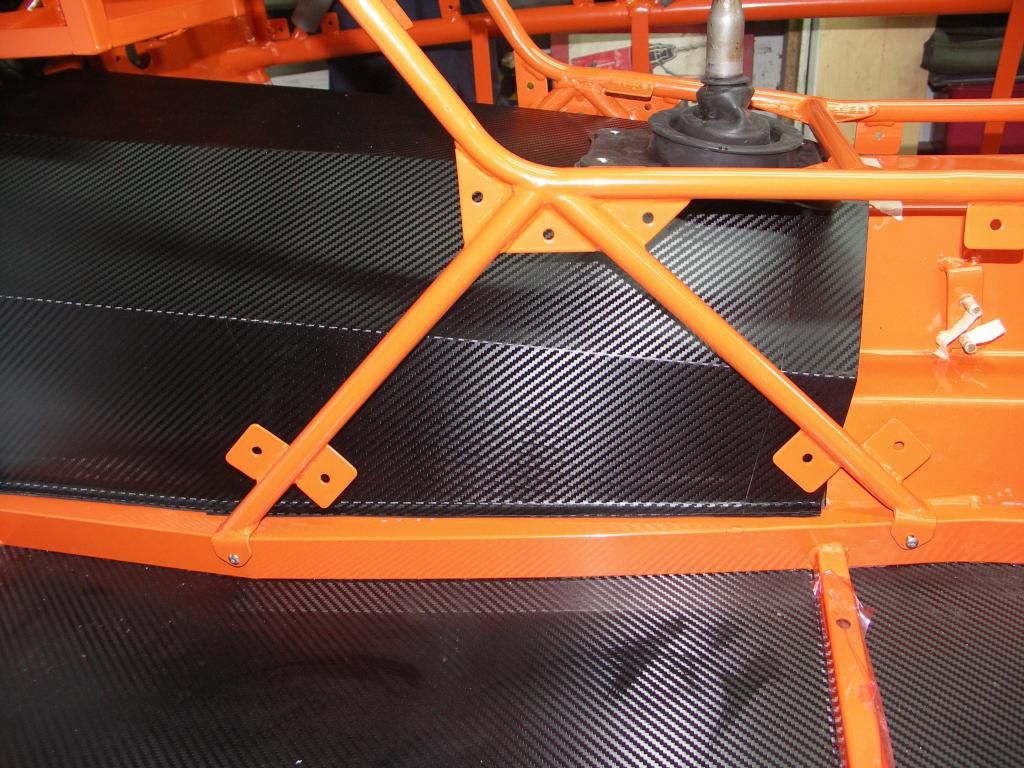 |
|
|
|
Post by jgilbert on Jul 8, 2014 21:49:18 GMT
Over the weekend I notice that two of the front chassis to sub frame bolts had started to go a bit rusty. To be expected I guess as they are only black mild steel and the hex's socket is an ideal water trap. So decided to upgrade to stainless steel. Arrived today and fitted. Adds a nice finish for a couple of quid. 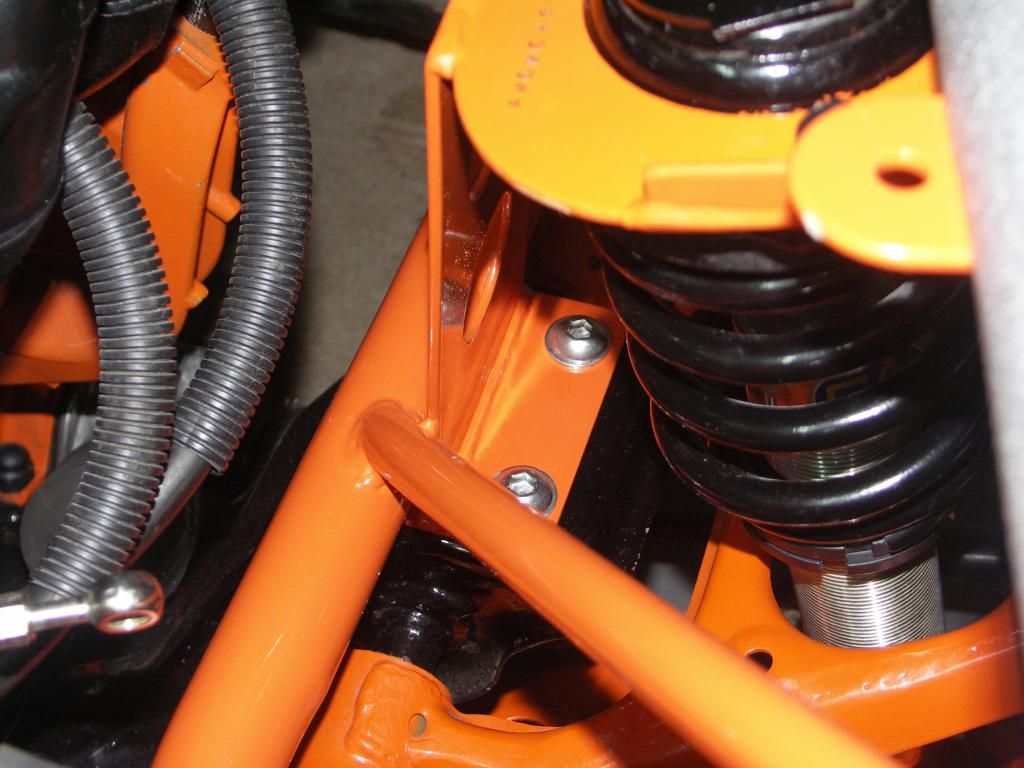 Some of the eagled eyed amongst you may notice some letters stamped into the shock mounting plate. The reason being when my chassis came back from the powder coaters the chassis number on top of the cross member had disappeared into the primer and powder! IVA nightmare. So discounted welding a new plate on and having spoke to the powder coater came up with a way of stamping the chassis without damaging the coating. Problem solved. When I was waiting for my chassis I made a new stainless steel accelerator pedal. Using the same design I've now made the brake and clutch pedals. 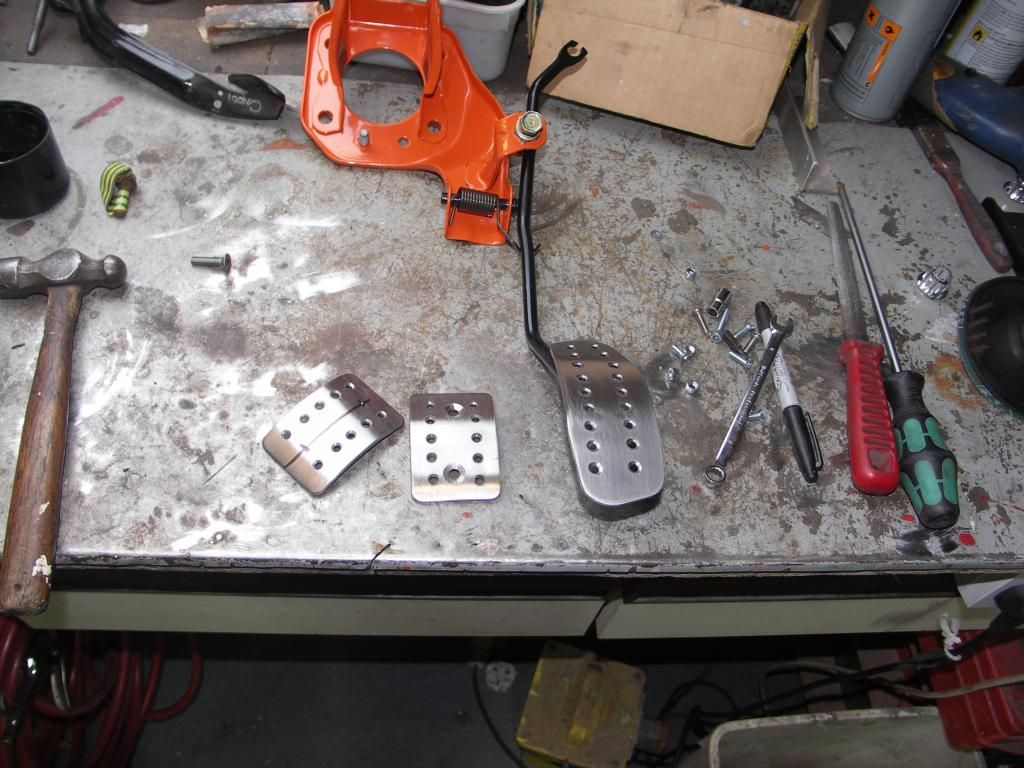 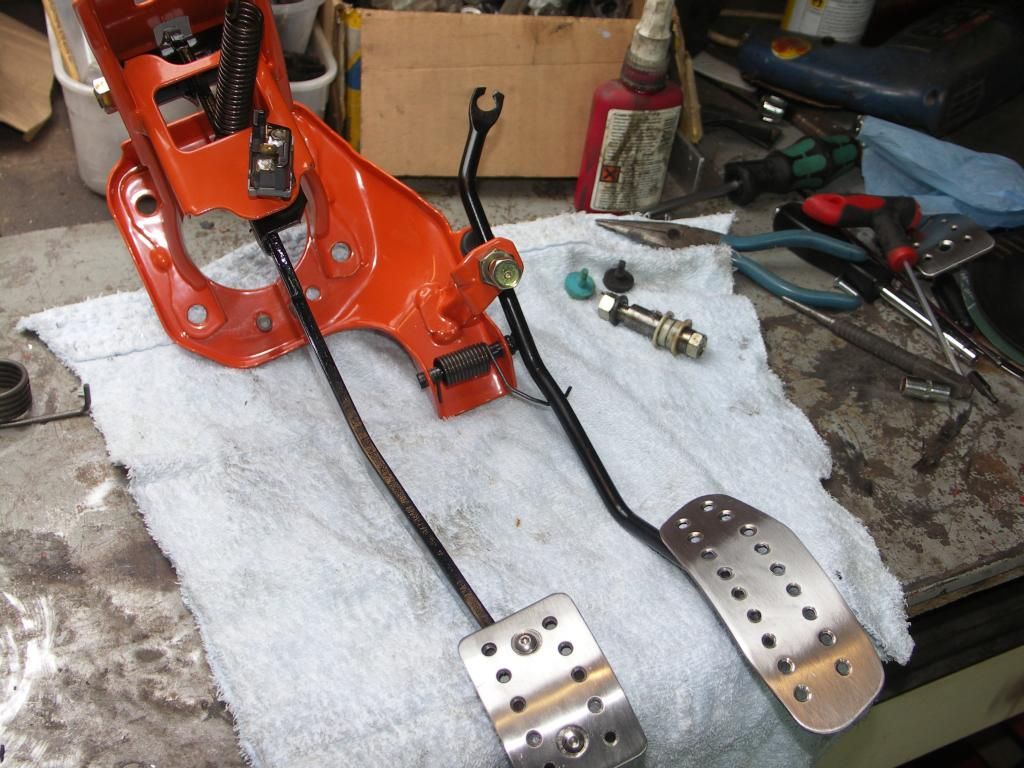 Simple enough job to cut drill and bend some stainless plate. BIG TIP here, if you take apart your pedals take photos before, I couldn't remember how they went together, its not obvious. Lucky found some photos to refer to. Now, I need some advice pleaseMy original idea was to infill my centre console with carbon fibre sheet. However, I then had an idea to add an ally panel with some swaged holes so that you can see the carbon wrapped tunnel. So set about cutting a template and cutting the ally sheet. 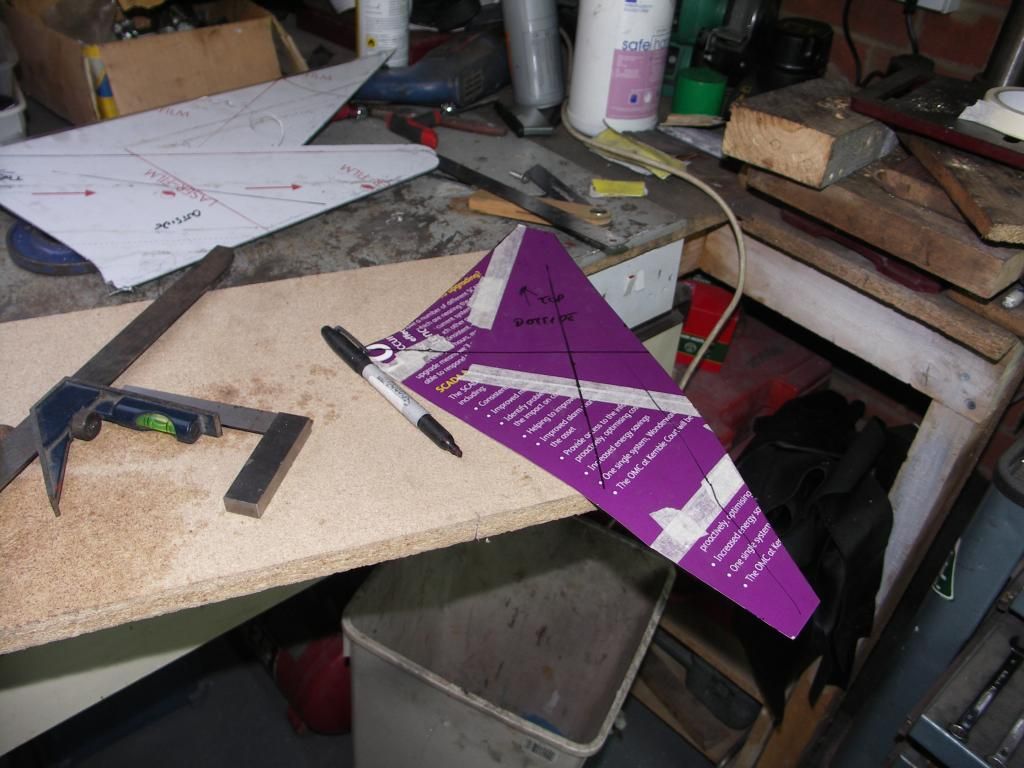 Holes being swaged. 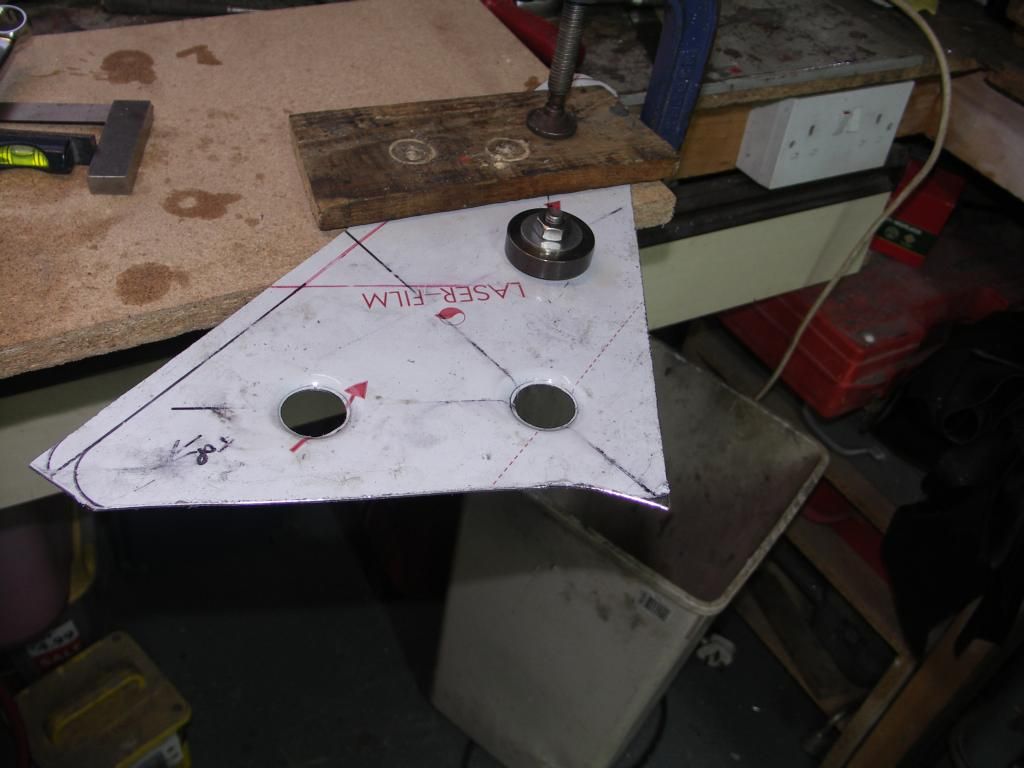 and finished panel. 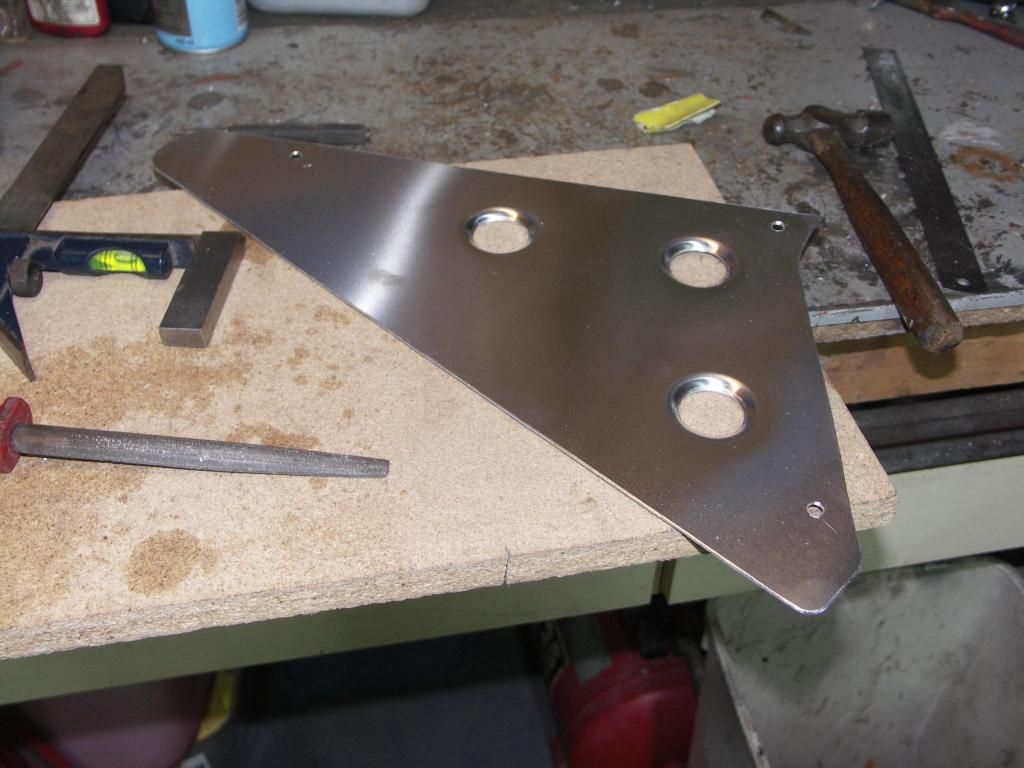 Panel fitted to console. 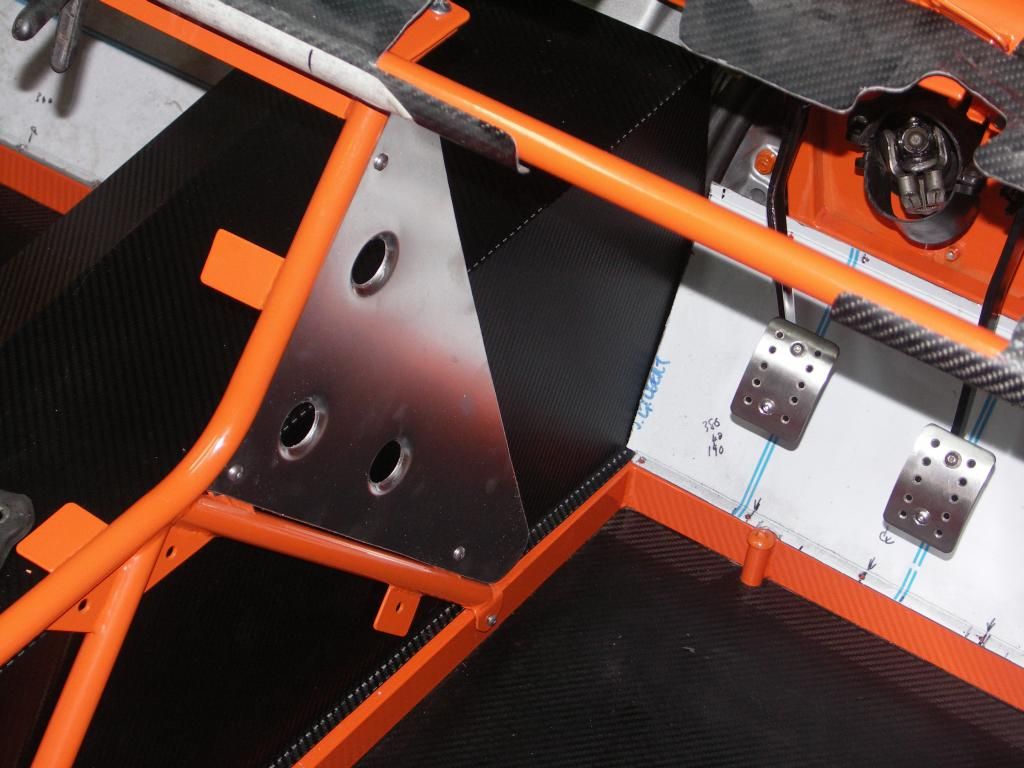 Close up of swaged holes. 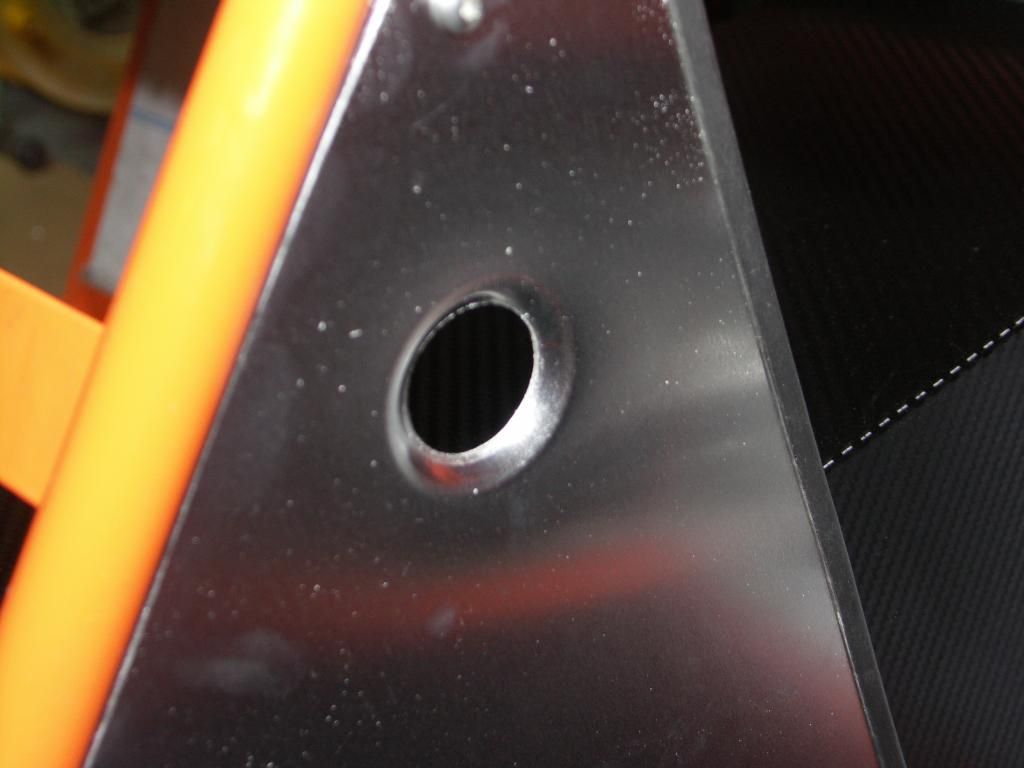 Having done it I'm not sure it works?  welcome feedback please, maybe the holes need to closer together??? Any comments or views appreciated. |
|
trident
Senior
   Improvise, Adapt and Overcome
Posts: 629
|
Post by trident on Jul 9, 2014 16:03:24 GMT
I like the holes etc but not sure they work there. I think it's because one edge is longer than the other. Could you fit another hole on the longer edge?
|
|
|
|
Post by scooby1929 on Jul 9, 2014 21:44:29 GMT
The flanged lighting holes look great well used to these working on aircraft. You could get another few pitched in.
Just be careful with the subframe bolts they are just not mild steel but high tensile steel and would be alot stronger in both shear and tensile strength than the stainless. If you are using stainless its also a good idea to put some anti seize on them. This prevents galling
|
|
|
|
Post by jgilbert on Jul 13, 2014 13:20:54 GMT
Thanks for comments, binned the original panel and started again. Tried to mock up different hole positions and settled on more holes and closer together. Lots of angles all complicate the look. 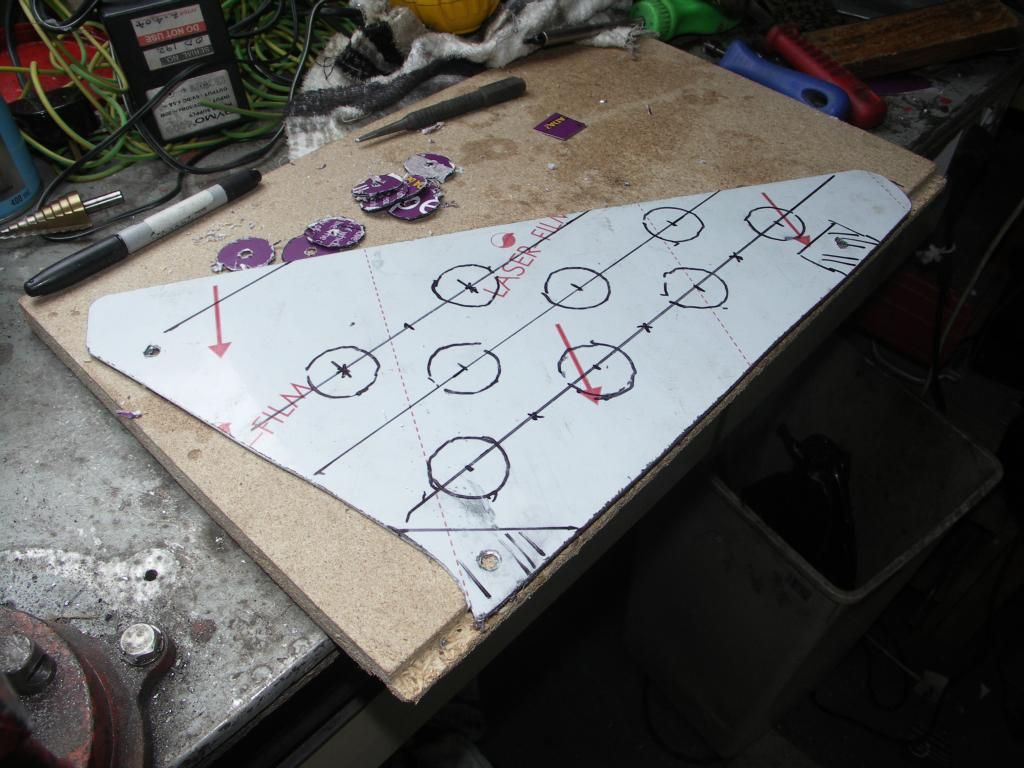 Then started drilling no turning back! very hard to visualize what it would come out like. 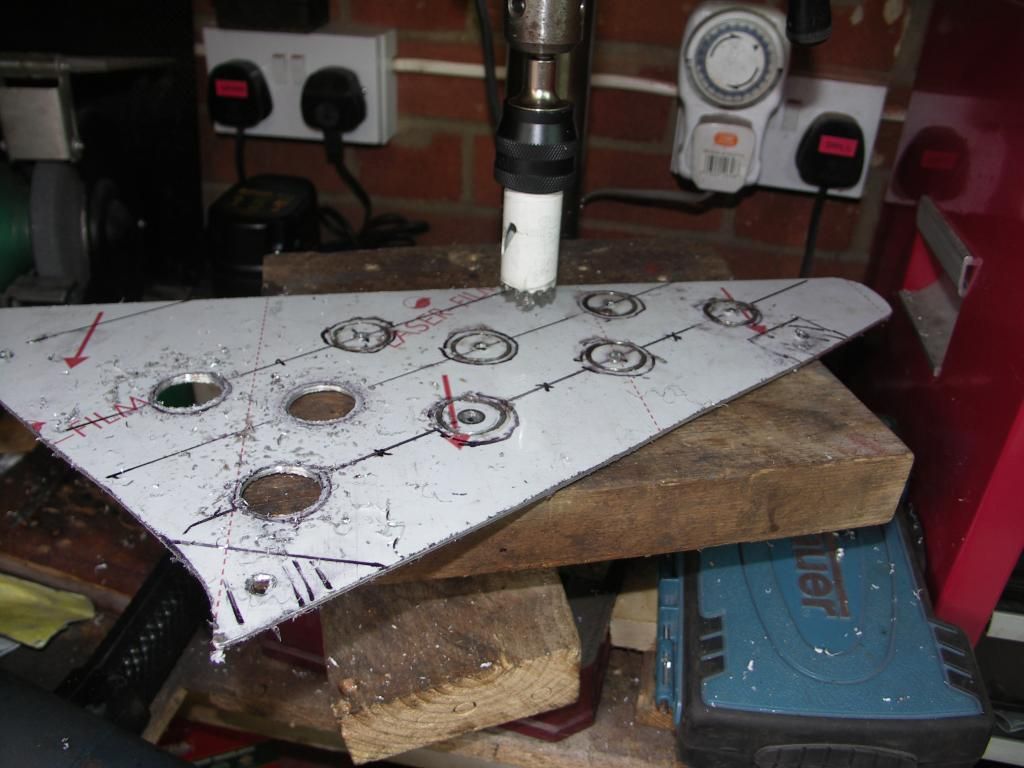 Finished result.  Defiant improvement. 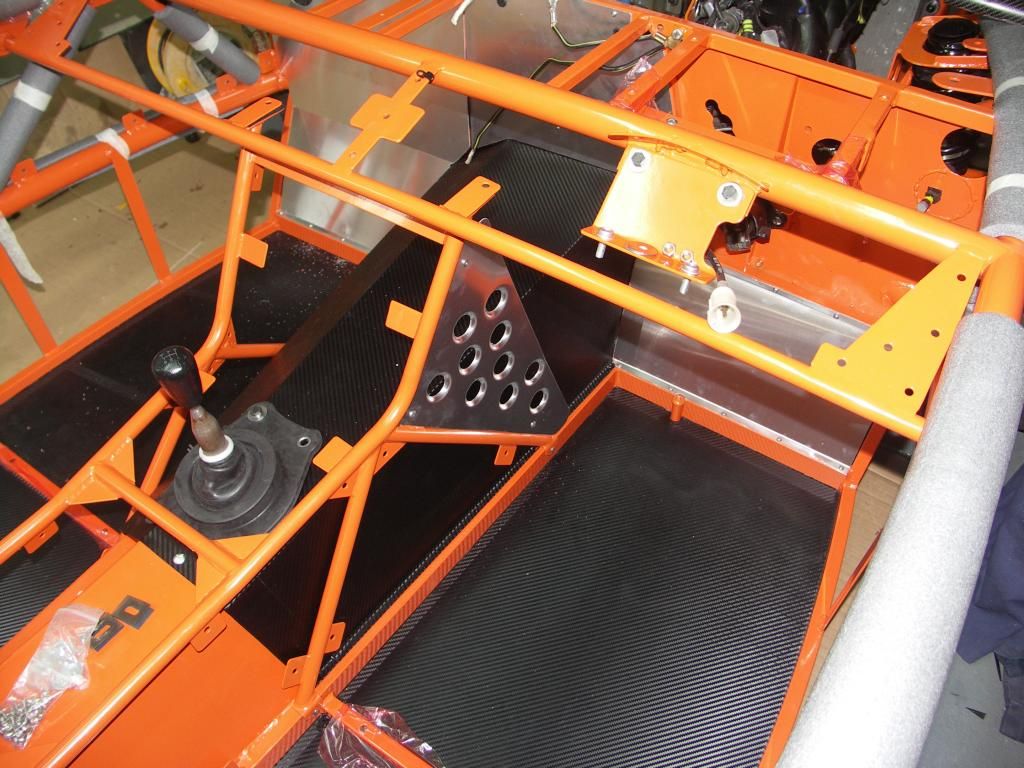 |
|