|
|
Post by jgilbert on Jun 7, 2014 21:47:35 GMT
So still waiting for my chassis. Opportunity to finish up a few jobs. Gearbox and diff oil drained and refilled with Mobil synthetic gear oil. 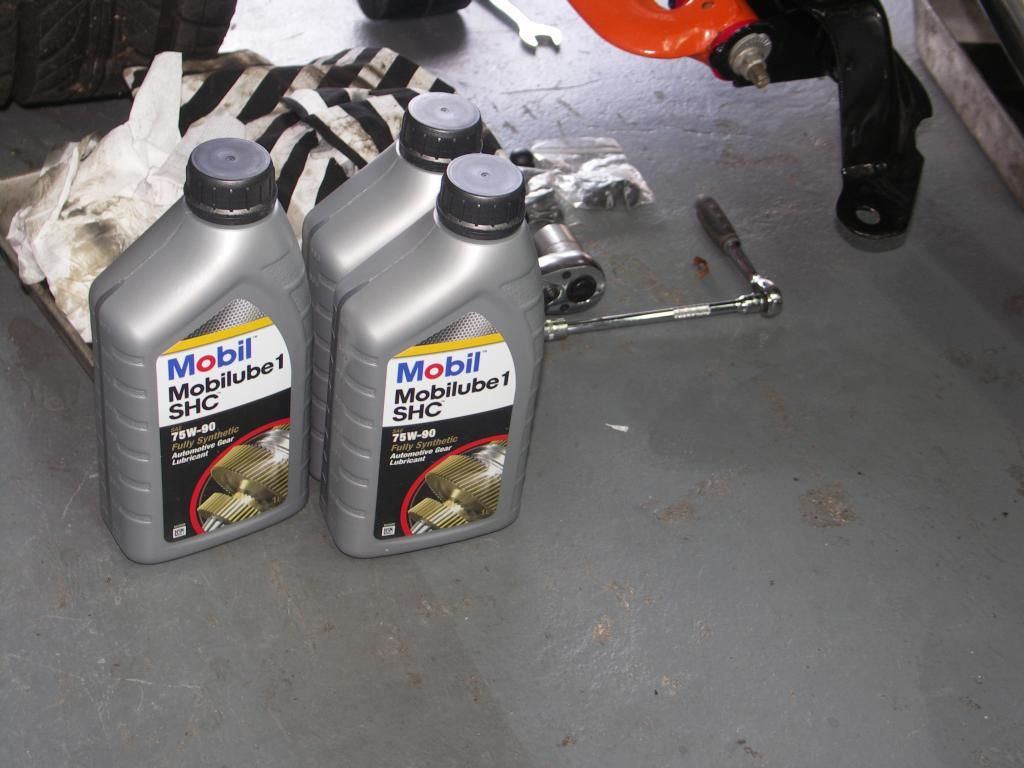 Also remembered to top up the gearbox turret. I also needed to cover the track rod end and lock nut for the IVA. Used a couple of electricity cable gland covers. Available from B&Q etc. just need to cut the end so it fits over the track rod. 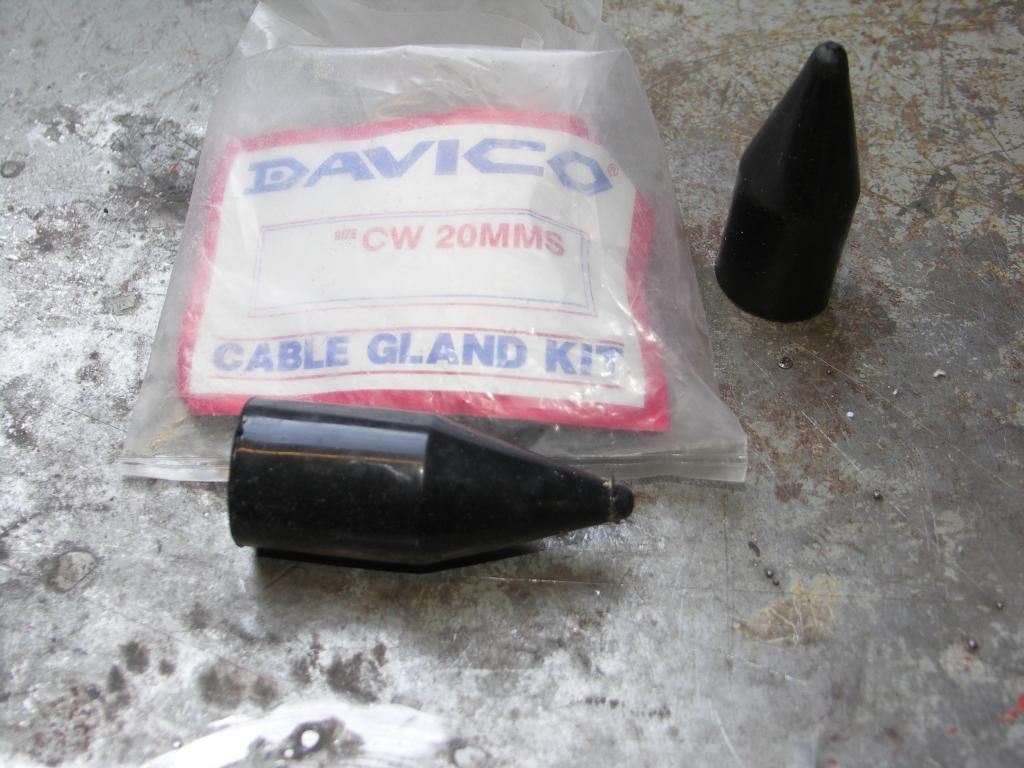 And fitted. Nice easy solution. 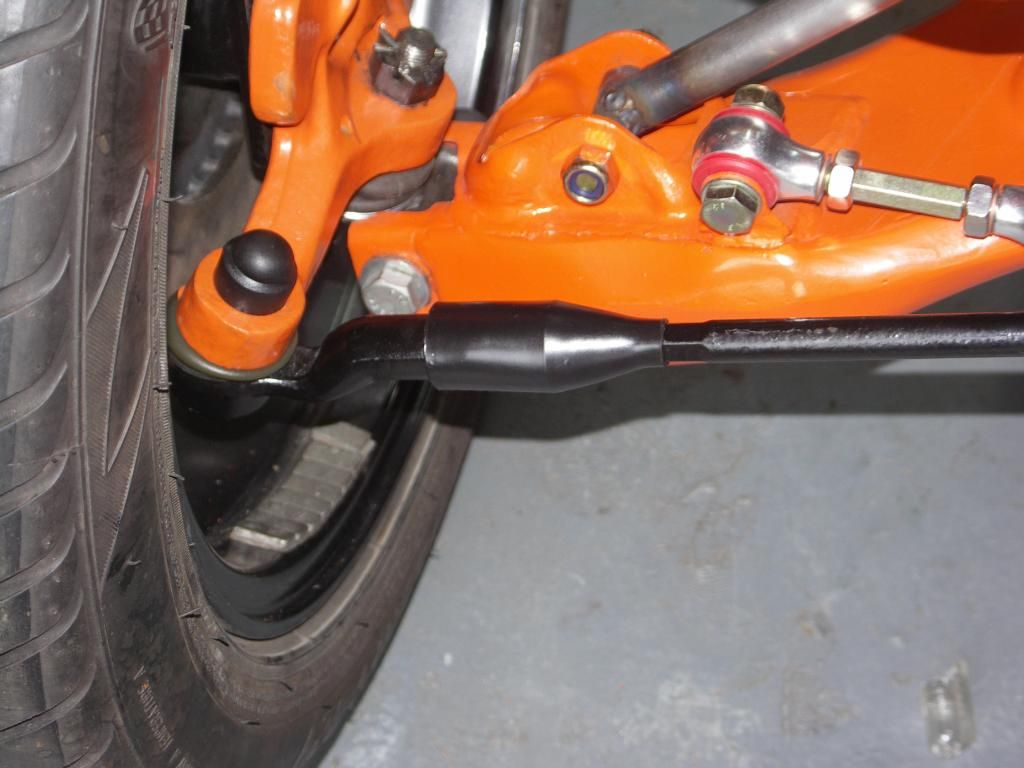 |
|
|
|
Post by gwnwar on Jun 8, 2014 1:55:10 GMT
John.. Those electrical cover are the best thing I have seen used on the track rod end and nut.. That is alot of weight on that rim.. Ever think of rotating the tire 180deg on the rim and balancing it.. Are you going to have to cover that lower ball joint mounting bolt/nut and castle nut & carter key with covers for IVA?
|
|
|
|
Post by jgilbert on Jun 9, 2014 9:29:44 GMT
John.. Those electrical cover are the best thing I have seen used on the track rod end and nut.. That is alot of weight on that rim.. Ever think of rotating the tire 180deg on the rim and balancing it.. Are you going to have to cover that lower ball joint mounting bolt/nut and castle nut & carter key with covers for IVA? Thanks Gwnwar, Agree wheel and tyre need to be rebalanced. Regarding fitting a cover to the lower ball joint nut the simple answer is yes. However, I think the area inside the wishbones is IVA exempt  ?, unless someone corrects me, so doesn't actually need one. I have been fitting covers as I have torqued up bolts and nuts as a way of remembering what I've done. I intend to fit covers whereever I can (see photo) as I think they look better than a plain bolt/nut and offer some corrosion protection. I need to order some large sized caps for the lower ball joint. 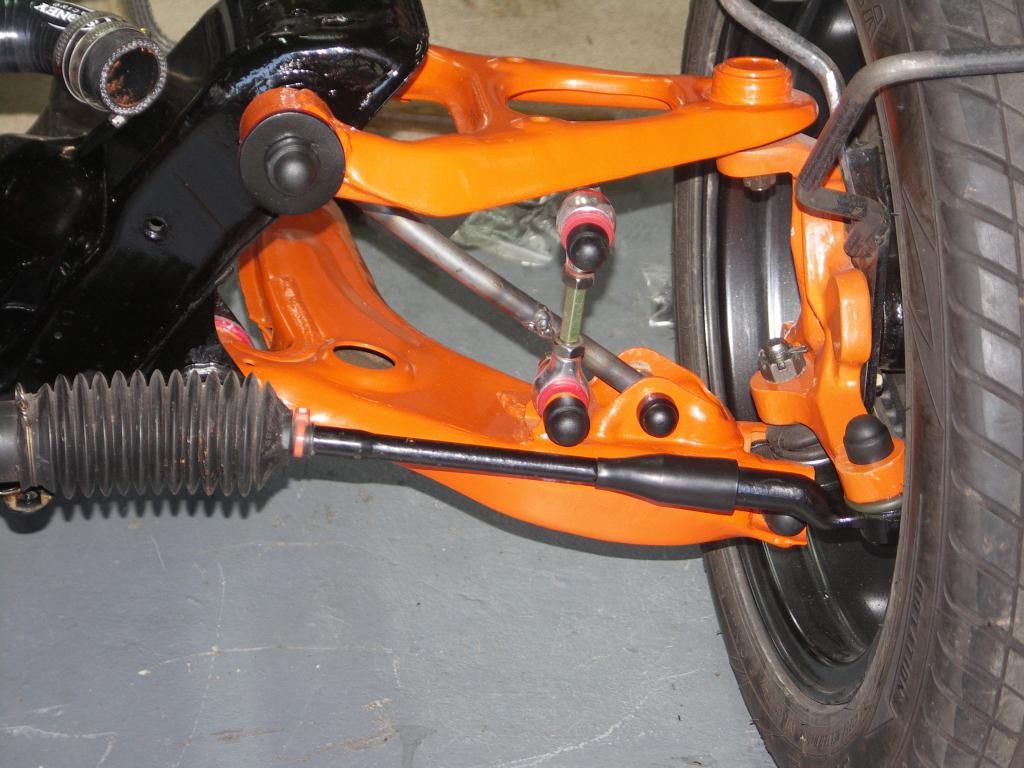 I also changed the colour of the upper wishbone bolt washers from silver to black. Silver stood out to much for my liking. Photo below shows one side silver and the new black look on the RHS.  |
|
|
|
Post by gwnwar on Jun 9, 2014 16:39:47 GMT
Great idea on washer color change.. Now front end flows together..One of the
best looking builds..
|
|
|
|
Post by jgilbert on Jun 10, 2014 21:34:42 GMT
A little bit more progress tonight. Decided to cover the inside of the floor panels with Carbon wrap. Had considered making some panels out of real Carbon with a Kevlar undersurface! would have been a great exercise and unique but would have put a big hole in the budget. Carbon wrap it is then. Firstly chamfered the edges, de burred all the holes and de greased the surface. Laid the panel down and cut my wrap roughly to size.  Once cut applied and squeezed our any air pockets before punching all the holes through the wrap with a set of hole punches. Then to stop the edges lifting ran around the edge with a file so that the wrap finished very slightly behind the ally edge. One side done, repeat tomorrow.  |
|
|
|
Post by donboy1983 on Jun 10, 2014 21:49:29 GMT
Looks good, I was thinking of doing the same.
|
|
|
|
Post by gnc on Jun 10, 2014 21:55:38 GMT
This really is turning into a piece of art, excellent work and first class finish. I dread to think how much a real carbon/Kevlar floor would have cost.
A couple of questions if I may......
1. Where did you find the nut covers, they look really good quality and
2. The coilovers are supplied without gaiters. Do we need to fit them or is it ok to leave them off when it's such a fine weather car?
|
|
|
|
Post by jgilbert on Jun 10, 2014 22:22:58 GMT
This really is turning into a piece of art, excellent work and first class finish. I dread to think how much a real carbon/Kevlar floor would have cost. A couple of questions if I may...... 1. Where did you find the nut covers, they look really good quality and 2. The coilovers are supplied without gaiters. Do we need to fit them or is it ok to leave them off when it's such a fine weather car? My thoughts, 1. I got the orignal ones (in the photos) from Car builder Solutions, however just order some more from ebay, search plastic nut covers etc. I will let you know what these are like. 2. I like the look of coilovers without gaiters. I intend to coat mine in the protection wax that I got from Tool station. (see Experiment Thread). Any thing to help. Hopefully mine car will be reserved for dry weather. |
|
|
|
Post by donboy1983 on Jun 15, 2014 16:23:29 GMT
Hello, love this build diary and I always refer back to it for pictures and to see how things have been done, I noticed that you had replaced a lot of bolts and nuts on the upper and lower arms and the ARB's. Do these need to be replaced like for like with the same pitch thread? Or can I replace with standard 8.8 standard metric bolts and use Nyloc nuts from my local engineering place?
|
|
|
|
Post by jgilbert on Jun 16, 2014 21:22:05 GMT
Hello, love this build diary and I always refer back to it for pictures and to see how things have been done, I noticed that you had replaced a lot of bolts and nuts on the upper and lower arms and the ARB's. Do these need to be replaced like for like with the same pitch thread? Or can I replace with standard 8.8 standard metric bolts and use Nyloc nuts from my local engineering place? Donboy, hi thanks for your kind words. Has become a bit of a ritual, work on car, take photos, post on forum. This is the second kit cat I have built. The first was 20 odd years ago. Council garage no electricity used a camping gas lamp for lighting! How thinks have changed! The Internet just makes doing this type of thing so much easier. Almost instant help and loads of good ideas. I think this forum is excellent, to be honest I feel privileged to be part of it, there is so much knowledge. Anyway to answer your question, where I have replaced Mazda bolts I have tried to match the same thread pitch. A finer thread has more contact area between the bolt and the nut. From memory, finer threads are also less inclined to rotate as you tightened them up. I work on the basis that Mazda would choose the thread pitch for a reason. Having said that if I'm adding a new part I tend to used a standard course metric thread. The most important thing is to ensure the strength rating of the bolt is correct for the job ie seat belt bolts, steering column pinch bolts are all graded 8.8 or better. Hope that helps. |
|
|
|
Post by donboy1983 on Jun 16, 2014 22:07:16 GMT
Perfect thanks, will try and find a local place that sell the metric fine thread, any good online companies.?
|
|
|
|
Post by jgilbert on Jun 16, 2014 22:14:29 GMT
Perfect thanks, will try and find a local place that sell the metric fine thread, any good online companies.? I use Namrick. Just google them. |
|
|
|
Post by jgilbert on Jun 16, 2014 22:52:51 GMT
So no chassis at the moment so not much progress. I've been fibre glassing my seat runners onto the bottom of the seats and glassing the rear tub mounting brakes as well as beefing up the side of the rear tub for mounting my lights. Got bored and found some stainless steel so decided to upgrade my throttle pedal. Brake and clutch to follow. 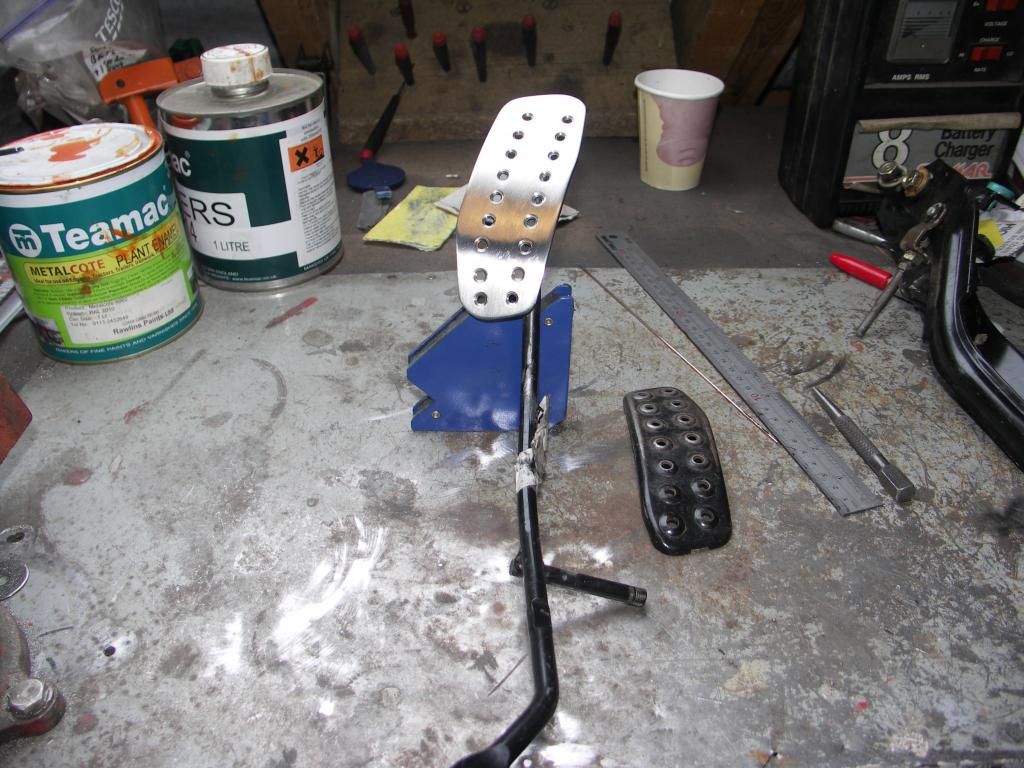 |
|
|
|
Post by jgilbert on Jun 18, 2014 20:45:00 GMT
Its arrival!, up there in terms of excitement with buying the donor, and getting the kit! Our frame arrived home from the powder coater's! I have spent hours planning the welding, making sure that where I can every 'additional' bracket is welded onto the frame. Then holes drilled, and finally welds fettled. So the moment of truth, would all this pay off, could I trust the powder coater's  and what about our colour choice  First photo is off all the brackets and ancillaries (22 of them).  Check out the pair of brackets in the middle with the curved ends and holes (bottom rad brackets) my personal favourite bracket (think Im taken this to seriously). So now to the frame,  As delivered. Time to unwrap her. 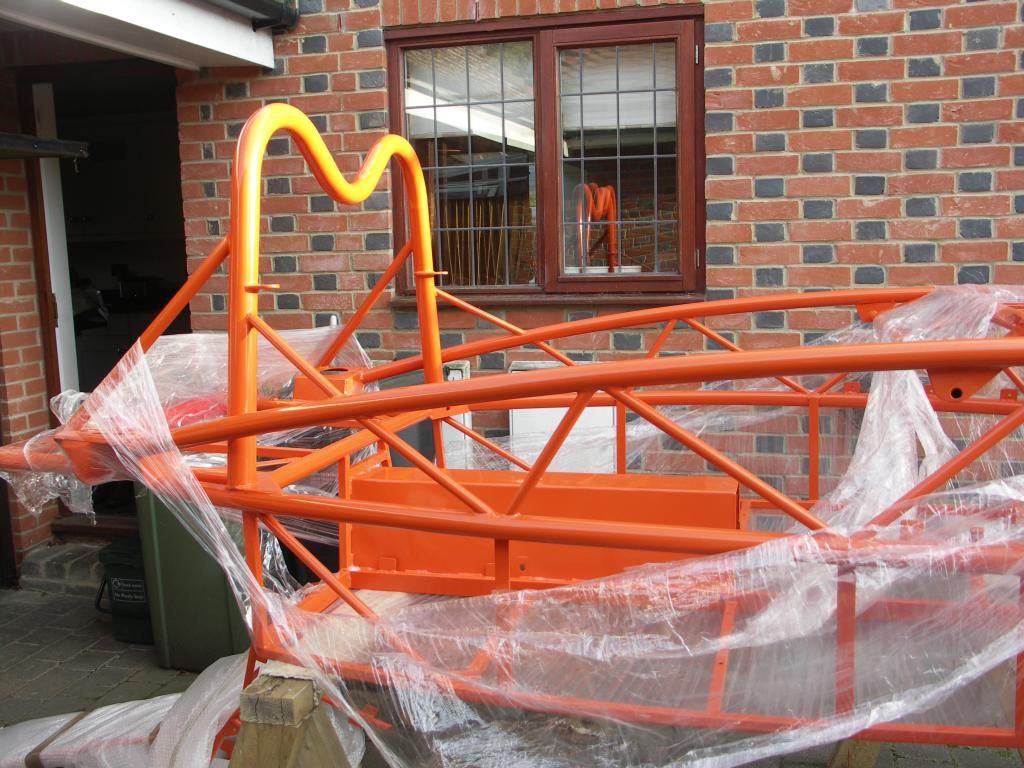  Close up. Very please with both the colour and finish. If you're within a hour of Newbury I can defiantly recommend a class powder coater. 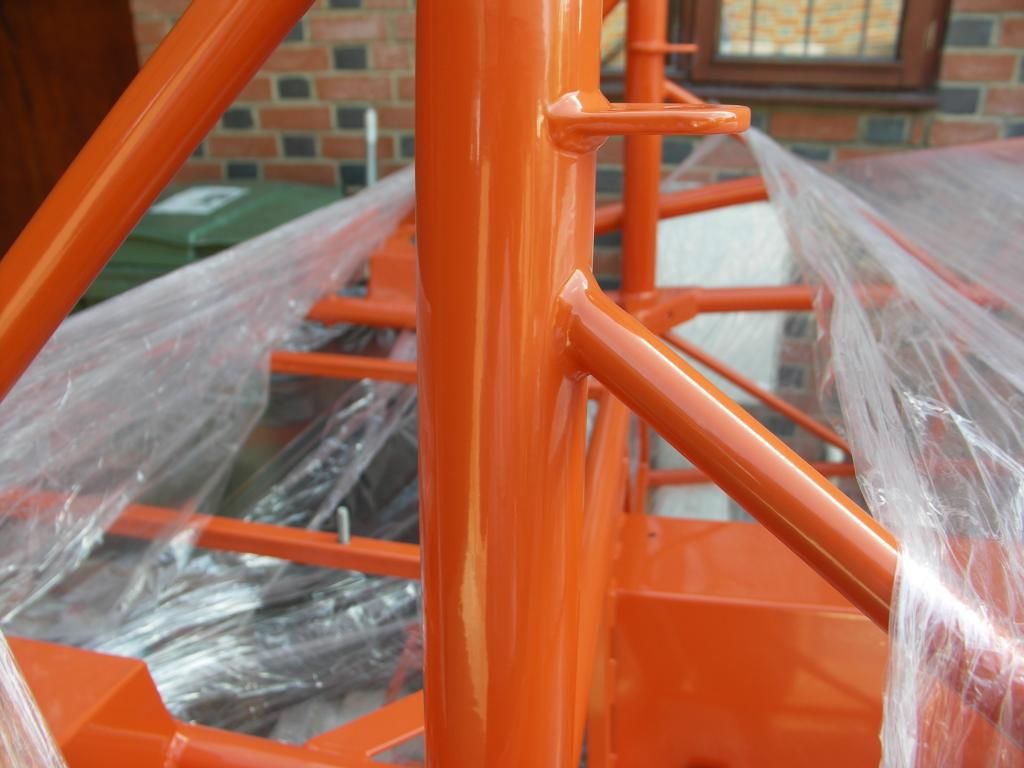 Flipped upside down in preparation for the floor mounting. 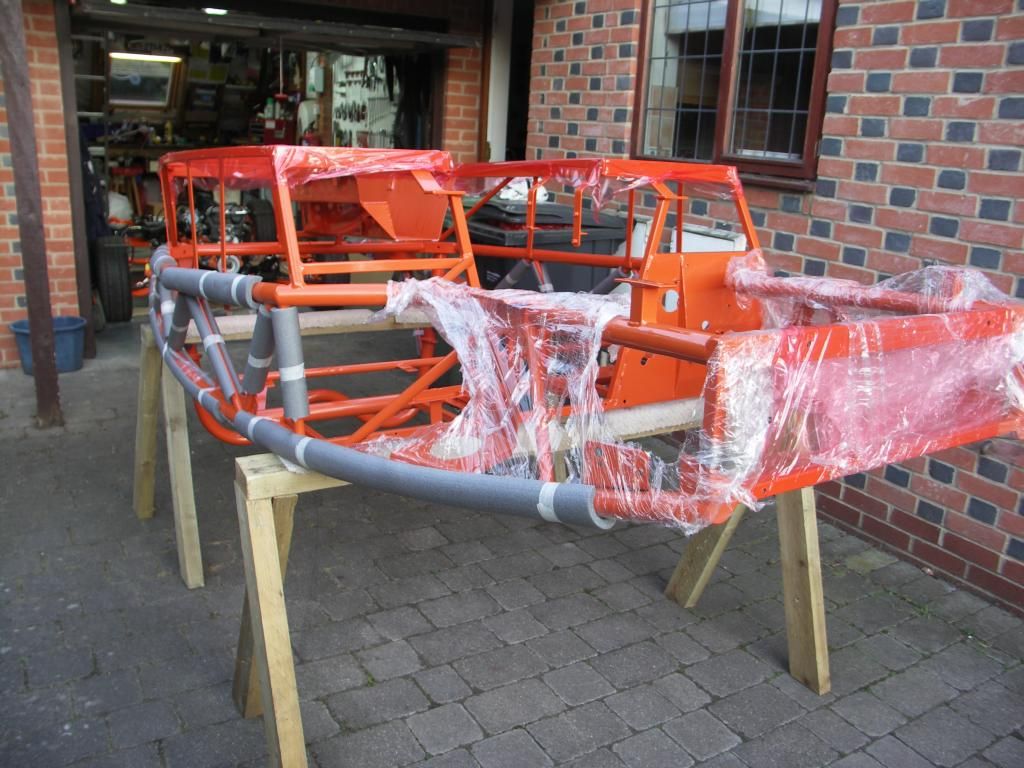 However, first job to use my protective wax. Found I could spray and then brush the underside of the tunnel for protection. You can see the matt finish where applied. 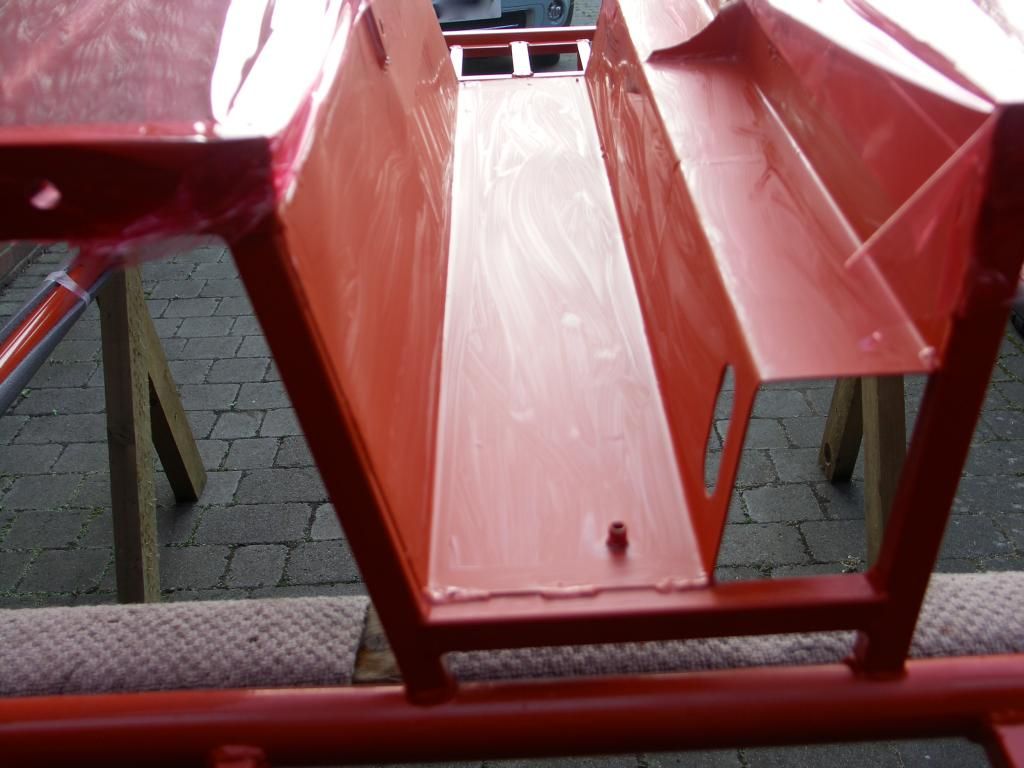 Then with a straw fitted to the can, and the straw poked through all the holes to spray the inside of the chassis. Luke then suggested coating the underside of the shock mounts. 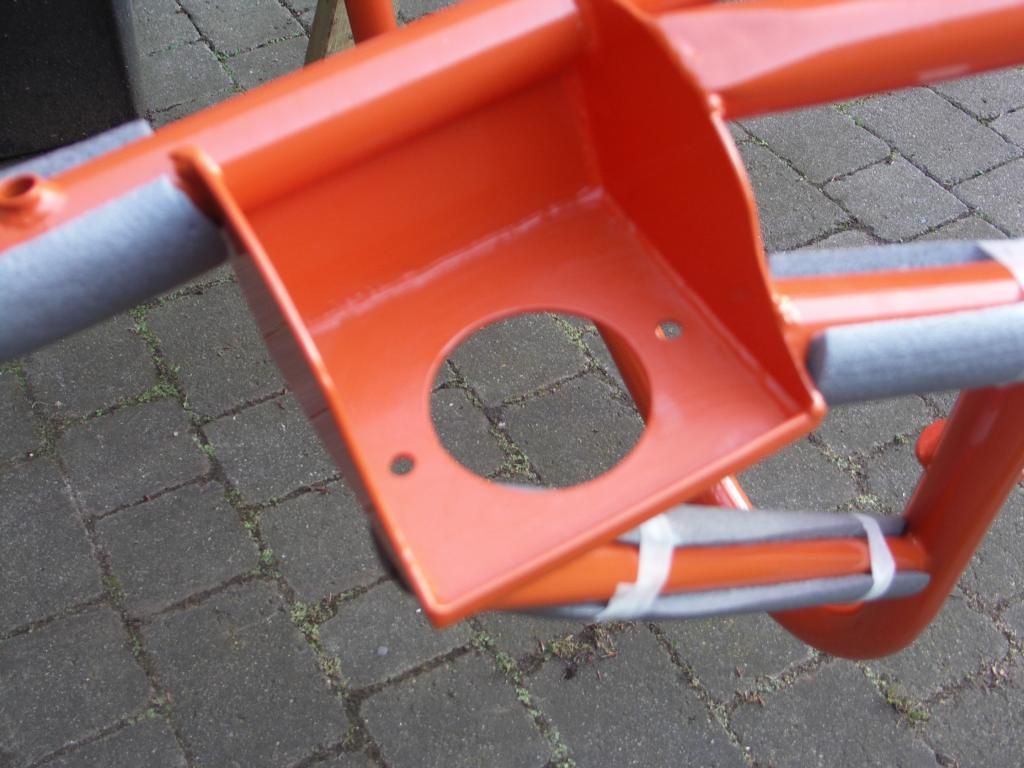 Final photo and update. A photo of the 'garage production line'. Lots of work still ahead. But, it now feels a step closer. 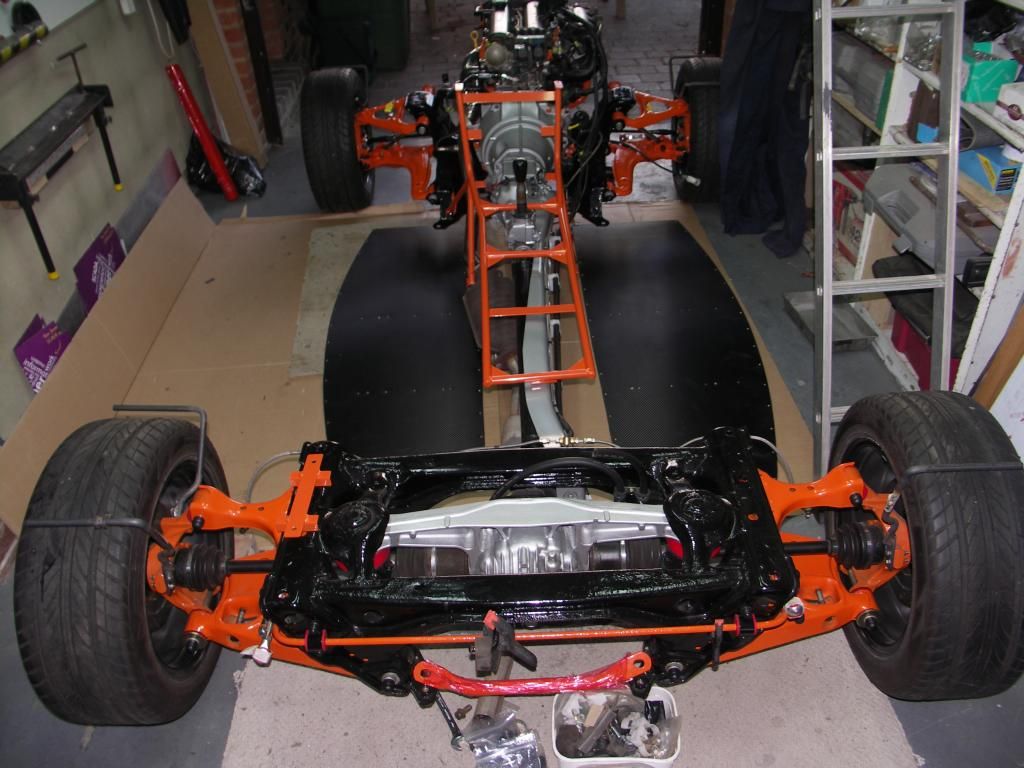 |
|
trident
Senior
   Improvise, Adapt and Overcome
Posts: 629
|
Post by trident on Jun 18, 2014 20:55:10 GMT
NICE
|
|