|
|
Post by gwnwar on Apr 27, 2014 22:38:55 GMT
John.. That is one very well layed out shop... Making use of all space and origination..
|
|
|
|
Post by jgilbert on Apr 28, 2014 21:10:29 GMT
In the UK we would describe it as 'Cosy'  In seriousness, its out of necessity! surprising how easy it is to lose tools and parts and spend all your time looking for them in such cramped conditions. I would love more space but will have to do with what we have got. Its interesting, often larger garages are less 'laid out' drives me mad  Anyway, one floor drilled, second is halfway through. Welshy, pointed out an important point when drilling the floors someway back in my build. When drilling the rivet holes in the seat cross braces is easy to forget the seat runner positioning and end up with a rivet right when you need to bolt through for the seat runner. In fact one of mine would have been within a couple of mm of the seat mounting meaning the use of a washer would have been difficult. I therefore drilled the seat mounting holes all the way through the ali before the rivet holes and then equally spaced the rivet holes allowing clearance around the area of the seat mounting bolts. Hope this helps someone else. |
|
trident
Senior
   Improvise, Adapt and Overcome
Posts: 629
|
Post by trident on Apr 30, 2014 20:43:13 GMT
Relegated back to page 4, how quickly a months goes. Anyway about halfway through our build and today we was able to do a job most people start with, cutting the ali floor. The trouble with having a single garage is that space is at a premium. So the only way around this was to lift the chassis off the running gear and make some wooden supports to rest the chassis on above the running gear. The chassis and running gear split easily, one benefit of having the fuel and brake lines mounted to the PPF. Once separated the chassis was flipped over so I could work on the underside. Photo shows the 'flipped' chassis sitting on our wooden supports above the running gear. I made some tubular supports bolted to the bottom shock mounting to stop the suspension from collapsing. You can see these in the photo below. 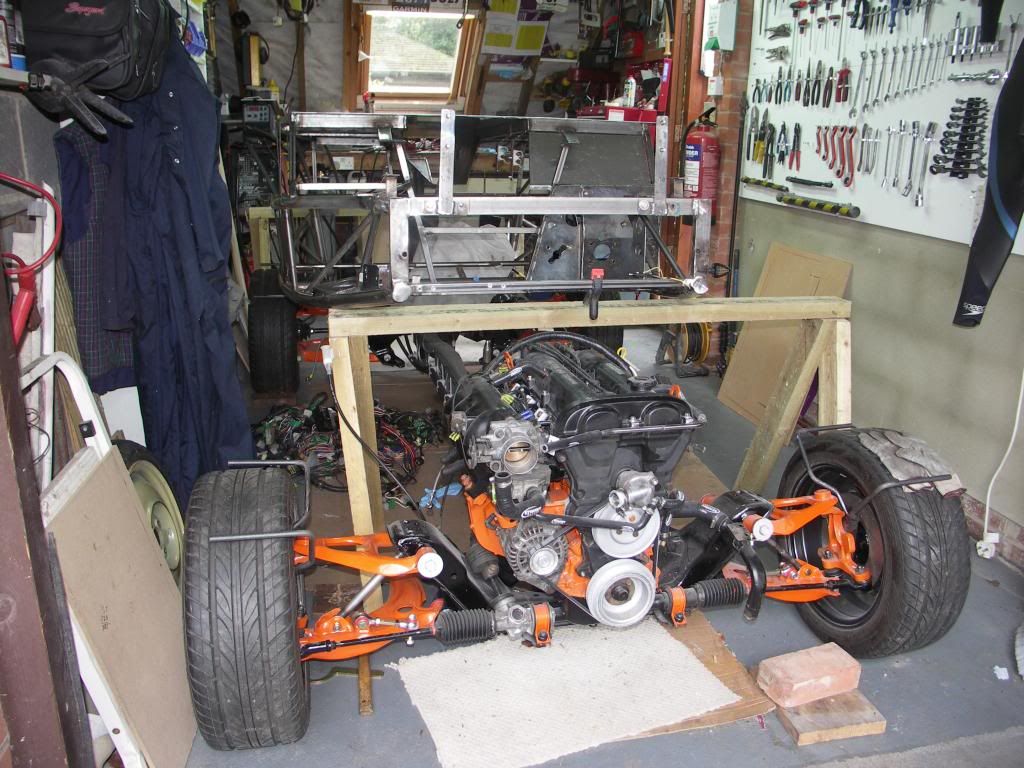 Our Ali sheet has been laying against the side of the garage ever since we got the kit so it was nice to make some progress and move it. 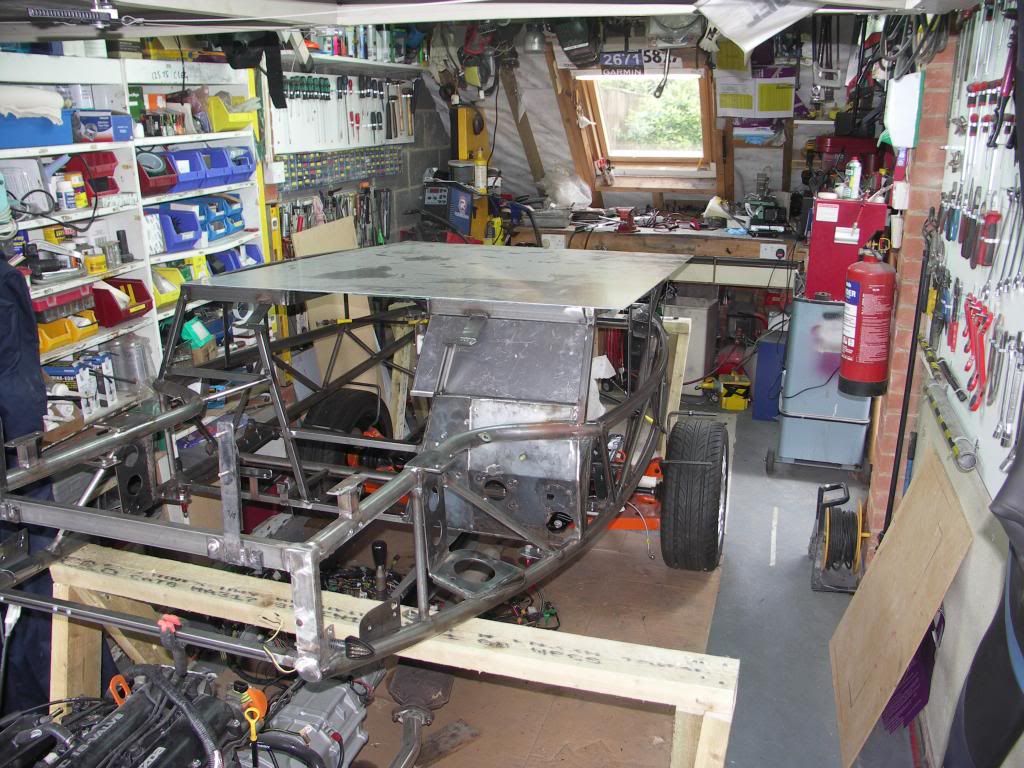 And finally, in between the rain, managed to cut both sides and start drilling for the rivets. 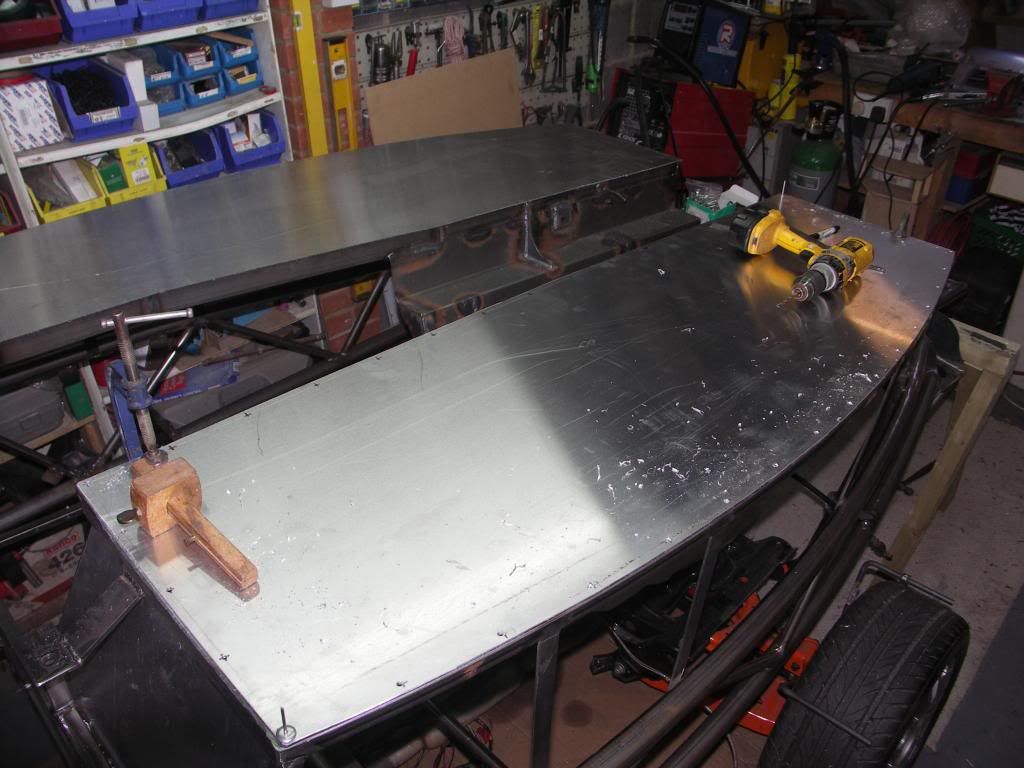 John, that can't be your floor you're fitting there…it must be my floor as I seem to have your flooring panel in my garage … well it's got your name on it!!! 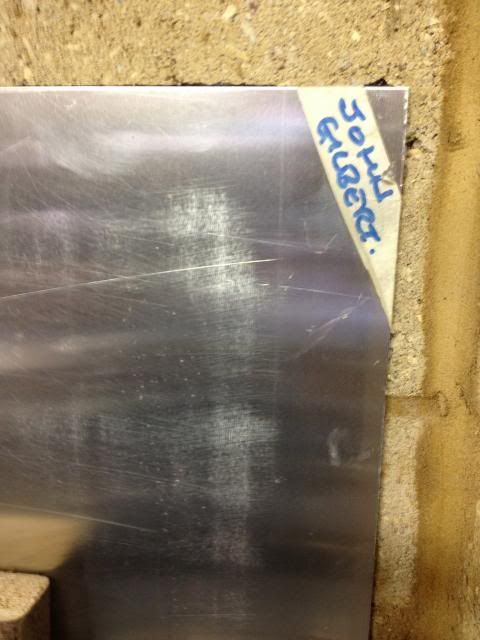 |
|
|
|
Post by jgilbert on May 3, 2014 16:53:03 GMT
Floor pans all done  Found it helpful to cut them a couple of mm smaller than the frame. This is gives a nicer edge and less of sharp edge from an IVA point of view. Then a couple of hours welding and fettling with the frame upside down. All done. 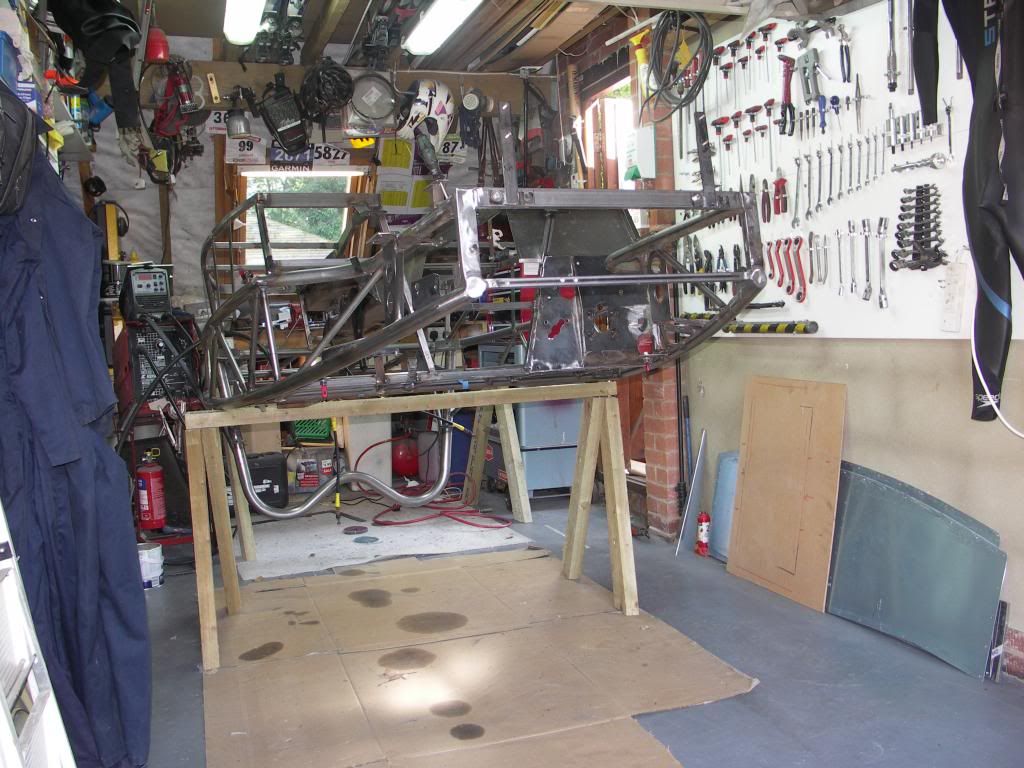 I've been waiting on some nice weather in order to wheel the running gear/PPF out of the garage and blow all the dust off it. Also wanted it out of the garage whilst I was fettling and making lots of 'grinder dust'. So a couple of photos. 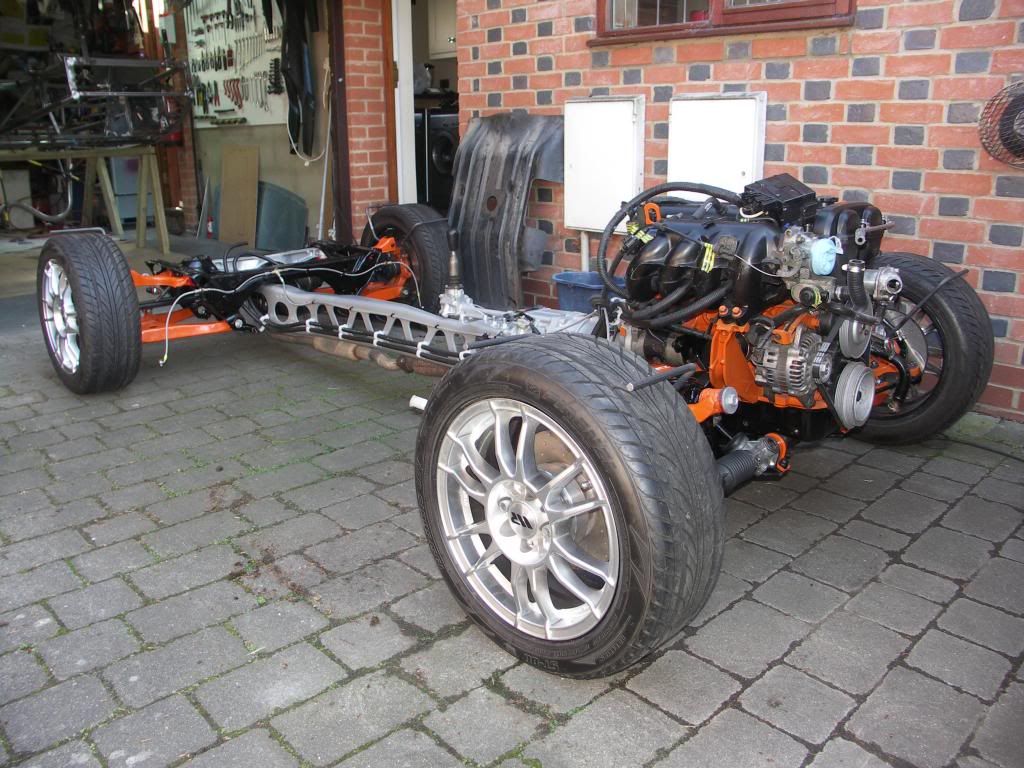 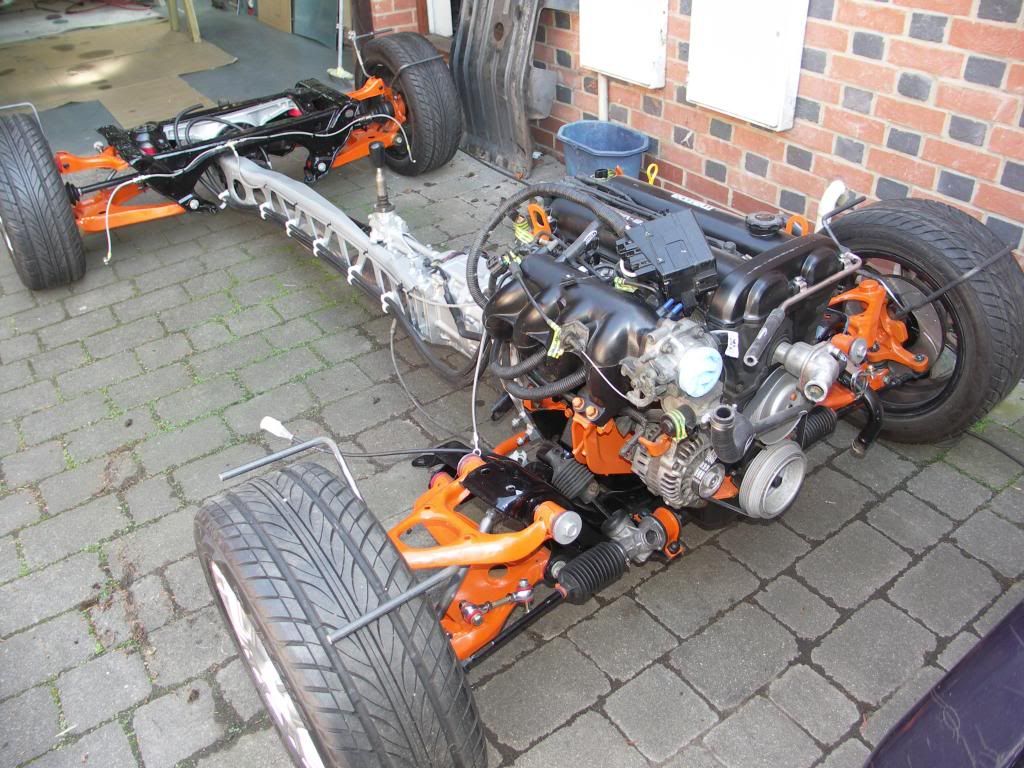 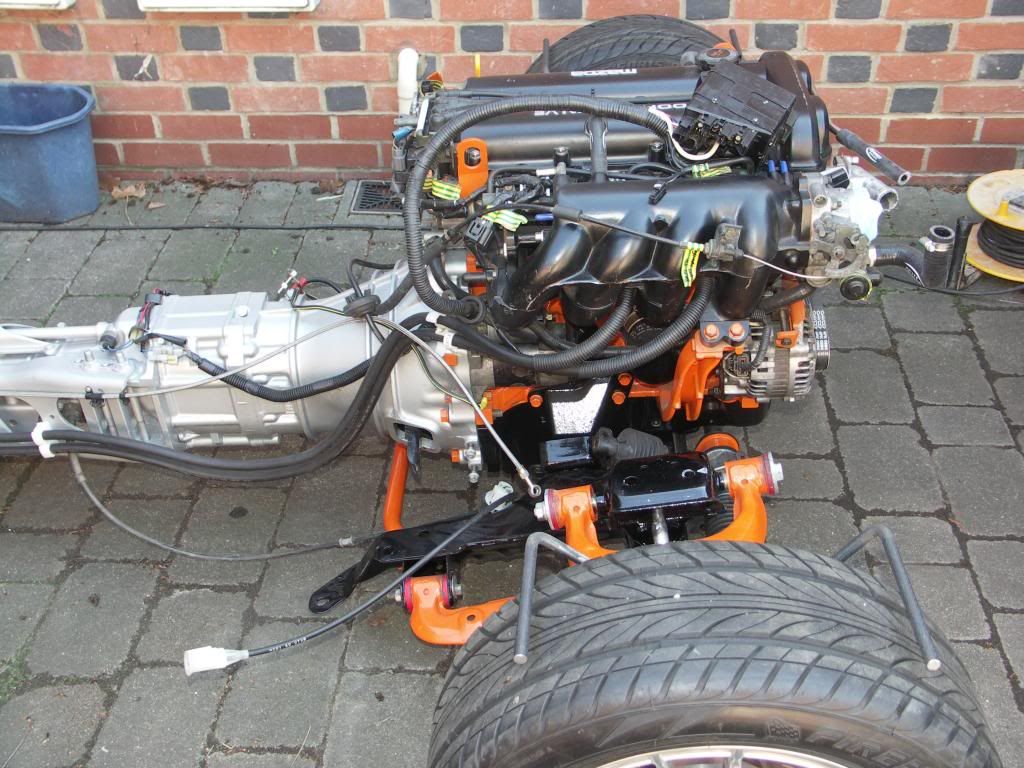 And then ready to put it to bed. 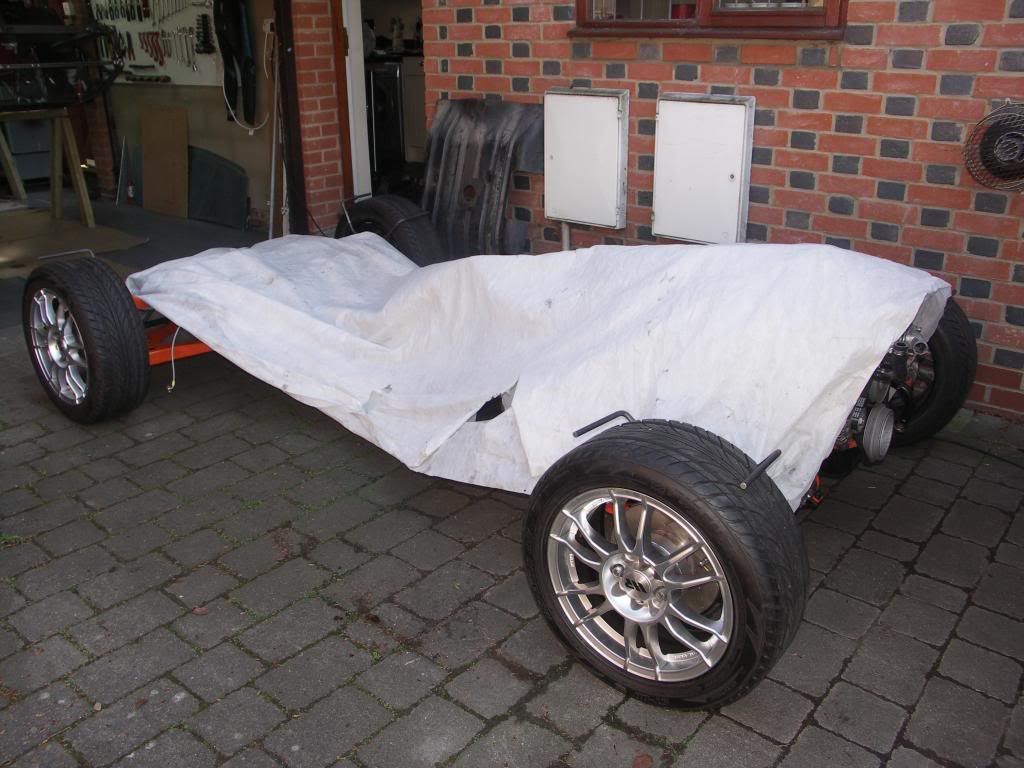 |
|
trident
Senior
   Improvise, Adapt and Overcome
Posts: 629
|
Post by trident on May 3, 2014 19:01:16 GMT
Have you remembered to weld around the chassis number plate that was only stitch welded on our chassis's?
|
|
|
|
Post by jgilbert on May 5, 2014 20:11:16 GMT
Yep! thanks.
Chassis flipped over now and started the process of fettling the welds that joint the chassis tubes.
|
|
|
|
Post by tomaff on May 5, 2014 20:51:22 GMT
That's a very nice paint job.
|
|
|
|
Post by jgilbert on May 26, 2014 20:04:10 GMT
So this afternoon was spent putting the last touches to the chassis in terms of welding and fettling. Think I'm now ready at last for powder coating! One of the little extra jobs I've done is to extend the top of the passenger chassis inwards to give a bit more of a contact point for my ally gearbox cover. A 15mm strip of steel welded to the inside of the chassis as show below. 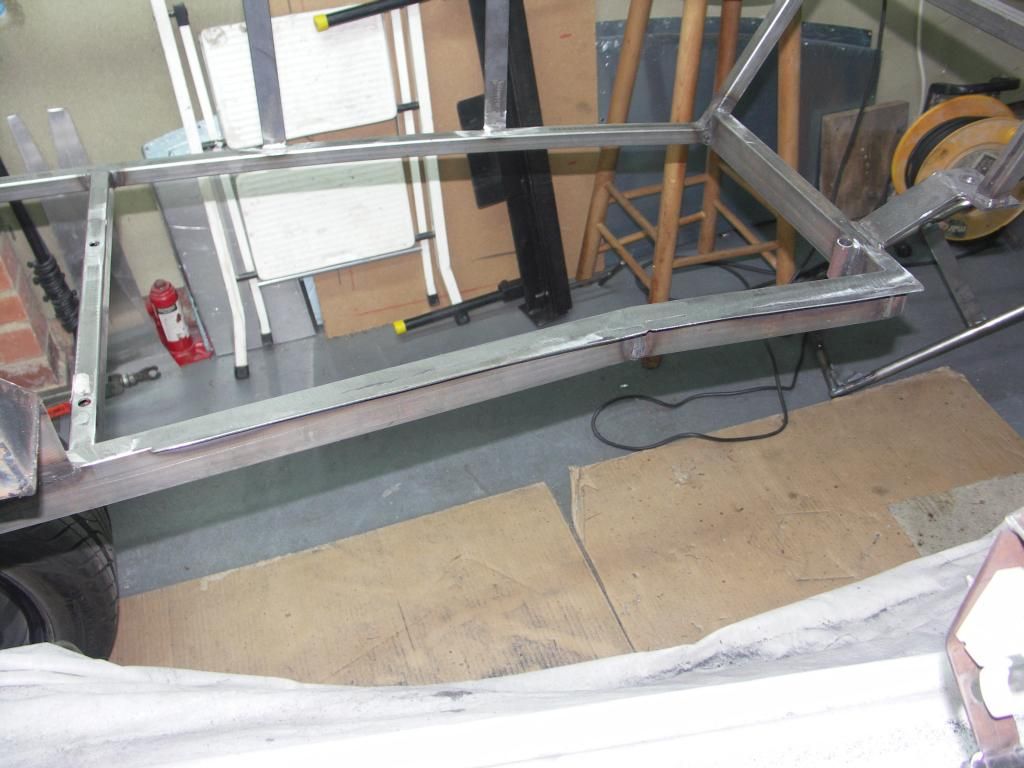 and another view. 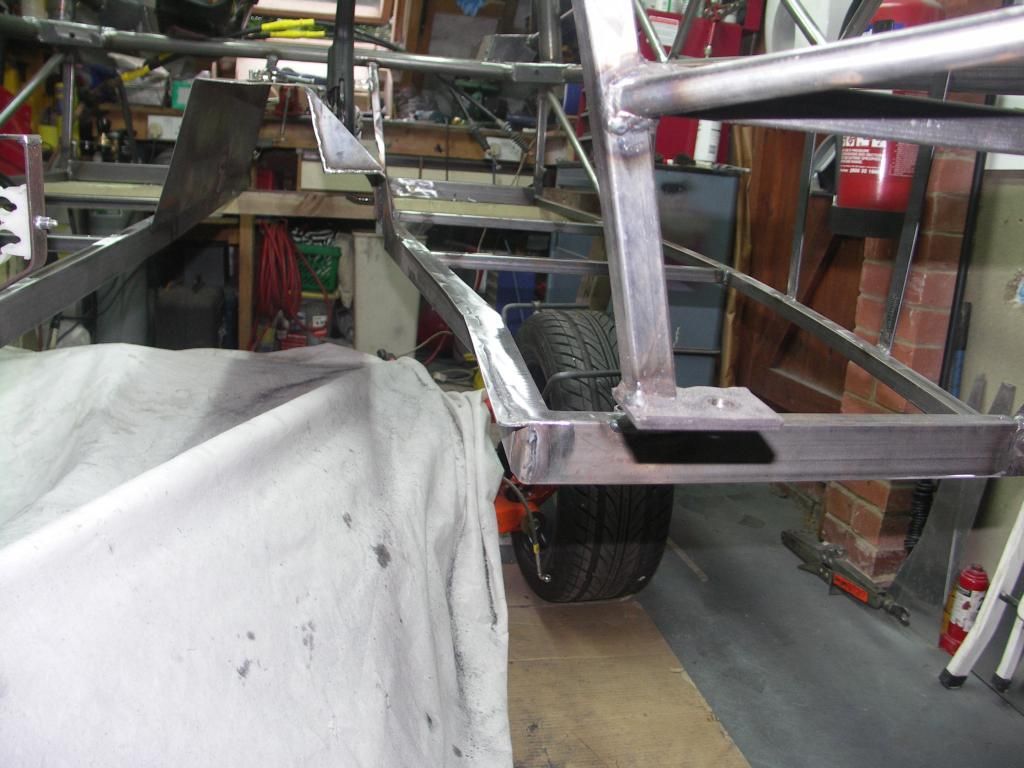 It was one of those jobs that I'd um'd and ar'd about doing, but having taken the time to do it am pleased. The ally cover sits better and I know long term it would have bugged me if I hadn't done it. And then with my tubular center consol fitted. 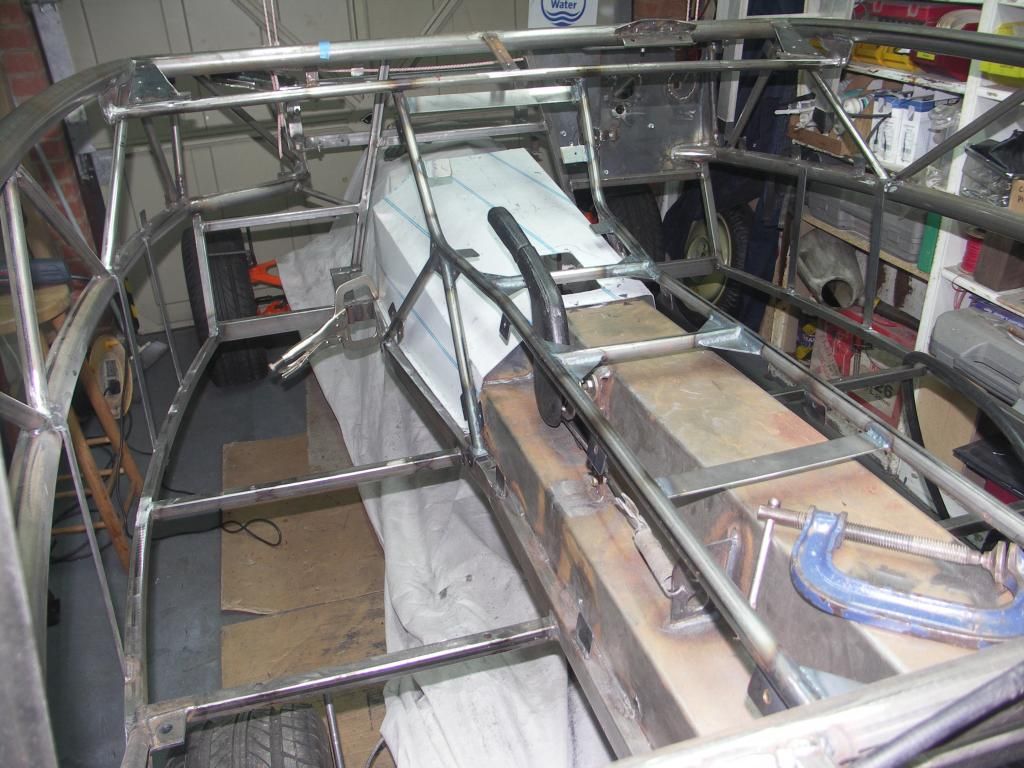 So if I can sort out transport for next week. I think its time to let the powder coater work his magic. |
|
trident
Senior
   Improvise, Adapt and Overcome
Posts: 629
|
Post by trident on May 26, 2014 22:51:45 GMT
Very nice...
|
|
|
|
Post by paulgwat on May 27, 2014 15:53:57 GMT
Next Update. So had a limited amount of time this weekend. This was spent finishing off the idea borrowed from Trident on the rear wishbones. Got the boy involved in tack welding the 'cover plates' to the wishbone. Just need to weld them up, send to the shot blaster and then powder coater. First two pictures shows the 'cover plate' in position. Had to add a small section of tube in order to allow access to the bottom shock mounting bolt. 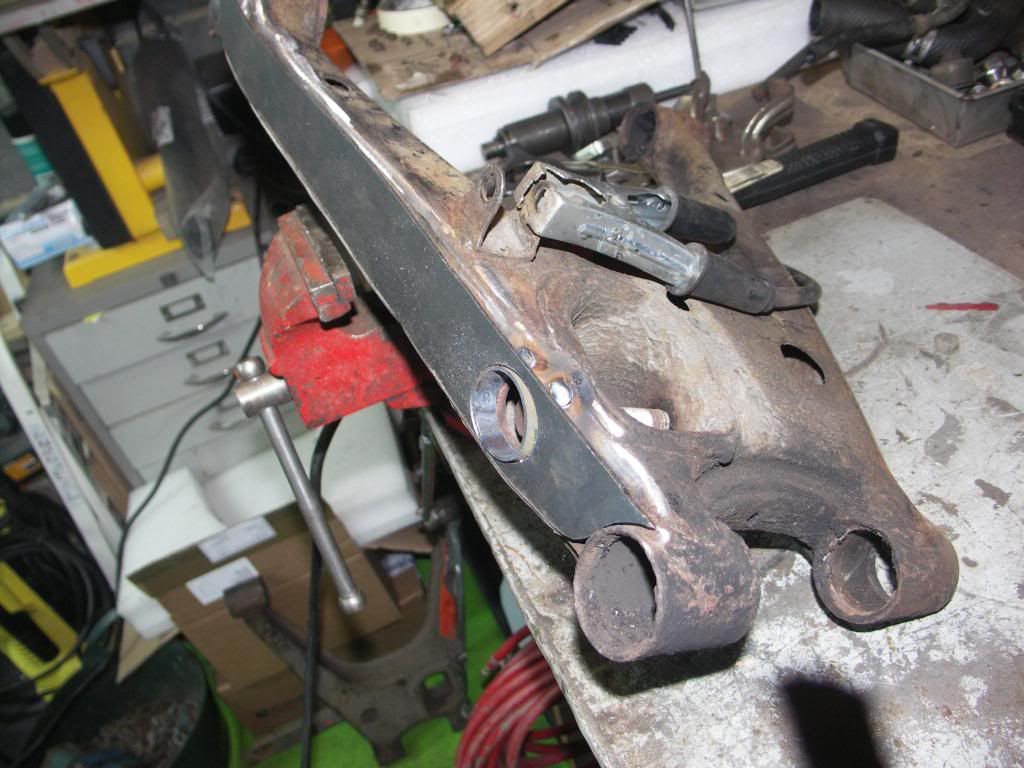 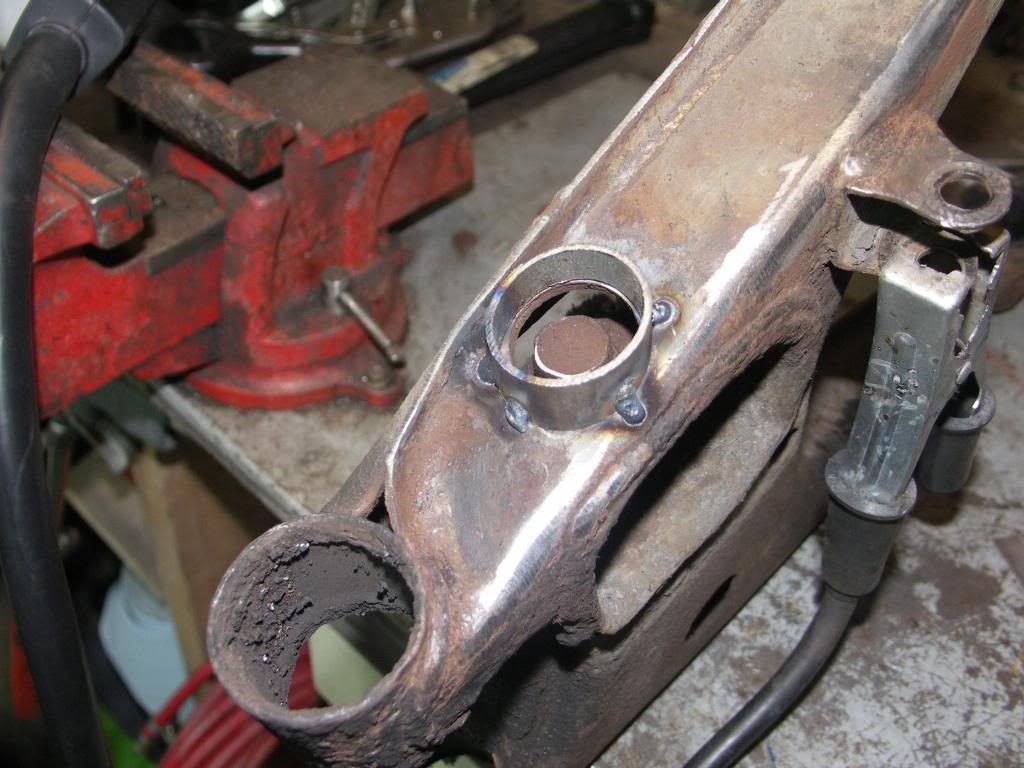 Not a bad effort considering 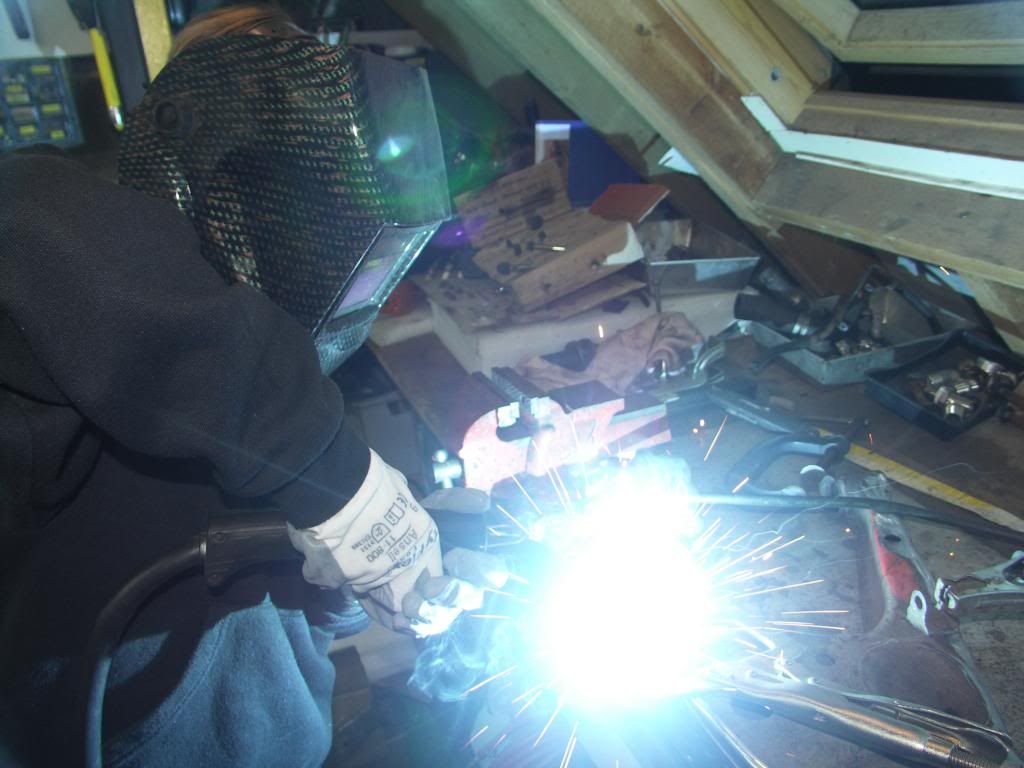 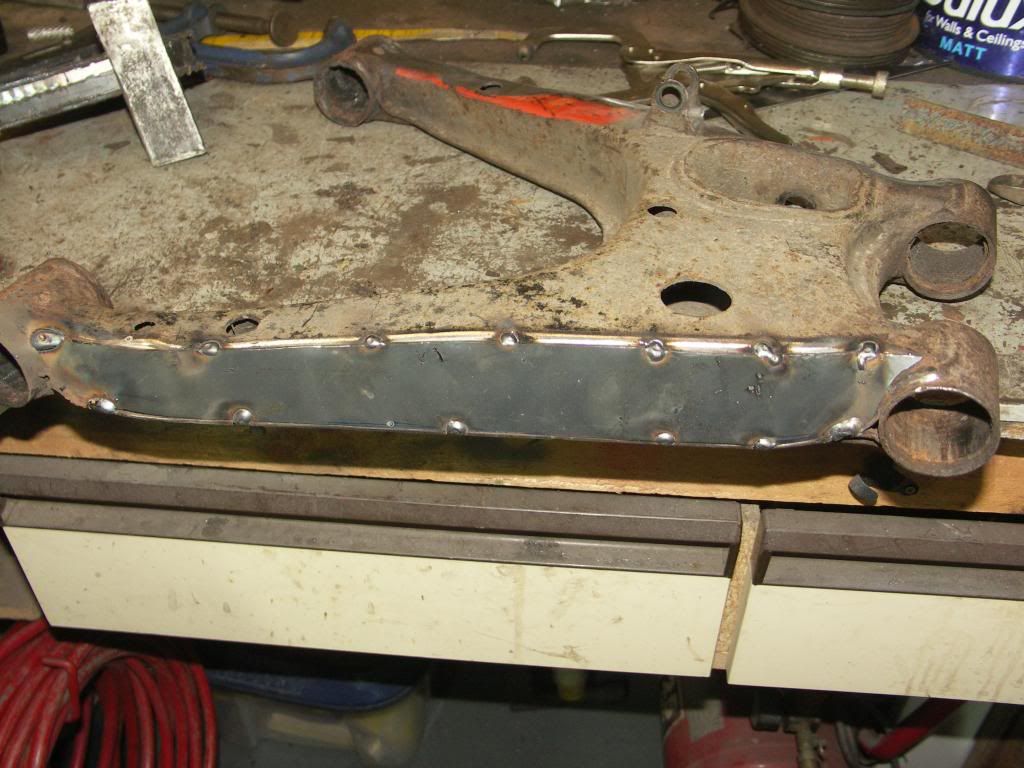 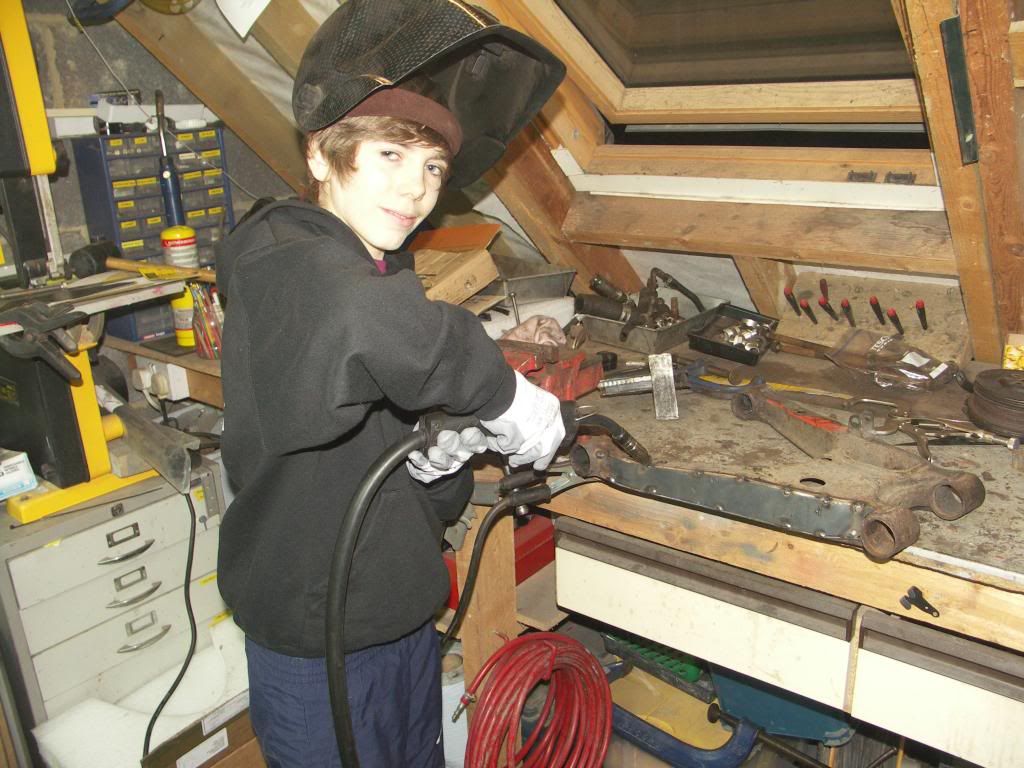 Nice to get some help and hopefully another skill learnt. Apologies for raking up an old bit of the build thread but is the background to adding these "cover plates" to the wishbones, does it improve performance (via I assume adding rigidity) or does it add something cosmetically?
I have been searching the forum but as yet haven't found any explanation - that could be me though
Thanks
Paul
|
|
|
|
Post by jgilbert on May 27, 2014 18:45:39 GMT
Paul, In response to your question. By my calculations my additions will increase the torsional stiffness of the wishbone by about 40%........lol No in fairness it's a looks thing, stole the idea from Trident, The dea being that if you plate out the edge then this removes the IVA issue of having to use plastic trim. With my wishbones being orange I thought the black trim would have detracted from the look I was going for. On black wishbones I think you can get away with it. Hope this answers your question. Ps the state of our welding has properly reduced the strength of the wishbone.  |
|
|
|
Post by jgilbert on May 30, 2014 13:32:21 GMT
Well its to late now for any more welding. Chassis packed on top of my mates van for a quick trip to the Powder Coater's. Really excited, should get it all back in about a weeks time. 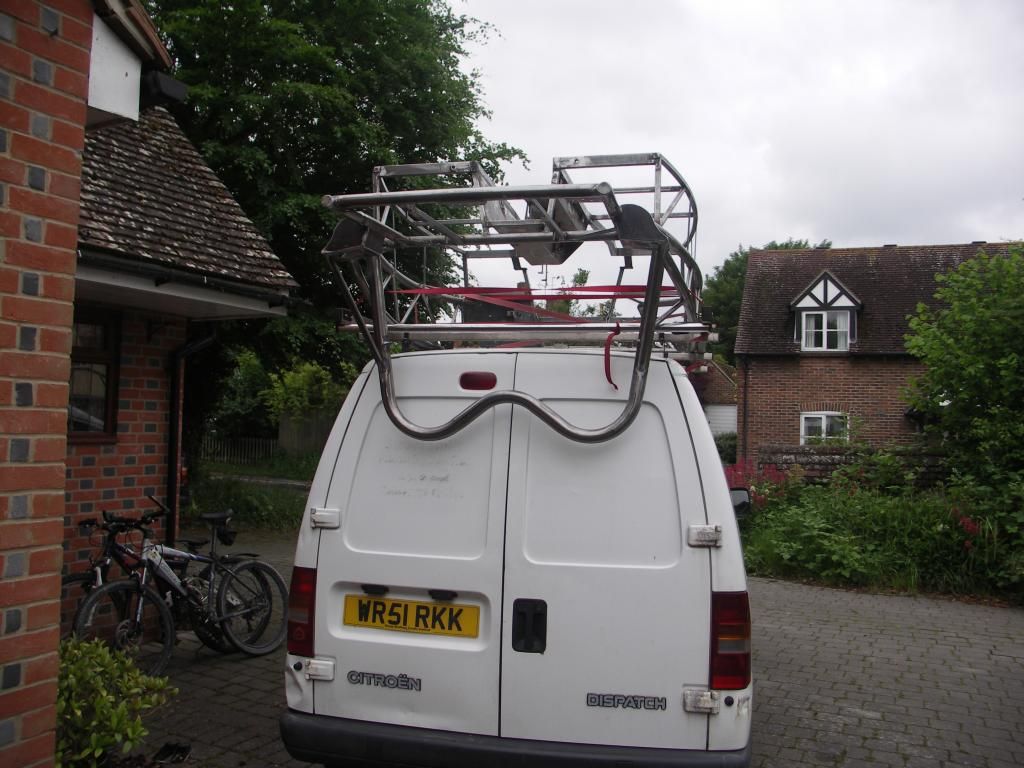 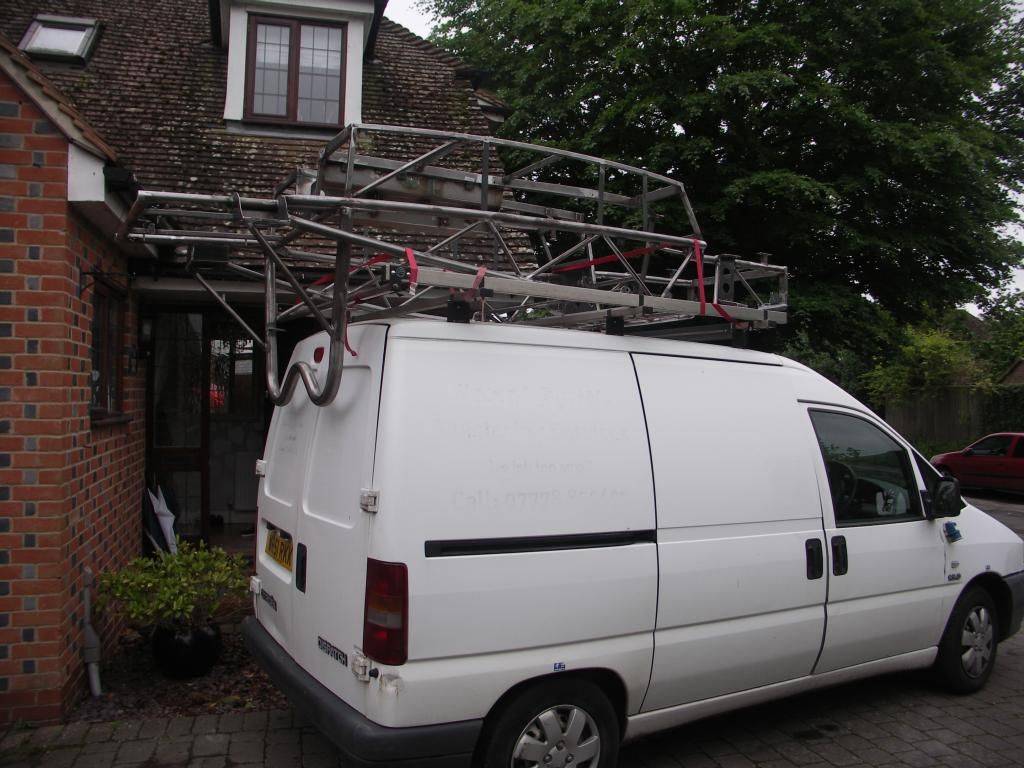 Fitted on the rack really well. Now I can spend a week cleaning out the garage and getting rid of all the grinder dust, ready for the finally assembly. I was also surprised by the number of brackets I've made. So had 21 other bits! that needed coating at the same time. 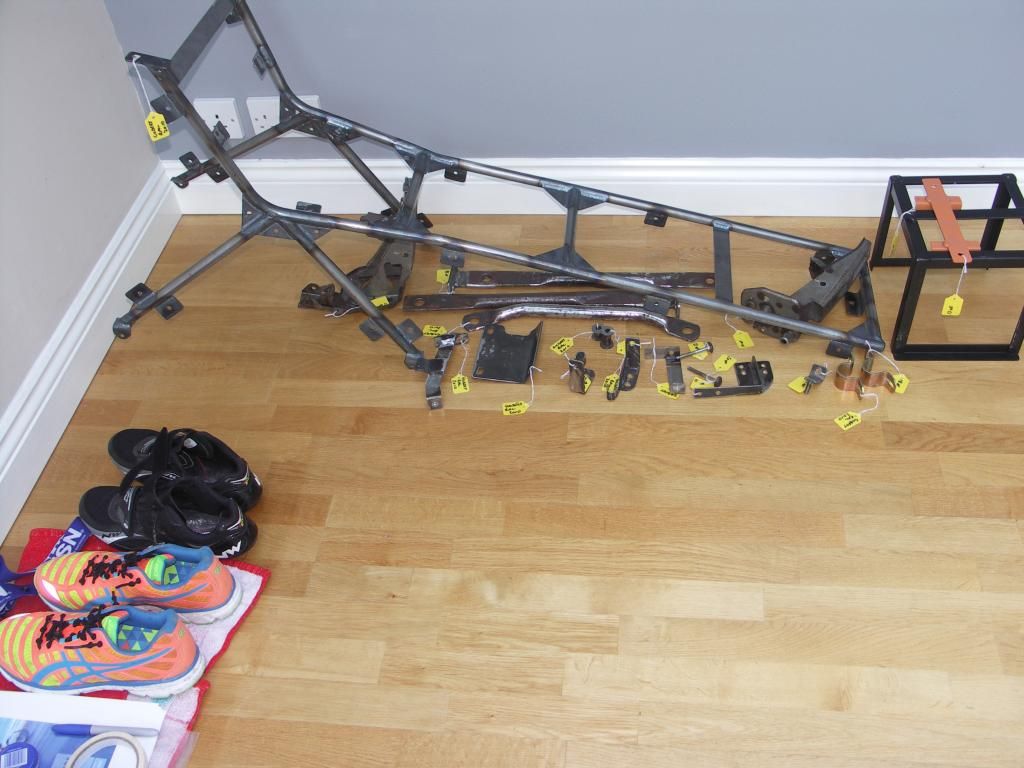 LoL, even my triathlon kit got in on the photo! Big race on Sunday, London Triathlon. |
|
|
|
Post by jgilbert on Jun 1, 2014 19:31:30 GMT
2:39
|
|
trident
Senior
   Improvise, Adapt and Overcome
Posts: 629
|
Post by trident on Jun 1, 2014 20:43:02 GMT
Your time for the triathlon …. well done |
|
|
|
Post by jgilbert on Jun 2, 2014 20:24:06 GMT
Your time for the triathlon …. well done Yep, great day, great venue, and a PB. The elites race is on BBC iplayer if anyone is interested. Those boys are seriously fast! |
|