|
|
Post by jgilbert on Dec 23, 2013 0:50:14 GMT
FLIP FRONT WOES Oh dear, I (as it wasn't Luke's idea he tells me) may have biten off more than I can chew with the flip front idea. Thinking about calling it quits and making a call to MEV for a price on a new nose cose!So it was always part of the plan to reinforce the bonnet and nose cone with some tubular steel and glass fibre this in as additional support/strength. I'm using 15mm dia tube which I set about bending to follow the bonnet curvature. Not an easy task but having bend two side runners I then added a front and rear brace ending up with a 'square' frame for the underside of the bonnet as shown below. Looks easy, took hours !!!! 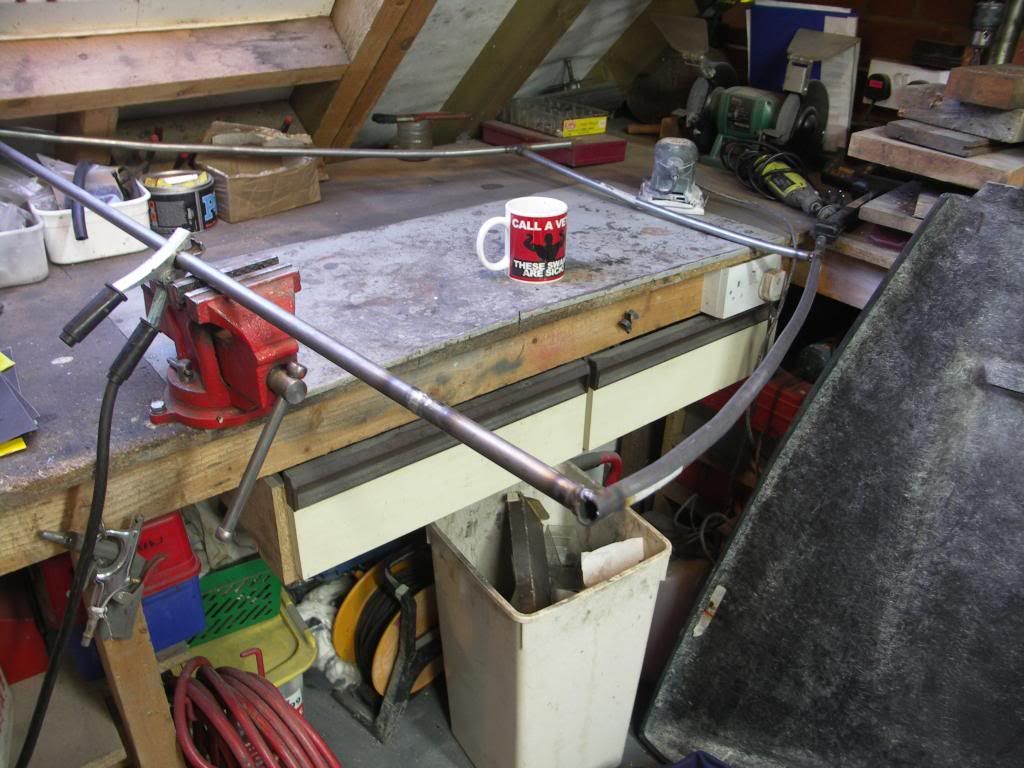 The frame was then positioned in place on the underside of the bonnet and held in place with 4x 4mm screws (one at each corner). 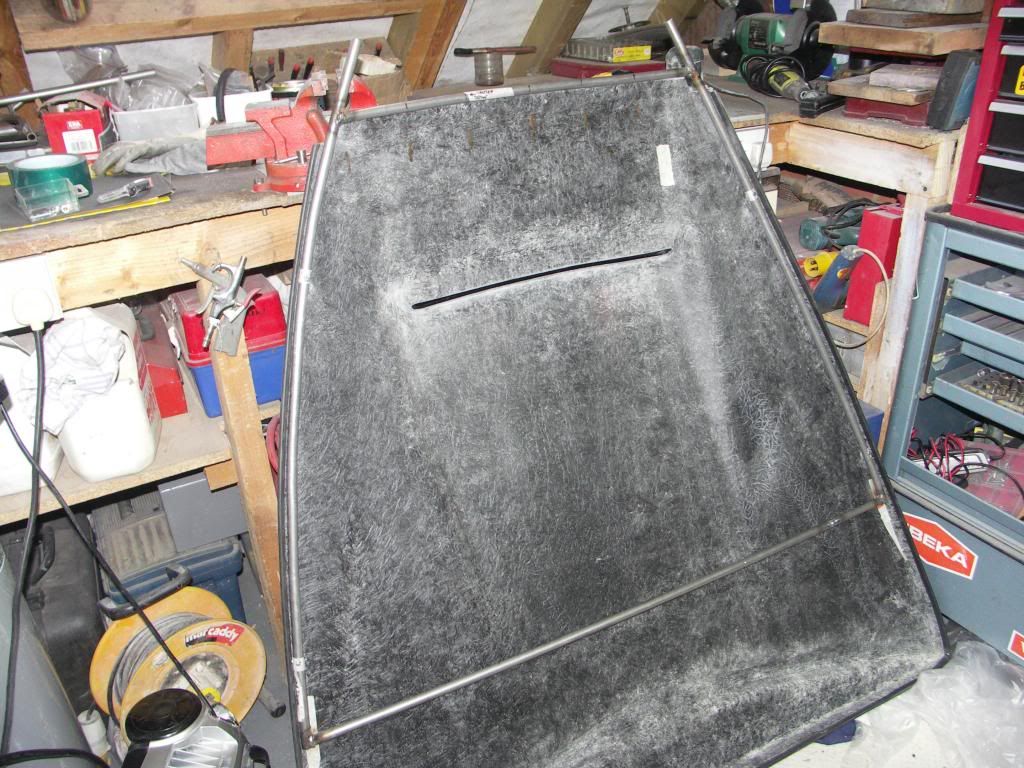 This is where the problems started. As it was impossible to get the frame an exact match for the bonnet profile when I screw it into position it flex's the bonnet out of shape. I've spend the best bit of two days trying to adjust the frame and sort the problem. The problem is the bonnet just keeps flexing. The nearest I can get it is with the front brace right on the bonnet/nose join line and slightly twisted. You can see this in the next photo (more tube showing on the right hand side than the left) I wanted the brace more forward than this so I could get plenty of fibre glass on the joint line for strength. The position of the tube now complicates this. 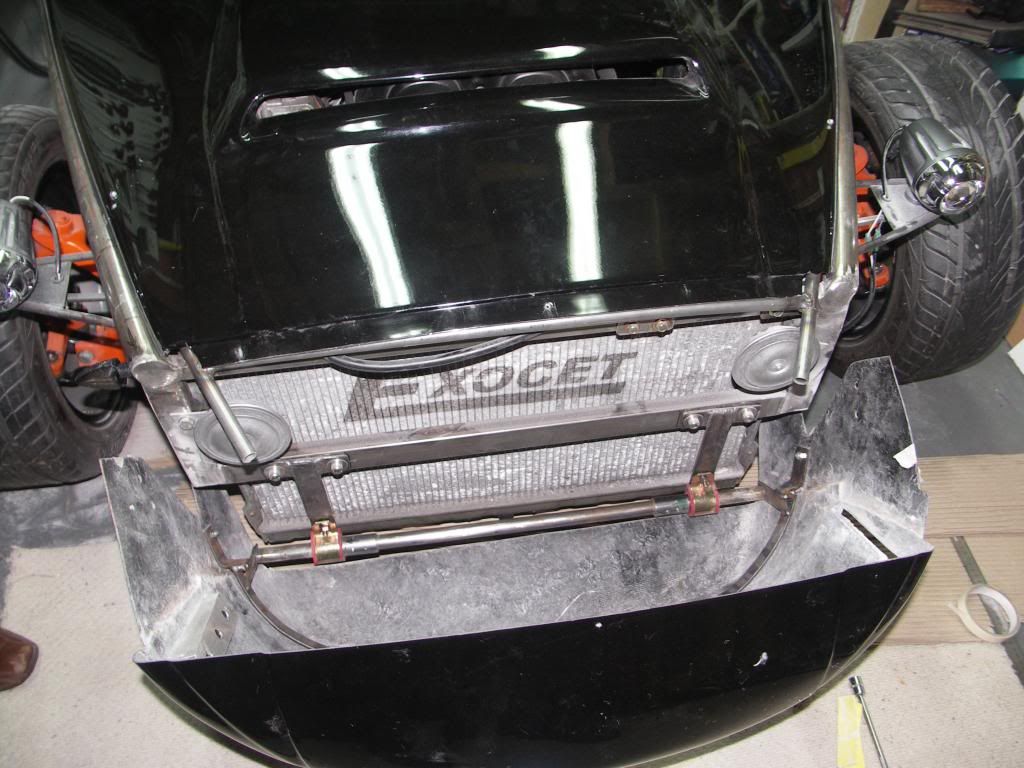 The idea of the tubes protruding was to bond these onto the nose cone. Again for strength. The only good outcome has been a result with the DTR lights. Because of the necessary 'plastic surgery' on the side's of the nose to clear the chassis when the nose is tipped forward, this has given me more space to recess LED lights and have them flush with the fibre glass. Additional width can be seen in the next photo. 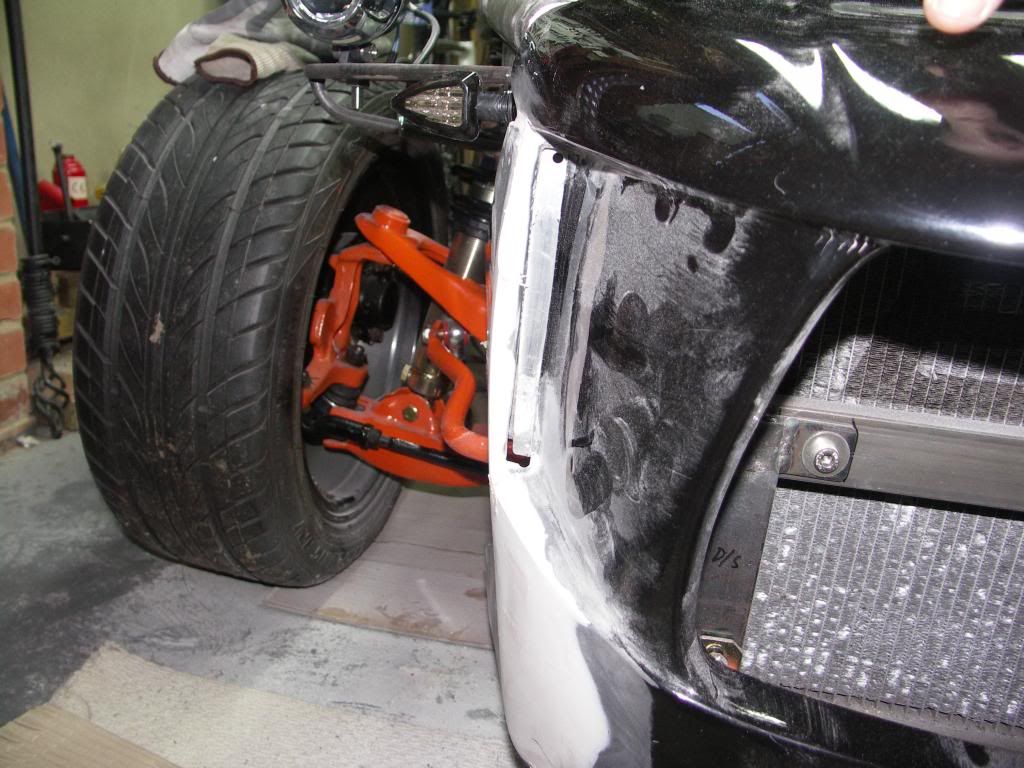 To mount the lights I've bonded a section of Ali angle to the inside of nose. This is what the DTR lights mount to and ensures they are flush with the gel coat. 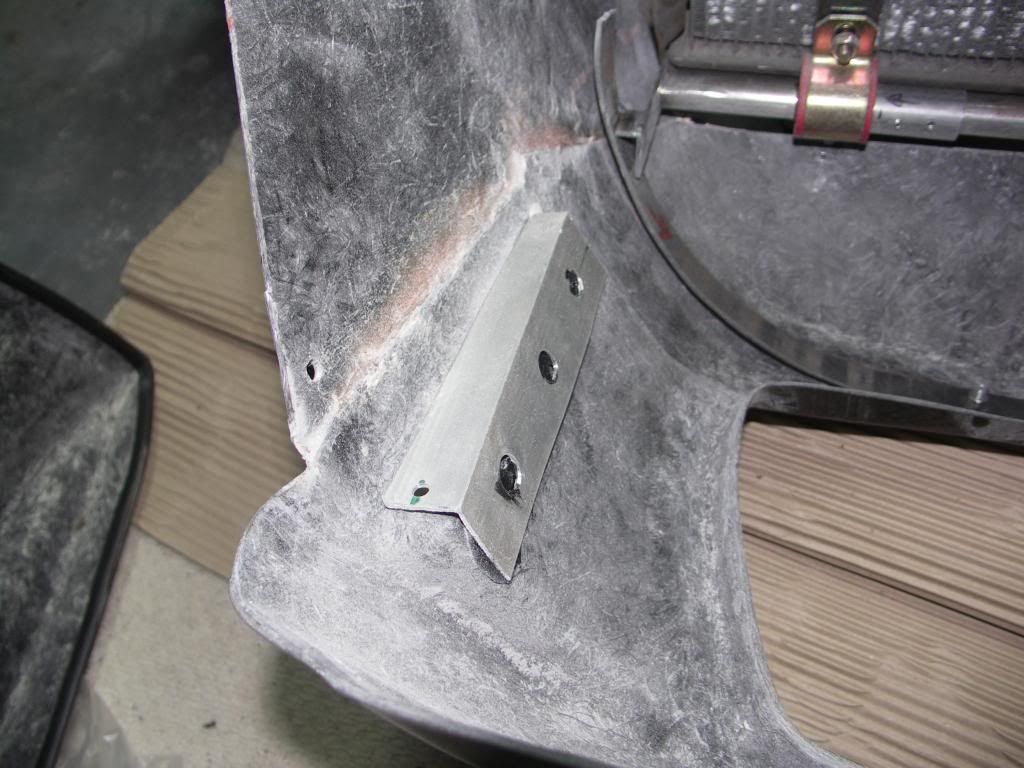 Anyway this doesn't make up for the bonnet issues. Looks like I need to re-think and emit defeat  Any bright ideas very welcome!!!! |
|
|
|
Post by gwnwar on Dec 23, 2013 6:52:16 GMT
Looks like the problem is you made a out of shape box and tried to secure the bonnet to it..how about cutting the front cross brace in half laying the bonnet in place to see if will lay flat no twist.. if it does then tack the front remove and weld around.. might have to do same with rear cross piece.. Maybe both at same time.. OR Have you removed the 4 corner screws?? were does the tubing sit?? on the frame or up into the bonnet. if up in bonnet remove screws shim up tube with clay blocks from hobby shop up into bonnet.. Maybe shim down some from inside bonnet to make up for the uneven surface under there.. A 1/4" isn't much and the cloth and fill will fill space.. Install new screws and location if needed one at a time.. Don't give up.. walk away for awhile..
|
|
trident
Senior
   Improvise, Adapt and Overcome
Posts: 629
|
Post by trident on Dec 23, 2013 19:38:50 GMT
Instead of bolting the frame to the bonnet could you not bond it with an adheasive and the fibre glass over the tube where its bonded. That way the bonnet won't be pulled out of shape but you would have the stiffness.   look at my moto below my profile picture........ dont give up just yet.... there are no problems just solutions Happy Christmas |
|
|
|
Post by jgilbert on Dec 24, 2013 8:42:23 GMT
Thanks for the advice, I think??? I may have isolated the problem. I'm sure the bonnet is flexing slightly between when its stood on its end (the position I have had it in when fitting the tubular frame) and when its flat on the car. This is why its not aligning. A combination of Gwnwar's and Trident's advice has lead to me repositioning the frame, re-drilling and only using the front bolts for the time being (this are temporary but necessary to check clearance etc). It now does this! 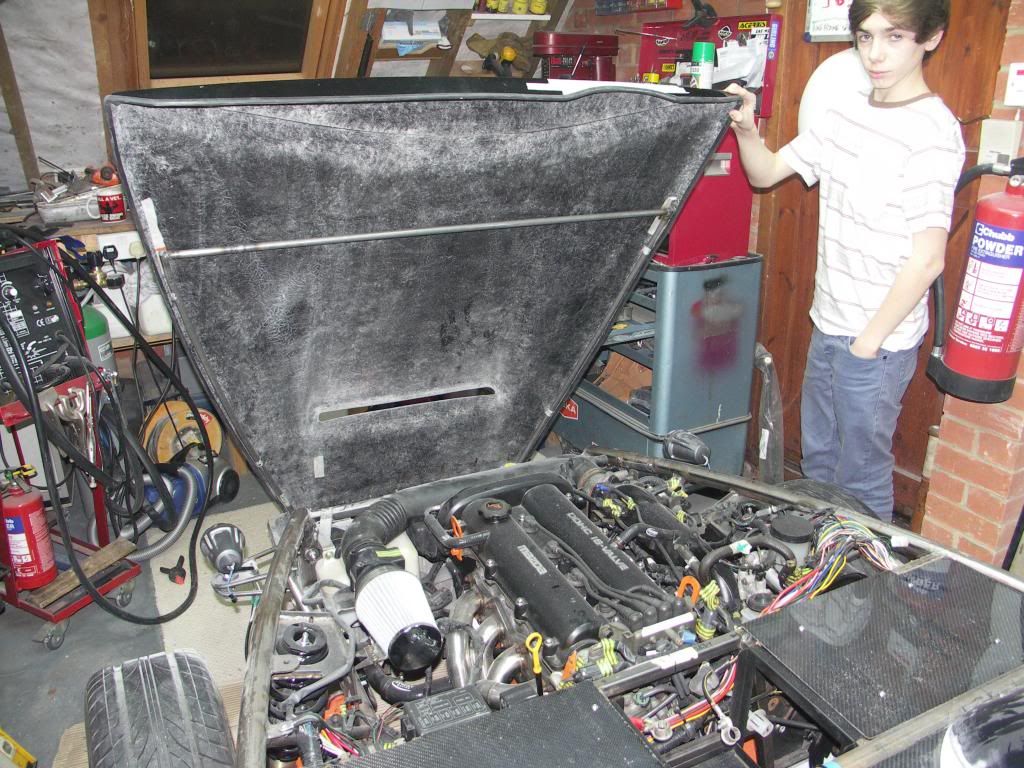 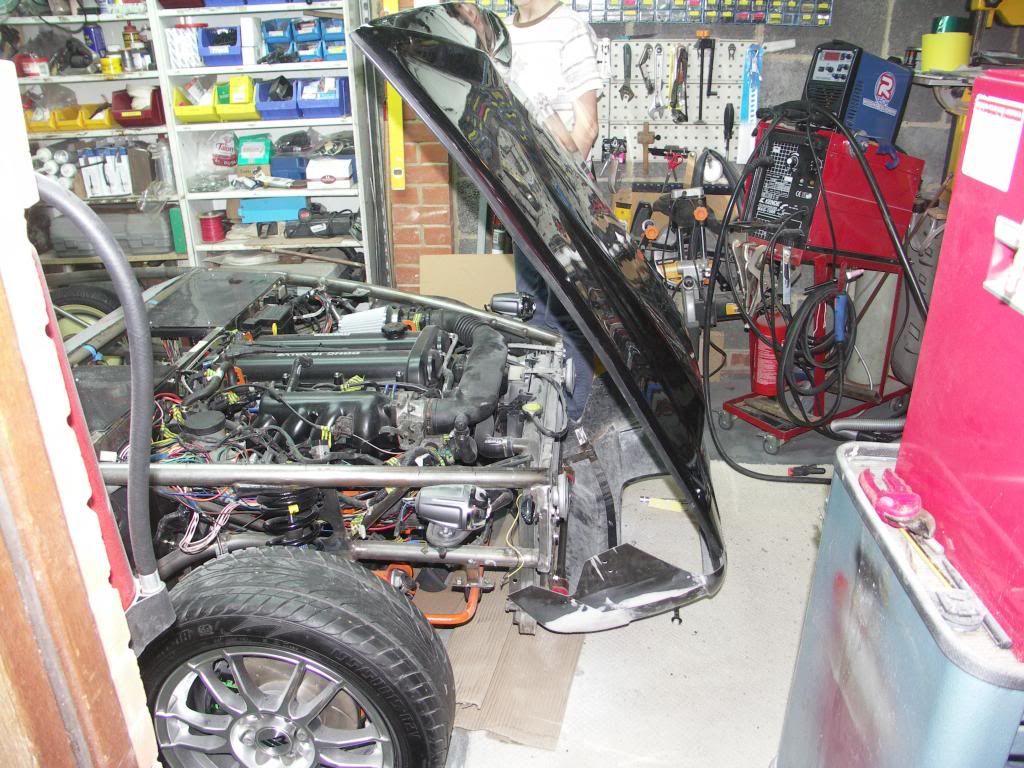 So some progress. Not sure if we will get anymore done this side of christmas. Nice place to stop. So Merry Christmas to all, hope the stockings are full of lots of car bits! Thanks for everyones support over the past 12 months  |
|
trident
Senior
   Improvise, Adapt and Overcome
Posts: 629
|
Post by trident on Dec 24, 2013 15:11:25 GMT
That looks very good mate.. Well done
|
|
|
|
Post by gwnwar on Dec 24, 2013 16:07:44 GMT
Now that is a job well done.. Are you going to add some tubing extended forward in the nose and wrapped down the front of the nose and back to the pivot point/bracket.. So the frame would take all the force of moving not the panels..
Now if you can stay out of the shop till Thursday..
A Merry Christmas to you and yours too..
|
|
|
|
Post by donboy1983 on Dec 25, 2013 17:10:08 GMT
I just spent 2 hours reading this from start to finish, very informative and perfect to give someone who is thinking of starting a build an insight into what needs to be done. Keep up the good worK.
|
|
|
|
Post by jgilbert on Dec 27, 2013 16:33:10 GMT
I just spent 2 hours reading this from start to finish, very informative and perfect to give someone who is thinking of starting a build an insight into what needs to be done. Keep up the good worK. Donboy, thanks for your comments. The are lots of great build threads on the forum and lots of members willing to help with advice. Good luck if you decide to go the Exocet route. |
|
|
|
Post by jgilbert on Dec 27, 2013 16:35:52 GMT
So wheels spacers from Freaky Parts arrived today. Very nice. 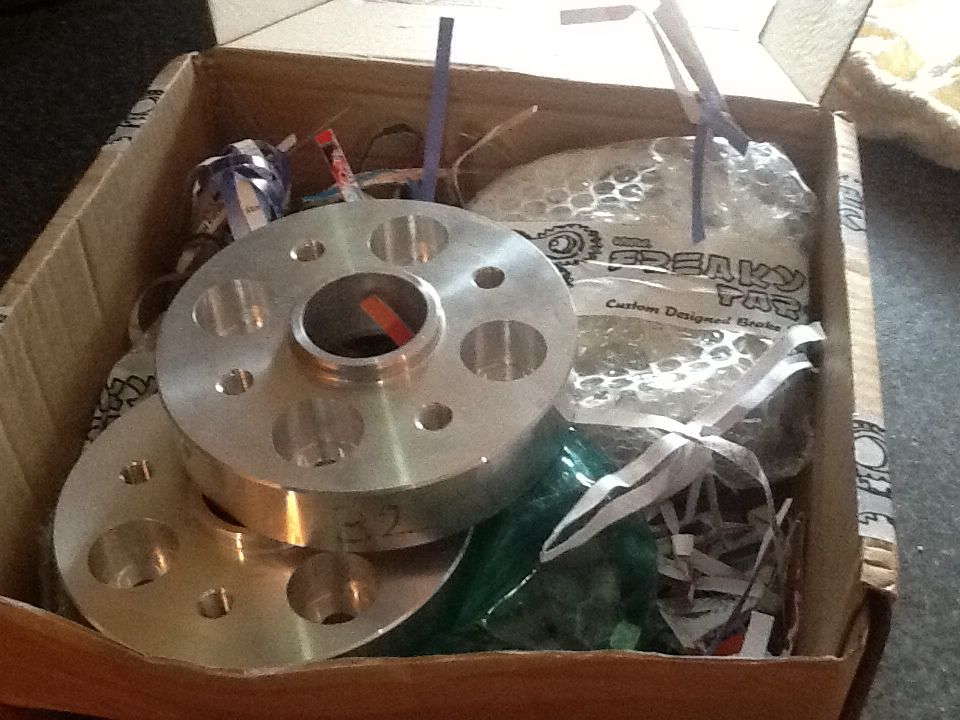 Been promised a day in the garage tomorrow by the misses if I behave today! |
|
|
|
Post by jgilbert on Dec 31, 2013 0:24:32 GMT
Managed to grab a bit of time in the 'man cave'. First job was to start to reinforce the nose cone. I've added 2 full layers and one extra layer of woven GF mat across the seams to the sides where I removed and reposition. Started to stiffen up nicely. The next job is to bond the nose and bonnet together and run the tubule steel across the nose and reinforce this area. 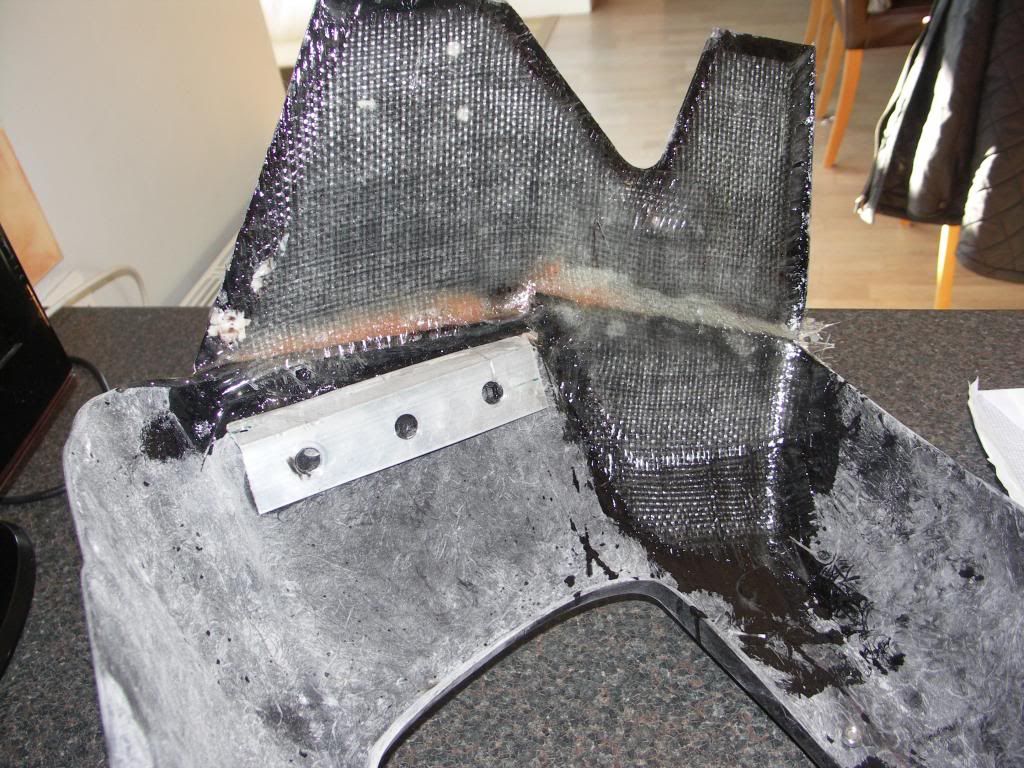 Another quick job was cutting the hole for the fuel filled. Set up using a plumb bob line, with the rear cover removed. 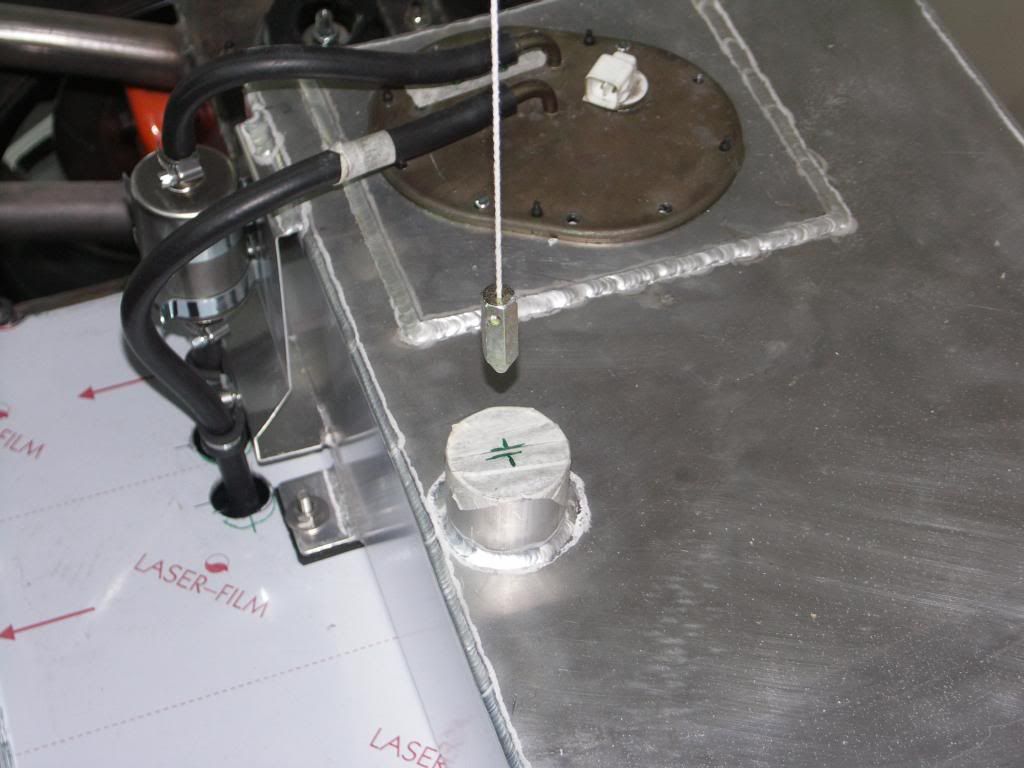 Hole cut. 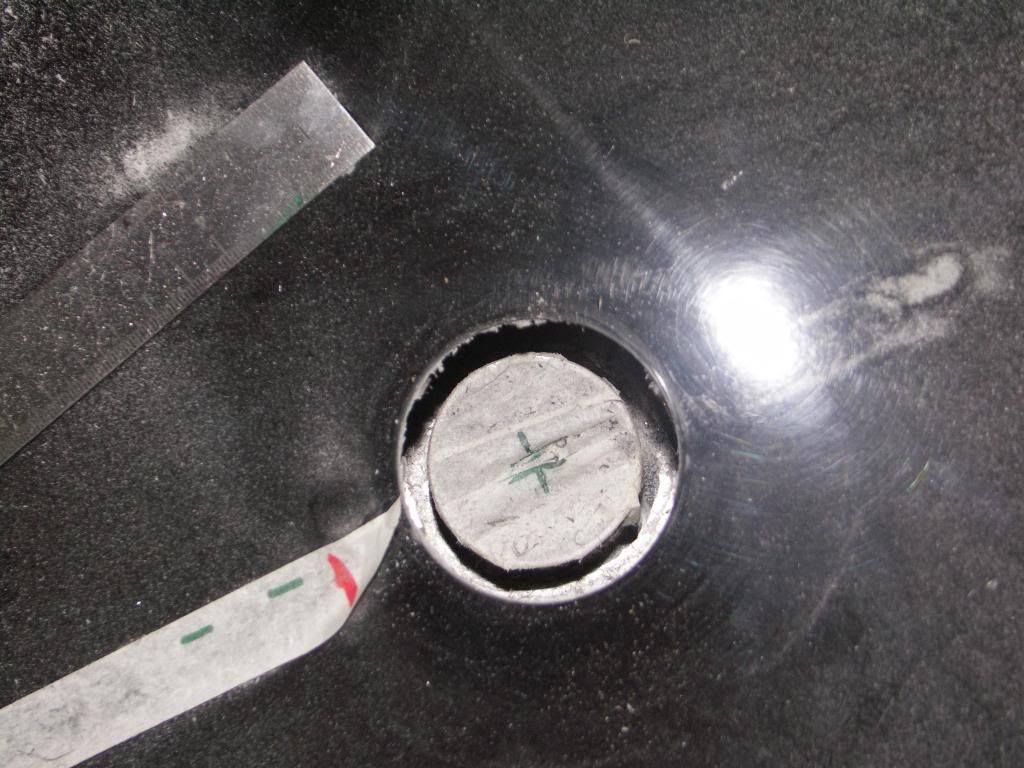 And filler in position. 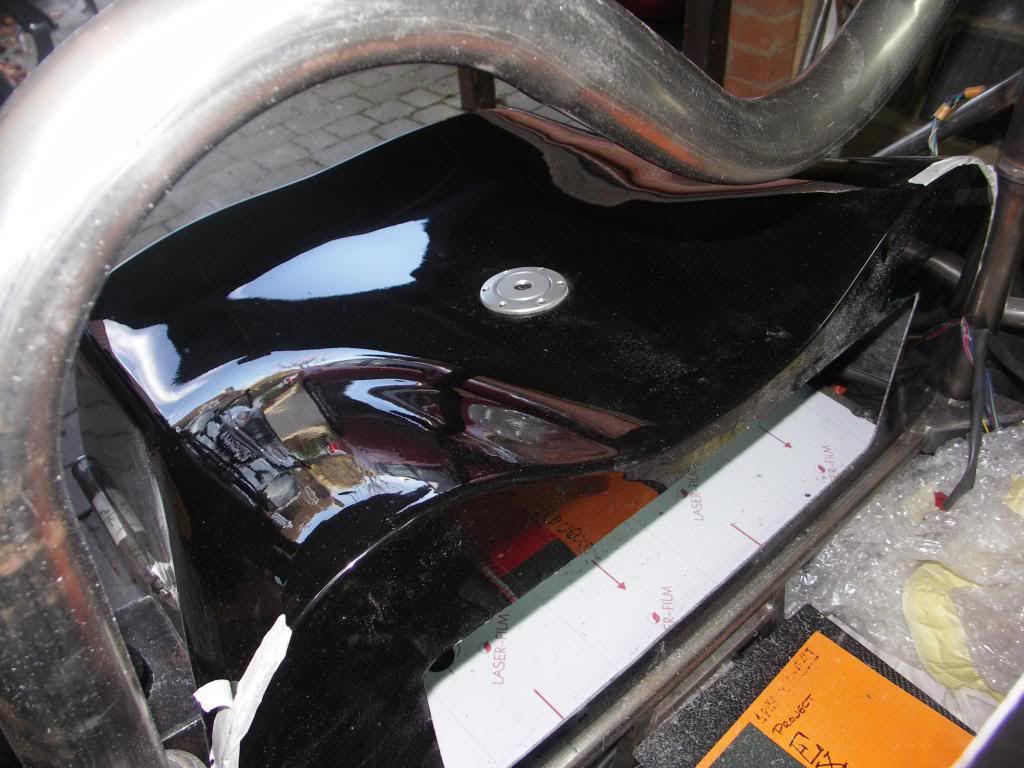 So now I'm asking for a favour! I need just 2 1/2 inches (60mm) of 2" (51mm) fuel filler hose to connect the filler to the tank. Ideally I don't want to spend £20 - £30 on 500mm of hose. So if anyone has a spare section of hose can you PM me please. Thanks So now I'm asking for a favour! I need just 2 1/2 inches (60mm) of 2" (51mm) fuel filler hose to connect the filler to the tank. Ideally I don't want to spend £20 - £30 on 500mm of hose. So if anyone has a spare section of hose can you PM me please. ThanksPhoto shows what I need to do. 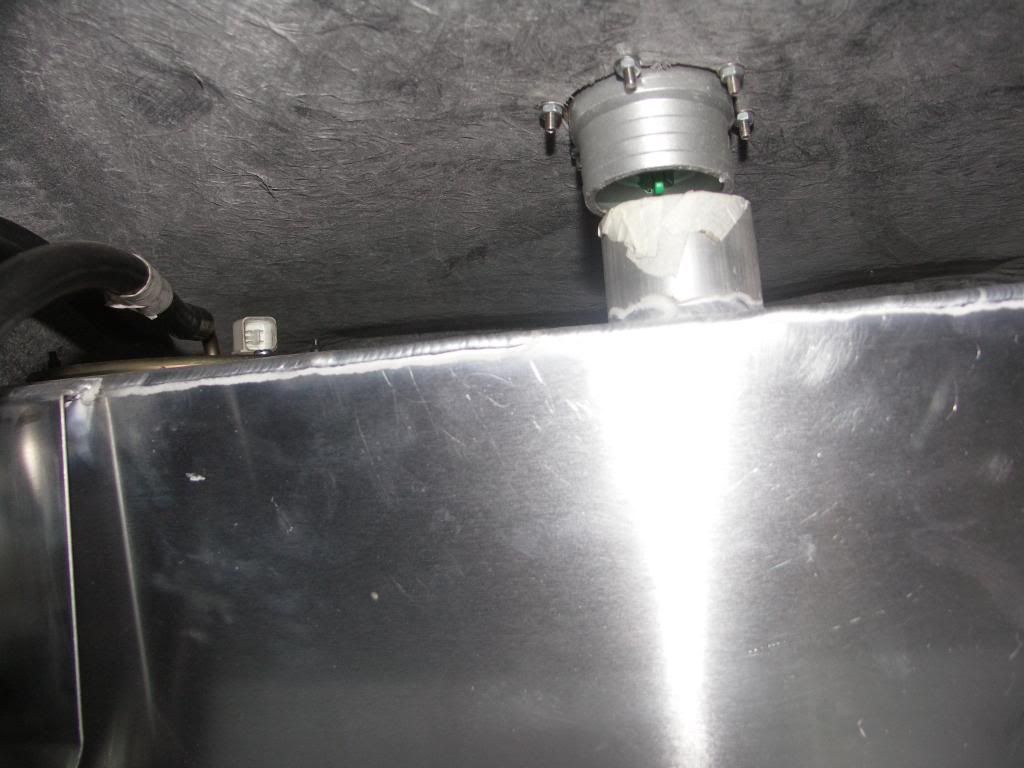 |
|
|
|
Post by red5 on Dec 31, 2013 9:12:45 GMT
looking good john
Did you disguard the original filler hose? would that not fit?
|
|
stubbers
Senior
   Exocet Number 306
Posts: 478
|
Post by stubbers on Dec 31, 2013 11:12:12 GMT
I might have some silicone fuel filler pipe left I'll check what sizes when I'm back at home
Rich
|
|
stubbers
Senior
   Exocet Number 306
Posts: 478
|
Post by stubbers on Dec 31, 2013 12:56:00 GMT
Sorry all mine is 38mm ID
Rich
|
|
|
|
Post by jgilbert on Jan 1, 2014 17:05:11 GMT
looking good john Did you disguard the original filler hose? would that not fit? No unfortunately, its a smaller internal dia that 50mm. |
|
|
|
Post by jgilbert on Jan 1, 2014 17:37:35 GMT
Some time to play today. So connected up as a trial, the LED lights that I have fitted to the nose cone. I intend to use these as side lights rather that DLR's. I don't think this raises any IVA issues but please correct me if I'm wrong. I pleased with the effect. Nice reflections off the top and bottom edges of the recess. 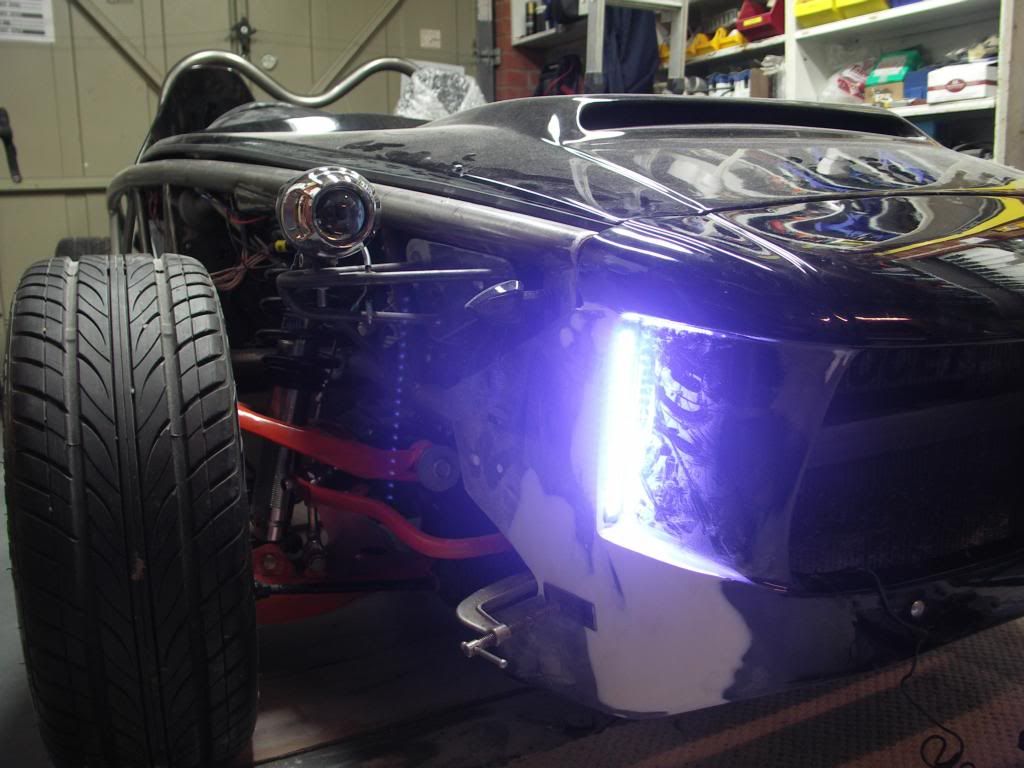 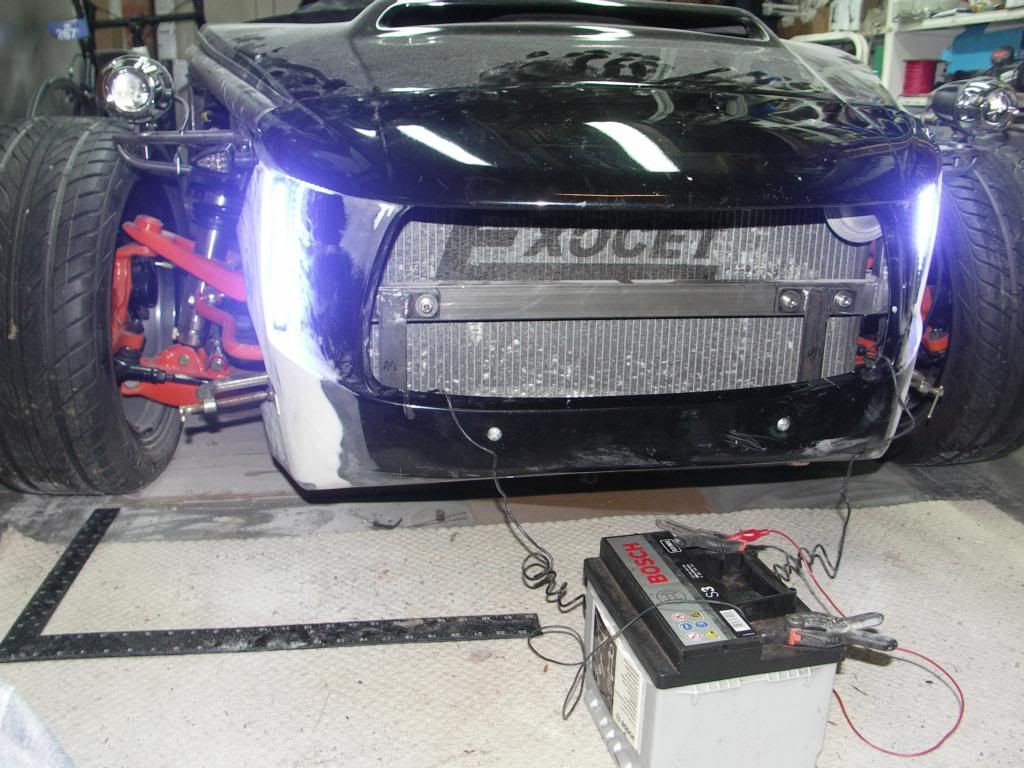 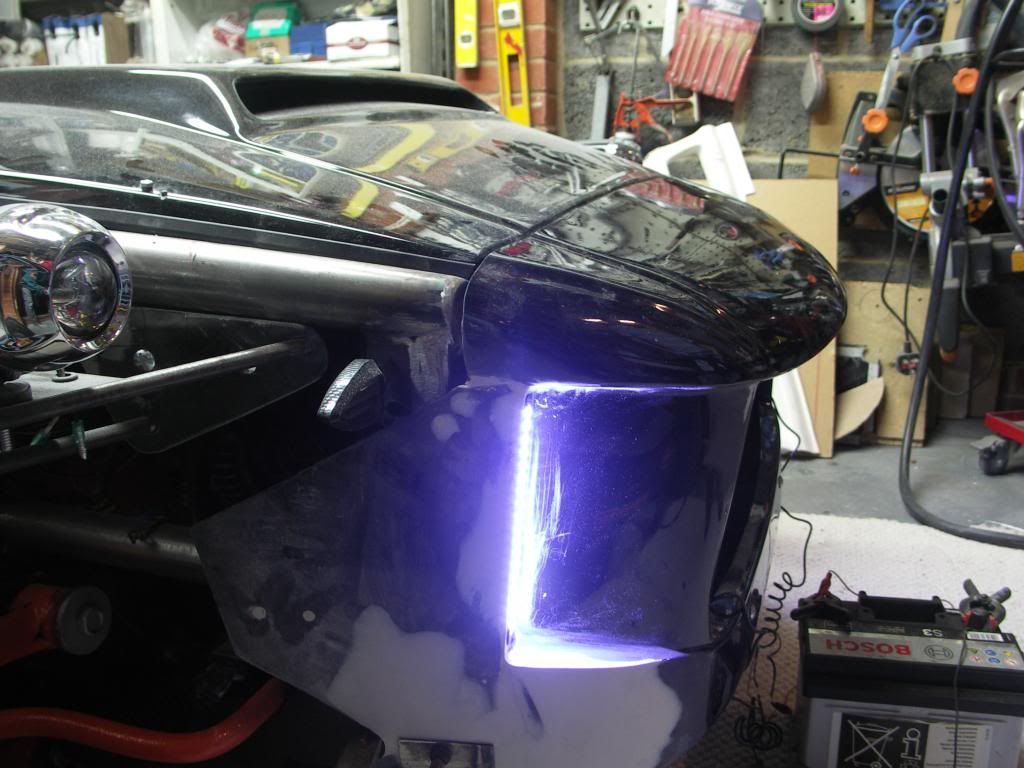 Next job was to bond the nose and bonnet together. Used P40 as an adhesive after 'activiting' both surfaces. The green tape between the bonnet and the tubes is special non stick tape. I positioned this to make sure no unwanted P40 was squeezed out of the joint and ended up sticking the bonnet to the chassis. 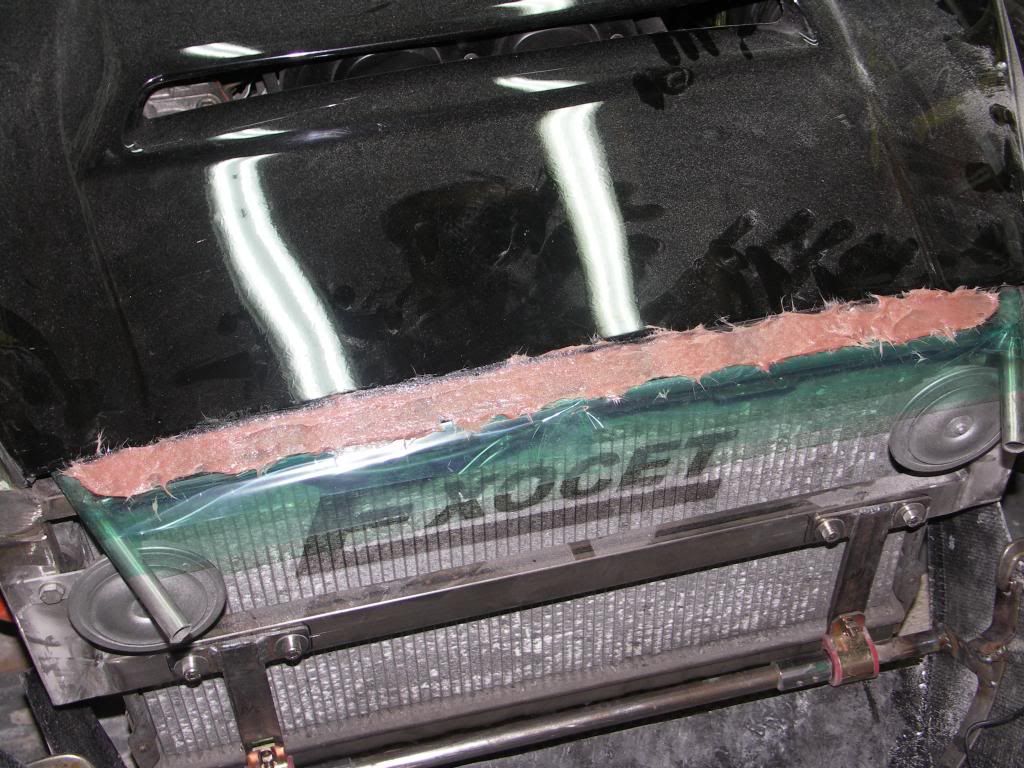 Whilst positioning the nose I've noticed that the angle of the nose can impact the overall appearance of the the car a lot. If fitted so the top surface of the nose is 'flattish' this doesn't flow so well. With more of an downwards angle on the nose the car takes on a more aggressive stance. The next photo shows the downward angle and how this now flows with the bonnet line. About 1/4" of filler needed to level everything off. 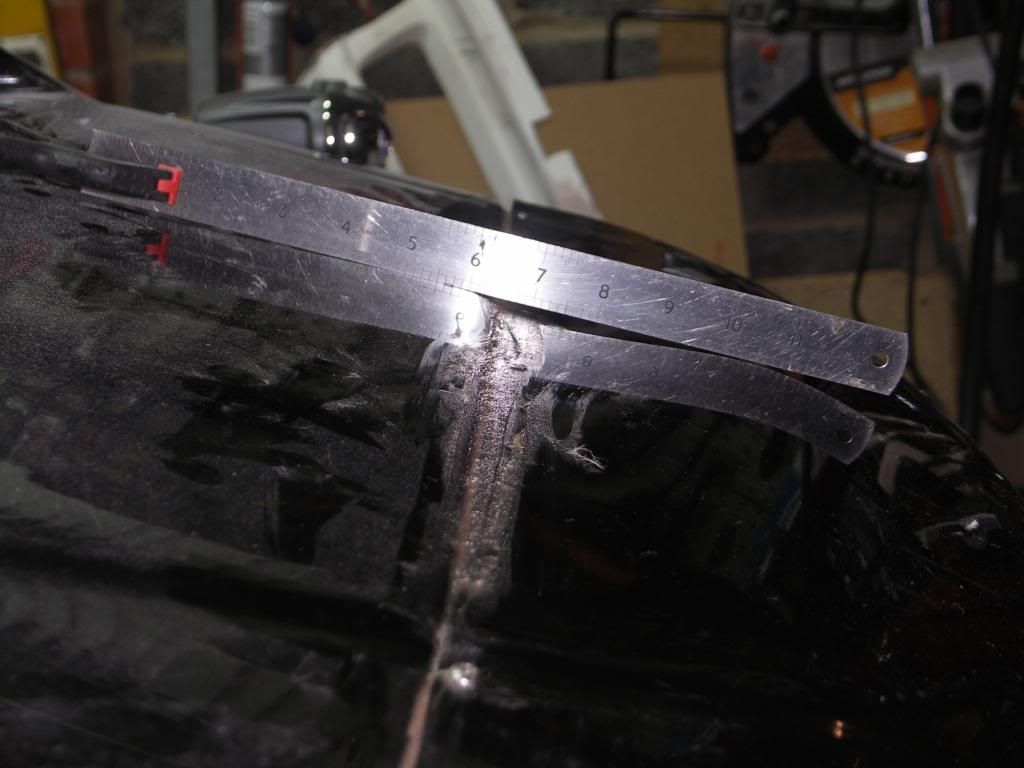 Once the P40 was set, I re-examined the tubular frame. Still not happy, so I ended up cutting this and adding an additional cross support. This means I have the 2 side tubes and 3 cross bonnet tubes to add rigidity. The best bit is I now have two supports either side of the join. I wasn't happy before with one of the cross supports on the join line. Clearance is pretty tight near the air intake so not a great degree of choice of where I positioned the cross supports. By observation I've noticed that the bonnet flexies just forward of the bonnet scoop. So the additional cross support should address this issue once bonded in place. Photo showing tubular support in place. 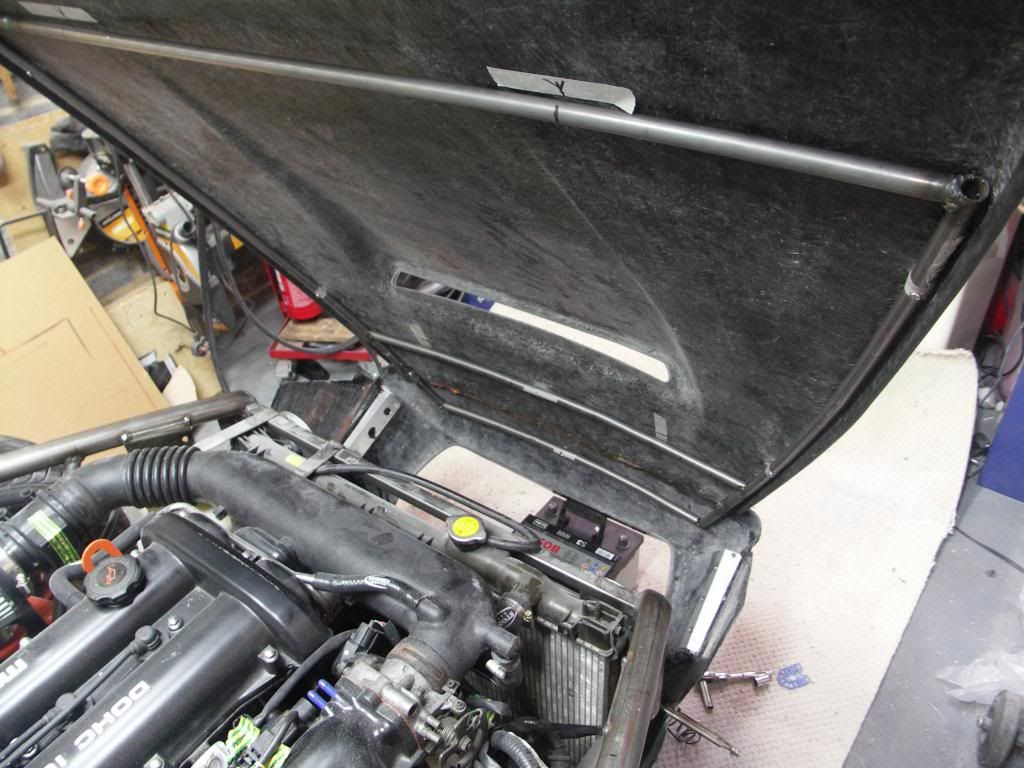 Finally, aero clips fitted to the bonnet. 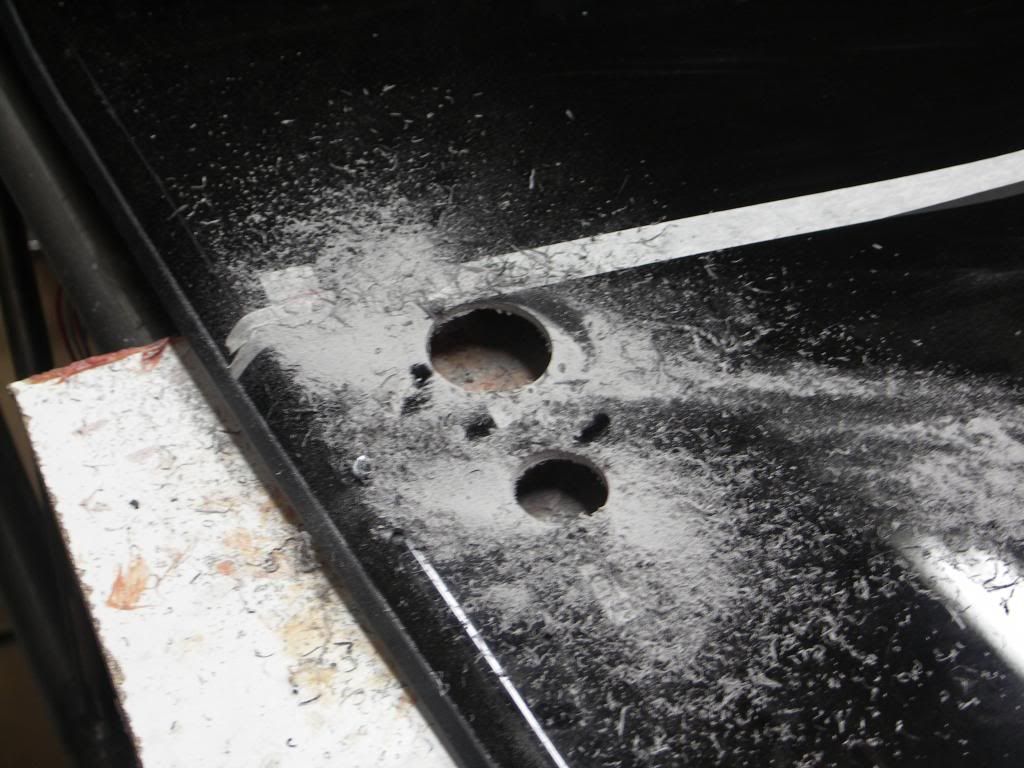 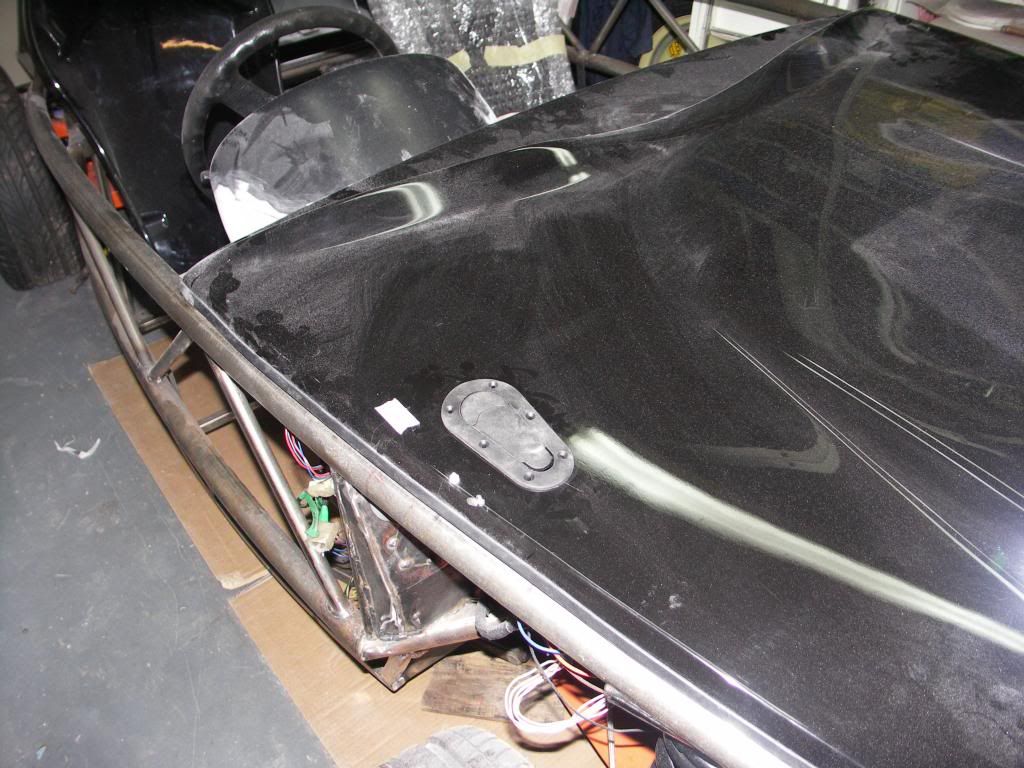 |
|


