|
|
Post by pincherrn on Feb 26, 2014 8:47:56 GMT
Hi.
Like the mirror mounts. Not near my car at the minute. Can anybody tell me what diameter the top chassis tubes are.
Cheers
Colin
|
|
|
|
Post by jgilbert on Feb 26, 2014 22:16:37 GMT
Yes, just measured mine with a vernier. So firstly they are not perfectly round (guess this is due to them being rolled to form the curve). In the vertical plane 39mm OD. In the horizontal plane 37.8mm OD.
Note this a bare frame so reckon your safe to work on 40mm OD once powder coated.
Hope this helps.
|
|
|
|
Post by pincherrn on Feb 27, 2014 10:11:13 GMT
Brilliant. Thanks for that. I just need the rough size. I fancy fitting my mirrors to the top rail rather than the bonnet but don't trust myself drilling into the top rail without a jig. So was going to get a couple of v blocks made up at work. That way I can be sure I'm drilling perpendicular to the frame. Providing the blocks and chassis have been levelled first.
Colin
|
|
Deleted
Deleted Member
Posts: 0
|
Post by Deleted on Feb 28, 2014 10:57:45 GMT
Chris (Scooby), loving the cardboard EMU tray, we did the same as you. Made a template and then committed to cutting the metal. The Build is looking great. I also have borrowed your rad mounting idea. Cheers John Cheers john that was used as a template to cut some electrical trunking. Its really handy then to fix the loom with cable ties as the holes are already there. I have to make a lid for it yet and properly fix the loom and cable tie in position 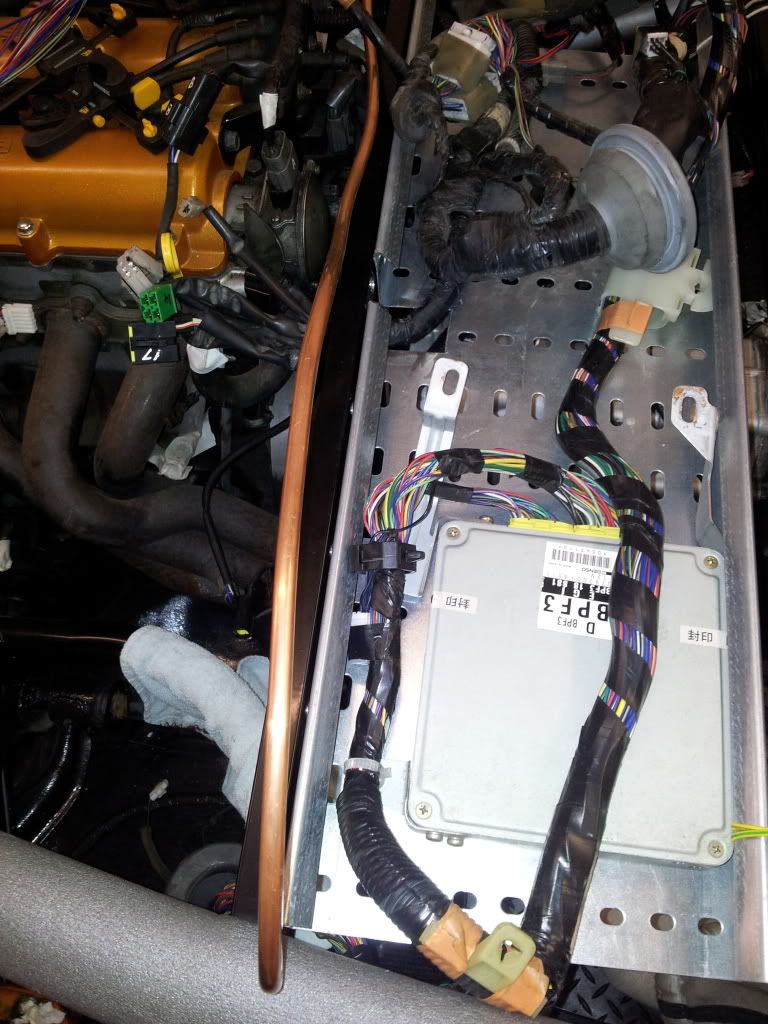 Hi mate, I love this solution for the wiring tray, where can you get it and what size is it? Is it just a standard size it come in?
Cheers
|
|
|
|
Post by scooby1929 on Feb 28, 2014 16:49:07 GMT
Its trunking for wiring etc that runs up buildings. I got mine out of work but it should be easy to get. Its comes in different sizes I will check the size when I get home but its perfect for the wiring across the bulkhead.
|
|
|
|
Post by scooby1929 on Mar 14, 2014 16:32:38 GMT
Got a wee hour today and got exhaust welded up. Just need to make a few new hangar brackets and weld them on now. 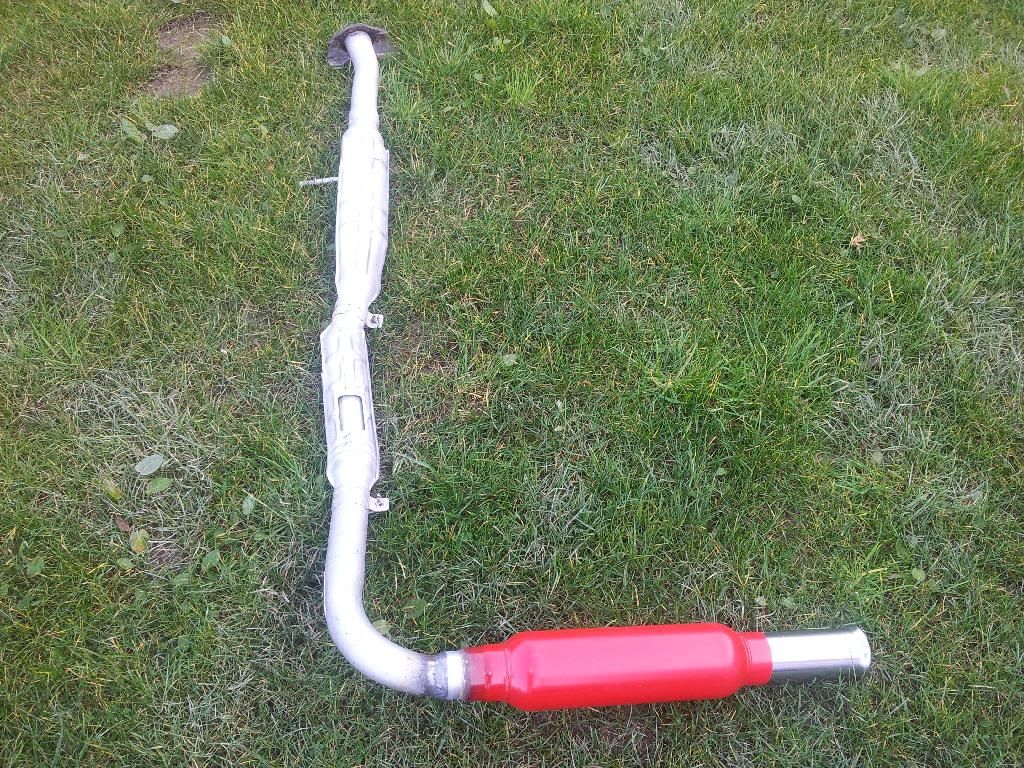 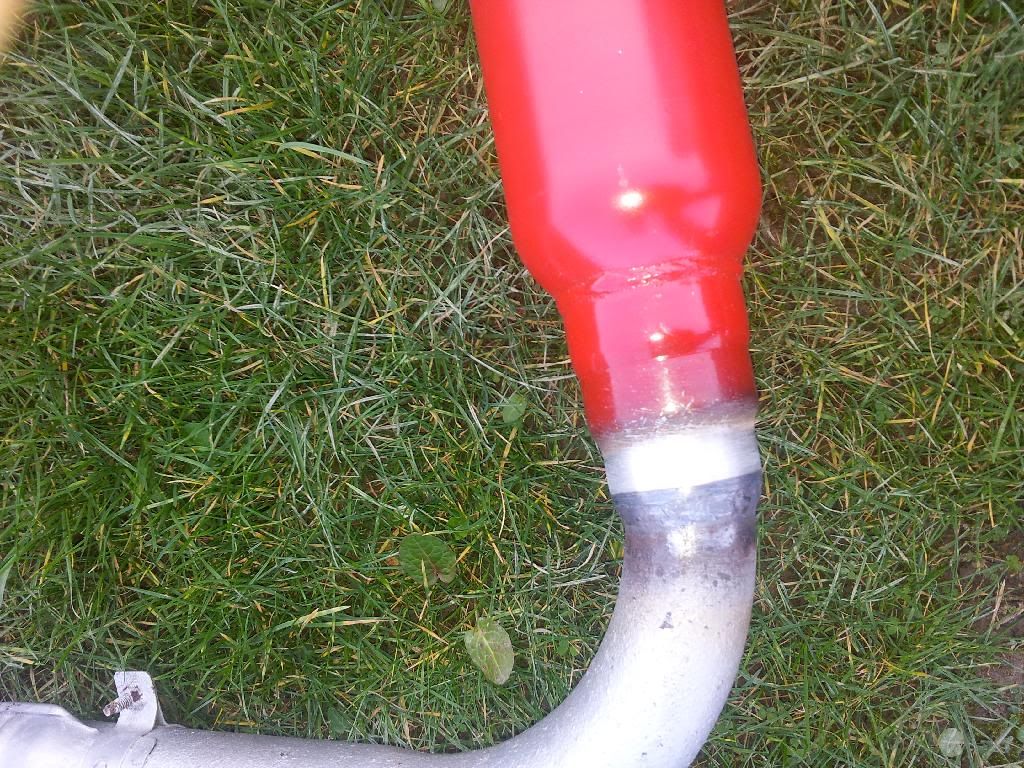 Then made up a lanyard to prevent me from losing the fuel cap and required for IVA. I used a plastic bolt and plastic loc nut  |
|
|
|
Post by scooby1929 on Mar 21, 2014 22:03:42 GMT
Well got a few hours on car today and wanted to get the exhaust mounted. I made up some hangars from 8mm dia mild steel bar. I used a wire coat hangar to make some templates. I then bent my steel to the correct shape and welded washers to the ends to prevent the hangars from sliding off the rubber mounts. So my exhaust system consists of a 4 branch manifold, decat then rear section with welded in cherrybomb. For IVA cat will be reinstalled. So what does it sound like... surprisingly quiet on tick over but give her some gas and holy moses jumpin joses what a bark from her just awesome. Literally could not stop laughing. Exhaust needs removed and sprayed with high temp paint.  New bracket welded to exhaust. Top of the rubber mount attaches to existing hangar on rear subframe.  Made this hangar adjustable so exhaust can be raised or lowered.  |
|
|
|
Post by driver on Mar 22, 2014 21:56:14 GMT
Is there any chance of a video of how it sounds?
|
|
|
|
Post by scooby1929 on Aug 2, 2014 18:37:10 GMT
Been a while since I updated this so got a few bits and bobs more done Took me ages fitting these wing stays so I wont be to happy if these now are not suitable for IVA after Craigs comments. Also the edge trim I had was impassible to go on these as it would not good round a sharp radius so had to get new stuff from CBS which is amazing but expensive. It cost about £40 quid just to trim the 4 of them  Wing stays all fitted using p-clips thanks nitram as I copied your method 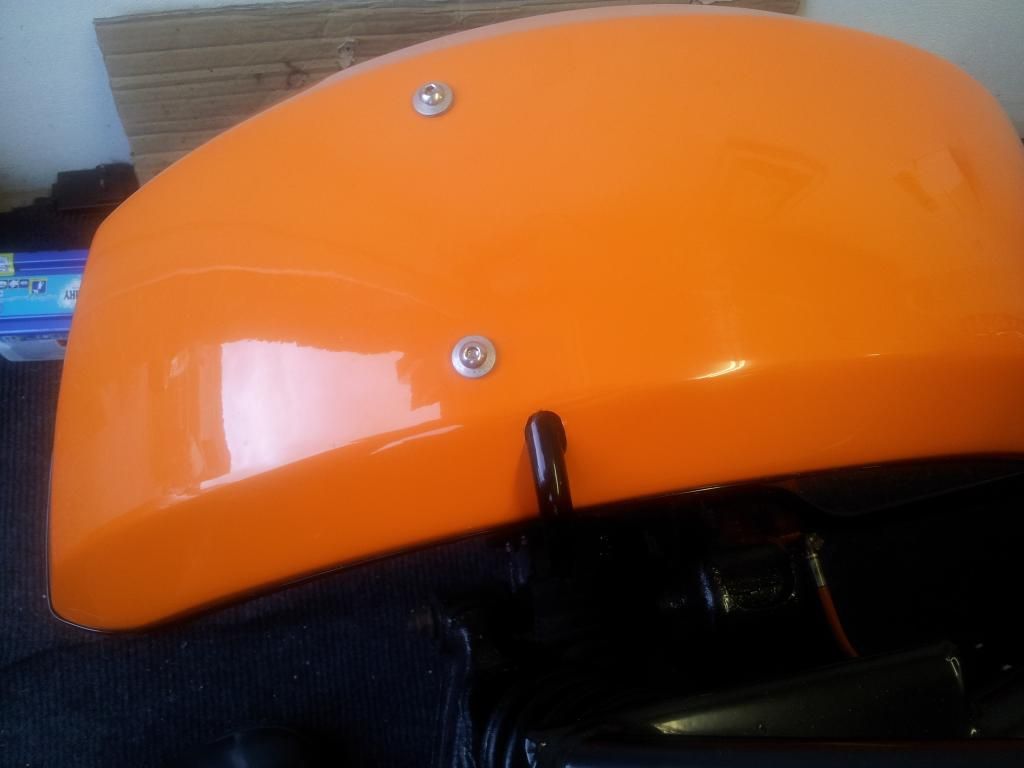 All four fitted 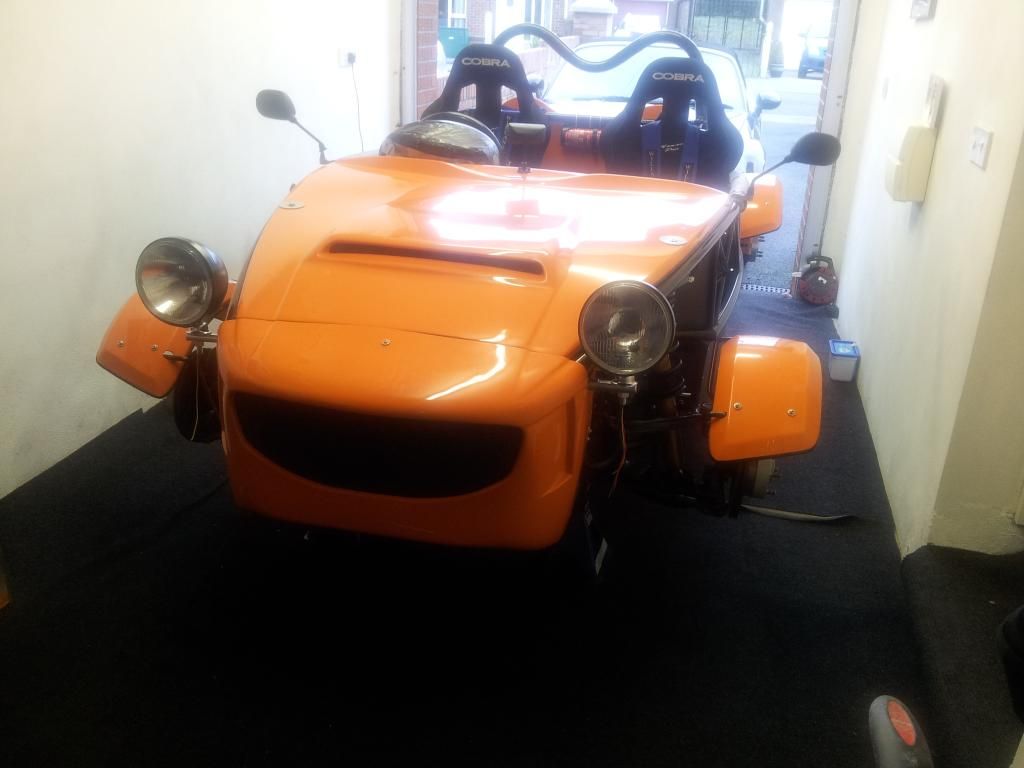 Made up some brackets to mount my big headlights 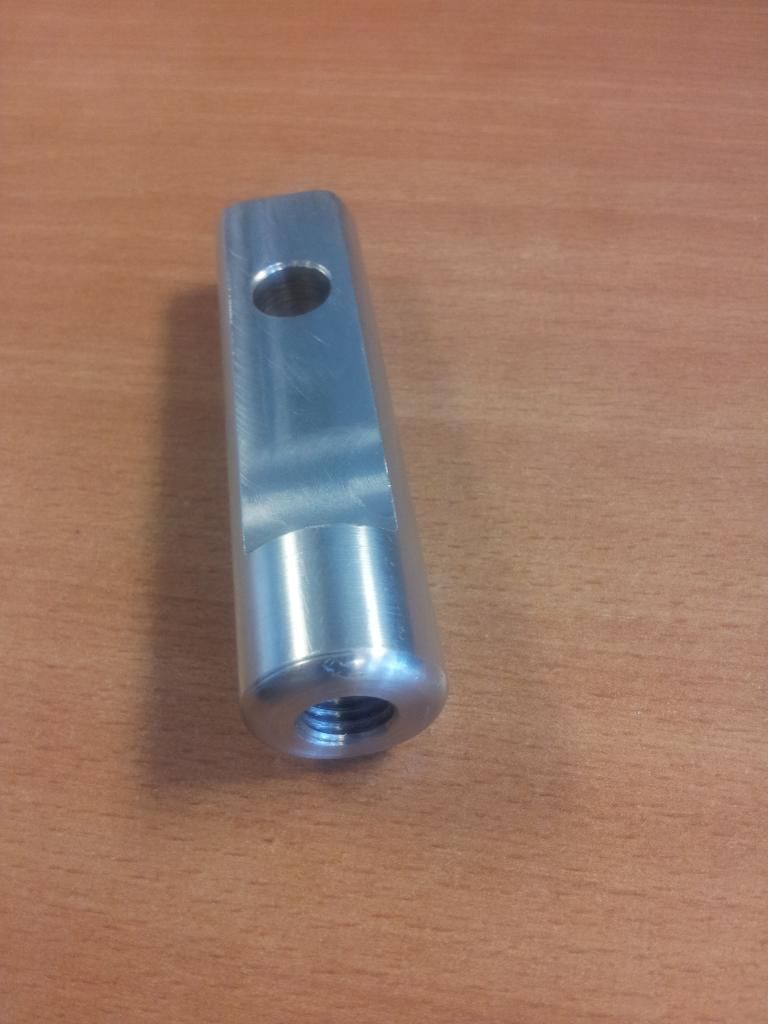 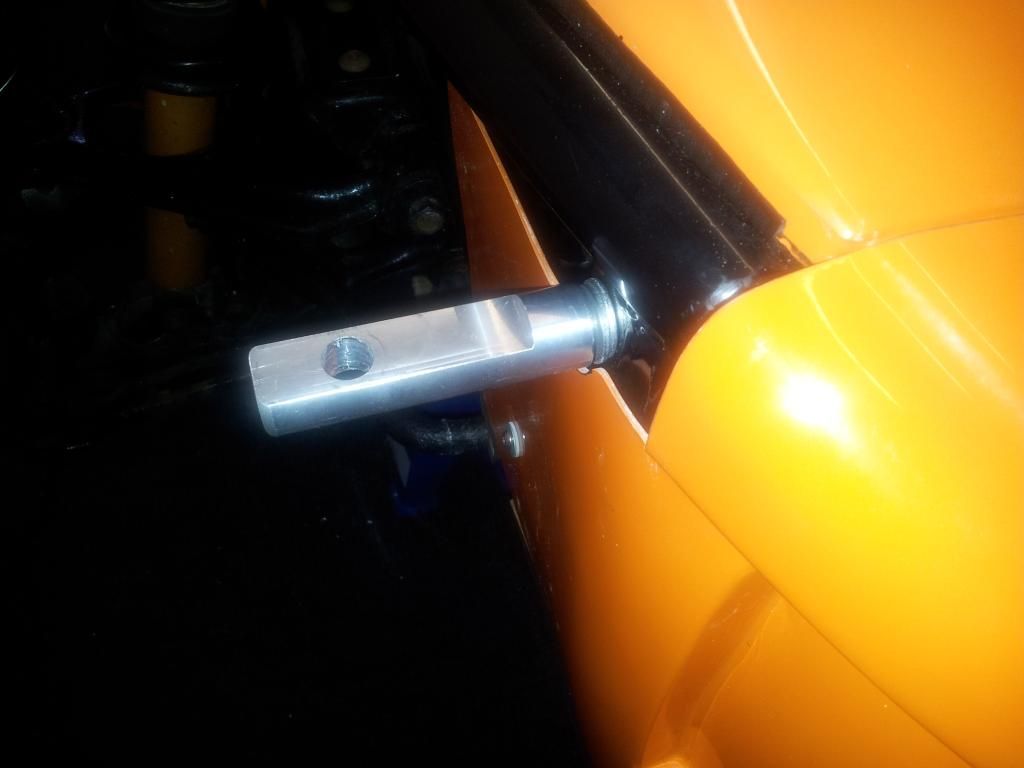  Wheel spacers fitted all round courtesy of Freaky Parts 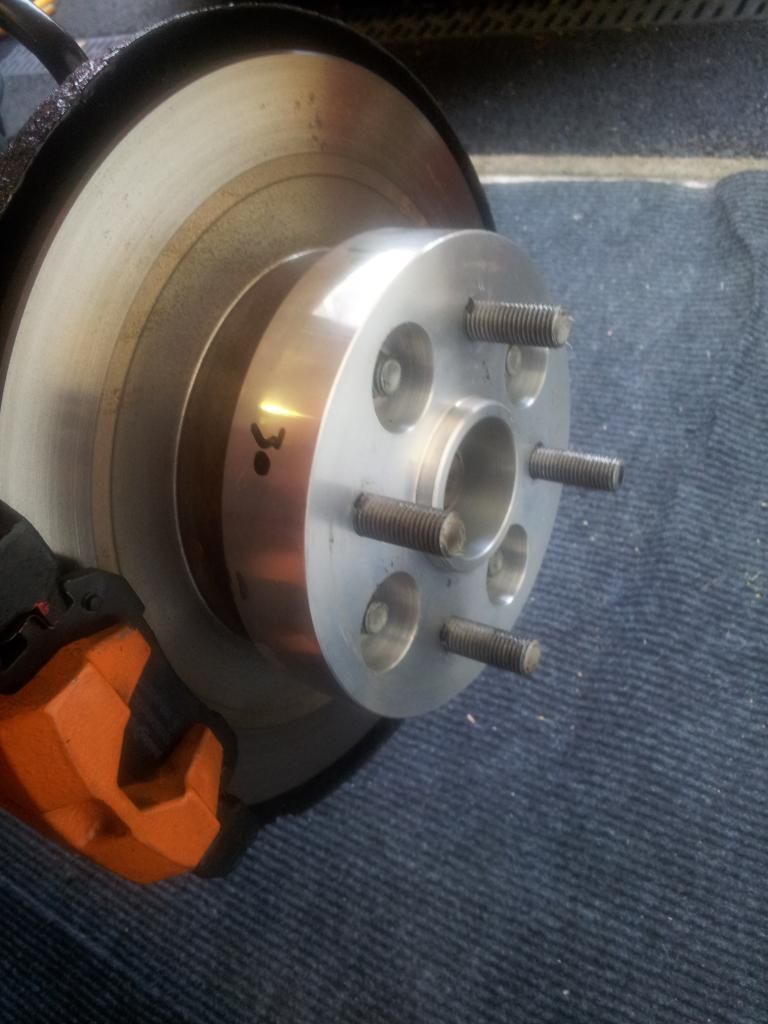 Cherrybomb exhaust removed and painted with very high temp paint in black 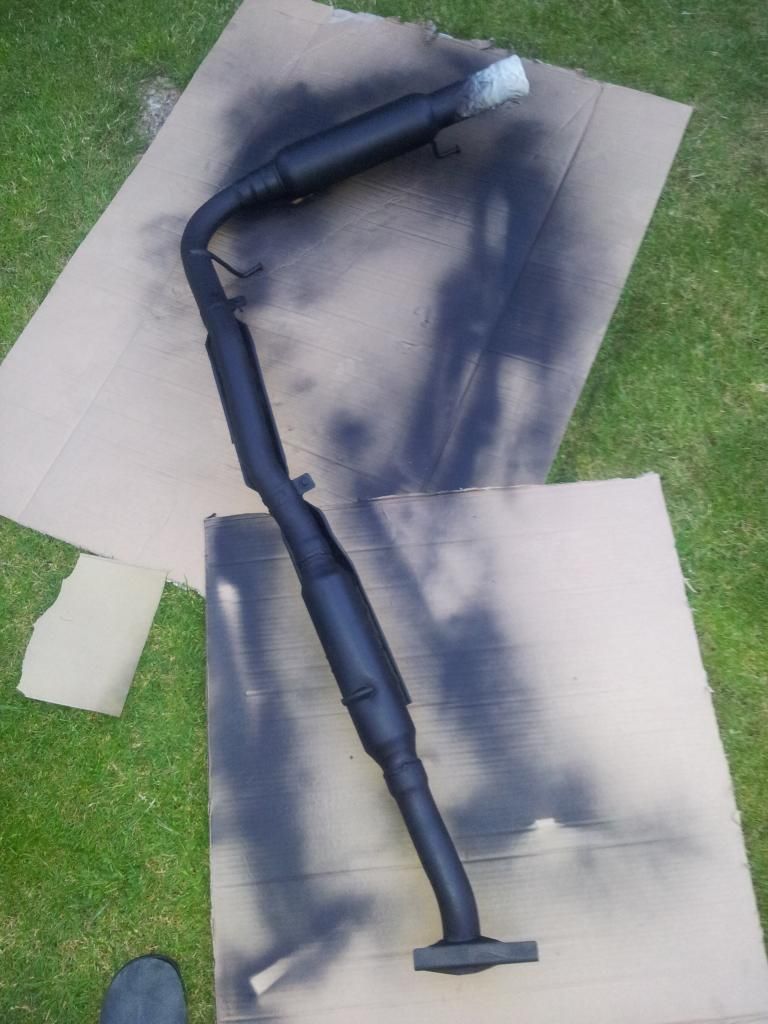 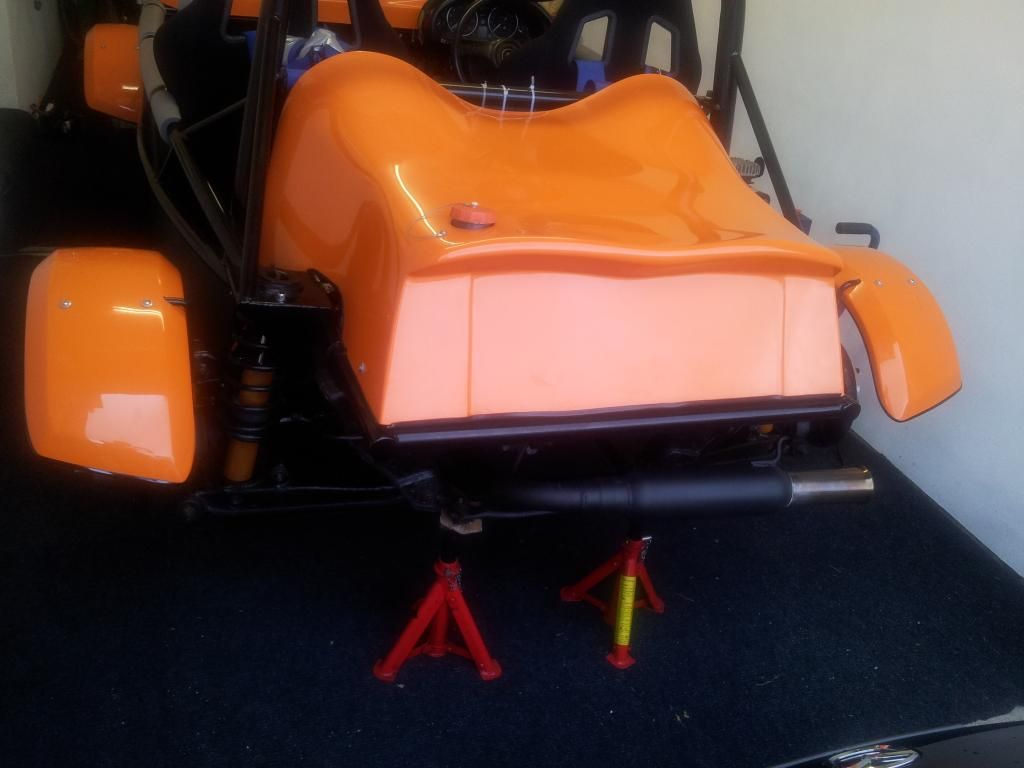 |
|
|
|
Post by scooby1929 on Aug 2, 2014 18:41:47 GMT
Does anyone think I could run into problems with IVA using these seats and 6 point harnesses 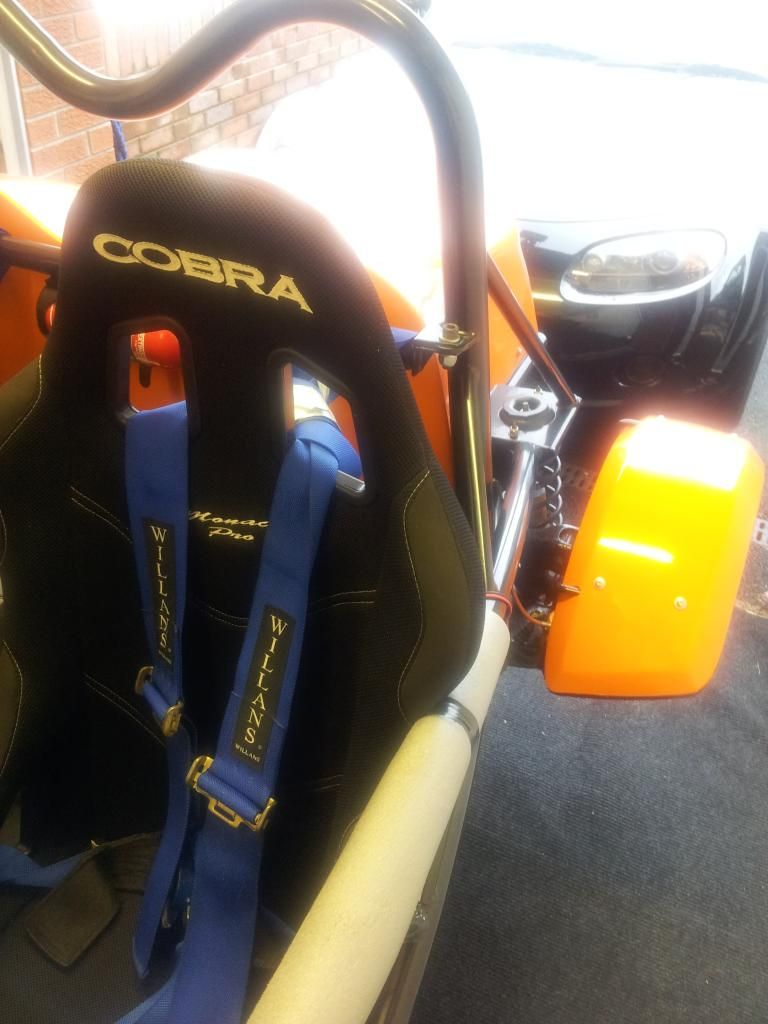 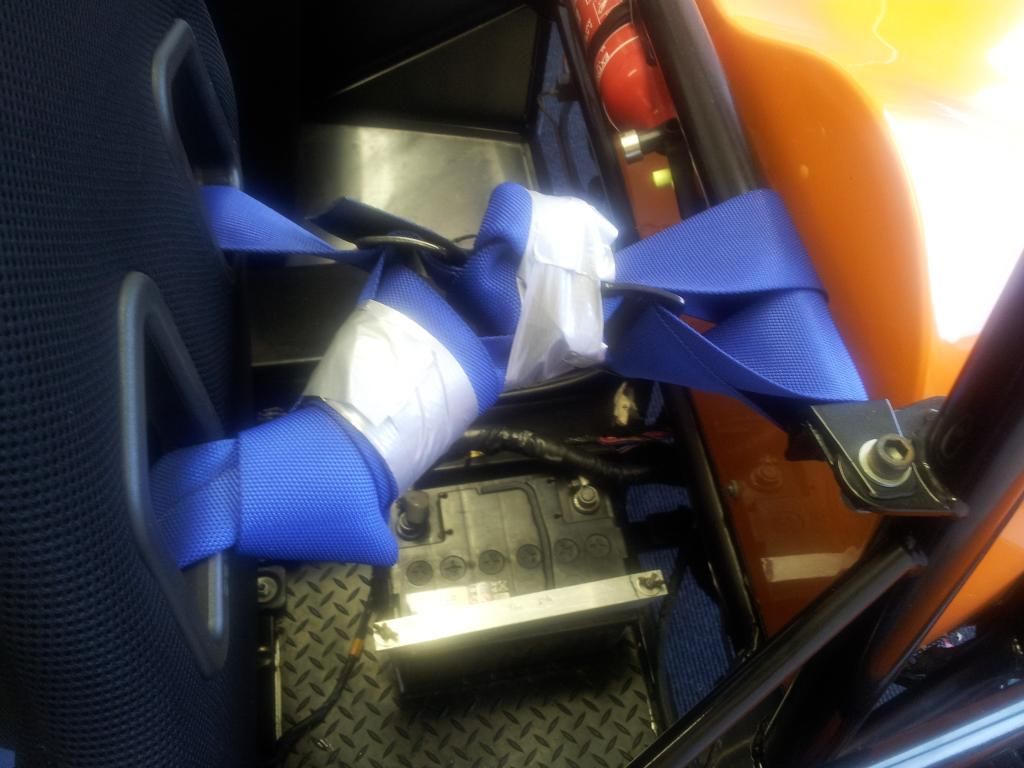 Also any issues with this fuel cap as I have not bolted it to the fuel cover 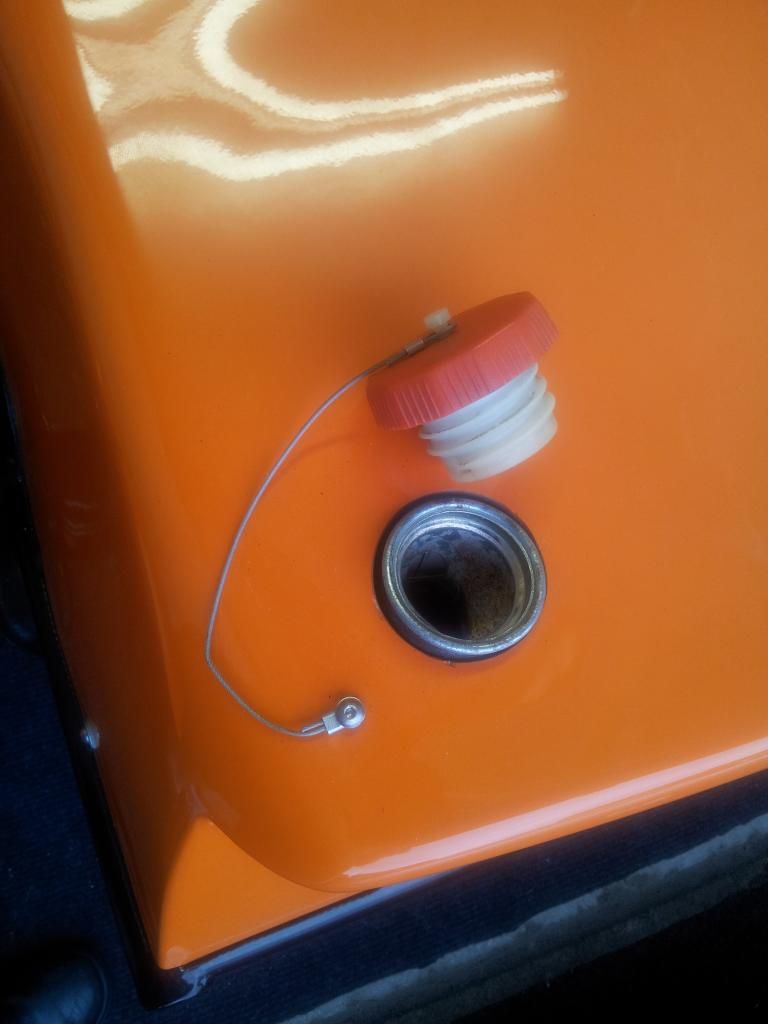 |
|
|
|
Post by scooby1929 on Jan 25, 2015 21:24:18 GMT
Well after dropping down to page 9 I thought I had better give a wee update. I did not like the previous front indicators I bought so got these carbon effect motorbike ones. 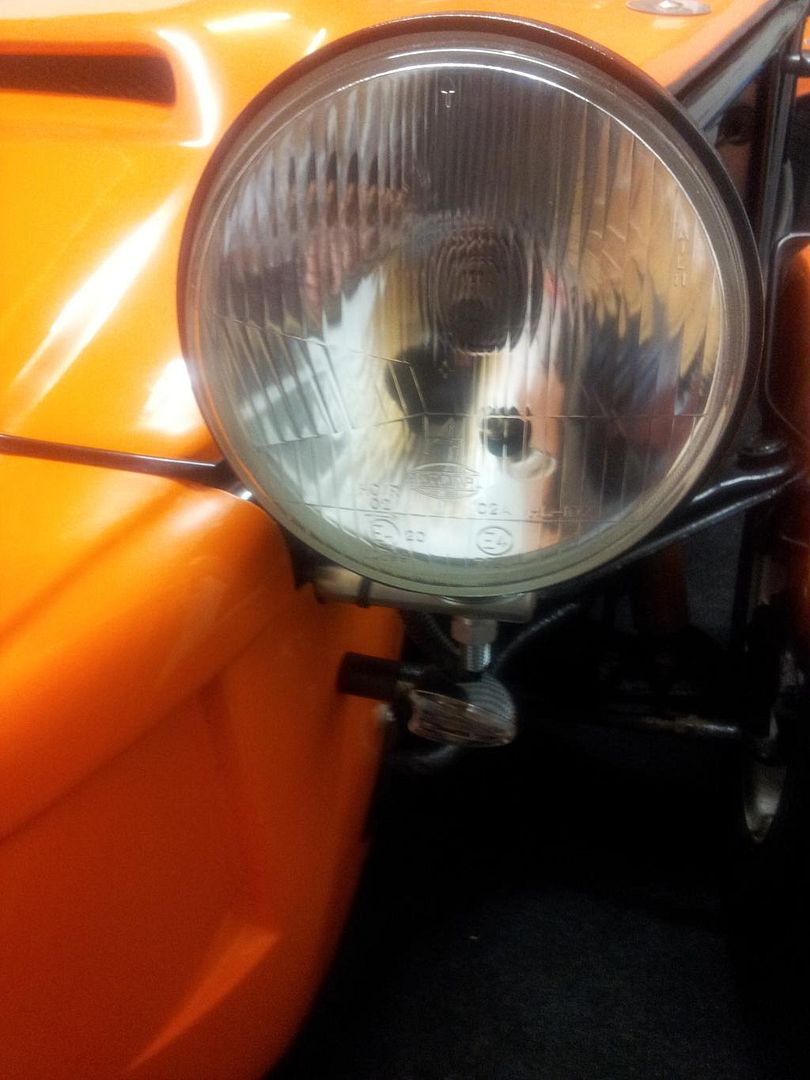  I also fitted them at the side and made up a triangular alloy sheet and riv nutted it in place via some alloy brackets. Took ages and so wish I had of welded in some tabs before the frame was powder coated. Just needs a small bead of black silicone sealant to hide any gaps and these match the front indicators.  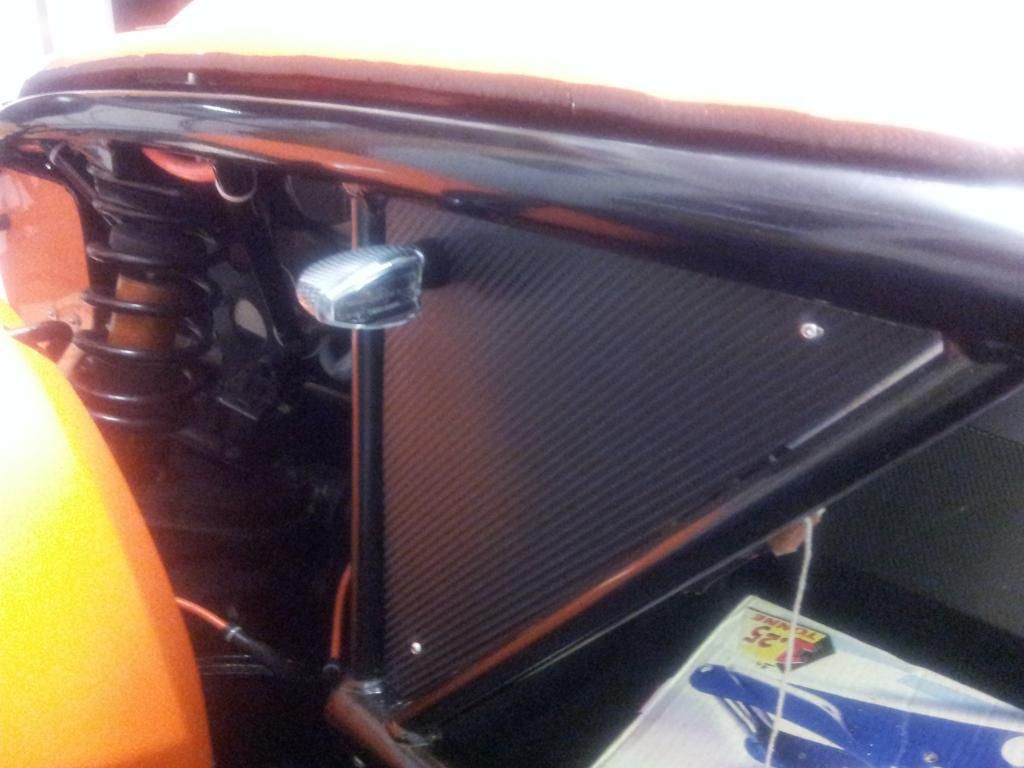 At the rear I made up some brackets to fit the all in one units and used some carbon effect. I also made sure they were just inside the 300 mm allowed for the IVA to the outside edge of the wheel cover 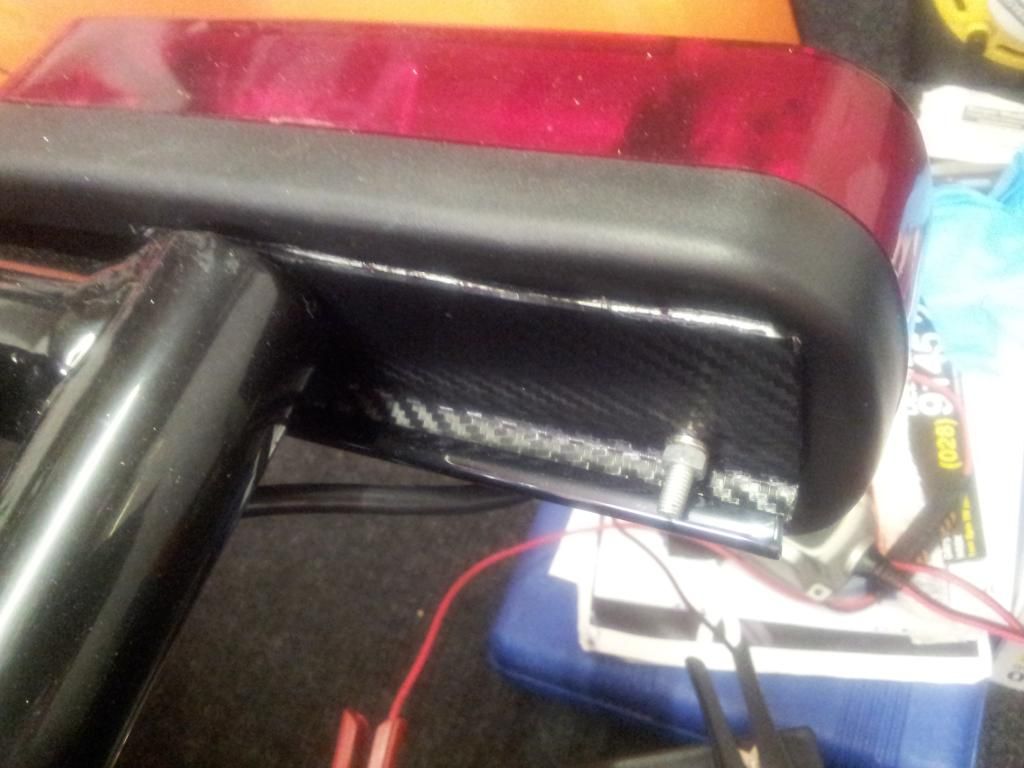  All lights, indicators etc all work I just have to wire up the rear fog to a new switch I have bought as my donar is a jap import. I also noticed that my binacle I had previously fitted was sitting far to high so I made some adjustments to the angle of it so it now sits flush with the cover on it. It had also cracked and I needed to cut it to allow the bonnet to be removed 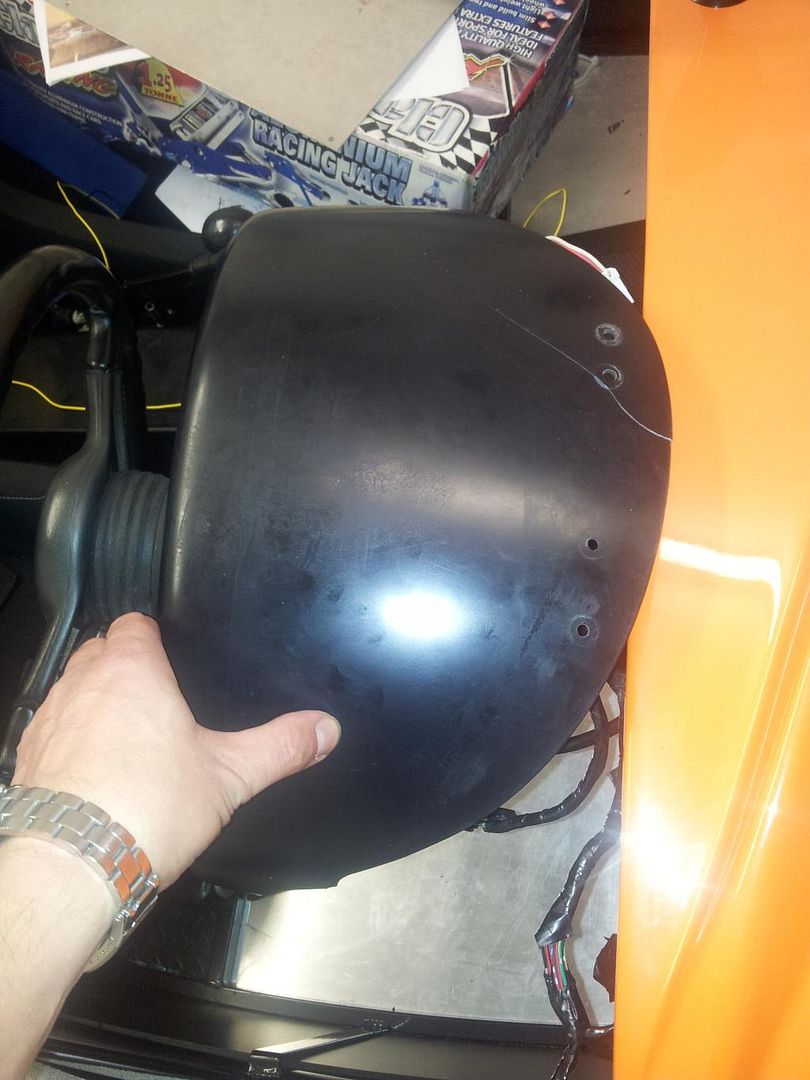 Talking about the cover I noticed on John Gilberts rather magnificent build how he had added / extended the sides on his so I made some cardboard templates. I was goin to fill the whole area between the side and front but felt it looked better with it following the existing radius  I then got some thin mesh and using Davids fiberglass kit had a go at extending the sides. 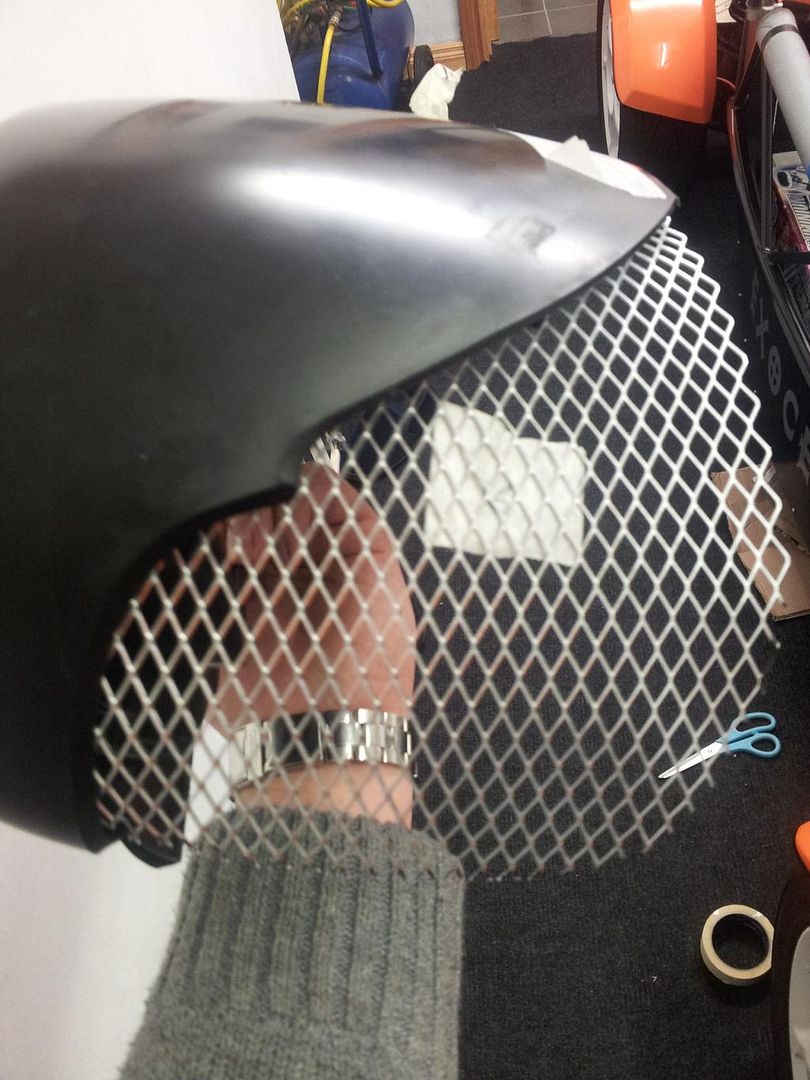  I also strengthened the inside on the area were it had previously cracked. Its now ready for filler and lots of sanding then primer and carbon dip. I also reused and painted the original mx5 horns and this is also working. I removed the side panels and the bolts had come loose as I had forgotten to use spring washers. I painted the side panels matt black. Lesson learn never use a cheap roller from pound land it fell to pieces. I then used the original stickers supplied by Mev I was going to paint them orange but thought they looked better and more sutle in the original silver. All bolt heads to be painted  Next job is to remove the fuel tank and add a drip tray for IVA and replace the existing rubber fuel hoses with ones marked HP ( high pressure) again for IVA. So much still to do because I have to have her on the road for summer.... |
|
|
|
Post by scooby1929 on Feb 23, 2015 21:26:11 GMT
There are so many possible places to mount the hazard and fog switches like in the transmission cover, in the instrument binnacle etc but I thought maybe more for handiness to keep it close to the original mx5 position and even use the original switch. This also means not having to extend cables it just plugs straight in so I made up this wee panel from some 0.040 inch alloy and applied some carbon wrap. I have also loads of room for other gauges in the future and hopefully there will be a boost gauge appearing some time soon. 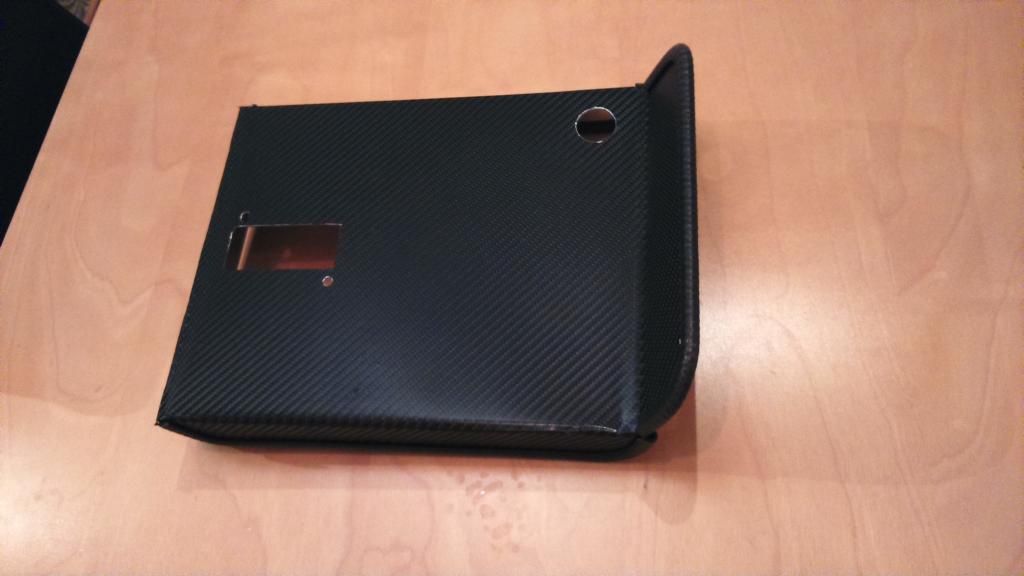 I then fitted the original hazard switch and a new rear savage fog light switch. I just need to apply a small bead of black silicone sealant around hazard switch. I also put some rivnuts into transmission cover to make panel removable  I also needed to go back and finish some old jobs and get them off the list such as the handbrake. I got the holesaw out and drilled a hole in the passenger side of the transmission cover to let the handbrake cable pass thru and then was able to get both sides secured with some p clips 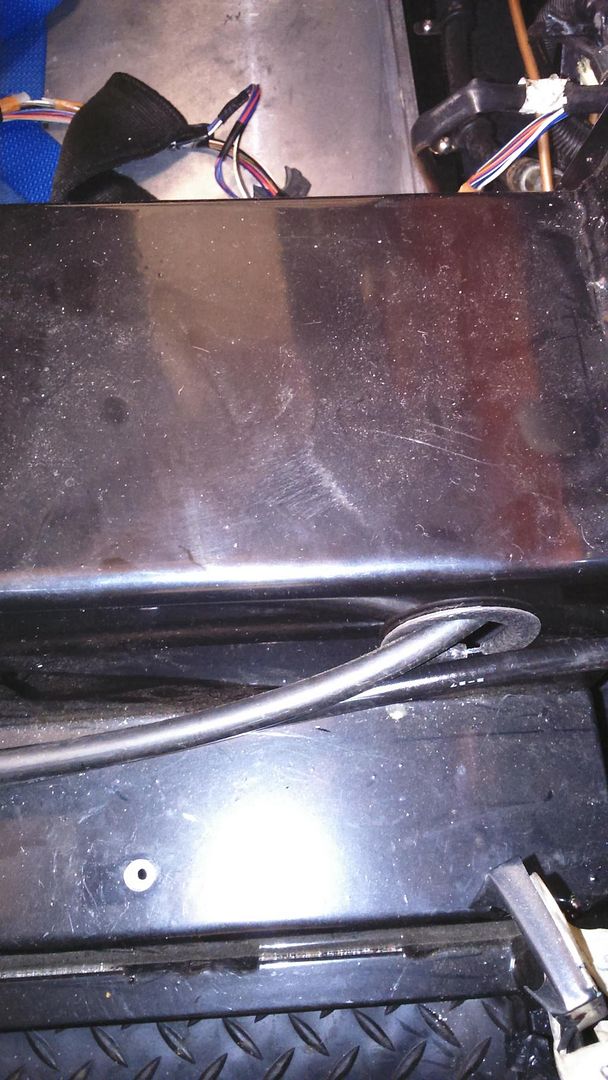 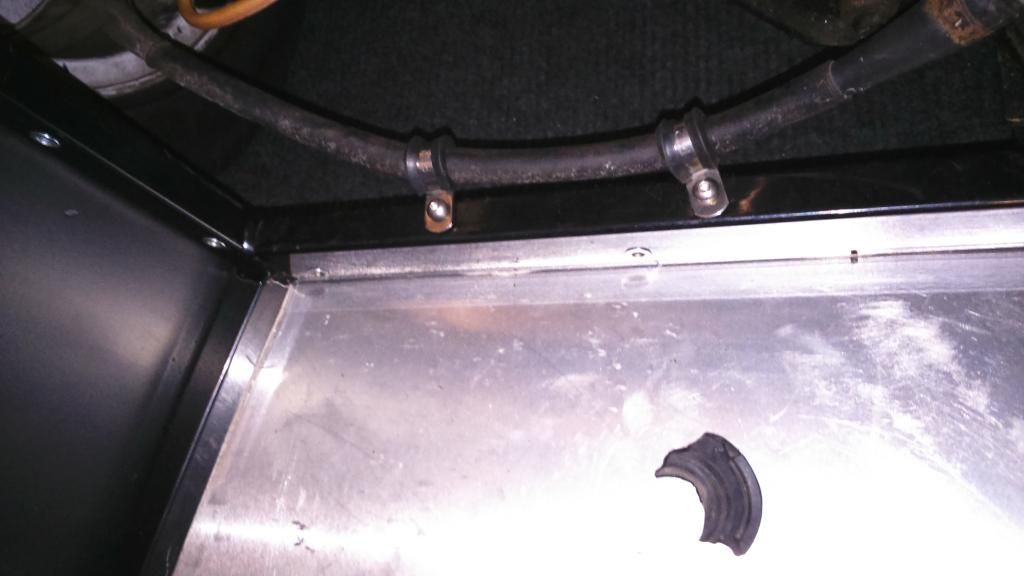 Getting very close to applying for IVA just lots of small jobs to do. The finishing line is in site |
|
|
|
Post by jgilbert on Feb 23, 2015 23:31:11 GMT
Good update Scooby, nice to see the progress. Looking good.
|
|
|
|
Post by scooby1929 on Mar 8, 2015 20:44:42 GMT
It's amazing that you get a weekend to work on the car and how little you get done. Anyway being from Northern Ireland were it likes to rain a lot I thought it would be a good idea to have the battery encased so a wee eBay purchase of a marine battery box.  Then I went to fit my rear panel but encountered a problem the brake block was fouling on the rear panel so about 4 hours later I got this moved back about 1/2 inch. Got my one piece panel fitted with a hole for grommet and battery leads to pass thru.  While I was under car I ran a new wire for rear fog and tapped into wire for pop up lights for my 12 v supply. This will only work with dipped and main beam. Then I got down to some sanding lots of it. Thank goodness for my mouse electric sander 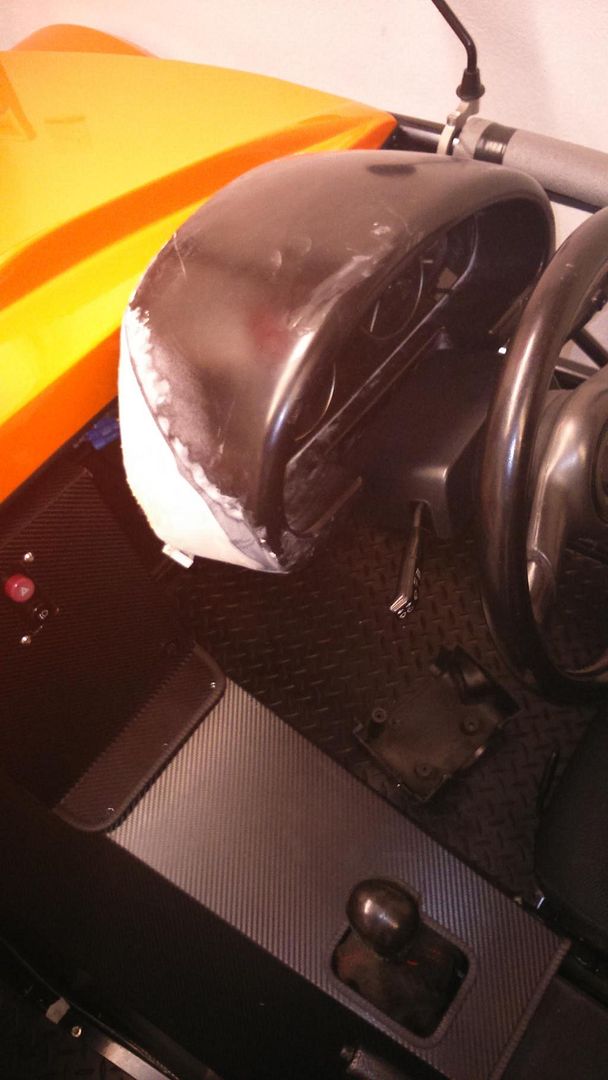  On a roll to the IVA later this year  |
|
Andy888
Full
   Exocet Builder
Posts: 212
|
Post by Andy888 on Mar 30, 2015 22:10:24 GMT
Looking good Chris! Begsy a ride when you're road legal!
|
|