|
|
Post by scooby1929 on Apr 6, 2013 20:11:58 GMT
|
|
trident
Senior
   Improvise, Adapt and Overcome
Posts: 629
|
Post by trident on Apr 28, 2013 18:32:47 GMT
A wee bit of trimming tonight to get the bonnet and nose to sit nicely 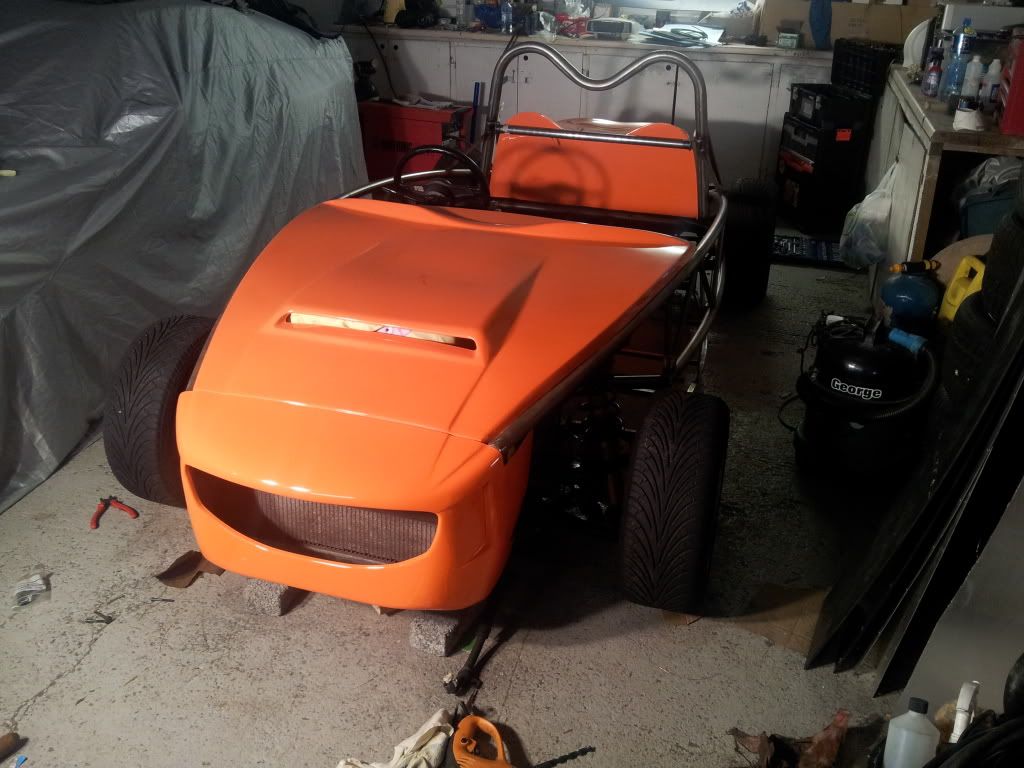 From one Chris to another ...Great work ... I've used your mounting bracket idea for my rad... so many thanks for that.. Just out of interest how much trimming to the nose cone did you have to make to get a nice fit as mine is not a great fit in the current state.. Cheers Chris |
|
|
|
Post by scooby1929 on Apr 28, 2013 20:58:28 GMT
Well i brought the car home from a lock up and its fantastic to have her in my own garage.
|
|
|
|
Post by scooby1929 on Apr 28, 2013 21:02:17 GMT
Well i brought the car home from a lock up and its fantastic to have her in my own garage. 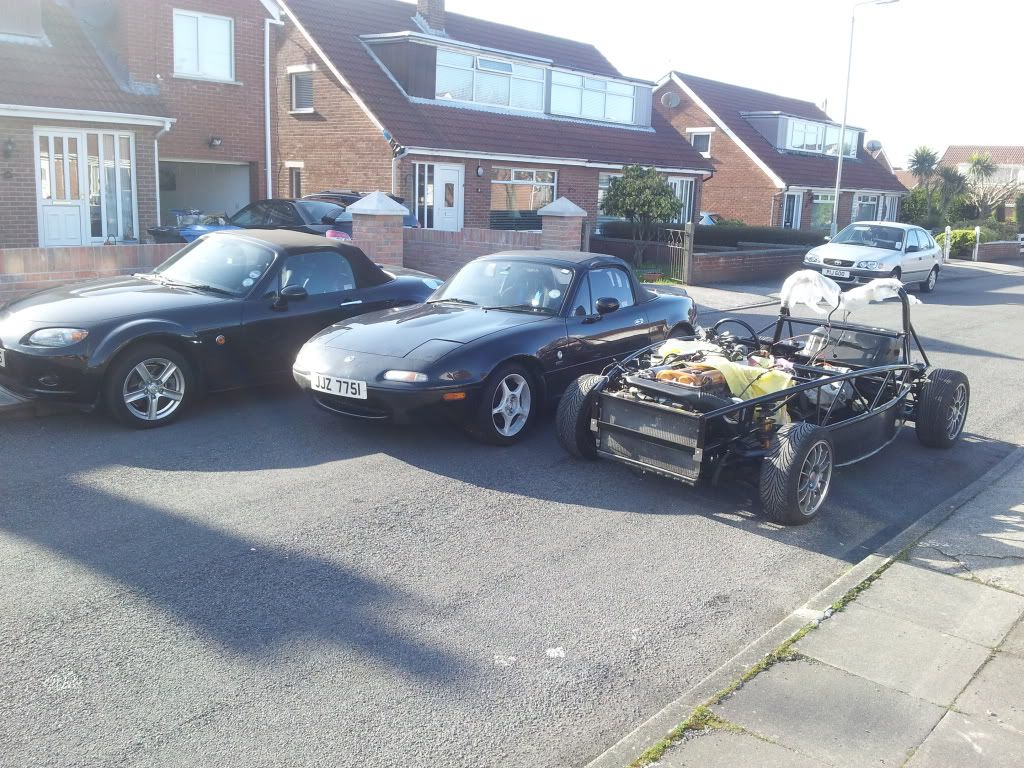 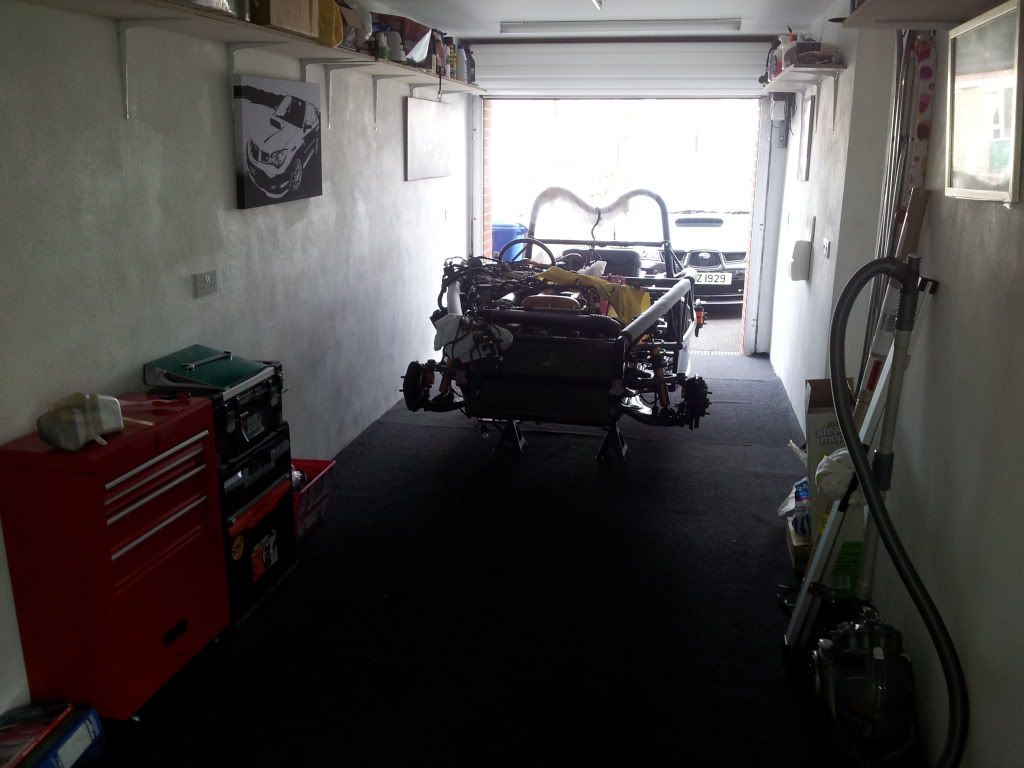 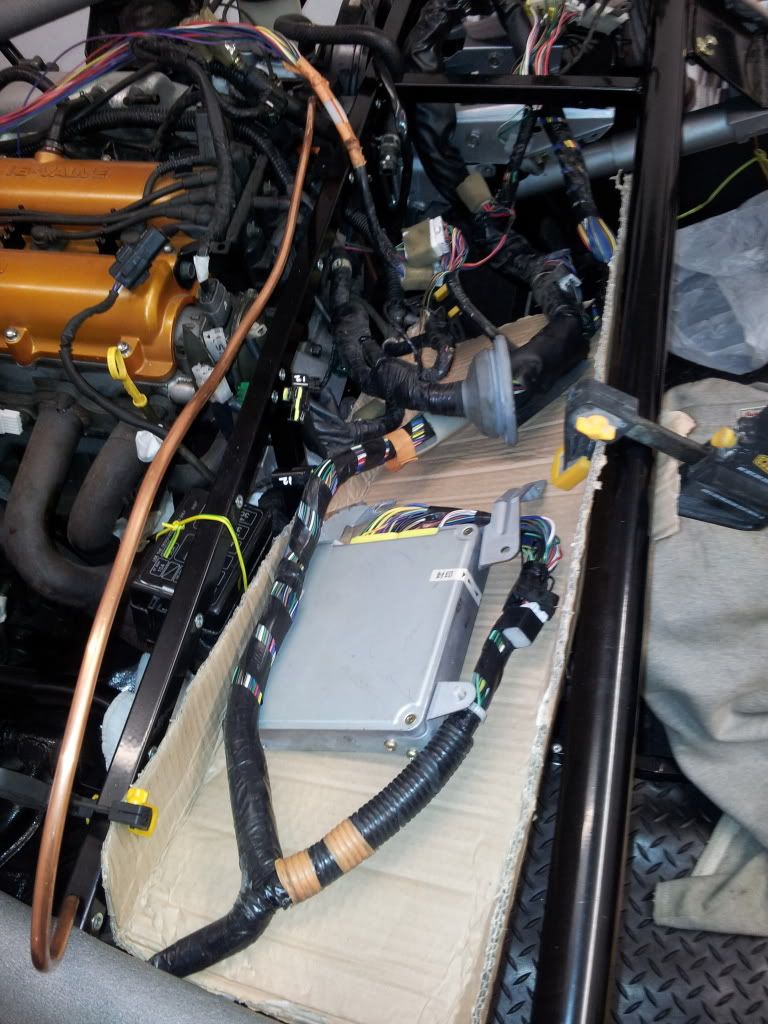 |
|
|
|
Post by scooby1929 on Apr 28, 2013 21:18:47 GMT
A wee bit of trimming tonight to get the bonnet and nose to sit nicely  From one Chris to another ...Great work ... I've used your mounting bracket idea for my rad... so many thanks for that.. Just out of interest how much trimming to the nose cone did you have to make to get a nice fit as mine is not a great fit in the current state.. Cheers Chris Hi Chris i am glad you liked my idea of the rad mounting. Regarding the front nose cone where exactly is it not fitting? On mine i needed to trim along the edge than lines with the bonnet using my angle grinder just running it gently up and down so it sat nice and flush. |
|
|
|
Post by jgilbert on Apr 28, 2013 21:22:19 GMT
Chris (Scooby), loving the cardboard EMU tray, we did the same as you. Made a template and then committed to cutting the metal. The Build is looking great. I also have borrowed your rad mounting idea.
Cheers John
|
|
|
|
Post by scooby1929 on Apr 28, 2013 21:30:29 GMT
Chris (Scooby), loving the cardboard EMU tray, we did the same as you. Made a template and then committed to cutting the metal. The Build is looking great. I also have borrowed your rad mounting idea. Cheers John Cheers john that was used as a template to cut some electrical trunking. Its really handy then to fix the loom with cable ties as the holes are already there. I have to make a lid for it yet and properly fix the loom and cable tie in position 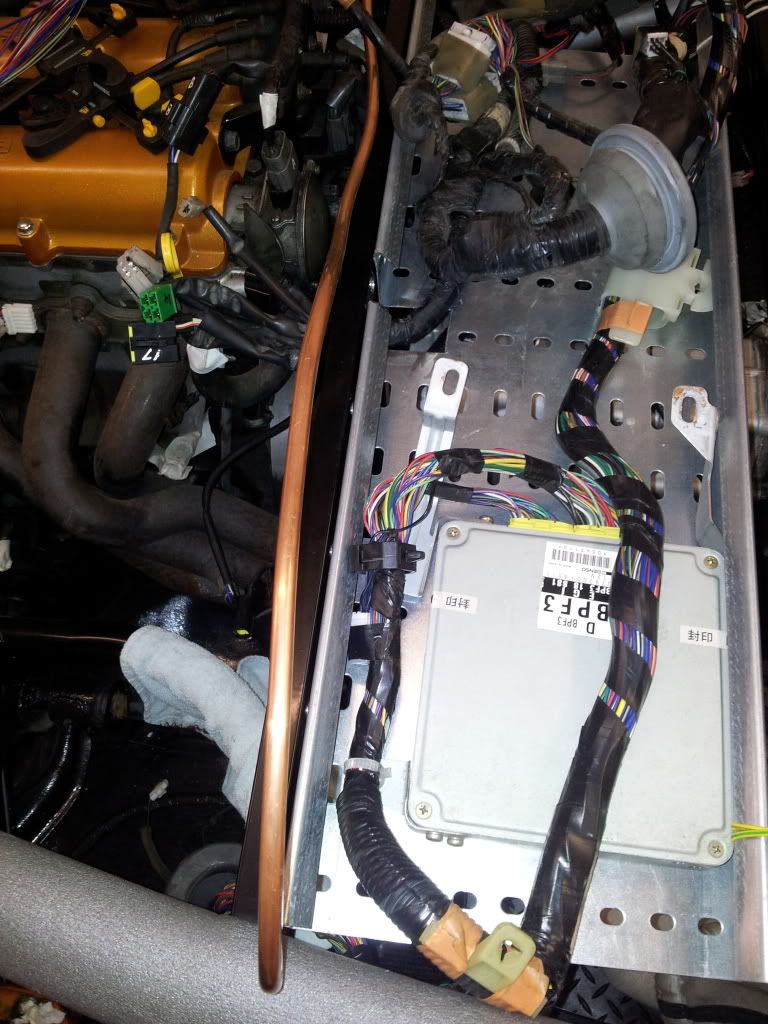 |
|
|
|
Post by scooby1929 on May 1, 2013 21:03:48 GMT
Decided to fit my sexy braided lines tonight thanks to freaky parts 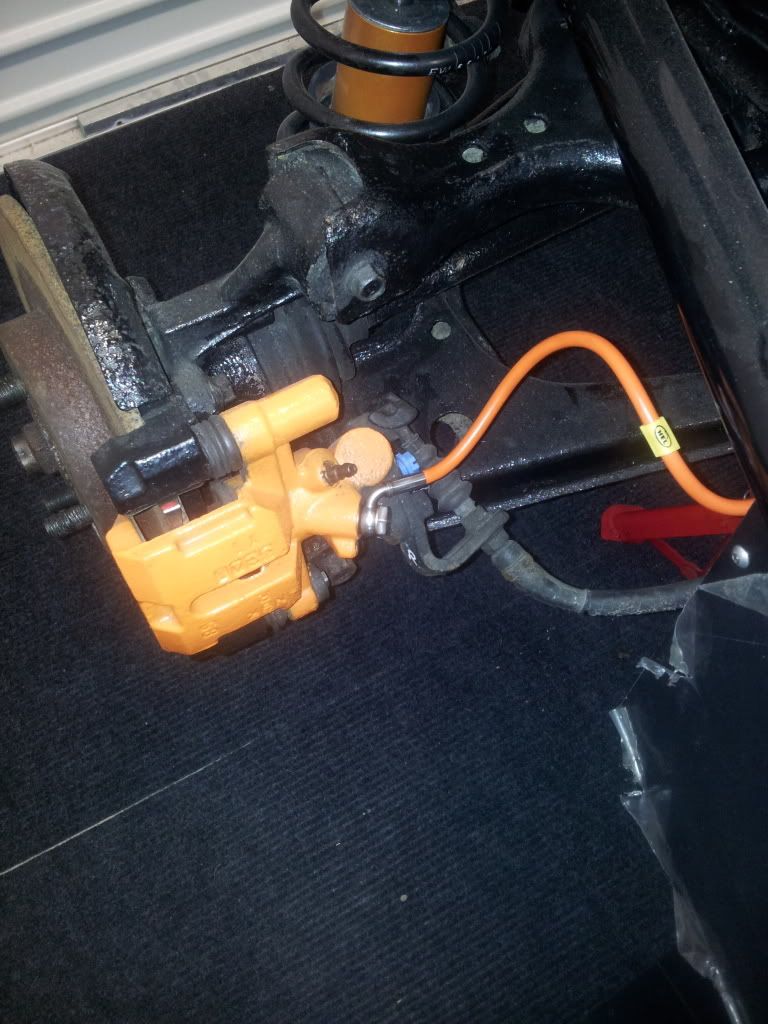 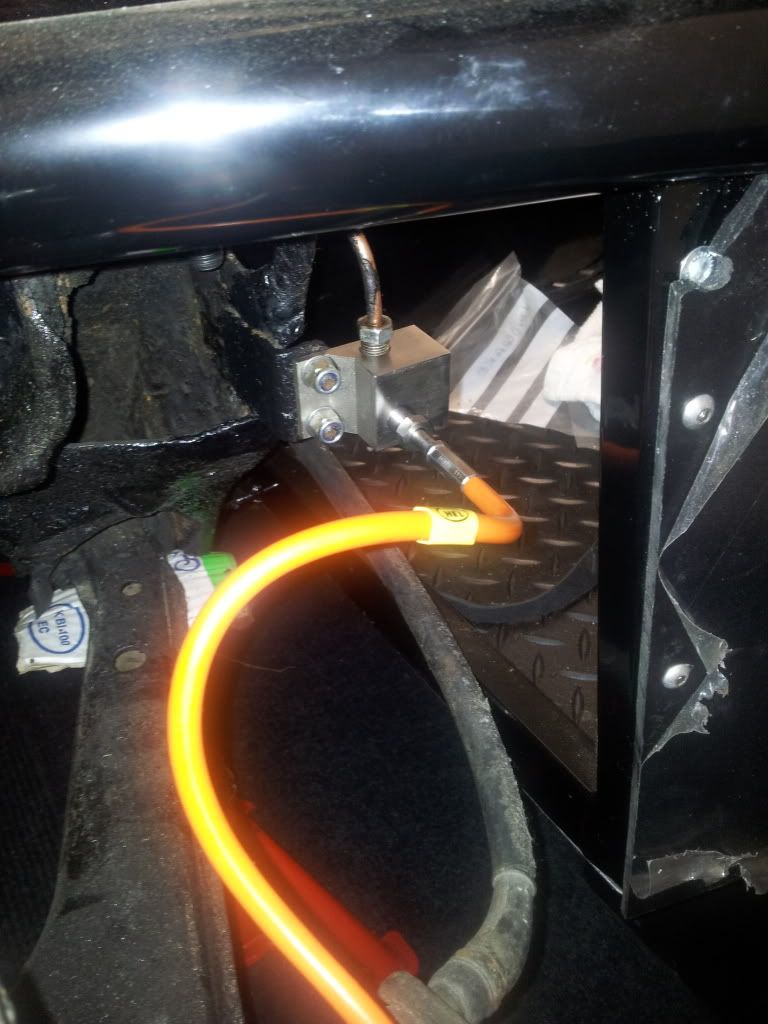 |
|
|
|
Post by scooby1929 on May 2, 2013 11:20:56 GMT
Well off work for a long weekend so thought what could i do this morning that does not involve the wiring loom. Ahh fixing the front grill to the nose cone. Looked at the way others have done this and mostly all bonded in which is fair enough but what if a big stone comes up and damages it then how do you remove it. Sticky bases used to bond strain gauges onto aircraft fixed using 3M adhesive all the way around inside of aperture. 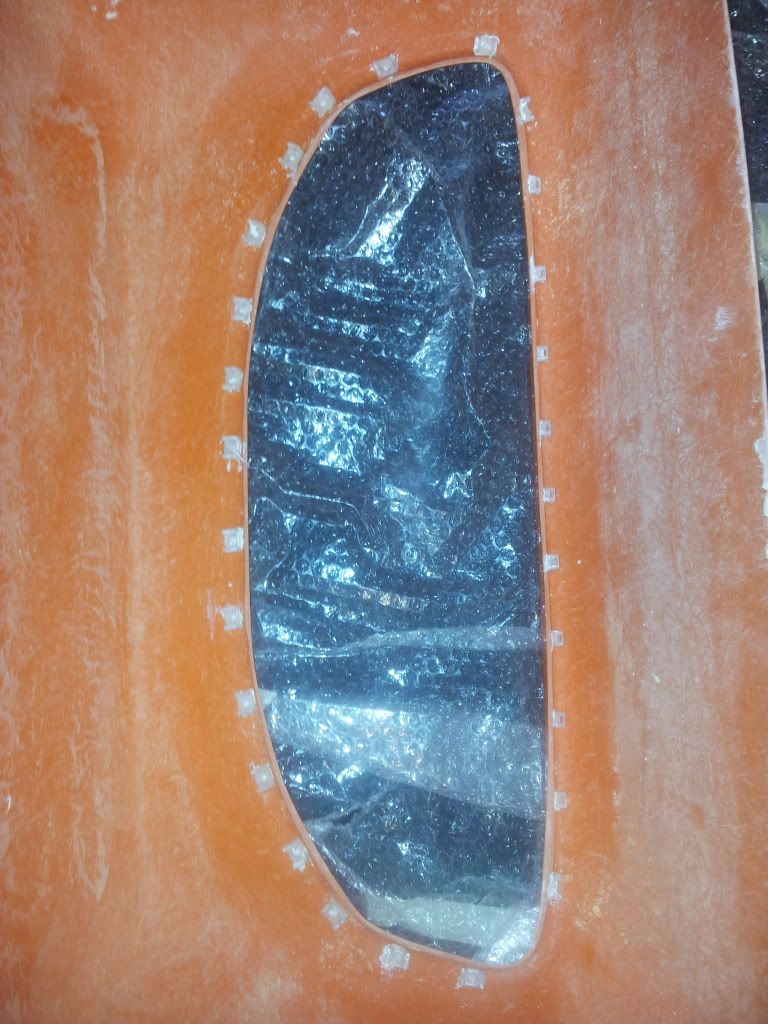 These have holes in them to allow cable ties to pass thru them 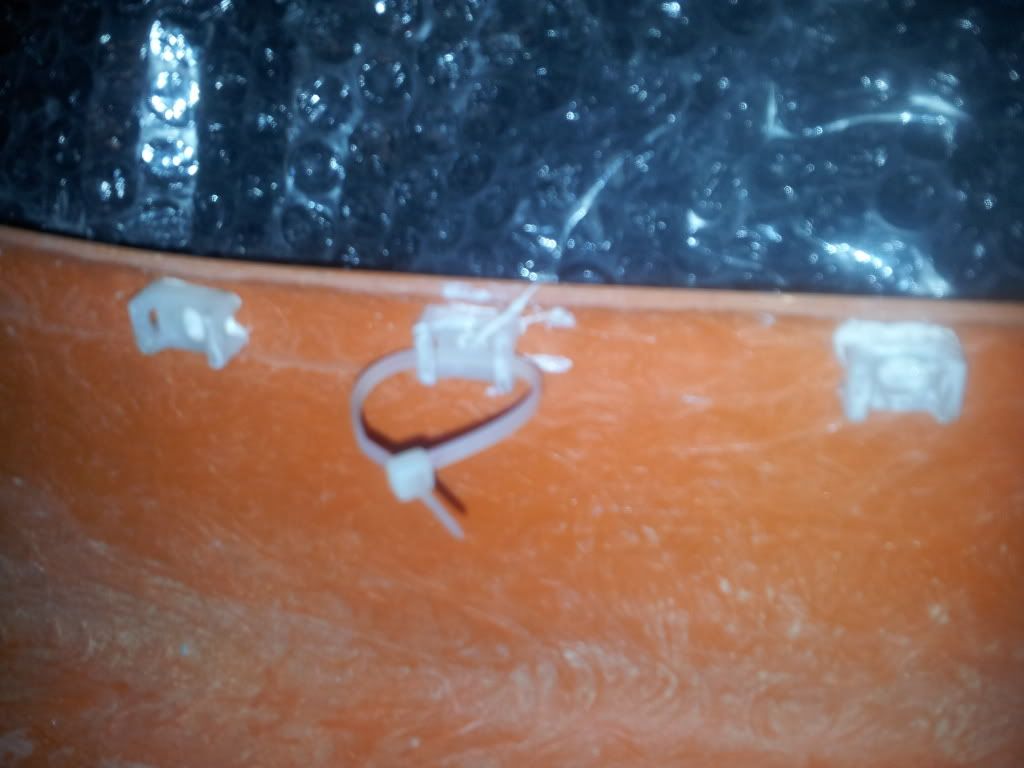 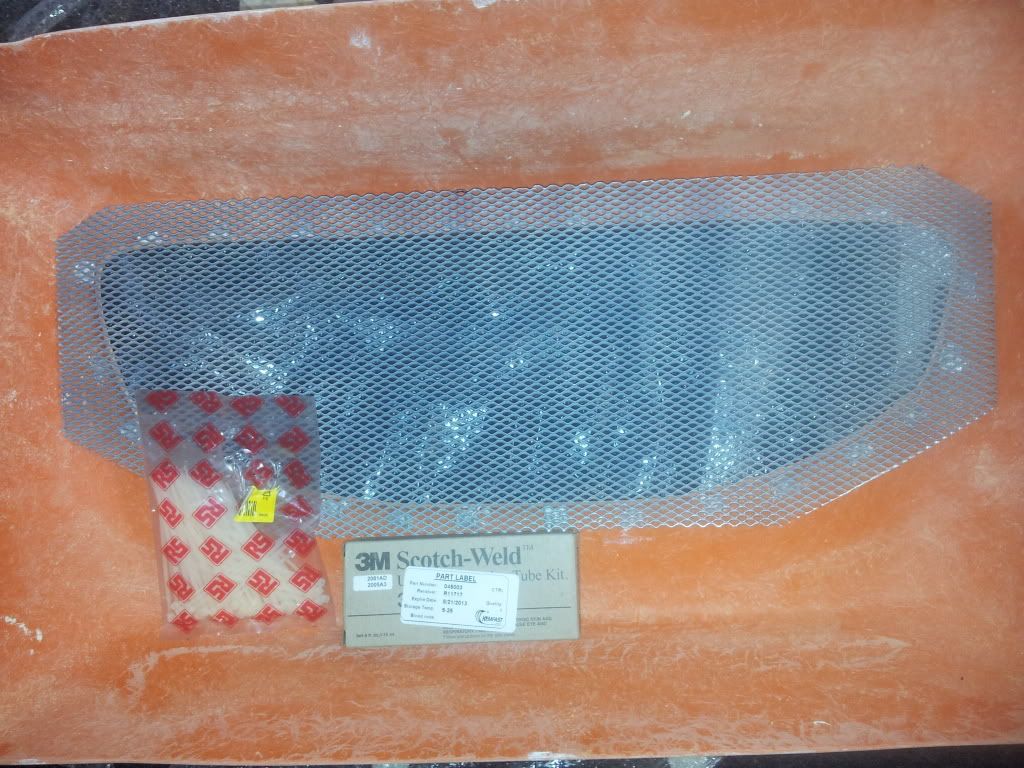 Just waiting for the bases to cure before i cable tie them all to the mesh grill |
|
|
|
Post by scooby1929 on May 2, 2013 17:23:50 GMT
Cable tied in position 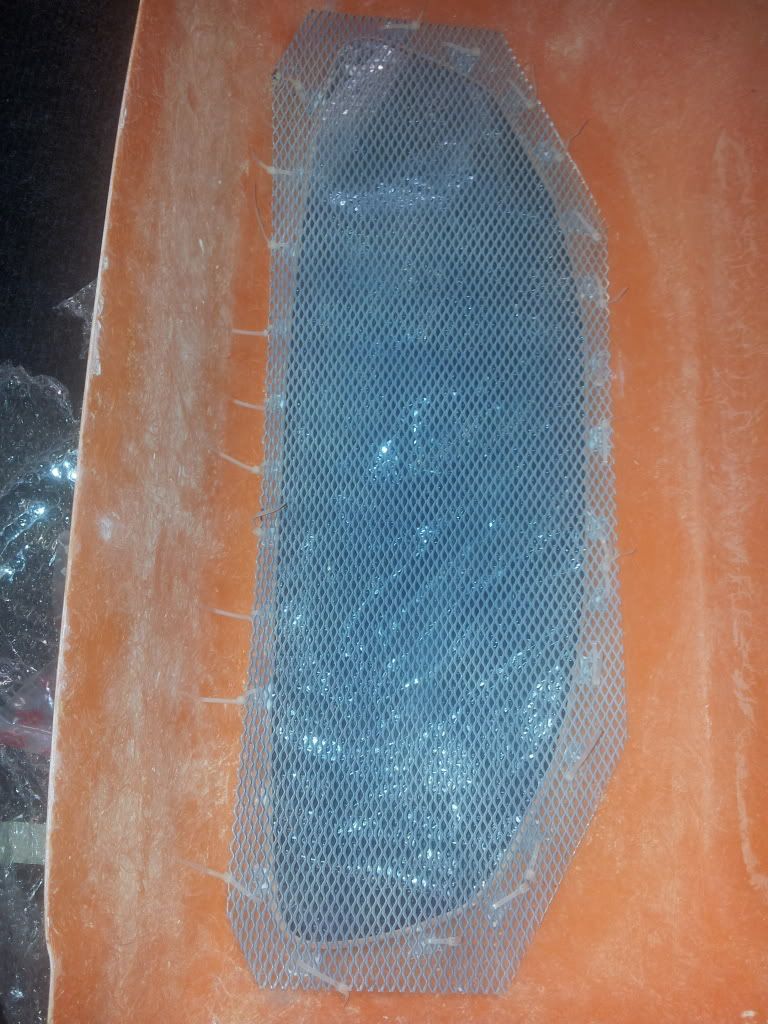 Cable ties cut flush 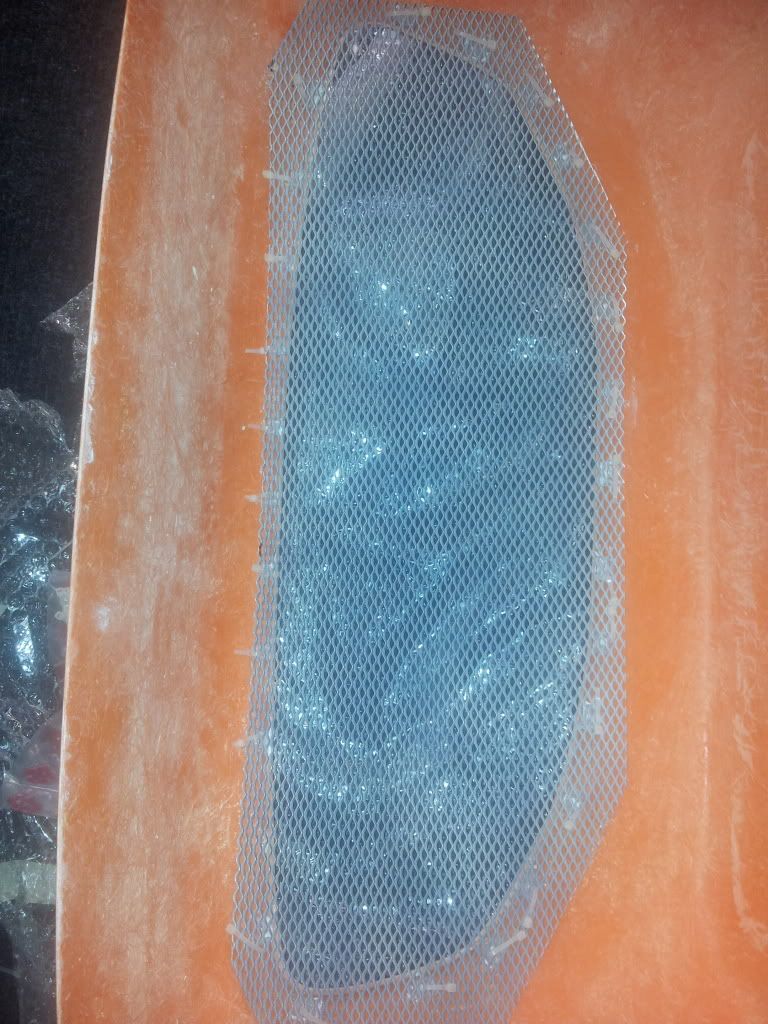 Finished result 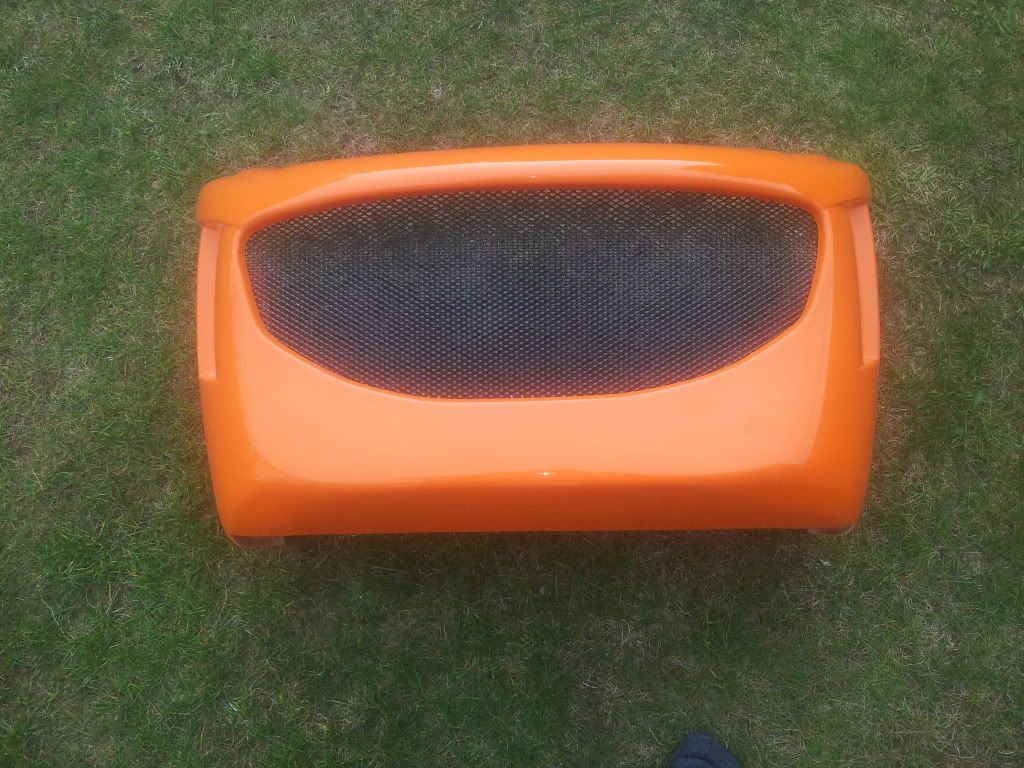 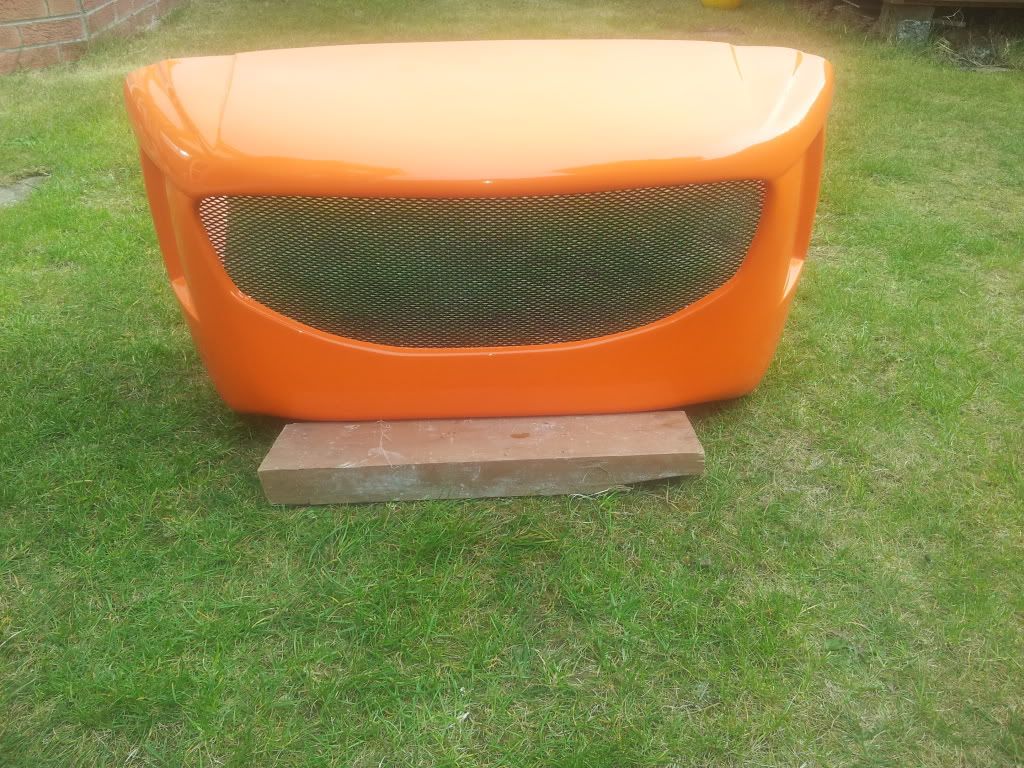 |
|
|
|
Post by scooby1929 on May 3, 2013 11:59:12 GMT
This morning i fitted the new clutch braided line. Good job this as it goes straight from the clutch master cylinder straight to the slave cylinder 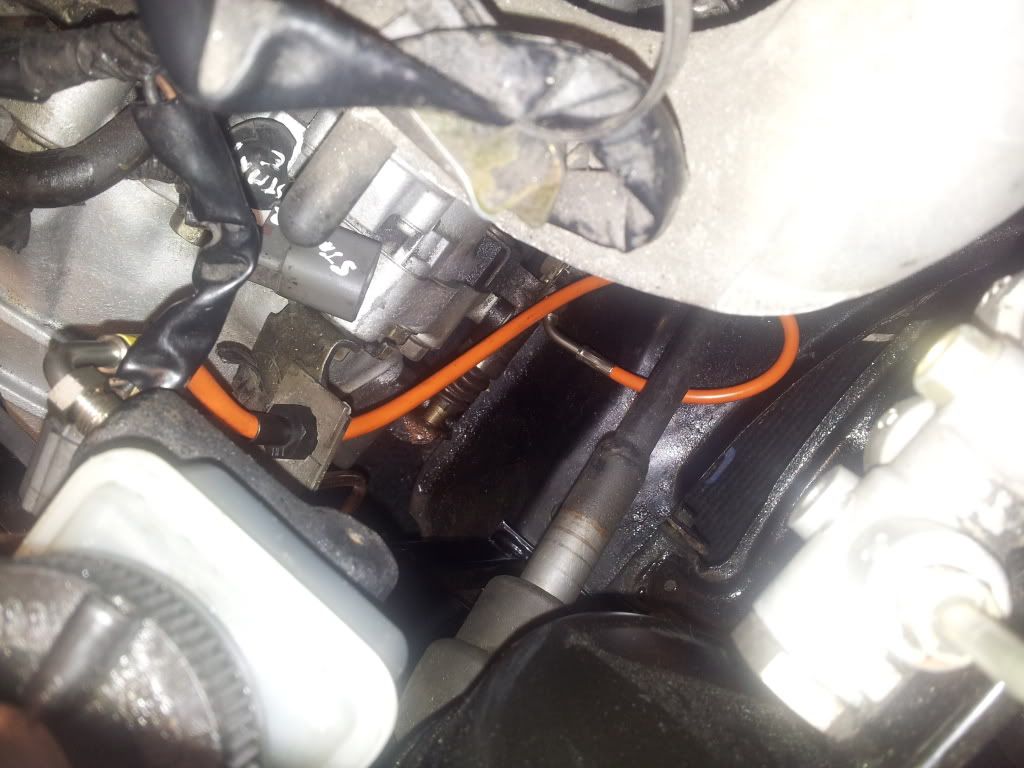 Then i fitted the fuel filter. I had bought some rubber fuel hose from amazon but i noticed its not stamped high pressure so wont use it as i am sure the IVA wont like it 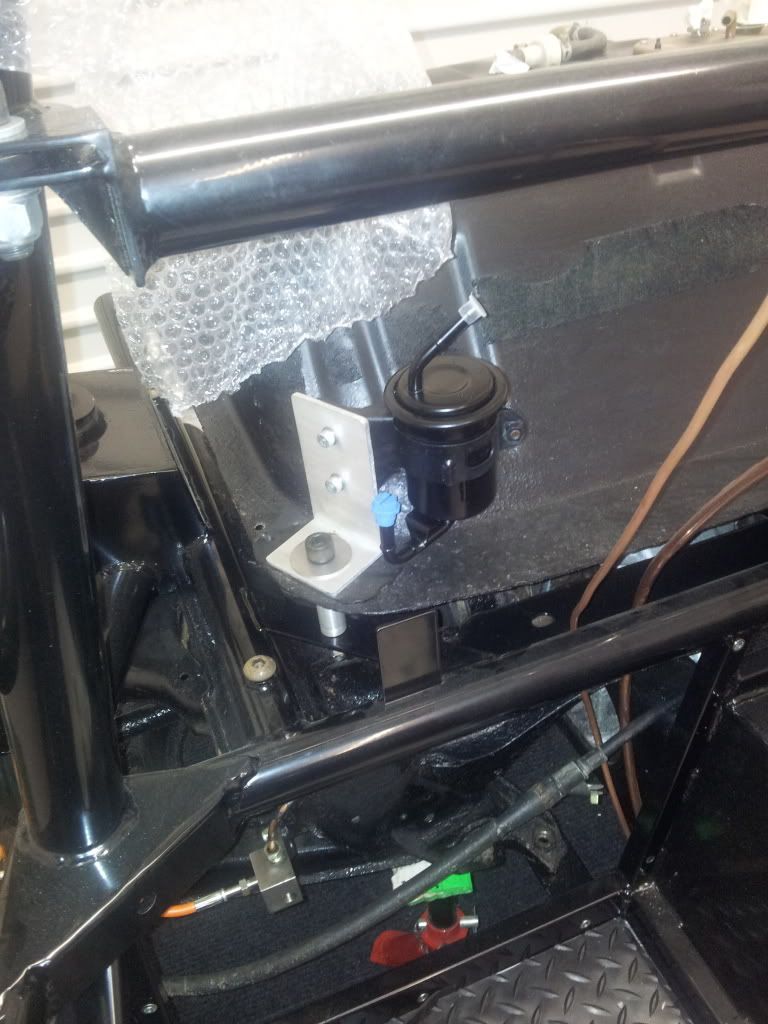 |
|
|
|
Post by scooby1929 on May 4, 2013 13:10:28 GMT
On a good wee roll this weekend and so much better that the car is at the house. So todays job the fuel cover Holes marked with masking tape and drilled 1/8" thru the glass fibre and steel brackets and cleco pinned in position so it cant move 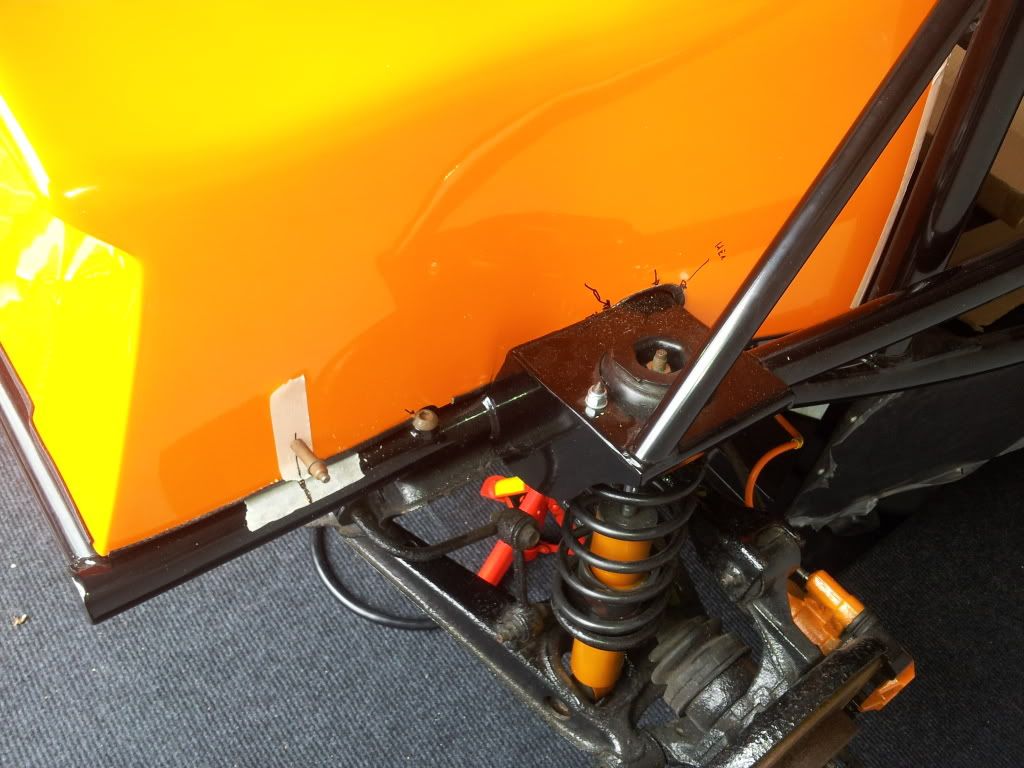 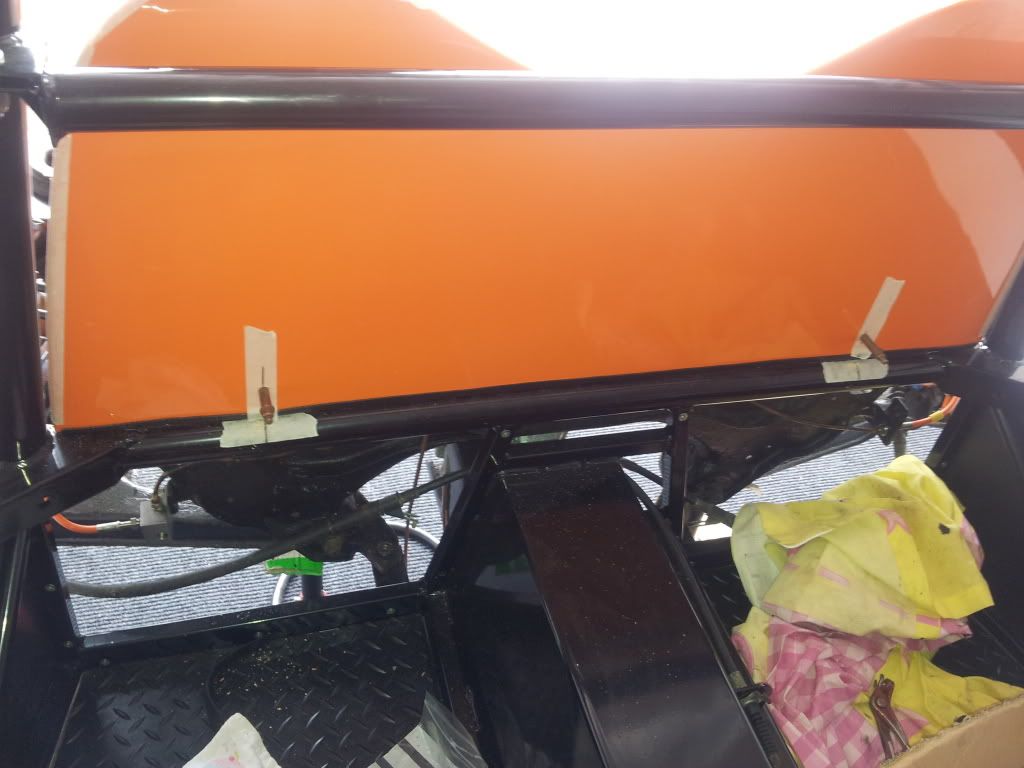 Cover then removed and holes in bracket opened up 5 mm 8 mm then 10 mm to suit riv nut. 6mm rivnut 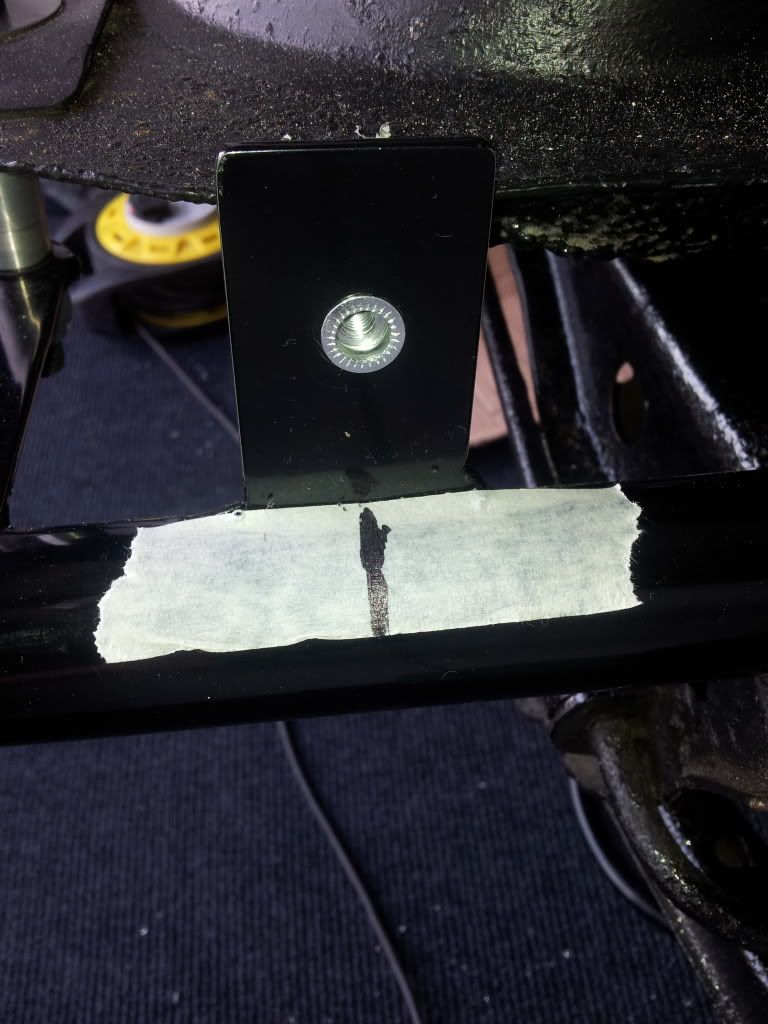 Then fuel cover open up from 1/8" to 6.5 mm Set back on and all 4 bolts fitted. I have rubber washers to fit but left them in work. Another wee job of the rather long list 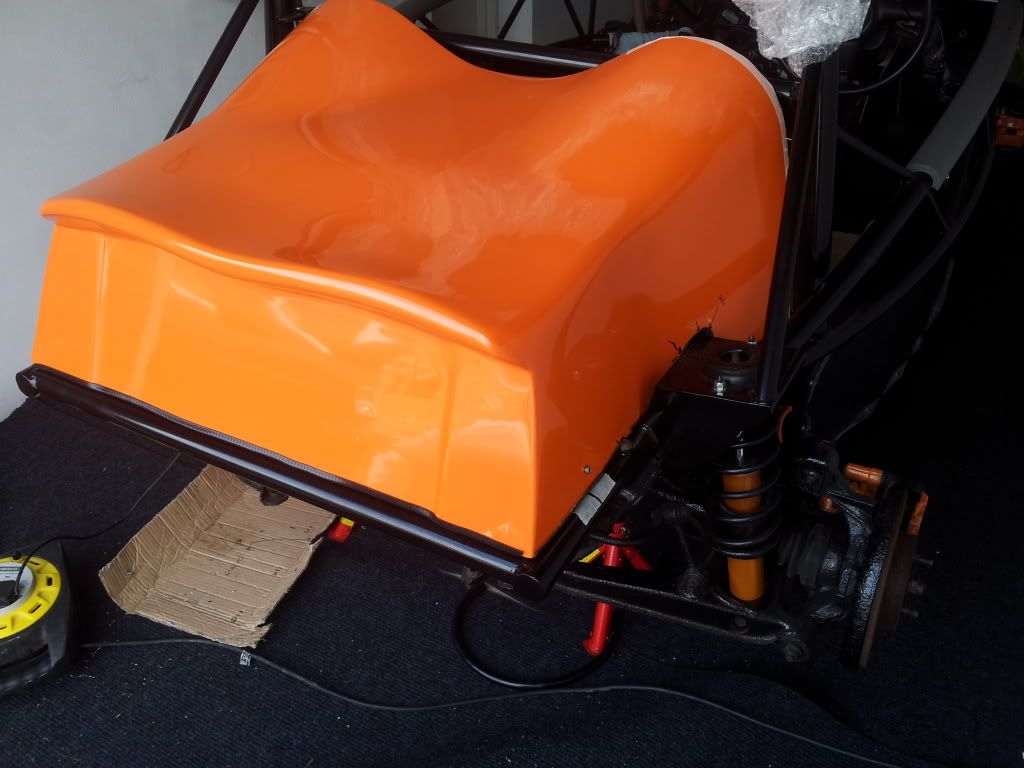 |
|
trident
Senior
   Improvise, Adapt and Overcome
Posts: 629
|
Post by trident on May 4, 2013 16:44:30 GMT
Excellent idea with the front grill... Might have to use this idea as well on my build...
|
|
|
|
Post by scooby1929 on May 12, 2013 21:09:31 GMT
Loom starting to look a lot neater. Will cut that gromet off and with my tray its very easy to cable tie 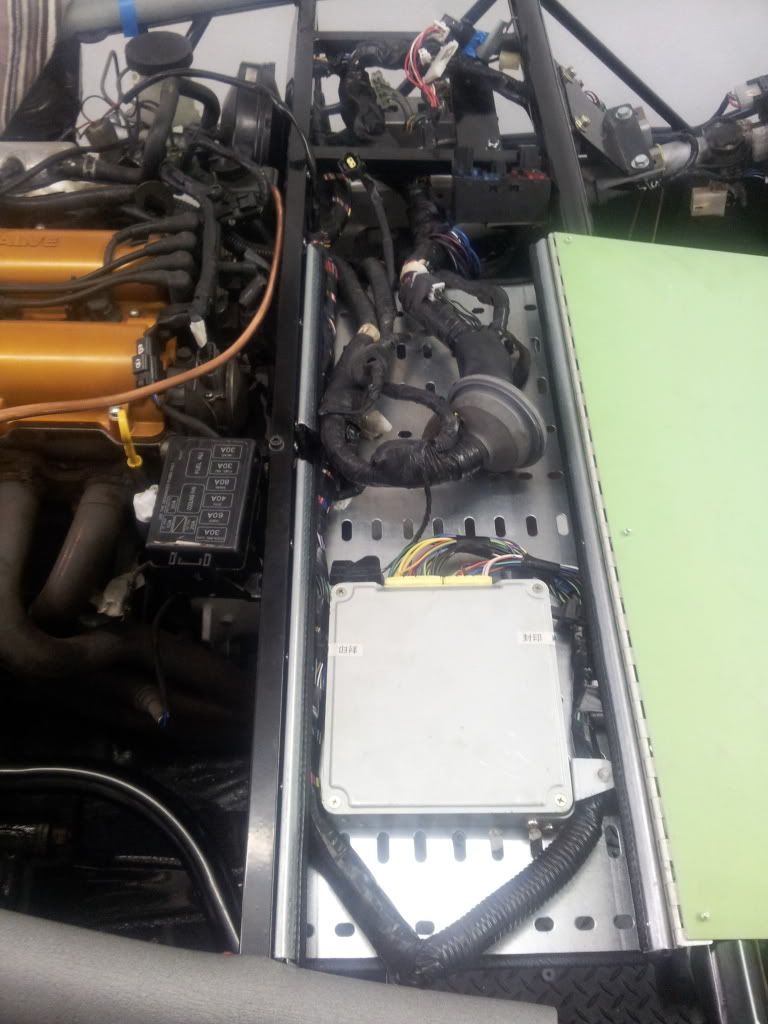 |
|
|
|
Post by scooby1929 on Jun 21, 2013 20:43:55 GMT
Well time for a wee update. I seem to have spent ages routing in the wiring loom so am finally happy. Sorry about some of the questions i asked on here i was being lazy but now i pretty much understand wiring diagrams so great learning. All relays etc fixed in position 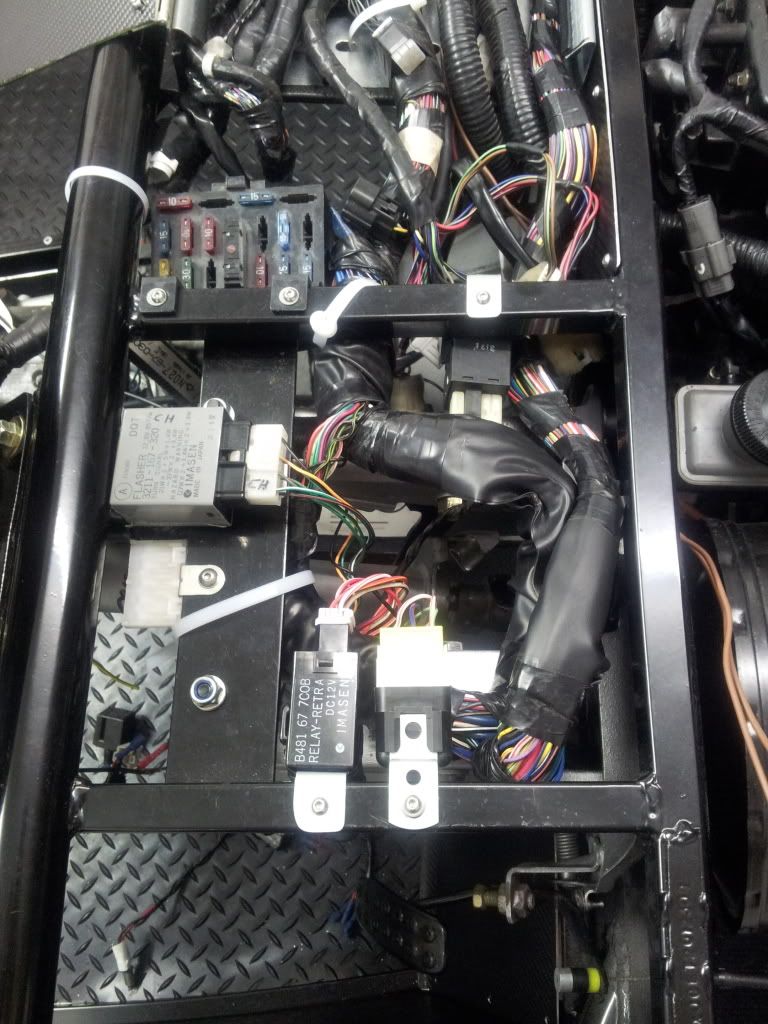 Main loom cable tied to my tray 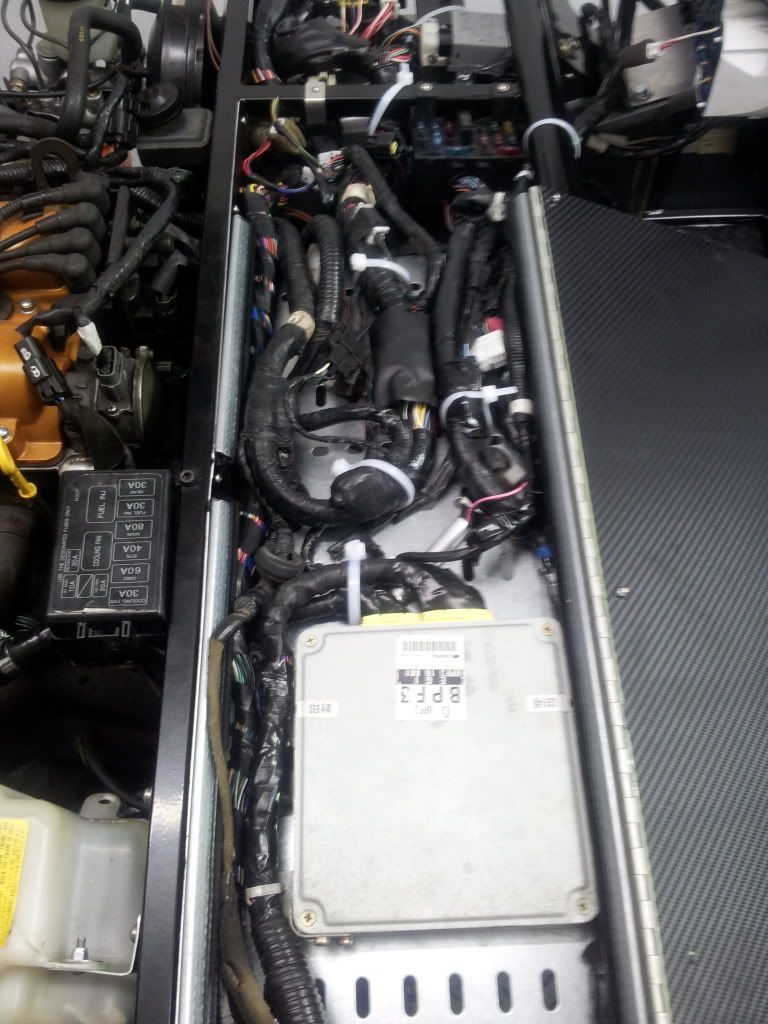 I wanted to make sure my tray did not sit down so you could bang a knee off it or something so it sits nice and flush with the bar 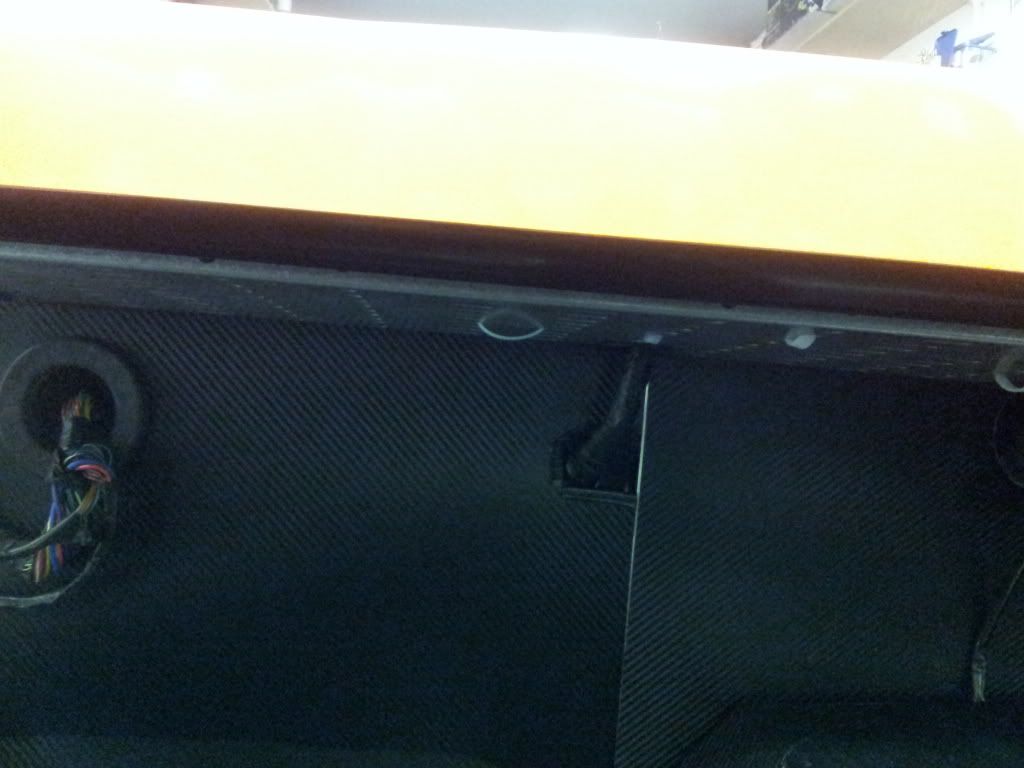 Mathew seemed to be a bit of a whizz with the carbon wrapping so did a bit myself 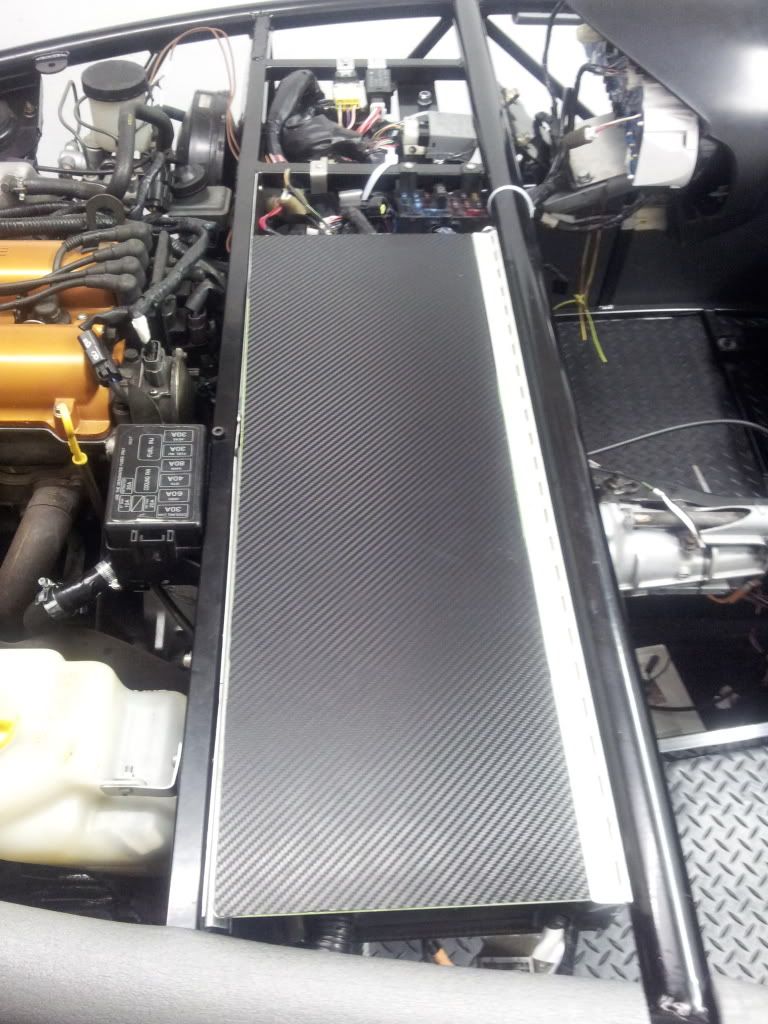 In between the loom i got the expansion tank mounted and looped the pipes that previously went to the heater matrix 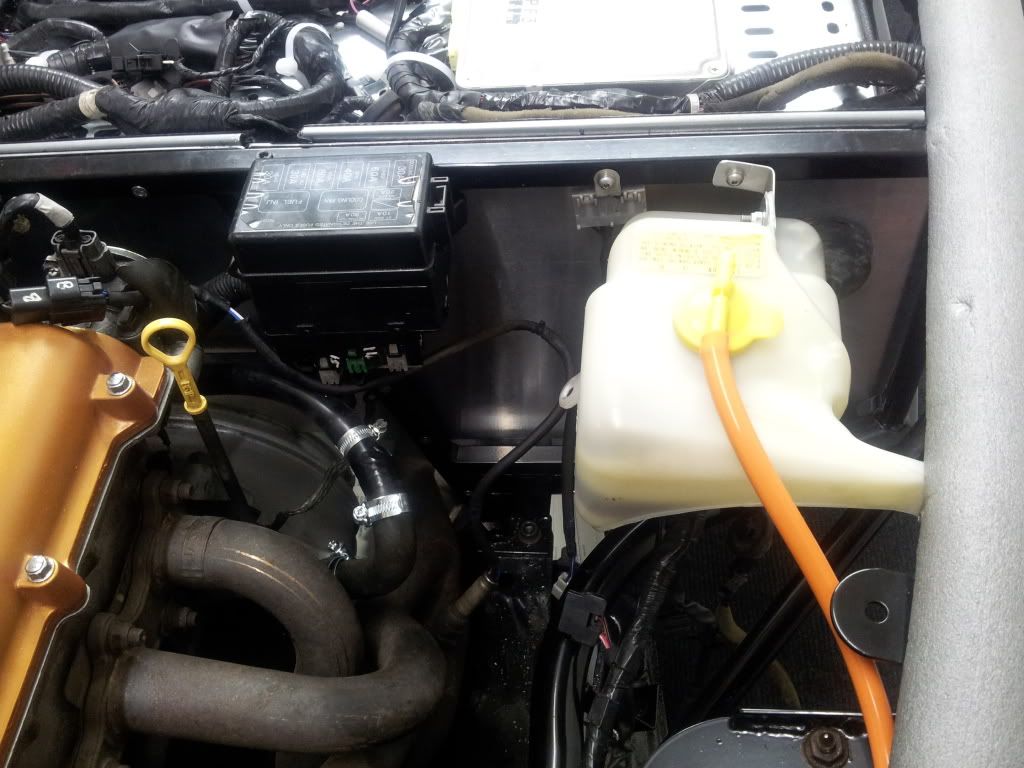 I also fitted the instrument pod but wee bit unsure what i am goin to do with the back of it 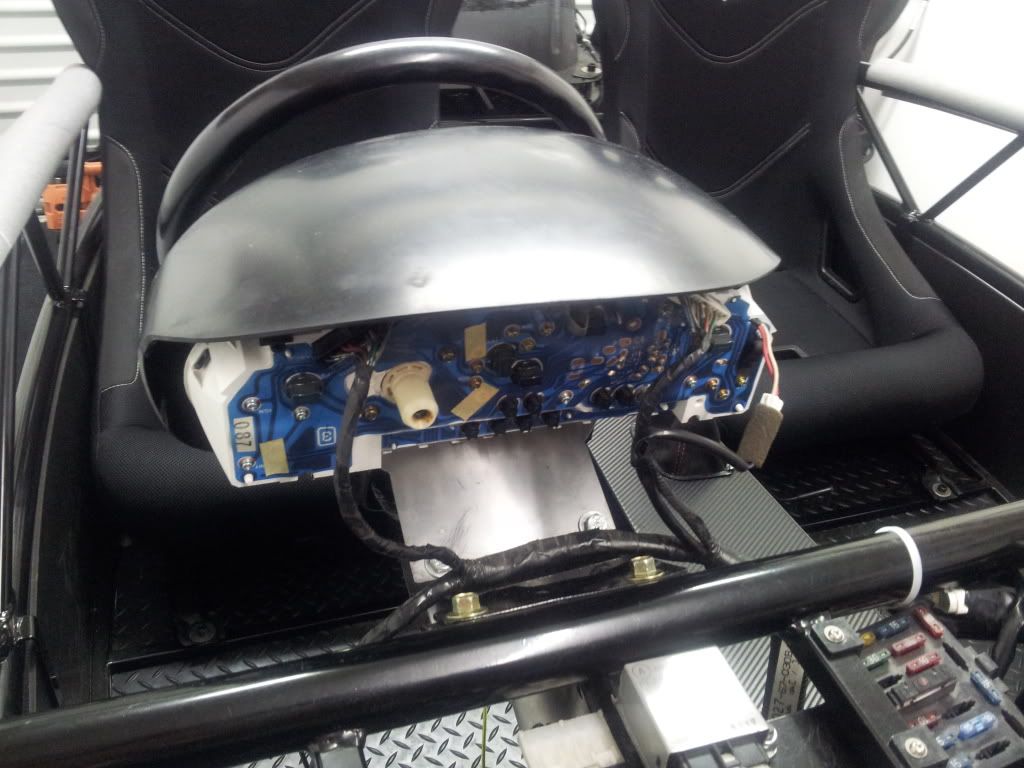 Seats mounted took a while because i made up strips to run under the car as the holes were very close to the holes i drill to fit ally floor 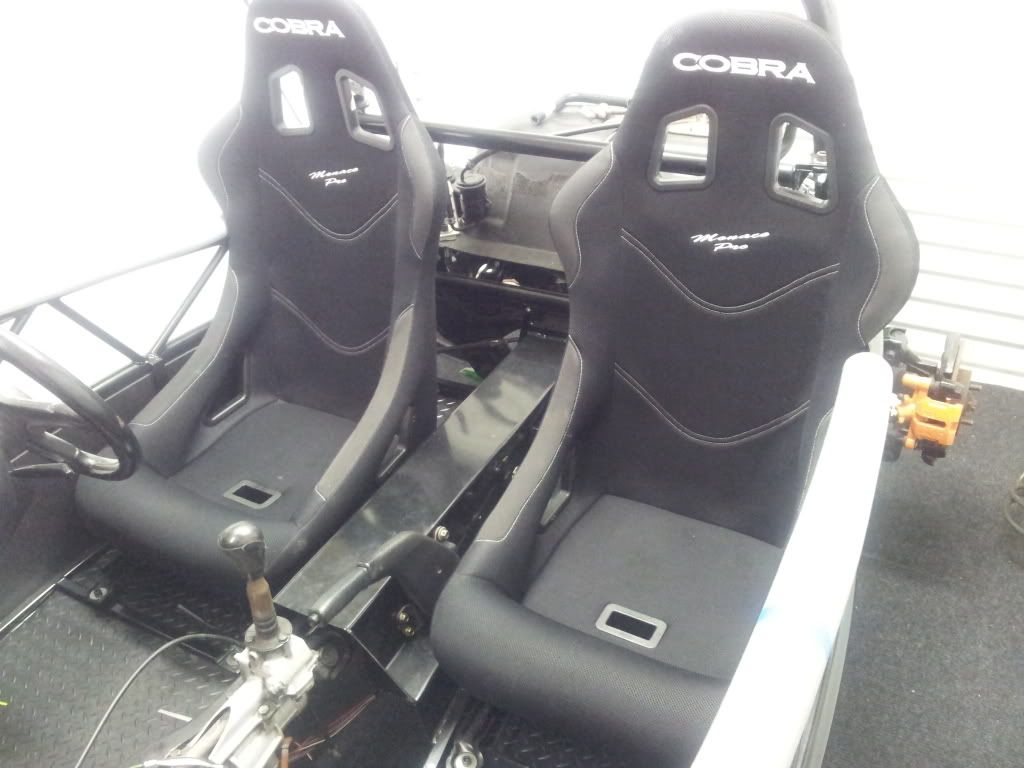 Under floor rear bracing cut and fitted.This picks up on the tabs that i had previously cut off and welded 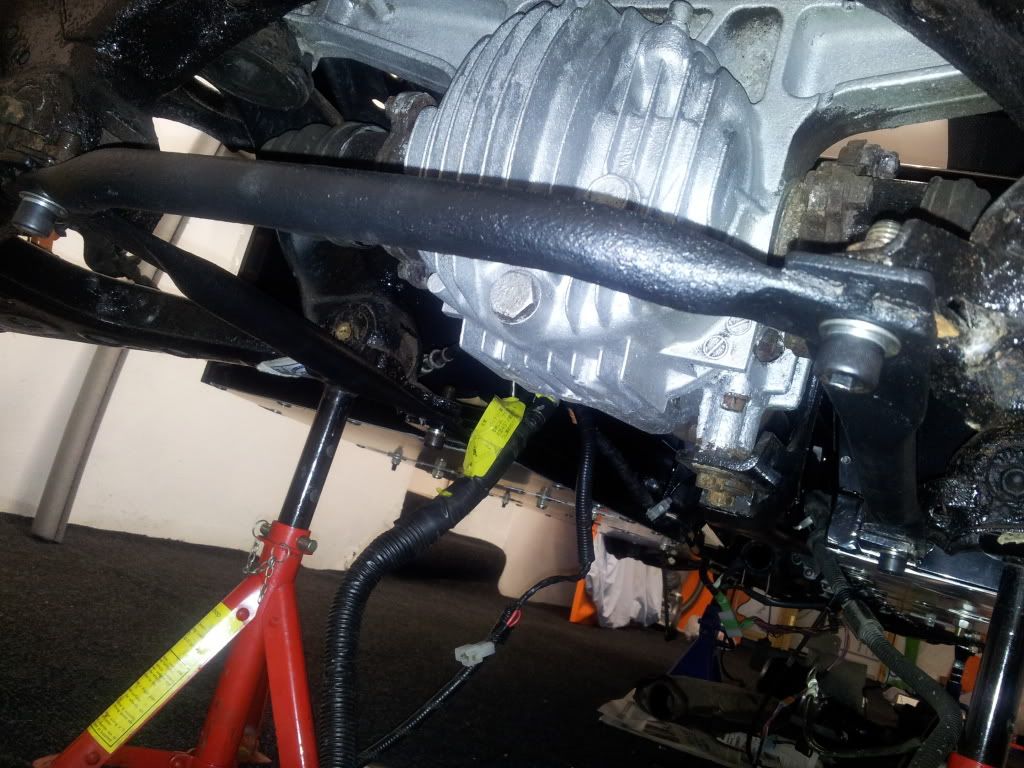 All bulkhead panels wrapped 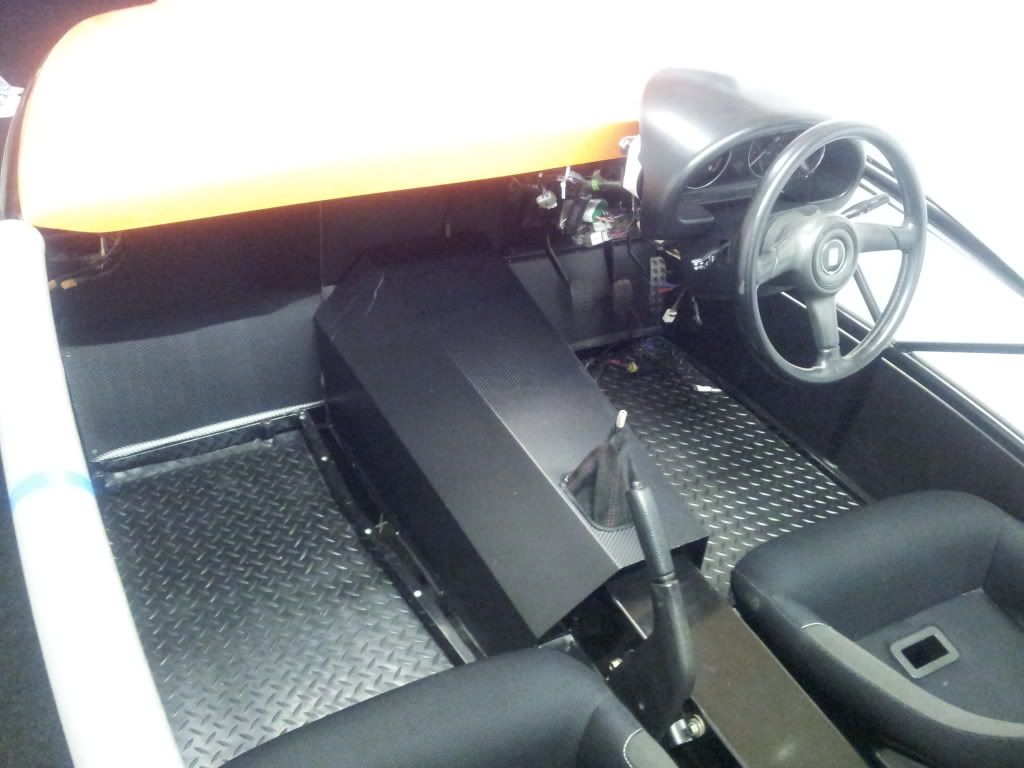 Fuel bracket cut and ready to be fitted to have fuel cap on top of fuel cover 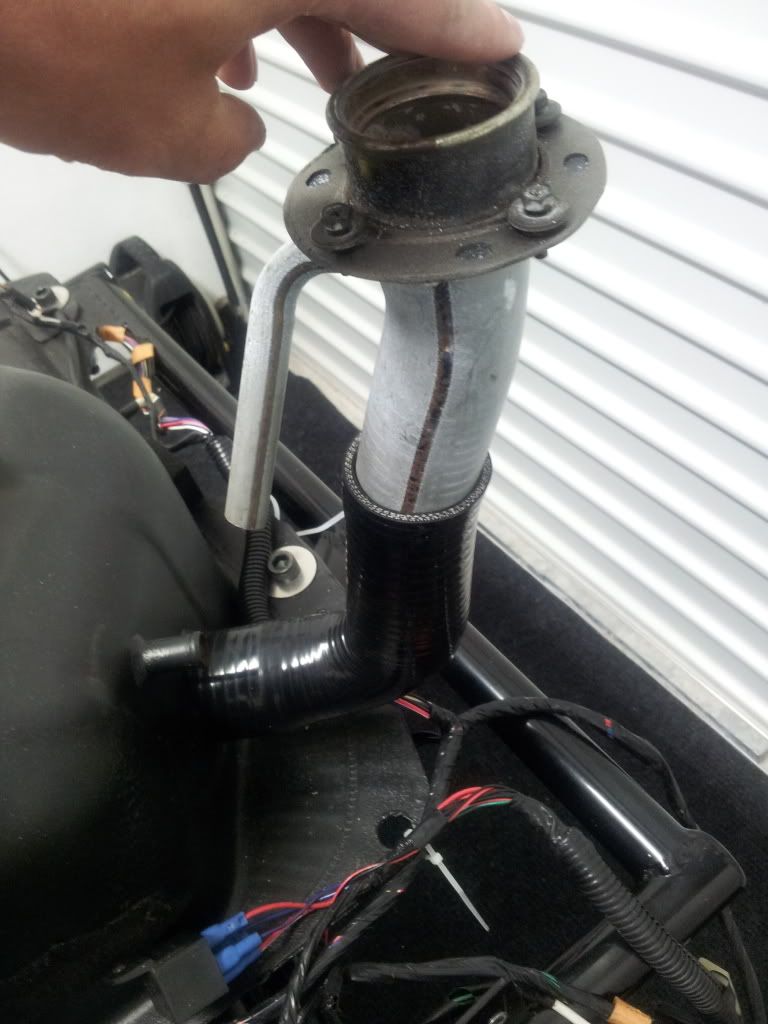 Accelerator cable fitted 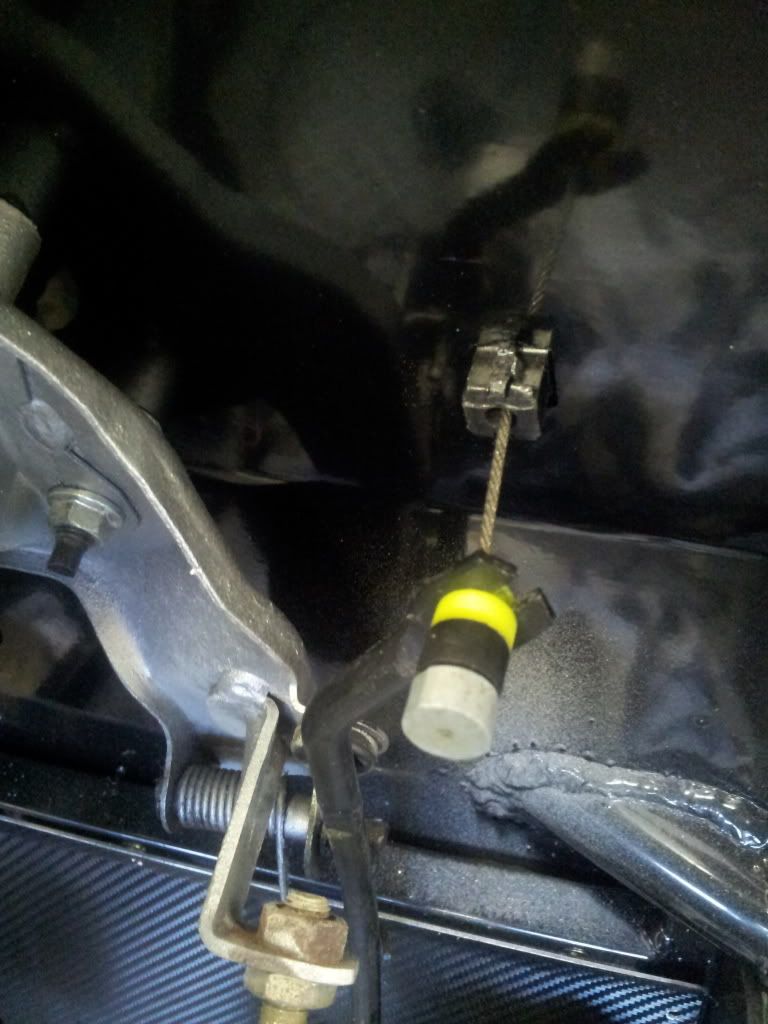 Waiting for cam locks to fix bonnet 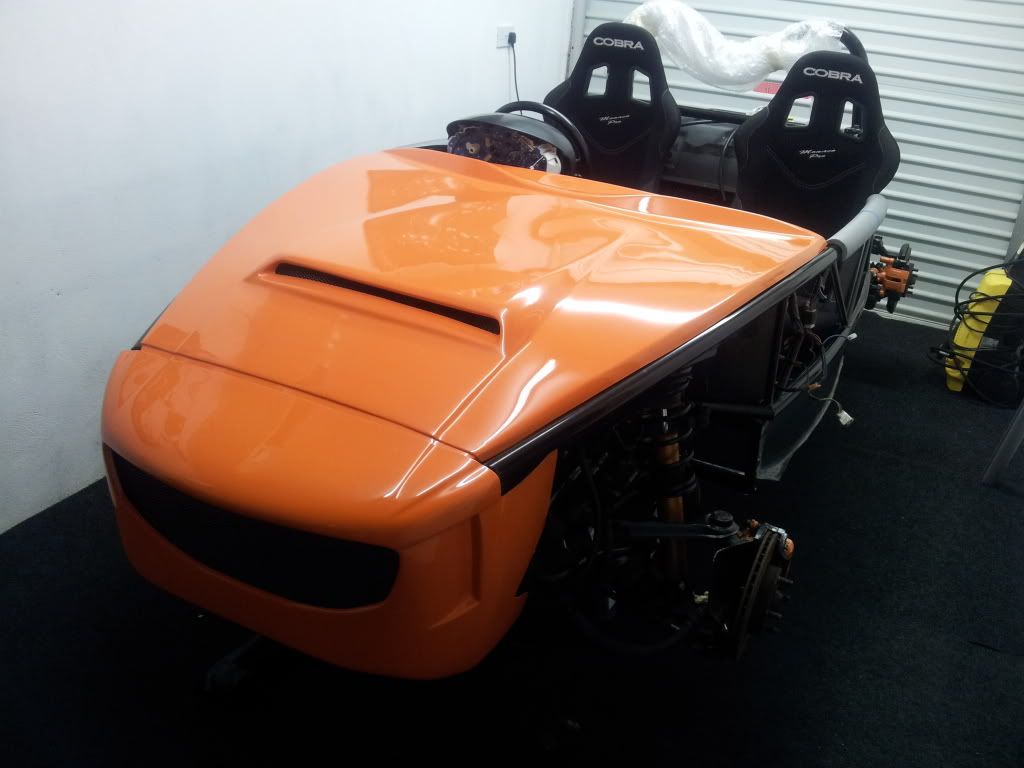 |
|