|
|
Post by casesensitive on Apr 14, 2019 23:37:54 GMT
Copied kiwicanfly 's seat belt mounting idea Where I hope they'll end up  Drilled and tapped 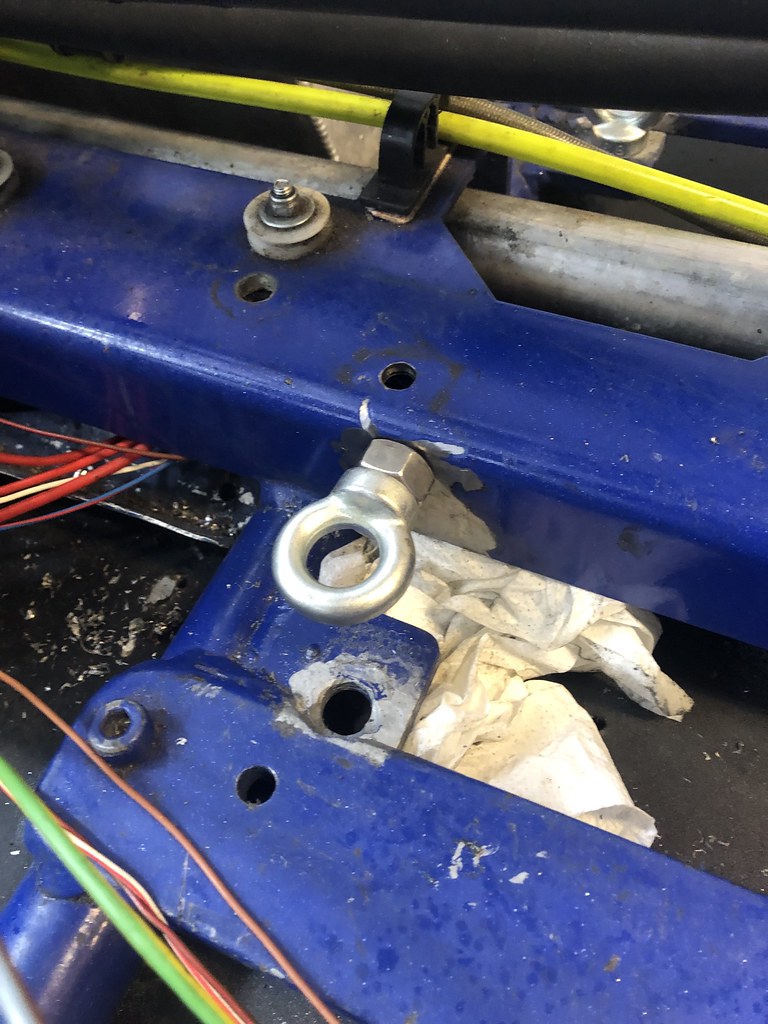  and welded the nut to the box section, checking the eyebolt still fits frequently  Cut two notches out of some 6mm angle for the passenger side, and cut a bevel into there edge to aid better weld penetration 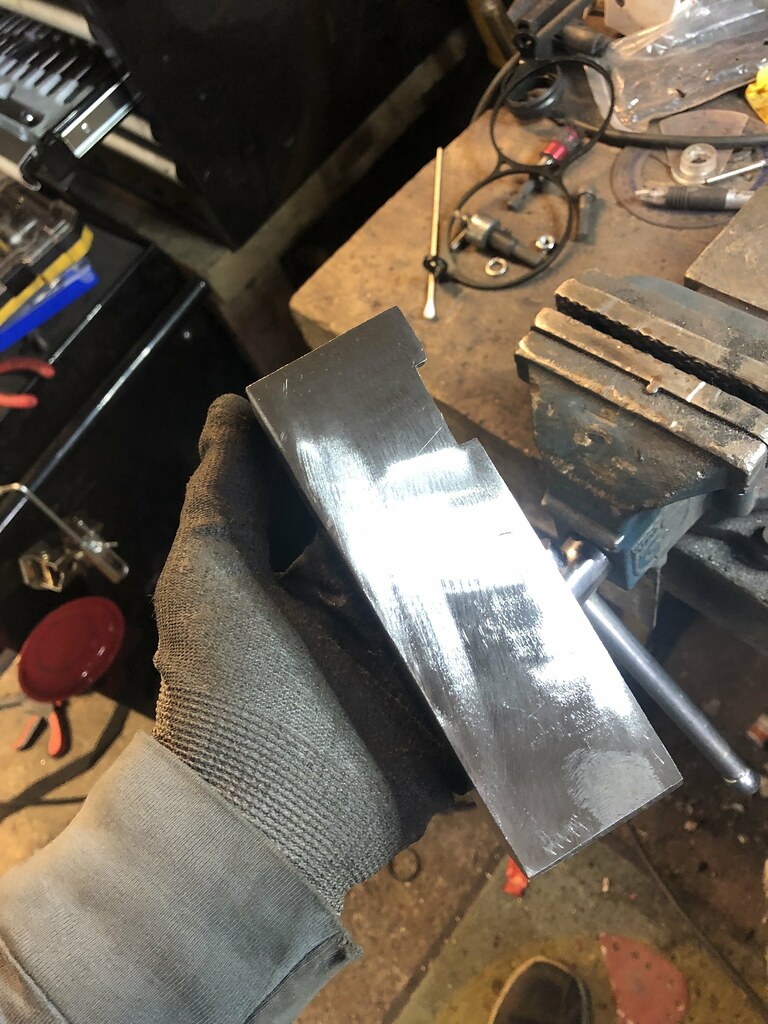 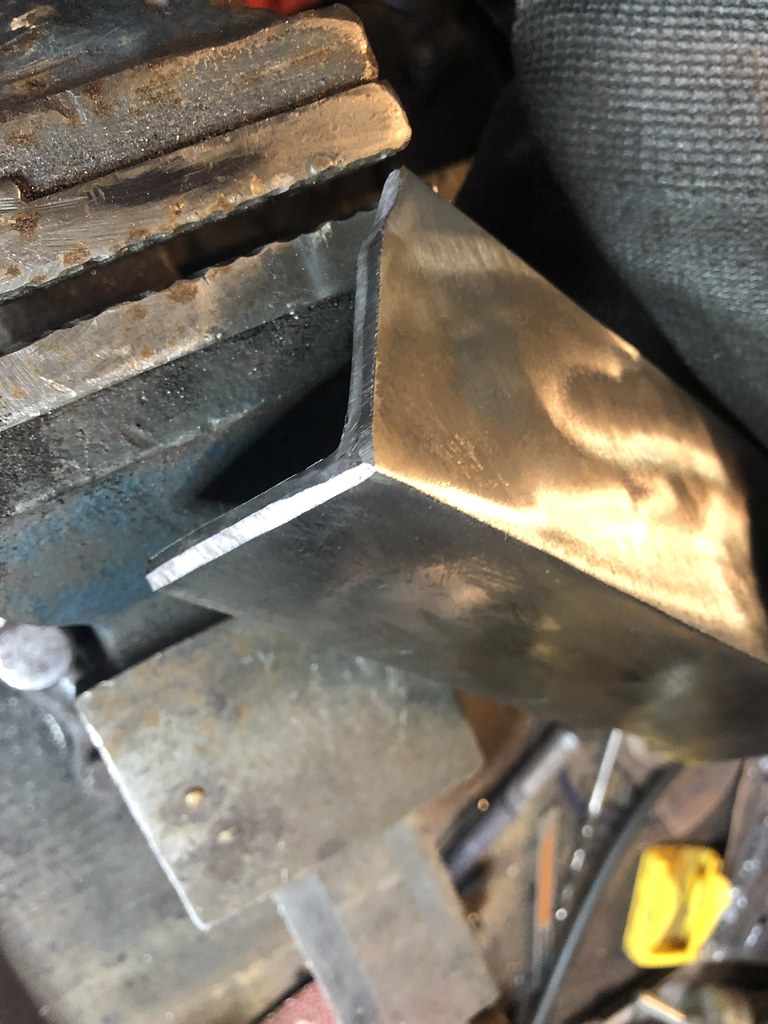 Welded two passes on the nut on the bench  Butt welded  Zinc primer and some paint   |
|
|
|
Post by casesensitive on Apr 8, 2019 21:17:33 GMT
It might be a good idea to sweat some solder into the terminals and heat shrink over the whole joint to seal it. Your ground will be better if it has a metal to metal contact directly with the chassis, aluminium is notorious for corroding when in contact with other metals, especially when it has electricity flowing through it! Yep, that's a good idea, I'll do that. Still have loads of the solder paste. |
|
|
|
Post by casesensitive on Apr 7, 2019 22:06:07 GMT
Thanks, I had a look at that, but I'm nearly certain I binned the remainder of the focus tank years ago, so I don't think it'll work for me. |
|
|
|
Post by casesensitive on Apr 7, 2019 21:36:53 GMT
Final job for the day was to take the new Dominator 2s I picked up as indicators and bore them out to fit the not-quite H1 amber bulbs I got from Amazon US.  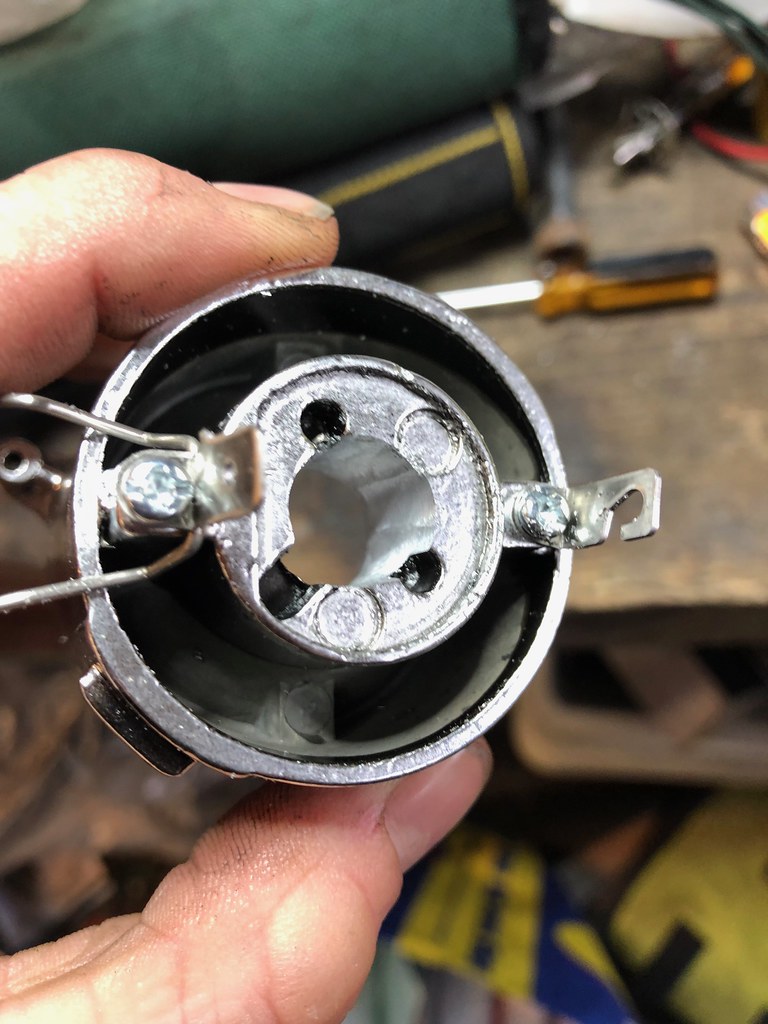 All done, now to make some sort of pod for them to all sit in. 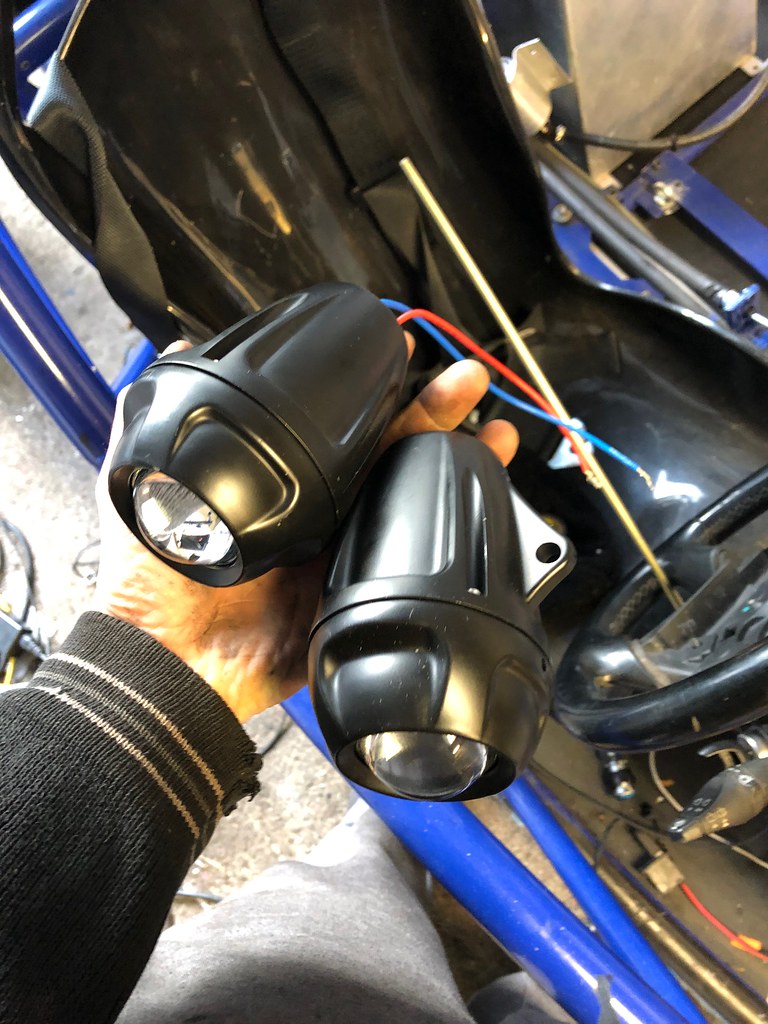 |
|
|
|
Post by casesensitive on Apr 7, 2019 21:33:15 GMT
I moved my battery forward but I haven't been able to start the car without a jump box since, so it looks like the '800A' jump cable from Aldi was garbage, once I stripped off the thick plastic, there was about 25-30A wire inside. Quell surprise... Down I popped to the local motor factor and bought 3m of red 300A cable of 12mm cross sectional diameter, bloody heavy stuff, massive bend radius, definitely not going to be the weak link. Bought these giant crimp-on connectors too. I didn't have crumping and used the edge of the vice for the first of 4.  The next three were done with a punch and giant hammer, which is definitely better.  Live was made ground with lots of the biggest shrink tubing I had   A decent bit of corrosion had built up on the inner front firewall where I've earthed my battery, I suppose this is to be expected. I will probably cover this in grease of some sort. |
|
|
|
Post by casesensitive on Apr 7, 2019 21:24:42 GMT
Before I get to the excellent replies on the fuel tank thing, I better finish off my intake, which is now mostly leak free. I think. Old stuff got a good clean, 600 grit rub down, wipe down with acetone.   All paper gasket was removed  I tried a thin bead, but ultimately it leaked, so I started again with a very thick one, which sealed but was a bit spilly, requiring a lot of clean up.  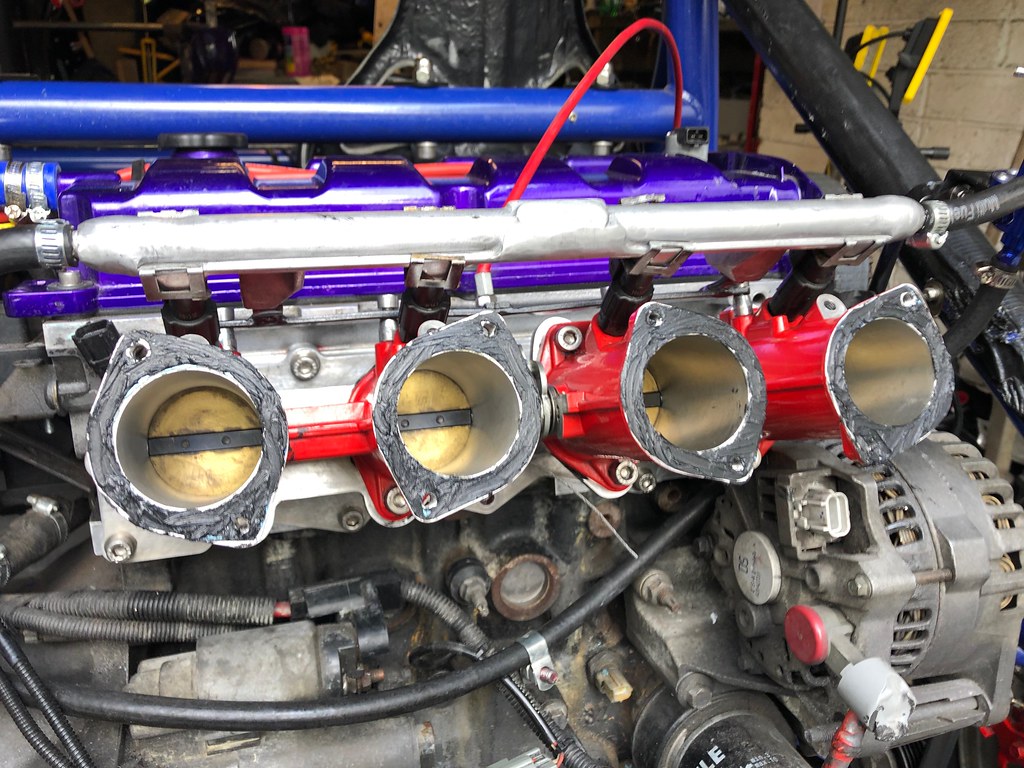 Even these perfectly well gasket-ed ones got an extra ring. 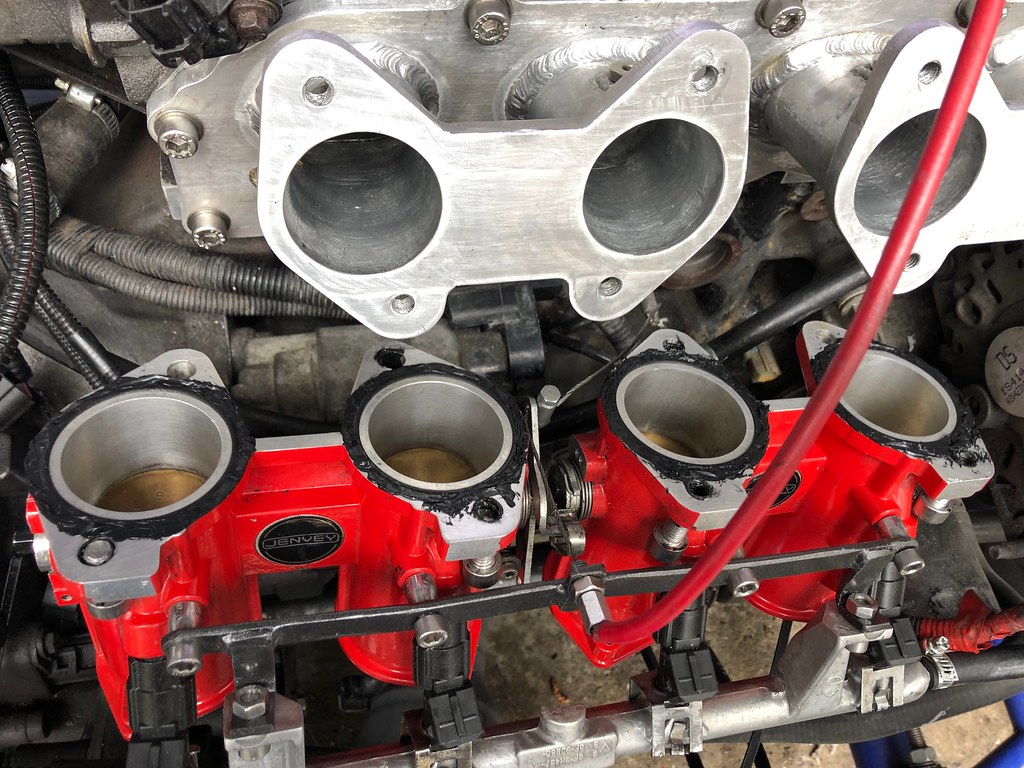 squished and excess cleaned off at very stage. 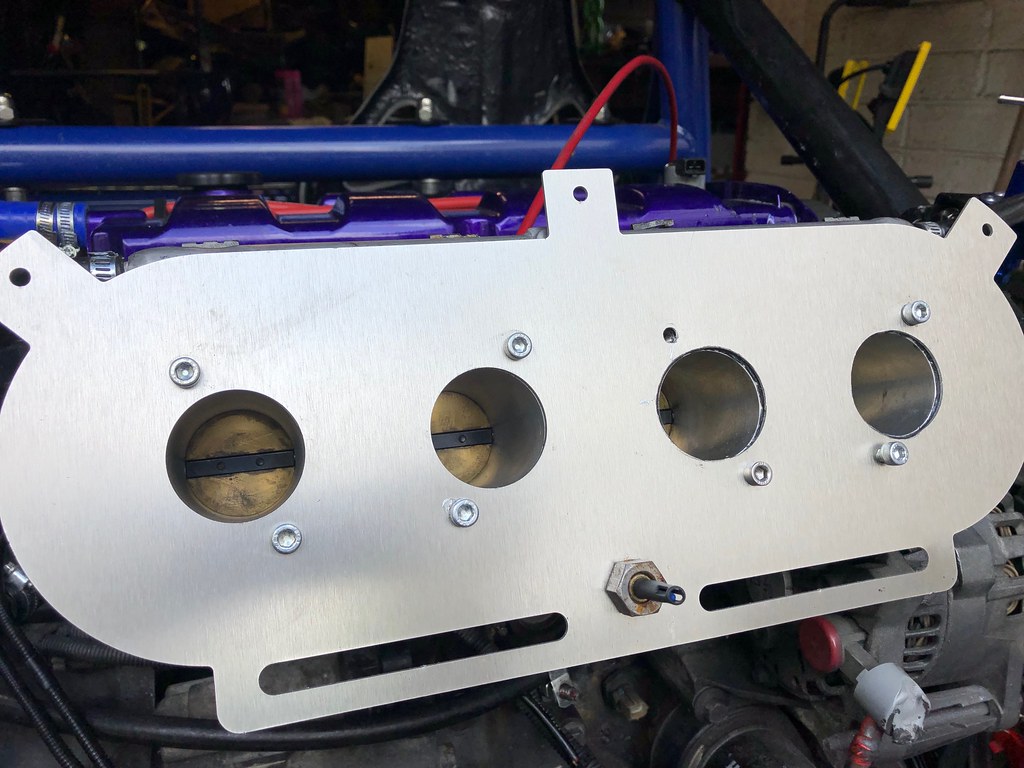 I went through a lot of kitchen roll, and at least 1l of acetone, which I put in a €3 sprayer from Lidl.  |
|
|
|
Post by casesensitive on Apr 5, 2019 13:50:26 GMT
Wasn't happy with the sealant gunk, so I set about installing M4 rivnuts in the tank lid. It didn't go stellarly. 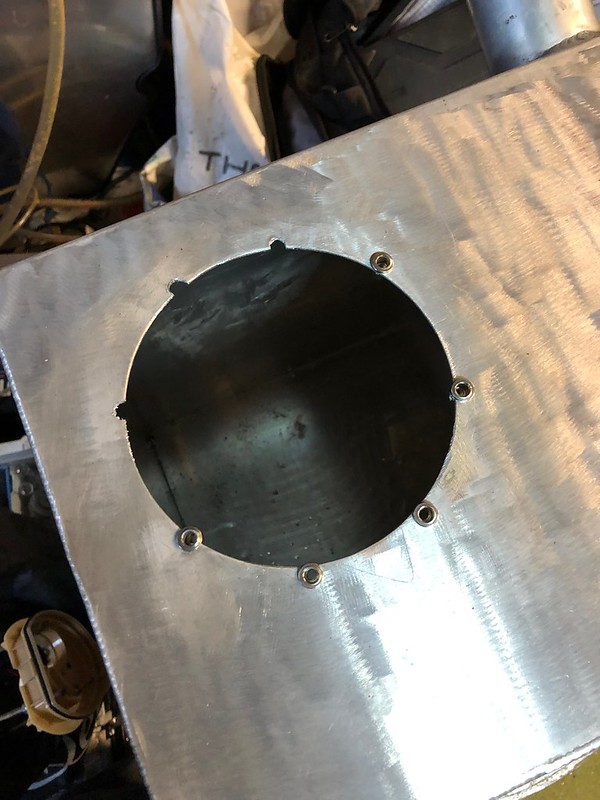 I tried doing an edge build up, or even tacking the rivuts to the aluminium sheet on a piece of scrap, and it just turned to mush. I hate aluminium sometimes. I'll more than likely have to use fuel-proof sealant again, but I think I'll wait till I'm all done. Posted over on Rob's build about this, he and Mr Mills weighed in add a large alloy washer cut from 3 mm and seam weld, then you can drill and tap to sit the pump body flush rather than on top of the rivnut shoulders. Cut out a plate and put a hole in it slightly oversize, presumably this is the 0.5mm you were referring to. Then drill, tap and countersink this plate to suit the pump. Screw in countersunk screws and seal the heads, a) to stop any fumes escaping up the threads b) to ensure they don't come loose. Ideally you would weld the heads over but not sure if this can be done easily. Weld that plate to the tank with the screws sticking up (heads to the tank). Drop on the pump with a large o'ring under it. Cut another ring of aluminium and drill a set of clearance holes in it. You can now clamp down the pump and ensure no leaks but be able to remove the pump at any time, you won't require any sealant either. Alternatively if you do stick to rivnuts do ensure you use blinds ones as open ones will be a pig to seal. I'm not sure I 100% understood Rob's suggestion, but here's my first draft of a solution, based mostly on Stiggy which my febrile brain computed gooder, but with elements of kiwicanfly 's.  The top 'clamping ring' isn't something I can actually make, because I don't have a mill. I could try using/ruining my drillpress but I doubt I can pull it off. Drill out existing rivnuts, leaving a ~7mm hole in the tank. Make, from 3mm plate, a square piece with a hole in the centre that exactly matches the edge of the fuel sender, not 1.0mm wider, this should leave just enough material to host M4 screws pointy-end-up without going through the edge. The heads would hopefully seat nicely in the 7mm holes in the tank. Obviously they'd fall through as these holes would have to be drilled through, not tapped, so the currently-tapped m4 holes in the fuel sender would be drilled smooth to 4mm, and the upturned screws then clamped down with a washer and an m4 nut protruding from the plastic sender. Somewhere, I need a rubber o-ring or gasket, probably between new 3mm plate and sender. Once everything is confirmed fitting, I sacrifice a number 10 socket to the TIG gods and seam weld the plate to the tank. Any chance any of that actually happens and works?? |
|
|
|
Post by casesensitive on Apr 5, 2019 13:00:16 GMT
add a large alloy washer cut from 3 mm and seam weld, then you can drill and tap to sit the pump body flush rather than on top of the rivnut shoulders. This and Rob's suggestion between them should give me what I need to get this right, might take some thinking but. Rather than order online and not have it for this weekend, I googled metal fab shops, and called the first likely sounding one. He didn't have any offcuts of ally, but he gave me another number, and they did, and what's more, not only did they let me root around for what I needed, they wouldn't take money for it. What a lovely bunch. I'll bring the Rocket round and give them a spin what it's done. 460x450x3.3, 600x150x6 aluminium, nice one B and C Fabrications.  edit: I probably should post on my own thread... |
|
|
|
Post by casesensitive on Mar 27, 2019 8:32:16 GMT
I *think* both jack and kiwicanfly have modeled the chassis in Solidworks, simulating the various parts to breaking point. |
|
|
|
Post by casesensitive on Mar 25, 2019 14:40:37 GMT
|
|
|
|
Post by casesensitive on Mar 25, 2019 14:19:24 GMT
mabbs got 308bhp or so out of his, that's the most of any Rocket I'm aware of, he might be the man to ask. Or you could read his extensive build and see if he did upgrade the suspension.
|
|
|
|
Post by casesensitive on Mar 25, 2019 11:08:39 GMT
Spot on carlyd in fact whilst double checking the insulation properties of pure water I discovered there is ultra pure water where you take pure water and polish it! At first, I assumed this was a 'strippy paint' thing, but what I don't know could just about fit in the Grand Canyon, so I'm biting; what? |
|
|
|
Post by casesensitive on Mar 25, 2019 10:20:07 GMT
Leak located with trusty WD40 Paper gasket possible got too squashed due to too much tightening 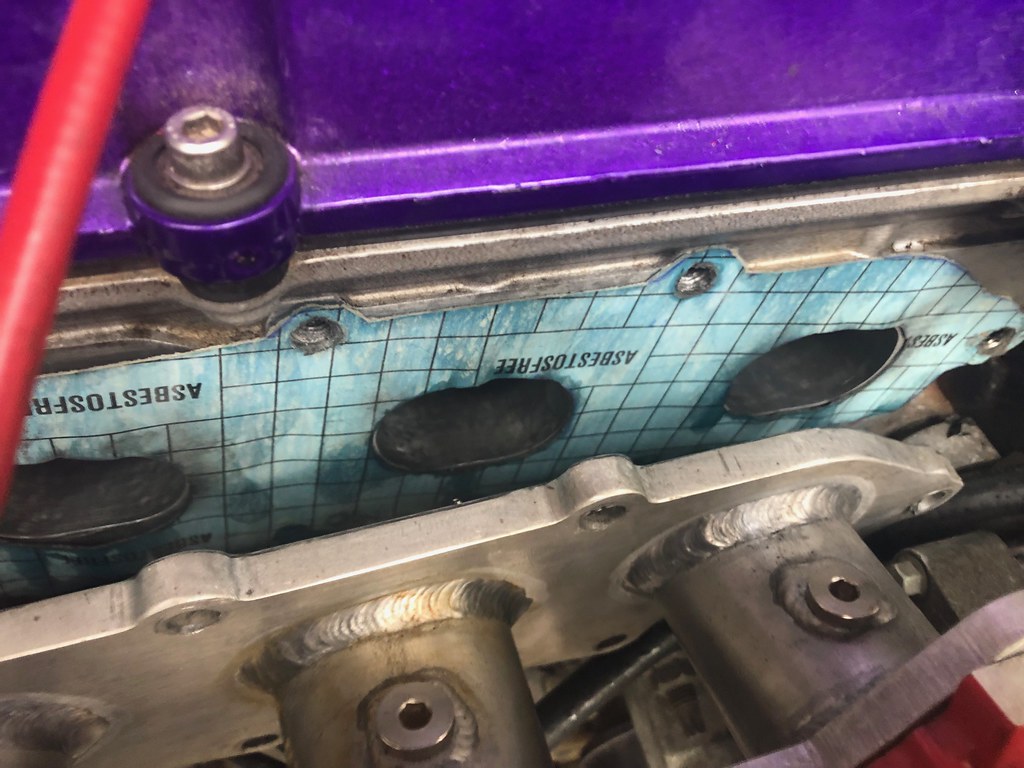 So I cleaned up the surfaces (I used spray glue to apply it) 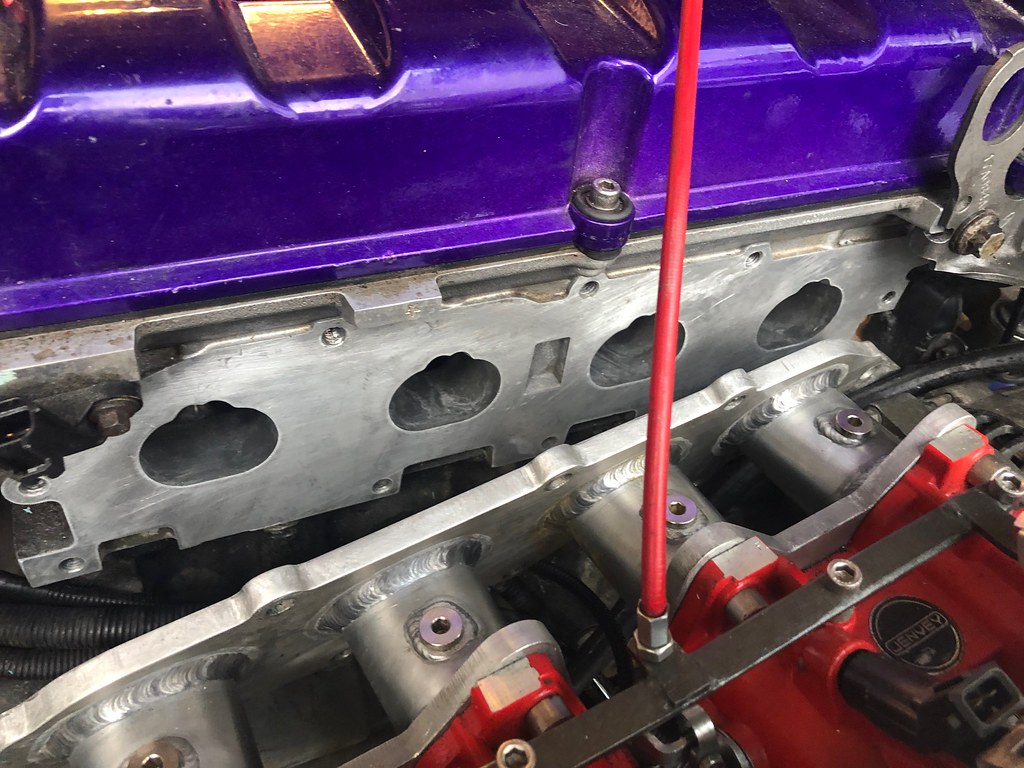 I ordered some proper gasket maker from Amazon, but I wanted to hear it go, so I temporarily substituted in some red rubber grease 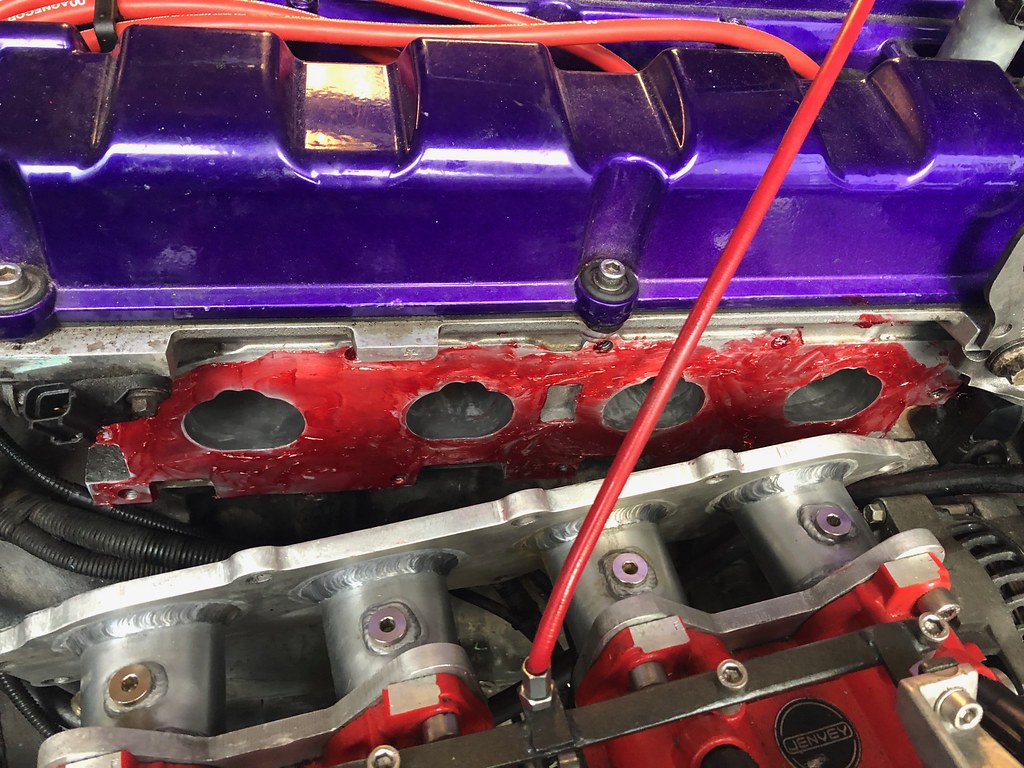 which worked much better and on one of its last days in this garage, she drove forwards and back, stopped on a firm pedal, held an idle between 1,500 and 2,000 (still more gaskets to be replaced) and didn't spit coolant everywhere. A good day at the garage all 'round. |
|
|
|
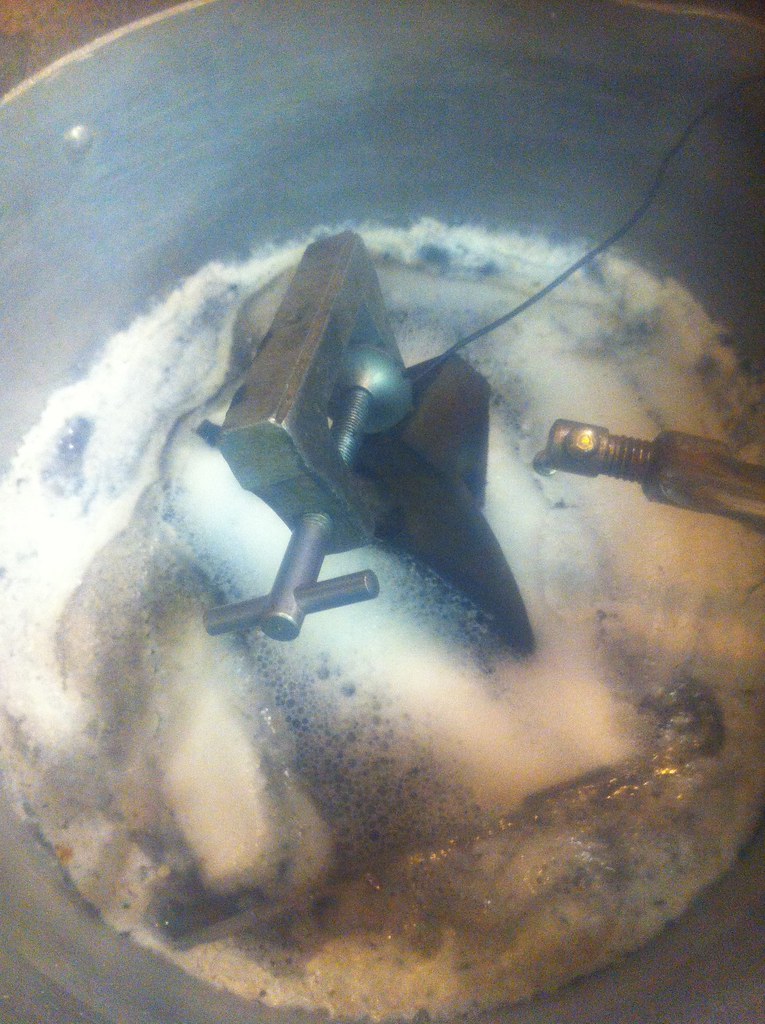
Post by casesensitive on Mar 21, 2019 23:47:47 GMT
I made an electrolysis bath out of an old pot, a laptop charger and washing powder, probably safer! Water and Electricity probably safer?  Rob got there first but water doesn’t conduct electricity, which is why you need the washing powder. Worked well, if pretty slowly, progress was an overnight thing rather than visible during a work day. Got a sandblaster recently, that’s going to be the way to go |
|
|
|
Post by casesensitive on Mar 20, 2019 11:09:44 GMT
|
|