|
|
Post by jason82 on Jul 4, 2018 13:03:54 GMT
Loving the super fast progress ! really good work, I am watching closely for when you fit your fly screens as I don't see many threads about that on here. With regards to your fuel pipes being connected using the barb fittings (where the fuel lines went from solid to flexi lines) you can actually fit the pipes directly onto the fuel rail eliminating joints in the run.

I know that the picture is bad, but if you look between the branches on the inlet manifold you will see the couplers that I am referring to.
A quick idea for covering the rear tops of the shocks for Mr Iva man. This is what I am doing, bottom of a pop bottle with a hole in the middle, nut, then nut caps. Costs are pretty minimum & it doesn't look too bad. Cant remember whose thread I poached this off, every time I see something I like, I download the picture for later ! 

With reference to the mirrors, I believe that the mirror lens needs to be slightly convex to give a wider vision as flat glass wont pass the iva due to vision restrictions.
On an observational note, not picking holes I promise ! your lower rear wishbones, on the subframe end are really close to the floor. Is this an optical illusion ? or is your car seriously low ? Just thinking out loud about ground clearance etc. All of the uk cars have the drooped wishbone effect on the rears where the American cars have very flat / horizontal rear wishbones.
Keep up the good work !
|
|
|
|
Post by hammy3601 on Jul 4, 2018 21:13:36 GMT
Loving the super fast progress ! really good work, I am watching closely for when you fit your fly screens as I don't see many threads about that on here. With regards to your fuel pipes being connected using the barb fittings (where the fuel lines went from solid to flexi lines) you can actually fit the pipes directly onto the fuel rail eliminating joints in the run.
 I know that the picture is bad, but if you look between the branches on the inlet manifold you will see the couplers that I am referring to.
A quick idea for covering the rear tops of the shocks for Mr Iva man. This is what I am doing, bottom of a pop bottle with a hole in the middle, nut, then nut caps. Costs are pretty minimum & it doesn't look too bad. Cant remember whose thread I poached this off, every time I see something I like, I download the picture for later ! 

With reference to the mirrors, I believe that the mirror lens needs to be slightly convex to give a wider vision as flat glass wont pass the iva due to vision restrictions.
On an observational note, not picking holes I promise ! your lower rear wishbones, on the subframe end are really close to the floor. Is this an optical illusion ? or is your car seriously low ? Just thinking out loud about ground clearance etc. All of the uk cars have the drooped wishbone effect on the rears where the American cars have very flat / horizontal rear wishbones.
Keep up the good work !
Thanks Jason, fuel lines all sorted and have seen the coke bottle trick before and is in my plan for IVA. In relation to ride height, car is at 11.5 cm's floor to ground all round and not as low as others mate. Thanks for your comments/interest/input |
|
|
|
Post by hammy3601 on Jul 4, 2018 21:28:15 GMT
More bits done..... Im using the MX5 filler neck (and cap for now). The way the metal neck works it protrudes quite a lot so I made some spacers from rivnuts and bonded them to the pipe, I also bonded a couple of ali plates inside the rear cover to stop any stress on the GRP. 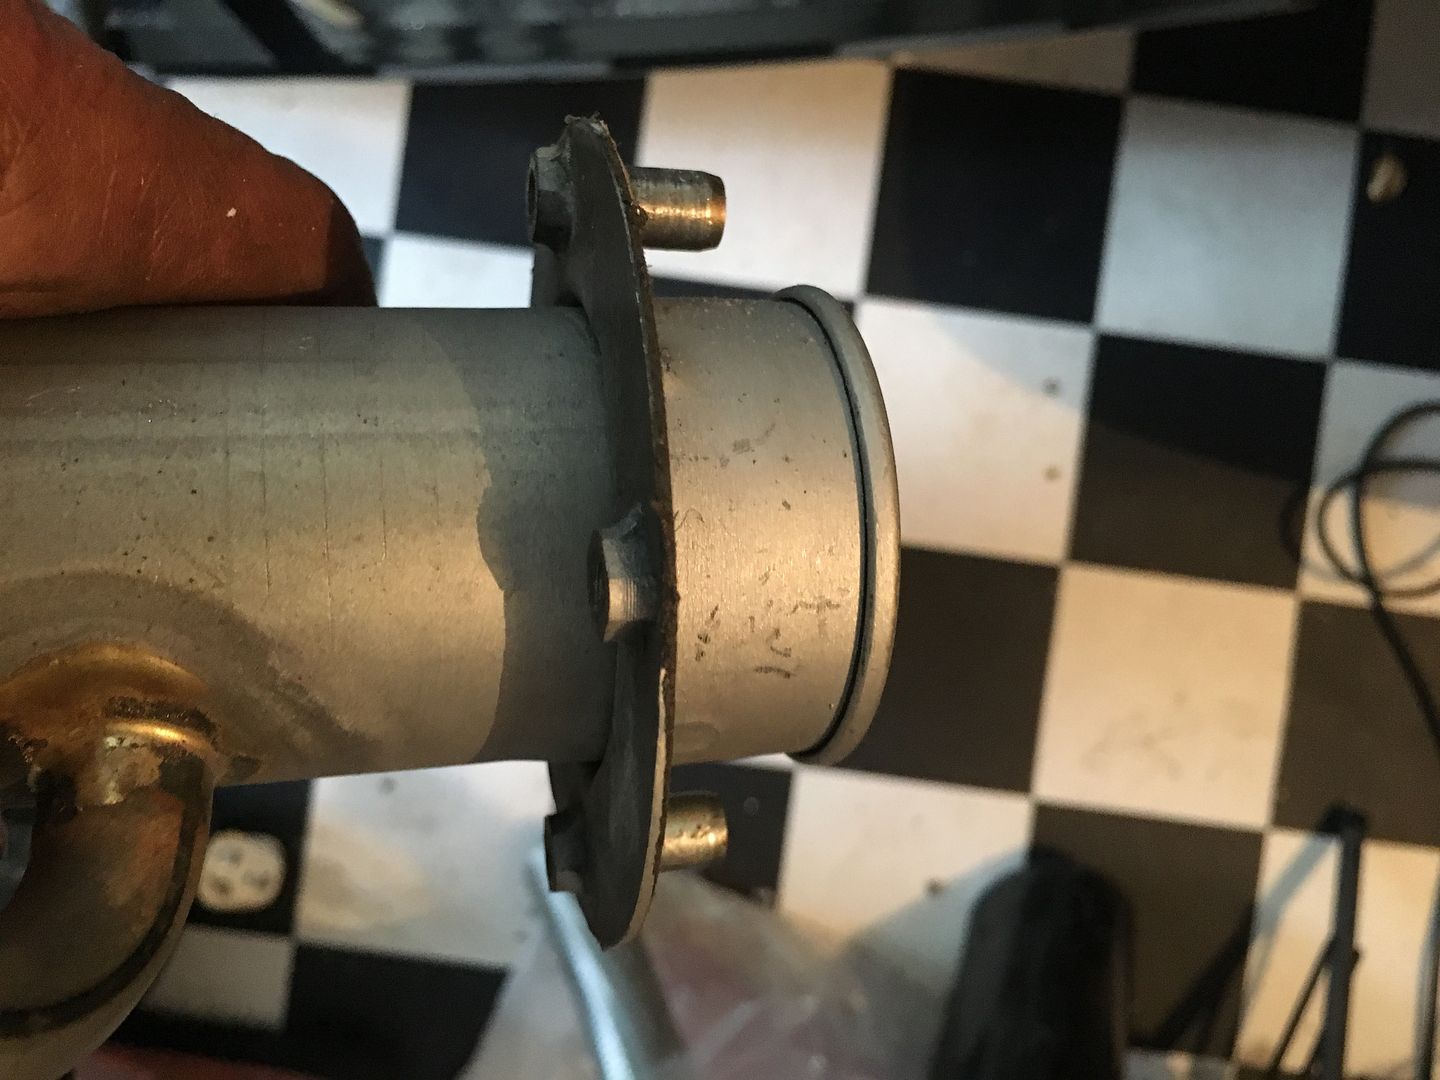 Which makes for a more flush fit... 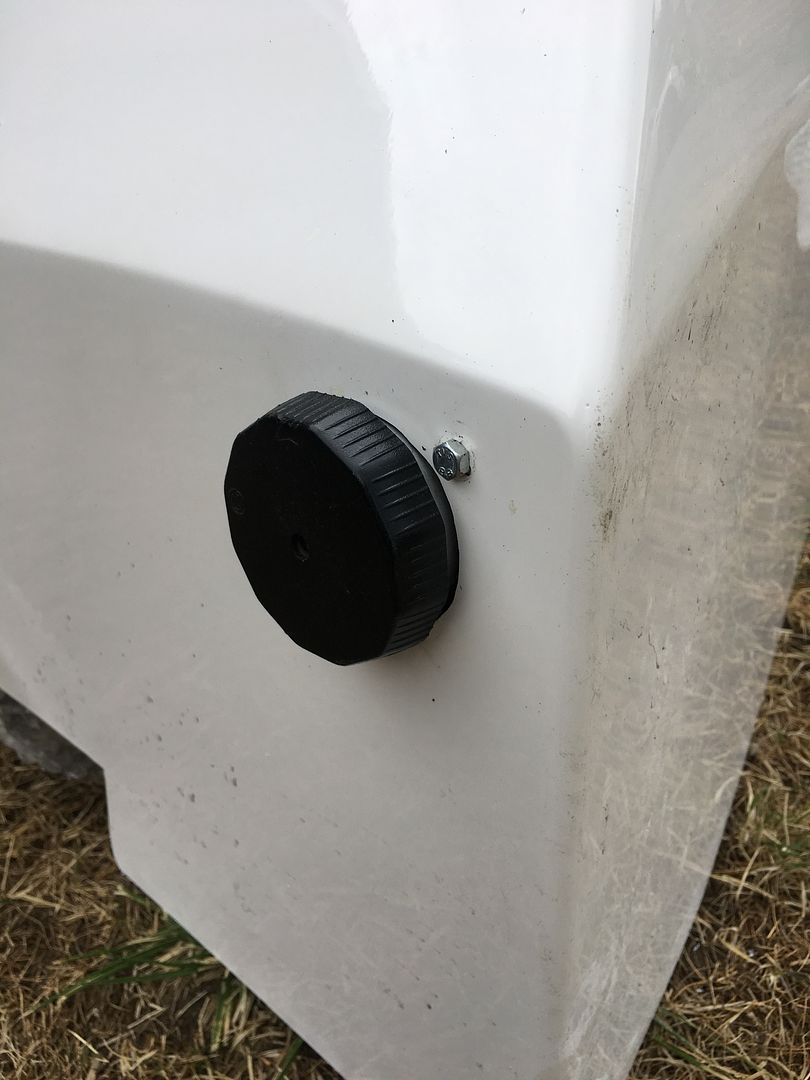 Please ignore the hex heads they will be replaced with domed allen bolts. And now on to filter and fuel lines.... Sytec HP filter mounted on the subframe.... 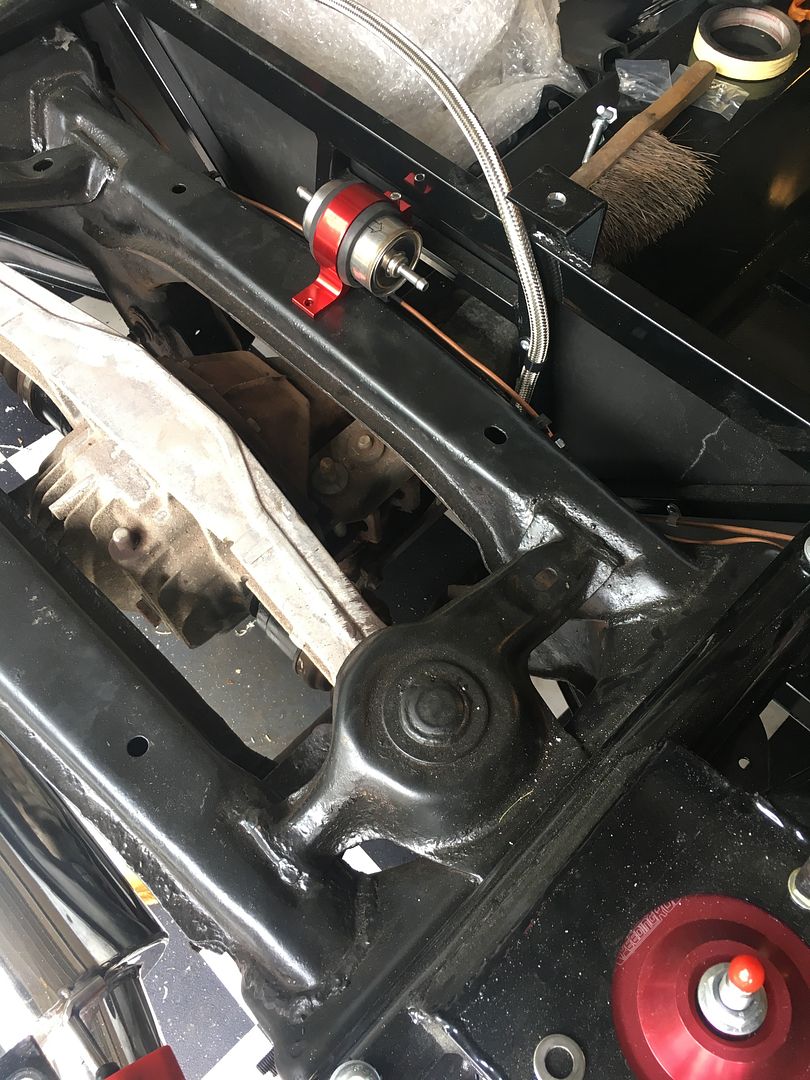 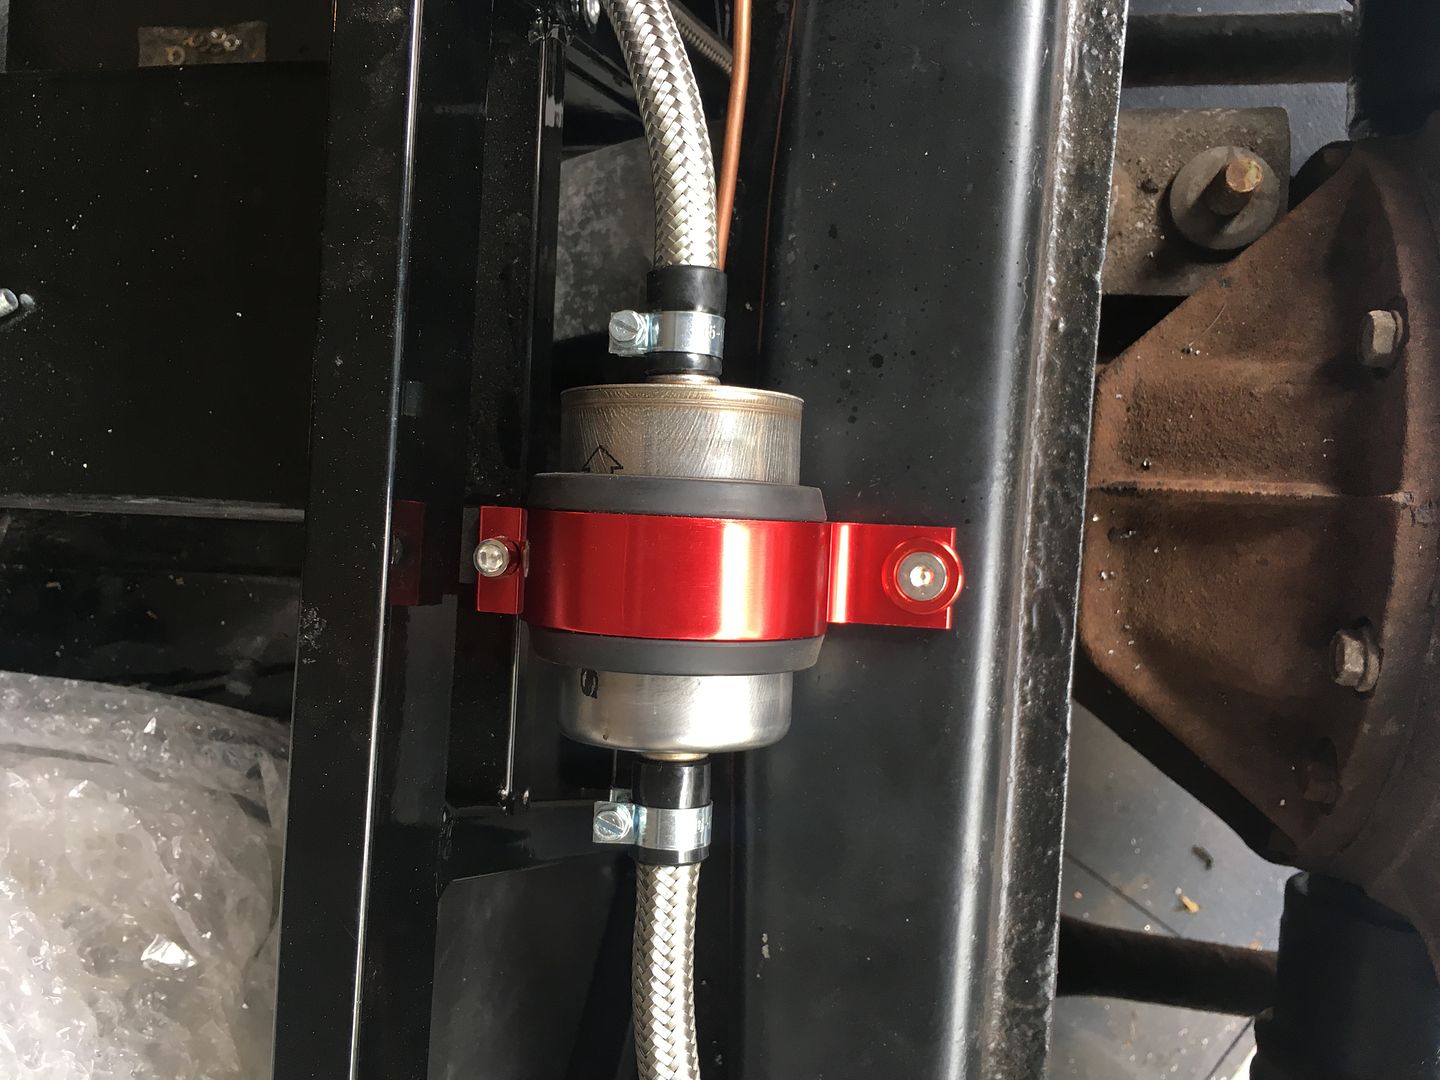 I'm running the return line in the cabin for that race car look and have used quality parts and fittings, just like on my brakes. 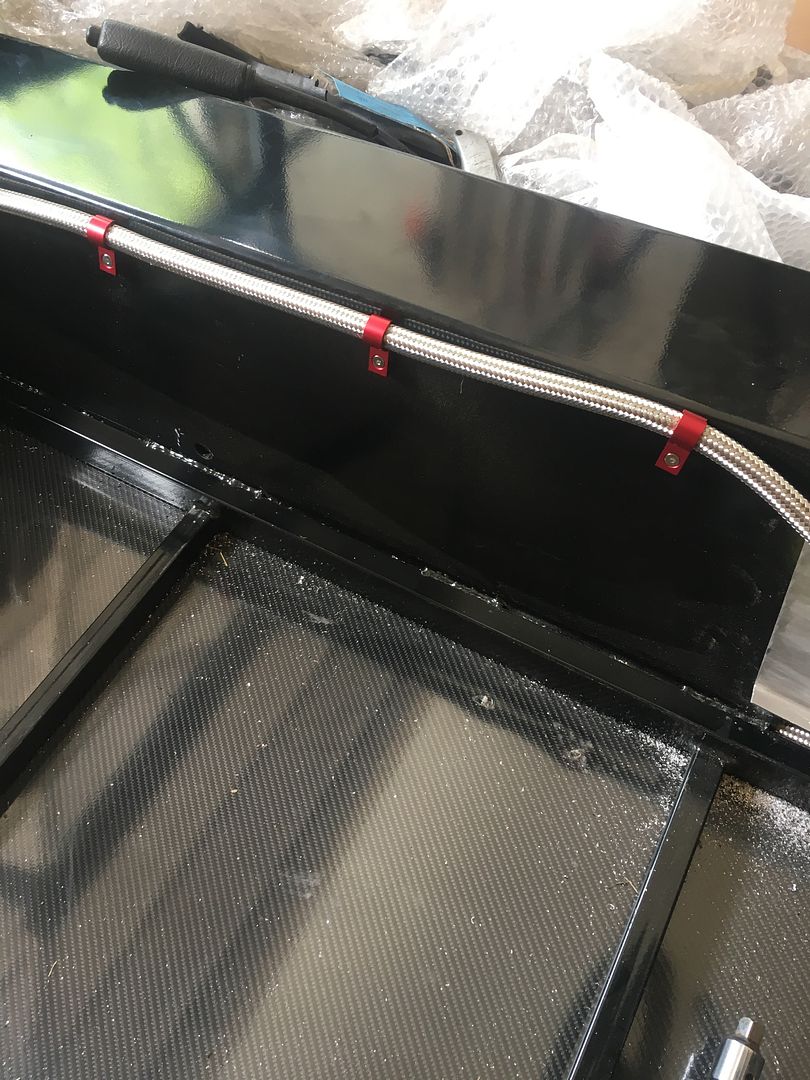 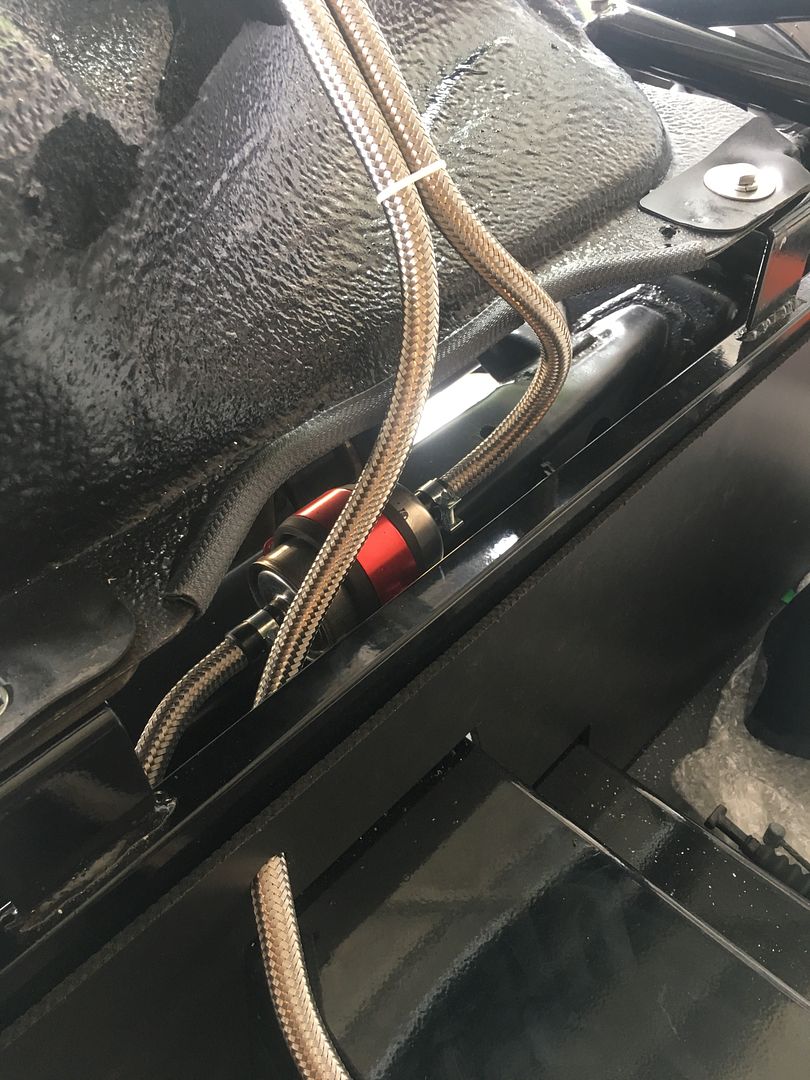 I have grommets and a bit of bling to sort the hoses going through bulkheads on the way in the post. Thats it for now, back at it with wiring on Sunday, spending time with the wife and little boy on Saturday and gaining browny points. Can't believe I only picked up the kit mid April, it's going so well (so far) but it is my 4th kit car build so lessons learned I suppose... Cheers  |
|
|
|
Post by hammy3601 on Jul 12, 2018 17:22:34 GMT
So I mentioned earlier that I wanted to crack on with the wiring ASAP, I kinda still do but have realised there are other things I can get on with first before potentially stressing myself out with electrical gremlins. So this is what Ive been up to.... £10 upgrade off ebay, looks a bit more OEM and designed in than the old screw cap, it also has a little 'eye' inside you could run a tether wire to 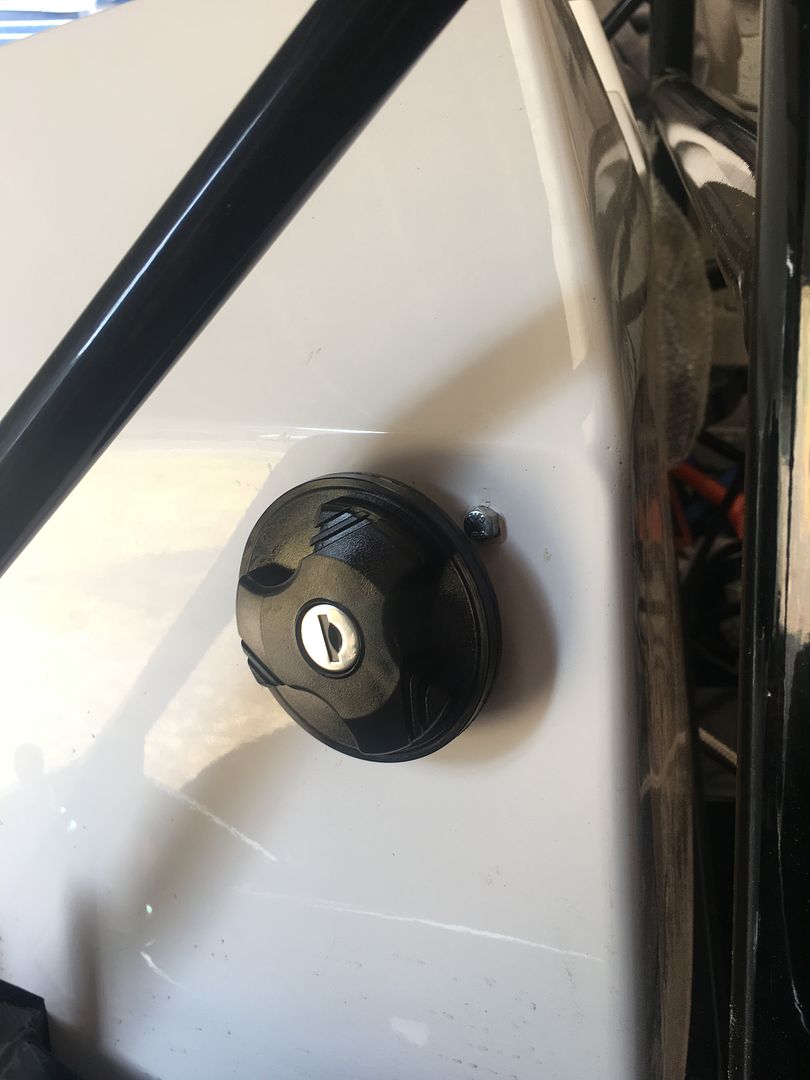 Corrosion protected discs, Mintex pads and spacers. Absolutely perfect and a real nice detail touch too 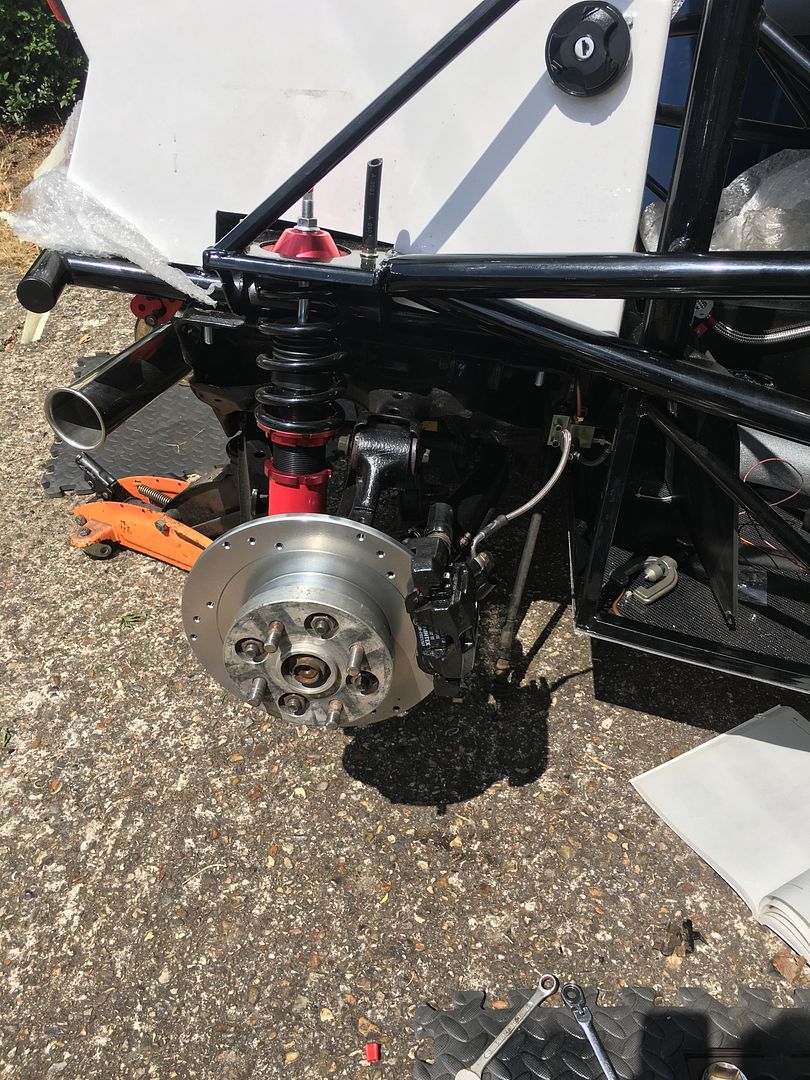 They look awesome behind my black 15" Rota Grids (ignore crappy tyres for now) 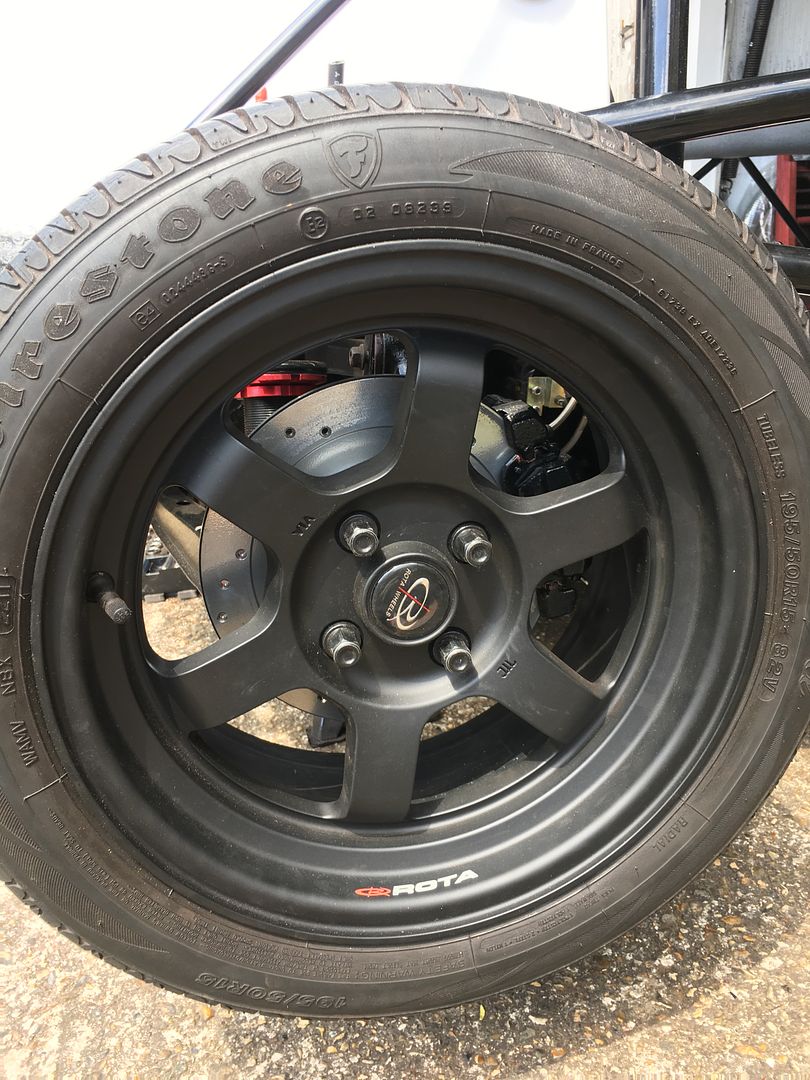 I started to make my exhaust, stainless flexi from CAT back to Mev back box, I just need to order some couplings. EDIT. DON'T DO THIS, IT CAUSED HUGE AIR LEAKS AND EMISSIONS FAIL. Later in this thread you'll see I had a custom CAT back made by Skuzzle and passed with flying colours. That said my CAT had failed and broken down between setting up the engine and getting to IVA a few months later. 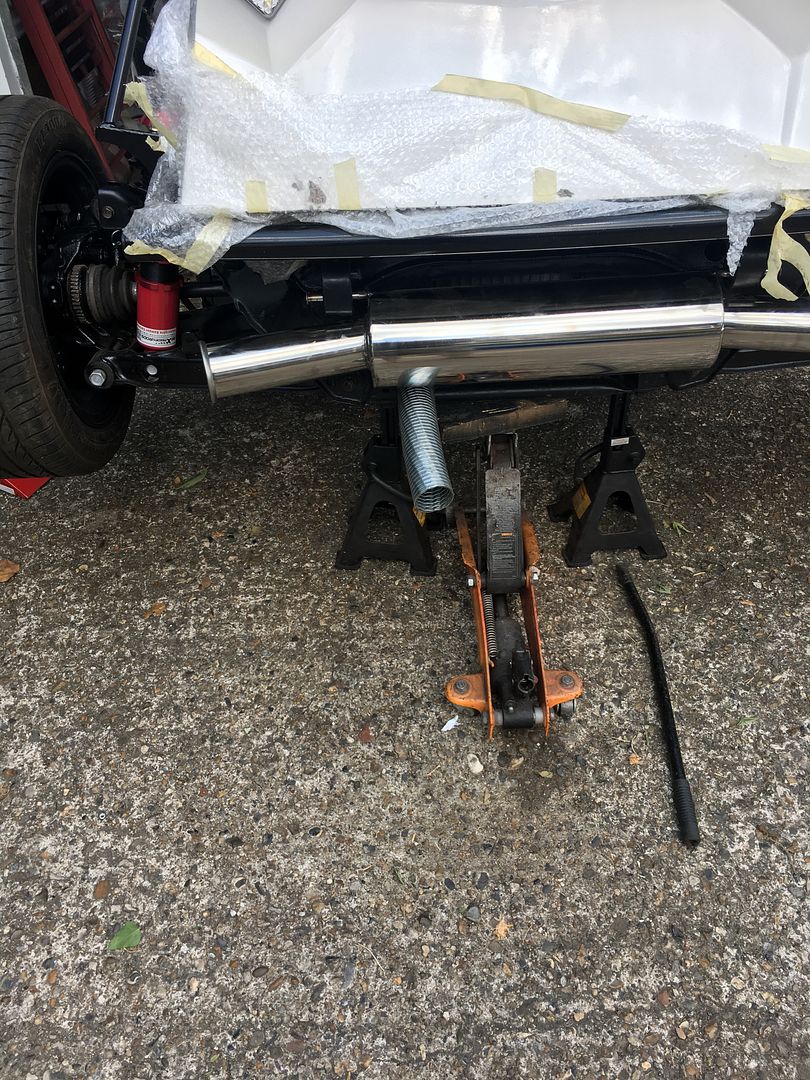 In this image you get to see the difference ET0 makes (or spacers) Wish I'd ordered ET0 when I bought my Rotas but at that time I had no kit car plans and my spacers are high quality hubcentric 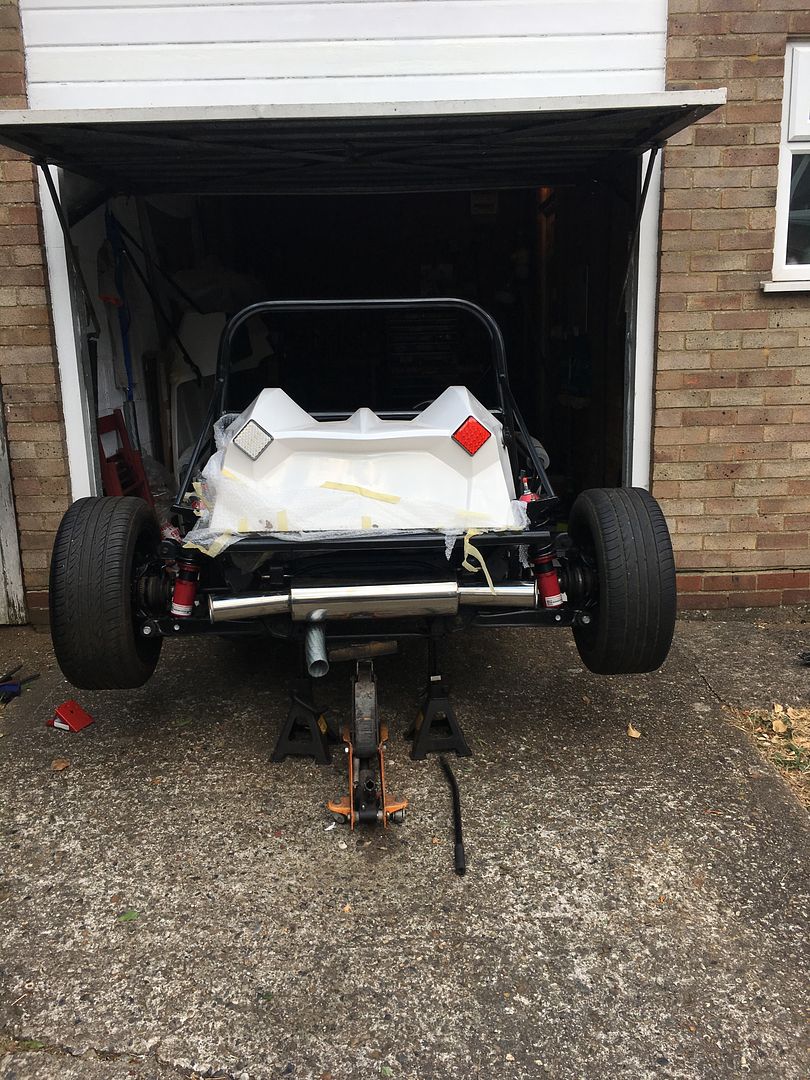 There we are for now people, still loving this build and the support on the Exocet FB pages and chat group. See you on Saturday! |
|
|
|
Post by jason82 on Jul 13, 2018 8:01:14 GMT
Fastest build ever ! Place your bets everyone, I am guessing IVA September!
|
|
|
|
Post by hammy3601 on Jul 13, 2018 11:32:21 GMT
Fastest build ever ! Place your bets everyone, I am guessing IVA September! Ha! That would be nice :-) |
|
|
|
Post by tolan660 on Jul 13, 2018 19:26:24 GMT
Looking good pal your slightly in front of me. Nice to have someone around same stage.
|
|
|
|
Post by hammy3601 on Aug 6, 2018 4:24:32 GMT
Been quite quiet for my build due to the hot weather and the lack of fans available in the shops! I managed a good weekend at this week though. Here's my progress... I got my grill fitted, I didnt use the mesh that came with the kit as I wanted something a bit more production car looking. I glued cable ties retainers with Gorilla glue 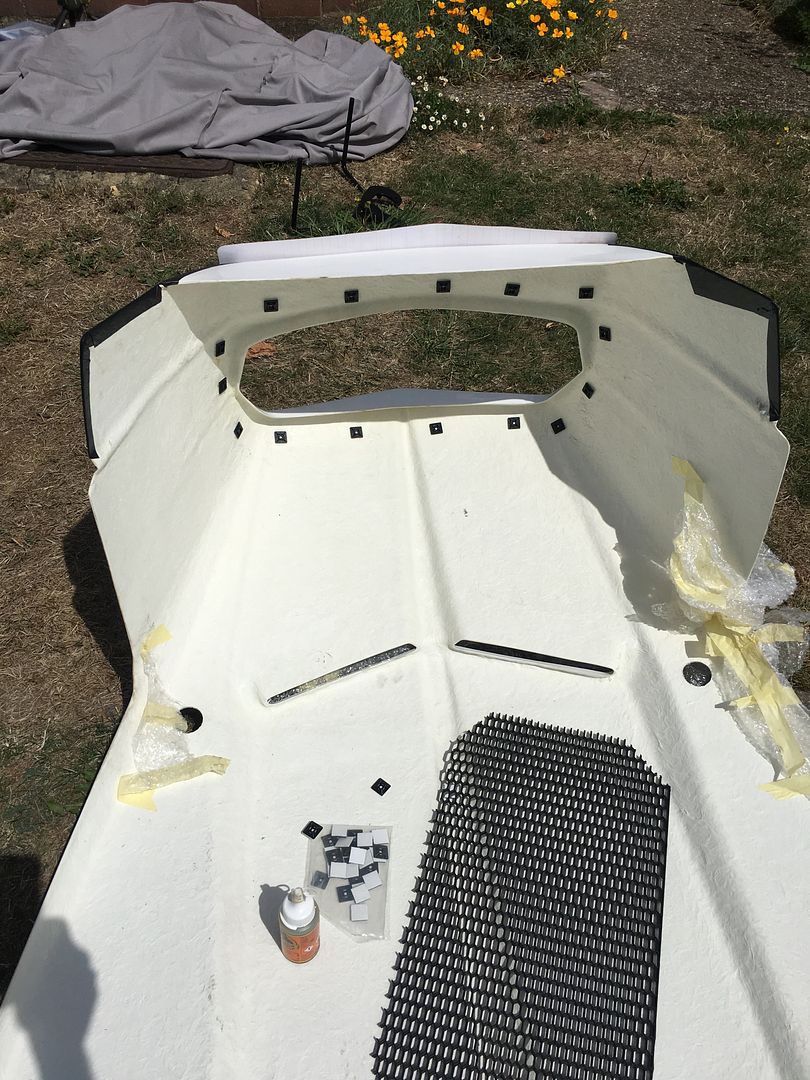 I think it looks pretty cool! 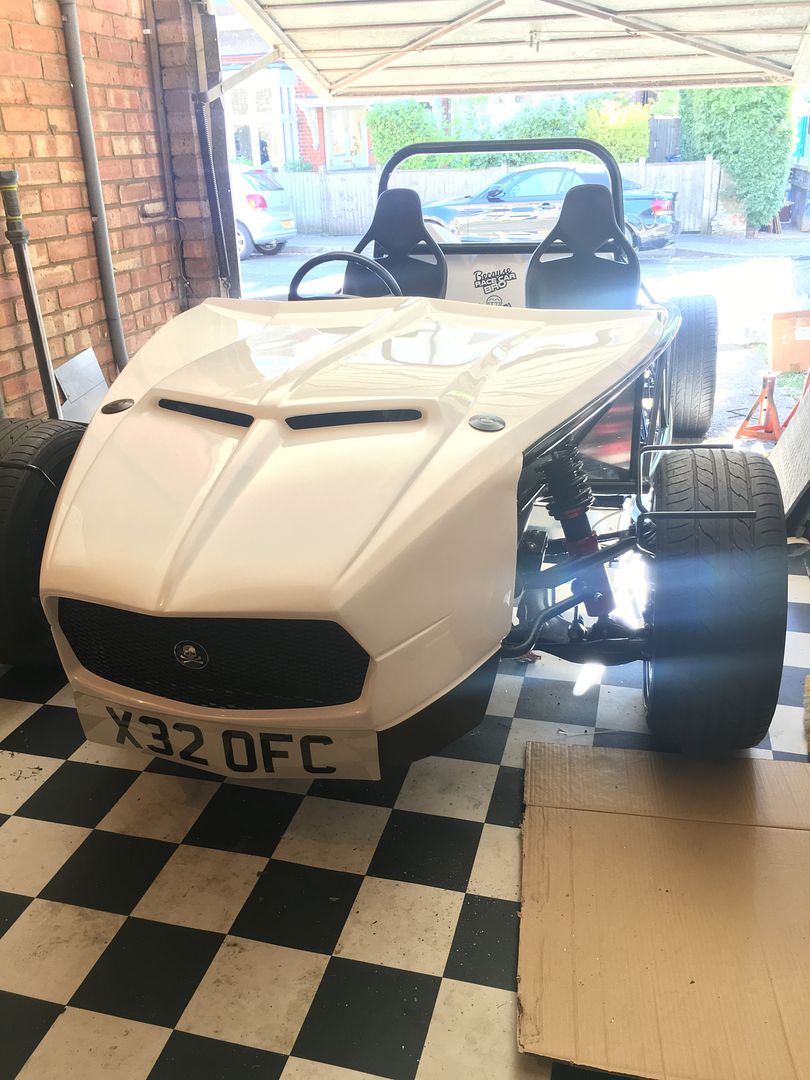 I fitted my seats which look great and go great with my satin black Rota alloys. Also the interior has the handbrake fitted, its not working yet as I need to look into how to set it up and adjust it. Google or the Haynes manual will be getting checked out! 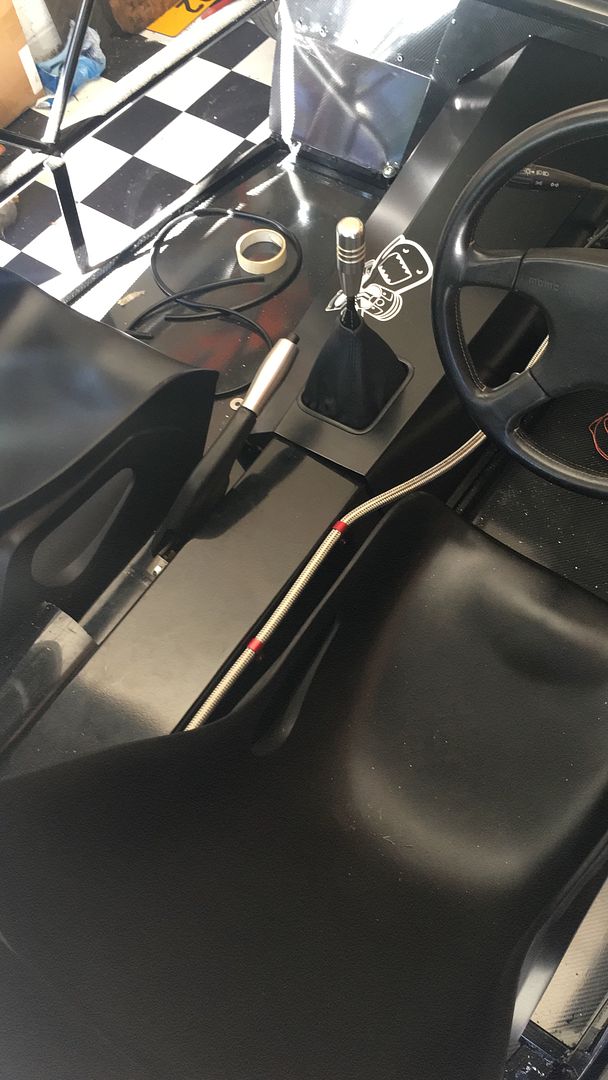 I'm going to make a cover to hide some the handbrake cabling but thats not it in this image, just in case you're wondering its just a piece of black guttering I was messing about with. 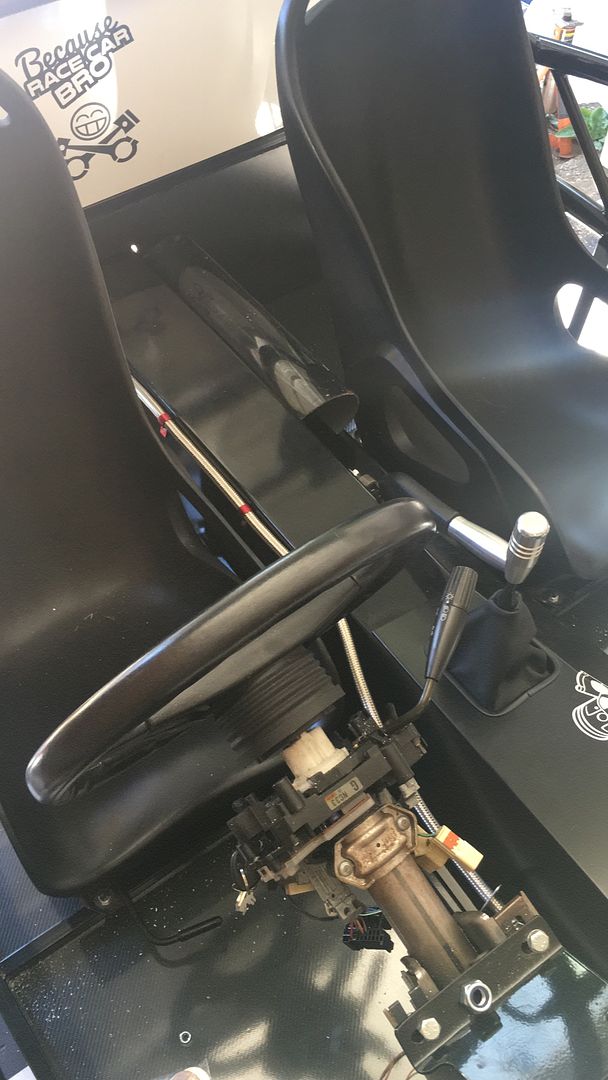 I wanted to get the rad and the bonnet fitted (test fitted for the bonnet). I managed to get the bottom of the rad back a little further by cut a small part of the tab of the bottom of the MEV brackets on the lower rad fixing point and redrilling it. Bonnet fits really well now. 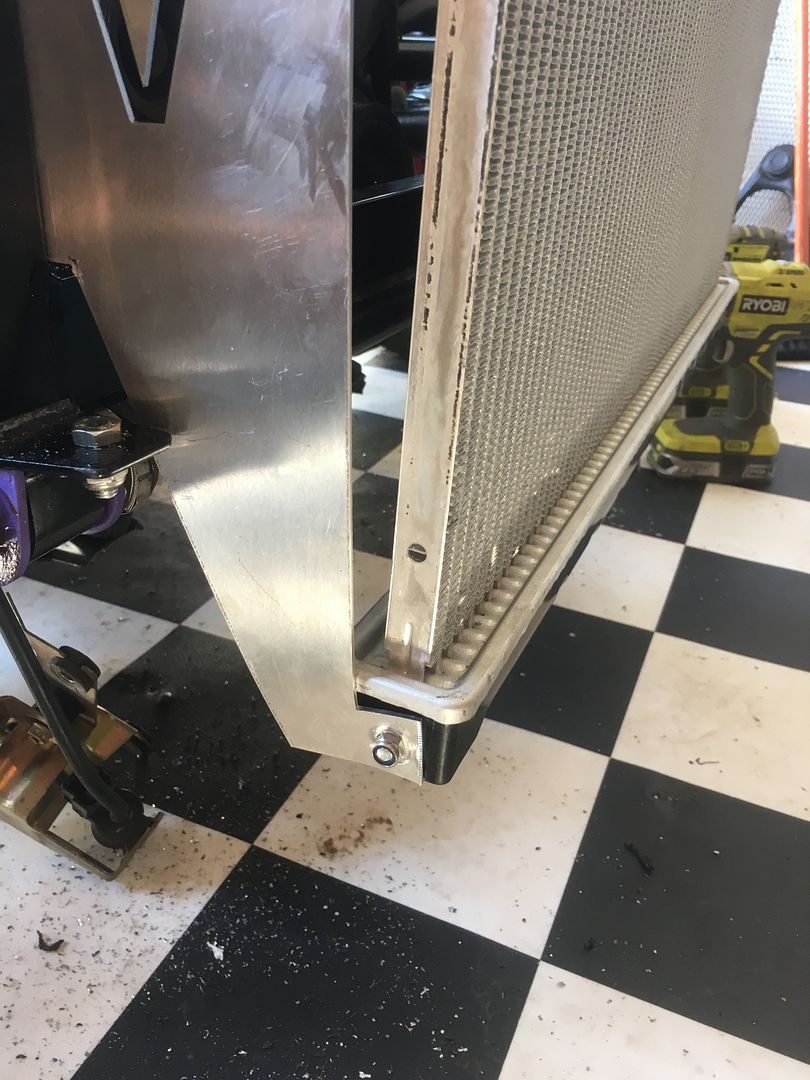 Ive made a fitted my bonnet pin brackets, two rivnuts, a piece of 2mm steel, some nice red fixings in keeping with theme and a can of Hammerite. They've been trimmed down a bit more since the photo below was taken 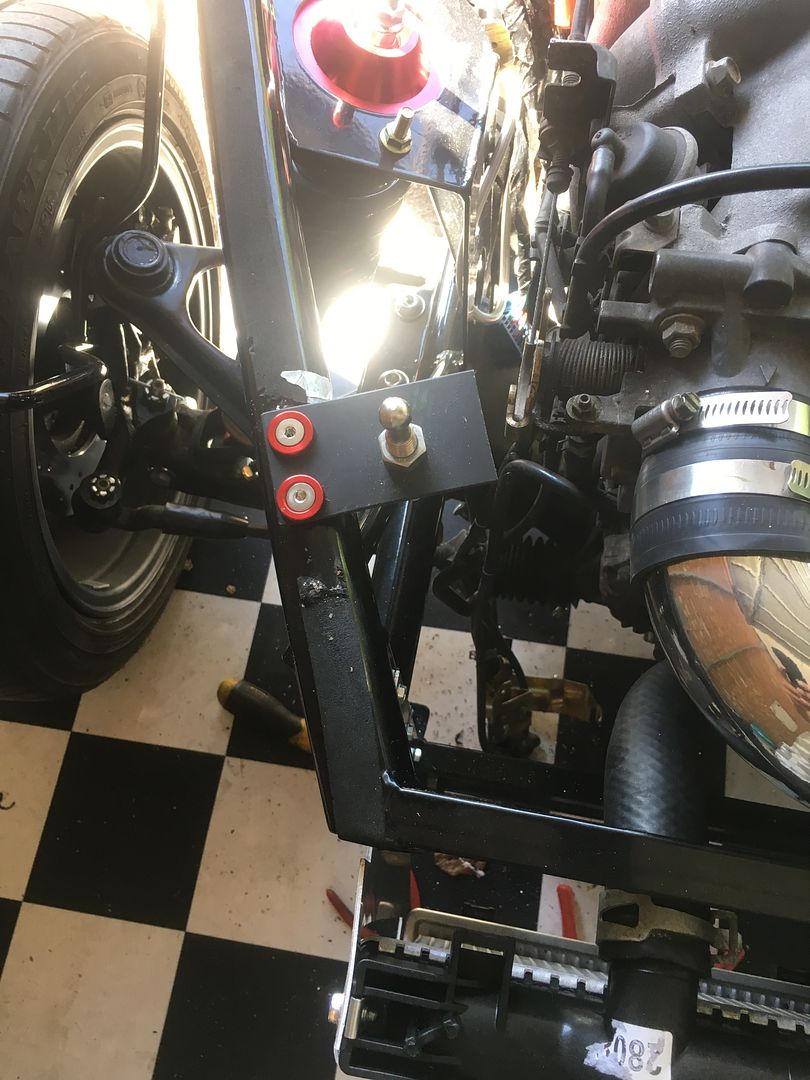 Below shows the push botton fasteners on the bonnet..... 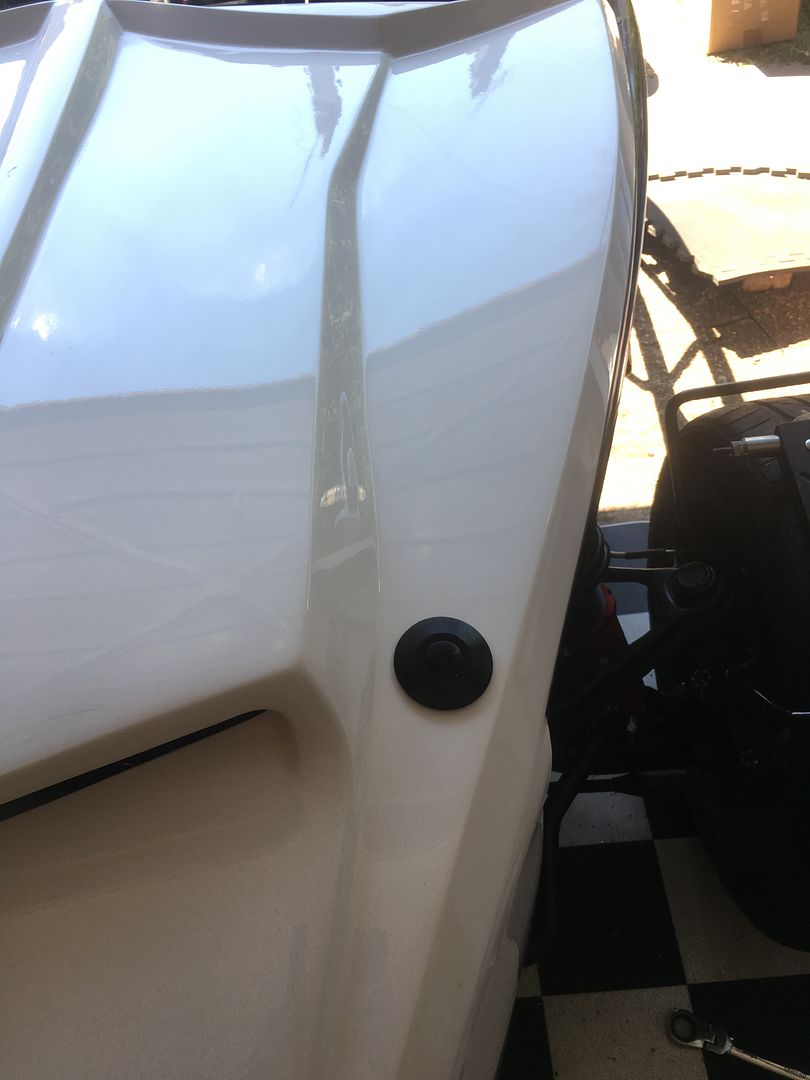 Lastly I got my horns positioned and fixed. 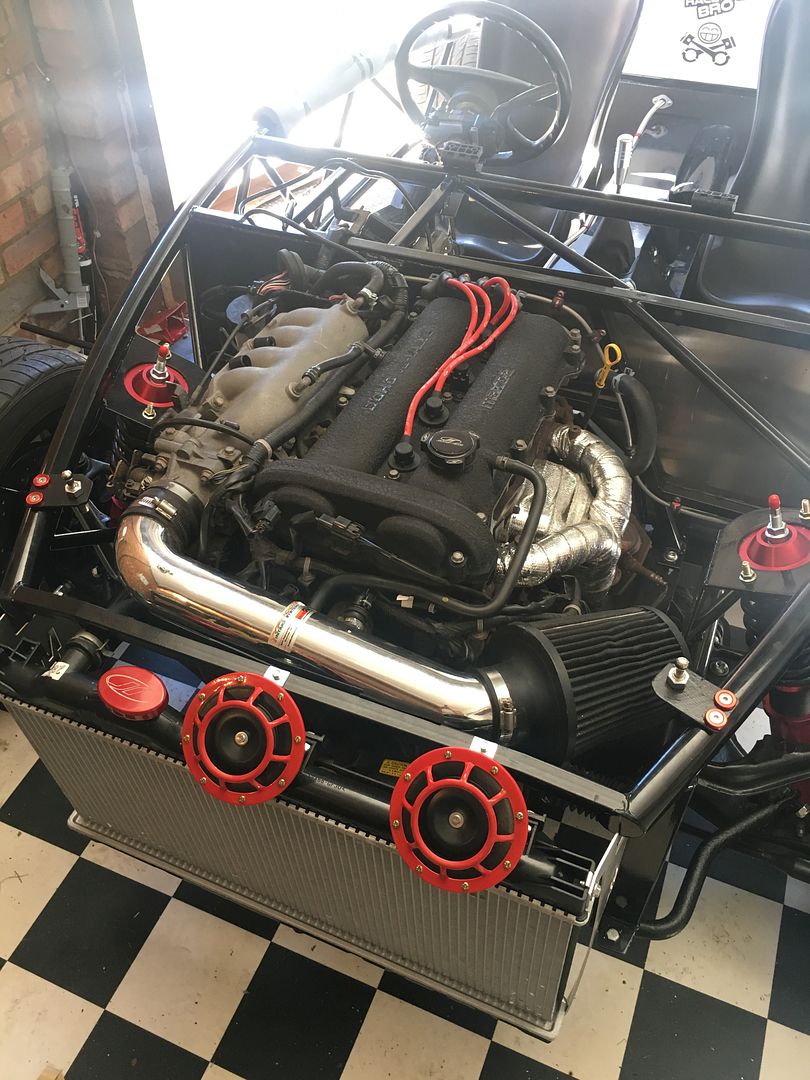 Just a couple of other random shots below... 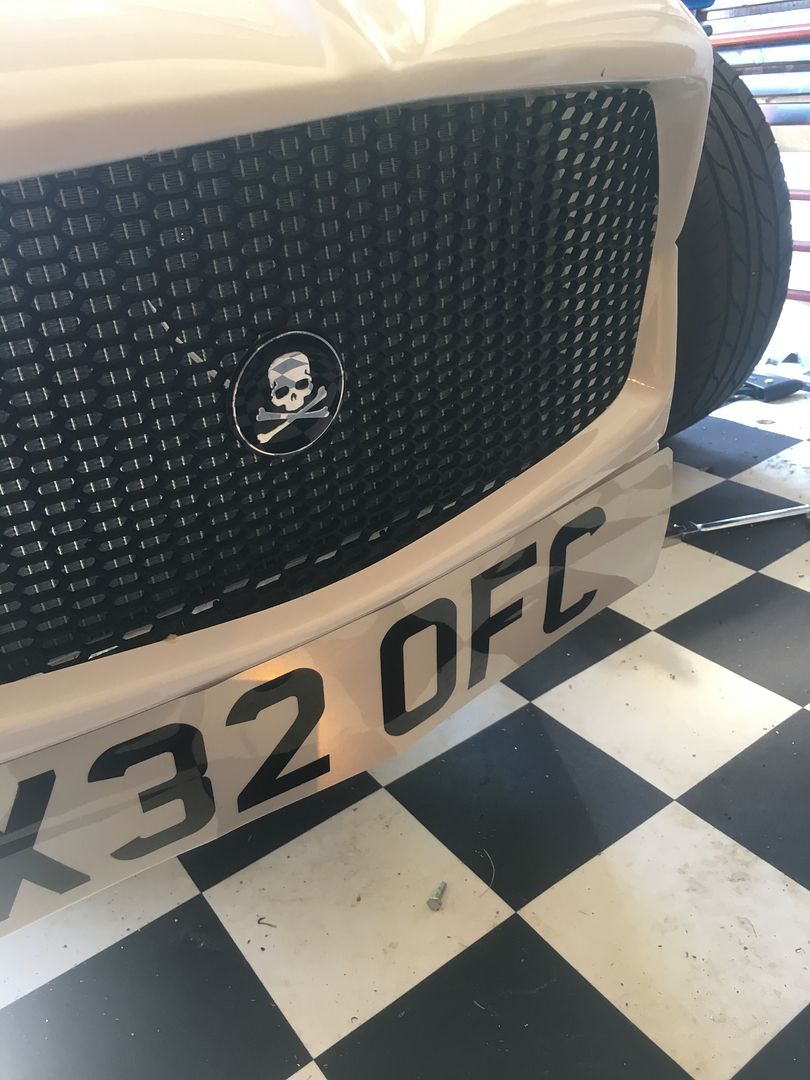 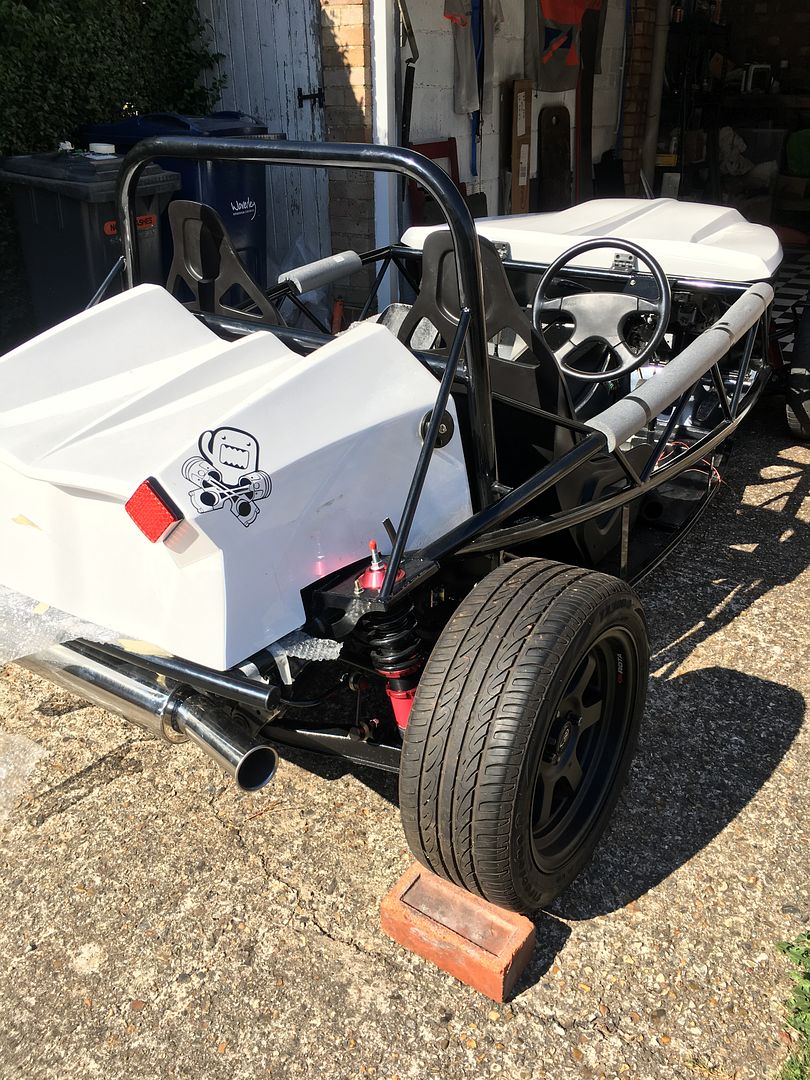  I should be back in the garage next weekend as Im free again all weekend. Cheers! |
|
|
|
Post by jason82 on Aug 6, 2018 7:11:29 GMT
Loving the progress, regards the handbrake, George (gwnmar) I think his username is, said that the rear calliper pistons are wound in and out using an Allen key. He said that you get the callipers slightly binding on the disc, then back it off quarter of a turn. It's an old thread mate, I will try & find it for you, but the rest of the adjustment is made through the cables. I hope that this helps !
|
|
|
|
Post by hammy3601 on Aug 13, 2018 9:04:31 GMT
So Ive now finished my exhaust, have a working hand brake and bled and working brakes. I also reworked my rear braided hoses and am running braided through out the whole car now. 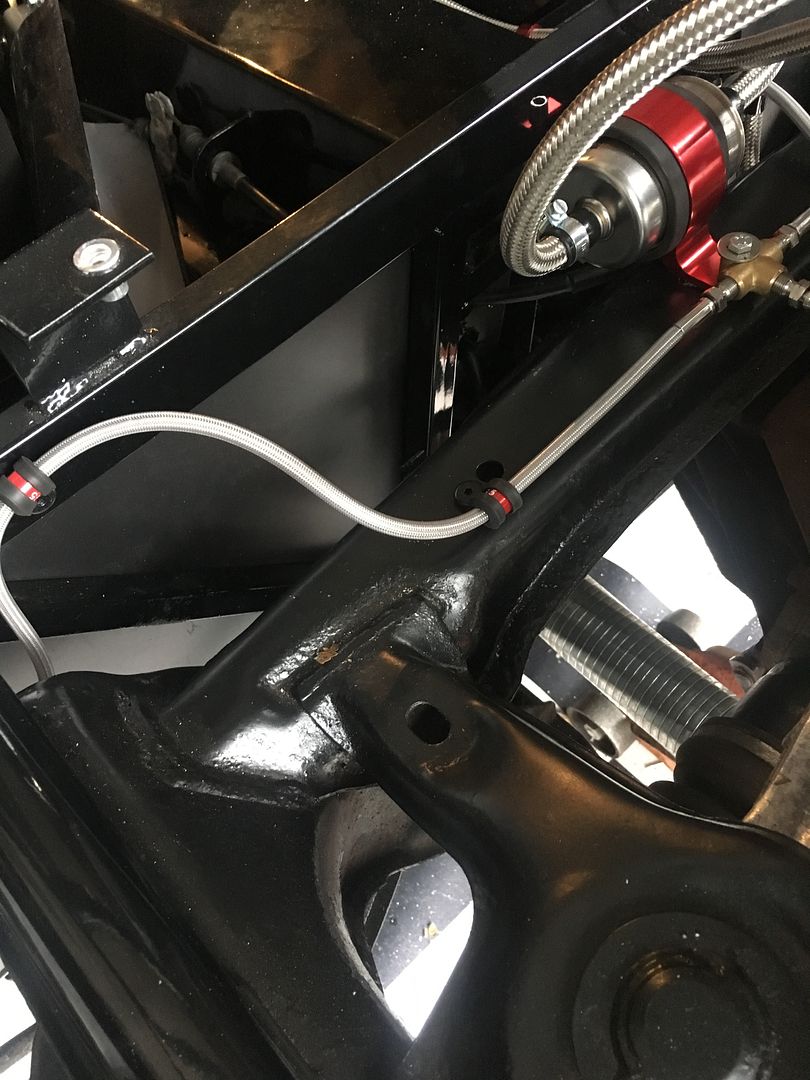 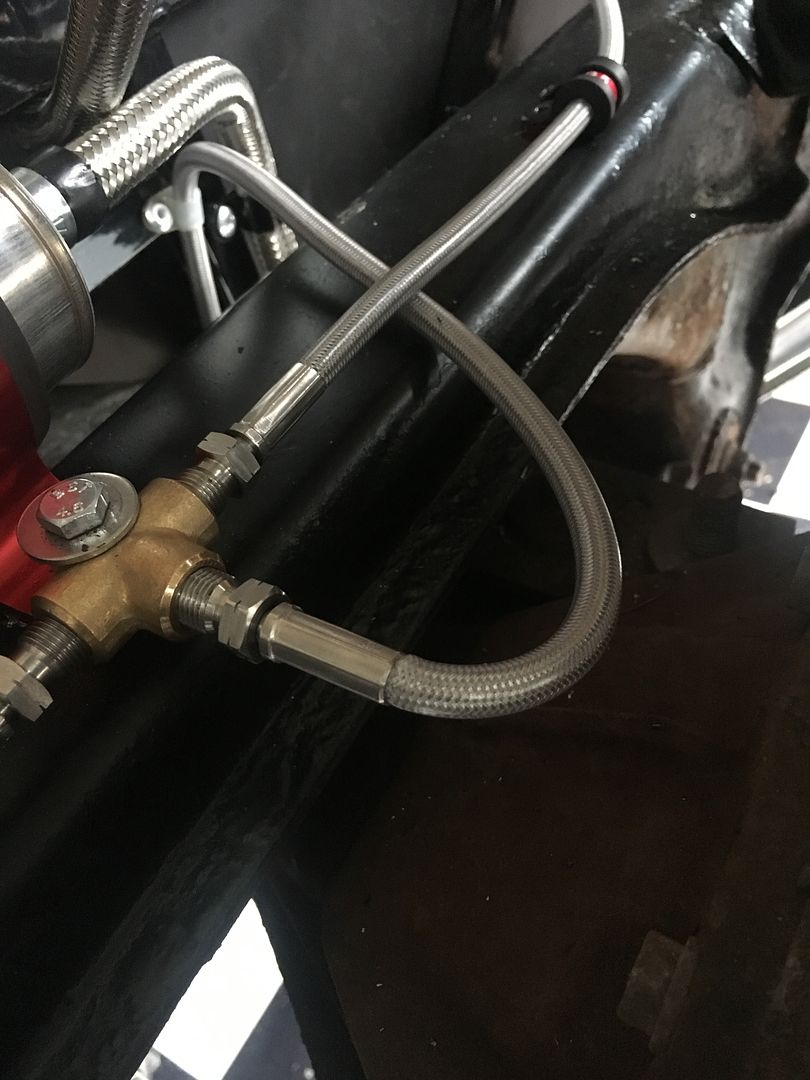 Ive also started mocking up a mount for my Acewell dash... 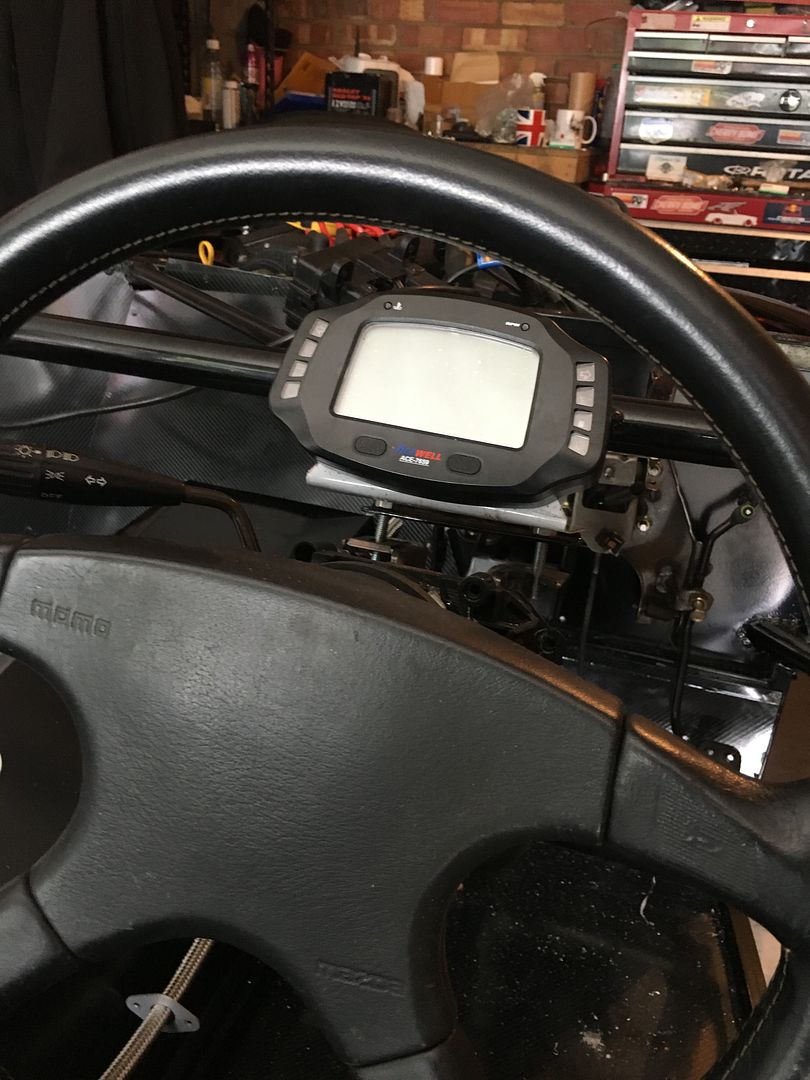 Its just a rough mock up for the moment 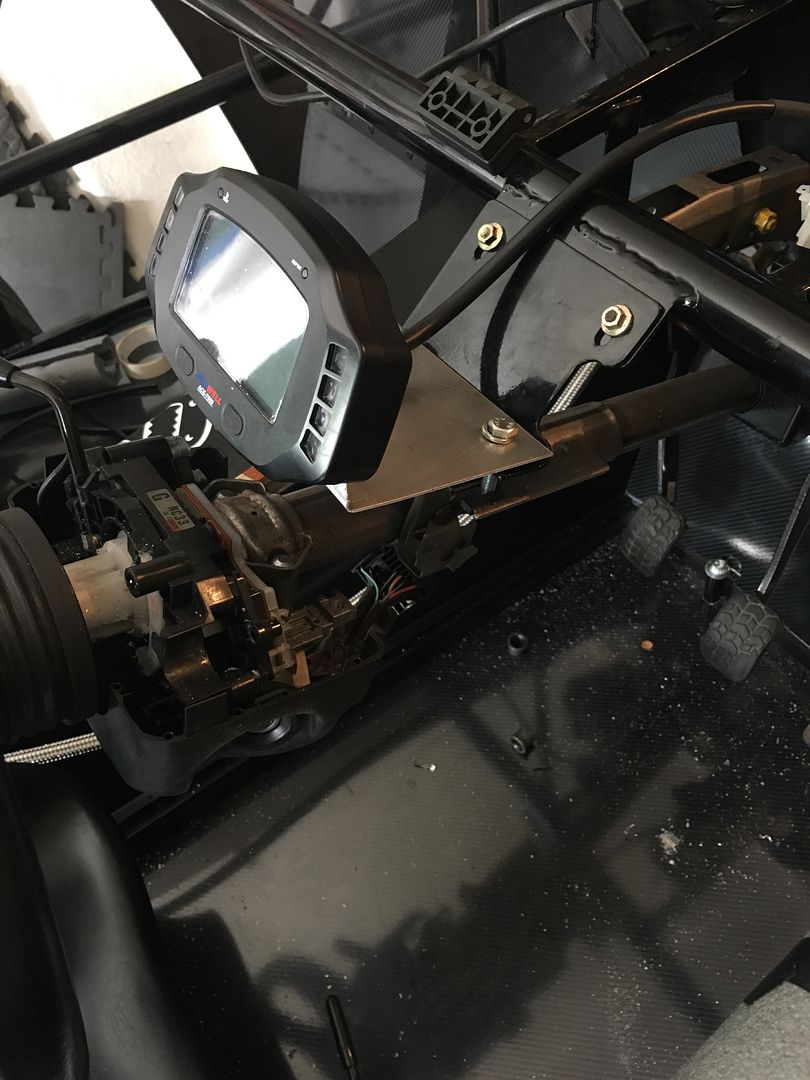 Feels great that the zorst idea has worked and also to have working brakes, it'll soon be ready to go to Skuzzle :-) |
|
|
|
Post by hammy3601 on Aug 21, 2018 4:57:25 GMT
So for a bit of an update.... I wanted to get my rear stays fitted for the wings. I had left the ABS rings on the driveshafts and soon realised that the stays weren't going to fit without making a different bracket. A few questions in the forum and MeV came back to me with the solution.... BIG HAMMER TIME 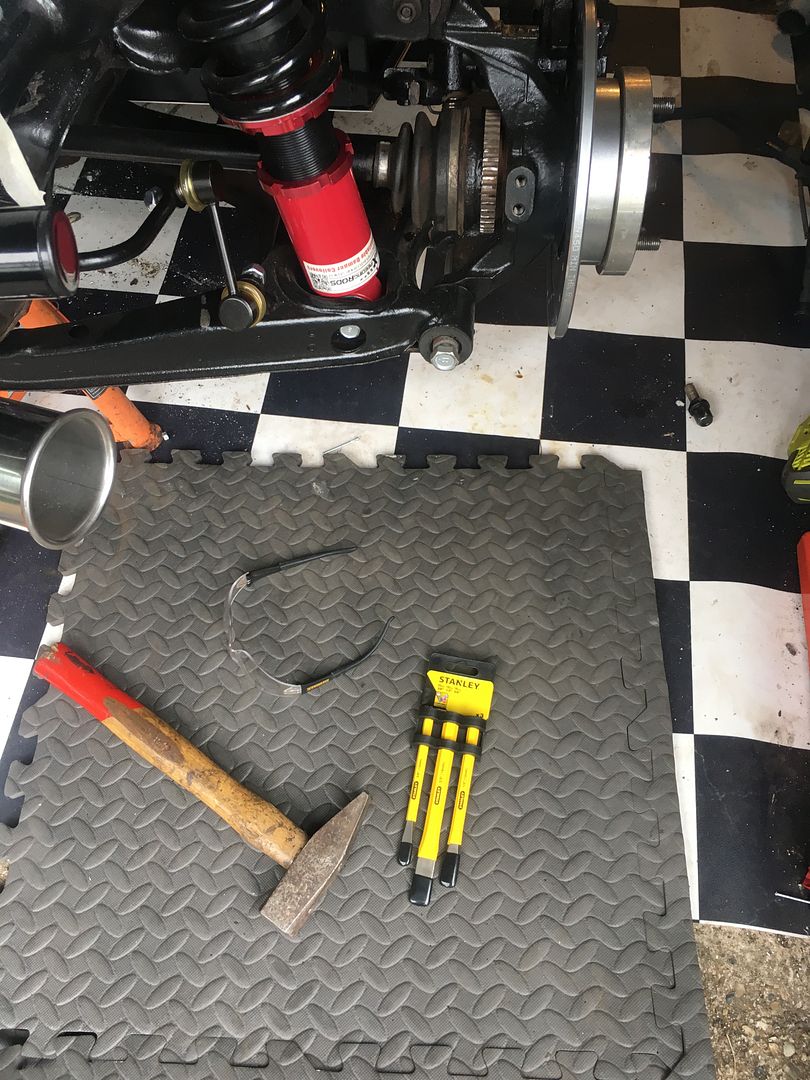 A couple of decent wacks on a cold chisel and the rings rings are so brittle they crack off 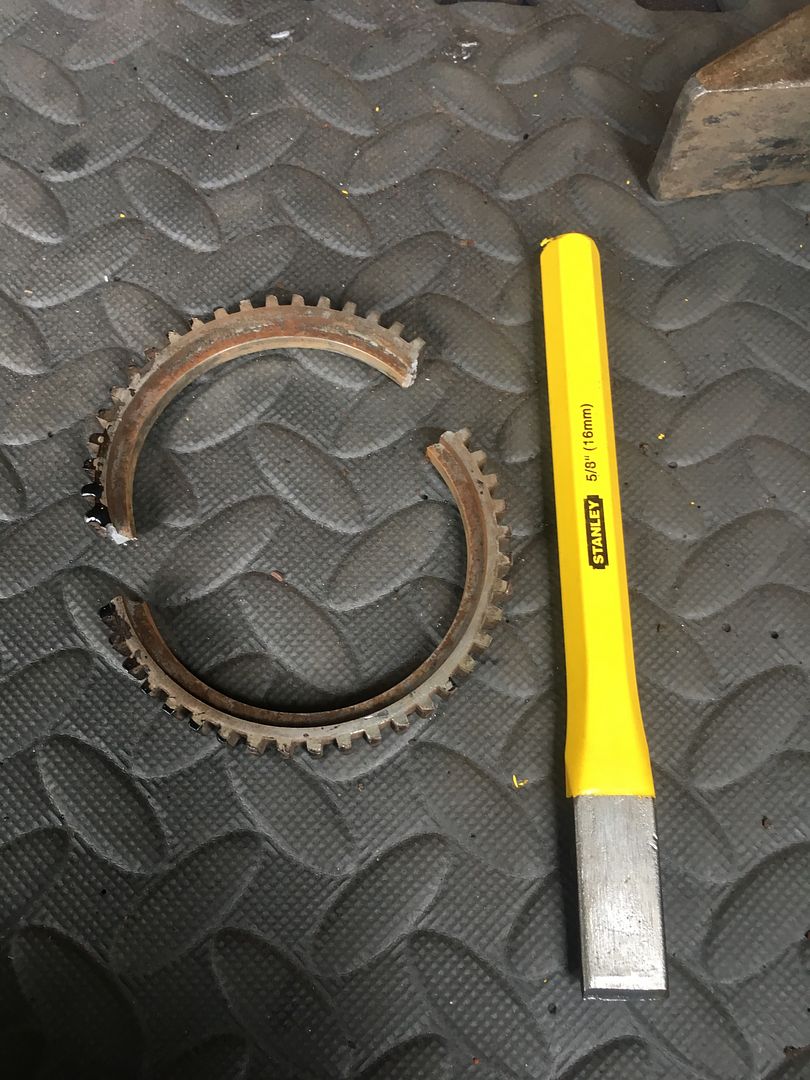 This was a great tip as I was really scratching my head on what to do. So with them out of the way I drilled M8 holes into the sensor mounting bracket. 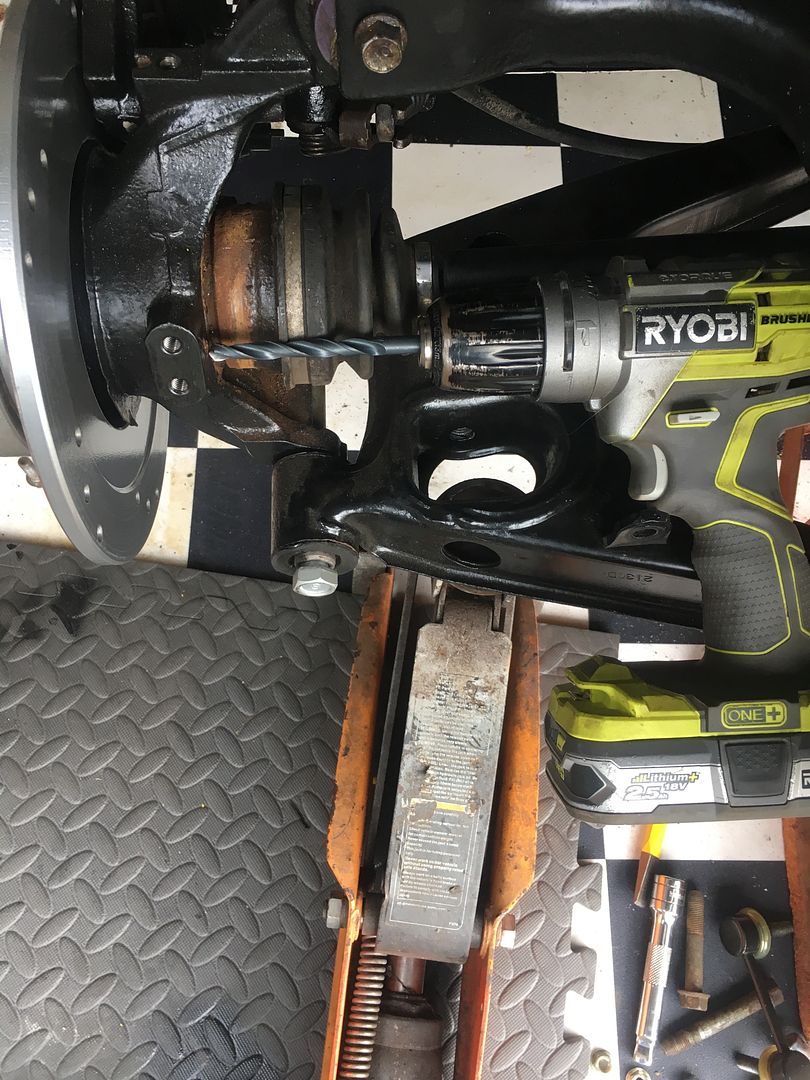 An then fit the brackets, replace the shock (removed for drilling the sensor mount) Then a lick of paint where the rings were and job done. 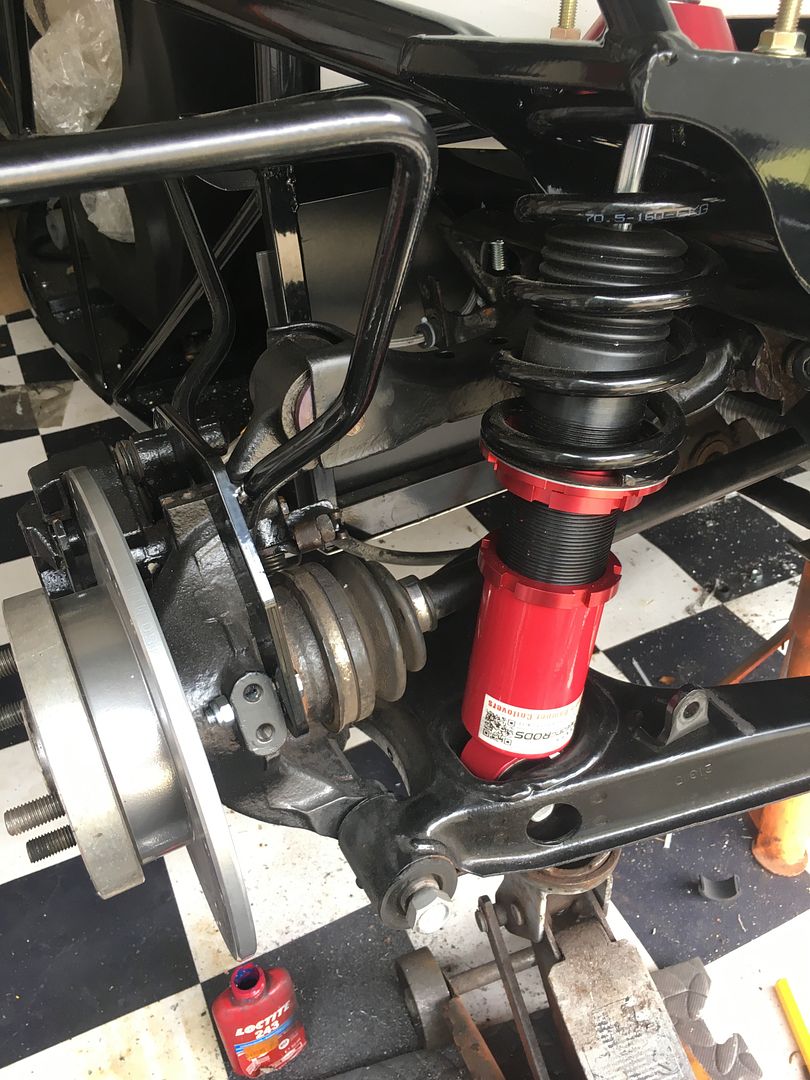 Then on to the wiring. I have bought a modular loom from S-V-C.co.uk I did debate using the donor one but as I am having a stand alone ecu and engine loom I took the plunge. The loom comes with a wire colour guide which is pretty good but not amazing. The first thing I did was laid it all out and labelled EVERYTHING. 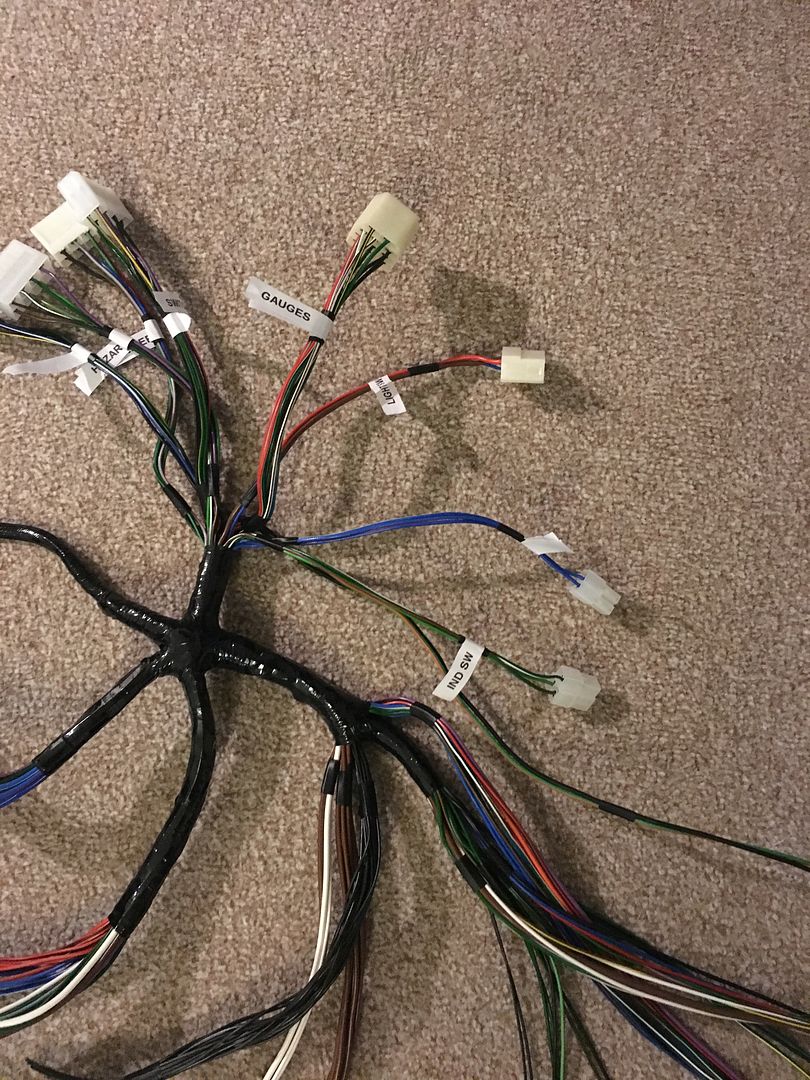 Where you see the white plugs in the picture, that is not their termination point they come with spurs for each plug to make it neatly to your required length. I then started to lay it out in the car. 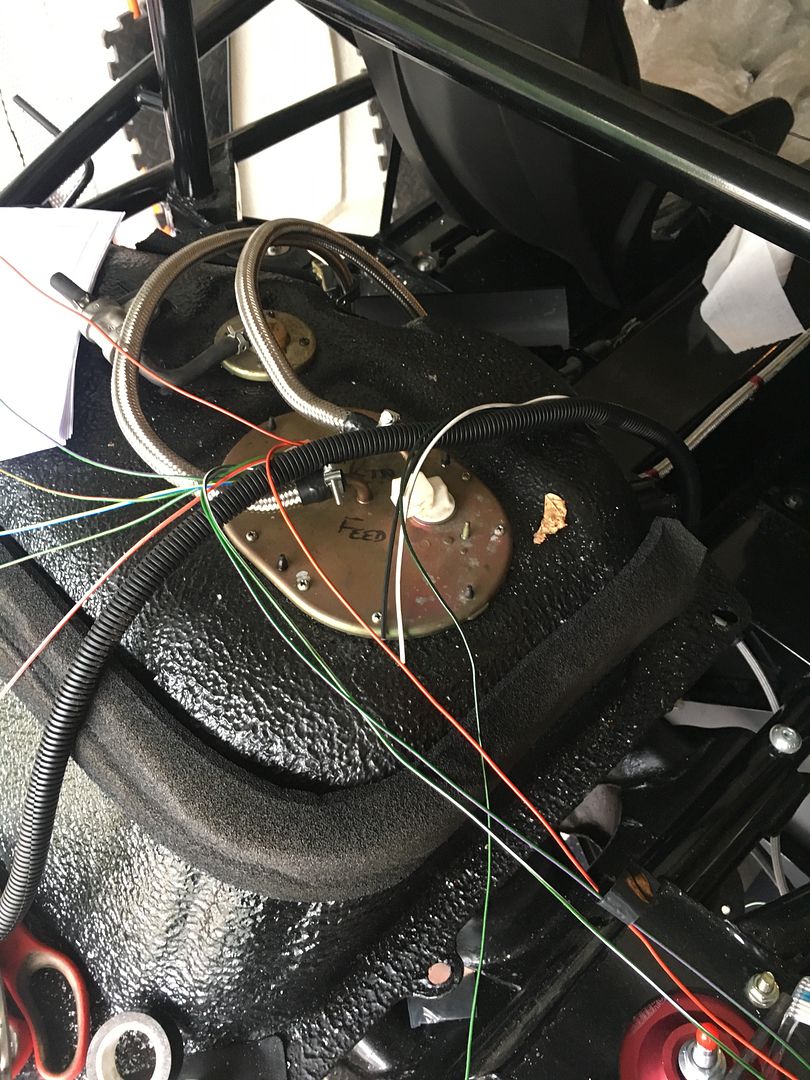 Once the rear was all sorted I added conduit and routed accordingly. 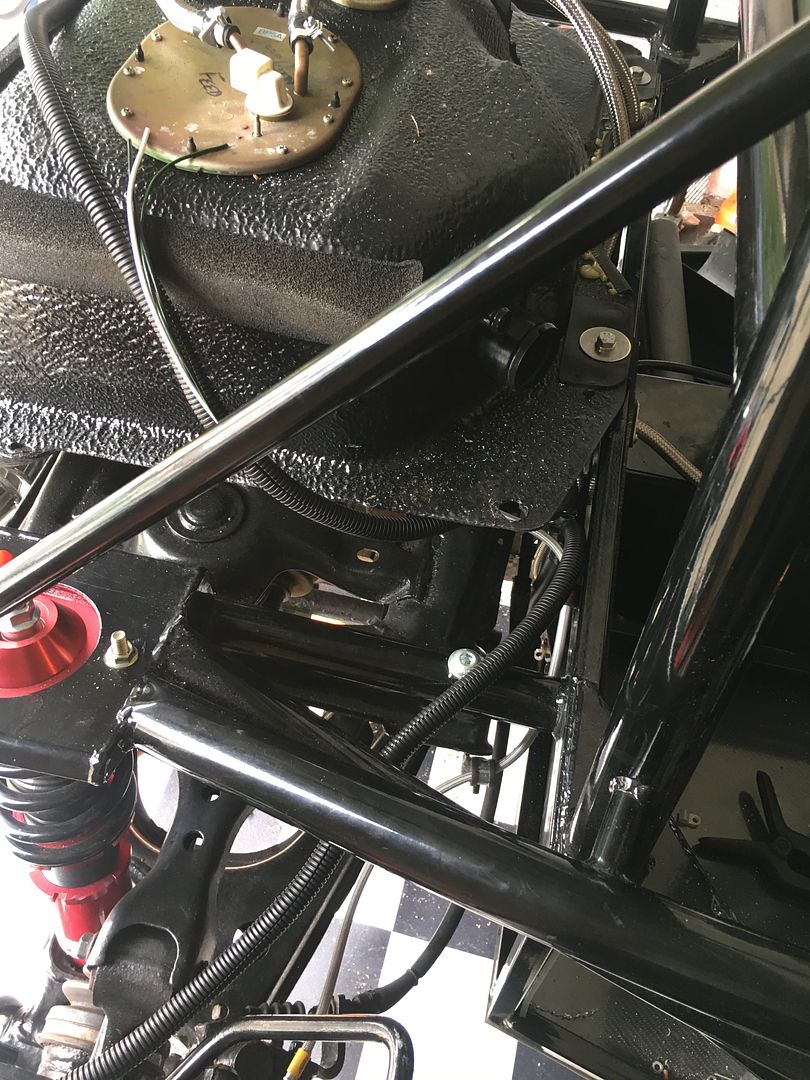 Next I laid it out up front only roughly as I am waiting for a new deeper wiring tray to arrive. Reason I'm not using the other one I made is that I have bought a Varley Red Top Racing battery and it will be going in the tray. 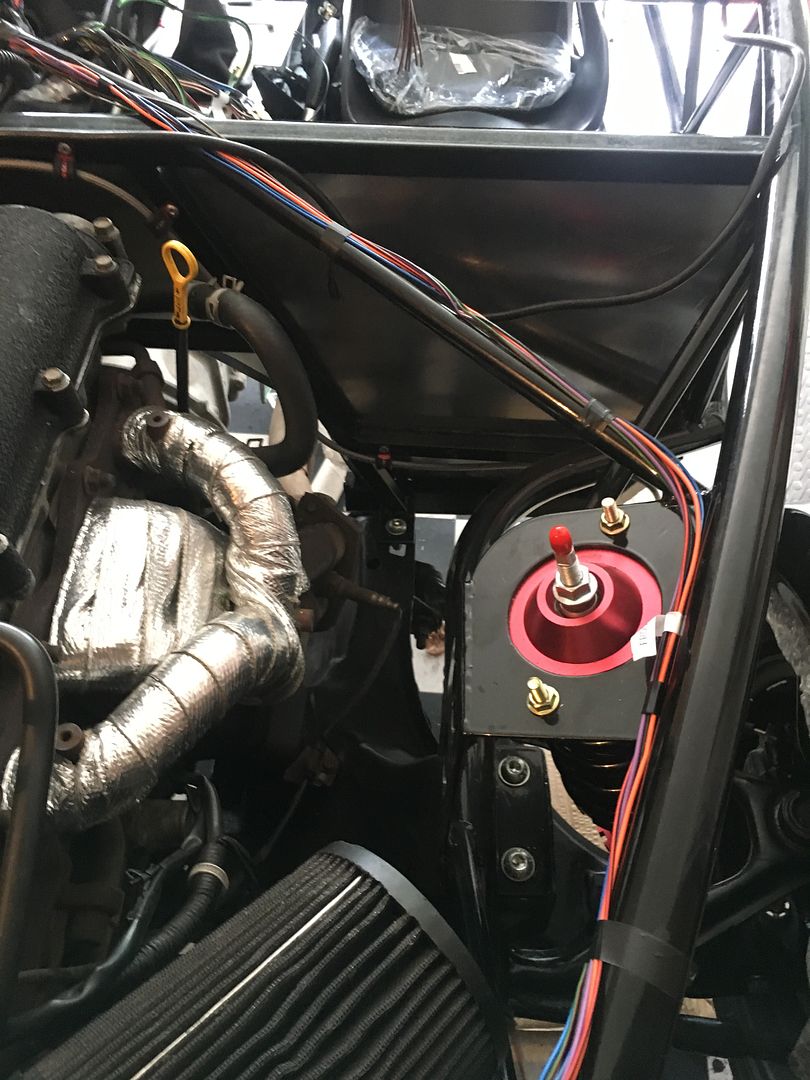 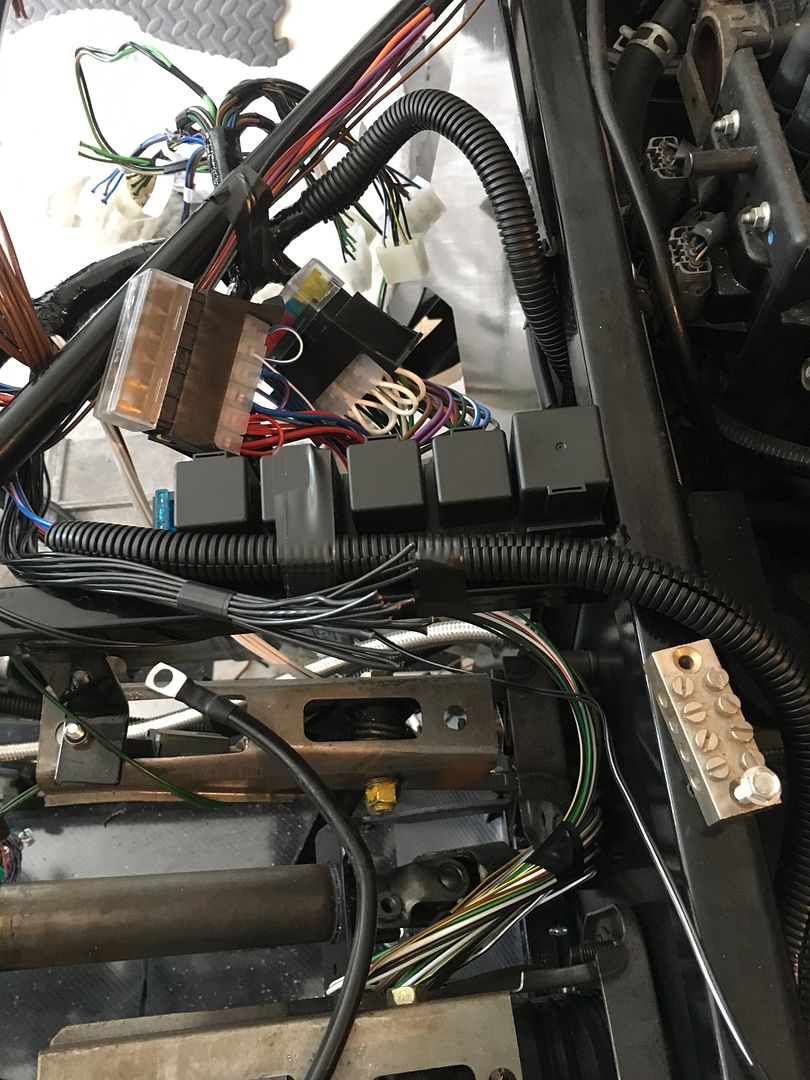 Once positioning is finalised everything will be sleeved or conduit and neatly fixed. Lastly a tip for any mk2 owners, it took me a while to find the correct answer to this and so I thought I'd post it here. On the gearbox there are 3 sensors/switches. It was plain to see looking at the old donor wiring that the switch in the top of this picture was reversing light. 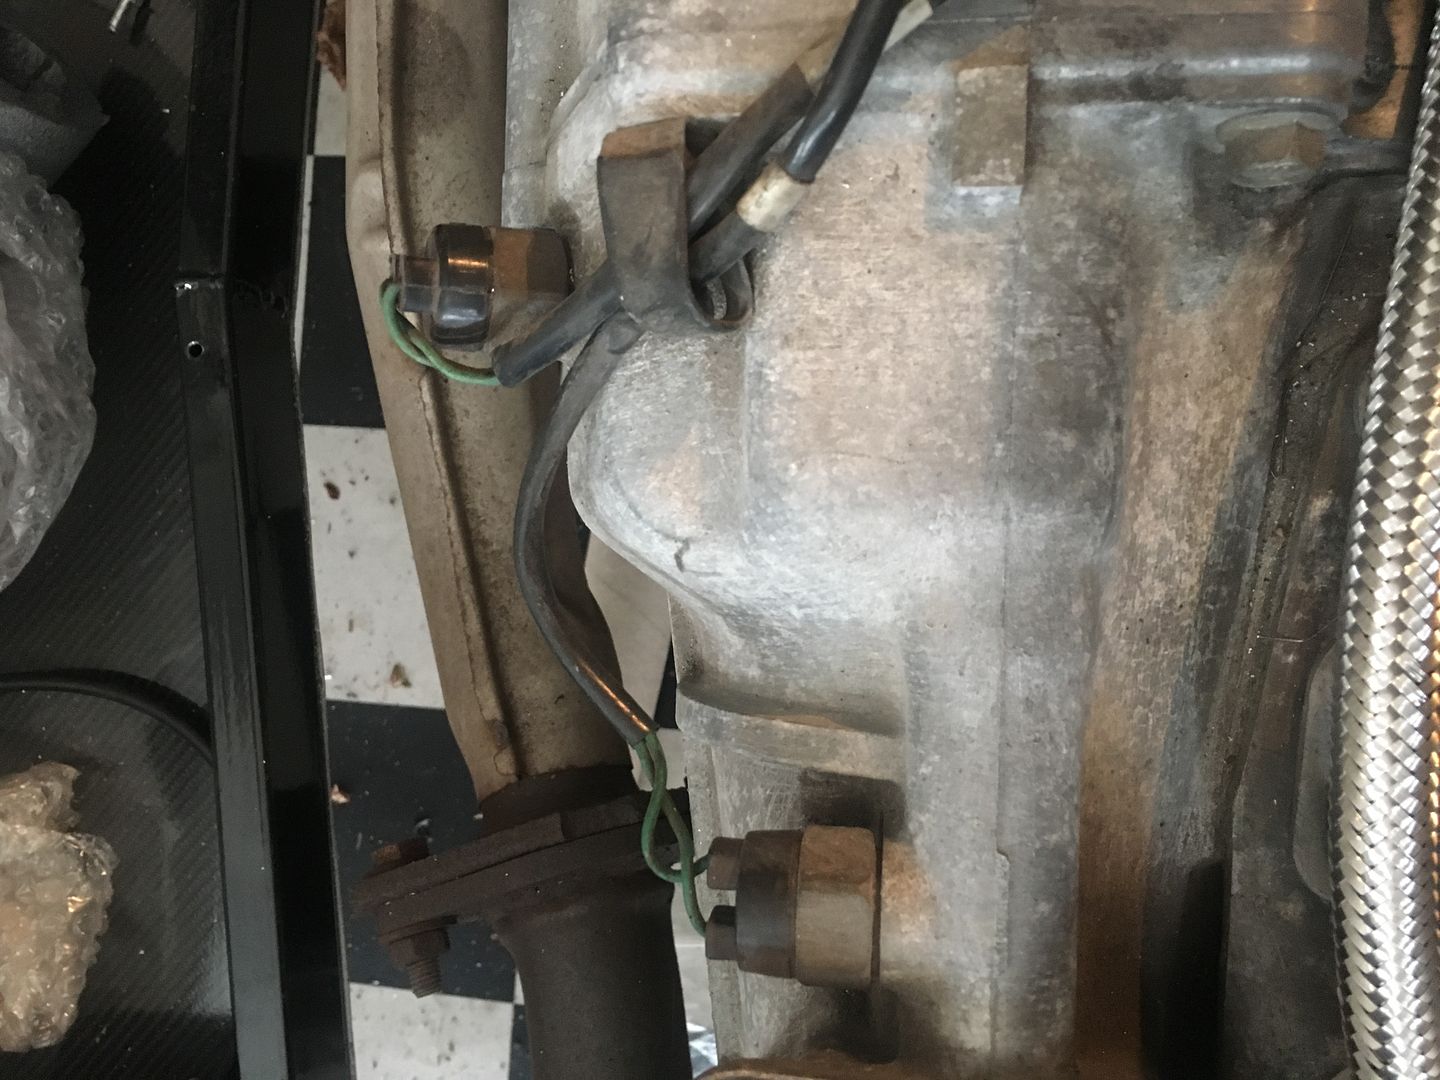 Underneath the gearbox and therefore not in this image is the speed sensor but I couldn't work out what the sensor was in the bottom of this image. Finally I managed to find out that is a neutral sensor. Hope you've enjoyed the update, more coming soon I hope. Hope you're enjoying your builds, not long til the cold dark nights so I'm going to try and get in the garage whenever possible. Work, studying and family permitting |
|
|
|
Post by hammy3601 on Aug 30, 2018 17:56:26 GMT
More loom tidying and routing before my custom made wiring tray arrives tomorrow. I wanted to group all the earths from the SVC loom in one block but also wanted it very tidy and secure. I got a right angle drill attachment to drill the location off the top of the rails... 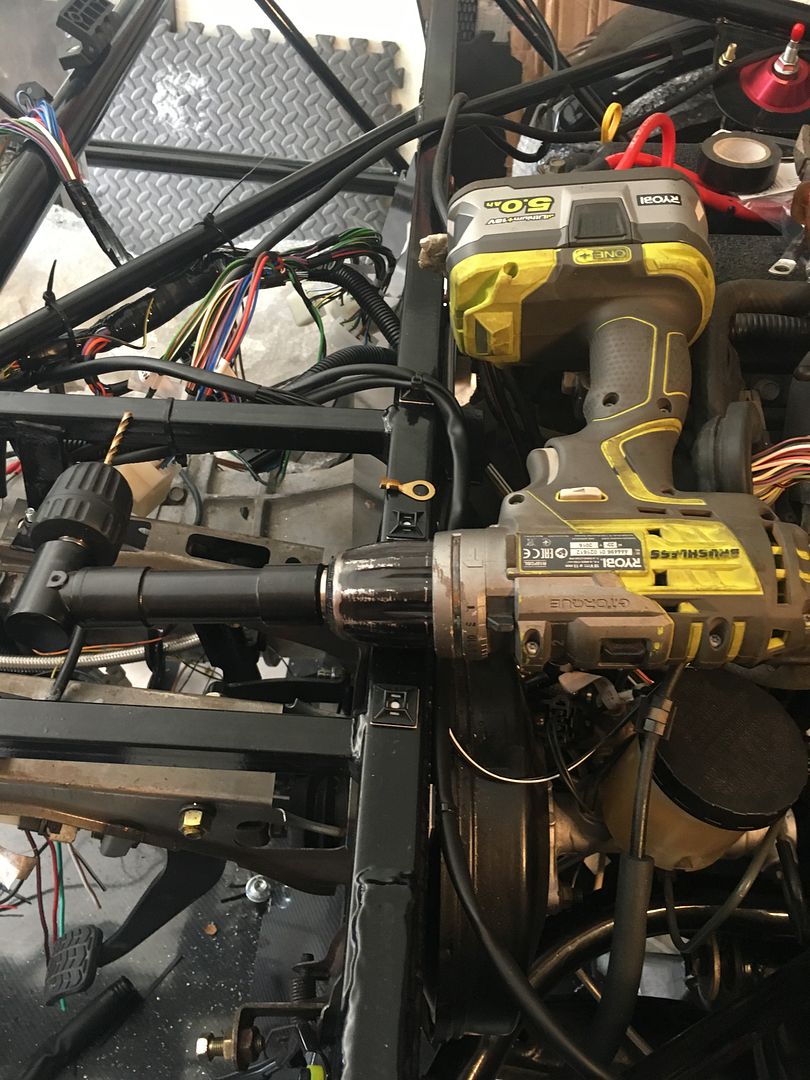 And then marked up the mounting and stripped the powder coat with my brand new dremmel. 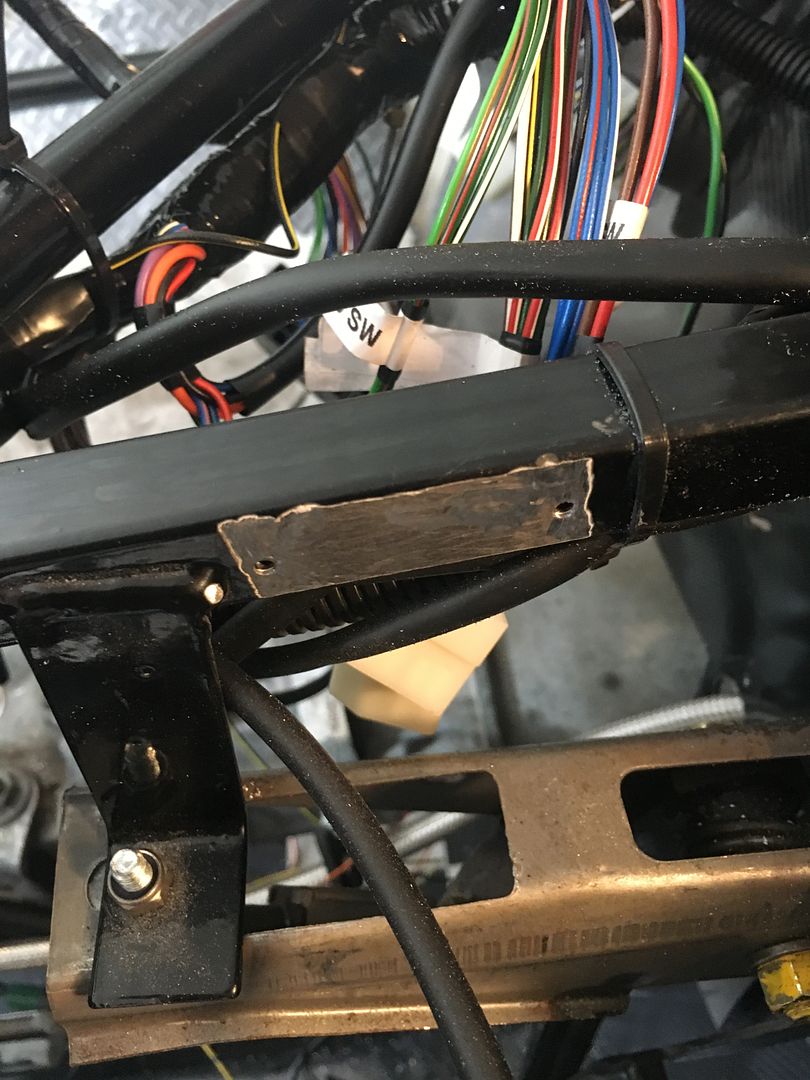 And then fitted all the earths and fixed the block with self tappers.... 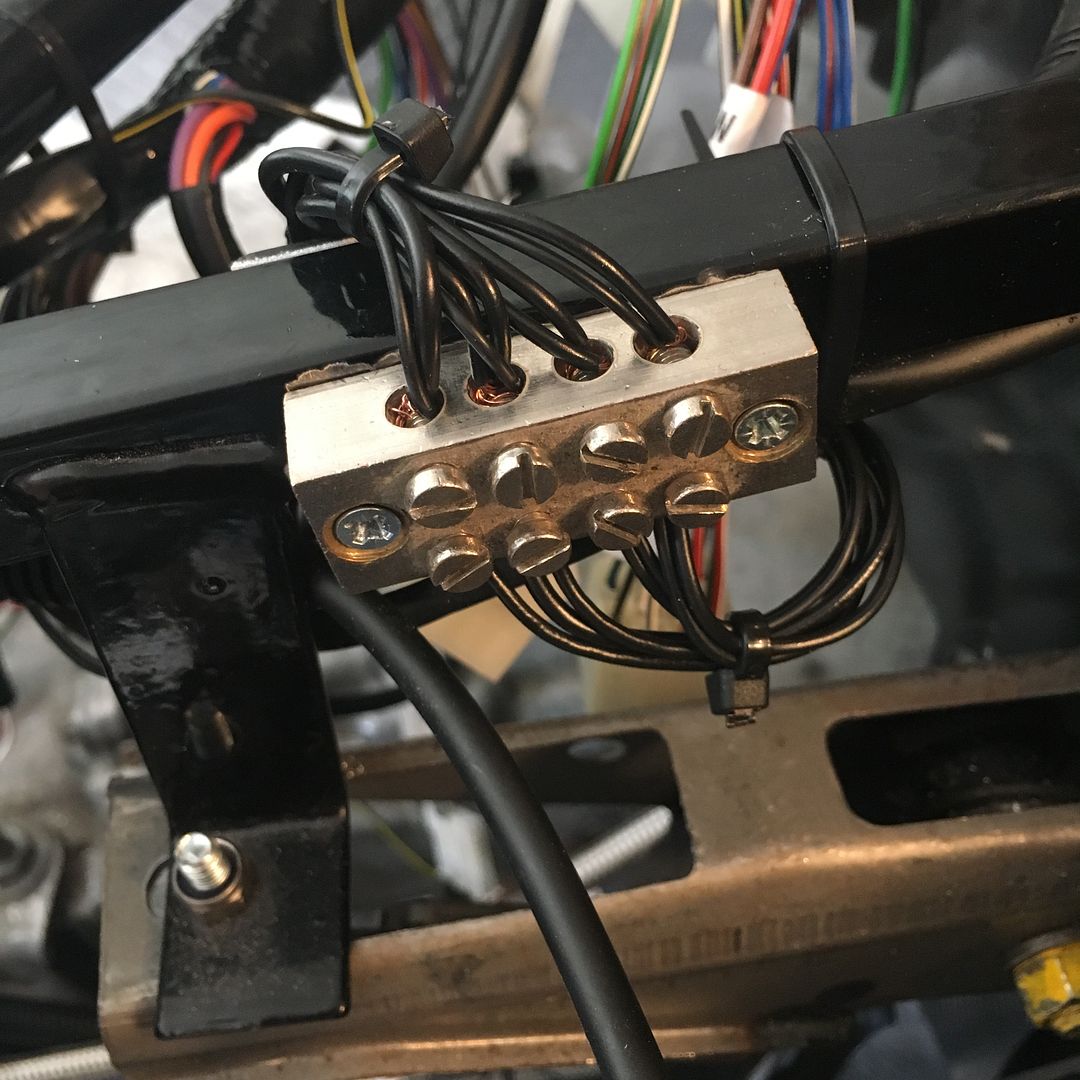 I put ACF 50 into the block, those of you who dont know about it.... get some its "Anti Corrosion Formula 50" and from the aerospace industry for wires, microswitches etc etc. 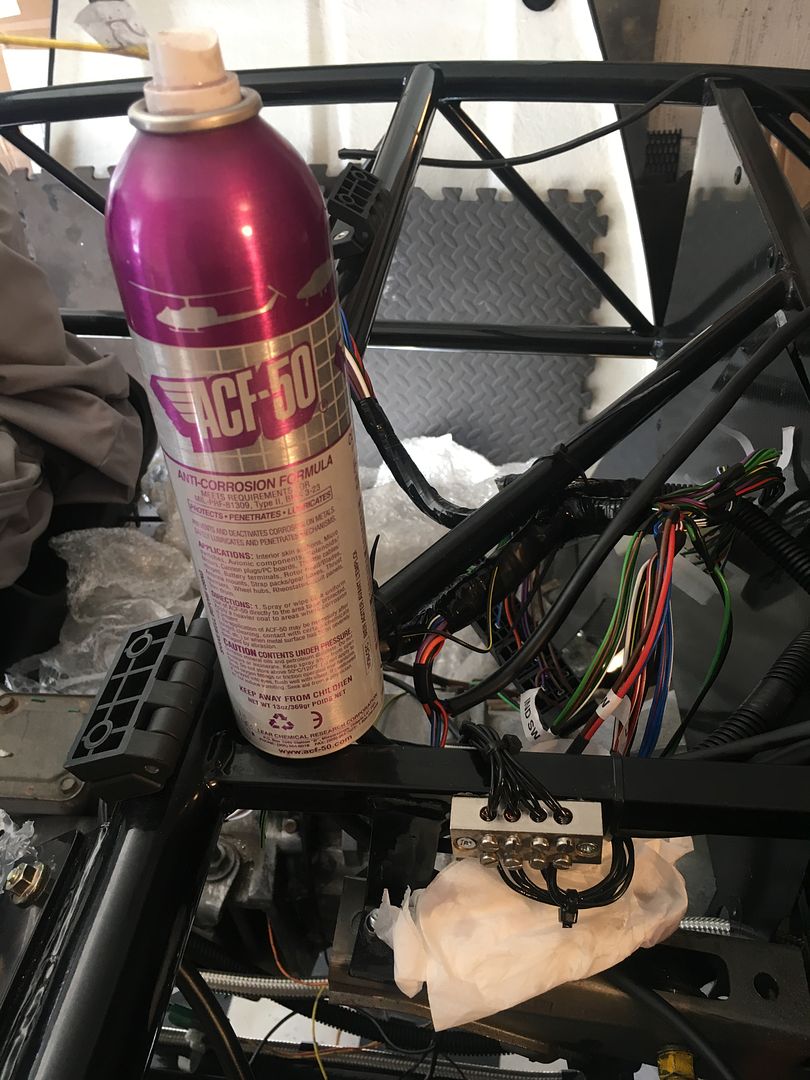 Then I routed the drivers side front wiring as subtly as I could using cable tie blocks and ties.... (Ignore all the old Mazda loom on the engine, Ive left that on for now with all the sensors in place for when I get my 221 engine loom wired in) 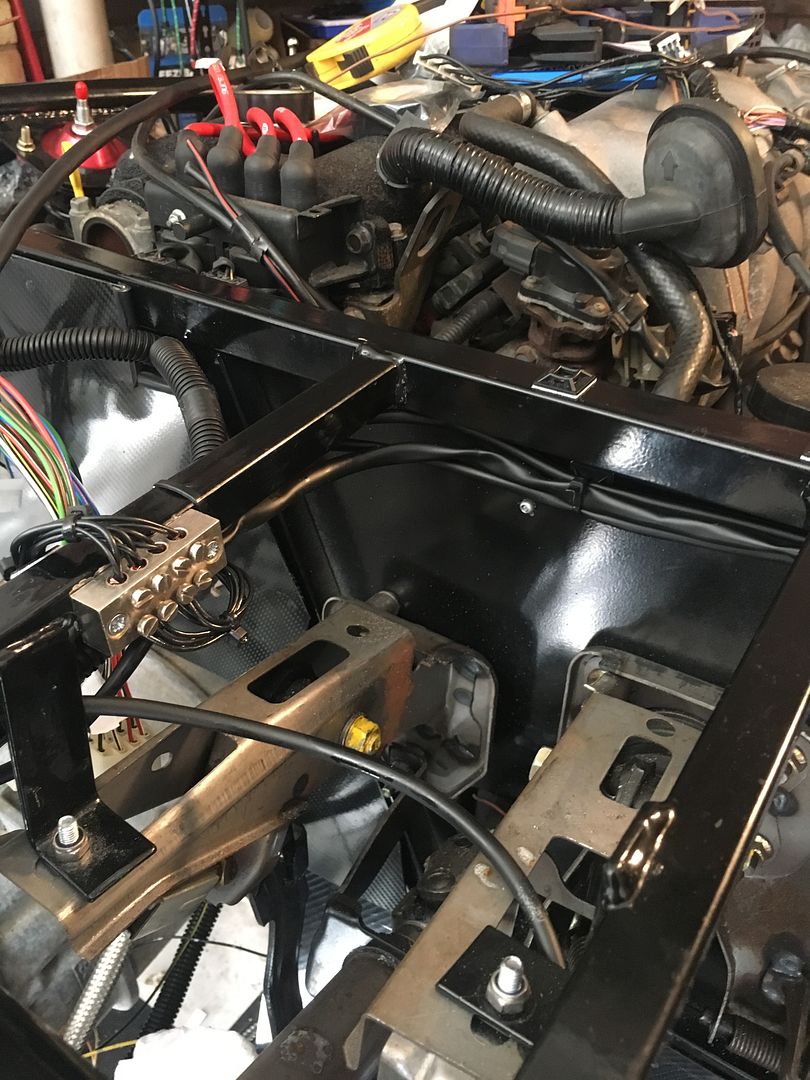 Using a step drill I drilled a 14mm hole in the bulkhead and made a grommet from a rubber lined pclip which is glued in place.. 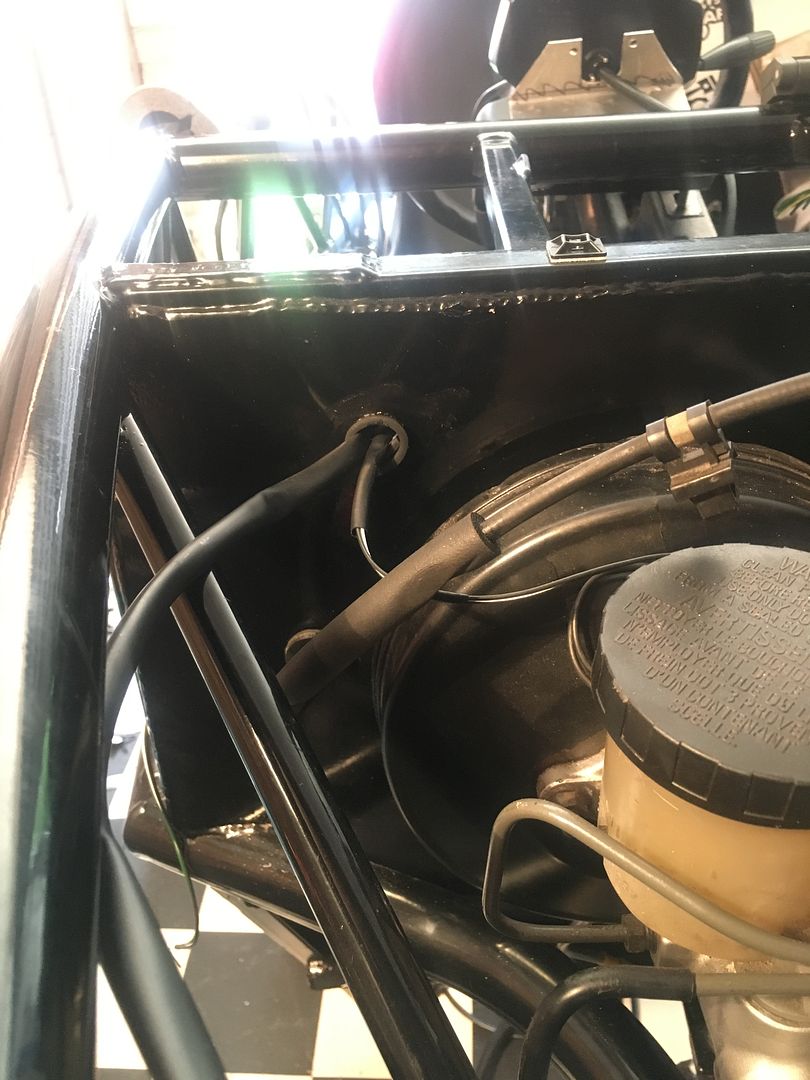 So thats the drivers side lights wiring and brake fluid warning coming through there at that point. More to come soon I hope as the wiring tray arrives tomorrow. Cheers guys! |
|
|
|
Post by hammy3601 on Sept 7, 2018 14:25:49 GMT
So my new wiring tray arrived (from Rob on the FB group) it's made for earlier incarnations of the Exocet and so needed a slight mod for the crossbar 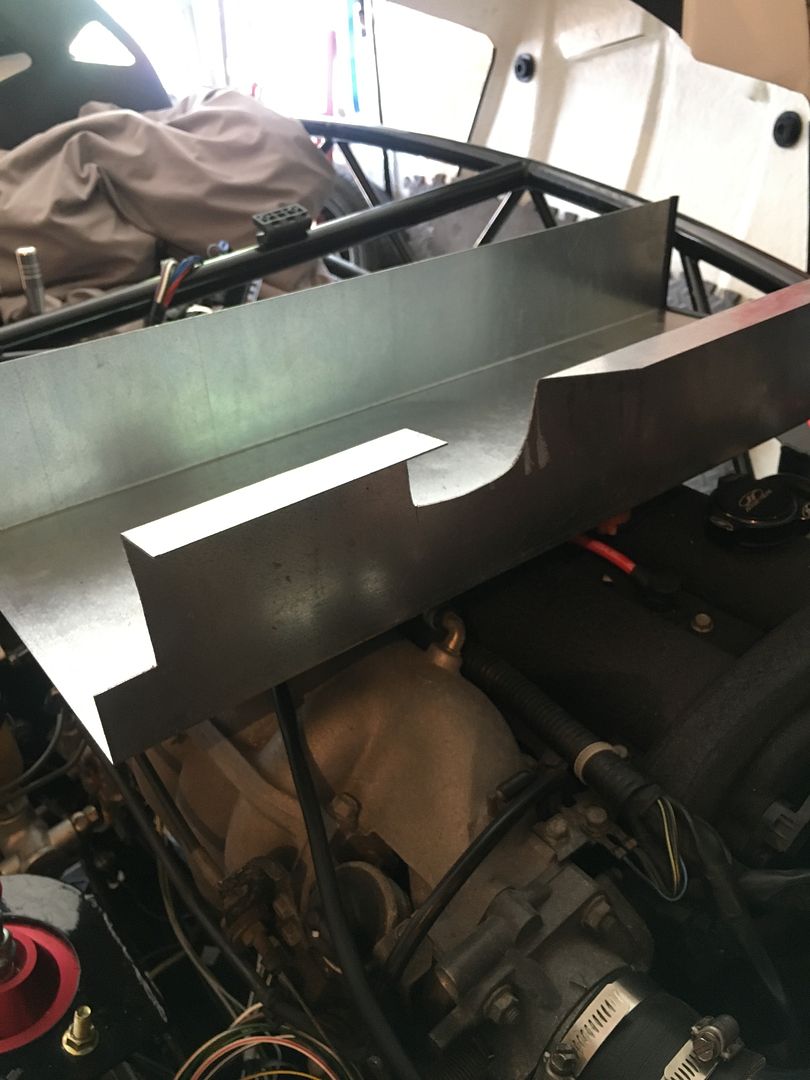 I then fitted it loosely and started laying the SVC loom in 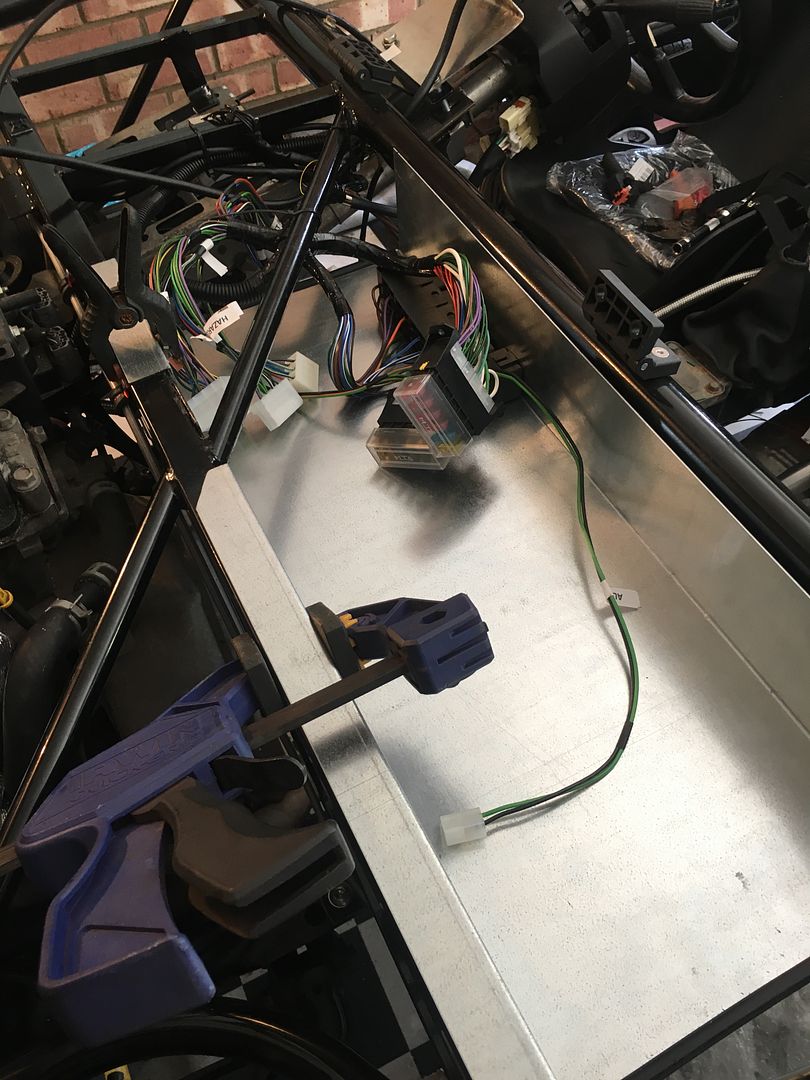 To mount the fuseboxes without stressing the wiring I bought some plastic spacers to mount them on 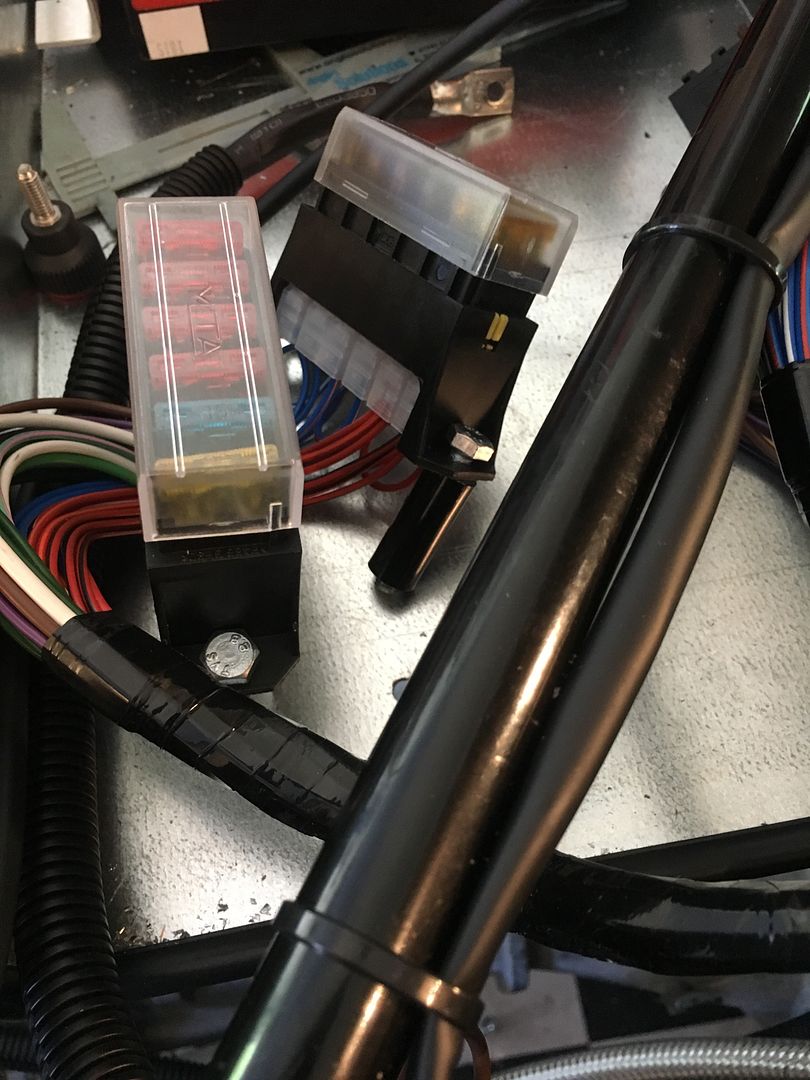 Now looks very smart! 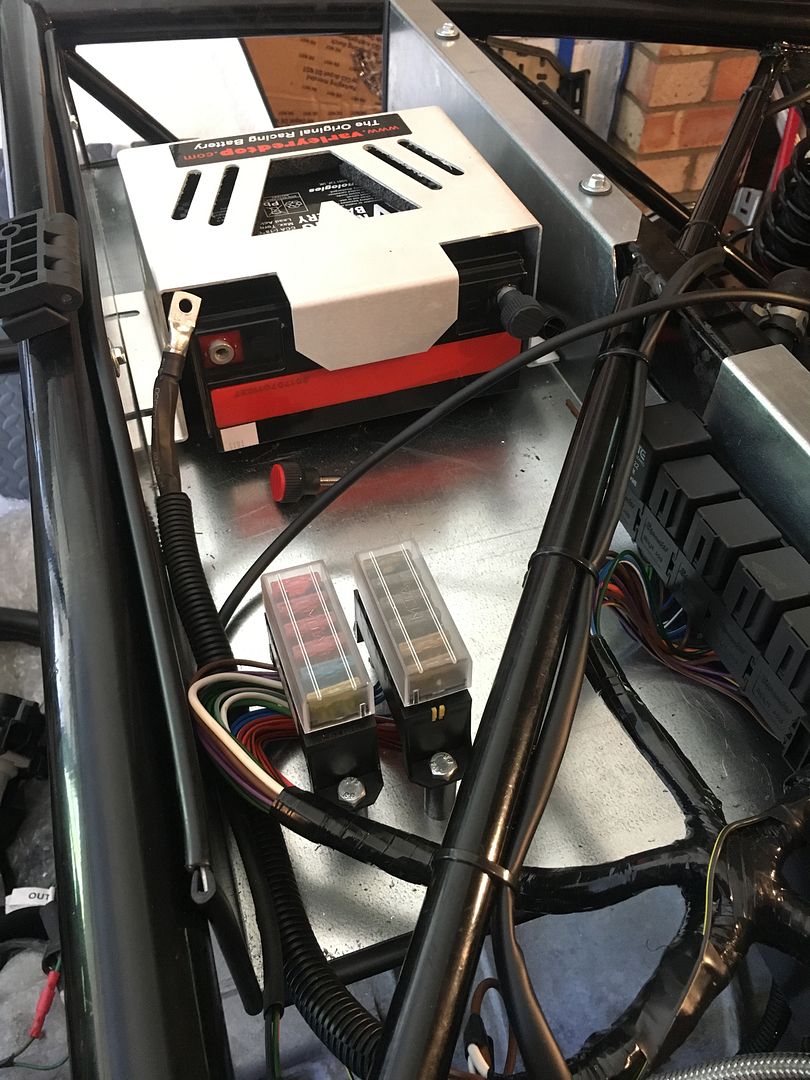 I decided to strip the indicator stalk to ID all the lights and ind wires, simple when you see where they all end and easy to ID 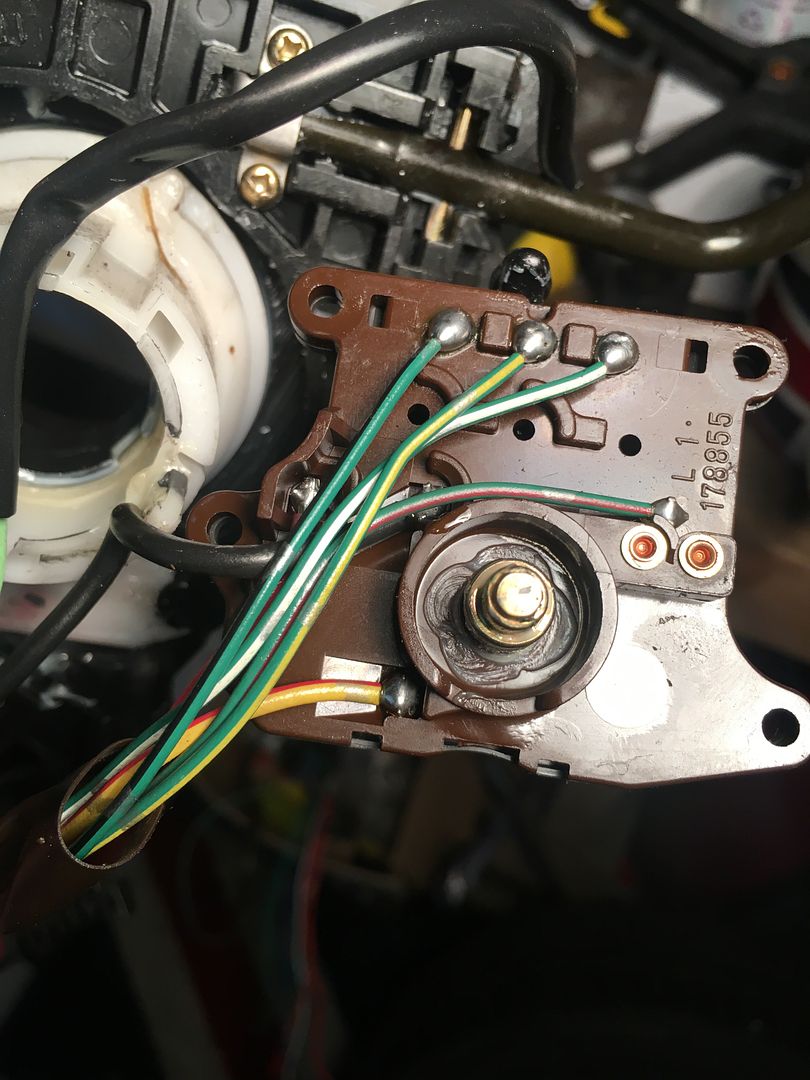 I sorted the battery and engine earths with my Dremmel for a good connection to the chassis 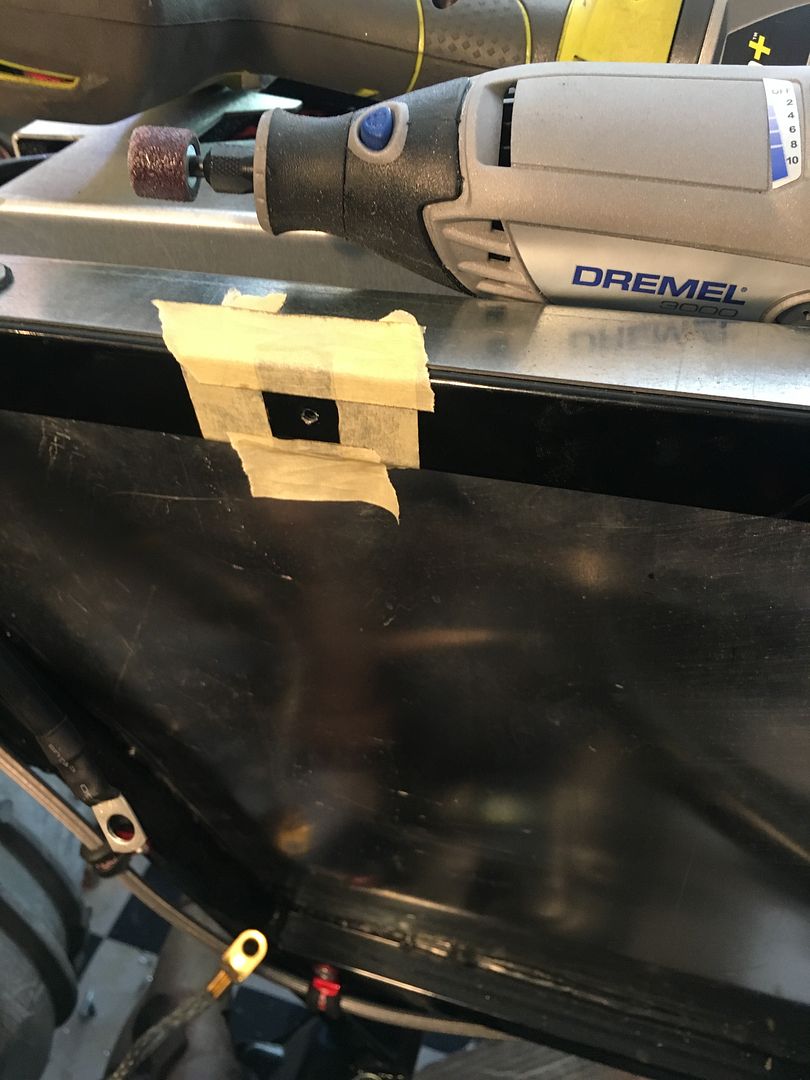 I also terminated all the live loom feeds and the starter motor feed with an anvil and connectors bought from CBS and the shink wrap to keep it tidy and safe 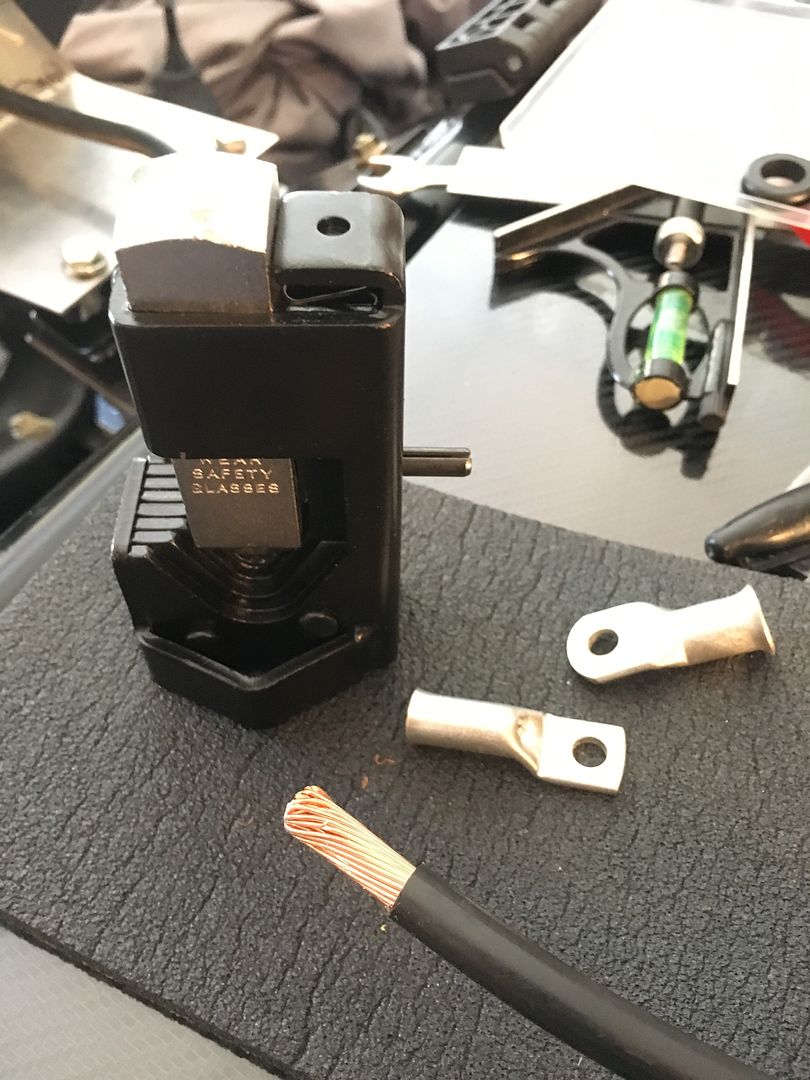 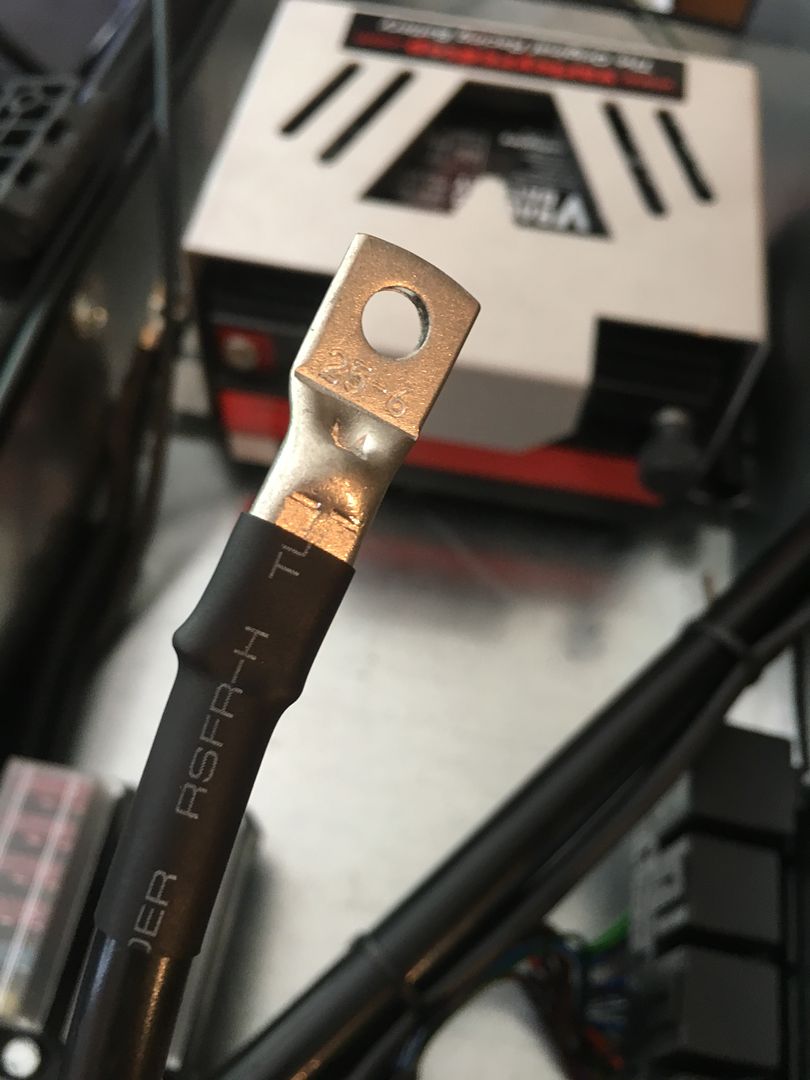 Im quite proud of how this has worked out and looks awesome! 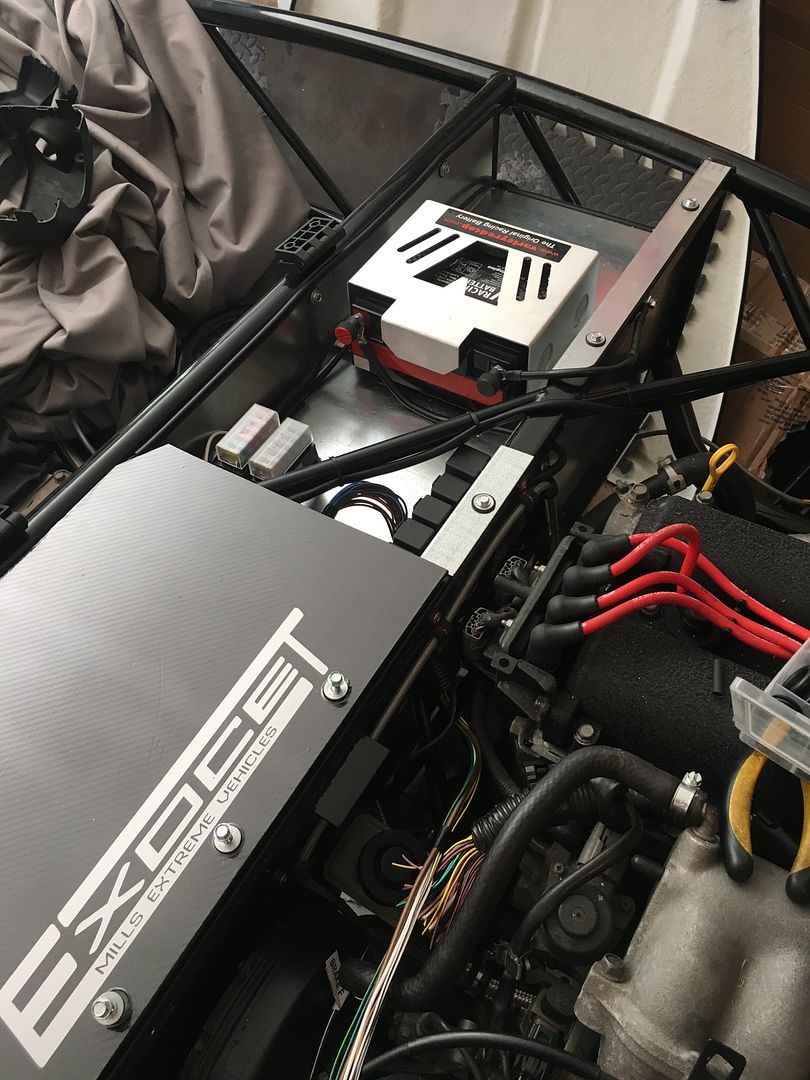 So all this done and on the first turn of the key the starter motor engaged and turned over! A milestone I think. Im in the garage tomorrow and may do some more wiring but feel like rewarding myself with some mechanical/bodywork jobs. I find wiring easier if you break it into mini objectives and projects. |
|
|
|
Post by hammy3601 on Sept 8, 2018 18:36:08 GMT
So a break from wiring and electrics today. I tackled the front wheelarches. I ordered the older style for the front as I prefer them to the GType ones. I marked them up roughly and then cut the holes with a step drill. I used the tool in the pic to check wheel coverage for IVA 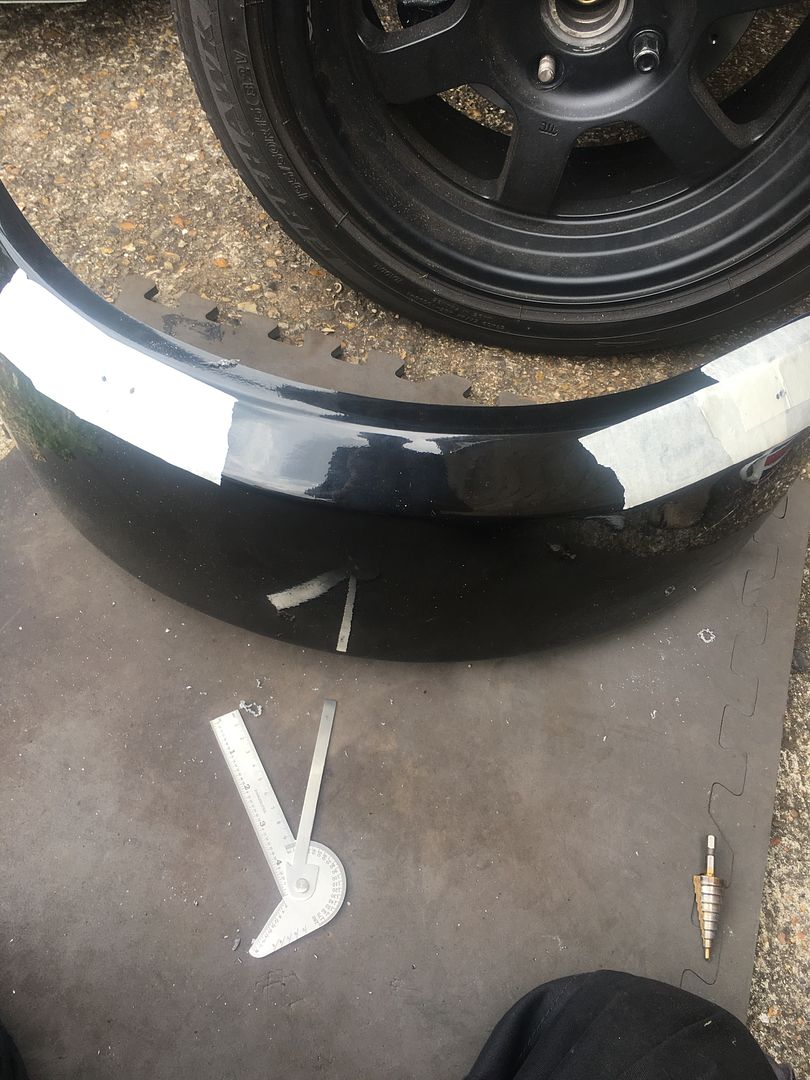 Then I keyed the top of the arch stays and applied tiger seal on to them and the wings and left them weighted for most of the day. 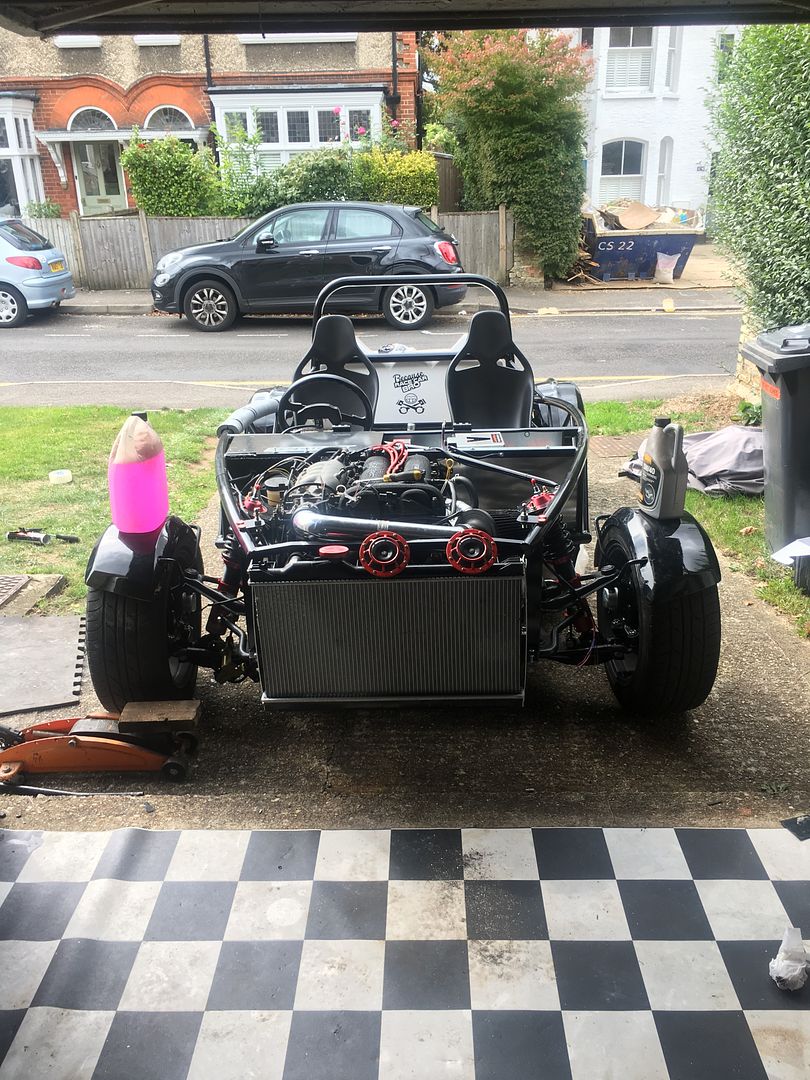 I then moved on to the Gtype sides. I used a Dremmel to notch the area where they pass the two flat bars on the chassis first and then masked them up to spray the insides so that there wont be bare greyish GRP in the cabin. I used black enamel spray and it makes the cabin look a lot better. 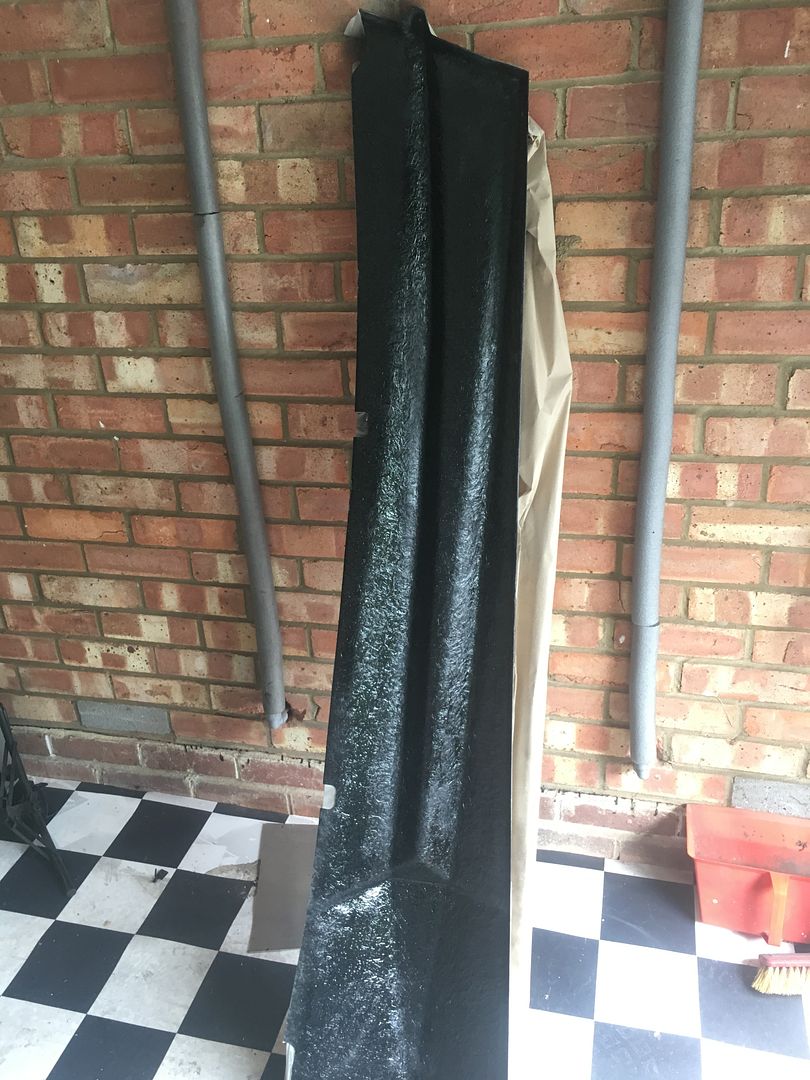 Then I dry fitted them and masked up the frame and the panel edges so as not to get Tiger seal everywhere (been there done that!) I decide I was only going to secure the top first and then when dry I will get underneath and tek screw and seal them 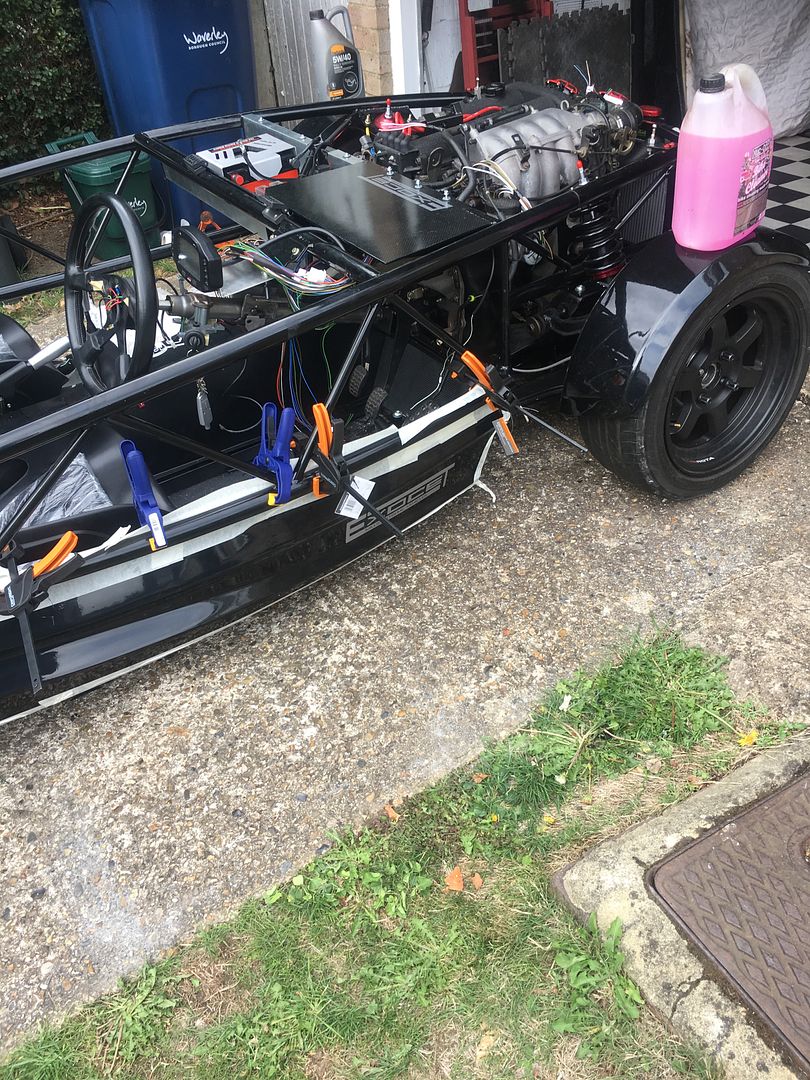 I absolutely love these panels! They are my favourite feature on the car, just look amazing! 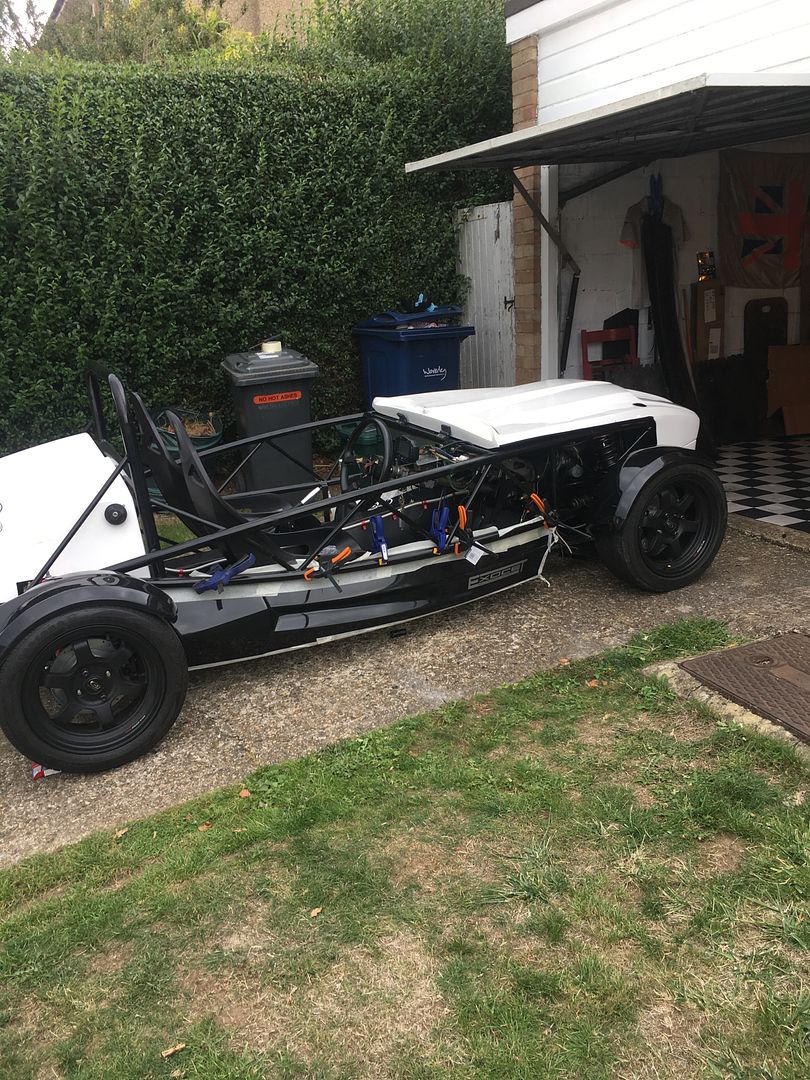 The rear arches next. I fitted the lights to the wings but want to wait til I get my new tyres as Im having slightly wider on the back and therefore I want to measure up properly. 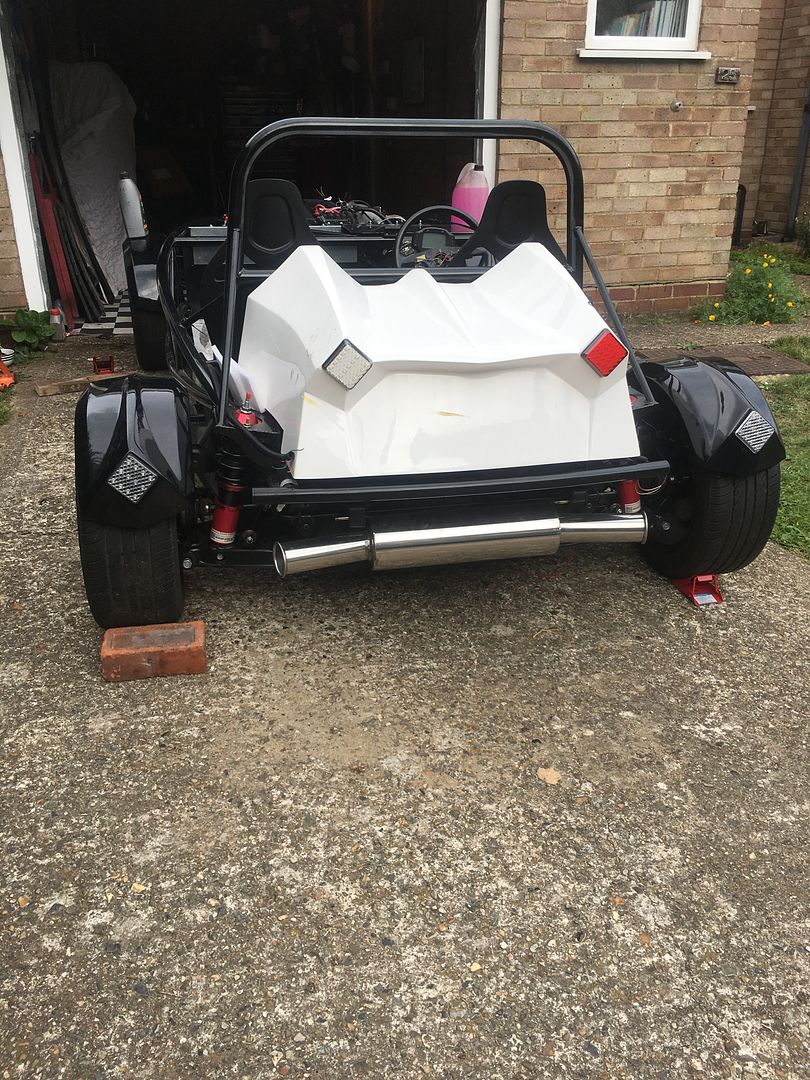 I think the colours off balance/symmetry with the fog and reverse lights and I have just read the IVA manual and you can have two fogs. Ive ordered another and will fit a white led strip for reverse above the exhaust or on the very bottom of the tank cover If the weather holds tomorrow I'll finish the sides and fit the bonnet to the hinges that I have mounted on the frame. Bye for now! |
|
|
|
Post by hammy3601 on Sept 10, 2018 12:22:01 GMT
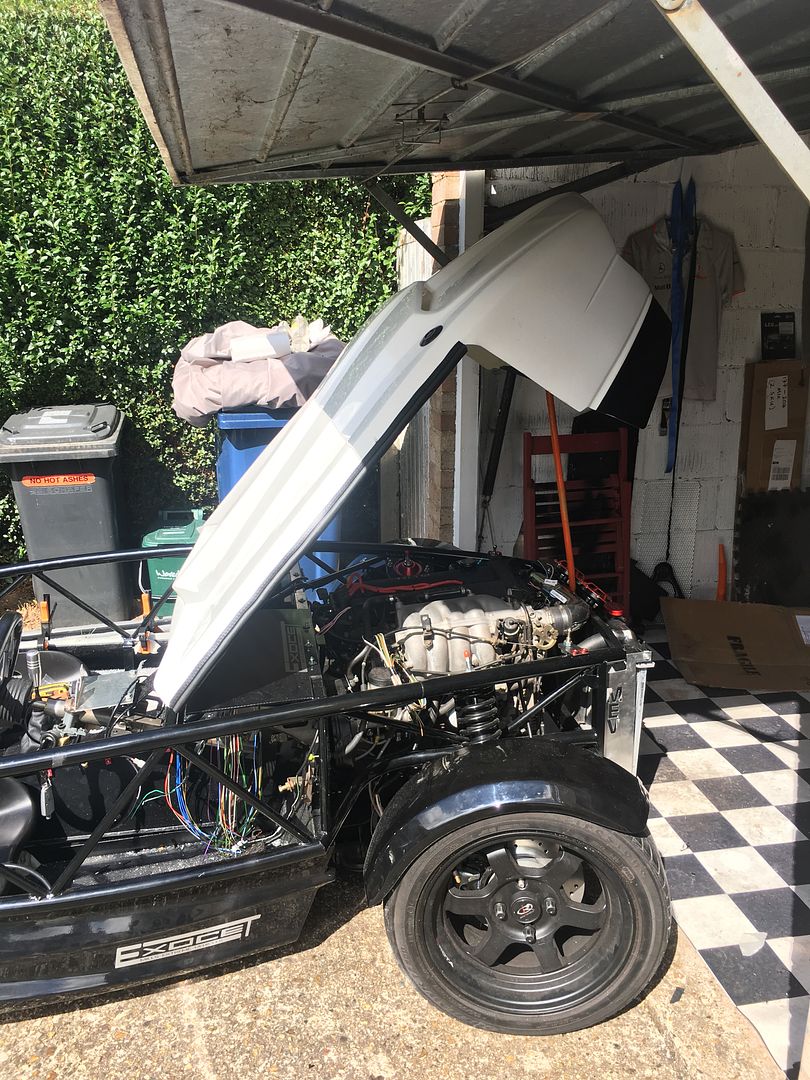
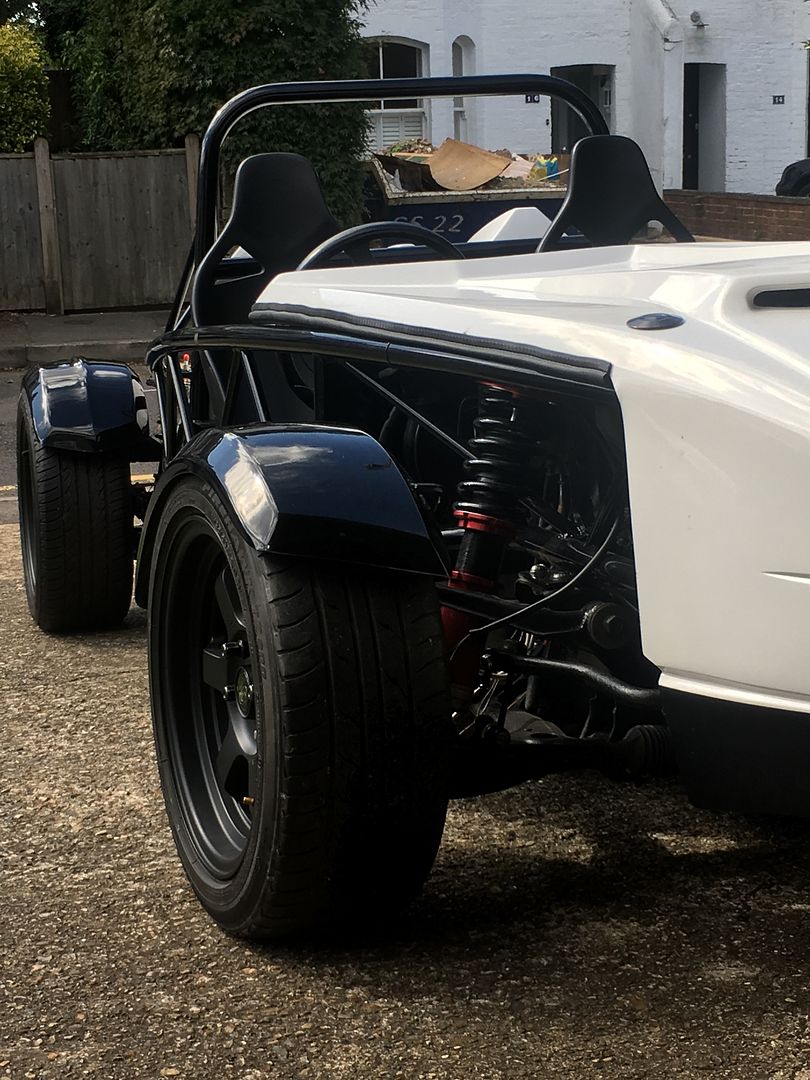
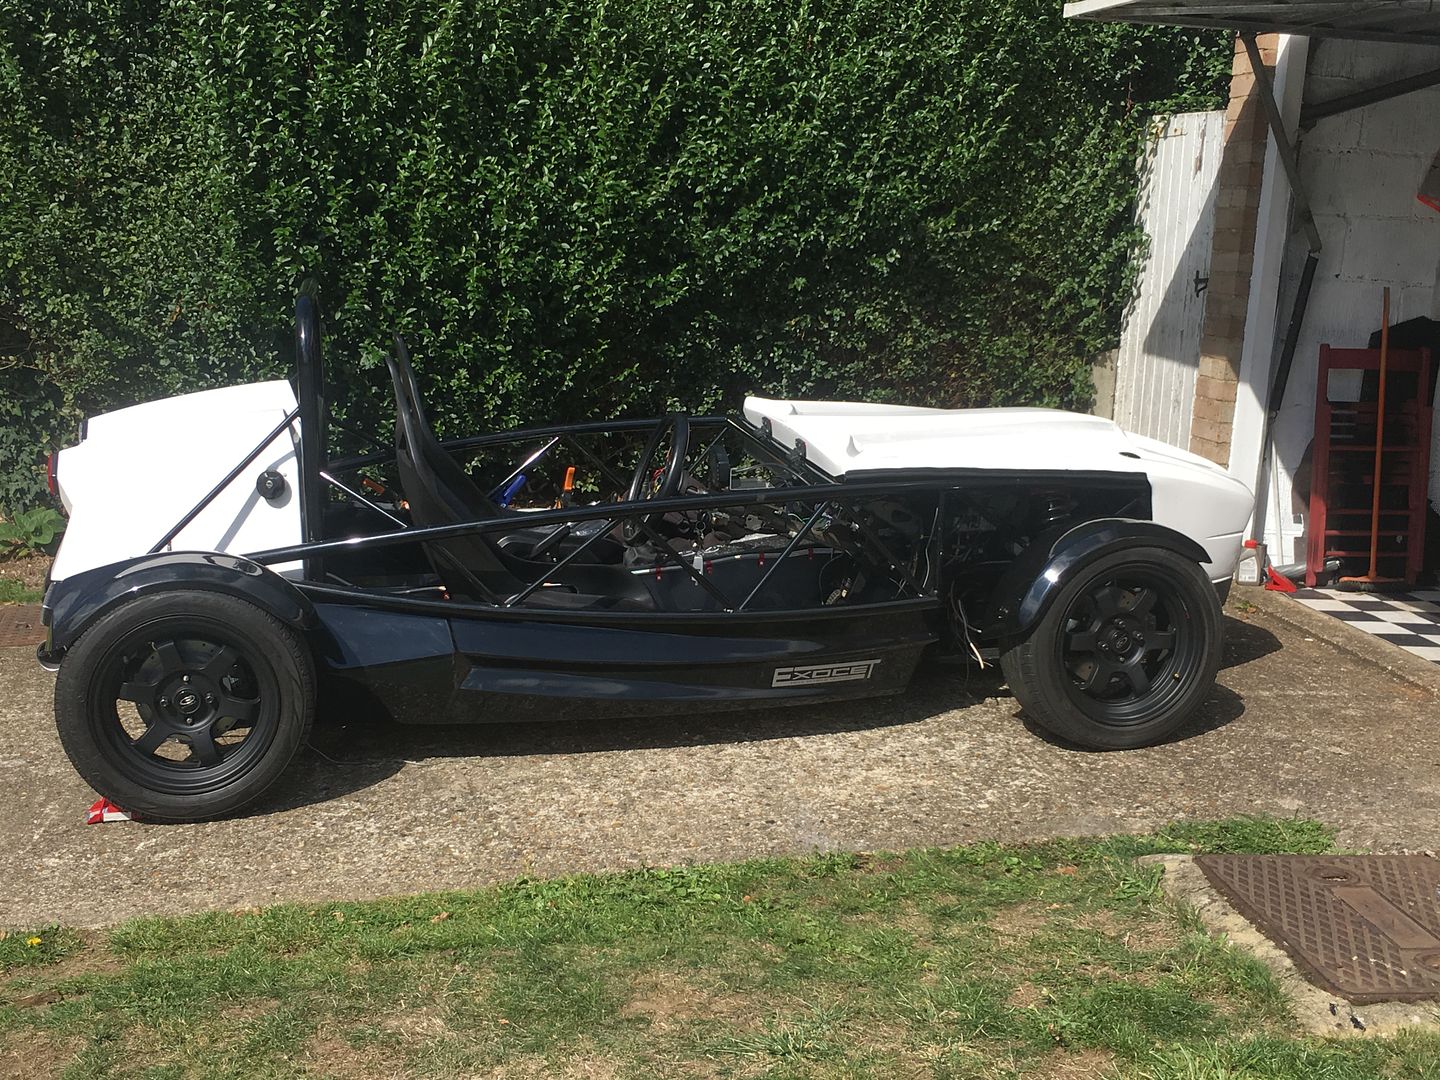
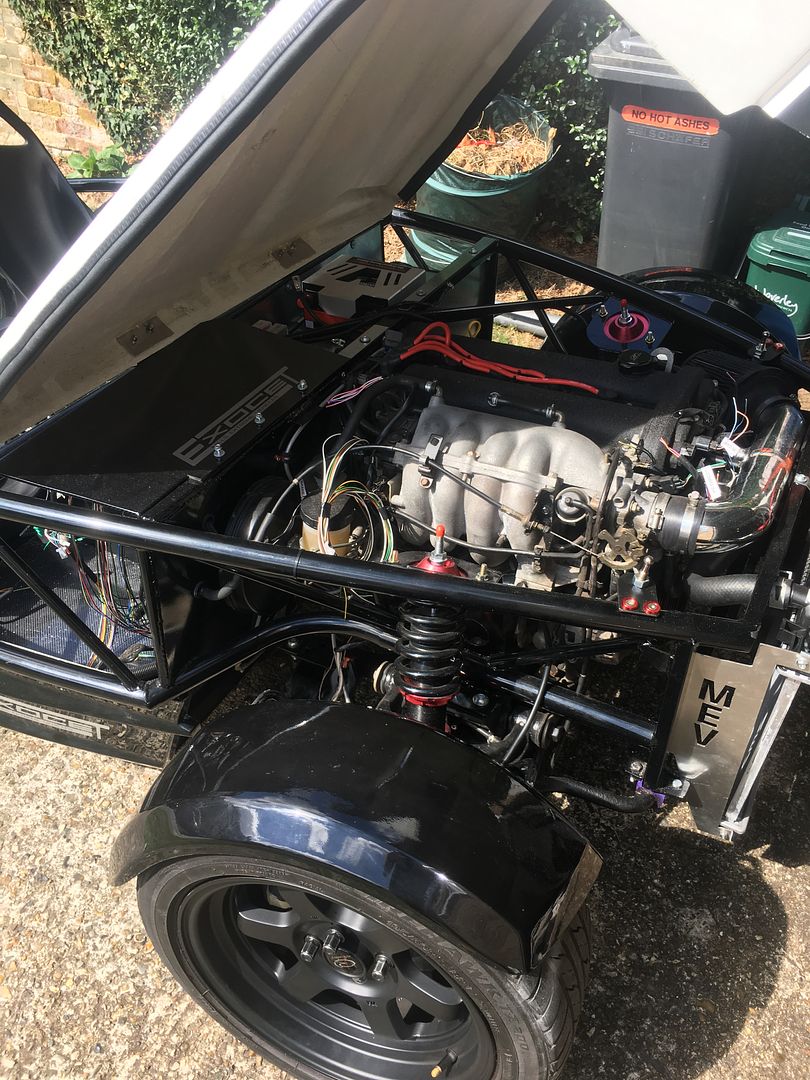
|
|


