|
|
Post by hammy3601 on May 30, 2018 17:22:11 GMT
I also wrapped the lower part of the front nosecone in satin black, same as the new Gtype demo car, once the car is on it shocks and lower it gives the car a sharper lower look at the front..... 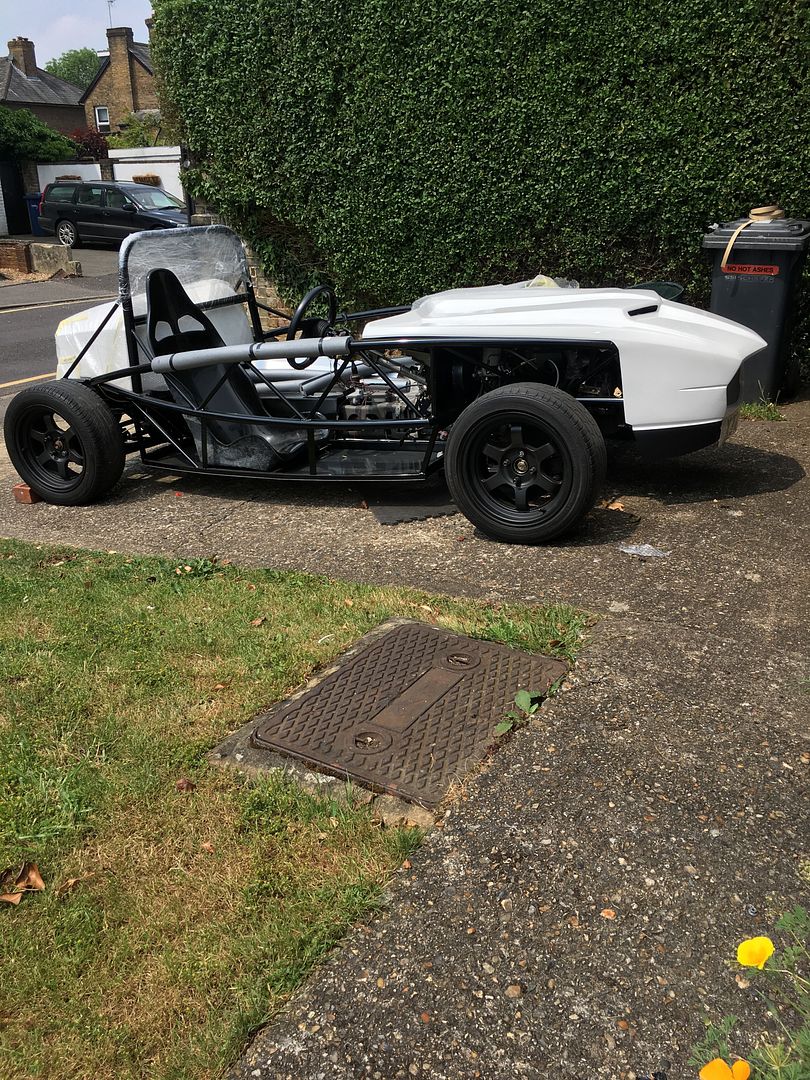 |
|
|
|
Post by hammy3601 on Jun 8, 2018 19:52:48 GMT
More work been going on. I made a bracket for an exhaust hanger so that I can hang the MEV rear box.... 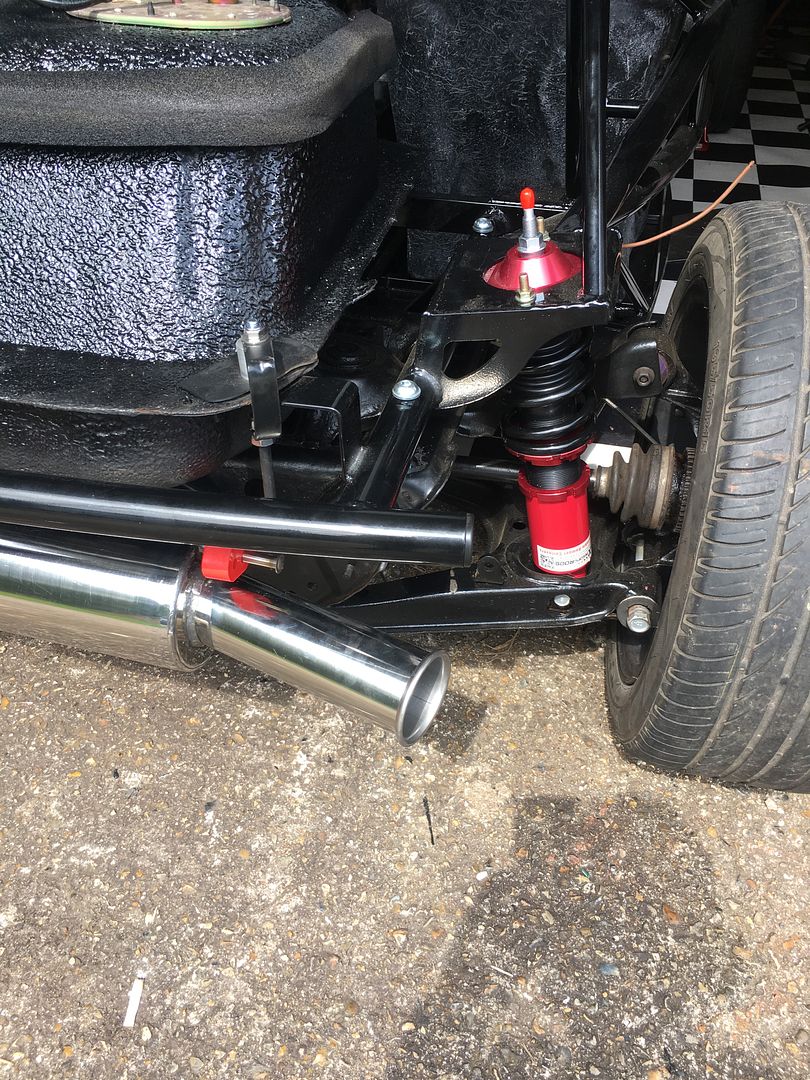 It mounts to the same hole as the fuel tank.... 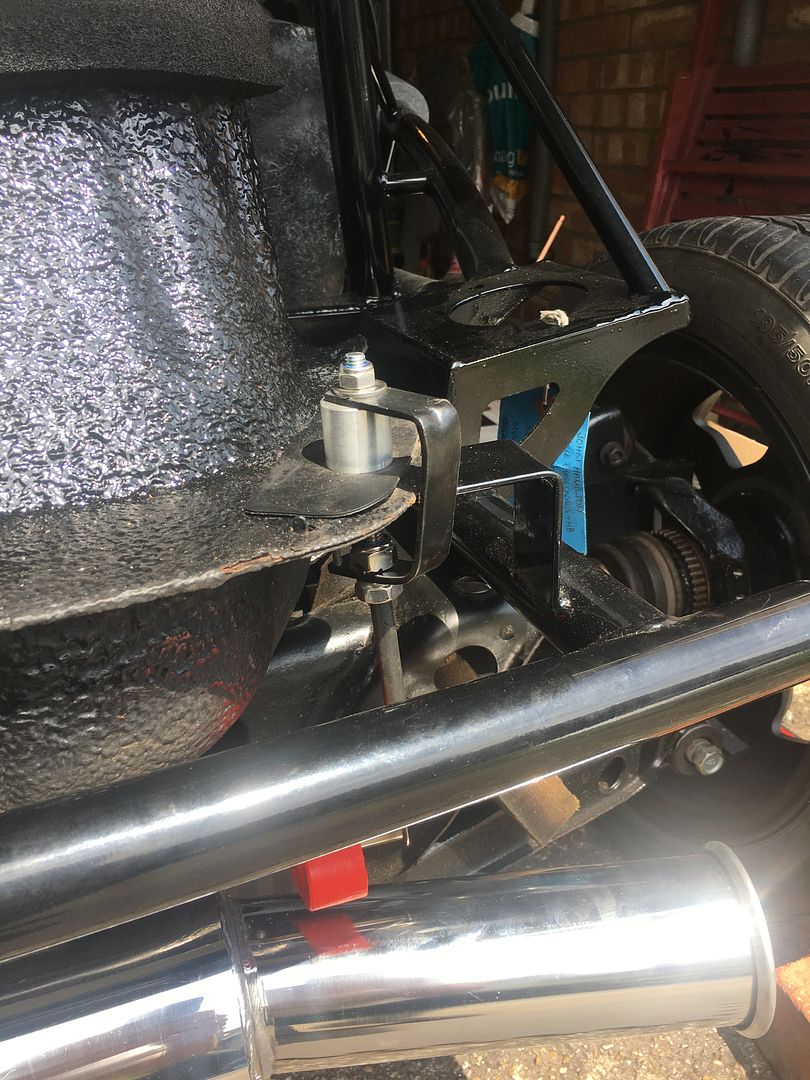 I also finally fitted the chassis to the skate and made a start on fitting the shiny new coilovers which look great with my chosen colour scheme...  This weekend I will crack on with the fronts and a few other jobs that need sorting 100%. I'm totally in love with new lines of the GType bodywork!! 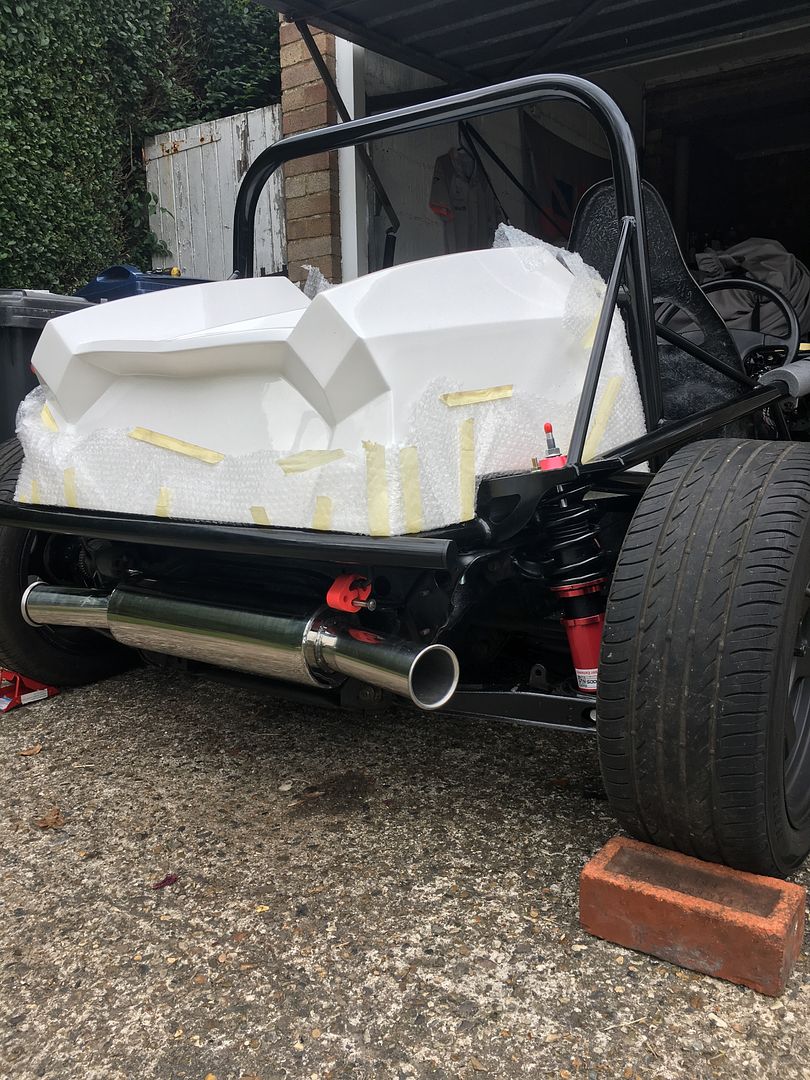 |
|
|
|
Post by hammy3601 on Jun 10, 2018 7:49:08 GMT
I sorted the MEV bananas today, a job I would recommend you do before restoring your wishbones. Its quite a tight job with a 4 1/2 inch grinder. 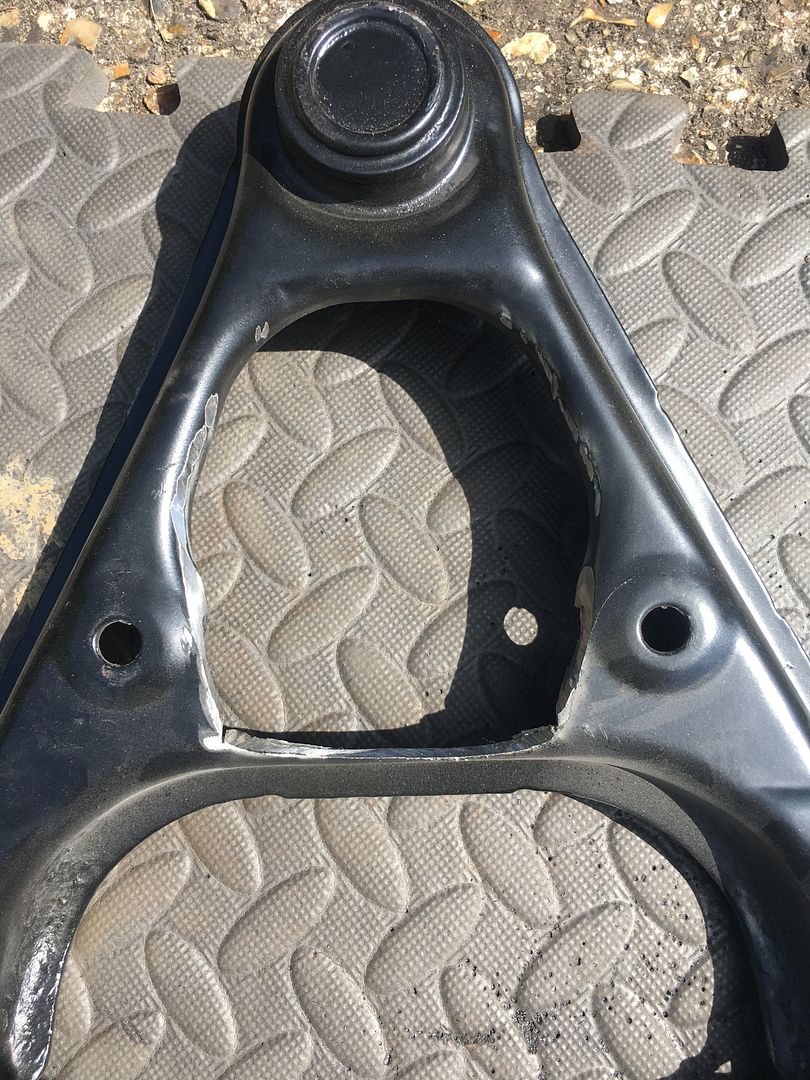 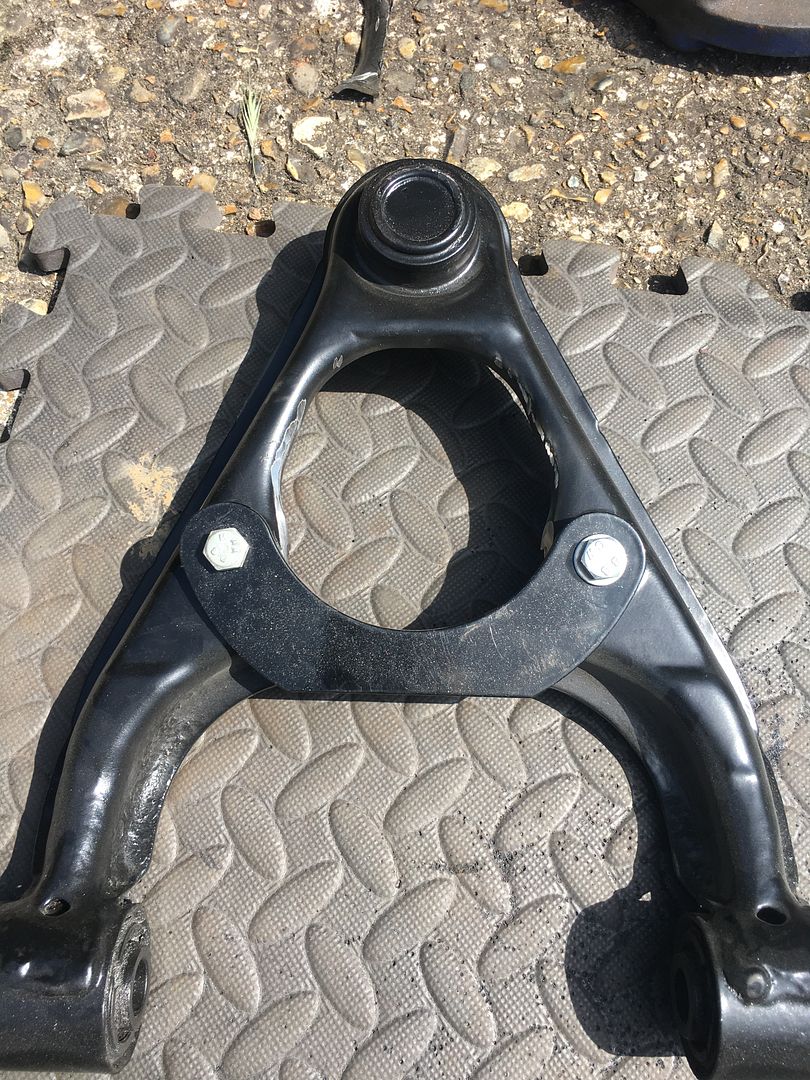 Also I noticed one of the top ball joint boots was ripped and the other wasnt going to be long behind it. Replacing the complete unit needs a press and patience. However mx5parts do sell replacement boots. Seeing they weren't going to come of easily or be an easy fit, I found this really useful thread..... www.mazdamenders.net/forum/viewtopic.php?f=37&t=1369&p=11954&hilit=lower+ball+joint+rubber#p11954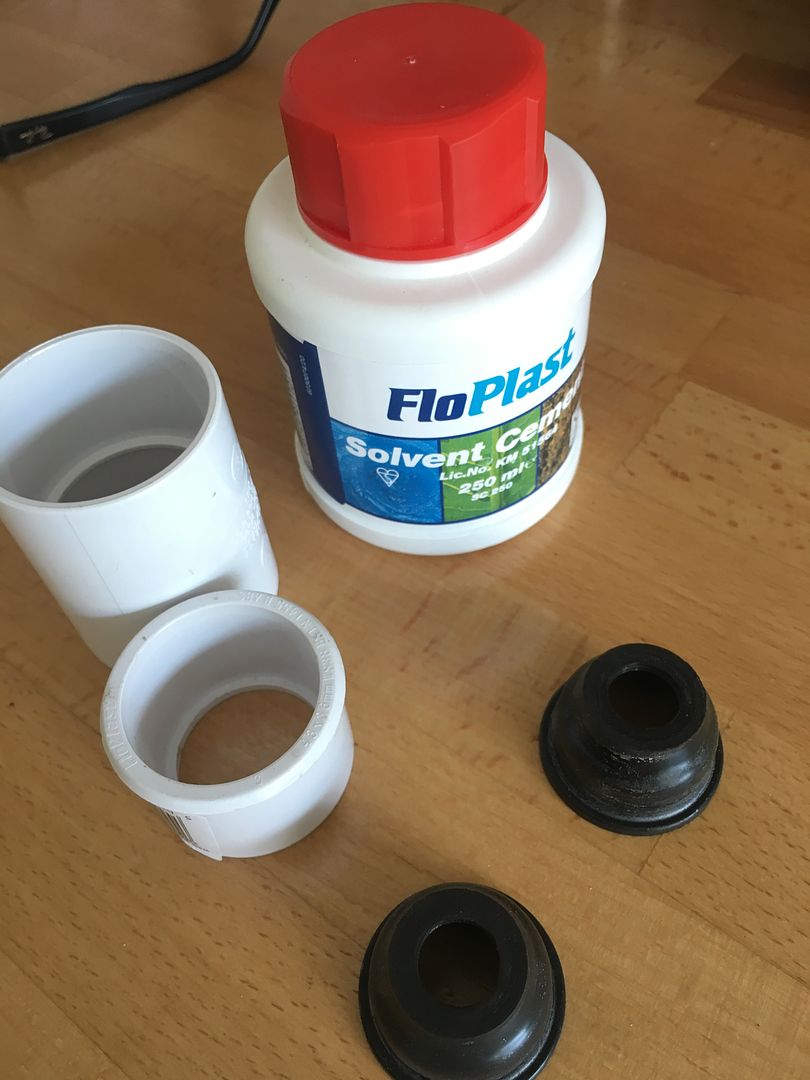 Everything you need to do the job. Boots from MX5 parts the rest from Wickes. Follow that thread and its an easy job. Only thing I would say is that in that thread it has one line that says pull of the old boot. Well its not that simple to get them fully off use a burner!! More to do today so more updates will follow tonight |
|
|
|
Post by hammy3601 on Jun 10, 2018 17:21:24 GMT
A bit more done today and all suspension now fitted. Tips for others: 1- Bananas needed about 5mm more cut out than in my last pics. 2- Top tip, put your long top wishbone bolt in from the bulkhead/cockpit end and you will easily be able to take it in and out. If you dont then once the chassis is bolted to the skate you are never going to get it out again. 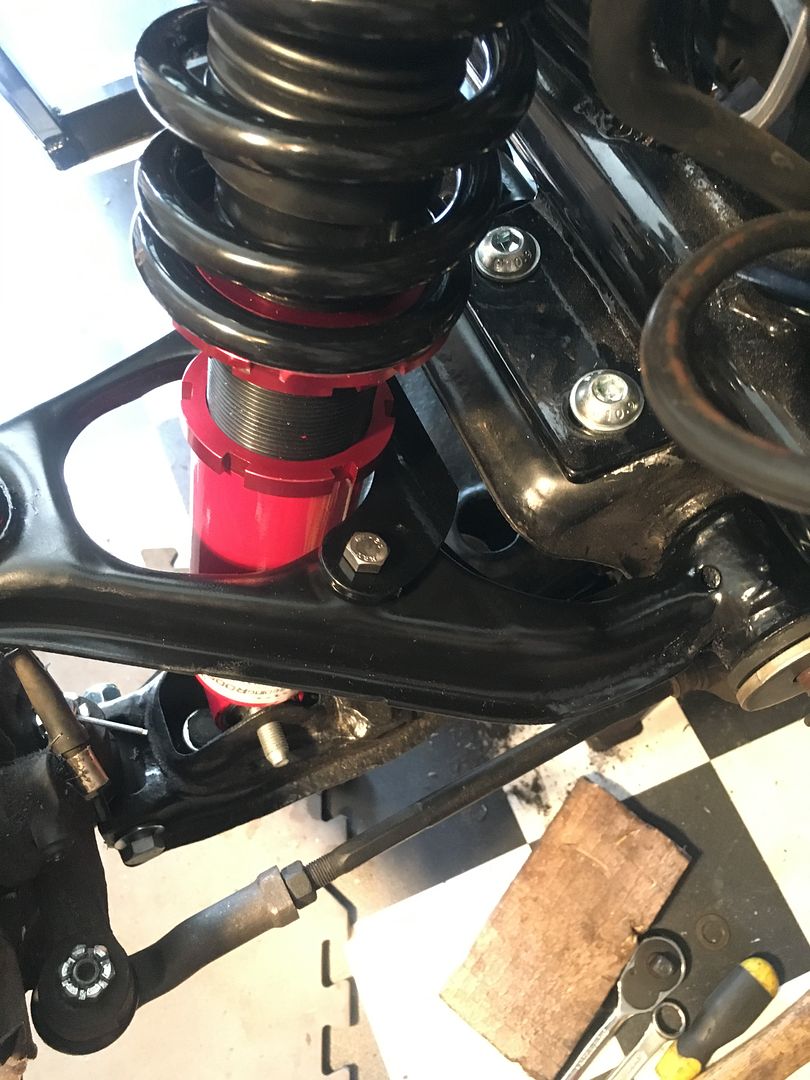 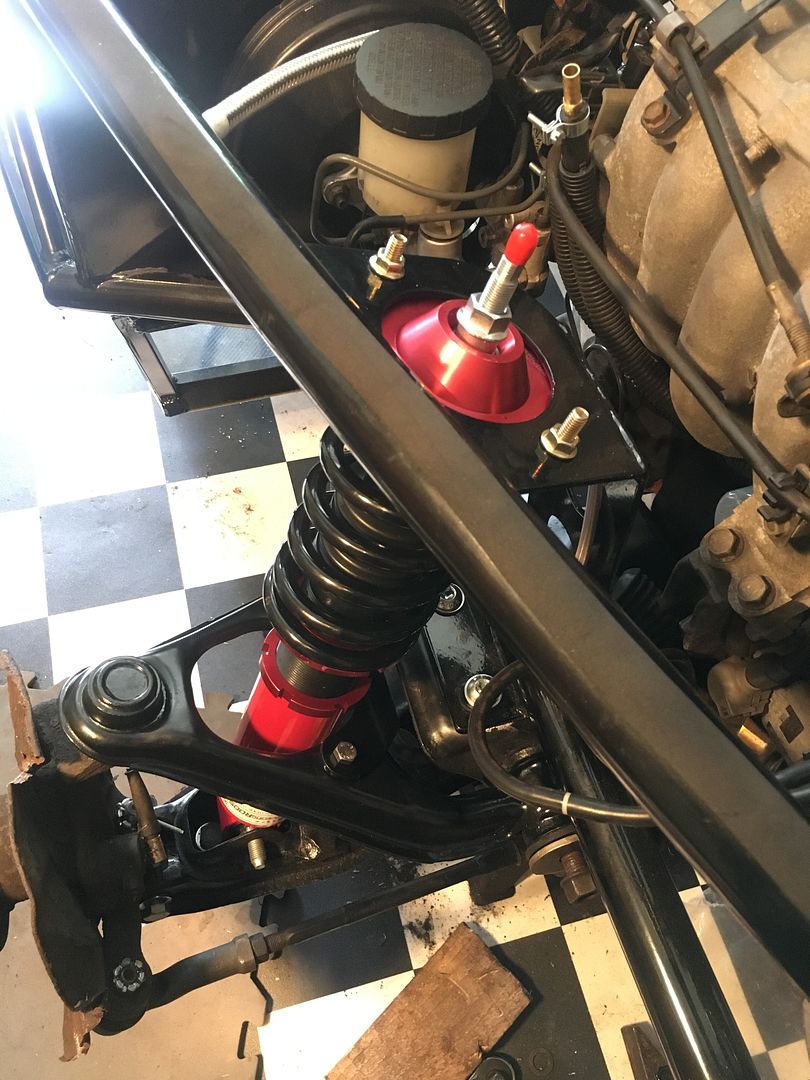 Now with the wooden blocks removed and sitting on proper suspension it looks wicked!! 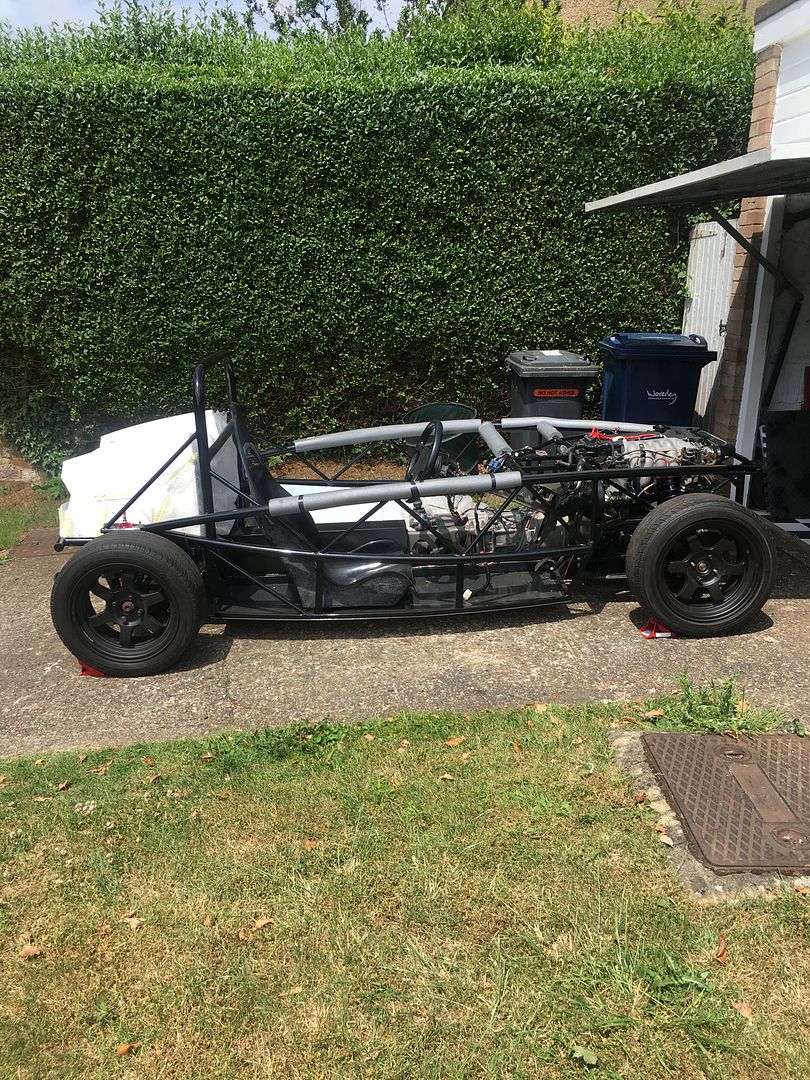 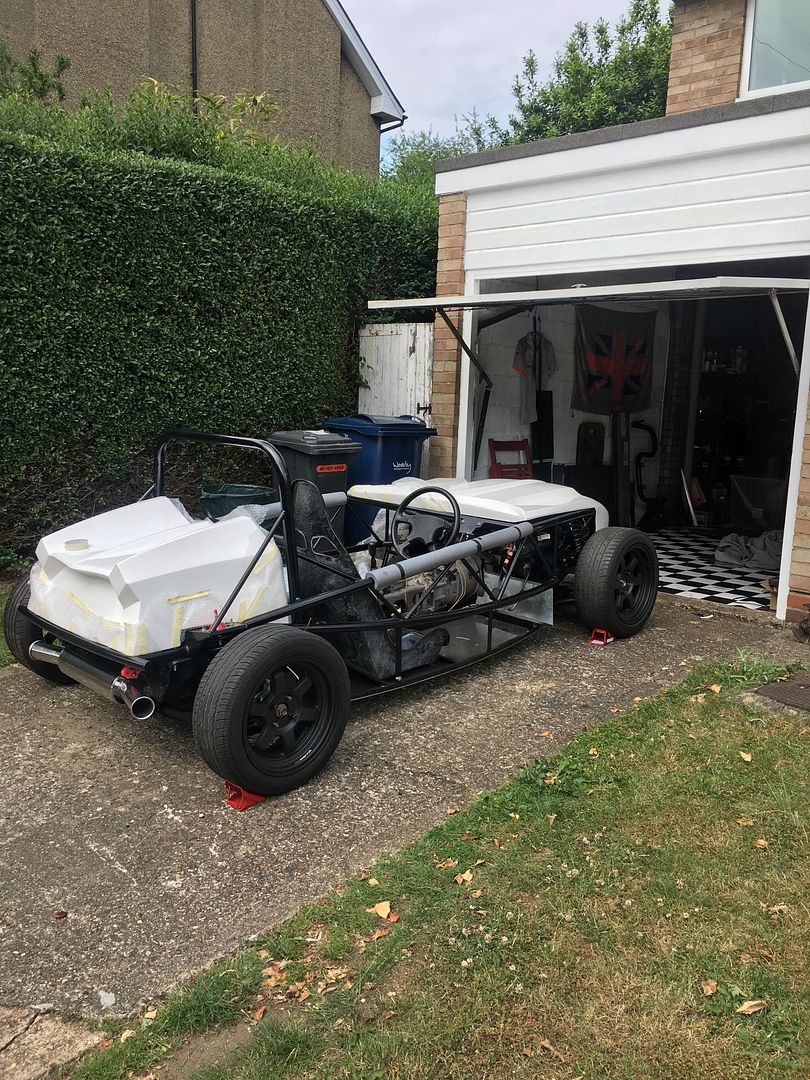 I also sorted the steering and have it working. Another top tip: reinsert the the steering rod in to the rack prior to fitting your steering column in the interior. Saves a bit of ball ache and doing things twice! All in all not a bad weekend and Im pleased. Need to earn some more dollars to order the next bits I want but have plenty to get on with. One things for sure and that is I am ordering a scissor lift. my knees and back are killing me!! Time for a beer now and the Canadian Grand Prix!! |
|
|
|
Post by jason82 on Jun 10, 2018 18:30:50 GMT
A bit more done today and all suspension now fitted. Tips for others: 1- Bananas needed about 5mm more cut out than in my last pics. 2- Top tip, put your long top wishbone bolt in from the bulkhead/cockpit end and you will easily be able to take it in and out. If you dont then once the chassis is bolted to the skate you are never going to get it out again.   Now with the wooden blocks removed and sitting on proper suspension it looks wicked!!   I also sorted the steering and have it working. Another top tip: reinsert the the steering rod in to the rack prior to fitting your steering column in the interior. Saves a bit of ball ache and doing things twice! All in all not a bad weekend and Im pleased. Need to earn some more dollars to order the next bits I want but have plenty to get on with. One things for sure and that is I am ordering a scissor lift. my knees and back are killing me!! Time for a beer now and the Canadian Grand Prix!! Good progress ! Might be worth out to g your iva covers in things now before you go too far. Your steering rack end covers can be slipped on now before you torque things up. May save you doing things a few times over ! Lol |
|
|
|
Post by hammy3601 on Jun 10, 2018 18:31:36 GMT
And one of those 'stick the bonnet on' shots.... 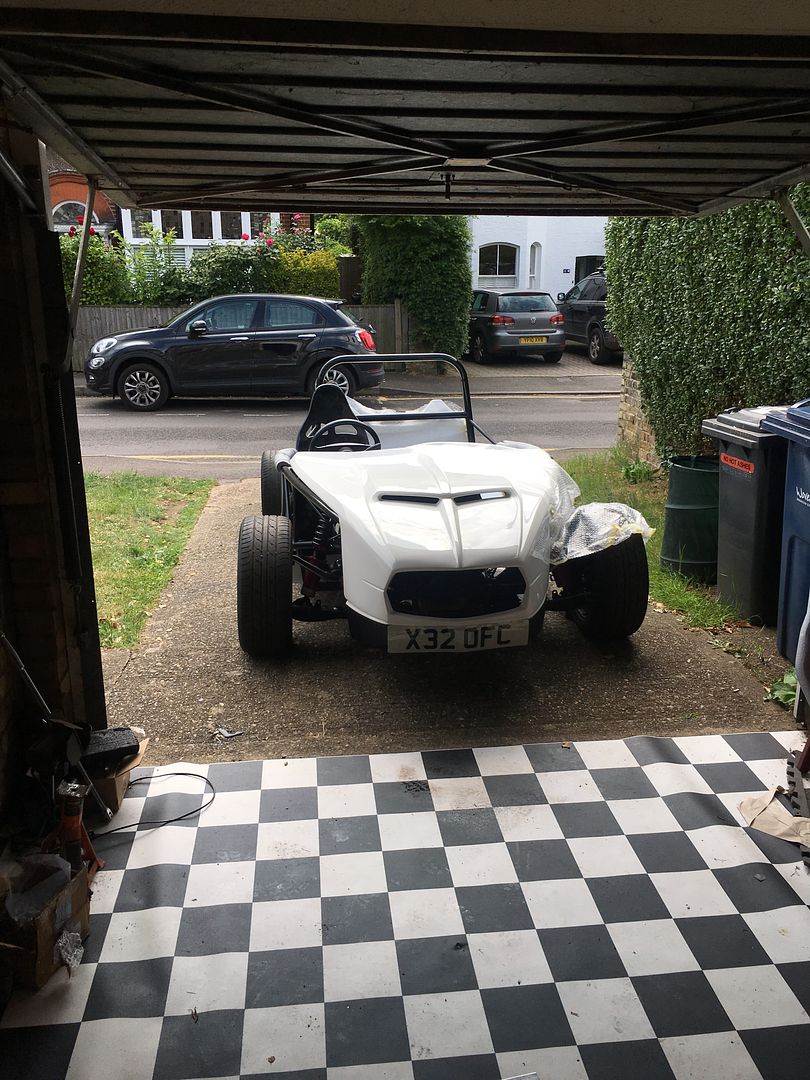 |
|
|
|
Post by hammy3601 on Jun 10, 2018 18:33:22 GMT
jason82 yep good point Jason but they are fitted I did them later today mate
|
|
|
|
Post by browno on Jun 10, 2018 22:09:31 GMT
Looking like good progress - amazing how much change you can make at this stage in the build with a good session of work!
I would definitely recommend a scissor lift - I’ve had mine 3 years now and find it invaluable - for the exocet and my other cars too... definitely a grand well spent!
|
|
|
|
Post by hammy3601 on Jun 12, 2018 12:20:41 GMT
Looking like good progress - amazing how much change you can make at this stage in the build with a good session of work! I would definitely recommend a scissor lift - I’ve had mine 3 years now and find it invaluable - for the exocet and my other cars too... definitely a grand well spent! Yep am going to order one at the end of this month mate |
|
|
|
Post by hammy3601 on Jun 19, 2018 22:39:22 GMT
I've started laying out of the wiring. Ive been so close to ordering a seperate kit car loom but thought, what the heck and try this first... 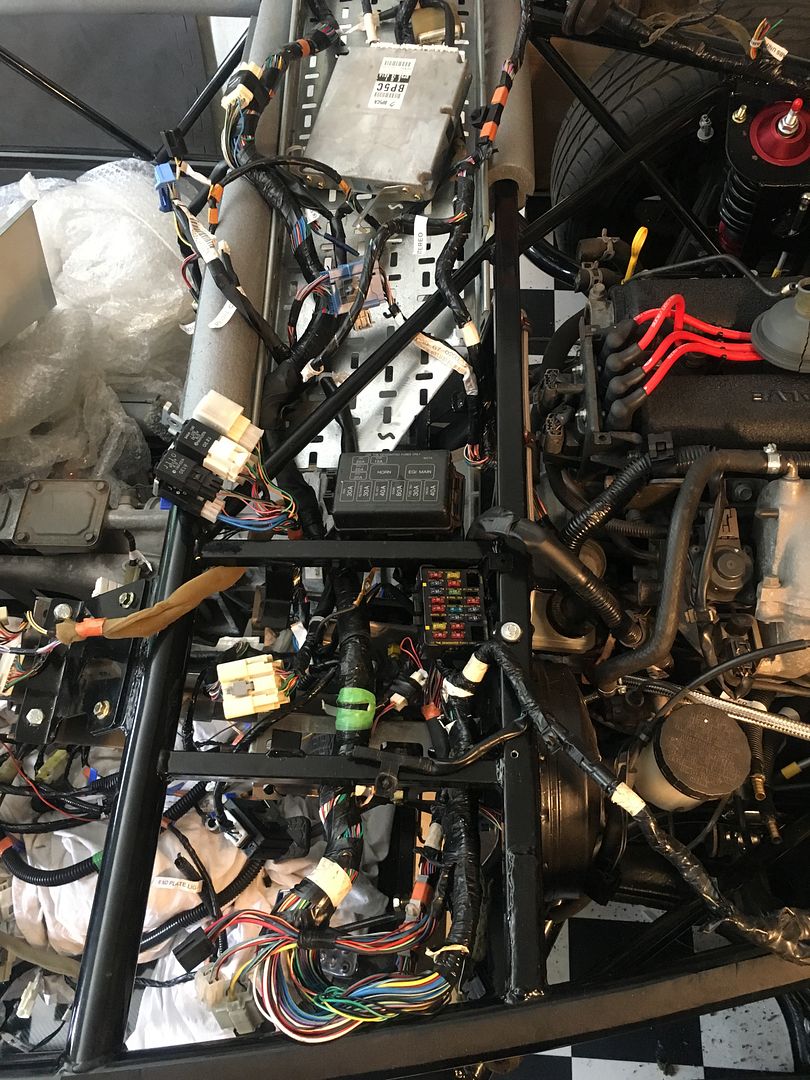 Ive made up a tray from industrial wiring conduit..... 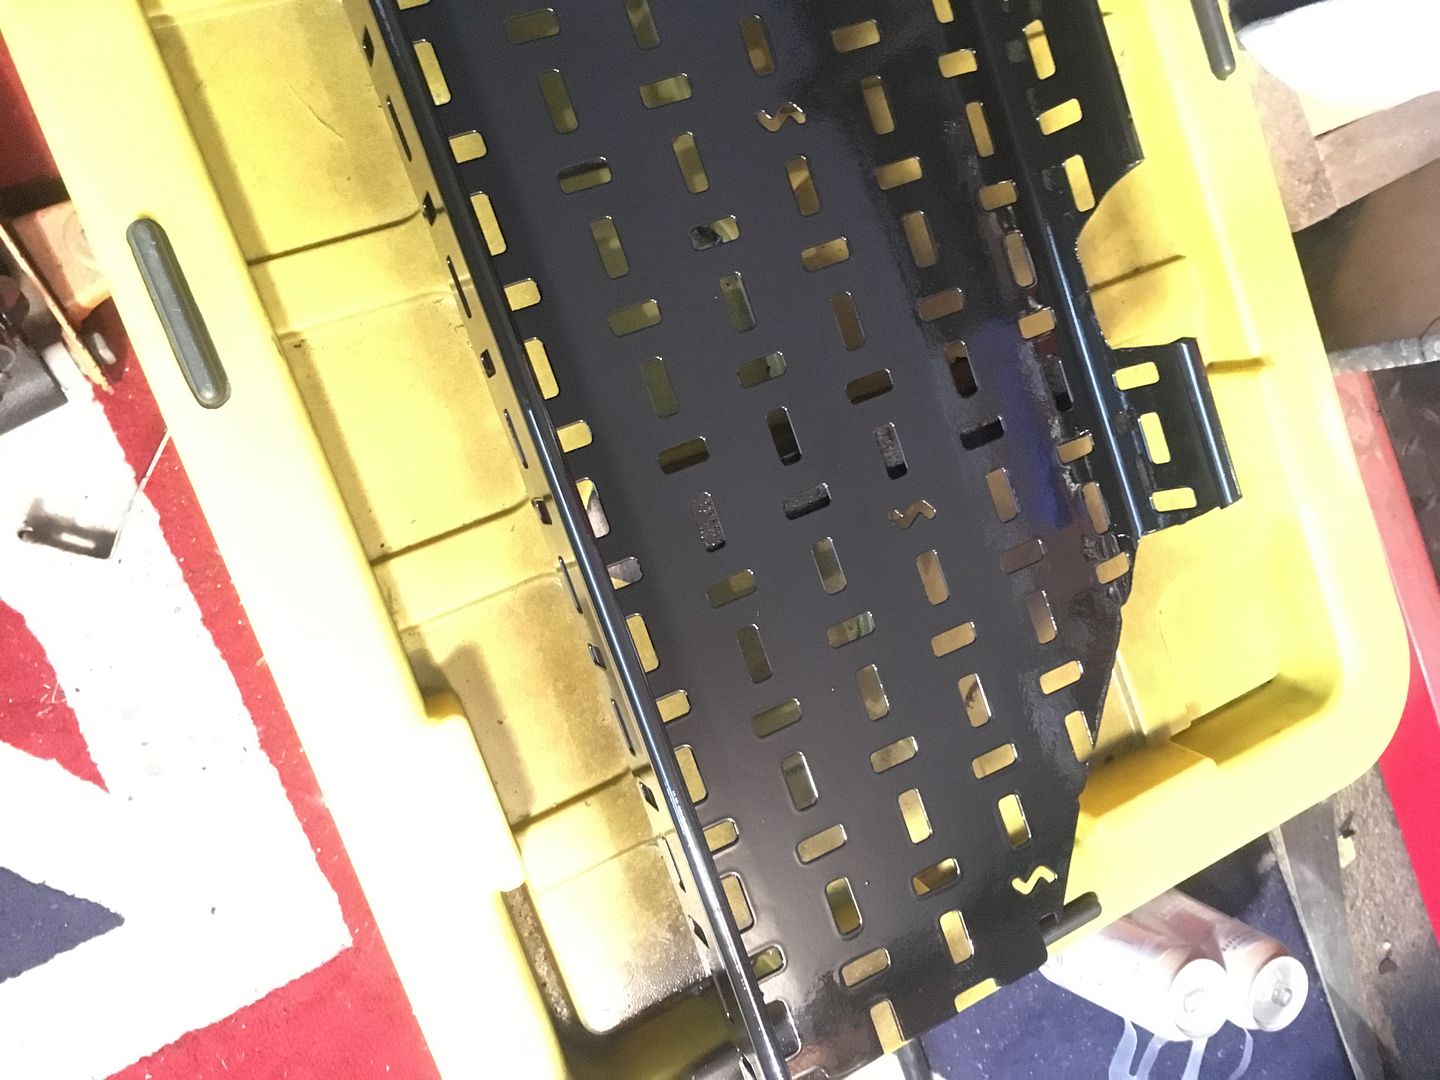 Painted and edge trimmed it... 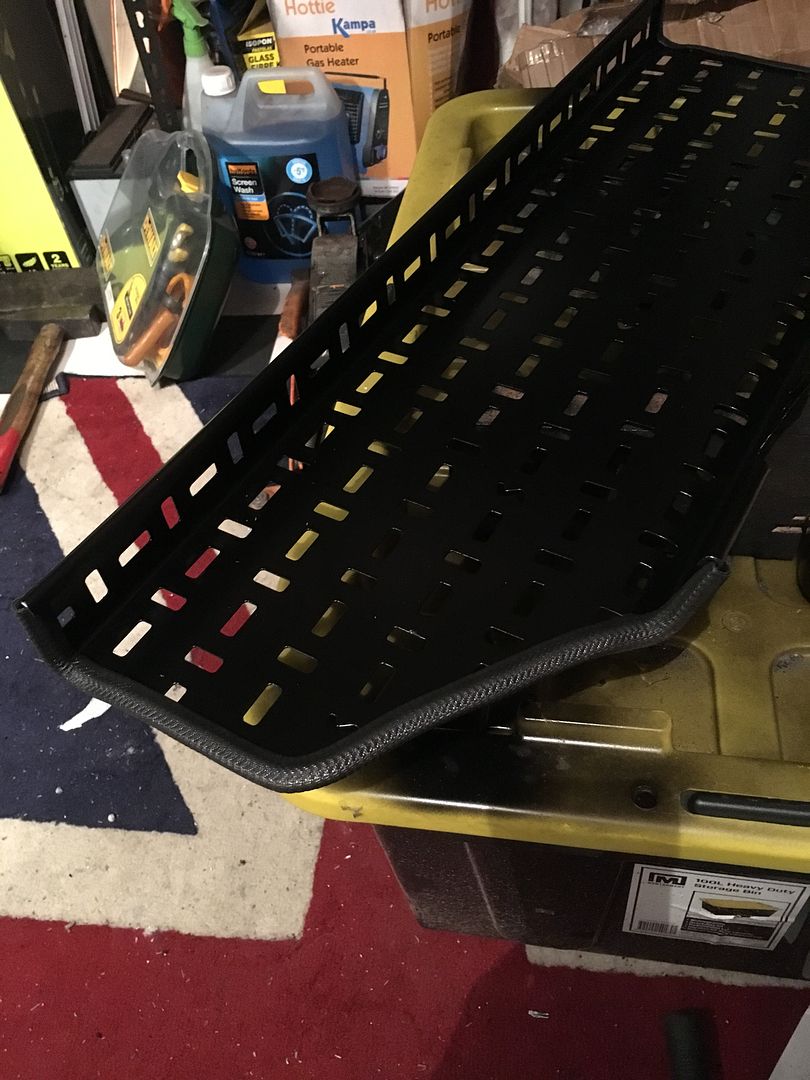 And started to mock up a cover for it all.. 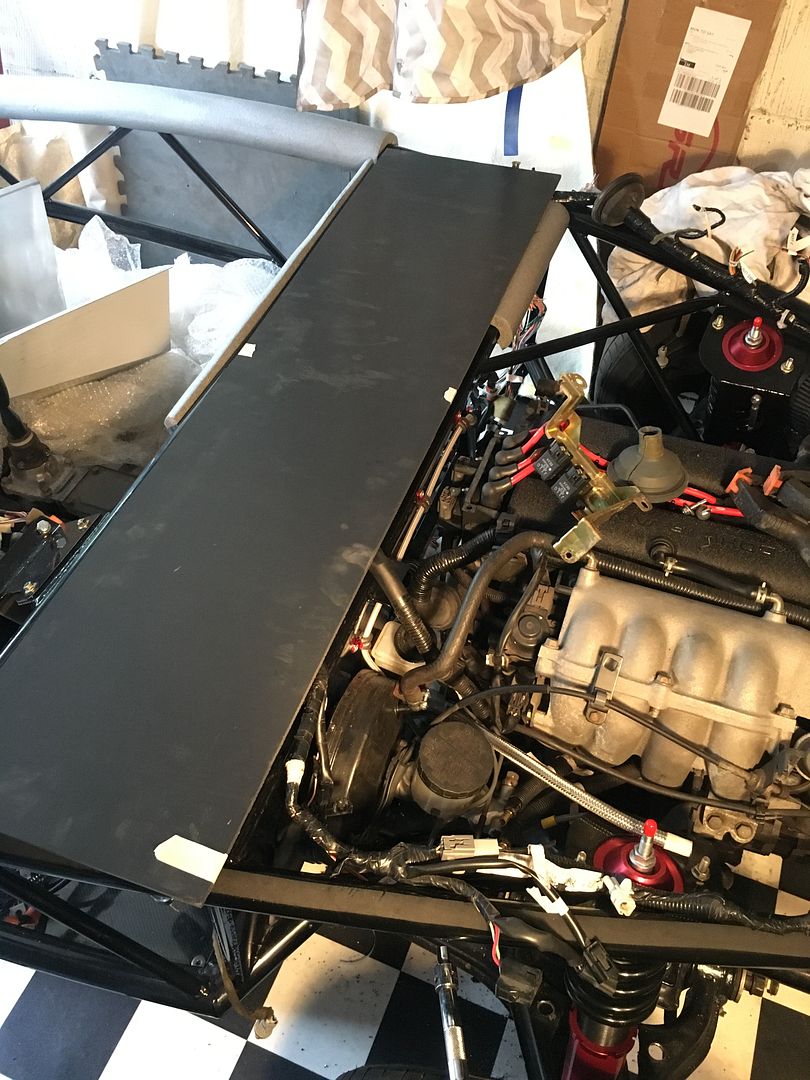 This is going to be an interesting part of the build but I'm determined to see if I can get it started and all the electrics working at the earliest opportunity |
|
|
|
Post by hammy3601 on Jun 20, 2018 17:28:36 GMT
With me wanting to crack on with wiring I realised it made sense to sort the bulkheads first so that I can fit a wiring tray and route the loom. My interior panels so far..... I started with the tunnel, removed the gearstick and started cutting small holes... 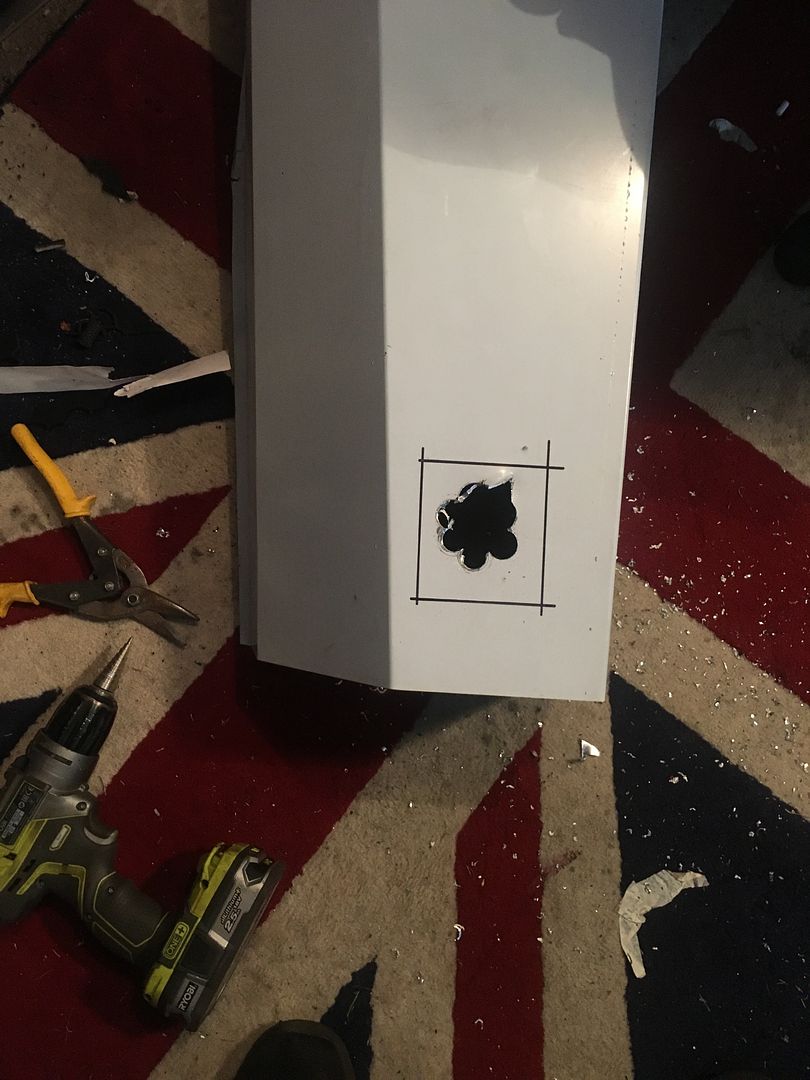 I then cut 3 or 4 more times until getting to the final cut... 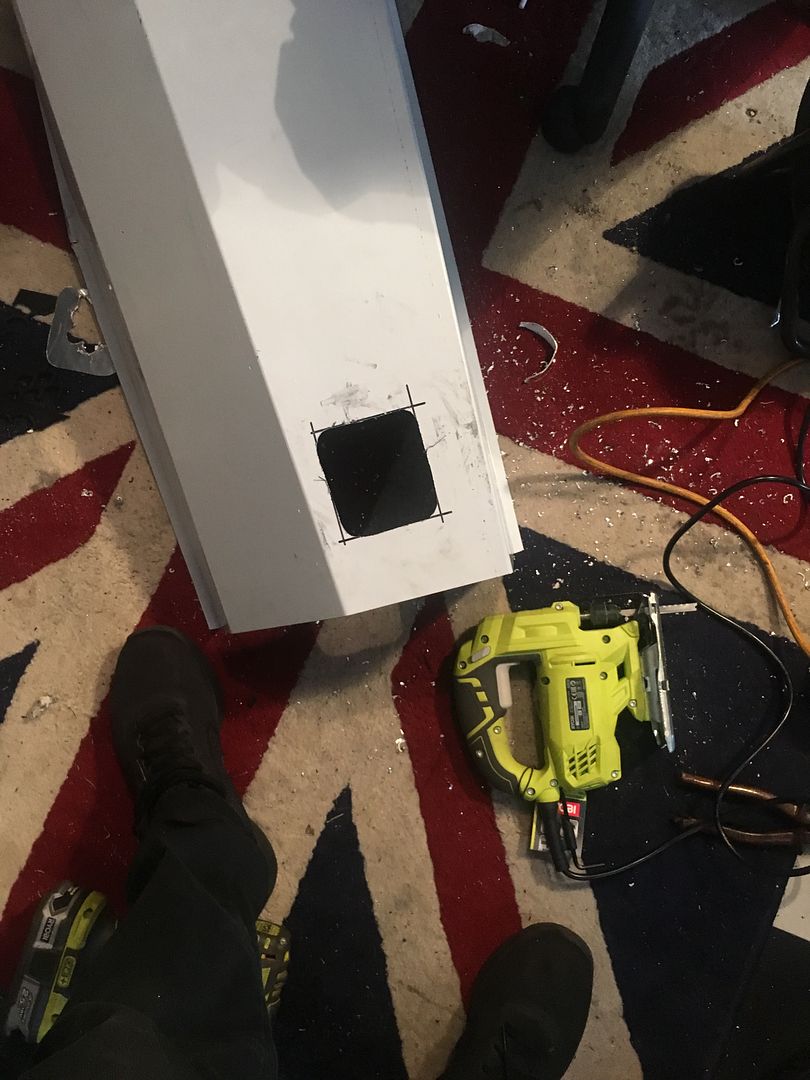 Above pic isnt the final but its getting there..... Once it was fitted at the back I went on to mark the front... 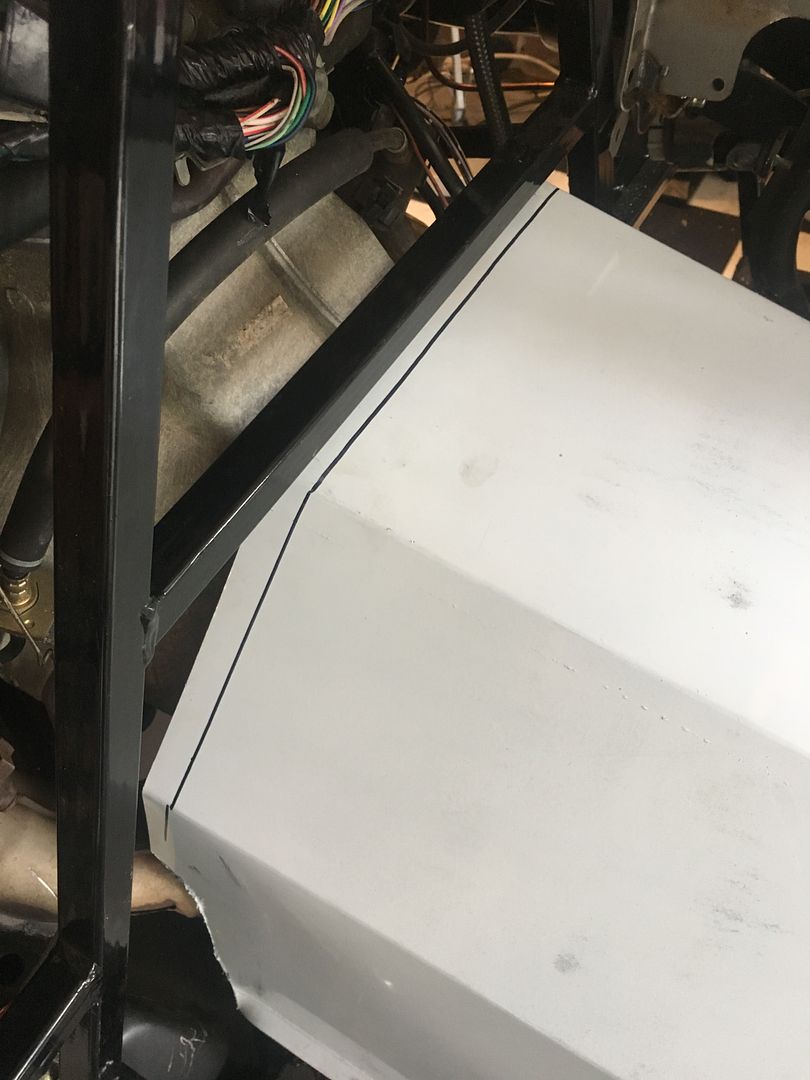 On the other side of the tunnel I profiled it to give maximum clearance with any fuel or brake pipes. Fitted the passenger side one which I thought was easy to be honest. I then made a template for a centre bulkhead. I was going to do passenger and centre as one pice of ali. However I want the tunnel and centre removable for any future big mods or big engine and gearbox maintenance. 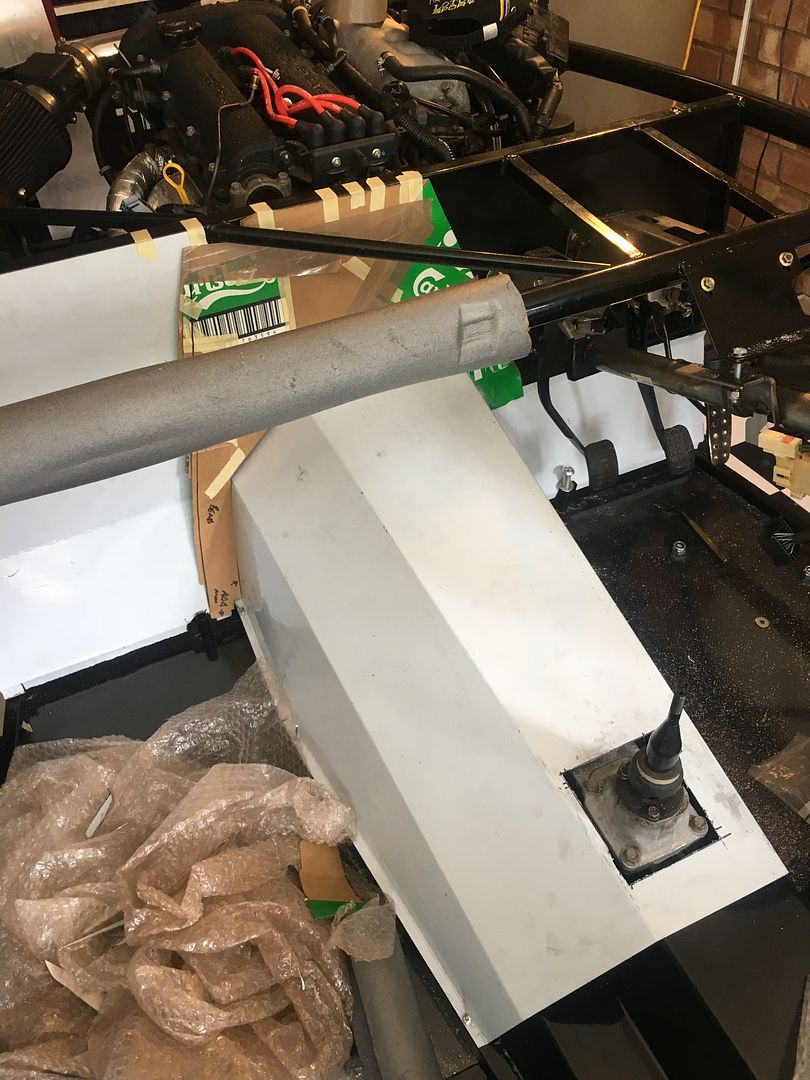 And with a fresh piece of Ali marked it all out.... 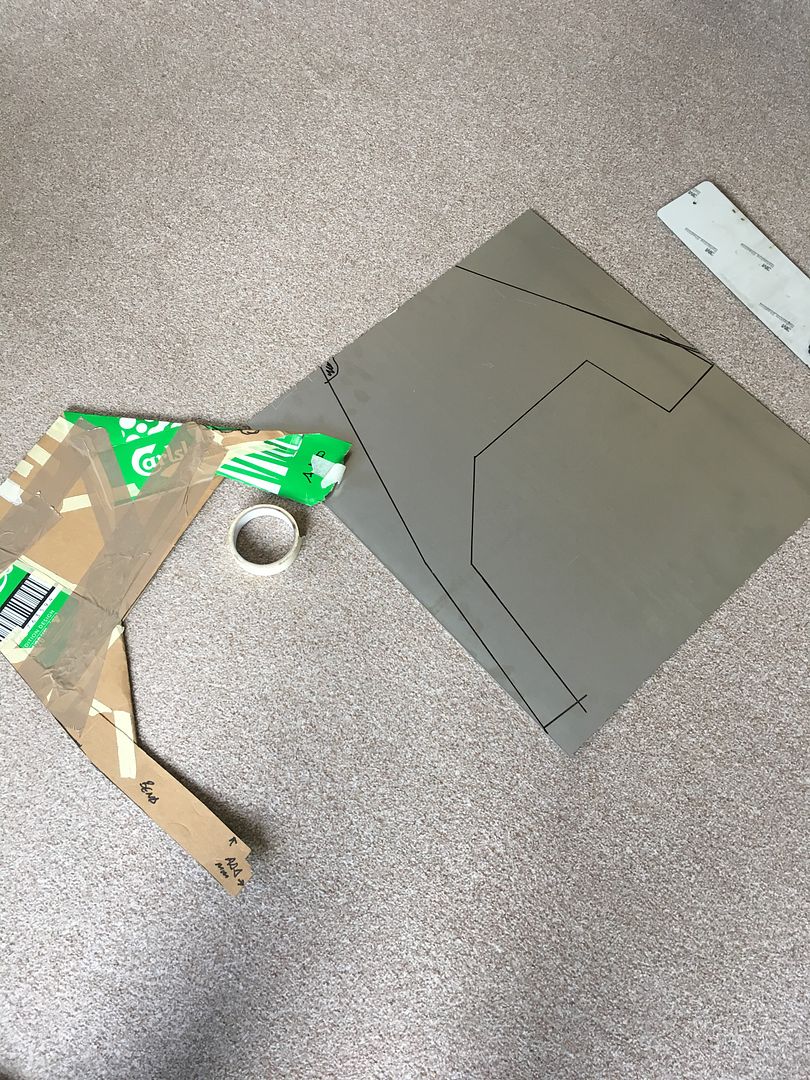 Next I cut and fettled this 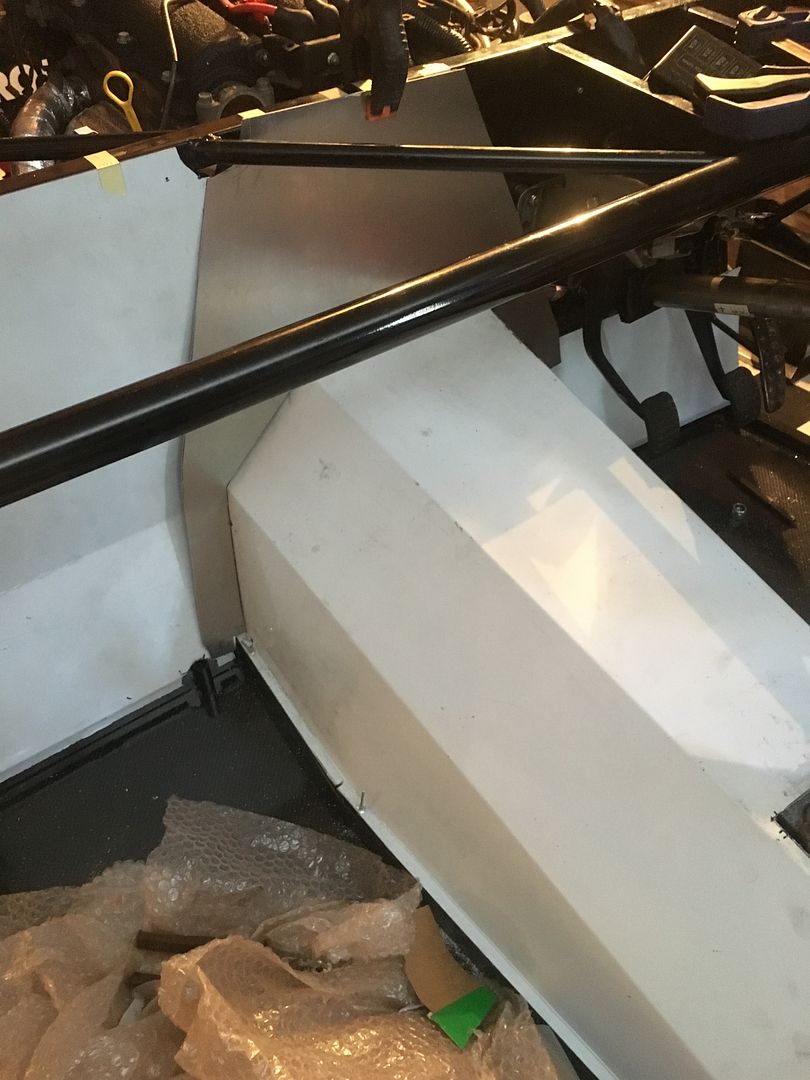 Its all good and fits well, the next job will be to wrap all the ali the same as the floors in 6D carbon and get it all fitted. A job done now that Im very pleased with the results and glad to have out of the way! :-) I had the offer of a wiring tray from one of the members but the sizes were all wrong. So Im continuing with mine that I started making... 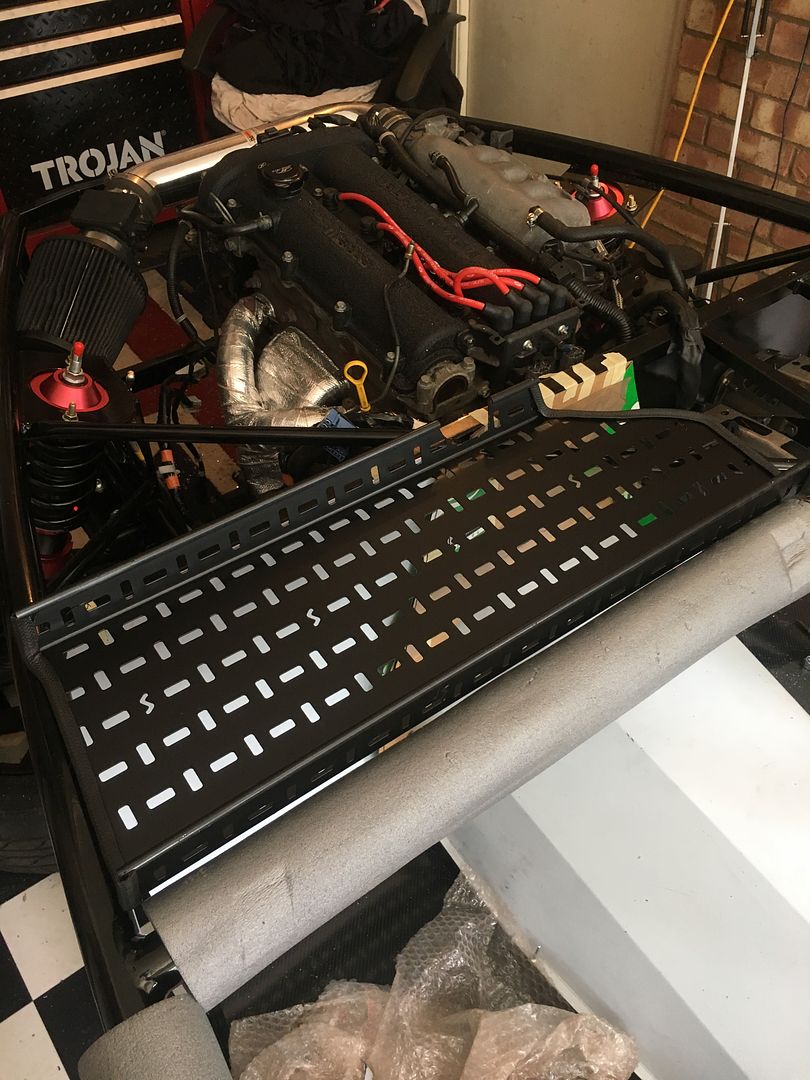 Thats it for now. Oh and by the way... Carlsberg dont do bulkhead templates but if they did!....... :-) Cheers |
|
|
|
Post by jason82 on Jun 20, 2018 19:04:22 GMT
What size pipe lagging are you using to protect the chassis please ? I need to get some before I collect my kit.
|
|
|
|
Post by hammy3601 on Jun 20, 2018 20:40:24 GMT
What size pipe lagging are you using to protect the chassis please ? I need to get some before I collect my kit. Its the standard size stuff they have in homebase mate |
|
|
|
Post by hammy3601 on Jun 25, 2018 21:18:46 GMT
|
|
|
|
Post by hammy3601 on Jul 2, 2018 18:11:44 GMT
A few more jobs done. I made a card template for the rear panel... 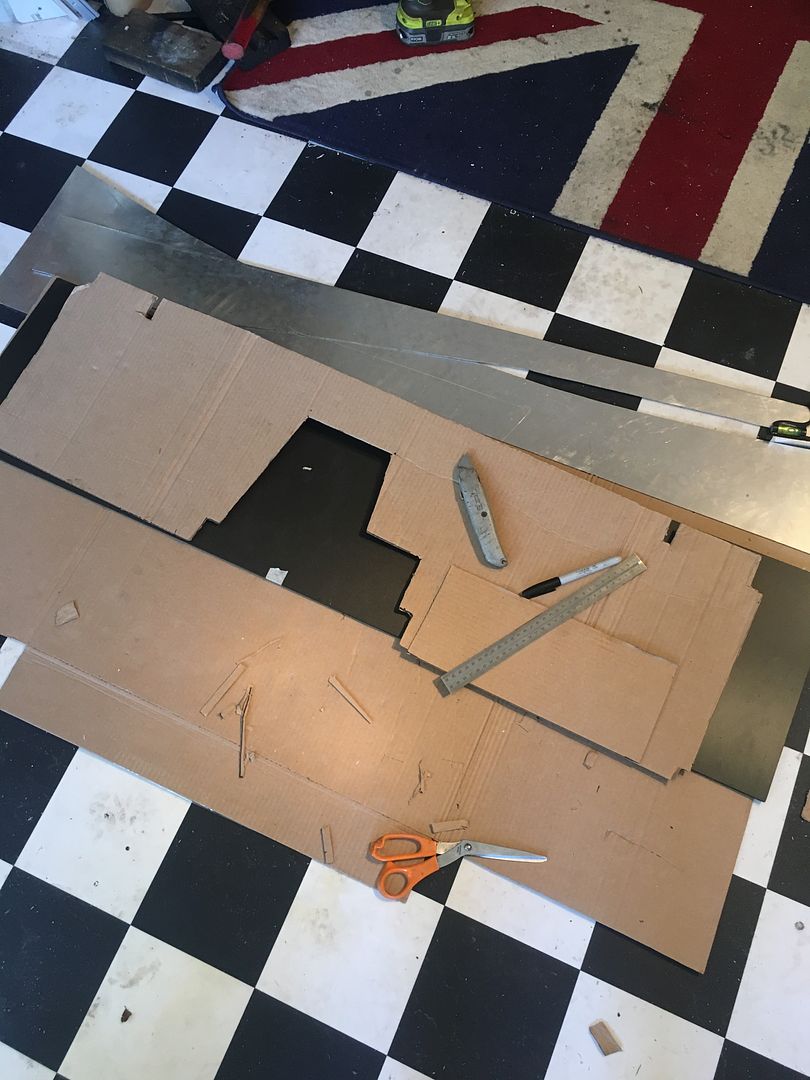 And then transfered that to the supplied foamex panel.. 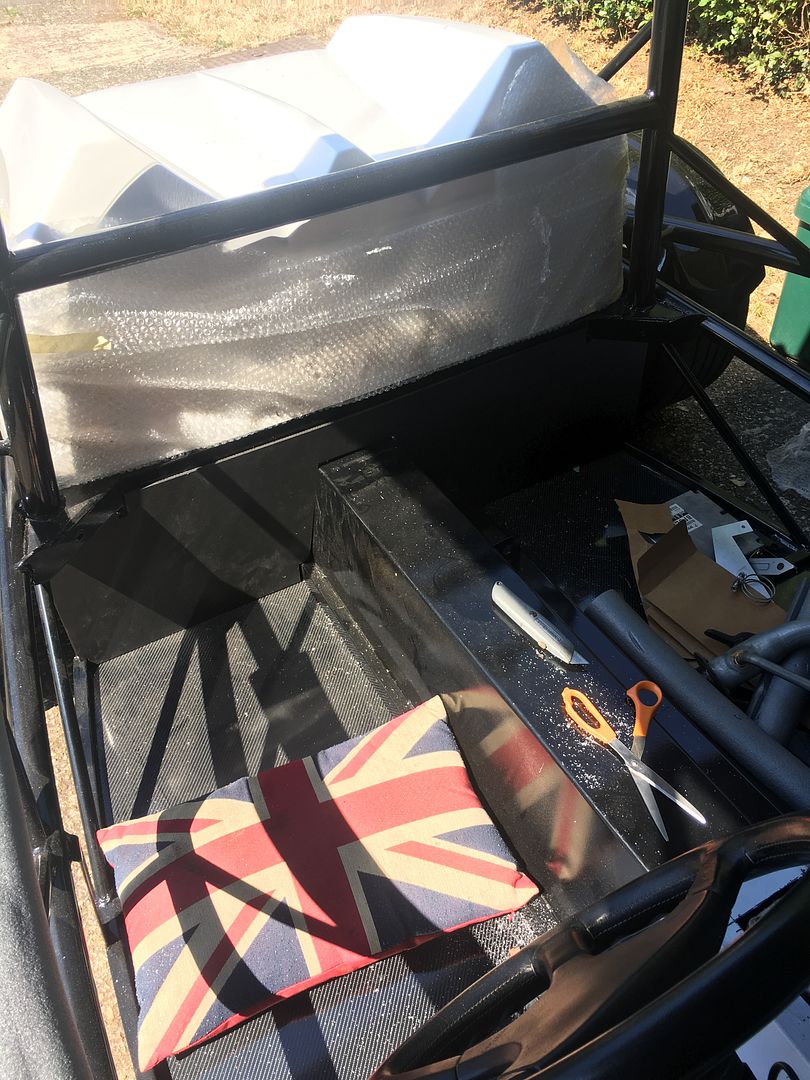 I just need to cut the holes for the handbrake cables and my return braided fuel line. I was then thinking safety and IVA. I am running braided feed and return all the way from the tank and joining it to the existing hoses on the fuel rail. I dont want the joints to be floating unsupported. So I made a bracket from sheet steel, pclips and rivnuts. It bolts to an existing bolt on the gearbox/bellhousing, the same one that a loom mount already bolts to. 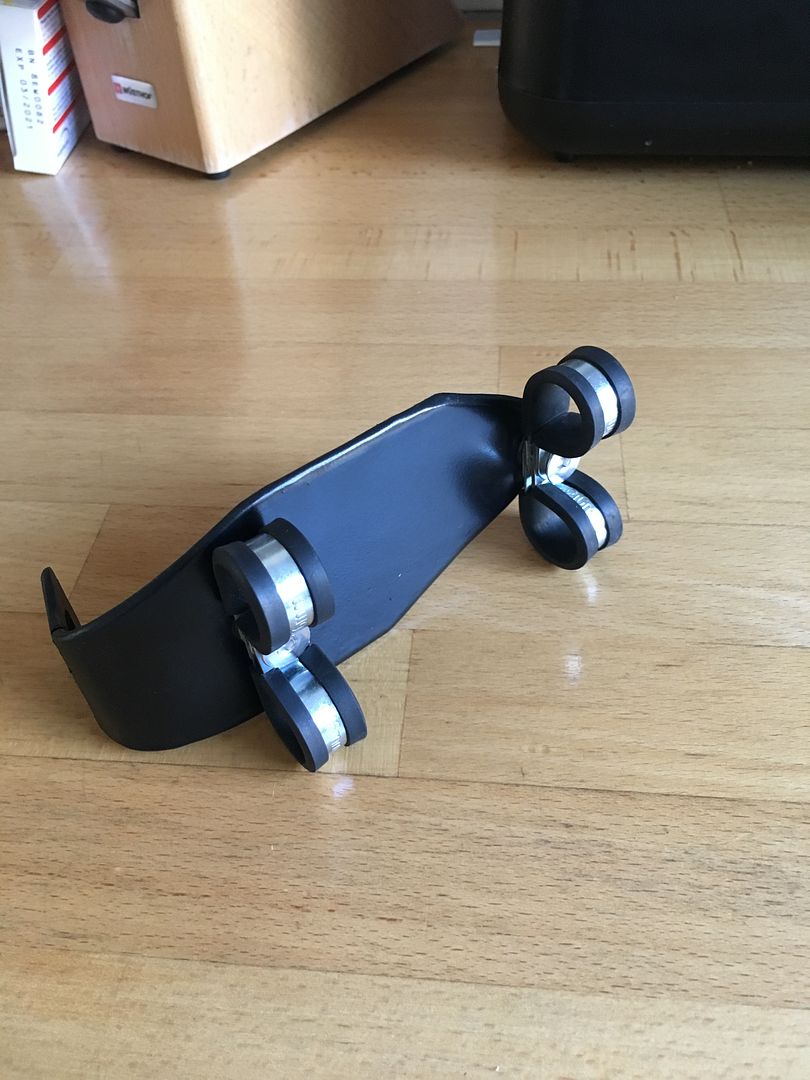 Next I have drilled the holes and temporarily mounted the fog and reverse that I got from CBS, there the same as the MEV ones but I wanted to buy all new discs and pads this month and didnt want to buy the full light kit in one go. 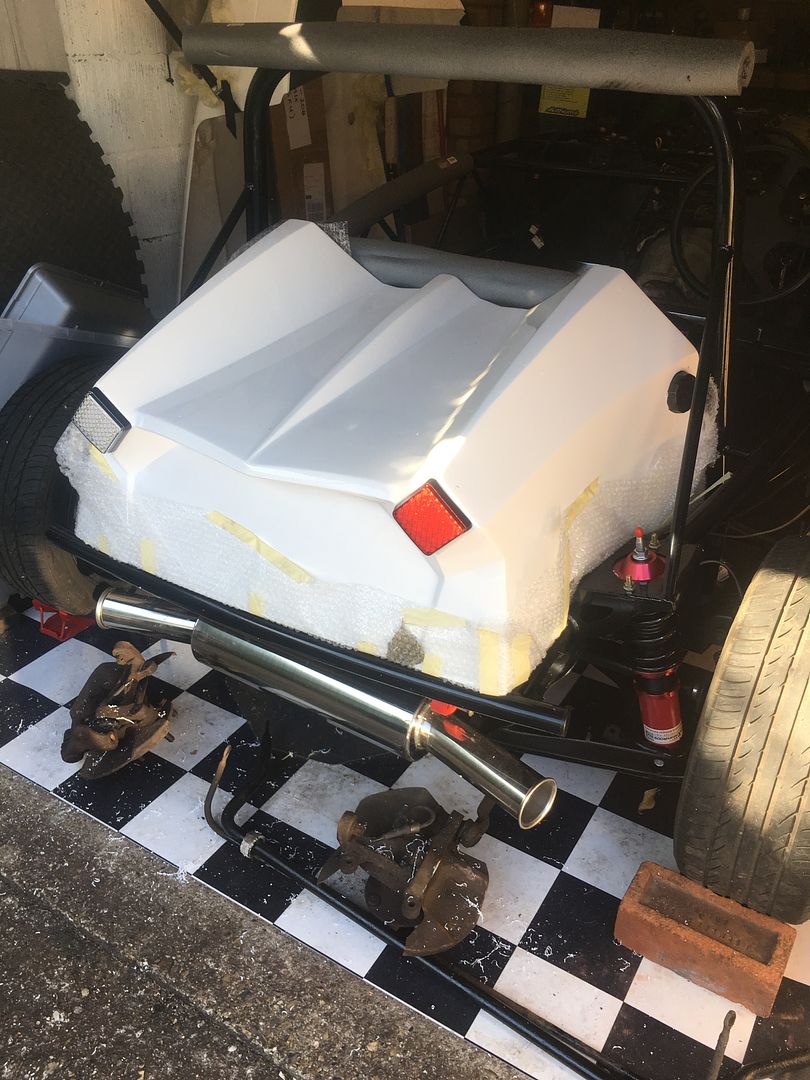 Ive also had my new Mk1 radiator delivered and lots of other parts that will enable me to for the first start up attempt very soon. I got these Pit King mirrors which apparently are on some Caterhams, however whilst they are very cool Im not sure they will work for IVA. Anyone know?? PS> New Rad in the box in the background ;-) 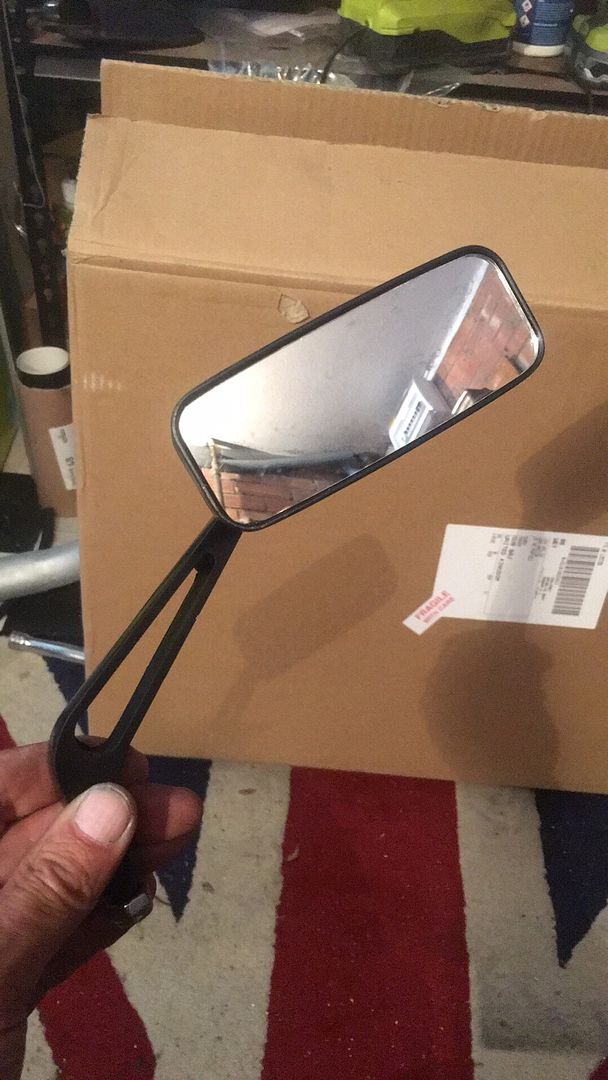 I then took out the brave pills again and marked up and cut the fuel filler hole in the rear cover. I have a plan for the fuel cap and will let you know how it goes...  Lastly I have decided not to fit the Gtype front wings and will be fitting the ones from the previous model Exocet. Reason being I want the more curved smooth look on the front and I dont want my indicators on the front of the wings. Ive ordered them from Stuart and will pick them up from Curborough. I really feel like this is going so well and am finding it a great build and enjoying every minute. However I am under no illusion of what faces me (possibly) with the wiring. Hope youre enjoying my ramblings guys. |
|