Andy888
Full
   Exocet Builder
Posts: 212
|
Post by Andy888 on Feb 3, 2011 23:16:52 GMT
Looking good guys. Nice to see the kids involved. I tried for years to get my dad to build a kit car when I was young!
|
|
|
|
Post by tlight on Feb 5, 2011 18:18:28 GMT
Powder coated parts starting to arrive... 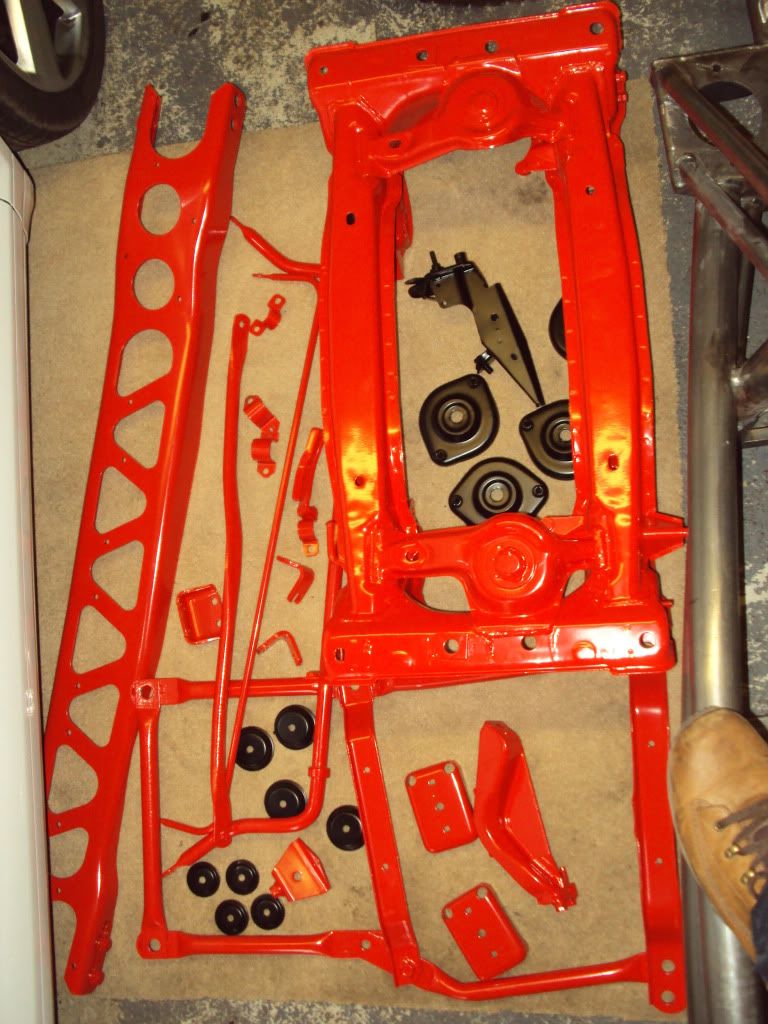 Planned trial fit of rear sub frame, fuel filter and petrol tank on Sunday. |
|
|
|
Post by tlight on Feb 6, 2011 20:55:43 GMT
Removing nuts & bolts post-powder coating 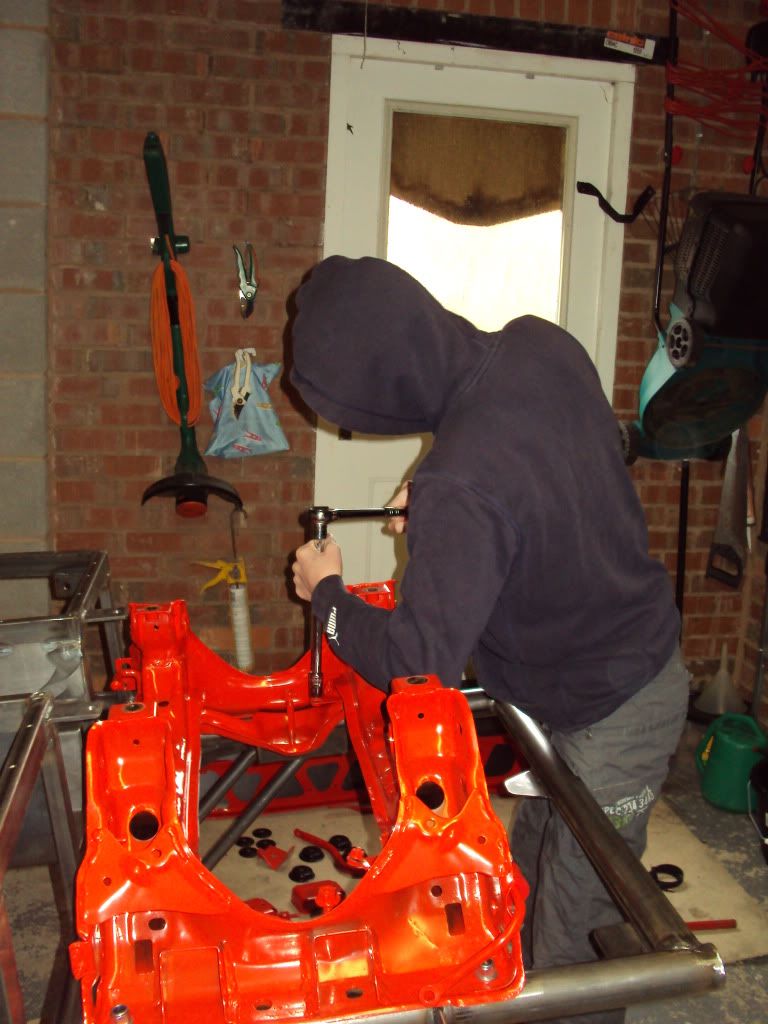 Rear sub-frame mounted 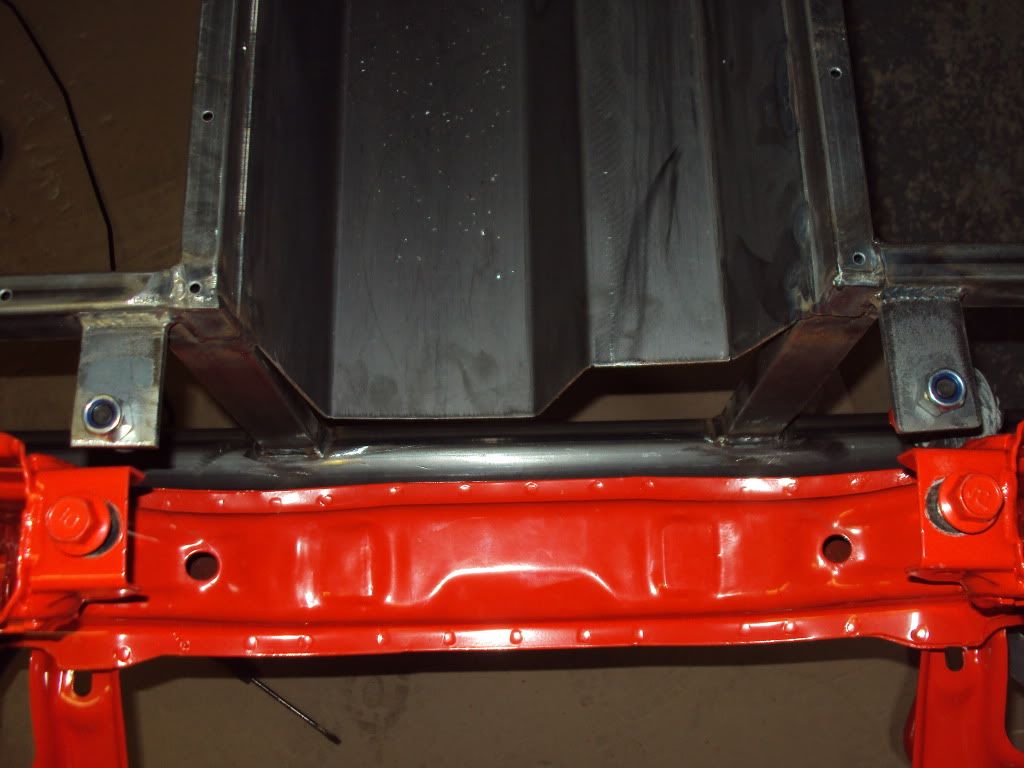 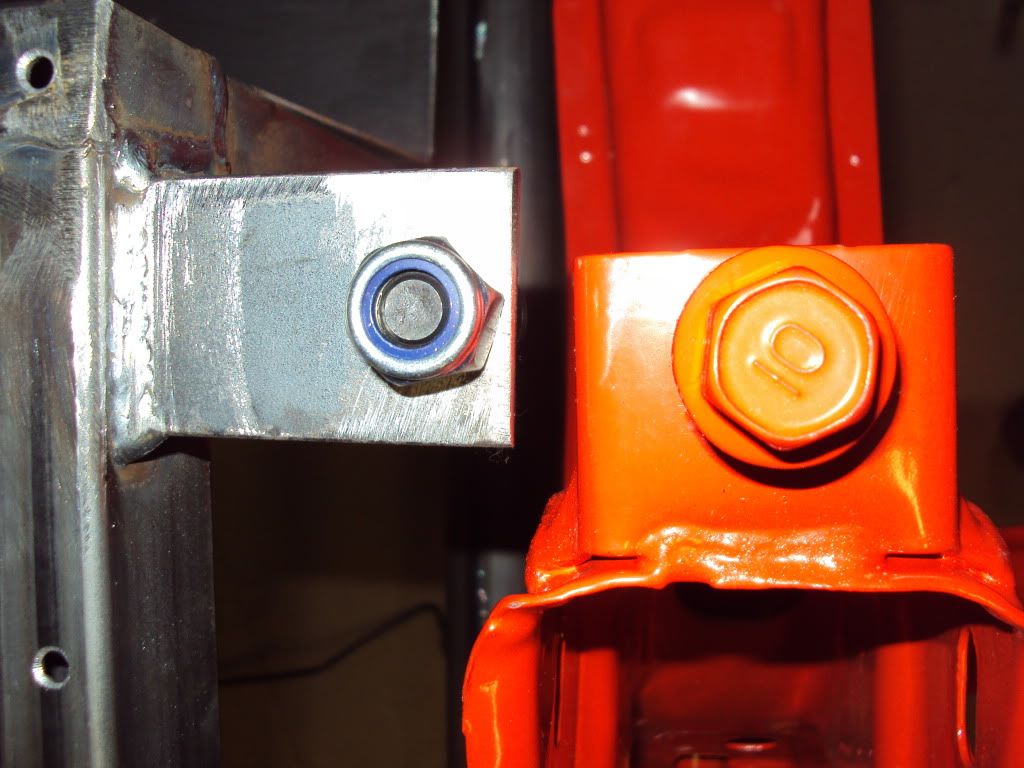 Cutting off unwanted ears on front sub frame 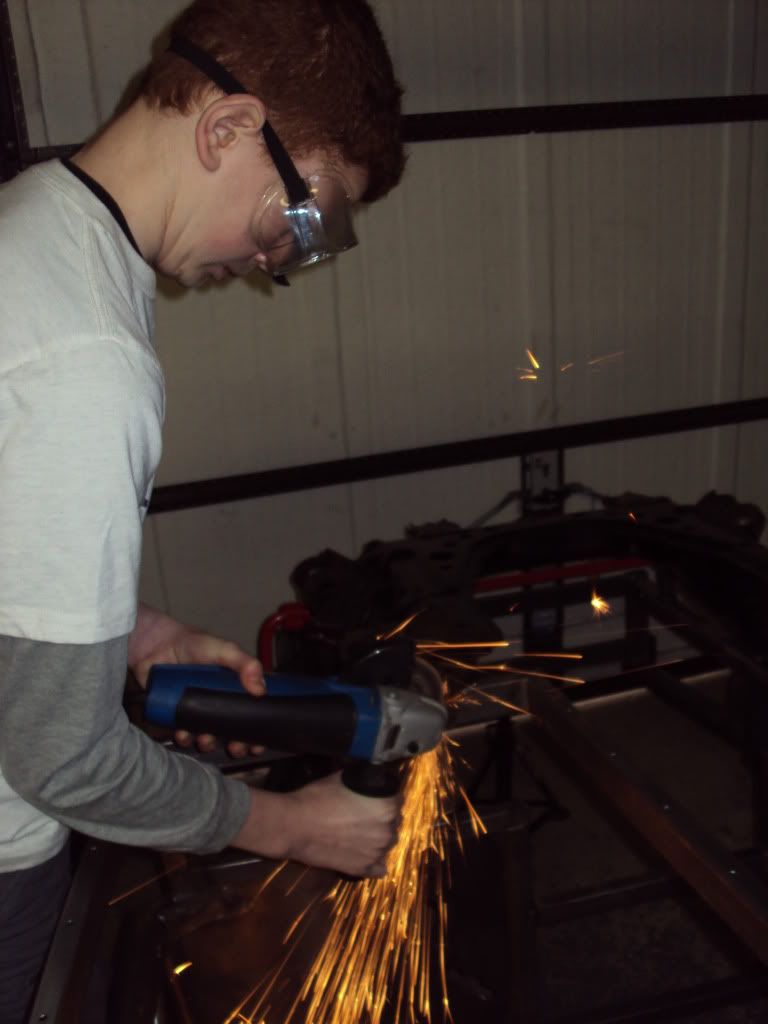 |
|
|
|
Post by tlight on Feb 6, 2011 21:05:09 GMT
Rebuilt the clutch pedal box assembly, post powder coating (sent to powder coating, prior to picking up the kit, then I noticed the additional instruction with the kit, stating remove spacers!! Time for the hacksaw, file & a splash of hammerite. 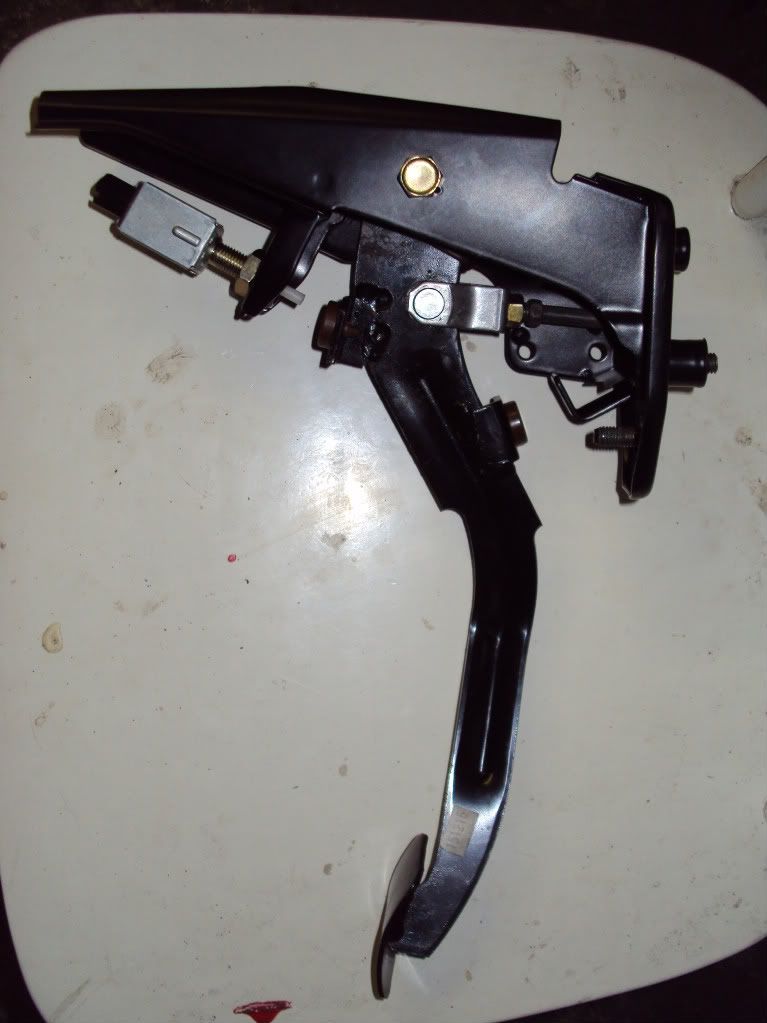 |
|
|
|
Post by tlight on Feb 6, 2011 21:07:23 GMT
Had the front roll bar powder coated prior to getting the chassis, looks like the aluminum clamps around the roll bar need removing. 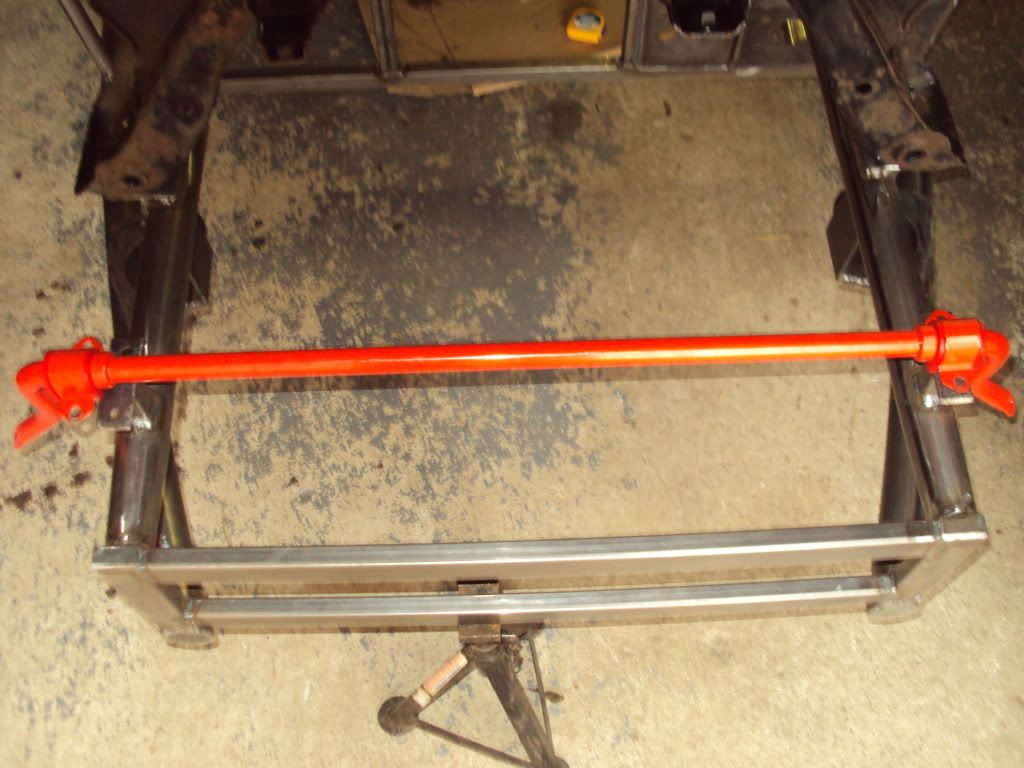 |
|
|
|
Post by tlight on Feb 6, 2011 21:10:33 GMT
Trial fit of the fuel tank, looks like a 50mm spacer will give clearance between the fuel tank stone sheild on the underside and the rear sub frame. (The rear sub frame is fitted - just with diaganol bolts, not shown in this photo) 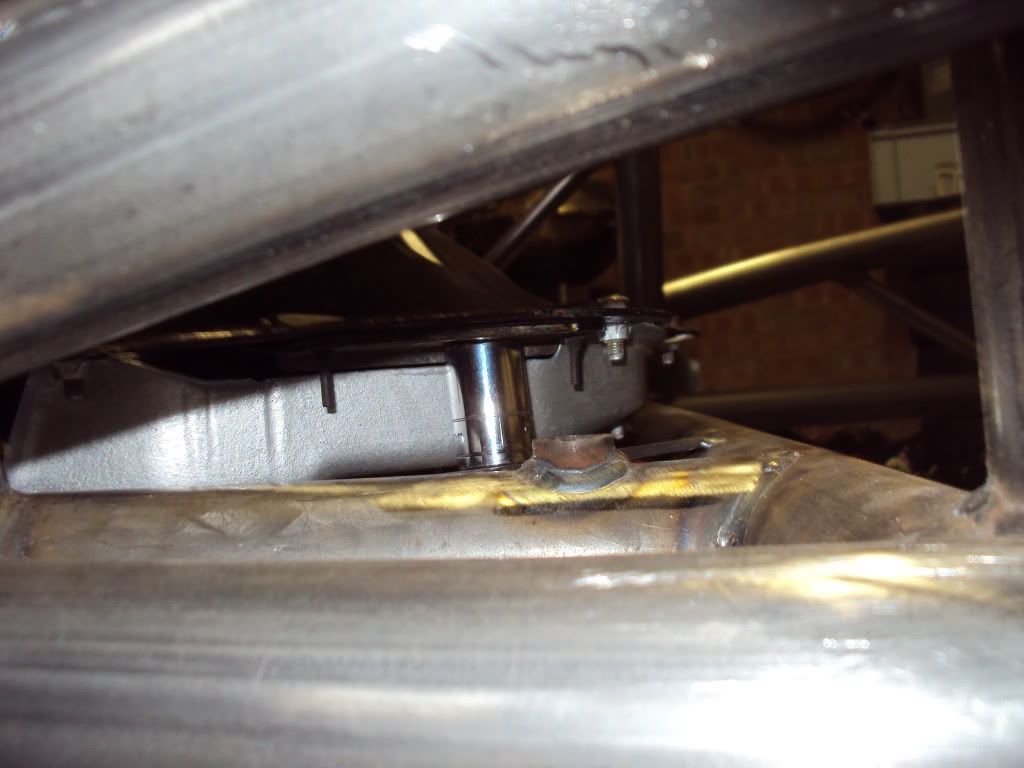 |
|
|
|
Post by tlight on Feb 6, 2011 21:13:10 GMT
Looking at options where to locate the fuel filter 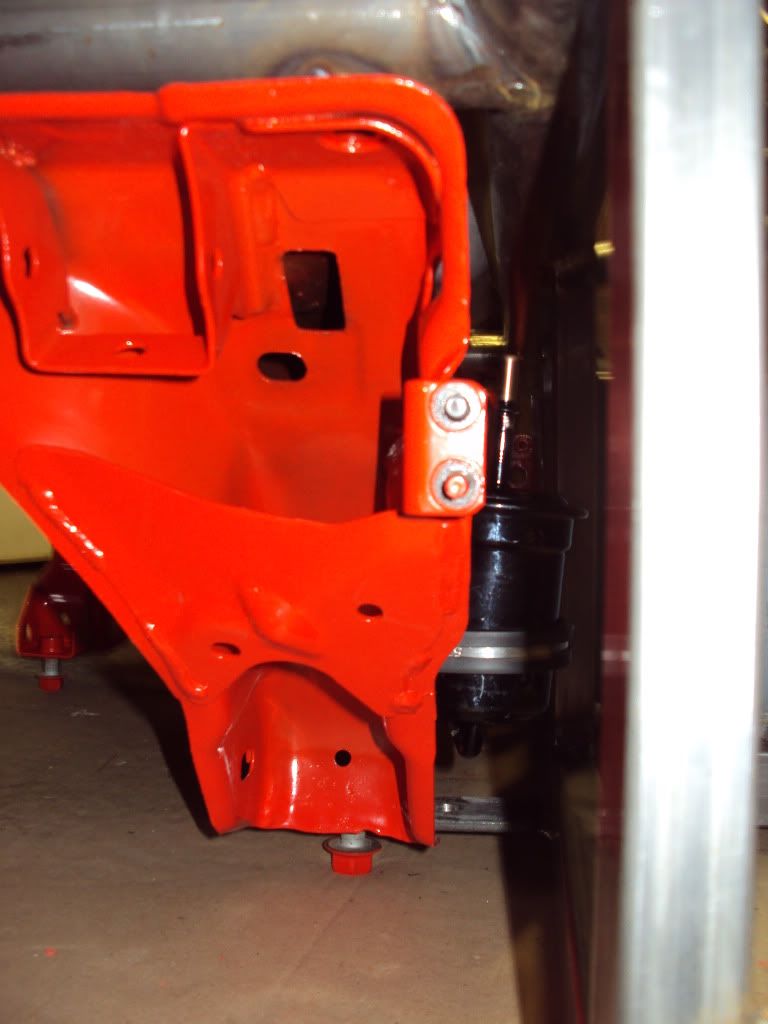 space looks a little tight... |
|
|
|
Post by tlight on Feb 6, 2011 21:16:36 GMT
Finished painting the black hammerite diff, ready to re-assemble with all the glorious red rear sub frame & power beam... 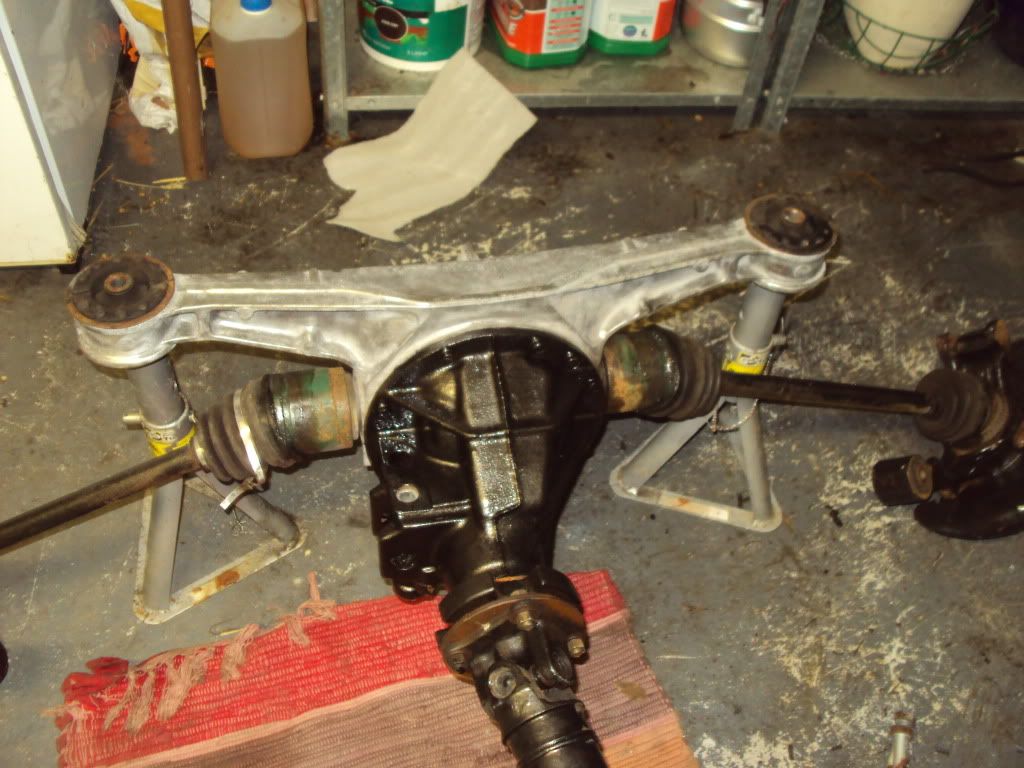 |
|
|
|
Post by tlight on Feb 6, 2011 21:20:47 GMT
Started to trial fit the white side panels 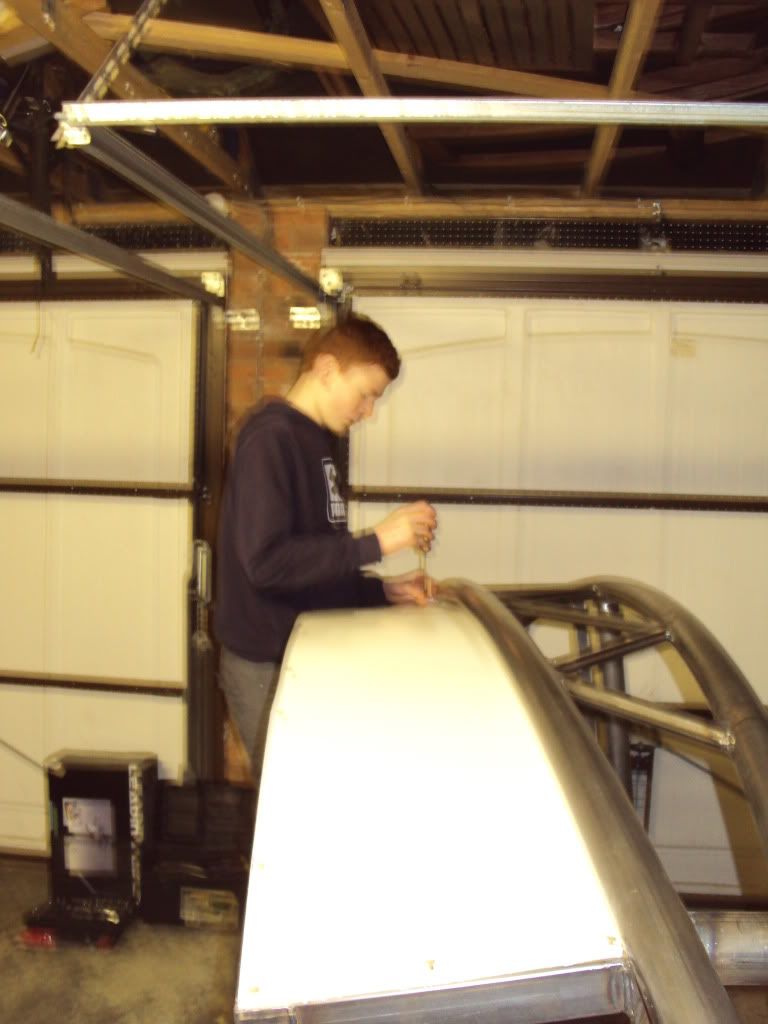 The change from a standard black chassis & black side panels, to a red chassis & white side panels may prove uncompromising on any gaps/mess ups with the hack saw. |
|
|
|
Post by sscrow on Feb 6, 2011 21:40:40 GMT
Looking good chaps , What colour are you painting the chassis ?
|
|
|
|
Post by tlight on Feb 6, 2011 21:43:13 GMT
Sscrow,
Thanks. Red chassis, hopefully the same as the sub frame colour.
Tim
|
|
|
|
Post by JimK on Feb 6, 2011 21:47:47 GMT
Your build is really coming on, great to see your son working on the build. I start my rocket in April with my 12 year old son, can't wait!
|
|
|
|
Post by squelch on Feb 6, 2011 23:01:15 GMT
Rebuilt the clutch pedal box assembly, post powder coating (sent to powder coating, prior to picking up the kit, then I noticed the additional instruction with the kit, stating remove spacers!! Time for the hacksaw, file & a splash of hammerite.  mine fitted without removing the spacers, it will fit but its a bit tight looking good though |
|
Deleted
Deleted Member
Posts: 0
|
Post by Deleted on Feb 7, 2011 20:51:17 GMT
Great progress chaps. making me jealous that im away with work and not playing with mine!might be an idea to trial the pedal box first. Mines fitted as standard without removing the spacers. i just added a few washers to equal the spaces out. My brake and clutch pedal only just have clearance on the chassis for full range of movement. if i removed my spacers the brake and clutch would bottom out on the tubular frame in the footwell. Just a thought tho, as everyone seems have items that fit differently!
|
|
|
|
Post by sscrow on Feb 7, 2011 21:52:04 GMT
Tim , I also fitted the clutch assembly with the spacers on, but I think you could fit it without the spacers if you shortened the pin going into the master cylinder, as long as you are getting the full travel. I managed to get the engine and gearbox in this weekend , but cant upload to photobucket , trying to sort this out.
|
|