|
|
Post by tlight on Feb 11, 2011 17:58:54 GMT
Wishbones all powder coated, collect tommorow, start the power train re-build. For those in the S Midlands, got a competitive quote to powder coat the chassis in signal red from www.phoenix25.co.uk, already do work on go-karts, bikes & TVR's. |
|
|
|
Post by tlight on Feb 12, 2011 11:32:11 GMT
Wishbones all back, powder coated. I left the bushes in for powder coating, the advantage was that the bores are protected from paint build up, dis-advantage is that the shot gets trapped, so they need a good shake (also some of the shot can fall out during powder coating / cooking, onto the paint. Not all powder coaters will let you leave the rubber bushes in (the fear that the rubber melts in the oven, & the fan, in the oven, then throws molten rubber about). 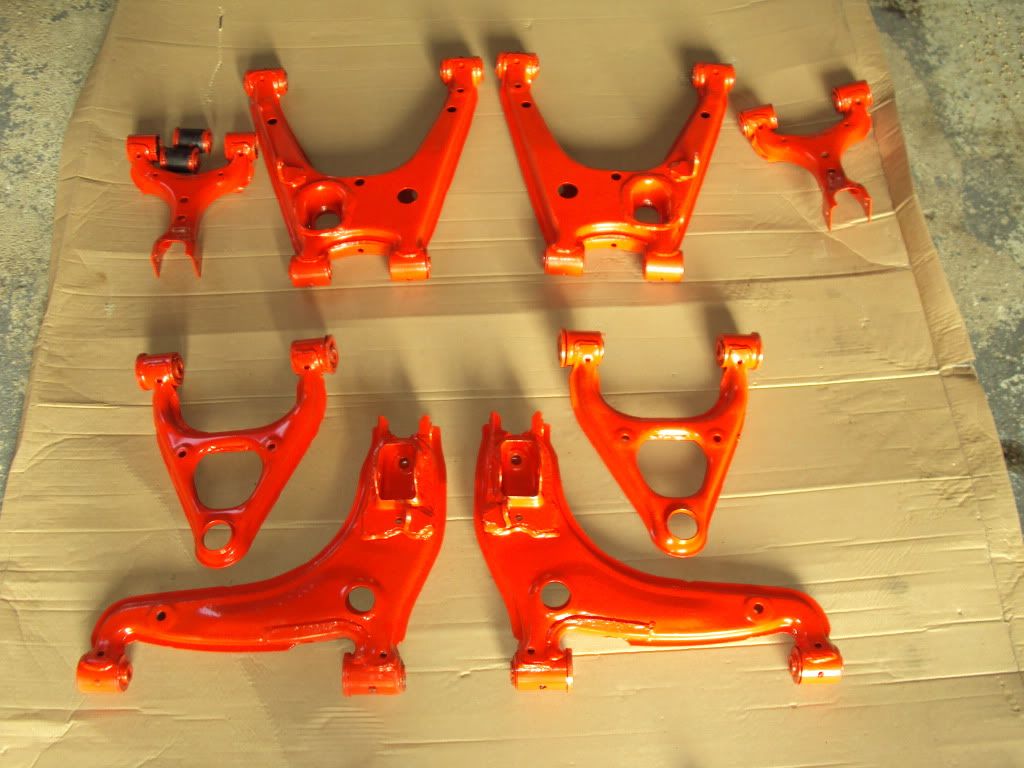 No play today, but couldn't resist knocking out the rear upper wishbone bushes out, quick clean up of the trapped shot from the bores with a file & then fitting the poly bushes. 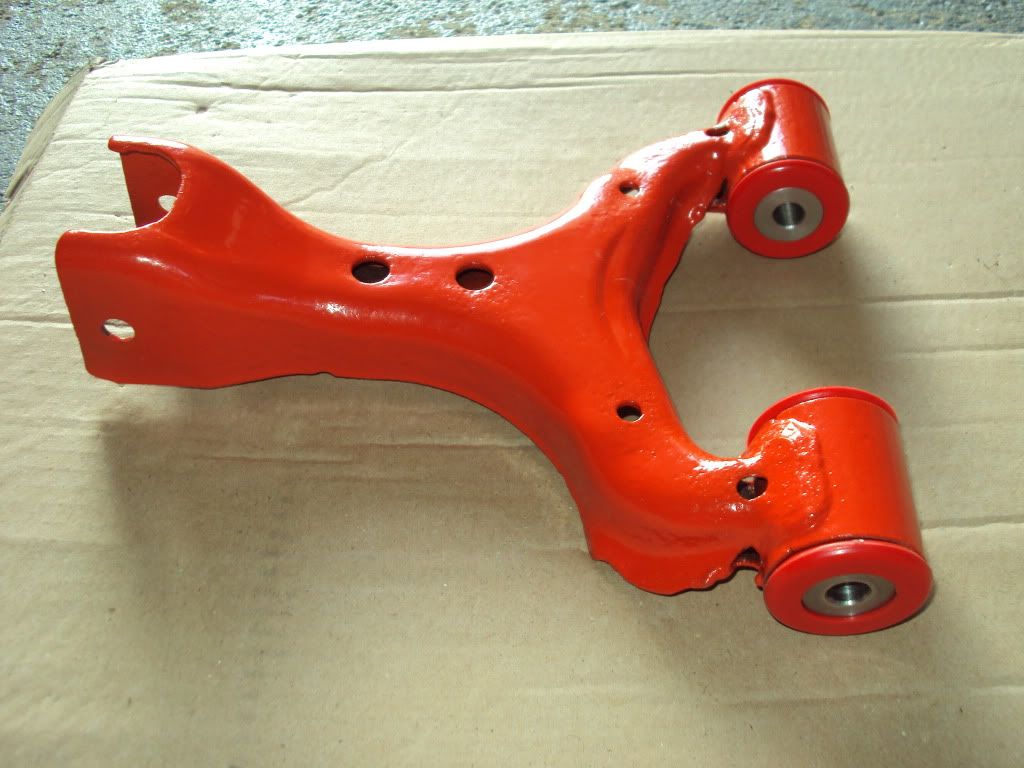 Nice little touch on the poly pushes to aid fitment, they have Front, Rear, Upper Lower, Inner, Outer markings. |
|
|
|
Post by tlight on Feb 14, 2011 9:03:14 GMT
E-Bay selling price update;
Inner Wheel Arch NSF £14.99
Inner Wheel Arch OSF £14.99
Pair of Frankenstein Bolt & Plate £14.99
Console Hinge £2.59
Window Motors OS £59.99
Door Loom NS £17.50
Door Loom OS £17.50
Gearbox Centre Console Gaitor £6.99
Passenger Internal Door Lock £23.99
Drivers Interbal Door Lock £23.99
T Piece Scissor Jack £2.80
Door Rubber NS £12.00
Door Rubber OS £12.00
Door Catch £6.98
Reflector OSR £5.89
Air Intake Pipe £20.99
Door OS £99.99
Space Saver £28.99
Space Saver Retainer £7.99
Heated Seat Switch £47.99
|
|
|
|
Post by alan87 on Feb 14, 2011 13:11:39 GMT
Wow tlight you are getting some seriously impressive prices for your kit! Good luck with the build it's looking great.
|
|
|
|
Post by tlight on Feb 14, 2011 17:44:30 GMT
Been ill all weekend, so quick go this evening, all bushes removed, and new ones fitted 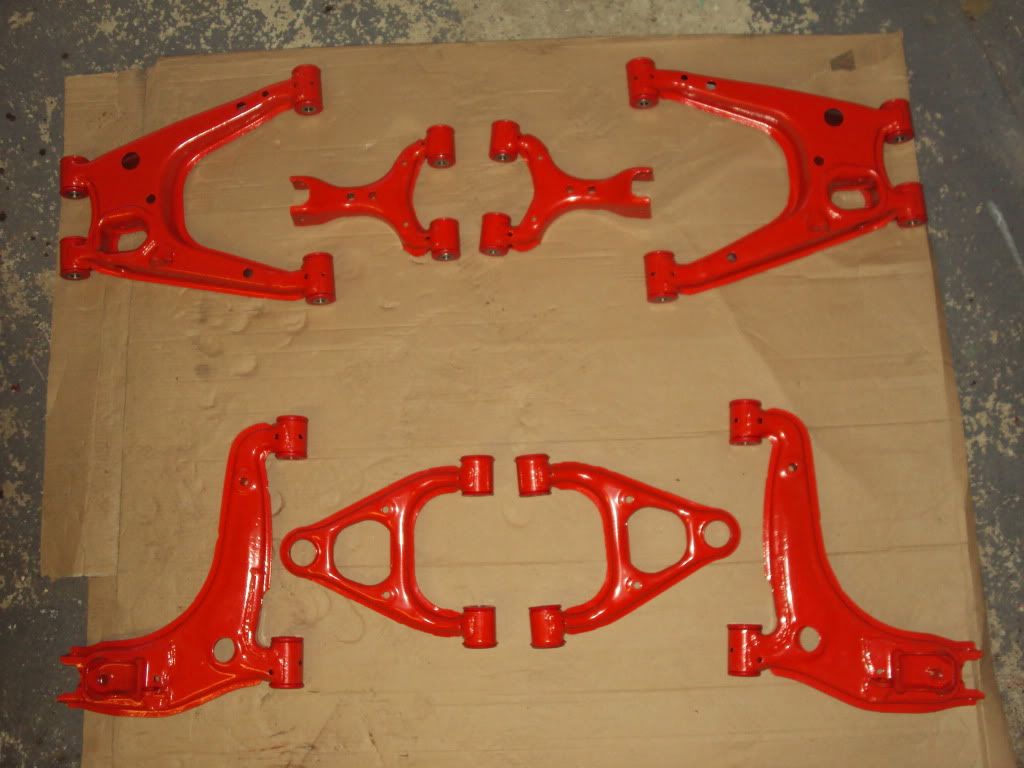 and looked good, so I took another shot... 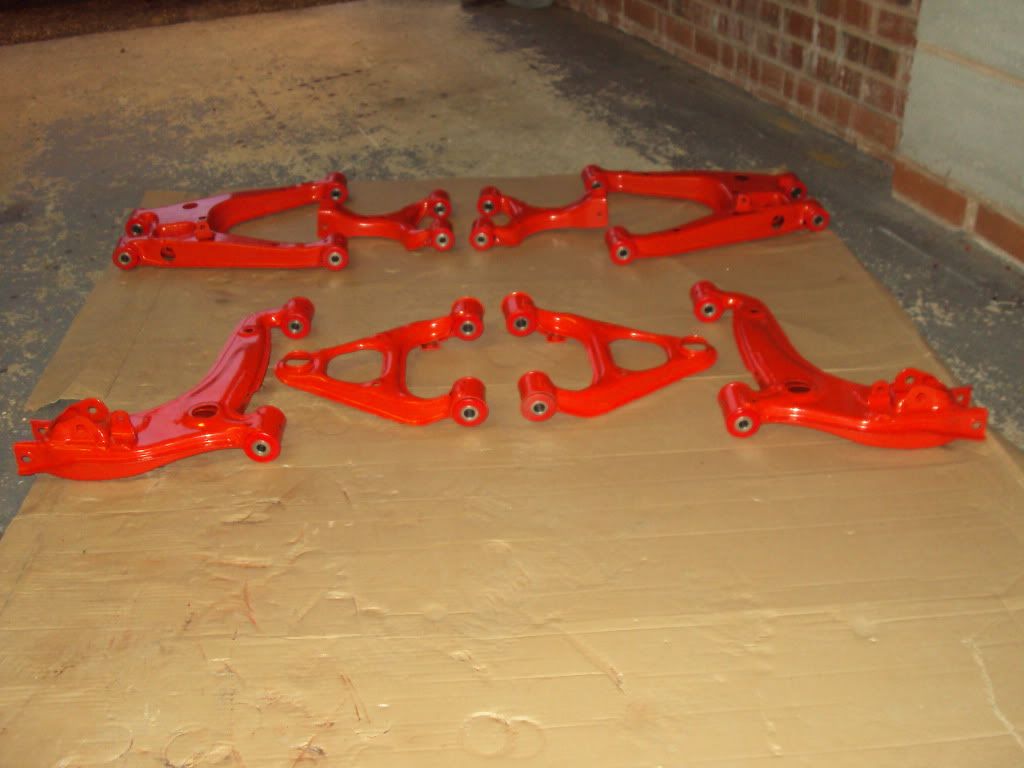 and some further pre-assembling activity, I hope a dab of black hammerite on the top and then let the nut pull it all snug will keep it looking good.. 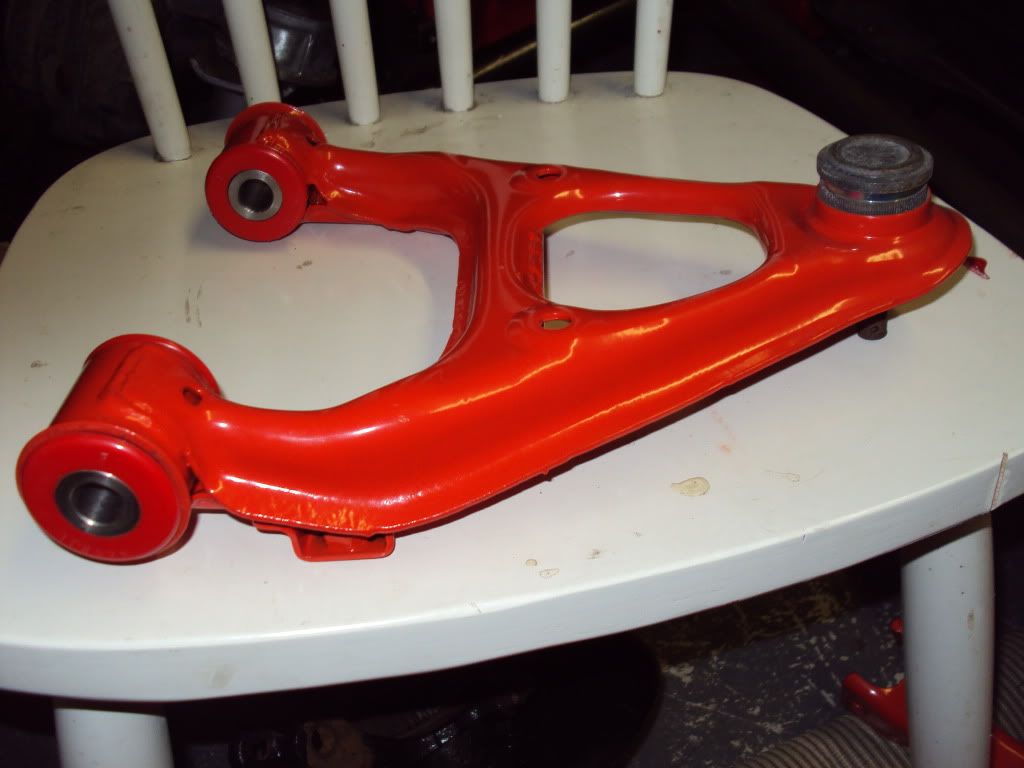 found the last parts for powder coating, the engine mounts 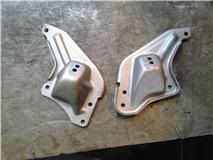 and the steering rack clamp 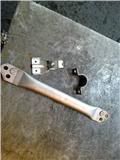 |
|
|
|
Post by tlight on Feb 15, 2011 19:37:22 GMT
Need to get some copper slip, but started on the pre-build of the rear suspension. Recovered the original brake pipe and fitted 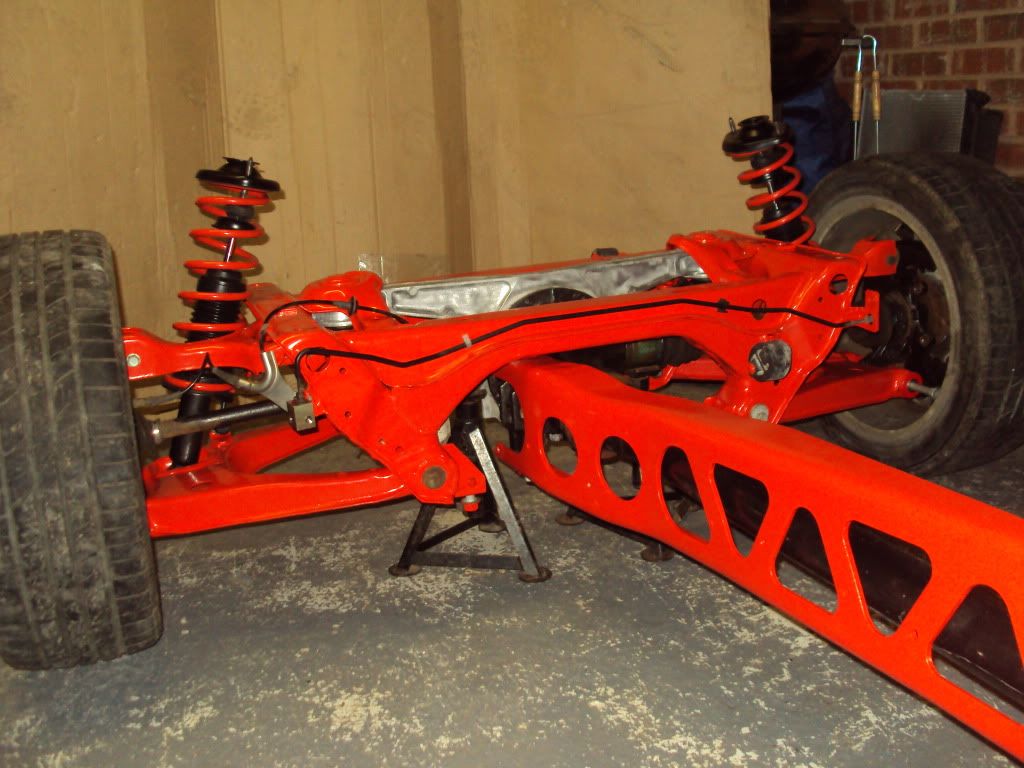 Fitted the roll bar with new stainless nuts... 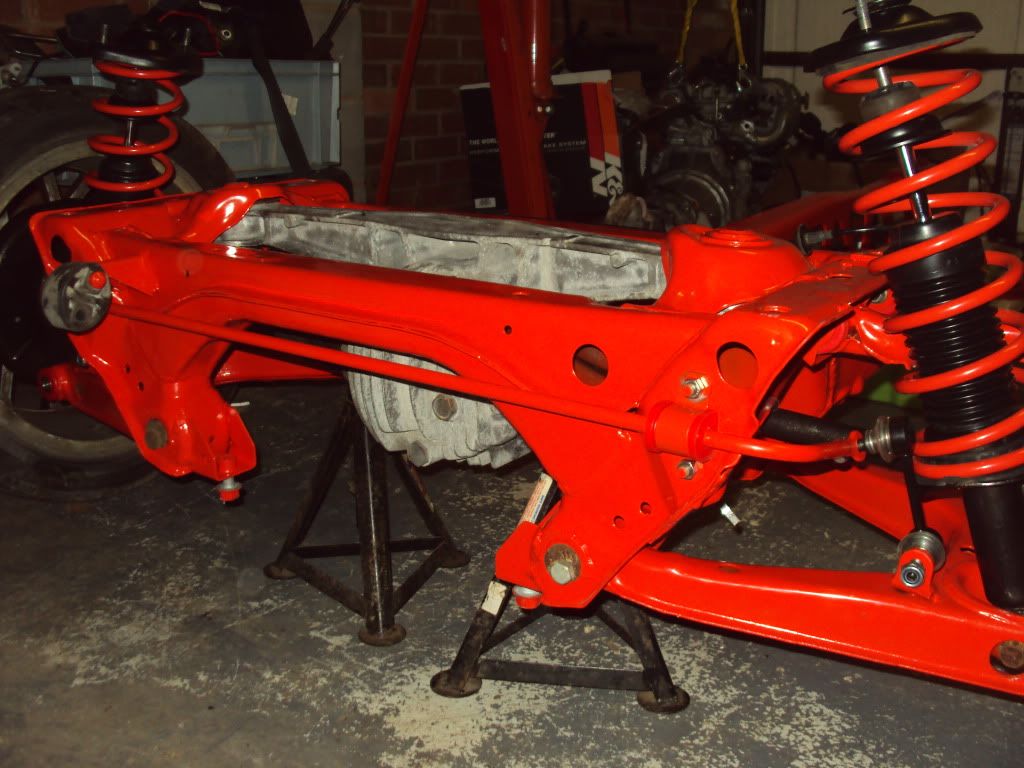 The ABS harness fitted back in place 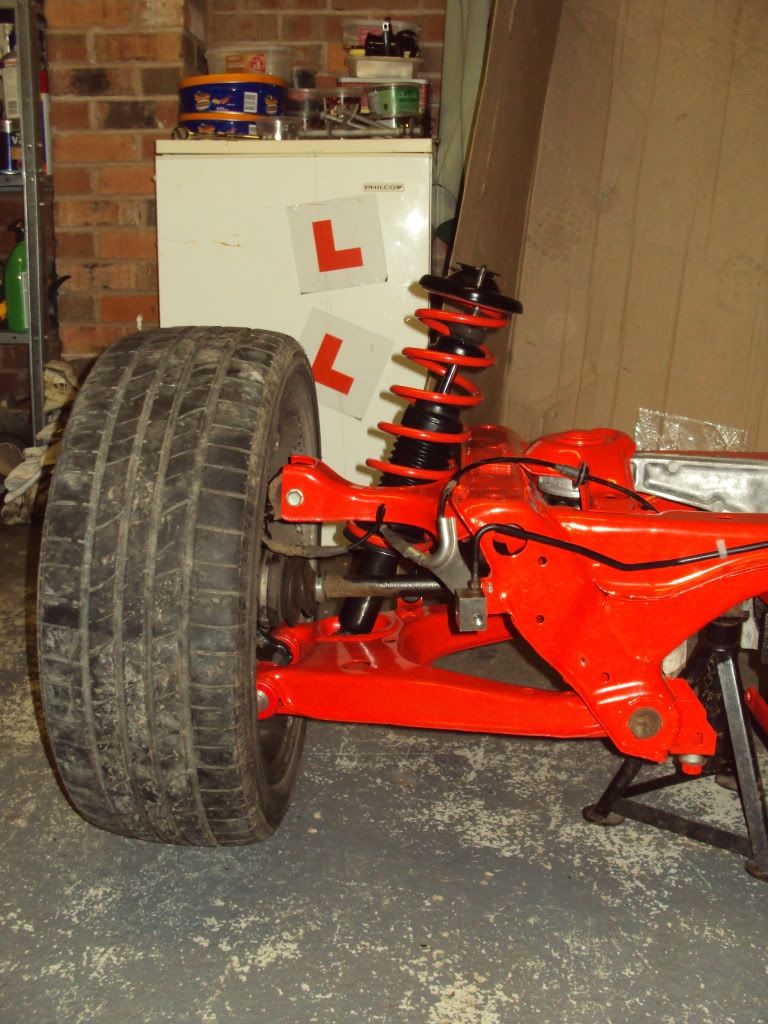 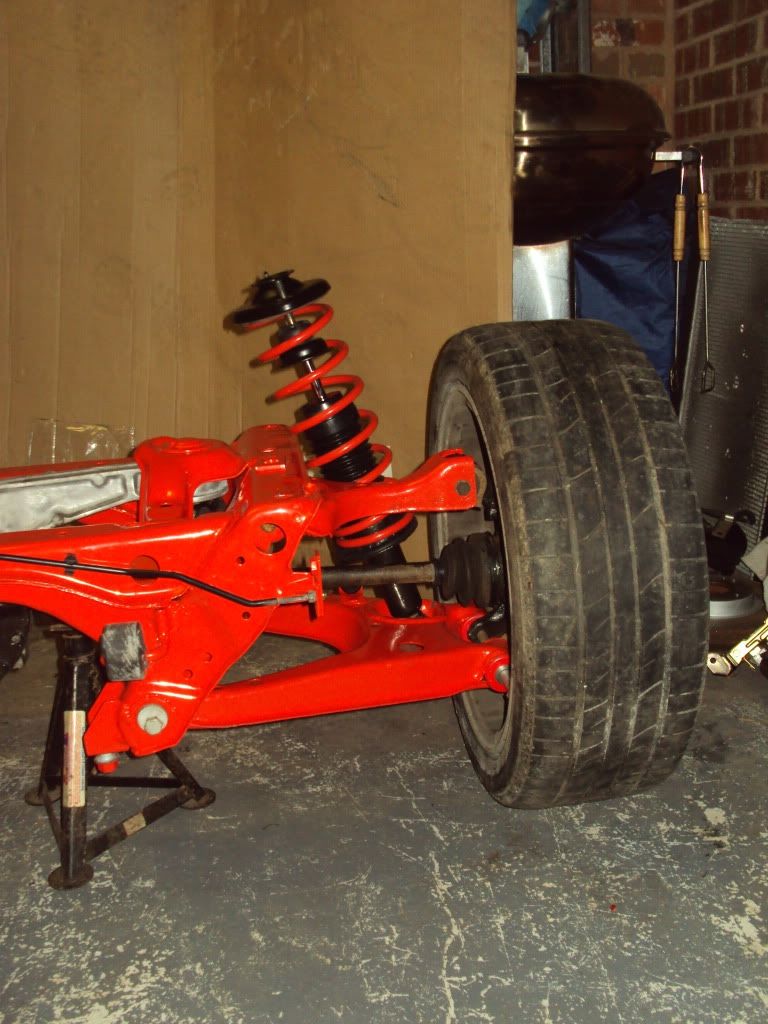 |
|
|
|
Post by tlight on Feb 15, 2011 19:47:33 GMT
No bolts tightened yet... 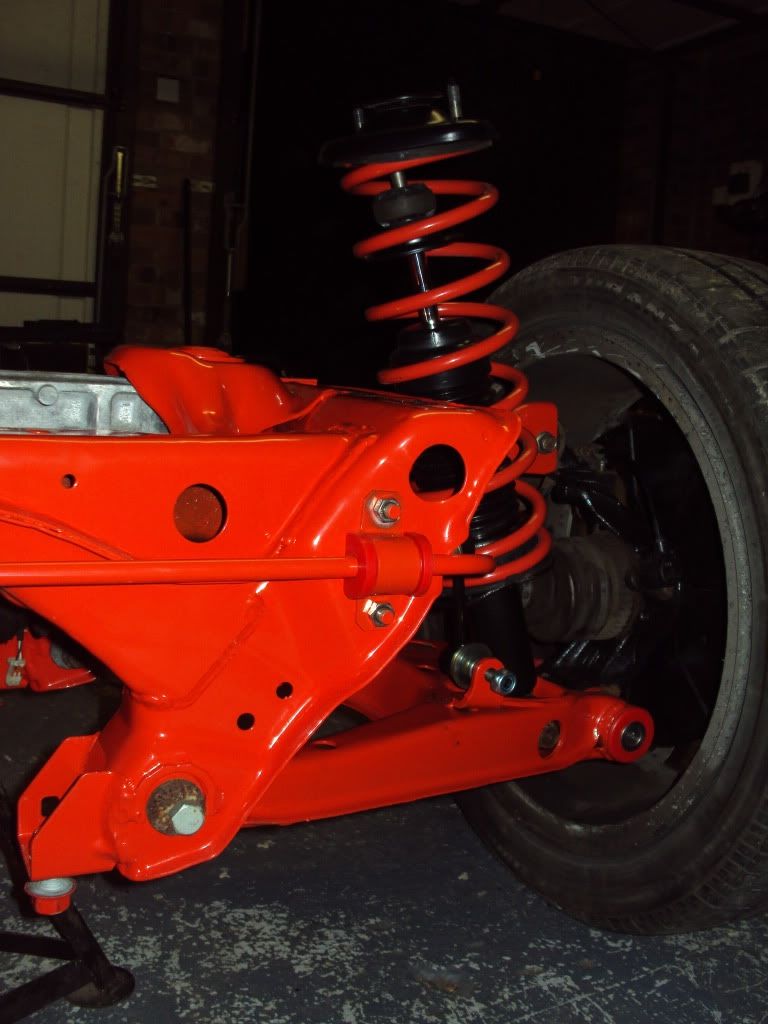 Shock absorbers pre-built, with lowered springs from MEV... 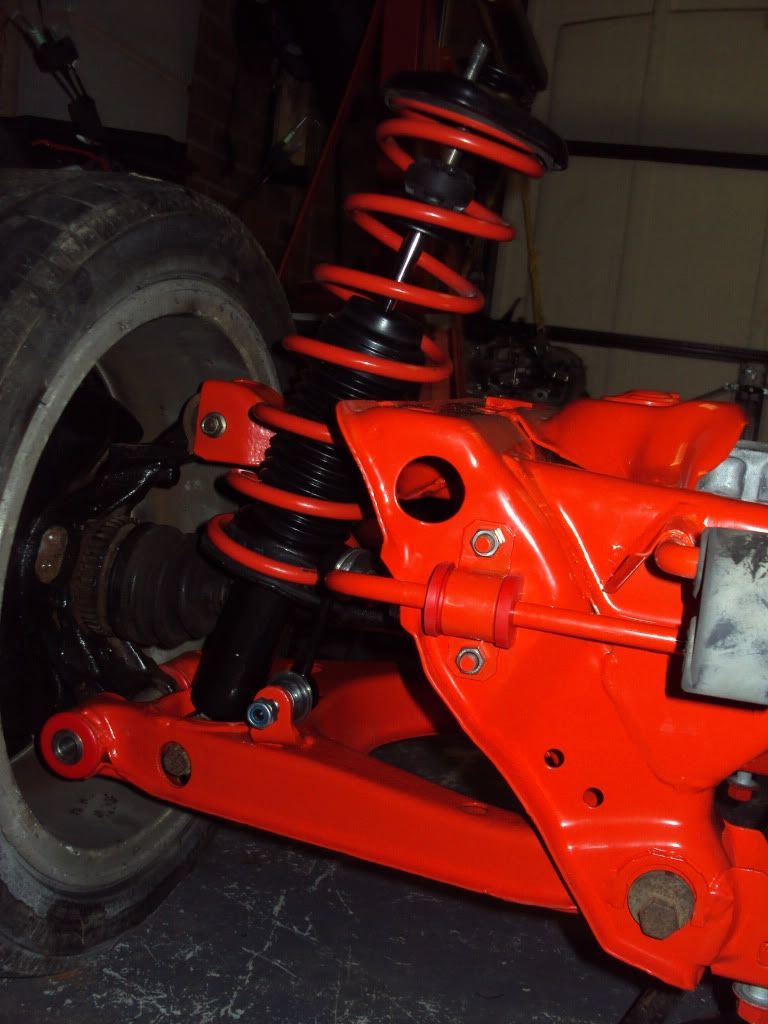 No disc's or calipers on yet, but still thinking of white wheels... 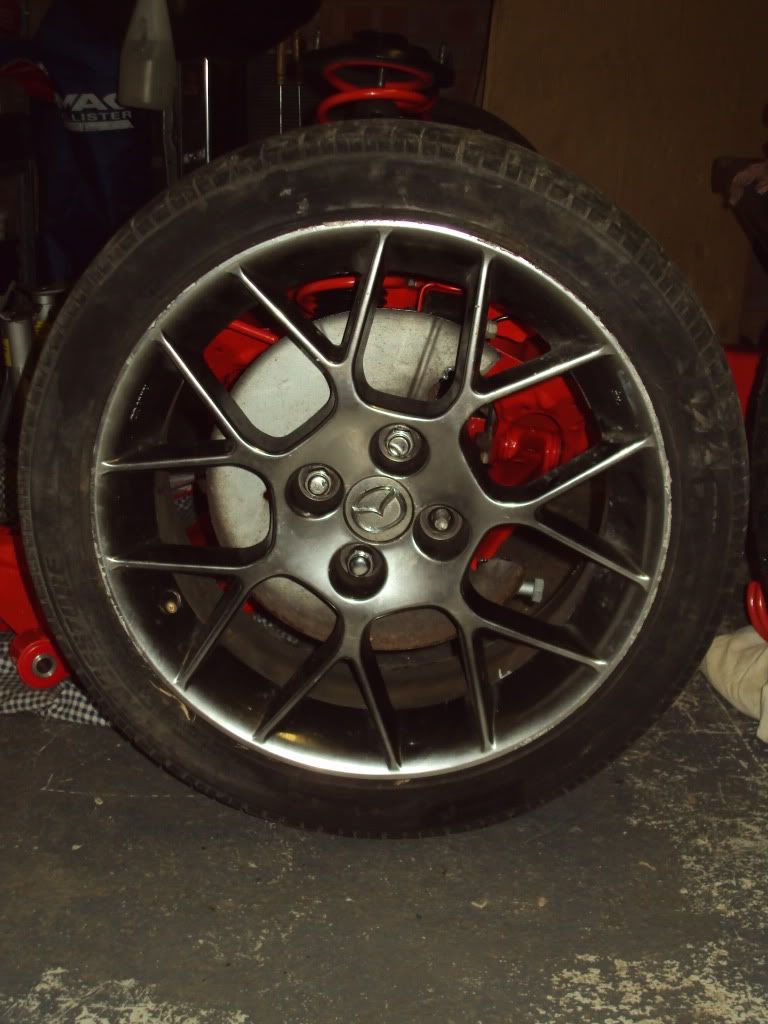 Quick check on whether there is a foul condition on the fuel tank... 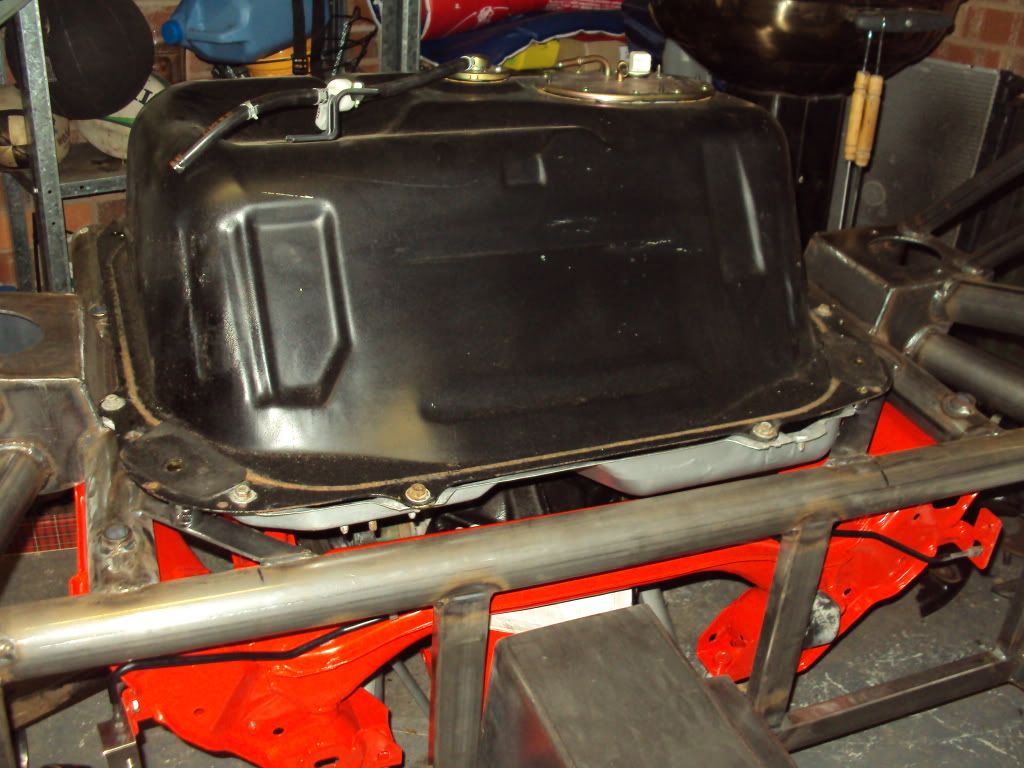 ...prior to getting spacers made. |
|
|
|
Post by tlight on Feb 16, 2011 16:43:55 GMT
Brake calipers just about finished 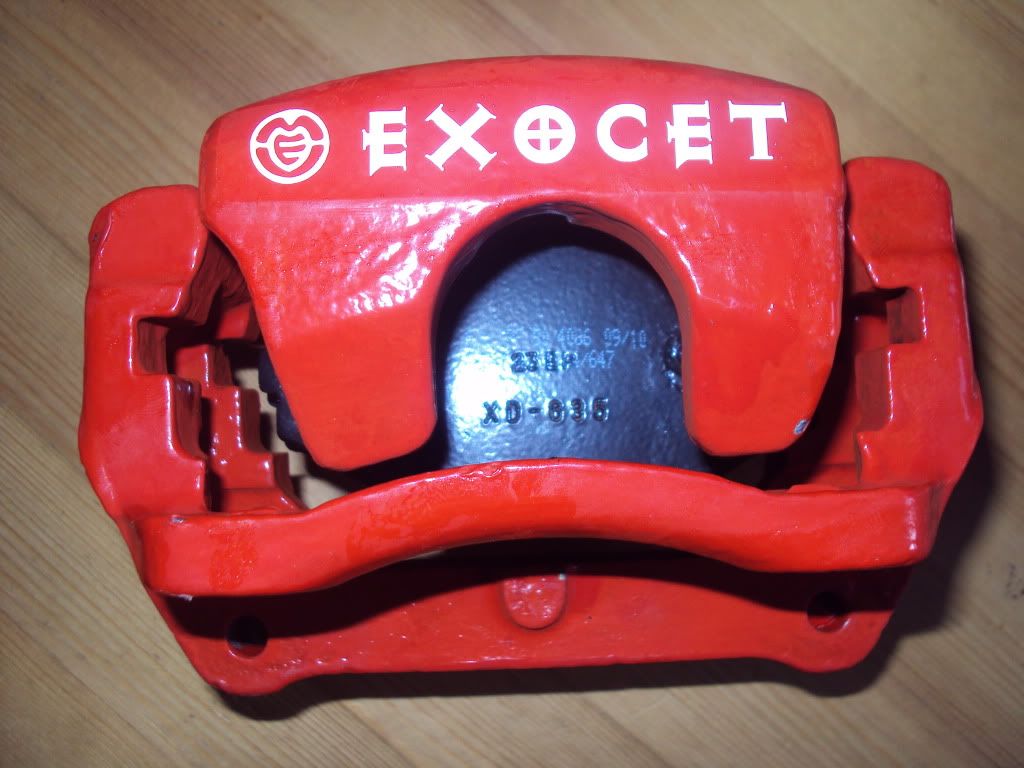 let me know when I am getting too cheesy/sad/etc... |
|
|
|
Post by tlight on Feb 16, 2011 19:40:47 GMT
Got the copper slip, so made sure the suspension bolts were all the right way round, as featured in the work shop manual, back end poly bushes all now with copper slip. Just nipped up, taking the advice to torque once body weight in place (Mazda have made sure access is good with relevant cut outs in the rear sub frame). Trial fit of new brake discs, red calipers, greayson spacers, wing stays and also hel brake line flexis fitted. 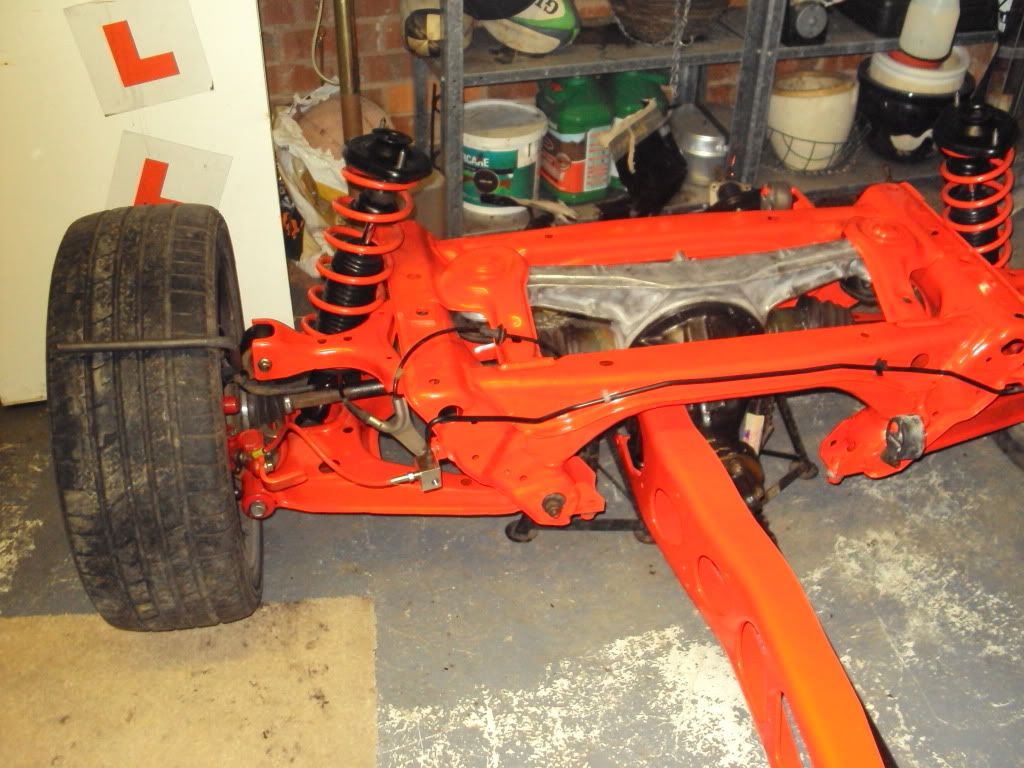 Next job removing the rear hubs because the ABS sensor bracket bolts sheared on both near & off side (since found out on MX5OC that its a regular MX5 issue). |
|
|
|
Post by tlight on Feb 17, 2011 18:19:33 GMT
Spent some time with the angle grinder modifying the front roll bar, removing the bushes... before... 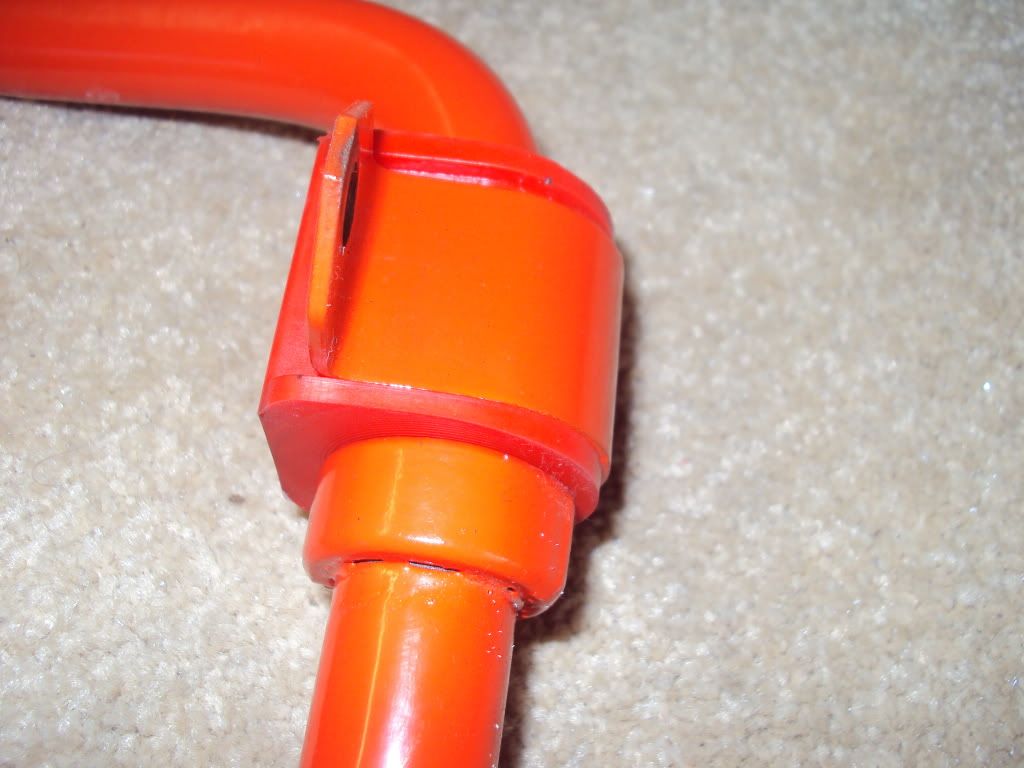 & after... 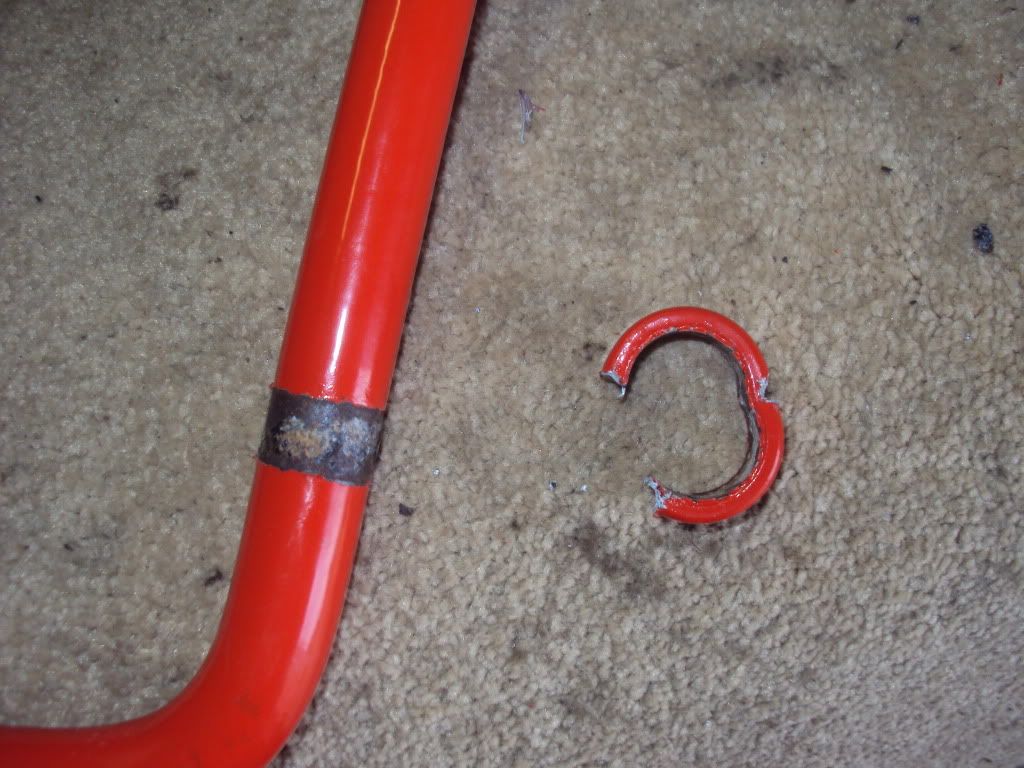 then drilling the fuel tank mounting, headlamp mountings, tax disc holder & the rest of the side panel holes (before breaking the drill) 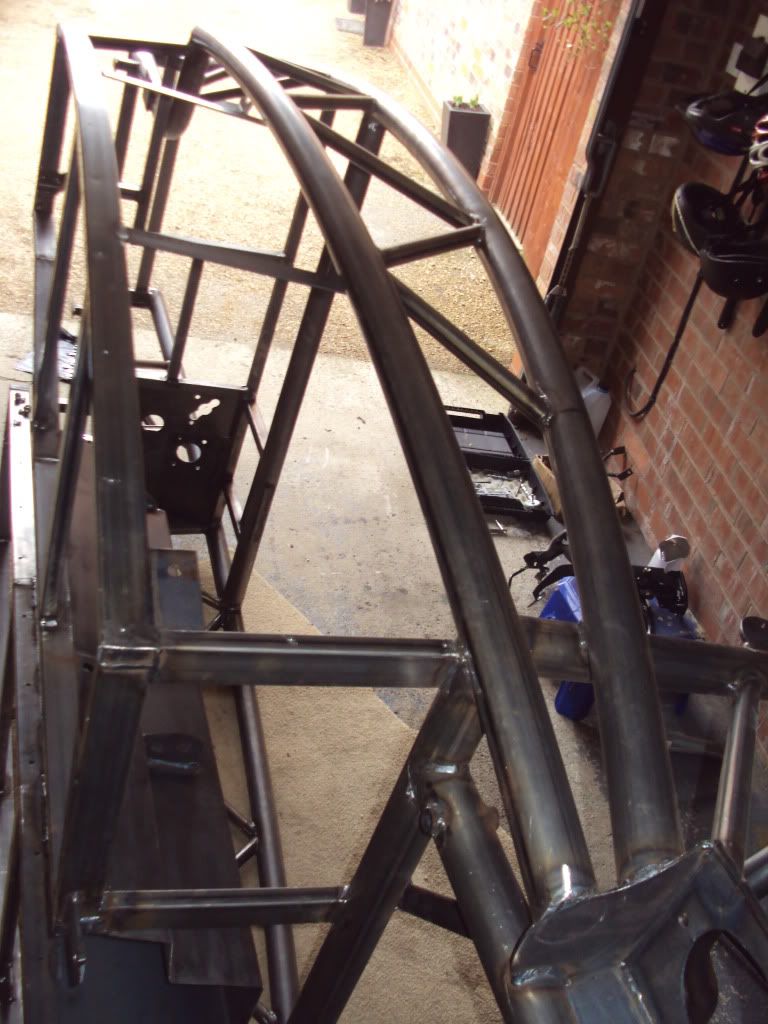 the drilling for fuel feed & return 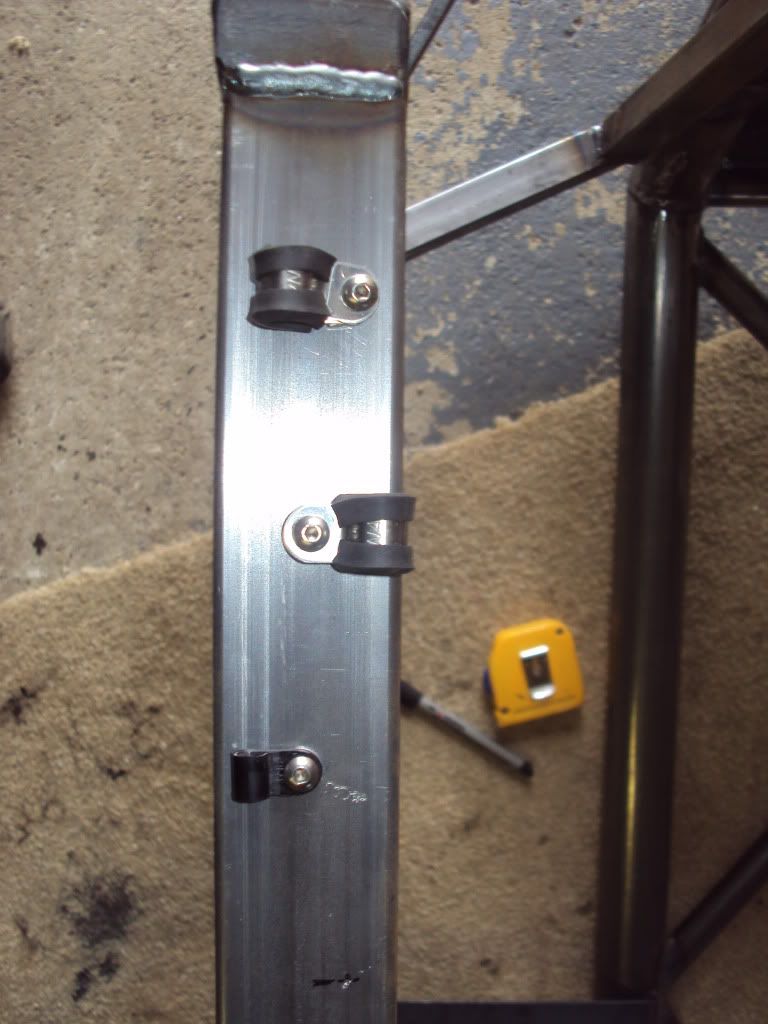 and throttle cable (need a bigger drill) 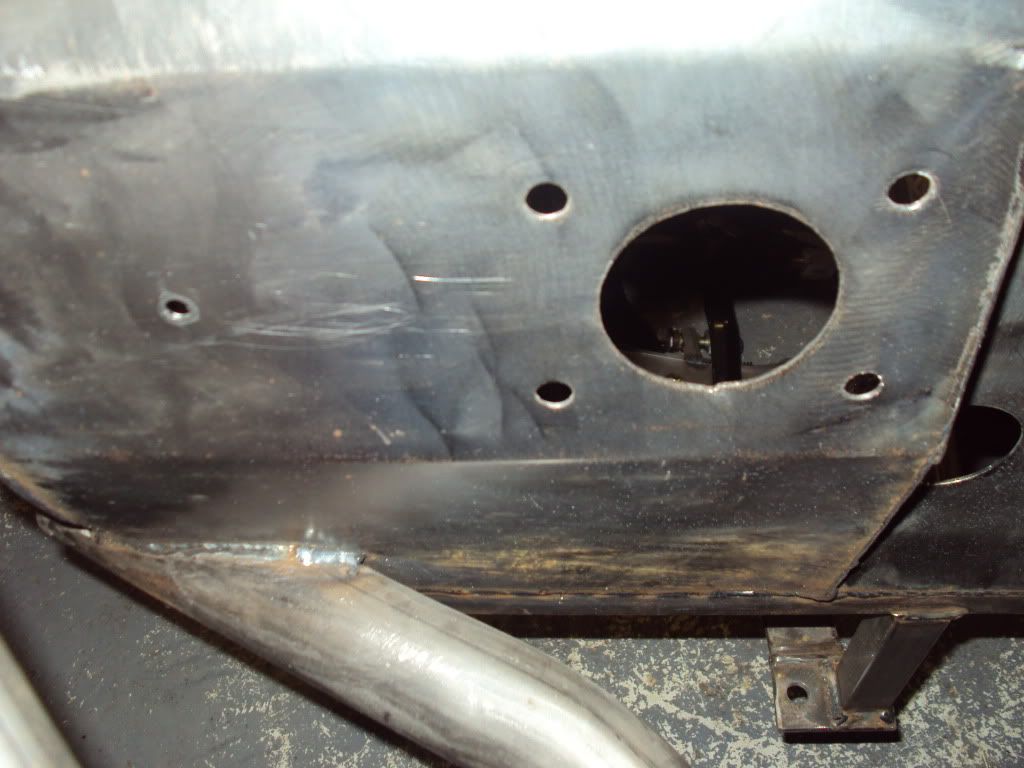 then started removing spacers from pedal assembly & dropped the chassis onto the back end, & had a look at the brake pipes & handbrake cable routings 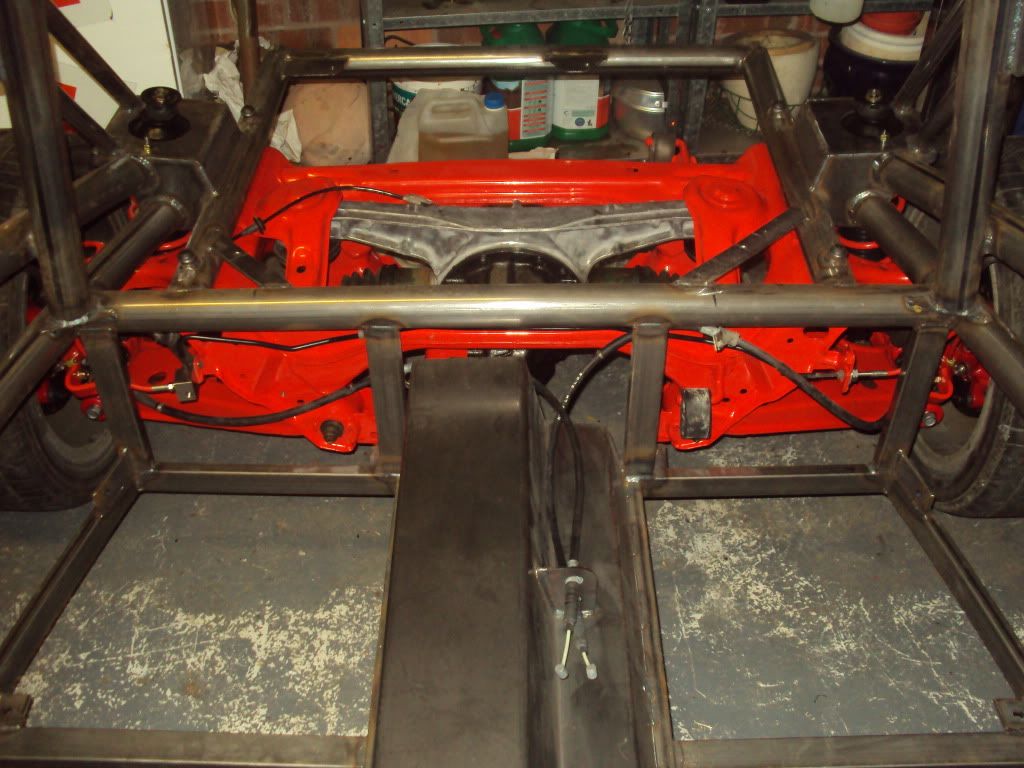 Got to get the chassis sorted, as a powder coating slot is available next Friday...the clocks ticking... |
|
|
|
Post by tlight on Feb 17, 2011 18:21:54 GMT
Not sure how close the brake pipe flexi should be? 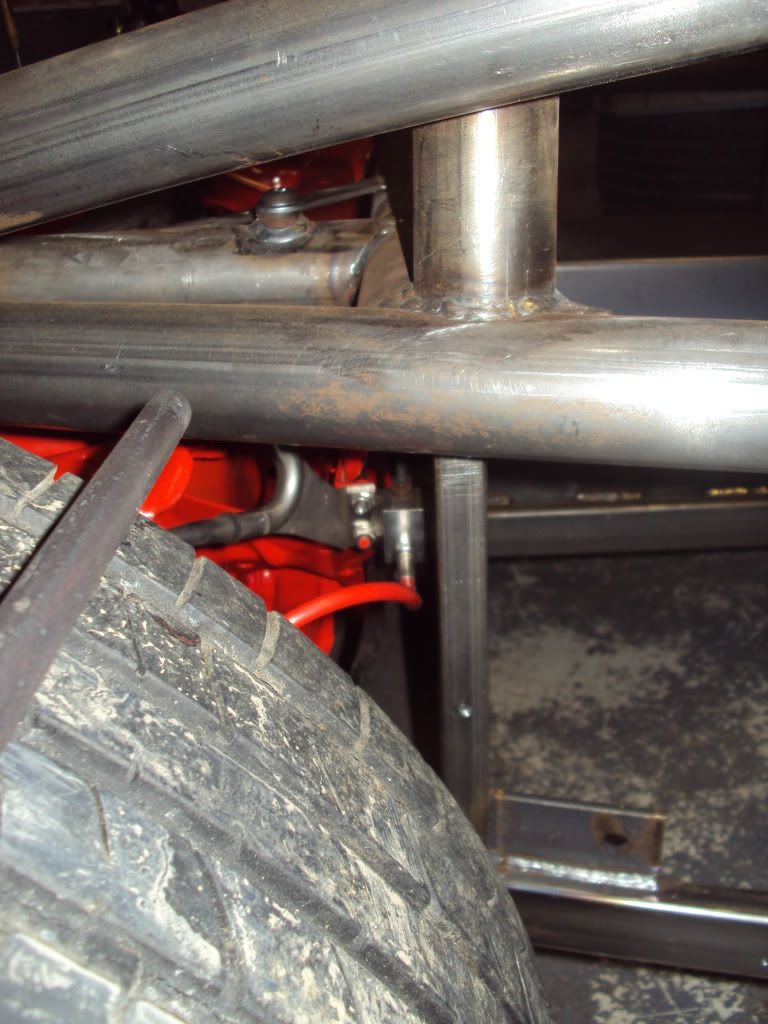 starting to look like a bit like an Exocet... 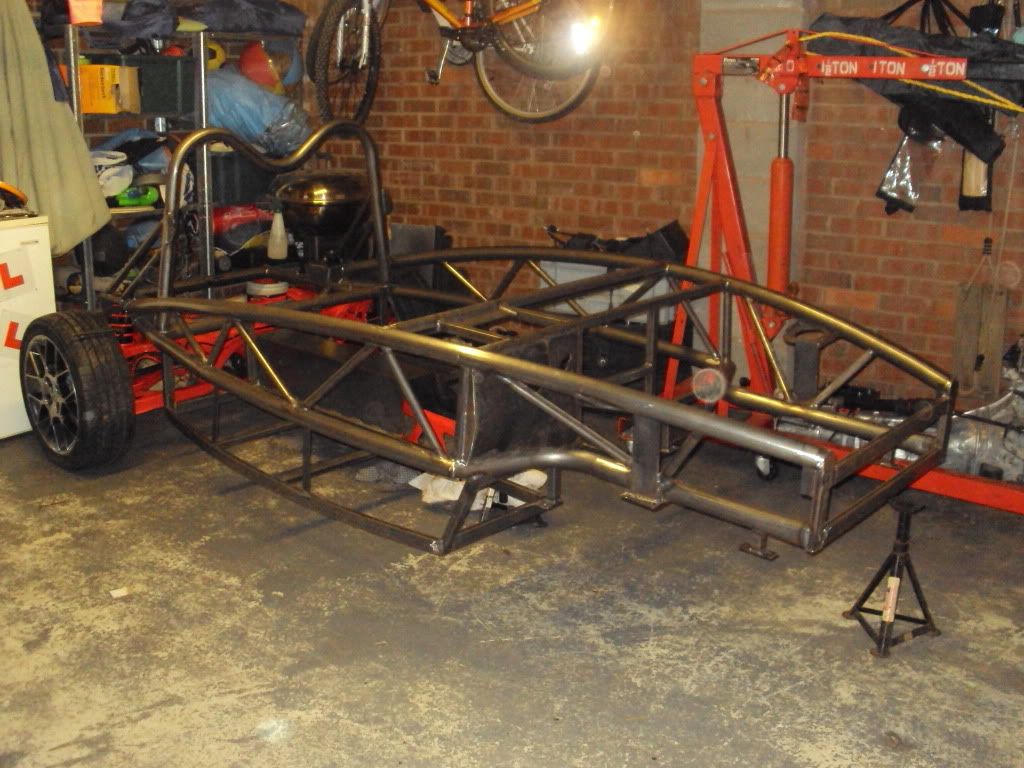 |
|
|
|
Post by squelch on Feb 17, 2011 20:03:52 GMT
|
|
|
|
Post by tlight on Feb 18, 2011 19:27:41 GMT
Squelch, Thanks for the feedback. Had a look at the bonnet & cowl set-up. Lots of questions.... 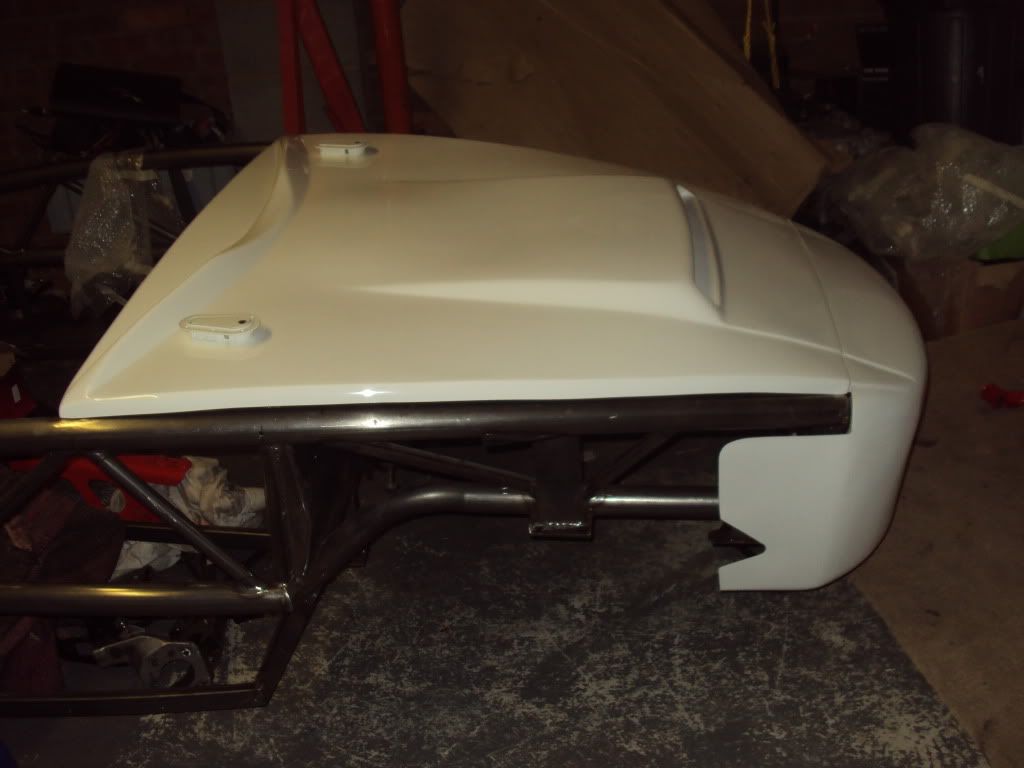 Going to hold the bonnet down with the lockable flush fit aero catches, so may need to add a piece of 1" box section on the passenger side to have consistent mounting or I could move the catches forward in-line with the box section for the engine bulkhead, any risks the bonnet flapping at the dash board end. Comments? Plenty of cutting to get a good flush fit on the catches. How do I mark out on fibre glass without marking the gel? How do I secure the front cowl without any fasteners showing (thinking of gluing some sort of bracket to the back of the cowl)? Had a look at getting the wing mirrors fitted. Going for a M10 x 1.25 tapped hole in the tube for the wing mirror, as close to the bonnet to hide the side marker wiring. 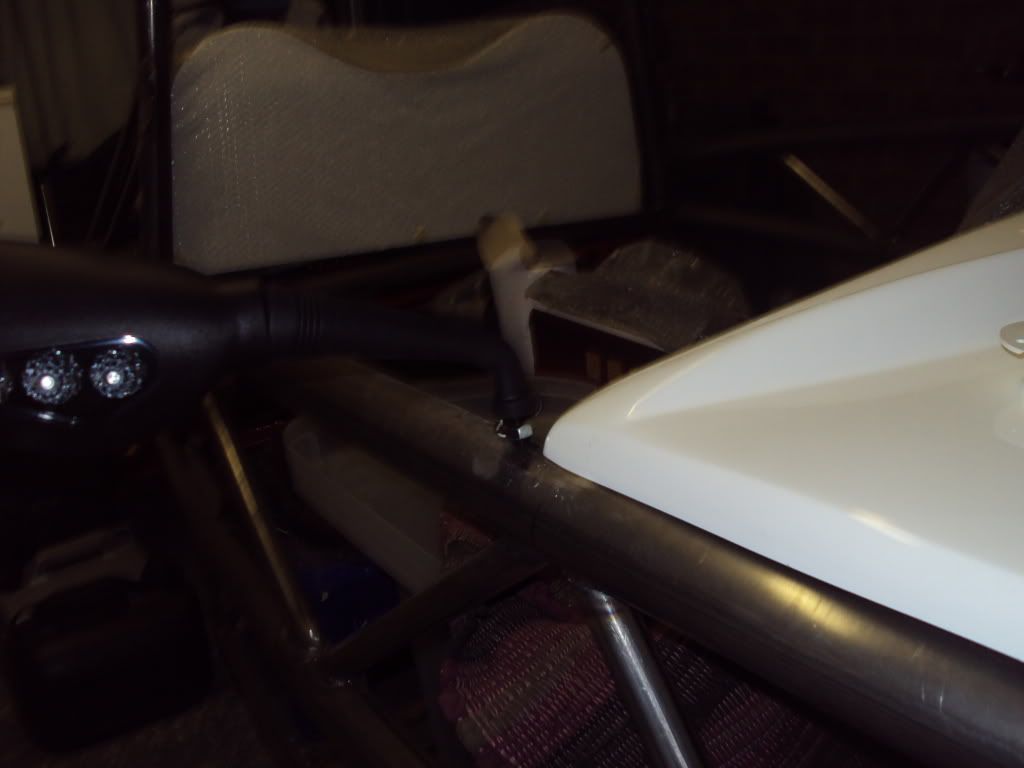 |
|
Andy888
Full
   Exocet Builder
Posts: 212
|
Post by Andy888 on Feb 18, 2011 20:01:39 GMT
Looking good there chum! I'm reckoning some form of dzus fastener arrangement is going to be our preferred method of securing the panels. Probably rivnut on some little alloy brackets for attaching them too.
Are those HEL brake lines? Look good. Assume the wee stainless transfer box comes with the kit...?
|
|
|
|
Post by tlight on Feb 18, 2011 20:21:48 GMT
Yes, they are HEL brake lines & the transfer block, copper washers & banjos came with the kit.
|
|