|
|
Post by tlight on Jan 9, 2011 17:51:56 GMT
|
|
|
|
Post by tlight on Jan 9, 2011 17:55:28 GMT
Finally split the steering rack from the front hub assembly, so got the front hub stripped and cleaned ready for painting... 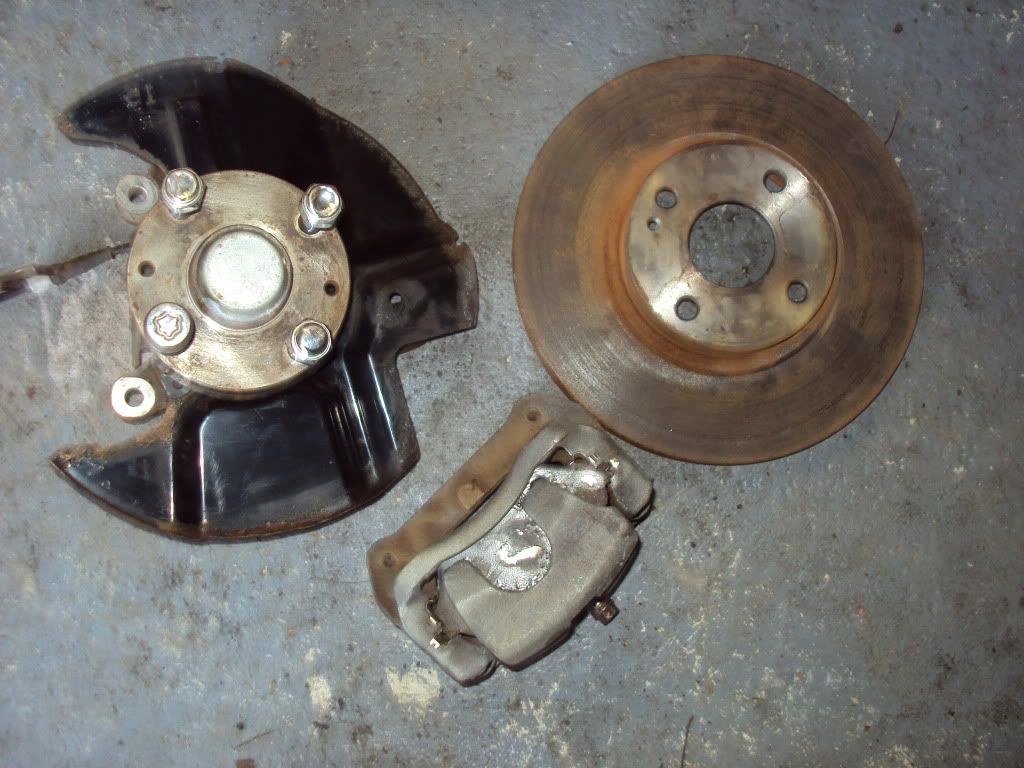 |
|
|
|
Post by tlight on Jan 10, 2011 18:59:53 GMT
Bodyshell left today for the scrap yard on the local airfield/drag strip.
Made a start on cleaning the engine, removing the cam cover & then stripping the steering rack to remove the two seals, but I need to get hold of a bench & vice. With one tie rod still to remove, its impossible to un tighten on the garage floor. Then onto the input drive dust seal & circlip removal. So far it hasn't proven a hard job...(he says with anticipation of trouble to come).
Mainly shopping on e-bay today bought some 7mm & 10mm red hose for the engine, along with Norma worm drive clips, red tie wraps for the harness, pair of new tie rods & a car set of anti roll bar links.
|
|
Andy888
Full
   Exocet Builder
Posts: 212
|
Post by Andy888 on Jan 10, 2011 19:54:47 GMT
Lots of good work happening guys! Good to see the boys getting their hands dirty.
One thing though, probably best keeping the original steering wheel on for the IVA. Don't think wheels without a padded centre are compliant.
|
|
|
|
Post by tlight on Jan 10, 2011 21:45:50 GMT
Andy,
Thanks, just one minor issue, I've sold the air bag off the original steering wheel...looks like i'll have to borrow one for the IVA...
Just dropped off the first batch off parts for powder coating, engine clean-up carries on tommorow, really should start to see some progress in the next few weeks...
Tim
|
|
Andy888
Full
   Exocet Builder
Posts: 212
|
Post by Andy888 on Jan 10, 2011 22:45:25 GMT
Just stick a big rubber pad on the new wheel then. Like a cut up yoga block or something.
I'm trying to digest the IVA manual and reading various fail points over on LocustBuilders as I don't want to have to redo things or pay to re-test.
|
|
|
|
Post by tlight on Jan 11, 2011 20:09:50 GMT
So steering rack dis-assembly has frozen, struggling to get the O/S track rod end off on the garage floor, so need a trip to my brother garage to use a vice to complete the dis-assembly... 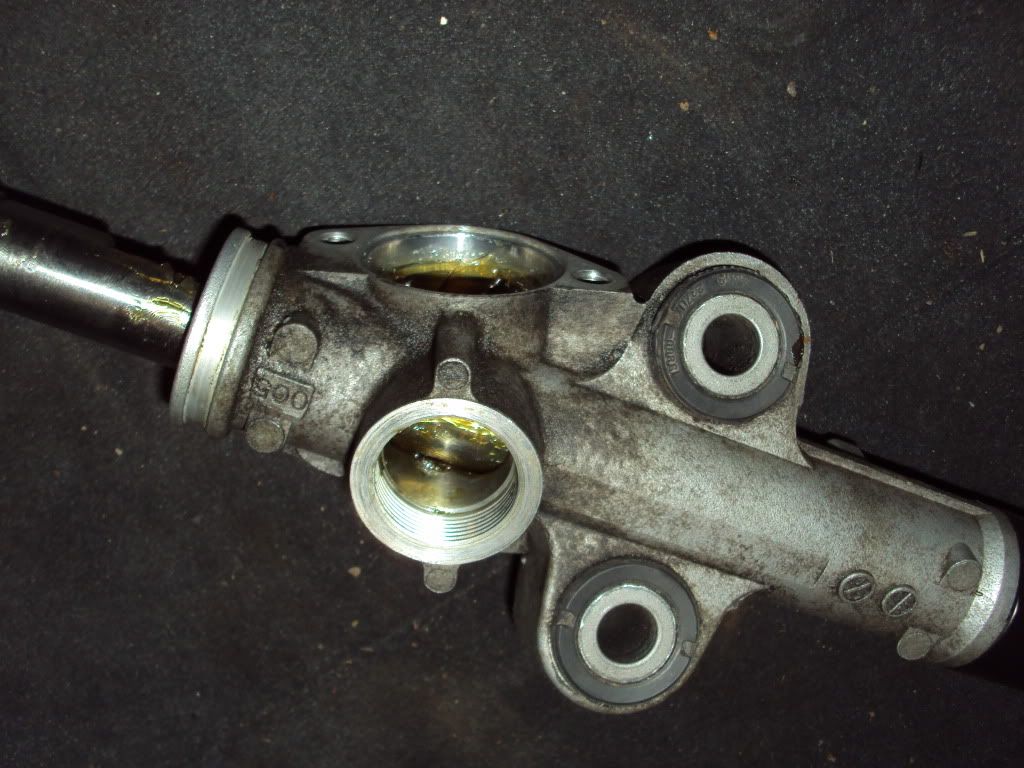 So made a bit of a start on the paint work, first coat of red heat proof paint on the front brake calipers. Just found where I can get heat resistant decal letters from cgi.ebay.co.uk/ws/eBayISAPI.dll?ViewItem&item=260693299673&ssPageName=STRK:MEWAX:IT, might look neet with MEV EXOCET written in white? 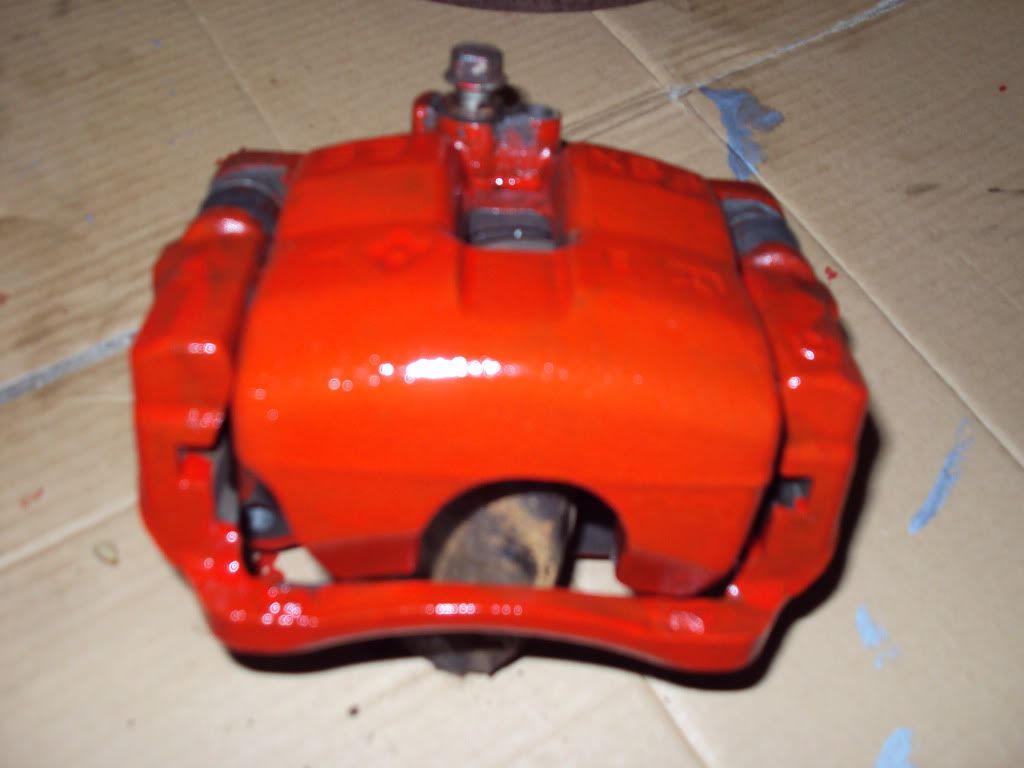 and a bit of silver on the the fuel tank stone guard 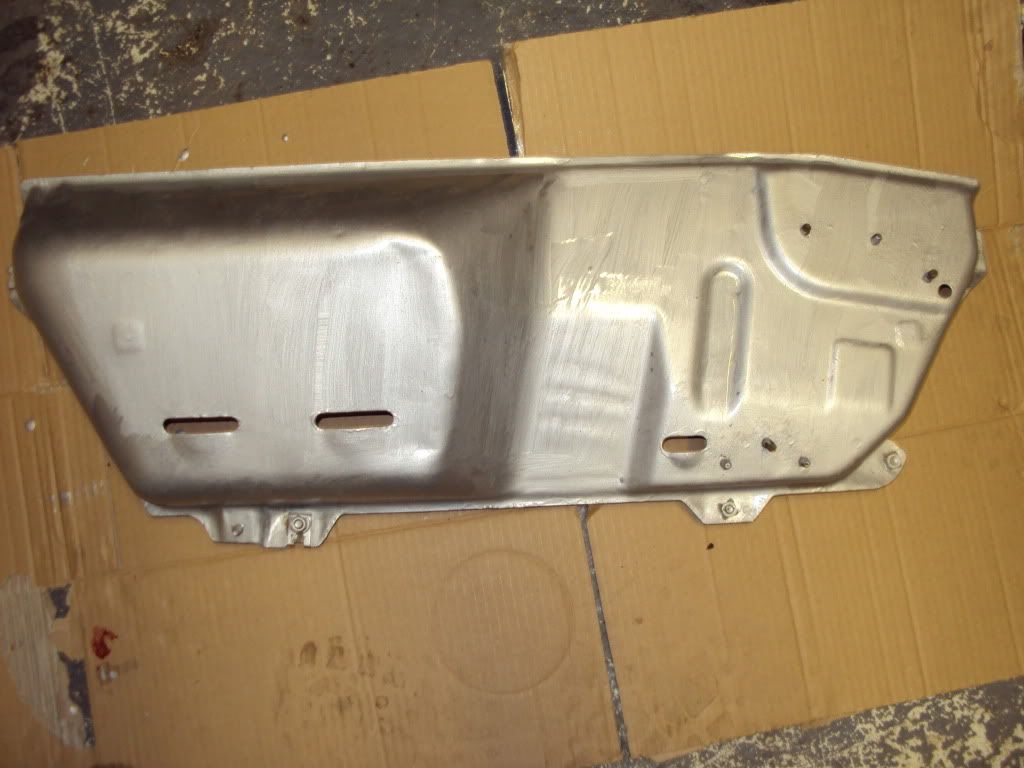 With the Cam Cover loosened for removal I have a little concern over the re-sealing of the interfaces post painting. Has any one got experience of powder coating the VVT cam cover? 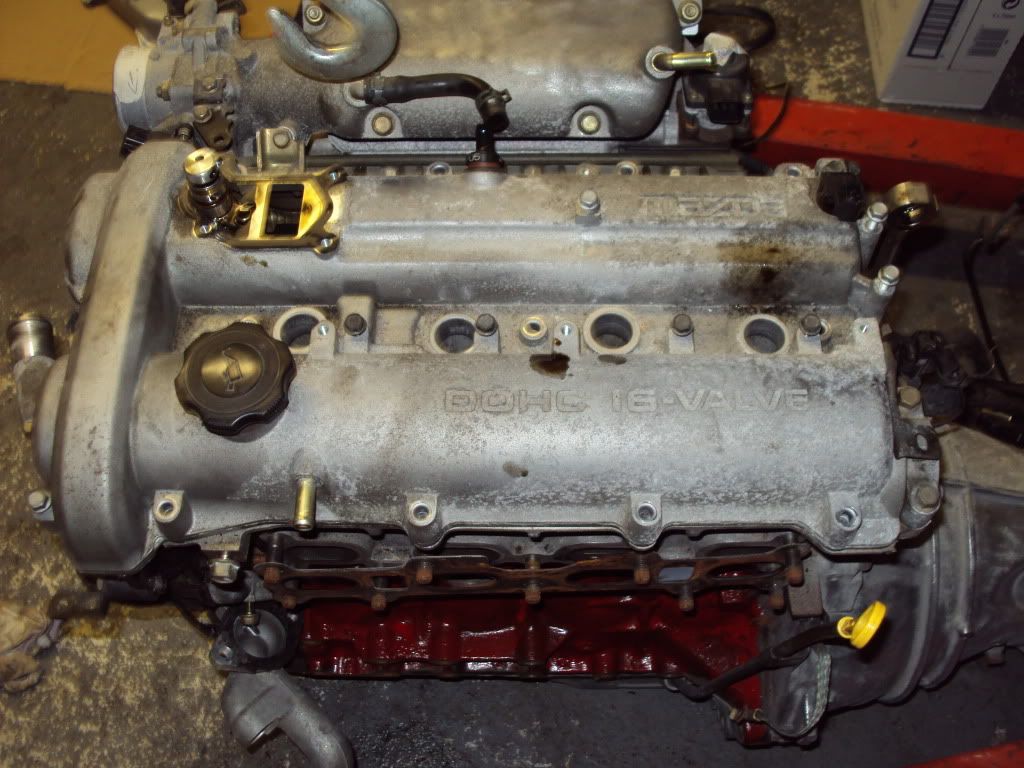 also managed the first coat of red on the engine block. |
|
Andy888
Full
   Exocet Builder
Posts: 212
|
Post by Andy888 on Jan 11, 2011 22:53:06 GMT
|
|
|
|
Post by tlight on Jan 12, 2011 15:27:29 GMT
No trip to my brothers garage, I am babysitting sick kids, trip is now planned for Friday. So back to shopping on ebay, stud extractor, 5" mole grips, draper internal / external circlip pliers, LED portable inspection work light & some carlube LM grease for the re-assembly of the steering rack. With a bit of luck the circlip pliers will arrive Thursday, which will enable me to strip the diff, so I can take the rear hubs (with snapped ABS bracket bolts) over to his garage, as well.
Ordered the 2 replacement lower wishbone bolts from MX5 Parts, £26.36.
Got £38 for the scrap body shell, which included collection from the house - so the wife & neighbours are happy again...
|
|
|
|
Post by tlight on Jan 13, 2011 20:40:44 GMT
|
|
Andy888
Full
   Exocet Builder
Posts: 212
|
Post by Andy888 on Jan 14, 2011 8:27:41 GMT
Lights look great. Never thought of an Elise. Have you considered recessing them into the rear fibreglass panel?
|
|
|
|
Post by tlight on Jan 14, 2011 15:57:04 GMT
Andy, I recall from a conversation with Stuart that the fiberglass panel maybe too narrow for this option with regards to IVA, I think he said thats why the Exocet lamps are mounted on tube on the side. Today's progress so far on the steering rack... Stripped  Seal on rack  Rack in vice 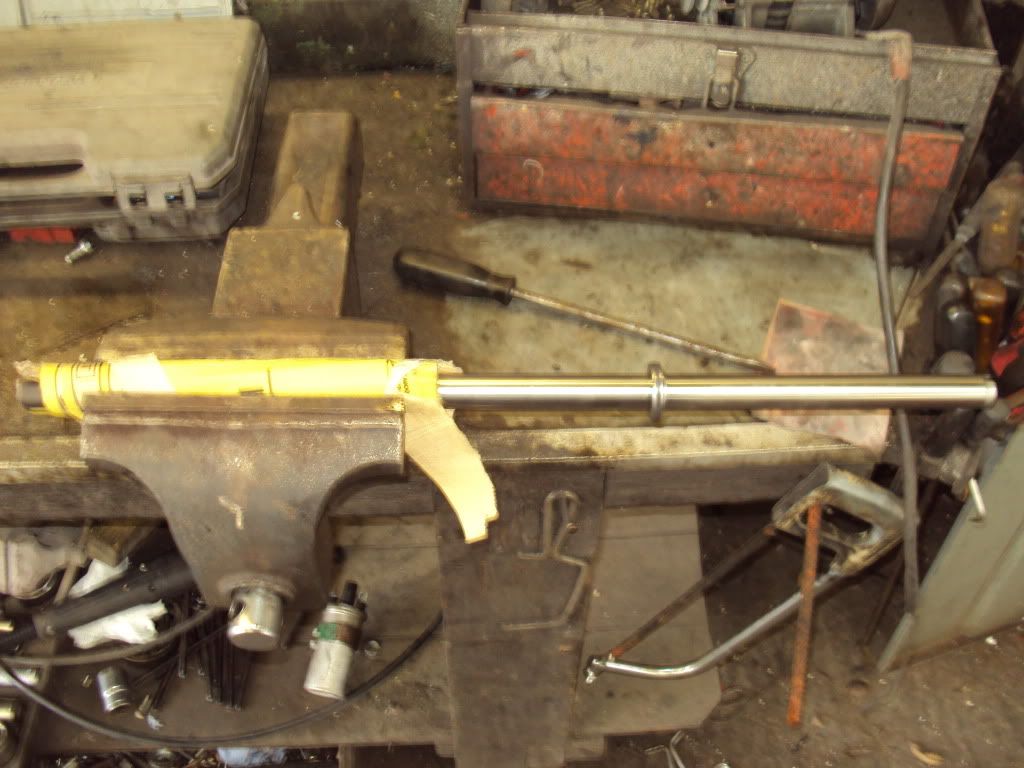 Seal removed 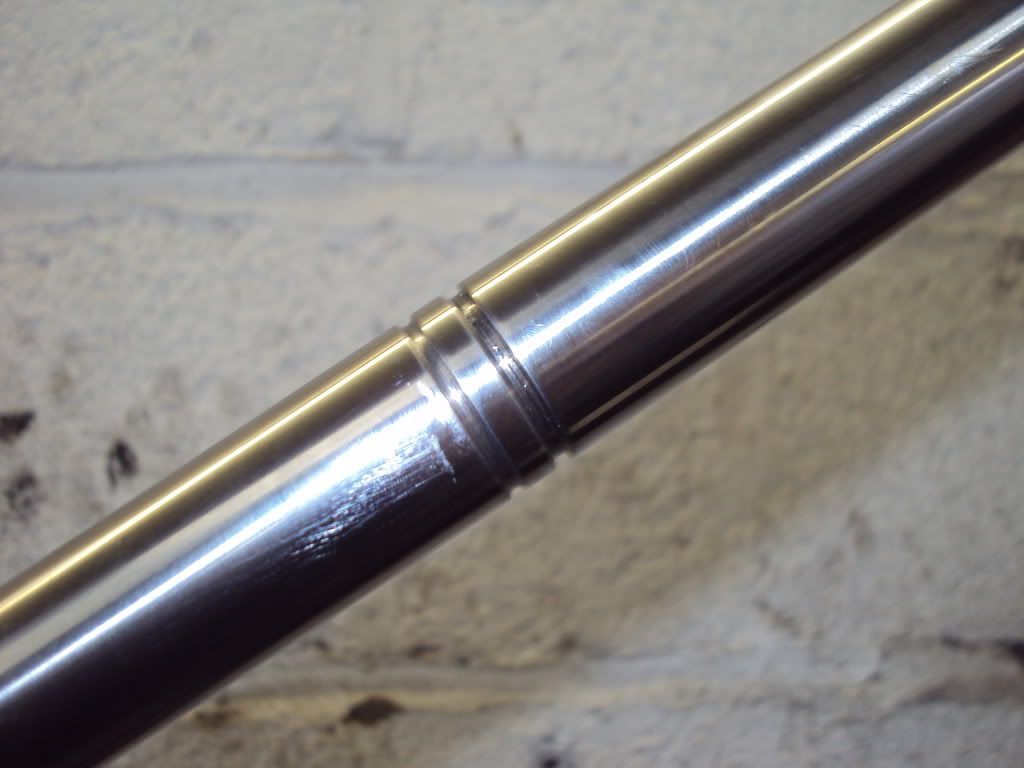 |
|
|
|
Post by tlight on Jan 14, 2011 16:03:04 GMT
The steering rack now depowered & re-assembled, with new track rod ends (& copper slip) - just got to fit a grease nipple, prime with grease & add some red wire ties for the boots...  and plug the pipes bores... 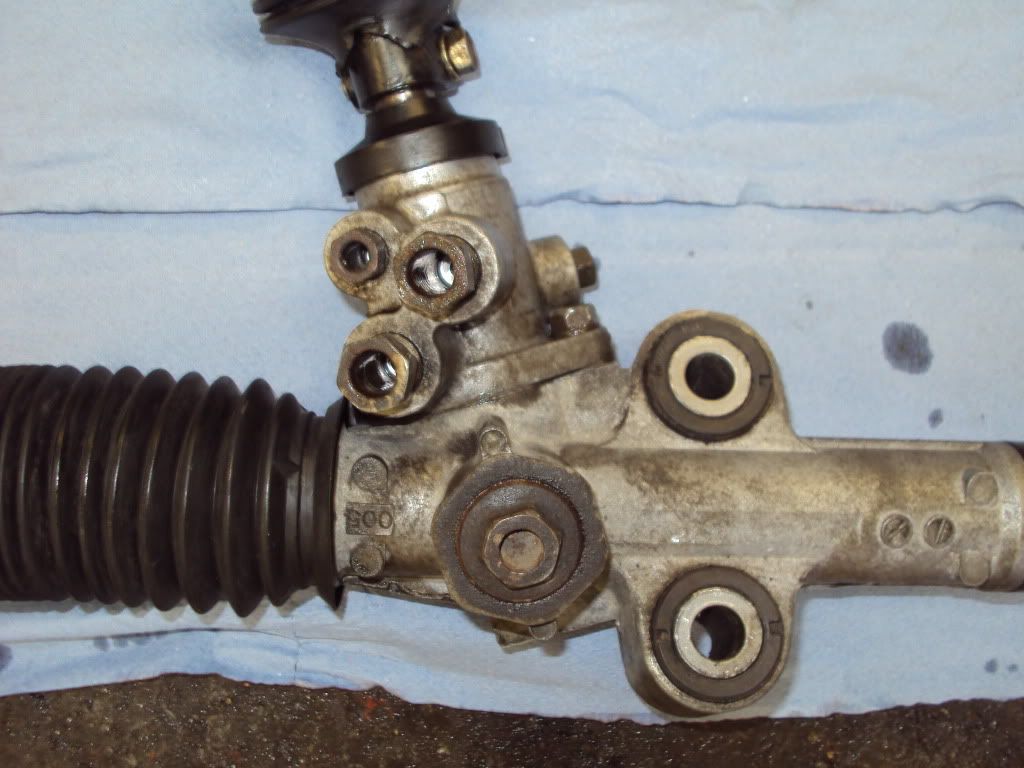 and plug the banjo union... 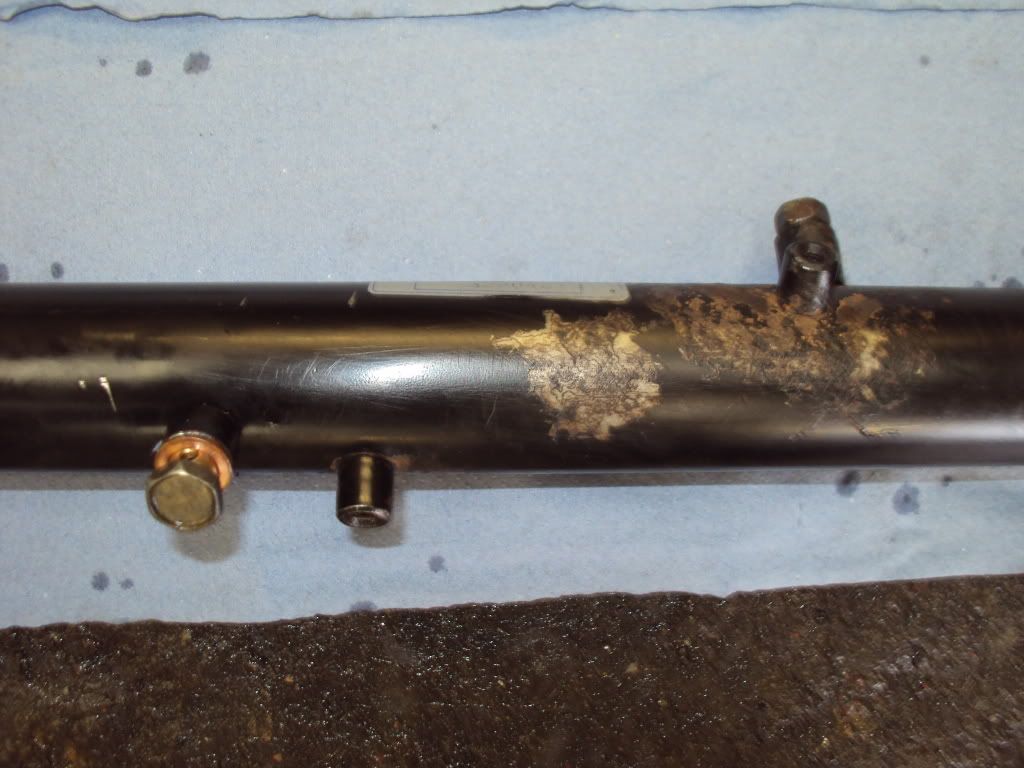 and paint... |
|
|
|
Post by Kevin Patrick on Jan 14, 2011 16:28:49 GMT
Great work on the steering rack. My plug kit and new rod ends shipped this week and I hope to do the same soon. Did you end up using an angle grinder to cut off the seal?
|
|
|
|
Post by tlight on Jan 14, 2011 20:07:24 GMT
Kevin,
Even though the web site link suggested using a grinder, found using a hacksaw & a chisel the best option. The key issue is ensuring that you don't gouge the ground shaft.
Saturday, painting the calipers, splitting the diff.
Tim
|
|