|
|
Post by westfieldlmp on May 17, 2011 21:17:07 GMT
its looking great and i love the colour coded lower panel
|
|
|
|
Post by tlight on May 17, 2011 21:19:11 GMT
Thanks Kevin.
Plenty still to do, next jobs are replace top wish bone ball joints & trial fit front wing stay, fit front anti roll & start the pipe up of the brakes & fuel system.
westfieldimp - thanks, just bought some from foamex from Robert Horne Direct. On reflection, polypropylene may have been an improvement...time will tell. I may wrap with some 3M white carbon fibre sticker if it gets jaded...
|
|
|
|
Post by tlight on May 18, 2011 16:26:31 GMT
Parts sales update....
Dashboard Silver Air Vents £28.00
Central Rear Stop lamp £9.99
Steering Wheel Boss £14.67
Door Catch £2.97
Wiper Motor £4.99
Bonnet Open Sensor £4.99
Boot Rubber £4.99
Battery Tray £4.99
Roof Catch OS £0.99
Roof Catch NS £0.99
Fuse Cover £0.99
Glove Box £16.55
Door Switch £0.99
Front Bumper Reinforcement £9.99
Rear Bumper Reinforcement £9.99
Passenger air bag £9.99
Sales to date £3,594.05
Sales have slowed down, so I am only posting on e-bay when its a free listing day.
|
|
|
|
Post by tlight on May 18, 2011 19:24:06 GMT
|
|
|
|
Post by tlight on May 22, 2011 13:09:52 GMT
Changed all chassis to power train joining bolts to have a washer top and bottom; 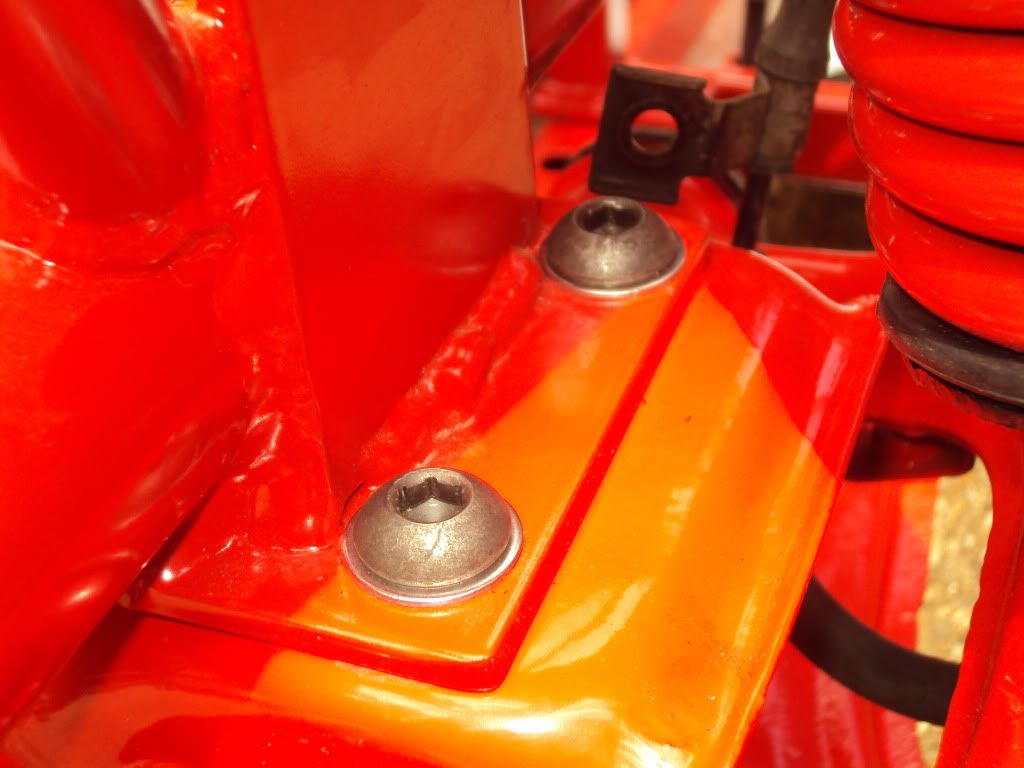 Connected up rear brake pipe, bent bracket, p clipped fuel tank feed & return and trial fitted hand brake cable. 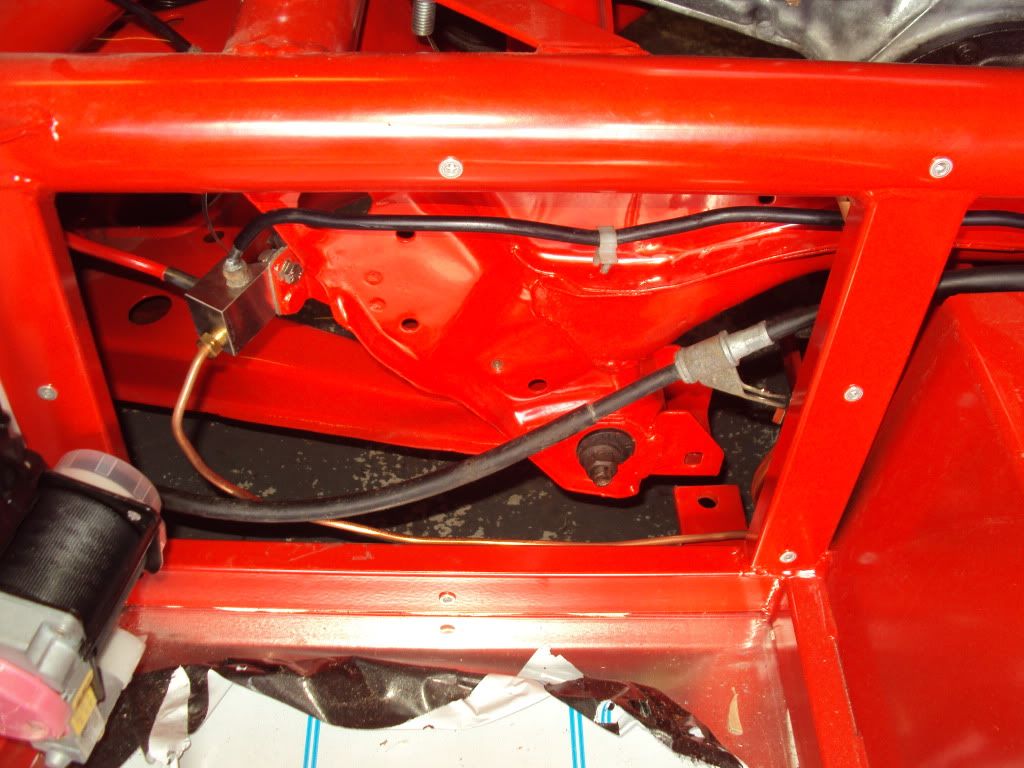 Installed front roll bar, need to buy a new drop link for drivers side and get some shorter bolts for mounting to chassis... 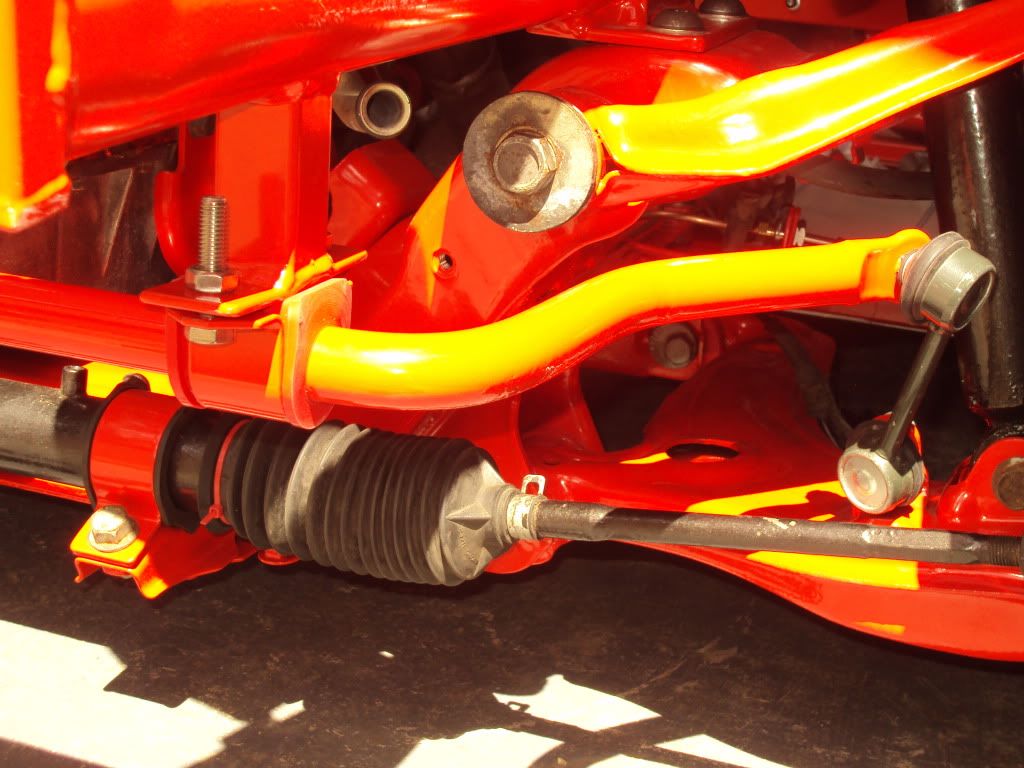 |
|
|
|
Post by tlight on May 22, 2011 13:16:03 GMT
Brake pipe installation, just needs p clipping to front sub frame 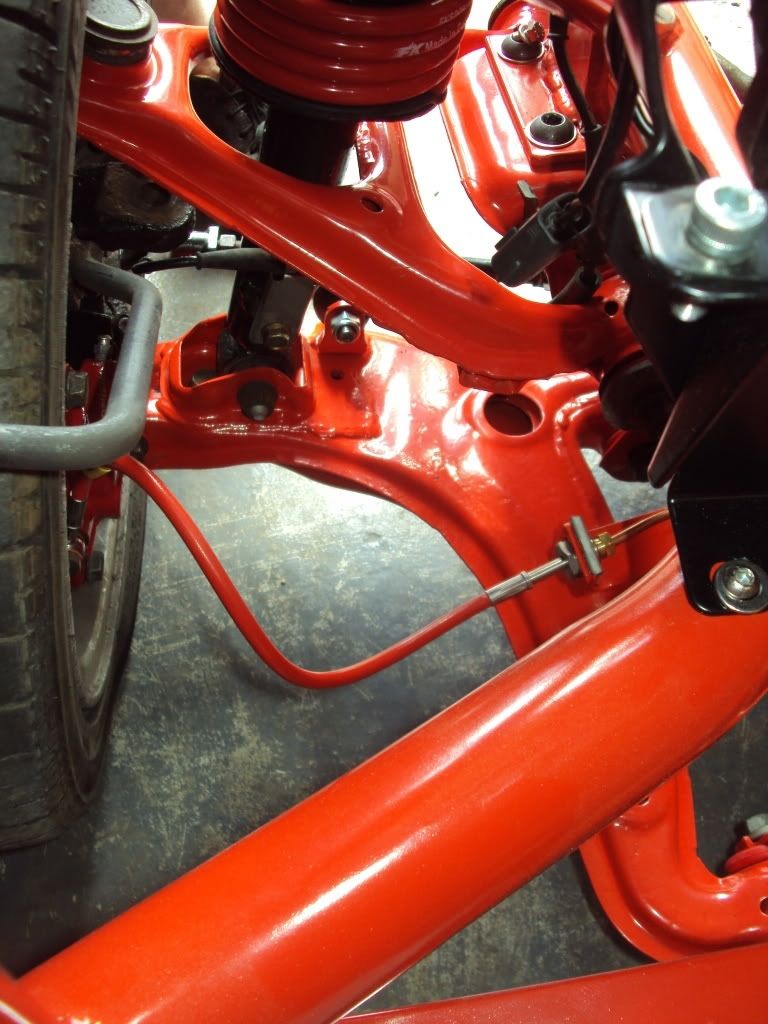 ABS unit all piped in place 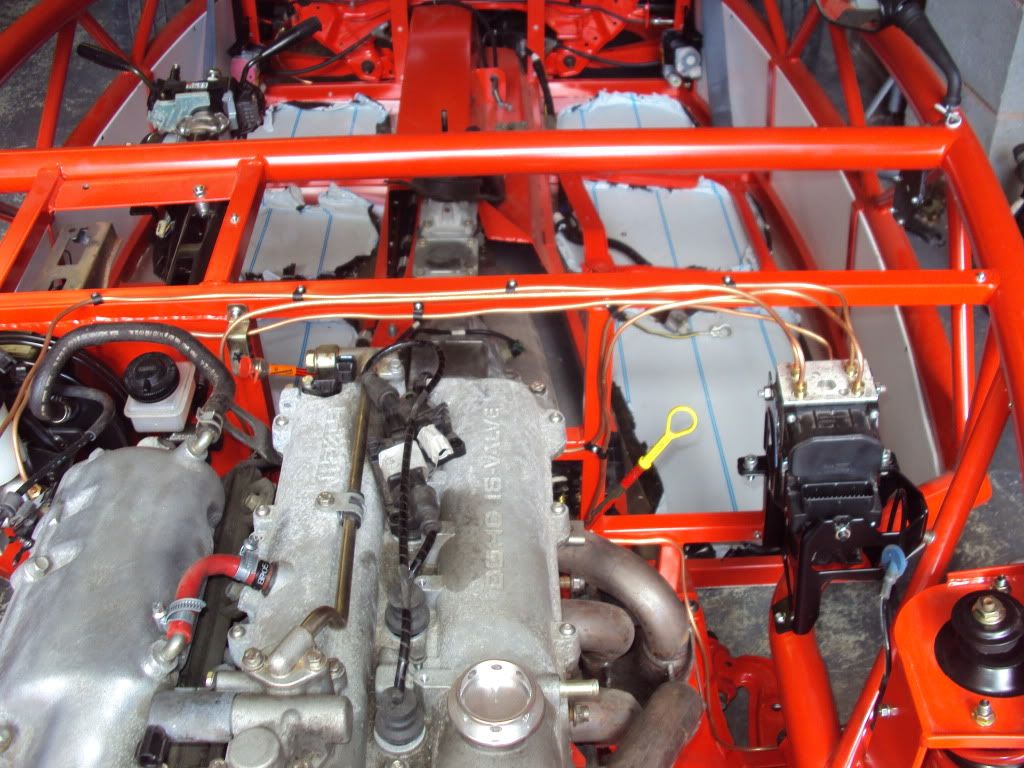 ABS harness mounted to suspension upright 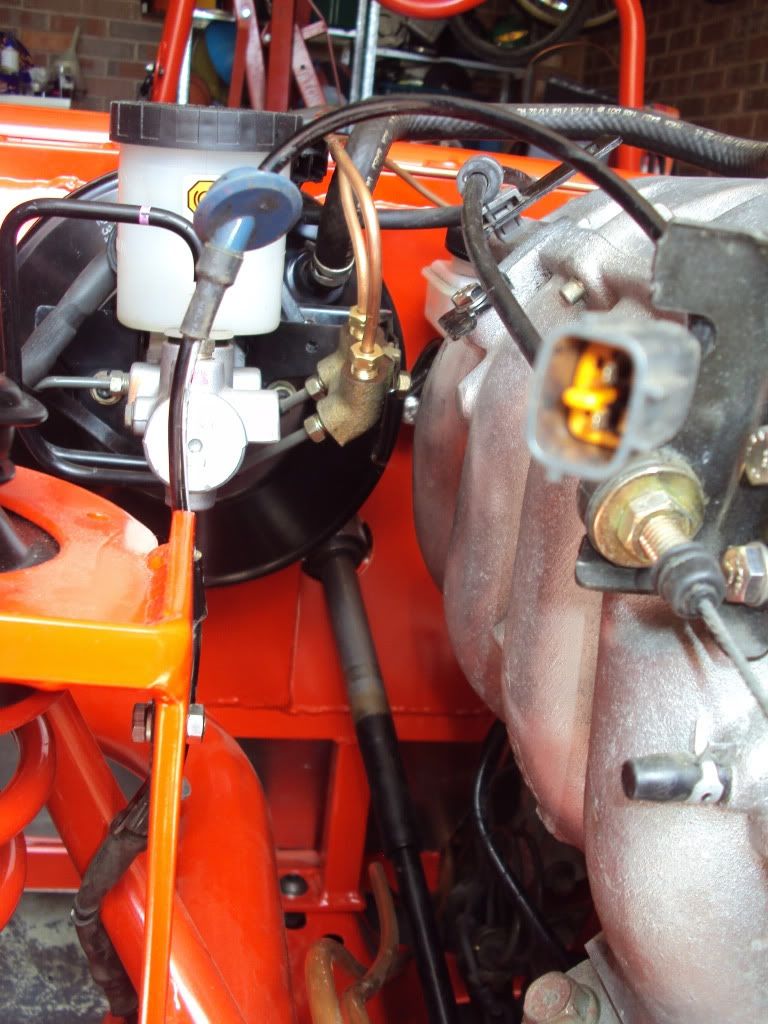 Throttle cable bolted and clipped in place 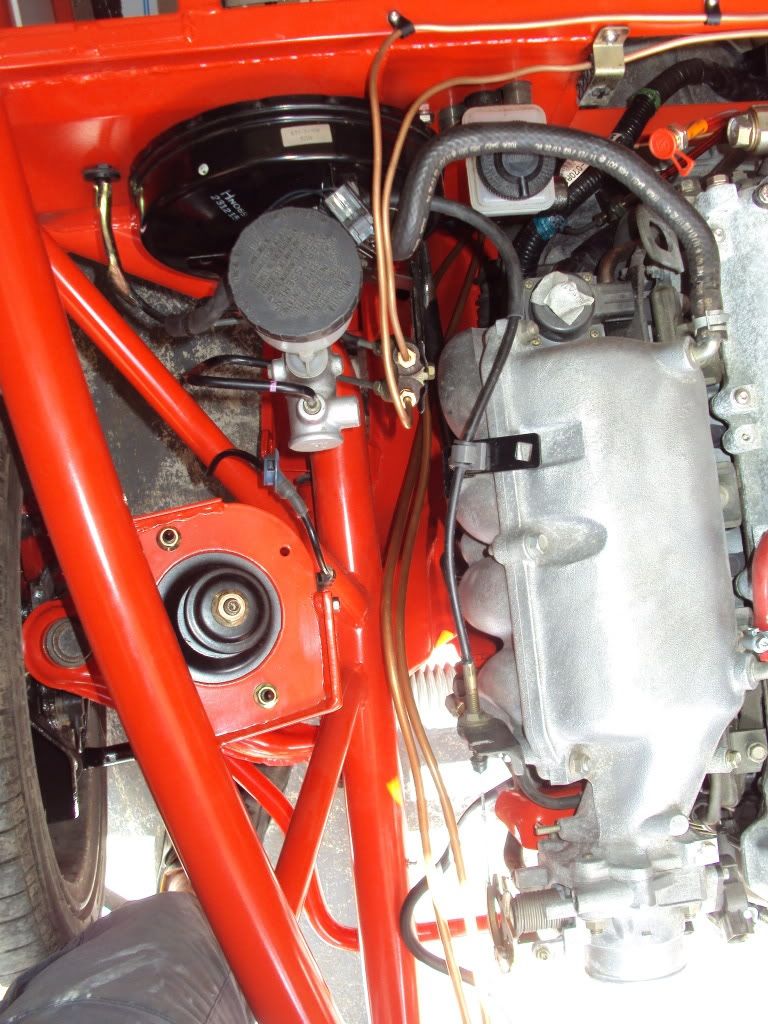 |
|
|
|
Post by tlight on May 22, 2011 13:17:33 GMT
The VVT unit on the cam cover is in contact with the bonnet 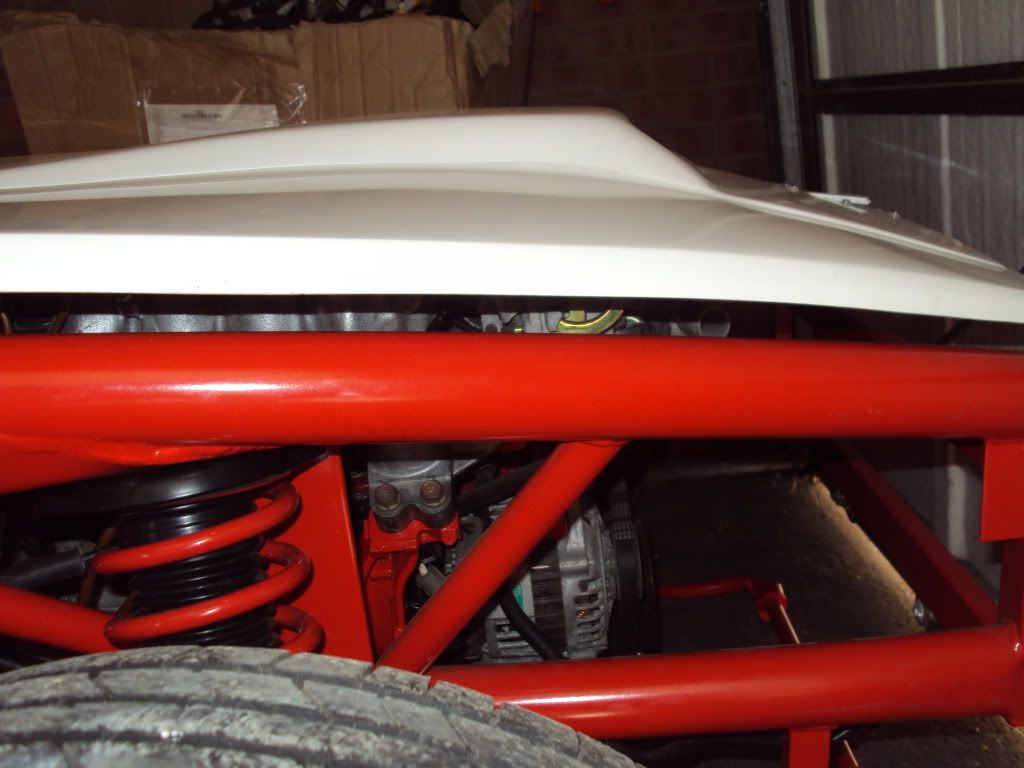 I think a small power bulge may be required... 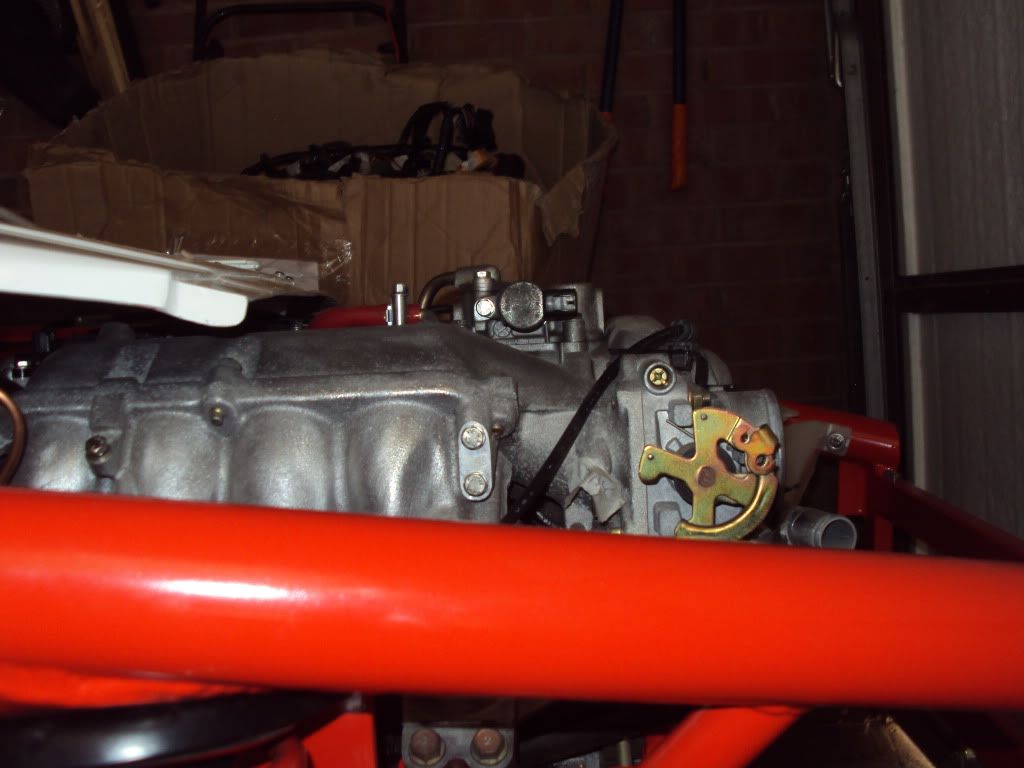 But I'll wait unit all engine connections are made... |
|
trident
Senior
   Improvise, Adapt and Overcome
Posts: 629
|
Post by trident on May 24, 2011 21:56:18 GMT
Great job...Do know if your vehicle will show the cat D maker against it once it has been through IVA and registration or will it be removed...  |
|
|
|
Post by tlight on May 25, 2011 14:32:31 GMT
I 'think' i will loose the CAT D.
|
|
|
|
Post by tlight on May 25, 2011 15:00:27 GMT
Started stripping the engine to change the cam belt, just can get the bottom pulley nut undone. Any ideas (other than buying the recommended Mazda service tool)? Completed clipping the brake pipes in place, both front sub frame and rear bulkhead. 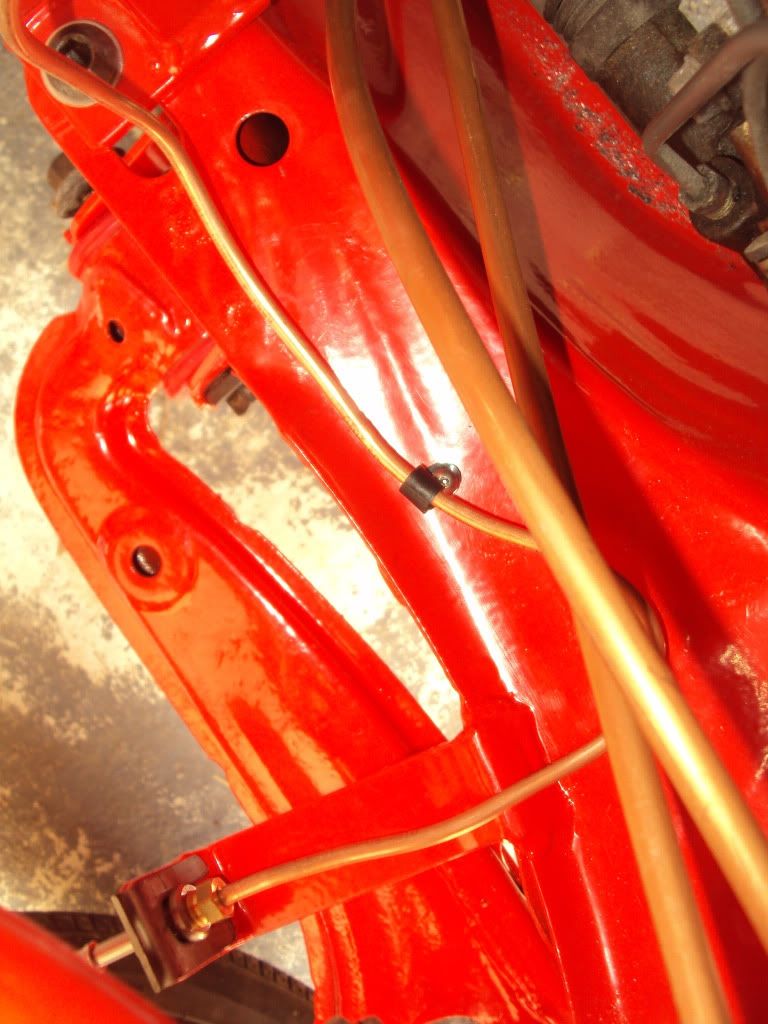 Drilled floor pan out and fitted final mounting bolts to join chassis to front sub frame. 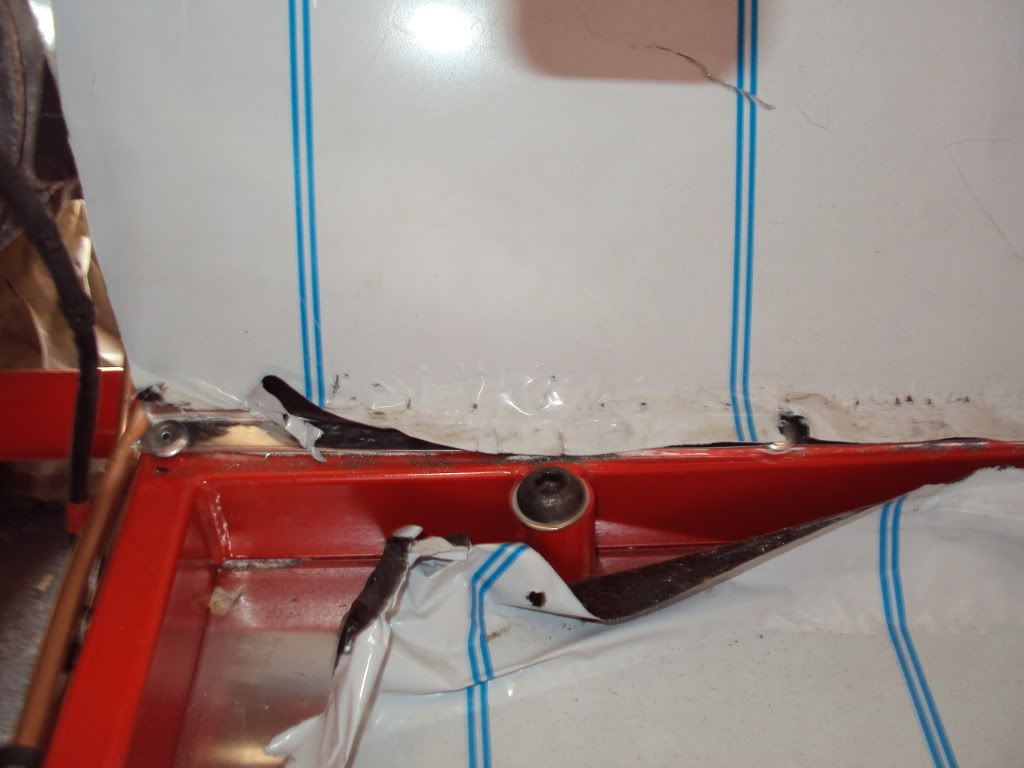 Modified the ABS harness metal work sleeve to clear the wing stay. 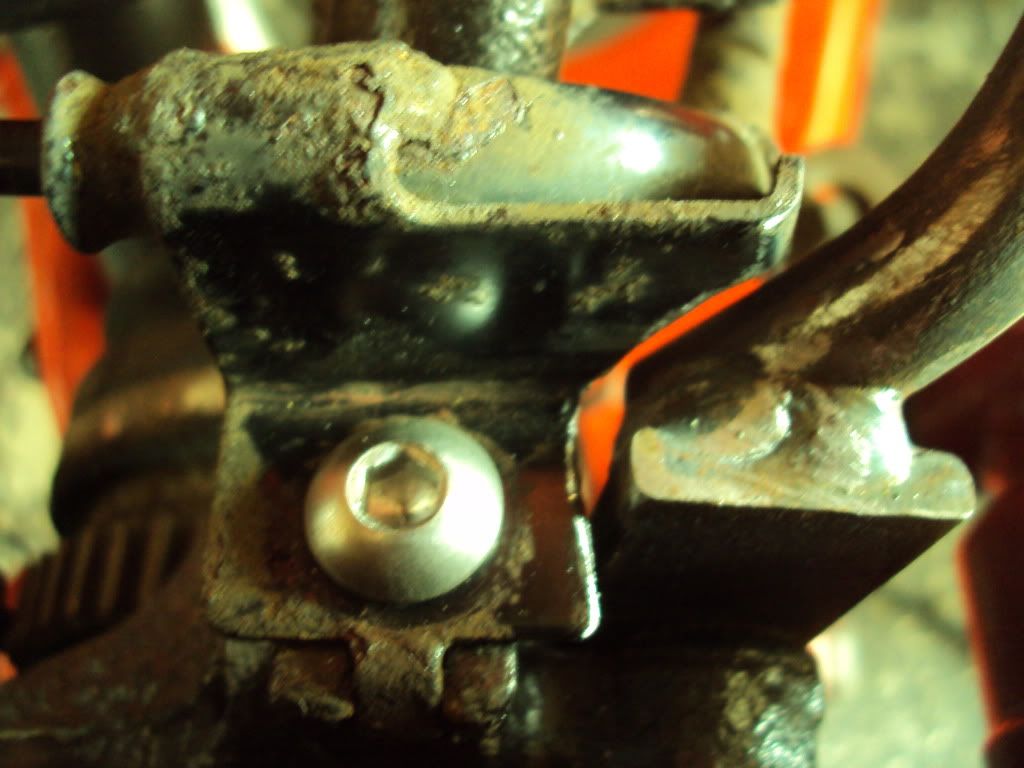 Reckon the black plastic trim contrast the red well (and breaks the red up a bit). Mangled the end of the threads on the upper wish bone ball joints...any one know what thread size they are? 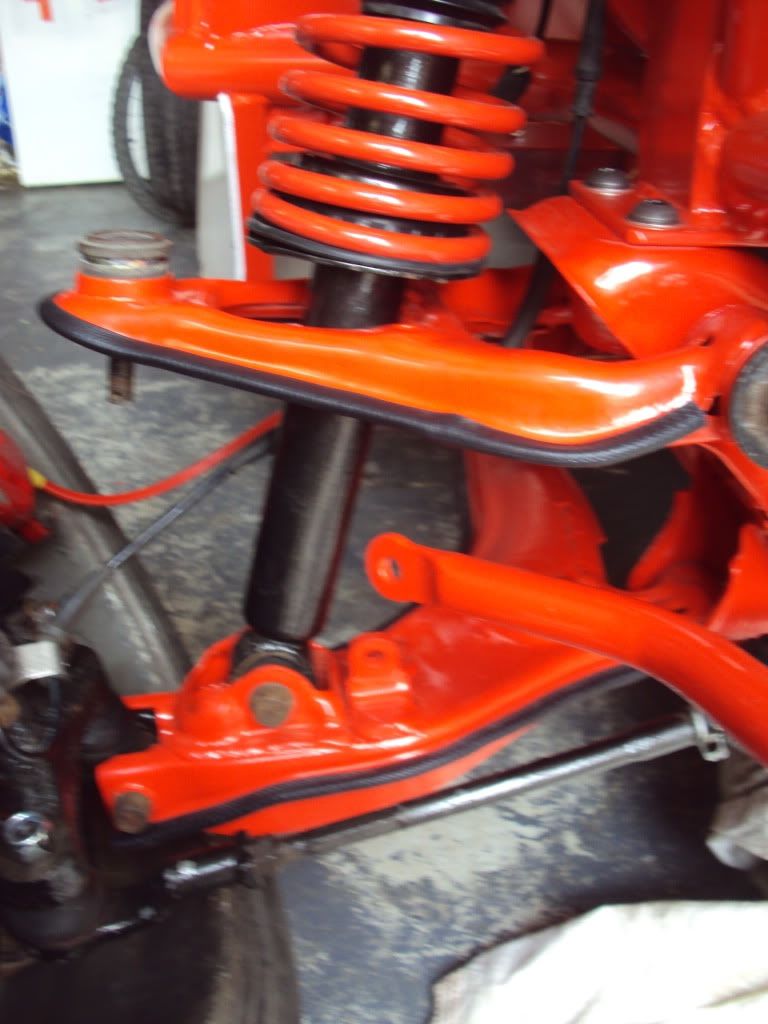 Started applying final torque to all rear end fasteners and fitting the black plastic capping's. |
|
|
|
Post by andyp57 on May 25, 2011 16:54:41 GMT
Hi Tim, I had the same problem on my front upper wishbone ball joint threads. Managed to rescue the situation by filing a chamfer on the end of the stud then gently running a tiny file through the thread from the undamaged area below to create a 'run in' for the nut. As the stud is long enough, the nut, once tightened, is well in safety and saves having to change the whole wishbone. I did think of running a die down it (Though like you I didn't know what thread pattern it is) but as I think the threads were originally rolled rather than cut it might have weakened the integrity of the metal unless stopped as soon as good thread was encountered.
|
|
|
|
Post by Kevin Patrick on May 25, 2011 17:24:01 GMT
Started stripping the engine to change the cam belt, just can get the bottom pulley nut undone. Any ideas (other than buying the recommended Mazda service tool)? Tim - I bought a service tool from Flyin' Miata and used a three foot breaker bar.  Flyin' Miata crank tool Flyin' Miata crank tool by kevinpatrick, on Flickr You could fabricate one yourself with a piece of steel, drill and angle grinder. A guy on miata.net provided this advice: "A tool can be made to hold the crankshaft while the big center screw is loosened. The tool will use the four screw holes on the retaining disk and will allow for the alignment pin. I went through several tools before I got one strong enough to serve. Don't bother with particle board or flimsy plywood. The choice is metal, using the pulley screws, or thicker hardwood, using the screws from the top belt cover. The timing belt retaining disk has a pin in it, which should be oriented up. The strengthening ring from the pulley can be used to draw the pattern of the pin and the boltholes on your tool. I found the screws from the larger belt cover to fit the holes in the timing belt retaining disk and to go through ¾' hardwood. The arm of the tool should hang about 7 to 8 o'clock, so it does not collide with other parts. I used a car jack to take up the slack and prevent rotation of the tool while I used a long arm ratchet on the 21mm crankshaft screw. If you don't have a long breaker bar or socket wrench, here's the perfect excuse to get one. You hope to get something out of this ordeal, right? I found a flex head ratchet to cost only slightly more than the same size breaker bar, and it's much more versatile. Here are some various hold tools of increasing success. The gold color pulley-strengthening ring is used to trace screw hole patterns. Notice the hole for the alignment pin."  |
|
|
|
Post by christof on May 25, 2011 21:26:55 GMT
I have done this a few times on my mx5s. I found the best method is to...
a)soak it up nicely with WD40, plusgas, silicon etc
b)put car in gear (pref on floor!), hand brake on
c)get someone to stamp on brakes
d)buy a c.£50 corded impact-wrench from machine mart (it wont last forever but it worked for me) think it came with the right size nut - recall they are 1/2 anyway
e)zuup, zuup, zuup, zuup and it should come undone.
first time i did with a massive breaker and i was bouncing around the garage until it popped - hard work!careful with bodging brackets. i managed to shear a bolt in one of the 4 holes.
be very careful if you chose to change the front crankseal, a scratch on the crank will render your engine knackered. dont scratch ali external either. best to use a plastic tube of some sort to protect crank against edges of puller.
dont forget to change cam angle sensor o ring, i found oem did the trick (Autolink). easy to distrurb when trying to engage dog teeth. might eant to reassempble with cam cover off so you can see the teeth. might want to check that 'u' clamp over is tight - i removed and resealed mine which may have helped solve the re-occuring leaking.....
did same on my ball joint - had to file a way for a bit at the threads until the nut caught - eek
|
|
|
|
Post by tlight on May 26, 2011 10:35:18 GMT
Great info.
Just ordered a thermostat gasket & water bypass gasket for the re-build. Gonna check with a few "friendly" neighbor's before buying the impact tool.
Unclear where the cam angle sensor o ring is on my engine (Mk2.5).
Also, found that if you buy off Autolink, there is a discount coded widely published on the Internet in MX5NUTZ.
|
|
Deleted
Deleted Member
Posts: 0
|
Post by Deleted on May 26, 2011 17:03:10 GMT
the code 'Solent' works as well!
|
|