Andy888
Full
   Exocet Builder
Posts: 212
|
Post by Andy888 on Feb 18, 2011 23:42:07 GMT
Cheers for that, will order some over the weekend.
|
|
|
|
Post by Stiggy on Feb 19, 2011 11:02:59 GMT
Shame you had to cut those rings off the anti roll bar Tim, ask the powder coater for a small amount of powder, mix to a thickish paste with thinners and paint it on.
Use masking tape to mark GRP cuts, then a felt pen. Small hole first to open out by hand with a file. It's easy to sand too around the return edge of the bonnet to get a flush fit all the way around. It looks like the front edges need about 6mm off flowing back to nothing half way down the length, a long thin triangle to sand off in other words. You will def need a fixing at the nose of the bonnet, those who went to the MOG track day will remember nime flying off at 90mph. I made the excuse that I wished to remove it for Adam at CKC to take a picture of the engine bay!
I have since increased the length of the lip under the nose but I still feel happier with a knob.
|
|
|
|
Post by alan87 on Feb 19, 2011 13:00:18 GMT
Forgive me If I'm being stupid, but what was the need for the modifications to the arb?
Regards Alan
|
|
|
|
Post by tlight on Feb 19, 2011 14:44:19 GMT
Stiggy,
I think the rubbers will cover the removed bushes from the roll bar, i'll get some powder anyway - booked in for powder coating Friday...so race on to get as much done pre-paint.
Using the masking tape trick now for mounting aero catches. May need to add some silicon sealant to tidy up the finish around the catches (I went for flush fit, which is probably not the best option with fibre glass, had to grind the back of the bonnet down - pics up later).
Alan,
See pic in pg 9, the Exocet chassis mountings did not line up with my (Mk2.5) arb.
Tim
|
|
|
|
Post by tlight on Feb 19, 2011 18:20:36 GMT
Bought flush fit catches, my advice go for the mounted option... Started to mark out with masking tape, ruler, pencil & cut with hole saw & jig saw... 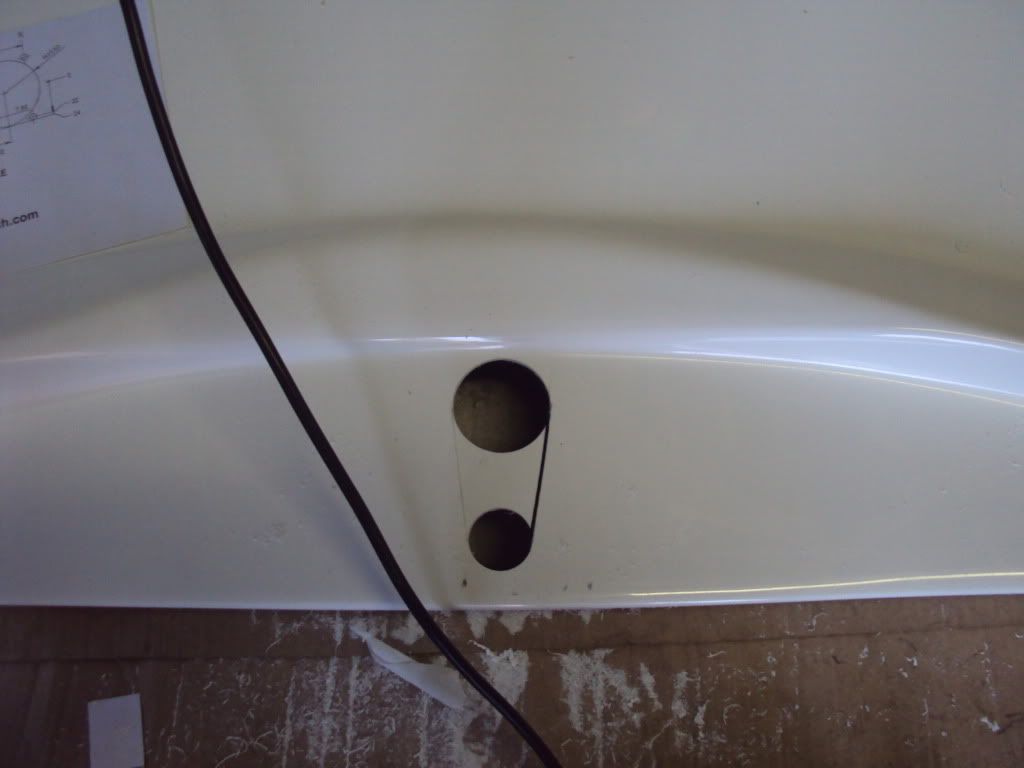 Fitted dashboard end catch, forgot to put masking tape on gel, and crack when the drill went through for middle mounting screw...then had to grind back to get best fit, looking at pic probably needs a bit more grinding back... 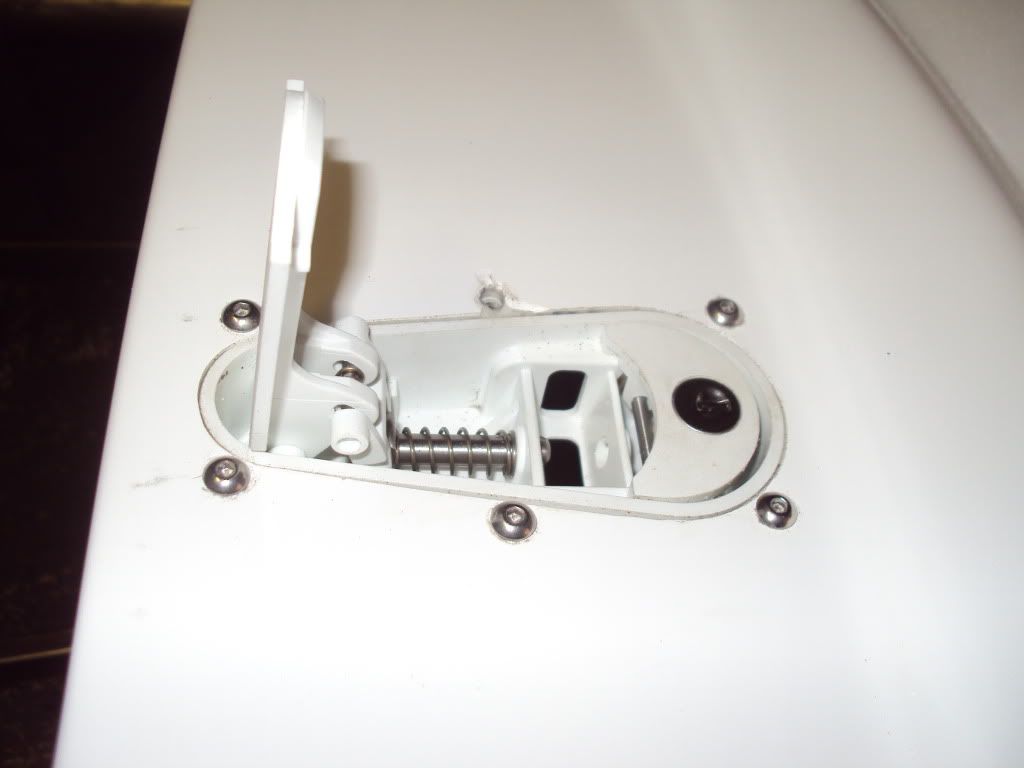 any suggestions on how to tidy up? Silicon sealant? |
|
|
|
Post by tlight on Feb 19, 2011 18:22:32 GMT
and got the rear view mirror fitted 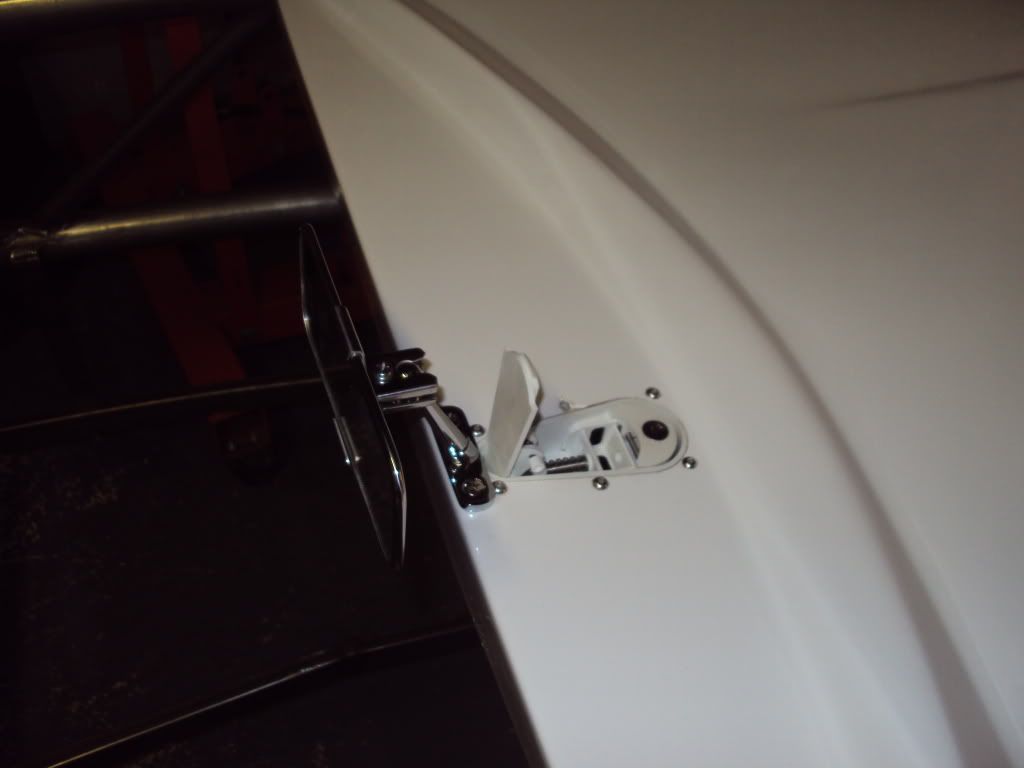 and the front bonnet catch 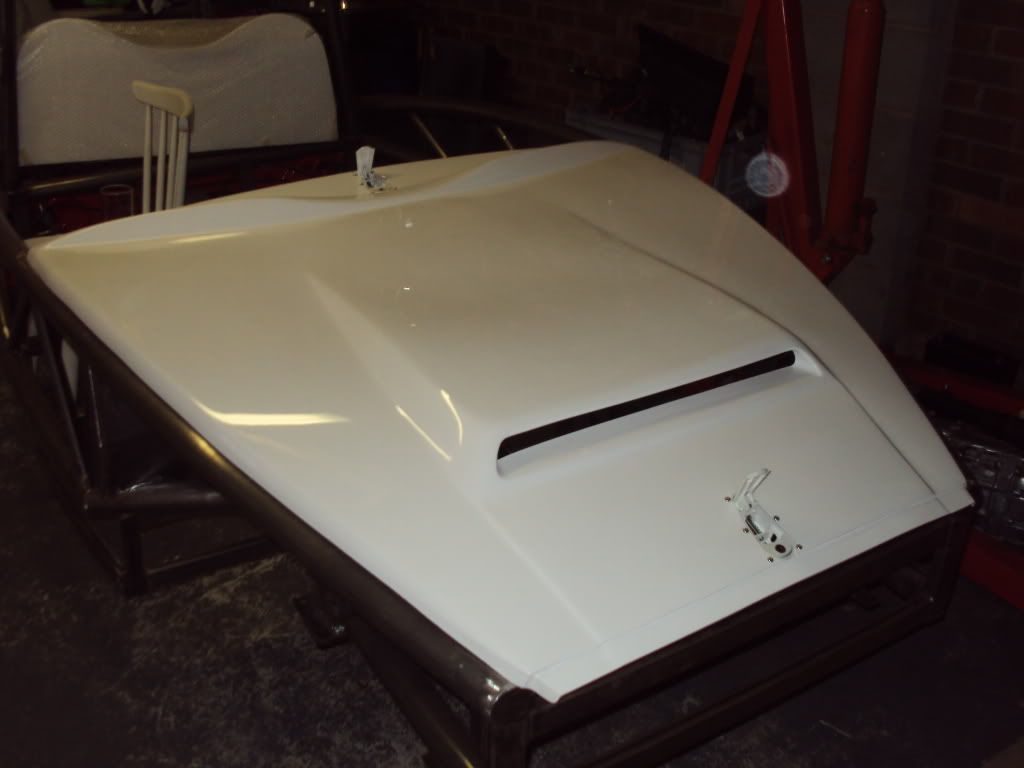 |
|
|
|
Post by tlight on Feb 19, 2011 18:26:08 GMT
Radiator mounting is different on the later Mazda's, they seem to have changed to a rubber bung (they are 400mm high, 600mm wide) 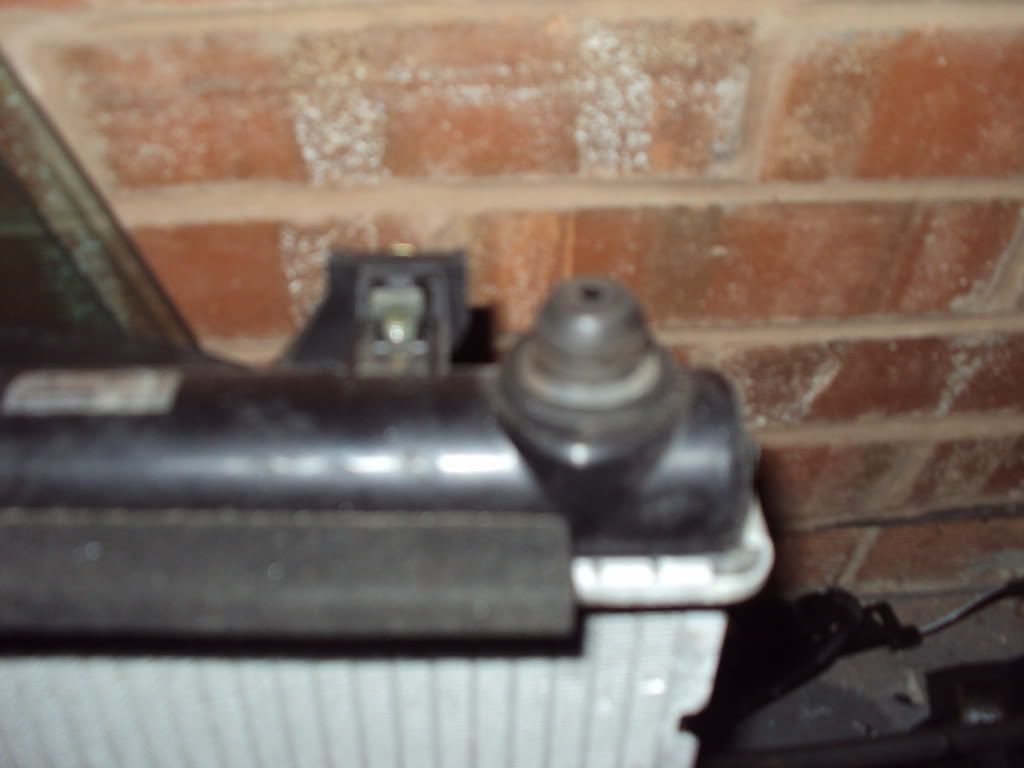 so going for a plate with 21mm bung hole, 40mm from the chassis. 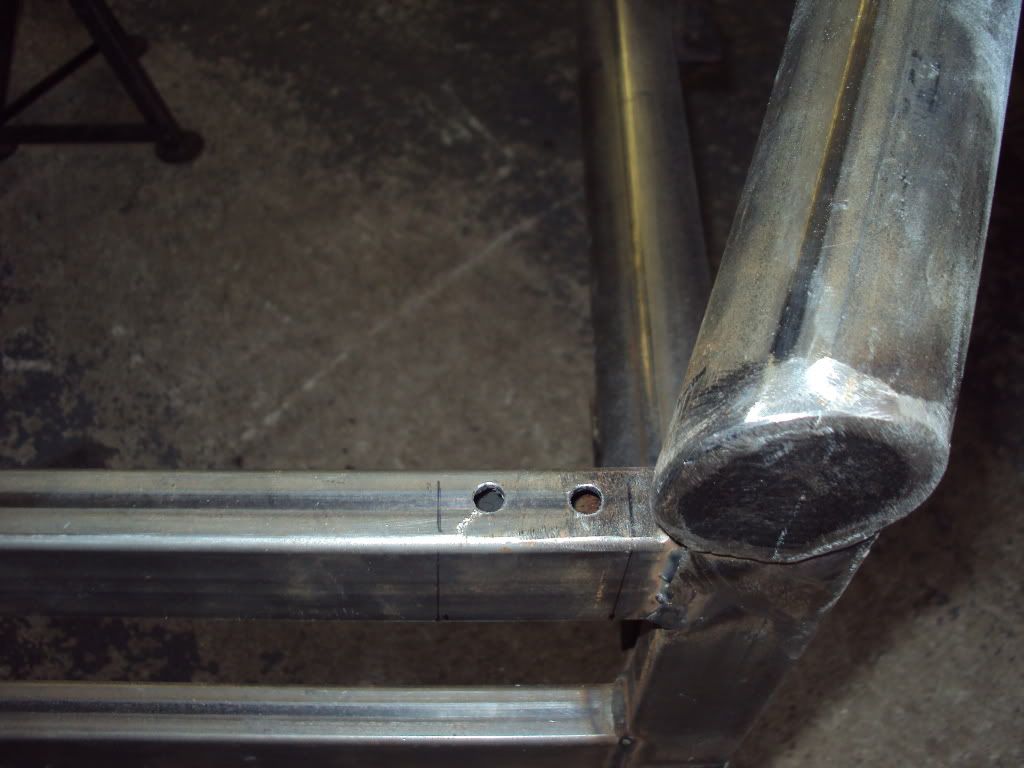 |
|
|
|
Post by tlight on Feb 19, 2011 18:30:14 GMT
Got the rest of the brake pipe p clip holes, coolant bottle, fuel bracket, relay bracket, wing mirror holes drilled (just need an M10 x 1.25 tap and some bigger drills to open up the holes for the larger riv nuts). Started trimming and fitting the foot well sheets, will need a clean up with the file... 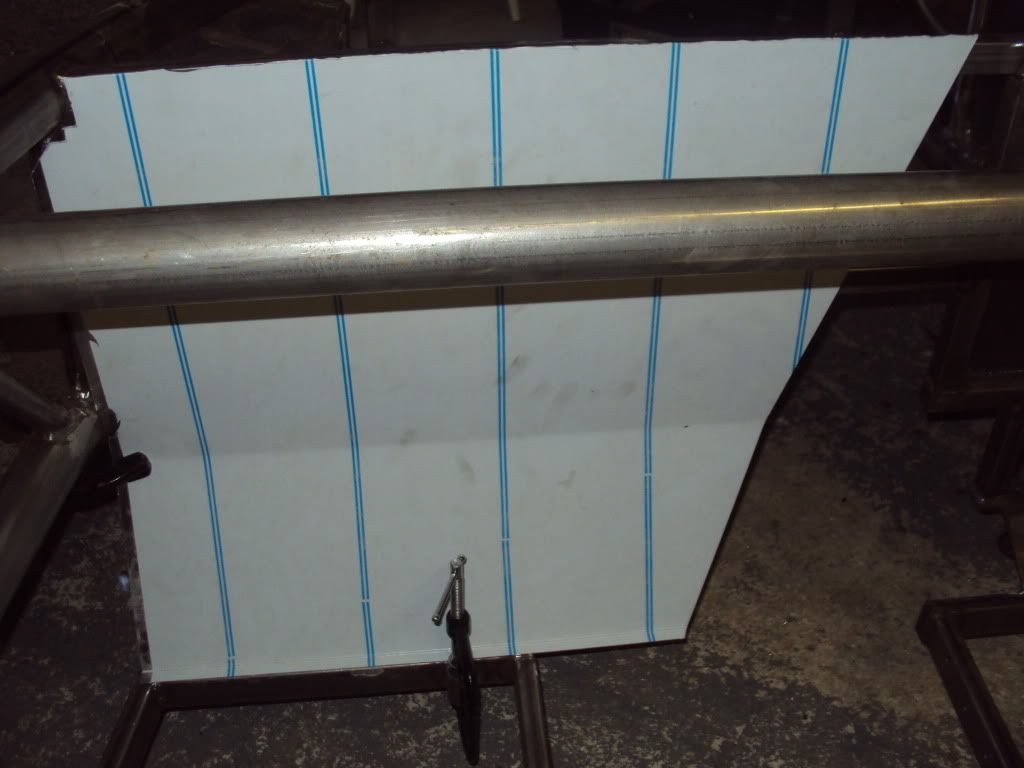 |
|
|
|
Post by cookymonster on Feb 20, 2011 18:59:30 GMT
hi guys, build is looking good !
Think the wing mirrors look great..... can you tell me what they are off?
cheers,
Cookymonster
|
|
|
|
Post by tlight on Feb 22, 2011 20:15:52 GMT
Cookymonster,
Thanks, been away so no progress last few days, back on the job Wednesday. See page 7 & ebay for wing mirrors...http://cgi.ebay.co.uk/WING-MIRRORS-LED-BLACK-robin-hood-westfield-caterham-/260740259402?pt=UK_CarsParts_Vehicles_CarParts_SM&hash=item3cb5549e4a
Tim
|
|
|
|
Post by tlight on Feb 23, 2011 18:10:02 GMT
Another load of drilling prior to powder coating; Handbrake mounting 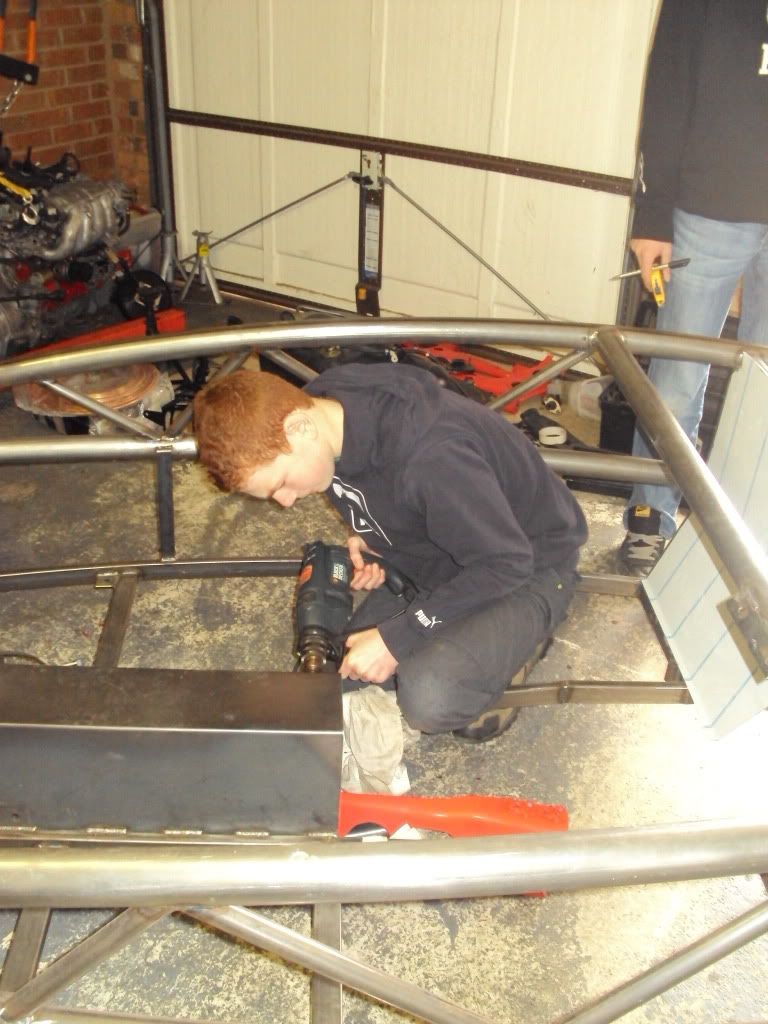 Bonnet latch/peg bracket 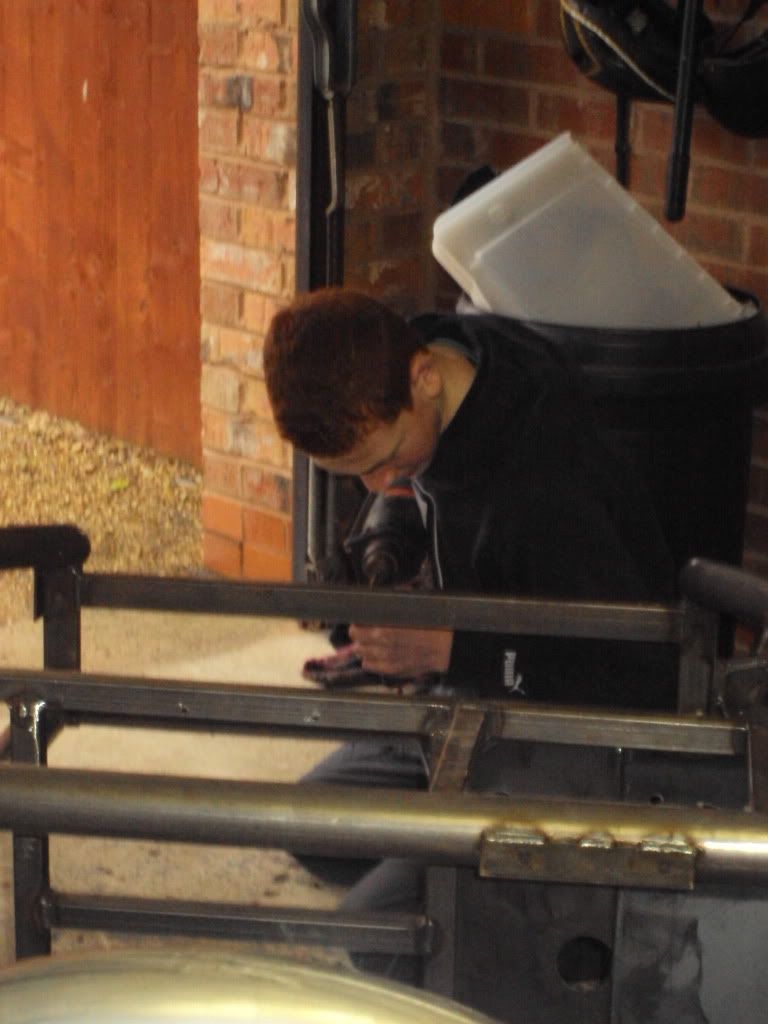 |
|
|
|
Post by tlight on Feb 23, 2011 18:12:18 GMT
|
|
|
|
Post by tlight on Feb 23, 2011 18:14:02 GMT
|
|
|
|
Post by tlight on Feb 23, 2011 18:16:09 GMT
Engine mesh, coolant bottle & ABS holes 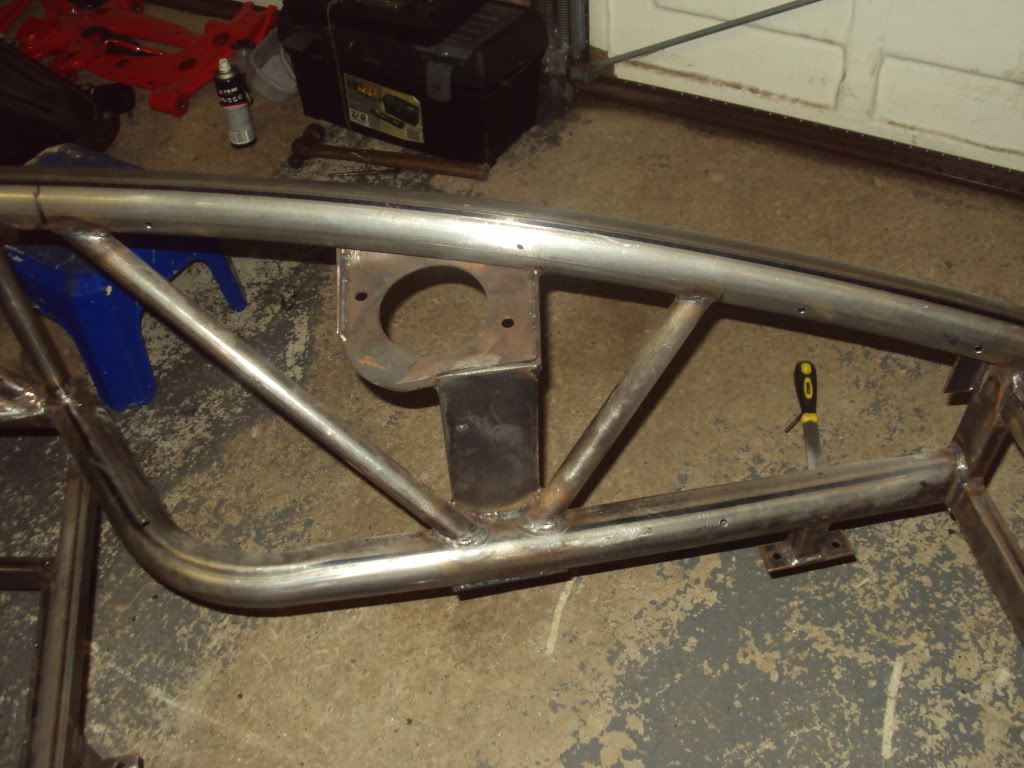 Horn, radiator brackets & bonnet latch holes 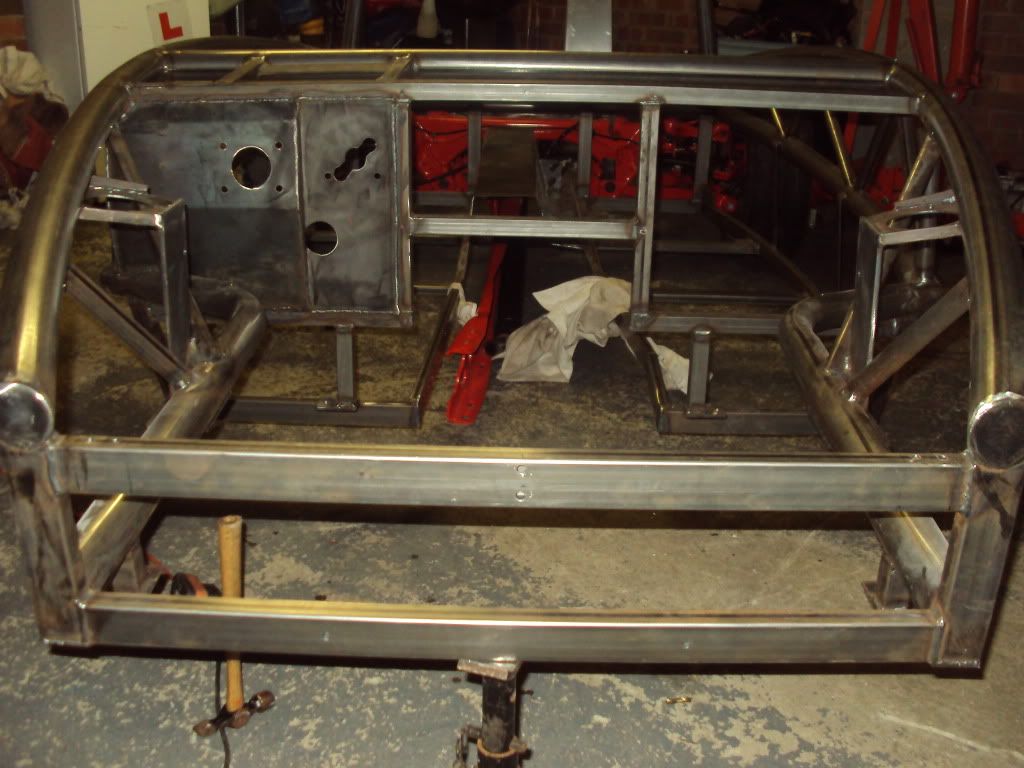 |
|
|
|
Post by Kevin Patrick on Feb 23, 2011 18:33:41 GMT
Thanks Tim. Just emailed them to see if they ship to the US. |
|