|
|
Post by phocup on Aug 19, 2016 16:21:32 GMT
So they quoted you $800 - $1000 then jacked up the final price to $2500 ?  Also back to one of OP's original question that never got answered on this thread, did you guys have any issues powdercoating the with floor attached ? The bead of silicon calk between the floor and frame being messed up in the oven is what I'm worried about as well. |
|
|
|
Post by buildercg on Aug 20, 2016 2:38:51 GMT
So they quoted you $800 - $1000 then jacked up the final price to $2500 ?  Also back to one of OP's original question that never got answered on this thread, did you guys have any issues powdercoating the with floor attached ? The bead of silicon calk between the floor and frame being messed up in the oven is what I'm worried about as well. Not exactly. I wound up having to use two different companies. First company quoted me a $1000 based on pictures I provided and on the Exomotive description of the frame. I gave them most of the parts from the donor to powder coat before I got my frame, which they cleaned up and powder coated for ~$650. They told me it would be at least $1000 to finish the job which I wasn't super happy about but at least they said they could do it. Once I got the frame, I waited ~8 weeks for com to pick it up (I have no truck/trailer). I got impatient and hired a 2nd company. They came the next day and had the frame (plus a bunch of other parts) done in 3 days. They did a beautiful job but it cost >$1800. Missed his question from the first post. I know from talking to the owner of the company that did my frame that rubber/silicon may melt in the oven (and ruin the finish) but it depends on the silicon and the temperature required to set the powder, which can vary. Probably best to drill the holes for the panels but not attach them until after the powder has been done (which is what I did for the firewall panels). |
|
|
|
Post by jon on Aug 20, 2016 21:34:08 GMT
Exomotive power cost me 800 bucks. Came out fantastic. Worth it for most people.
|
|
|
|
Post by einy on Aug 21, 2016 2:16:38 GMT
The other benefit of using Exomotive's local powdercoater is that they have alot of experience on what prep needs to be done for our specific chassis' vs. someone who may never have seen one before.
|
|
|
|
Post by phocup on Aug 22, 2016 7:36:00 GMT
Agreed einy that the best option would to to get it powdered at Exomotive. However, for me personally, with that option shipping cost would have been $1800 vs $660. Quite a difference.
|
|
|
|
Post by SeanW on Aug 22, 2016 14:33:09 GMT
Agreed einy that the best option would to to get it powdered at Exomotive. However, for me personally, with that option shipping cost would have been $1800 vs $660. Quite a difference. I had my frame powder coated by Exomotive, in retrospect I don't think I would do that if I were to order another Exocet. It came out very nice and I love the color but shipping charges for the powercoated frame were a bit brutal. It also makes things a bit more difficult if you decide that you want to change things on the car after you get. (Like, say, a top diagonal bar a full race frame.) |
|
|
|
Post by einy on Aug 22, 2016 16:50:21 GMT
Wow ... I didn't realize shipping costs were different for a powdercoated vs. un-powdercoated frame (since I rented a pickup and drove to ATL to get mine). Yikes .... !!!
|
|
|
|
Post by calibuild on Aug 30, 2016 12:21:50 GMT
Yes, self pick up is the way to go! The shipper lost the chassis, then took them 7 tries to deliver it...
Getting the chassis sandblasted and powder coated, the chassis plus all the brackets, floor panels, transmission cover etc for around 1K. I had one place quote 2.8K without sandblasting, so shop around.
Chassis will be semi gloss black, and I just decided to do the floor boards separate so will apply the silicone after.
Hope to post pictures soon
|
|
|
|
Post by calibuild on Aug 31, 2016 12:54:02 GMT
While the chassis is out to get powder coated, decided it was time to overhaul the shifter. The real pain were the 2 pins that hold the lower wave washer in. Ended up using a clamp to push one out since tapping it out with a hammer or vice grips wasn't working. Oil was filthy, recommend everyone do it. It'll never be easier, and might as well. 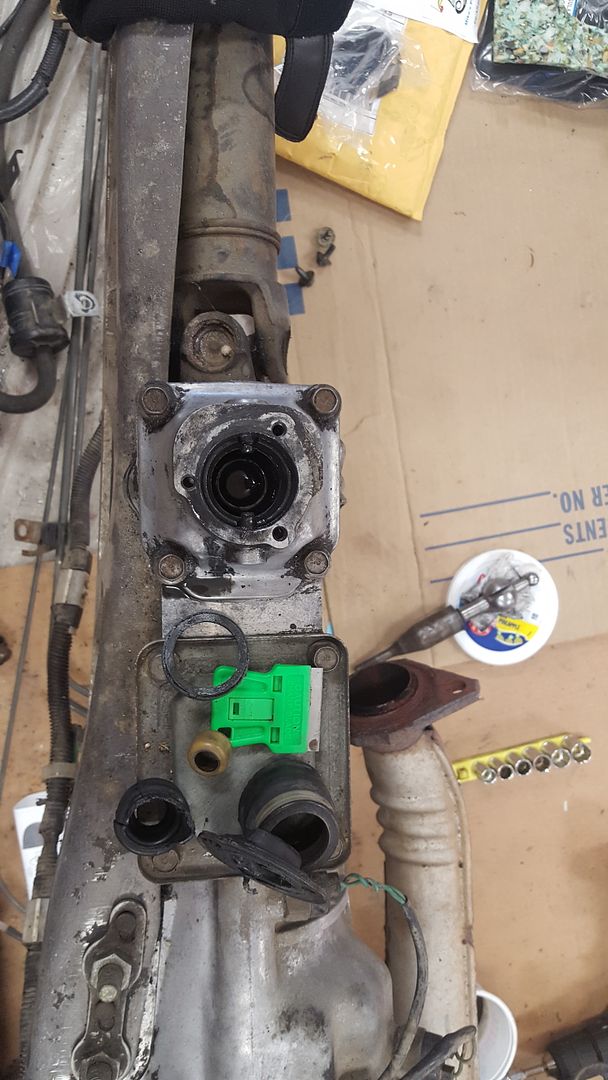
Here's a look at the chassis when I had it on the roller skate. Drilled most the holes (I'm sure I'll have to do some more), but seat brackets etcetera are all done. Pink accented seat covers came courtesy of the seller of the donor. Working on crafting some custom seat covers to match the body panels. Since the seats are cloth, they collect dust like crazy. 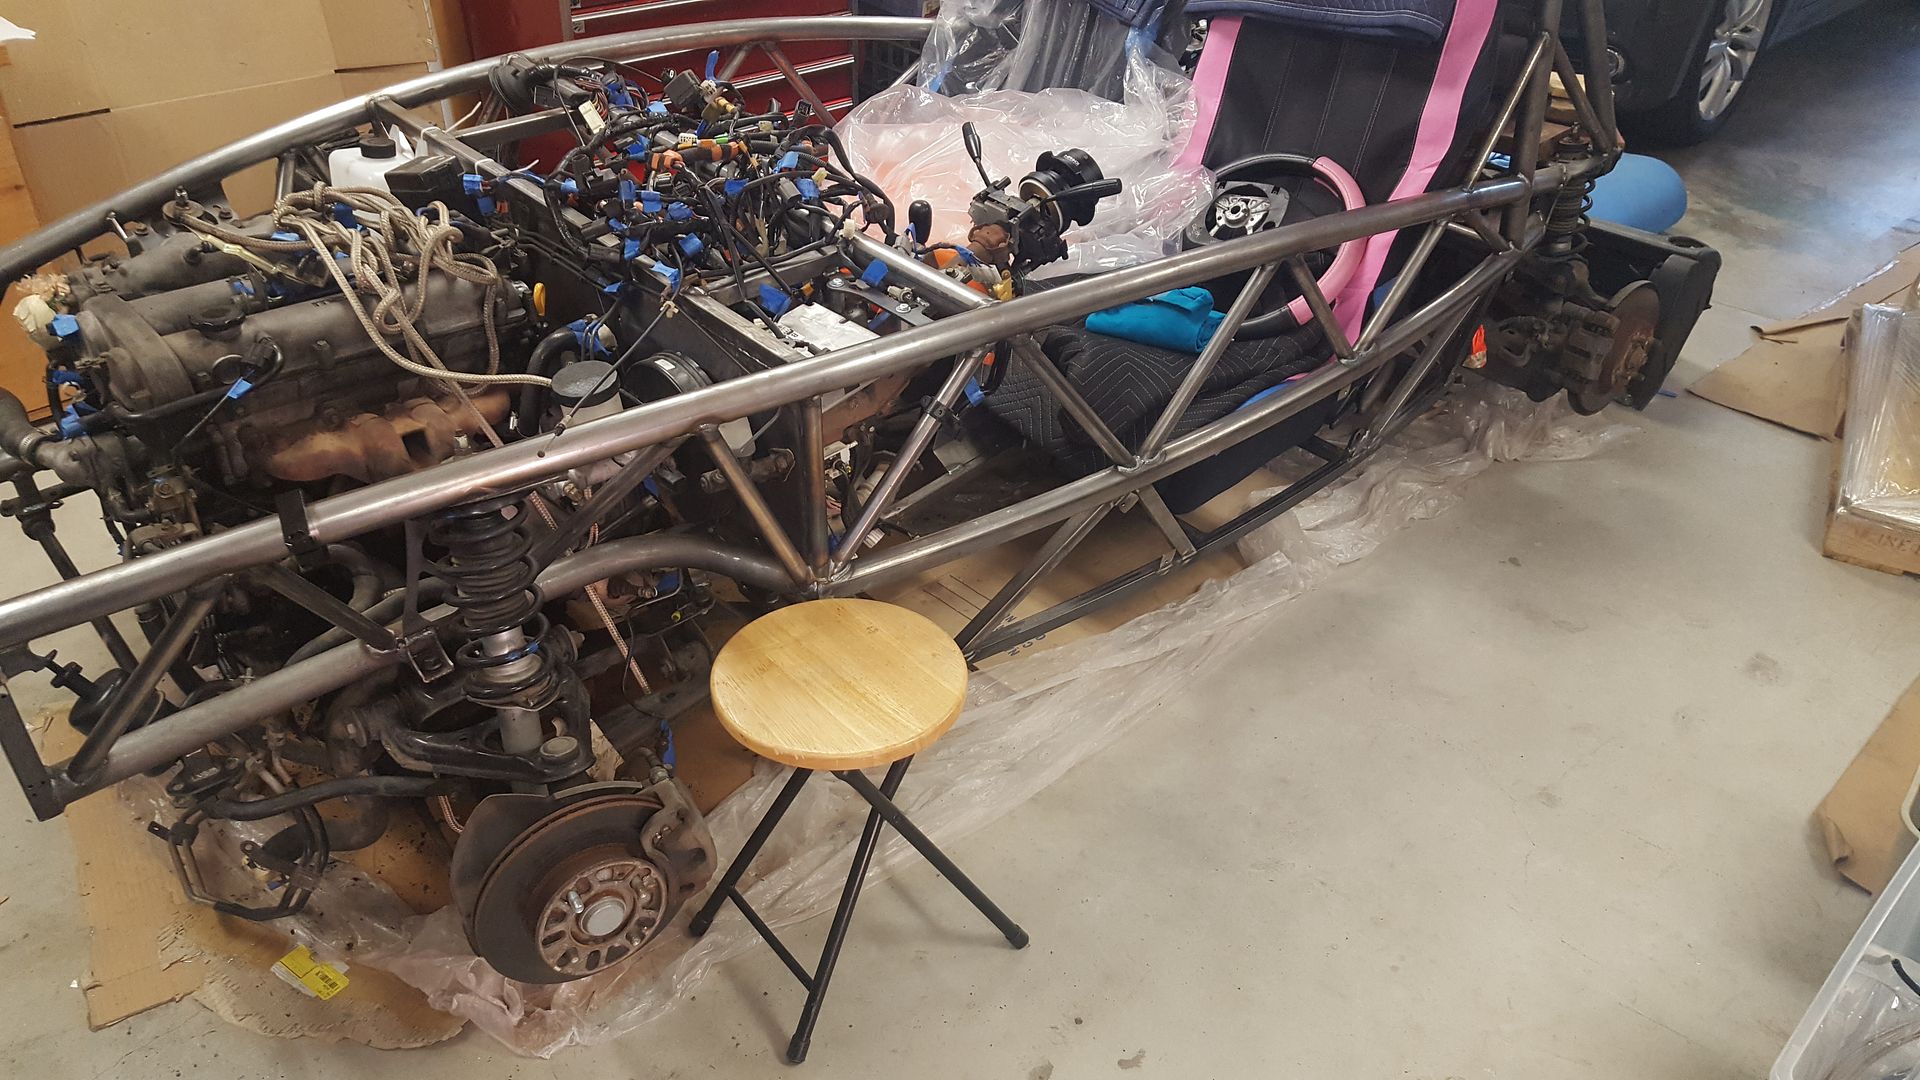
If anyone knows the grip length of the rivets, would be great to know! Trying to order black ones to match the powder coat
|
|
|
|
Post by calibuild on Sept 3, 2016 1:29:00 GMT
Got the chassis and associated parts back from the powder coater today, love it! Yes, to many Exocet's have black chassis' and blah blah blah but it's a personal thing and I'm very pleased. One lesson learned is these places apparently tend to be cash based, so ask or plan ahead for that.
Tied the chassis to sides of the U-Haul so it wouldn't slide around (tightened up the ropes after). Now just need to order black rivets, still working on finding the grip length, then floors go on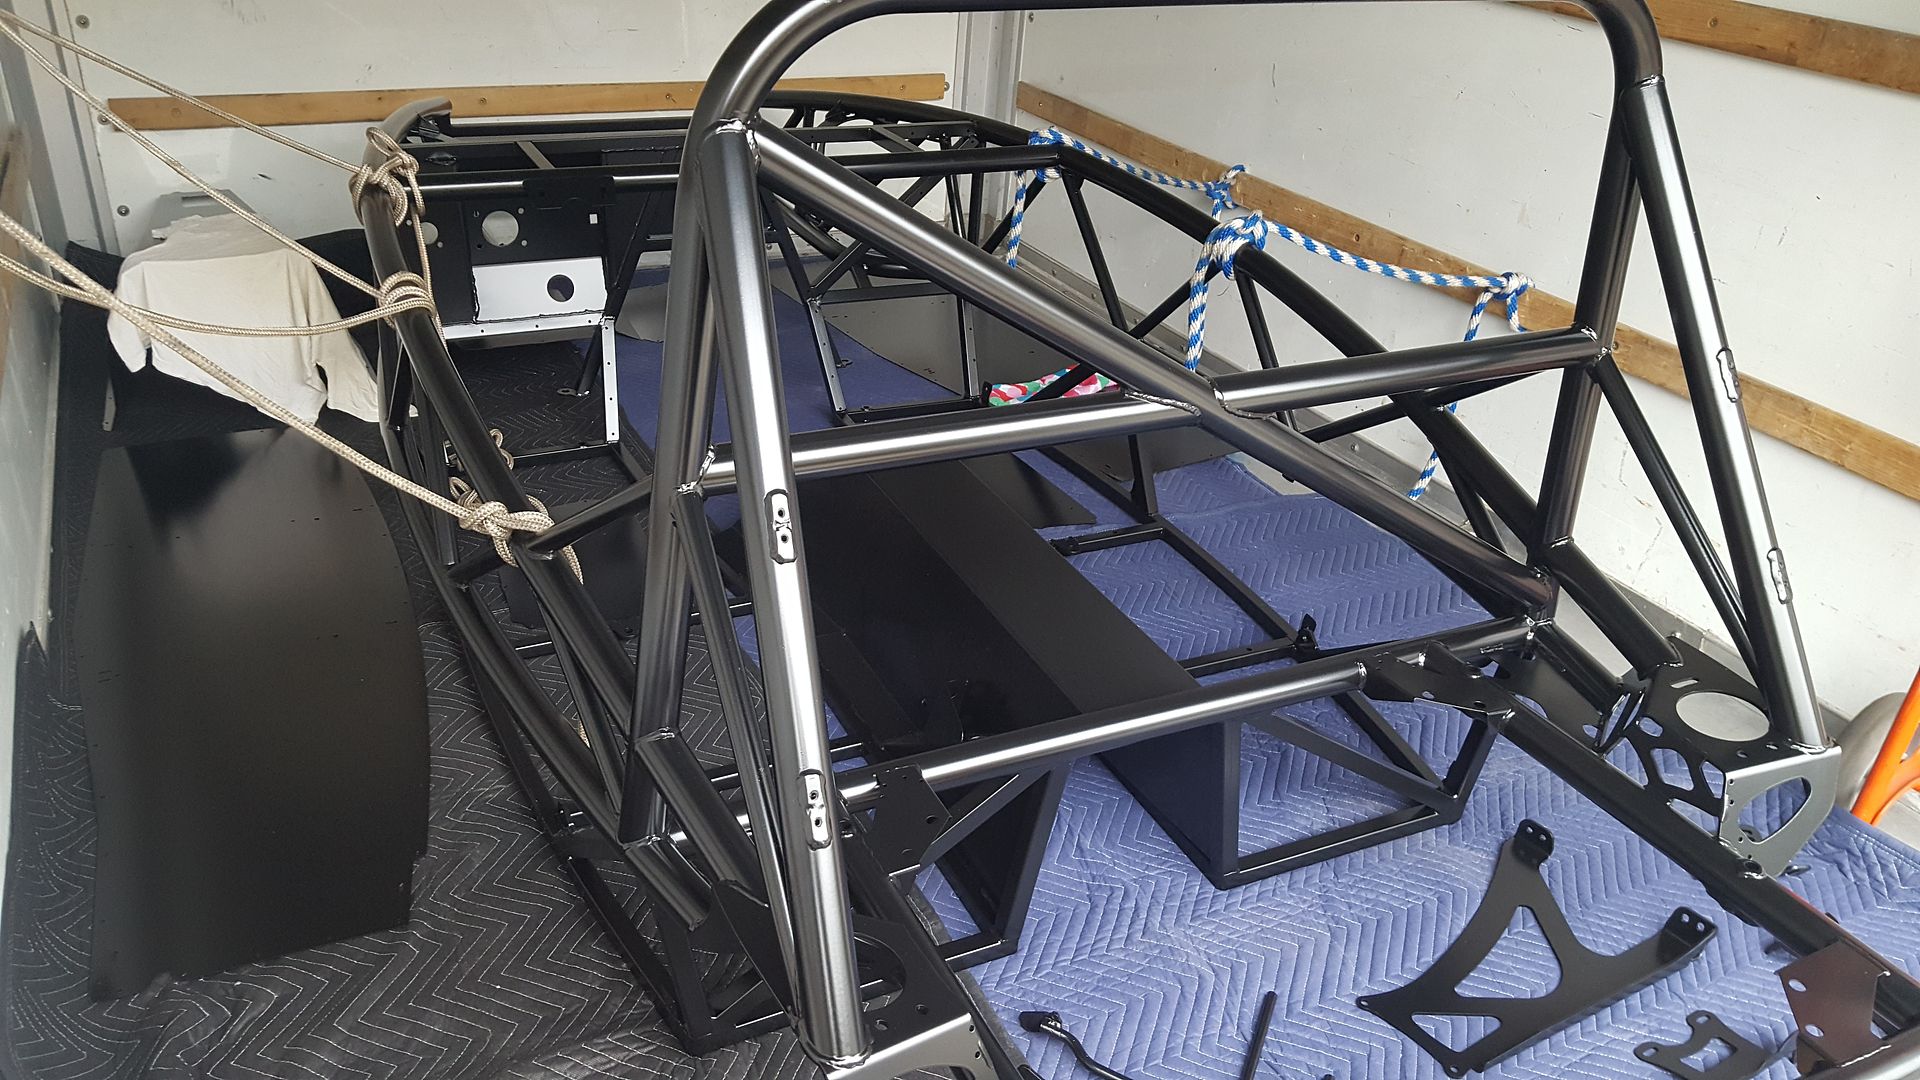 and the magic begins and the magic begins |
|
|
|
Post by phocup on Sept 3, 2016 4:43:23 GMT
Very nice .. I keep going back and forth between a sleek + 'stealth' build or a hi viz one. Polar extremes. I thought I had decided but now you have me wavering again.  |
|
|
|
Post by gwnwar on Sept 3, 2016 5:36:18 GMT
|
|
|
|
Post by Stiggy on Sept 3, 2016 9:32:37 GMT
Use 4.8 mm diameter rivets with a large flange. 10 mm length rivets have a grip range of 4-6 mm. So depending on the floor and tube/paint thickness....
|
|
|
|
Post by calibuild on Sept 3, 2016 14:14:25 GMT
Gwnwar & Stuart, thank you both! Massively appreciated, will order this weekend and get to it next weekend (only get to work on the weekends). Hoping to pick up some pool noodles today to splice and put over the railings to protect it from falling tools and the like. Phocup - go crazy! Whatever you pick, you will be pleased  |
|
|
|
Post by calibuild on Sept 13, 2016 2:02:52 GMT
Hey, lots of progress this weekend! Thanks again Gwnwar and Stuart for help on the rivets.
Heated and crushed the pipe (only 1 side is this photo, but did both). That took a ton of work..... 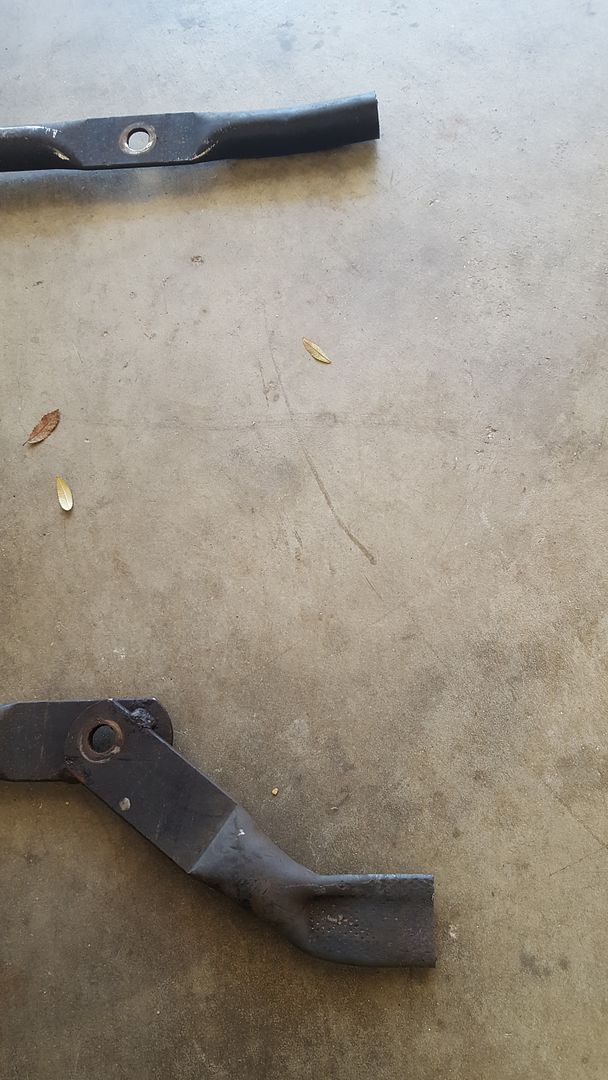
Then put some heat shield on...... this took a long time, but believe it'll be worth it. It was pricey, but again, should be worth it and it's easier to do now. 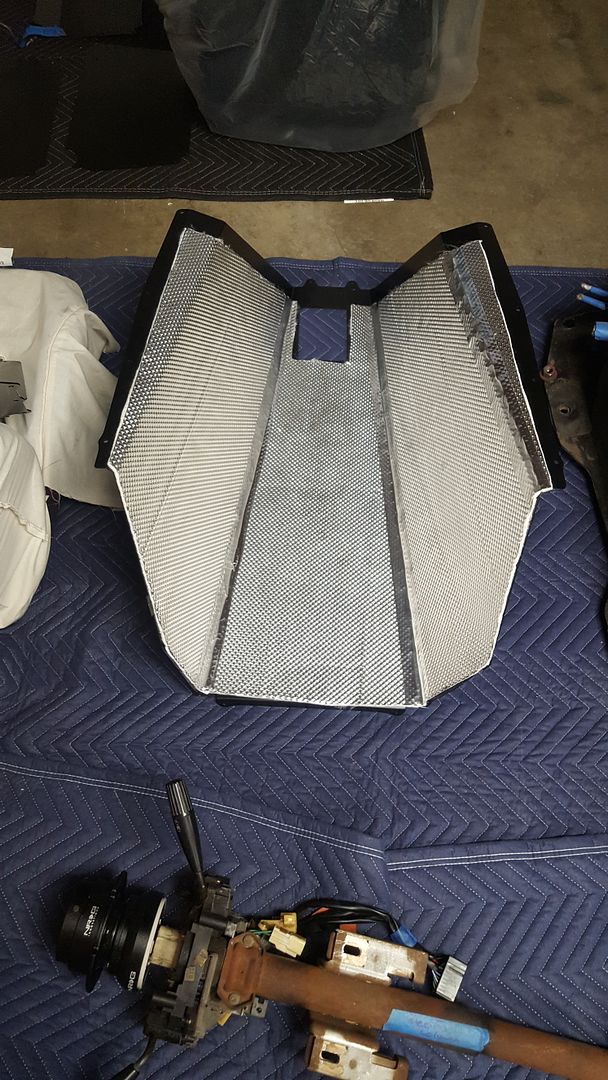
Then I got the black rivets, and on went the floors with a bit of RTV silicone. If you can afford it, for $80 buy the rivet gun that adapts to an electric drill. Popping those rivets by hand is workout.
Connected the exhaust back up, although since the pre-cat is no good and it's a CA spec car, I'll likely swap to an '01 header. I've read up on that quite a bit, weird that there's not a lot of pictures or youtube videos.
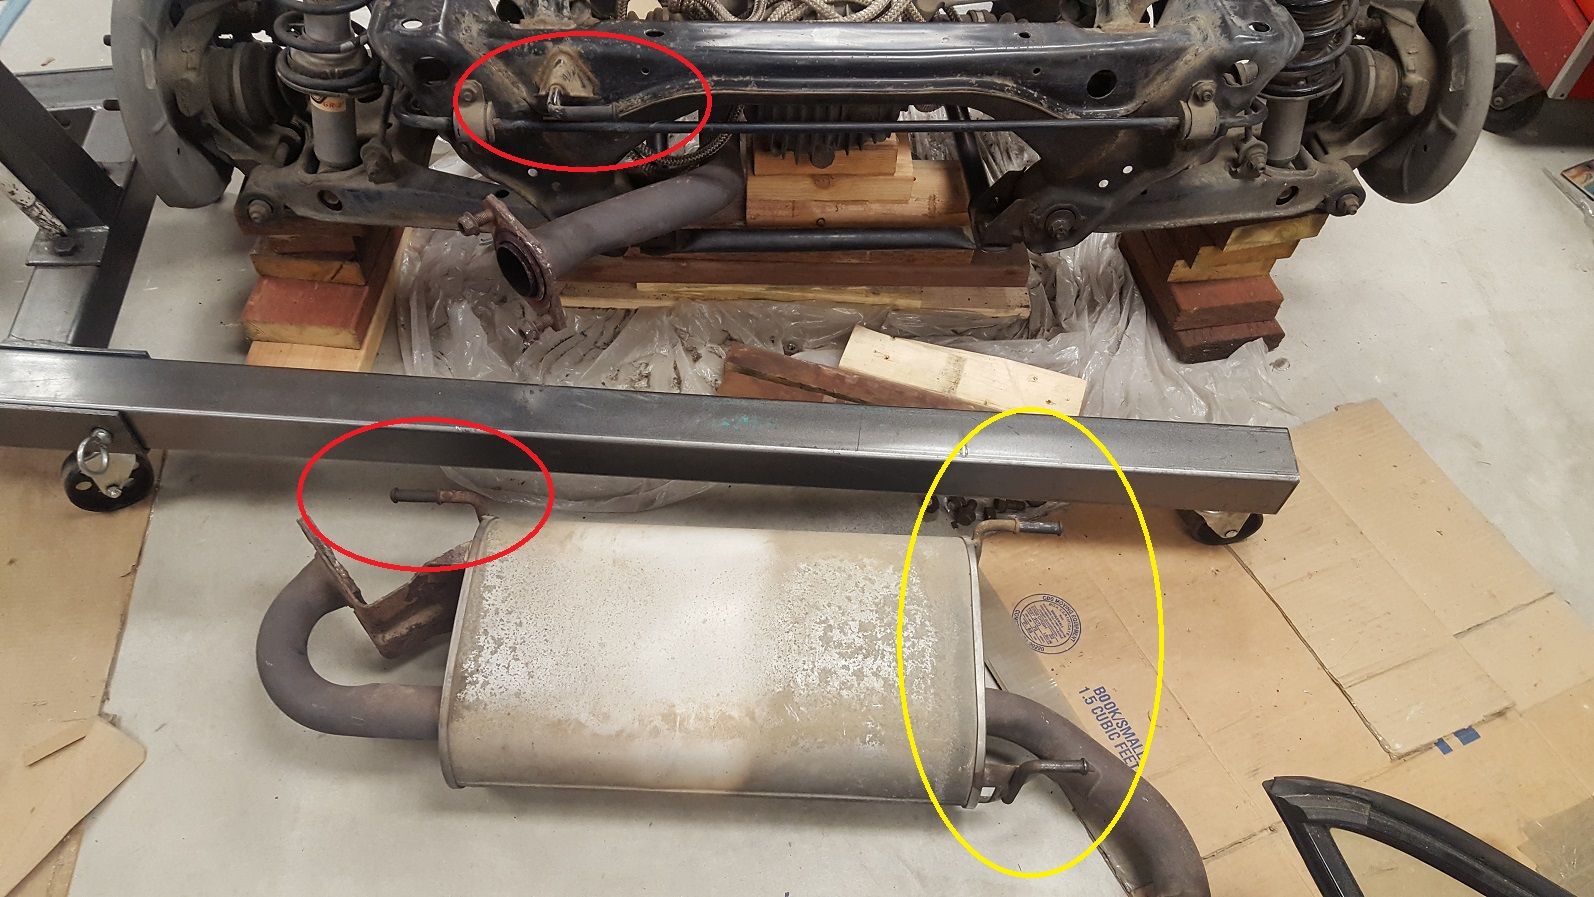
Anyway, the challenge I got too, is how do you attach the muffler? I get the 2 red circles will connect again with the rubber connector, but the yellow circle, I've no idea how / where those are supposed to go. Seems like there has to be an obvious solution I'm just missing......
|
|