|
|
Post by tojeiro on Aug 1, 2018 23:24:15 GMT
Not much progress due to vacation and business trips but did manage to finalise the door latching tonight. Door pulls are from Rolls Royce, picked up on the bay for £25. 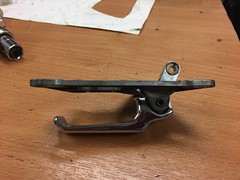 by -Tojeiro 74- by -Tojeiro 74-I liked the release latch as it has a flat rear surface which means it’s easy to fix to the Replicar door pocket. Followed CBS suggestions and used wire rope and electrical blocks to set length, added 2nd block to make sure it doesn’t work loose. Made up some extra brackets and added a return spring to create a nice tension. 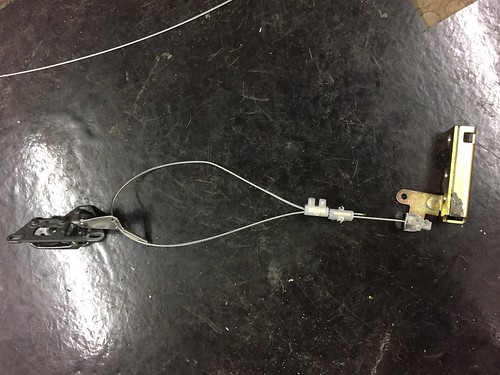 by -Tojeiro 74- by -Tojeiro 74-Here it is in action, nice firm pull |
|
Deleted
Deleted Member
Posts: 0
|
Post by Deleted on Aug 2, 2018 19:16:56 GMT
Neat job
|
|
|
|
Post by tojeiro on Aug 2, 2018 21:09:36 GMT
Cheers, just ordered material to make door cards, the mechanism will be hidden one door cards are installed.
|
|
|
|
Post by tojeiro on Aug 9, 2018 23:05:42 GMT
Seats arrived this week, very nicely made. 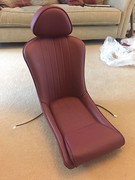 by -Tojeiro 74- by -Tojeiro 74-Been busy trying to finish all the small jobs that are easier with the body off. Just the dash piece to give a final coat of paint and apply raptor stonechip to the inside of the body and then I hope to not have to lift off again until after IVA. |
|
|
|
Post by Stiggy on Aug 10, 2018 15:58:39 GMT
brilliant, Rolls Royce parts on a MEV, nice. Love the seats too.
|
|
|
|
Post by tojeiro on Aug 26, 2018 20:24:40 GMT
Saturday was nice and sunny up north so took the opportunity to finish the last major job before I finally bolt down the body. Used Upol Gravitex underbody protection coating which I applied with the Upol gun. Bought 3L which was way more than needed. Basically gave the arches and front and rear 2 thick coats and all the remaining parts of the body a single thick coat. 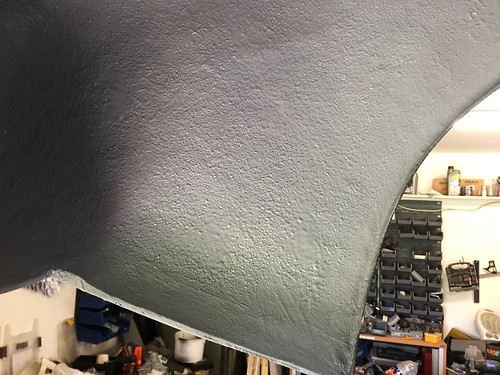 by -Tojeiro 74- by -Tojeiro 74-I figured if I couldn’t see the weave anymore it was thick enough. 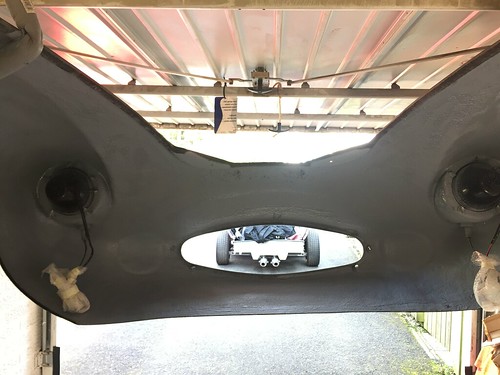 by -Tojeiro 74- by -Tojeiro 74-Also been working quite a lot on the interior. Painted the dash in Gloss Black, currently hardening up in my warm office before finally compound flatting and polish. 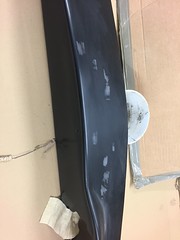 by -Tojeiro 74- by -Tojeiro 74-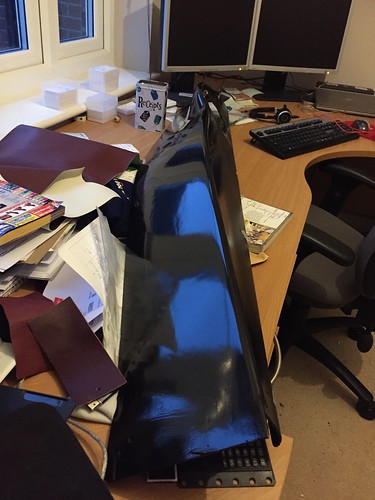 by -Tojeiro 74- by -Tojeiro 74-Also been busy with my sewing machine, so far made up side and underdash kick panels and centre tunnel cover. Put in some pleats to match my seat design, the bottom edge has Velcro sewn in which fixes to the chassis rail, which I currently feel is better thsn screw fixings but will see how well it stays in place. 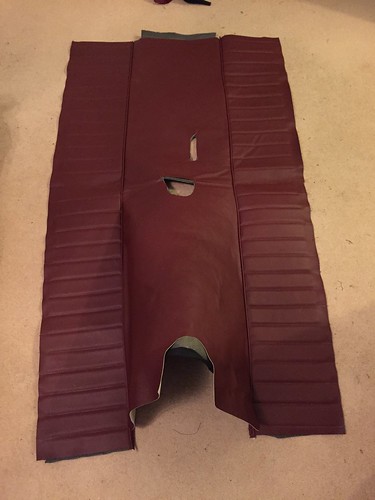 by -Tojeiro 74- by -Tojeiro 74-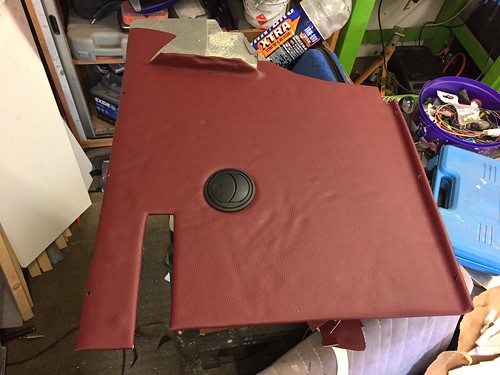 by -Tojeiro 74- by -Tojeiro 74-Obviously not necessary for IVA but means I don’t need to thing about edge trim on exposed edges. Just need to chrome trims for the gearshift and handbrake. |
|
|
|
Post by tojeiro on Aug 30, 2018 9:05:39 GMT
Was not happy with final finish on top of dash as there was still some ripples showing from moulding. Gone back to start with filler primer to get better surface. 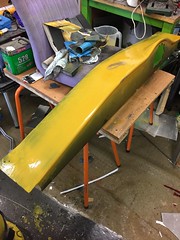 by -Tojeiro 74- by -Tojeiro 74-After top coating again I’ll decide if good enough, otherwise might think of flocking top surface. |
|
|
|
Post by R2S on Aug 30, 2018 19:20:43 GMT
Plenty of 400 wet and dry, then 800, then 1200 and feel the surface with eyes closed, if you can feel anything (even the slightest thing) more wet and dry. Trust me its the only way.
|
|
|
|
Post by tojeiro on Sept 3, 2018 22:51:17 GMT
After another try I was still not happy with finish, not due to small blemishes but more challenge to get the overall flatness along the length of the dash, gloss black does nothing to help. Anyway, after a bit of thinking I managed to pick up some black automotive 4-way stretch micro suede called Milano from a company AS Trim. The Replicar dash is a difficult shape to cover with single piece due to all the curves but this material has just enough stretch to fit without creasing and the texture still remains constant. 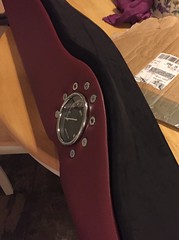 by -Tojeiro 74- by -Tojeiro 74-Contact adhesive on this kind of shape was a bit nerve racking but did small sections at a time and managed with no ripples or creases. Front panel is removable so I can access wiring and instruments without removing the whole dash. More than happy with result and can now finally bolt it back in and get the body bolted down. |
|
|
|
Post by ancsportscars on Sept 4, 2018 7:05:49 GMT
Very smart, Scott. Like the warning lights too.
Did you use plain or foam-backed Milano? How have you fixed the front trim panel to the main dash (I'm guessing big head bolts bonded in and hidden under the red vinyl?)
|
|
|
|
Post by hammy3601 on Sept 25, 2018 10:25:42 GMT
Loving this modern look!
|
|
|
|
Post by tojeiro on Nov 12, 2018 21:29:36 GMT
Frustration with limited time to work on the car continues but have made some progress. In the continued mission to keep it as simple as possible to remove the body I further adapted my sill fixing method. 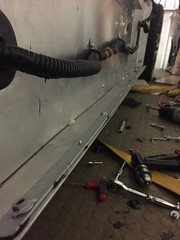 by -Tojeiro 74- by -Tojeiro 74-I basically made up some steel strips with nuts welded in place to accept screws from underneath clamping the body in place. To keep the strips in place and holes aligned they are riveted to the aluminium sill edge. Also fitted the front and side grilles. Used Lockwood Stainless woven diamond wire (like used modem Jaguars). Also made it removable by bonding bolts on inside and held on with wingnuts just in case I need to fix a tow rope. 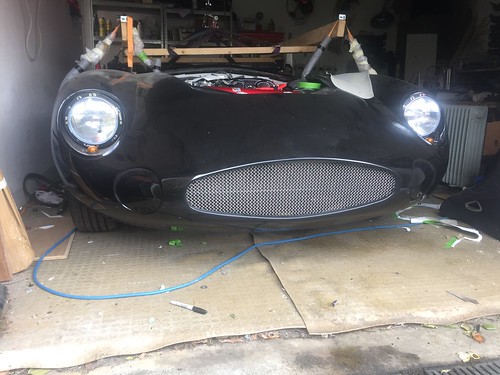 by -Tojeiro 74- by -Tojeiro 74-Used the same mesh on side vents. With the aim to waterproof the side vents I made up some internal fibreglass casings. After taking some brave pills I started by moulding a flat flange the shape of the body using the external side which I covered in acetate film taped around the vent. 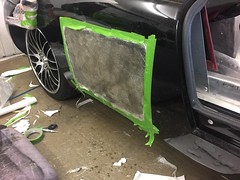 by -Tojeiro 74- by -Tojeiro 74-I then moulded the casings using a chopped up turkey roasting tin which just happened to be the right size and depth. 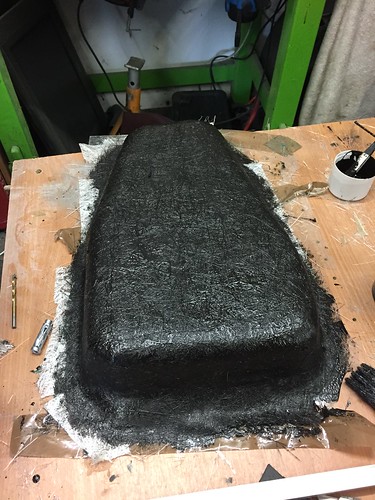 by -Tojeiro 74- by -Tojeiro 74-Using the curved sheet I moulded off the body I could trim the casing to the shape of the body. Then bonded the final trimmed casings on using a thin bead of PU so that I can remove them in future if needed. 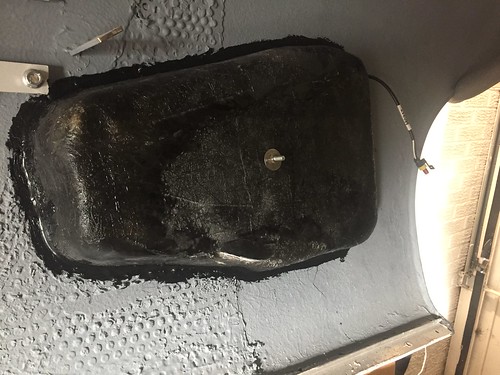 by -Tojeiro 74- by -Tojeiro 74-Just one more business trip before Christmas do hope to speed up and post some better and more interesting pictures of a closer finished car. Got 2 weeks off at Christmas and other half is working so expect to make a good bit of progress. Was at the NEC Classic Car show at weekend and picked up 95% of bits I needed to finish. |
|
|
|
Post by R2S on Nov 13, 2018 21:34:22 GMT
Have you thought about opening up the front face to accept ducting which can run from engine bay?
|
|
|
|
Post by tojeiro on Nov 16, 2018 0:05:40 GMT
Good idea, had not thought about it.
At the moment I am focused on getting minimum completeness for IVA (target Feb) so that I have early spring for finishing touches before the summer show season starts.
Will keep this idea in mind when I panel in the front wheel arches, seems to feasible to run some ducting.
Would be quite good to have functions vents with the warm air venting out when the engine fan runs.
Top marks for best idea this week.
|
|
|
|
Post by tojeiro on Nov 19, 2018 23:46:50 GMT
Celebration time - body is finally bolted down and not planning to remove again. With that done I have started to refocus on the interior. I bought some sound deadening pads for the floor a long time ago and with my purchase of a roll for the tunnel I decide that was a good next task. 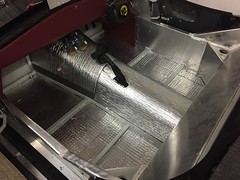 by -Tojeiro 74- by -Tojeiro 74-The tunnel is thicker foam so gives some nice cushioning for the elbows. The side panels are filled with fire rated expanding foam, no as much for the concern on fire but price was same and it seems to have better sound deadening effect. Probably won’t make much difference with no roof but just trying to cut out rattles and resonances. For the floors I then am using standard garage foam floor mats cut to profile to bring floor up to the same height as the cross rails. On top of this I will have my carpet pieces. 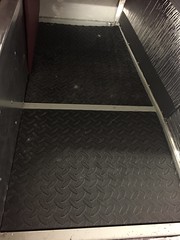 by -Tojeiro 74- by -Tojeiro 74-Also nearly finished my centre console which will have two more hot air vents, hazard, USB & seat heater switches. 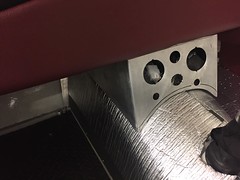 by -Tojeiro 74- by -Tojeiro 74-This weeks goal is to fit my tunnel trim and trim and fit the centre console which would complete all wiring jobs. |
|