jezz123
Newbie
 Hi everyone I'm new to the forum. I
Posts: 5 
|
Post by jezz123 on Jan 3, 2017 22:16:01 GMT
Thanks Carl any help is going to be much needed & appreciated. I'm in Worksop. I would love to get a look at your car sometime. Cheers jez
|
|
|
|
Post by carlyd on Jan 9, 2017 14:01:57 GMT
I've decided to keep the Rocket for a while at least, I want to get some use out of it this summer. Therefore I have decided to modify my side pods, as I think they are look too long, plus they were not a finished product as mine were not painted. My thinking is that I am going to fix the rads to the chassis with steel brackets then slide the pods over the rads rather than fixing the rads inside the pods. This will make the rads more secure and make removing the pods easier in the future. It also means I can use mesh on the front and rear of the pods without having to remove it if I need access to the rads. I have removed the pods and cut into them, so no going back. It's good to be working on the Rocket again as I've not touched it for almost 2 months.  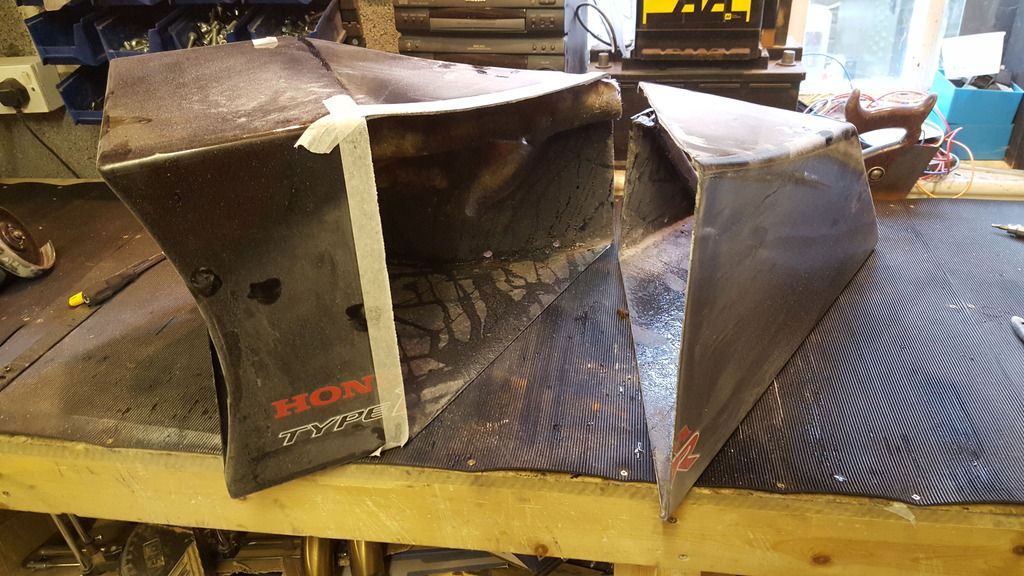 |
|
|
|
Post by carlyd on Jan 13, 2017 16:41:46 GMT
I had a couple of hours in the garage today working on the radiators / side pods. I managed to get the radiators mounted, and modified the side pods to slide over the radiators. I've just taken them back off to paint the brackets. 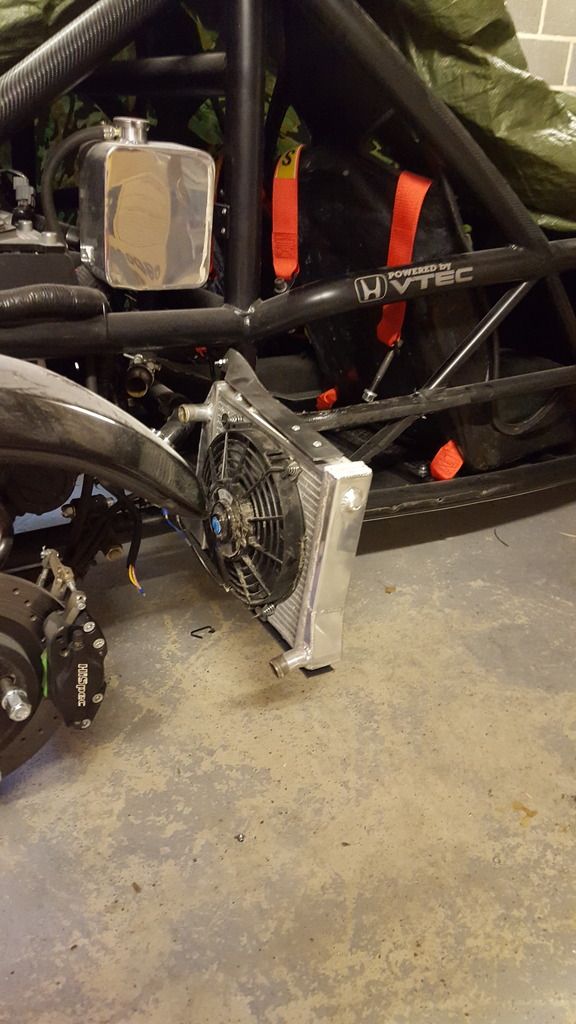 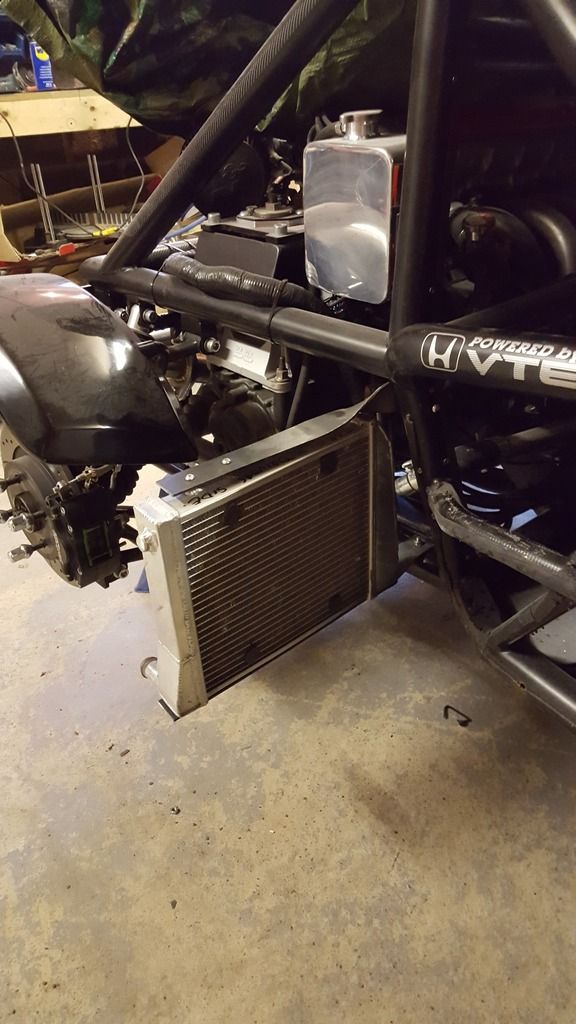 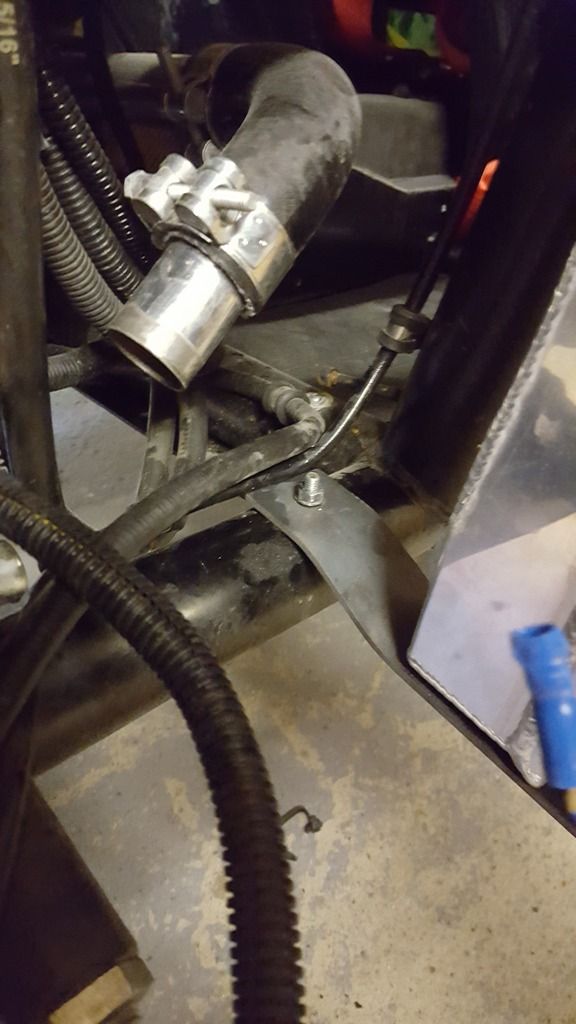 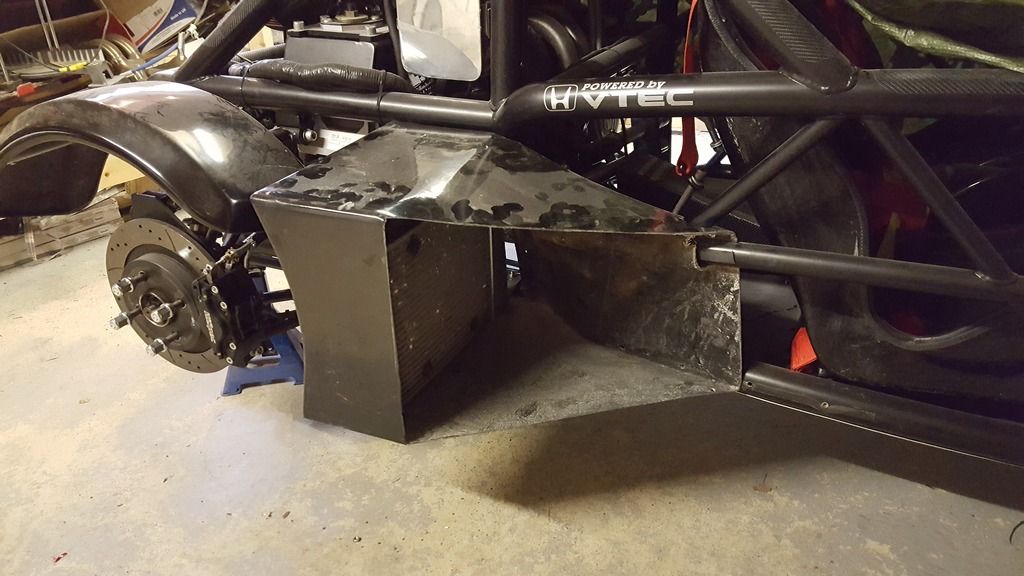 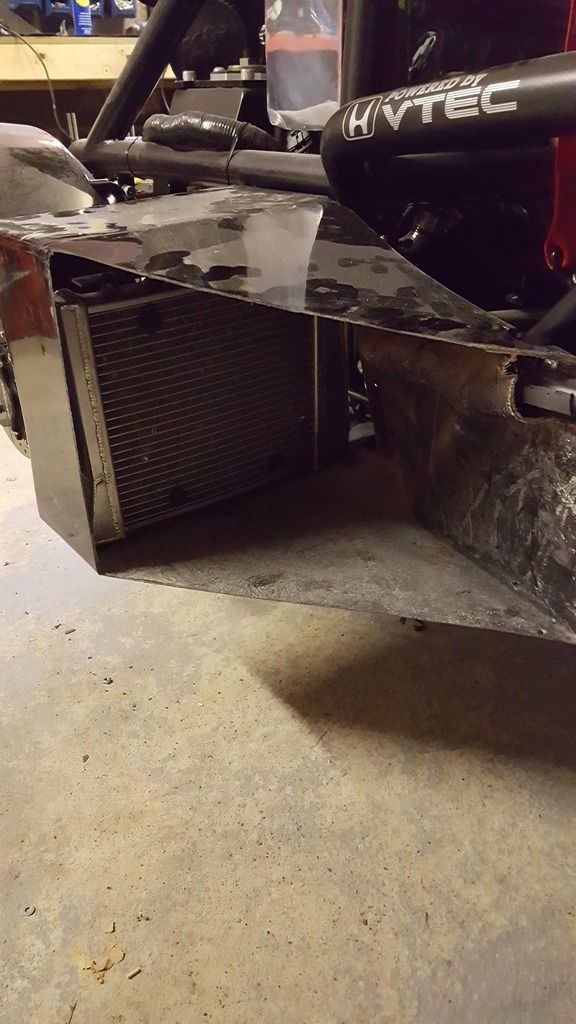 Next I need to create a lip around the edge that I have cut on the pods so I have somewhere to mount the black wide mesh too. That's a job for the weekend. |
|
|
|
Post by carlyd on Jan 16, 2017 13:08:12 GMT
I had a few hours in the garage this weekend working on the rads and side pods. Got the brackets painted and rads fitted. they are very secure too. 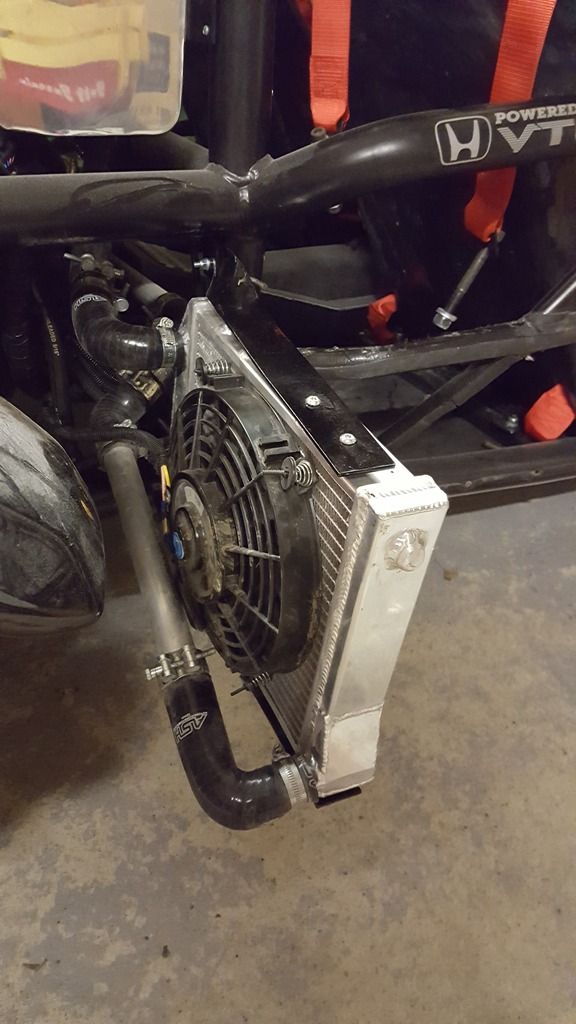 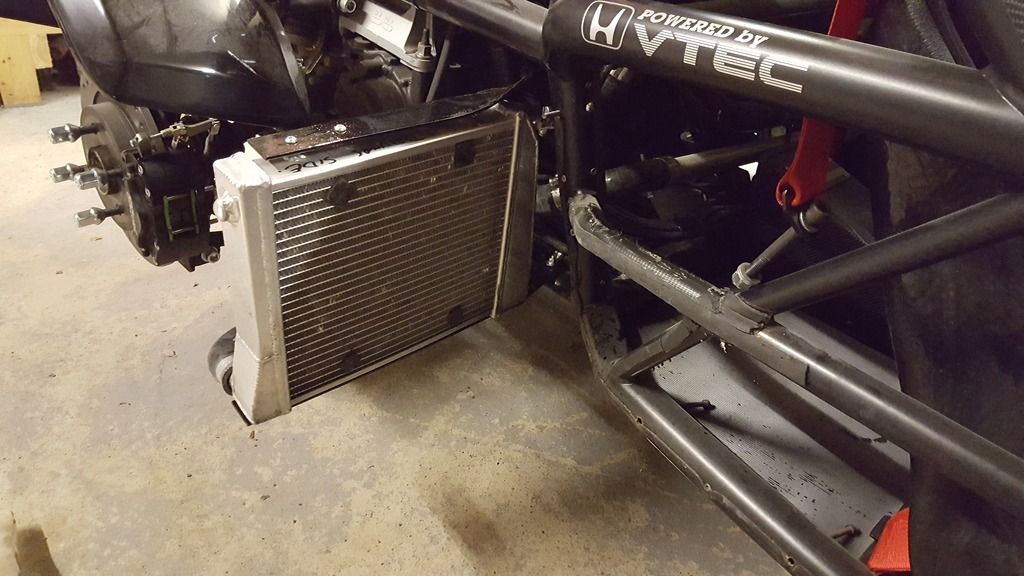 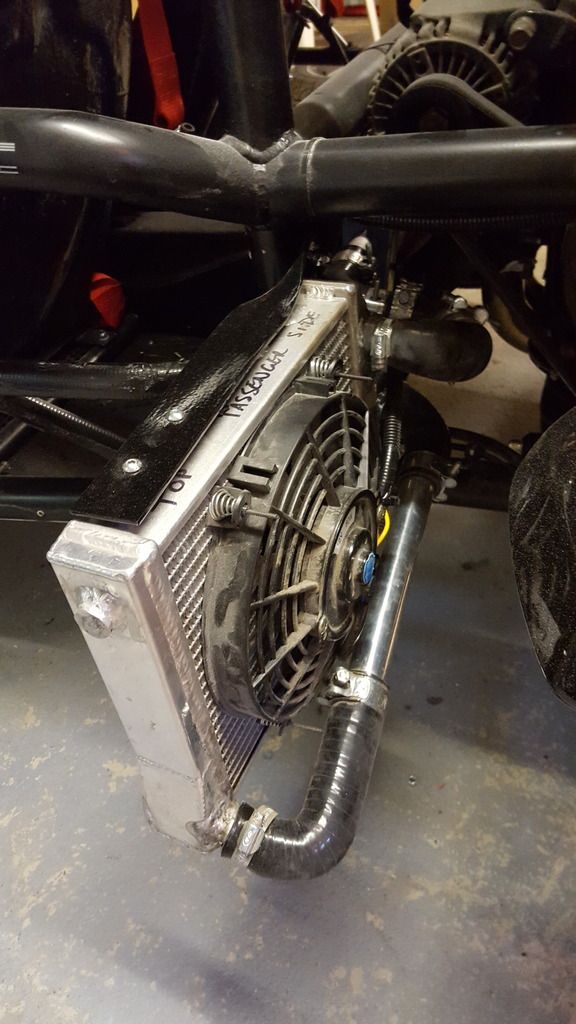 I have fiberglassed a lip around the edge of the pods, this adds strength and allows me to fit black wire mesh on the inside of the pods. The lip is made from plastic trim from B&Q (thanks to Deano for the tip) it's basically and piece of L shaped angle which I fiberglassed in. I then used car body filler to tidy the edges. The pic below shows the one on the left having been filled with car body filler and the one on the right just been done in fiberglass. 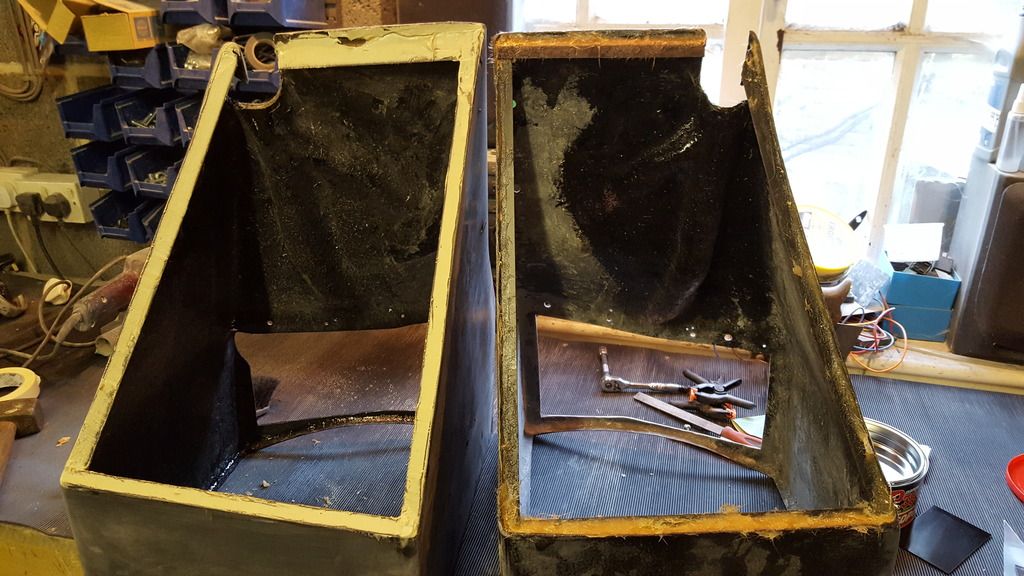 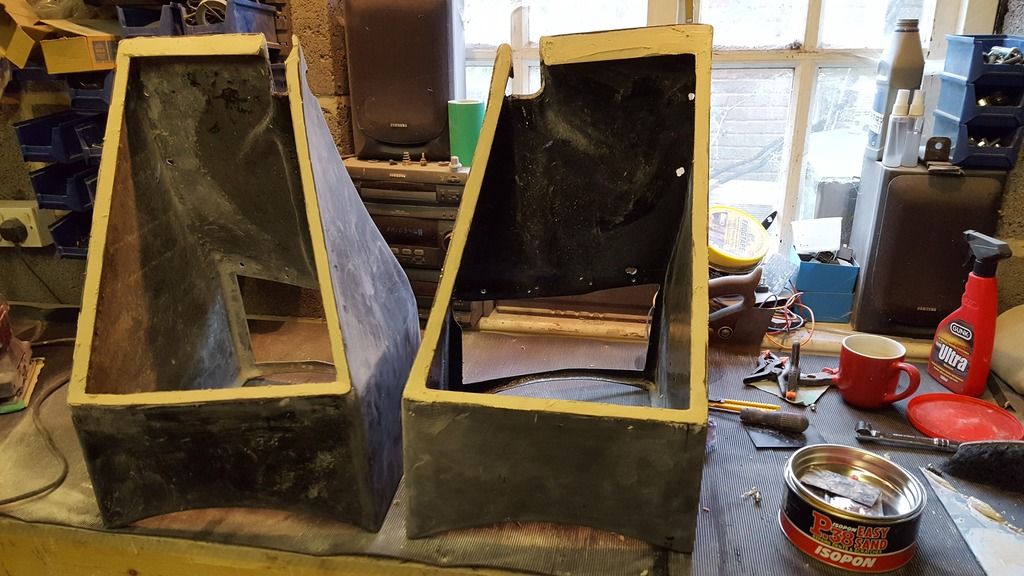 I just need to sand and finish the filler. |
|
|
|
Post by carlyd on Jan 23, 2017 11:14:41 GMT
I managed to get the pods finished off this weekend. I had to bond the nuts inside the pods for the bolts which hold them to the chassis as I won't have access to them once the black wire mesh is fitted. I used some of that stuff chemical weld stuff. I just hope it holds. Then I flatted and prepped the pods for painting. 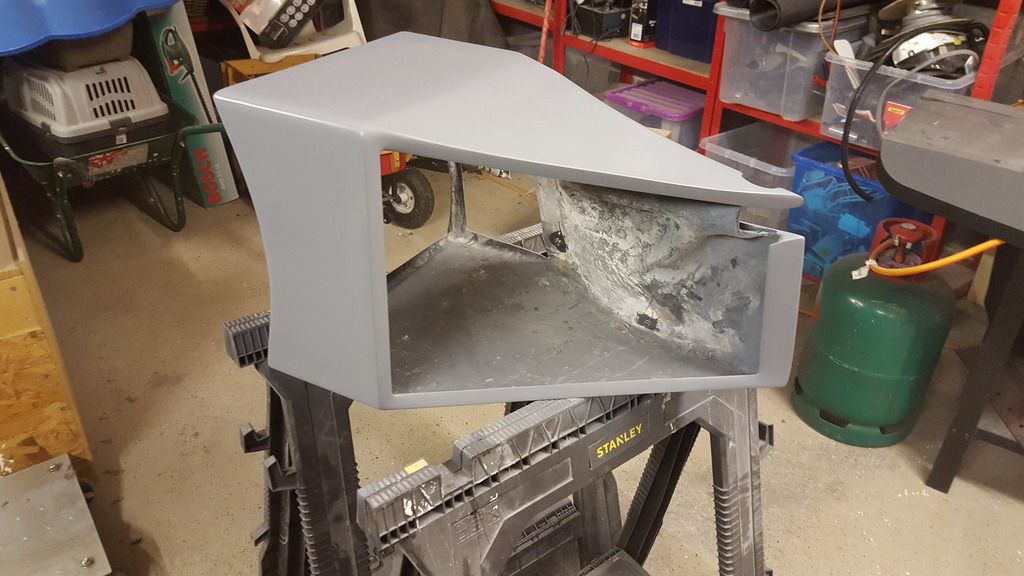 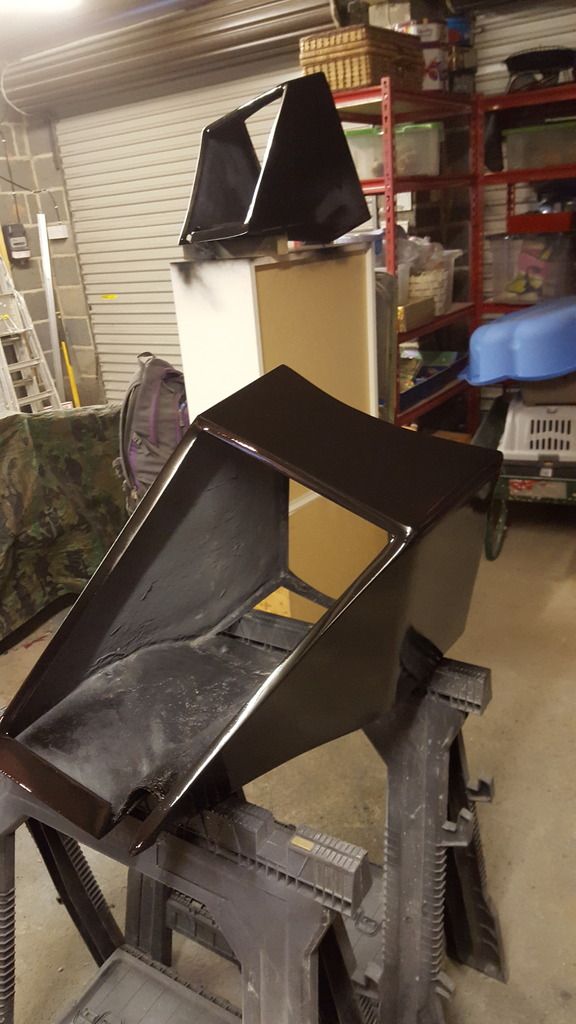 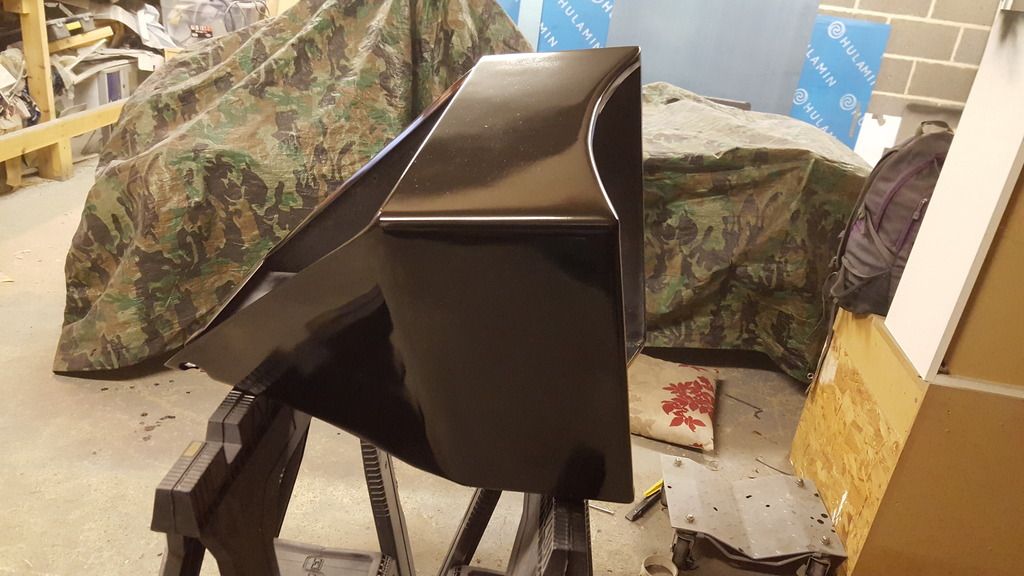 I'm pleased with the result. I'll post pics when they are fitted to the car. |
|
|
|
Post by carlyd on Jan 27, 2017 16:36:29 GMT
I had to bond the nuts inside the pods for the bolts which hold them to the chassis as I won't have access to them once the black wire mesh is fitted. I used some of that stuff chemical weld stuff. I just hope it holds. Well it didn't hold. The nuts came loose when I tested them, luckily before I fitted them. I have now fashioned another solution, I have cut a hole in the bottom of the pods to allow me to reach in and access the nuts from inside. Then fashioned a solution to allow me to fix the cut out piece back in. 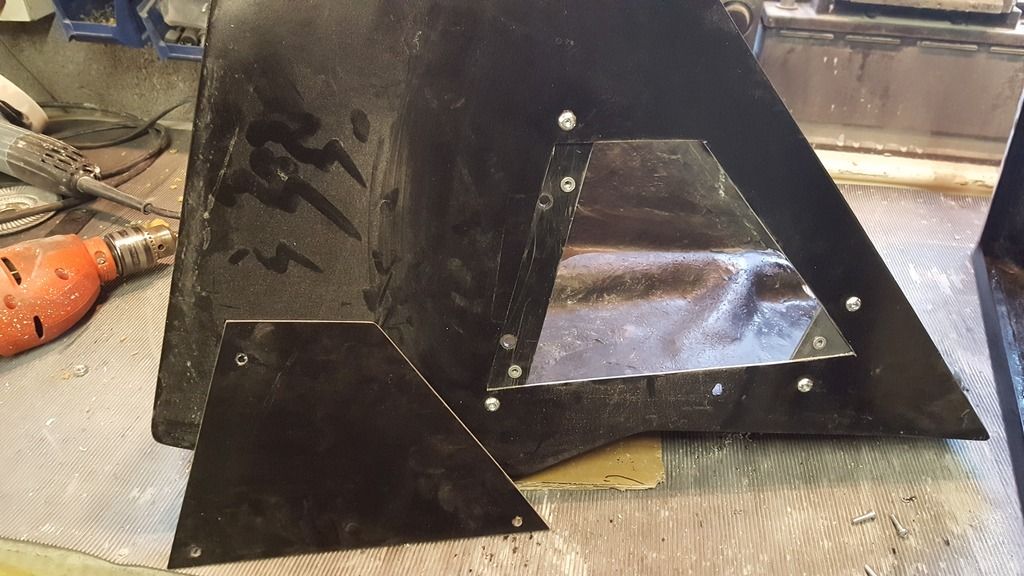 I flatted the pods down with 1200 wet n dry sandpaper today as they were a little orange peely so I just need to polish them back up. I also have now painted inside of the pods, when that's dry I'll fit the black wire mesh then fit the pods - job done. What I expected to be a few hours job has been at least 20 hours. Next job... relocate the DASH2 Pro from the bonnet to behind the steering wheel. |
|
|
|
Post by kiwicanfly on Jan 27, 2017 19:58:47 GMT
Looking at the pictures I am a little concerned about the support for the radiator itself. There is a lot of load on it in that position, general road forces acting vertically and back/forward from acceleration and braking  |
|
|
|
Post by carlyd on Jan 30, 2017 11:07:55 GMT
Looking at the pictures I am a little concerned about the support for the radiator itself. There is a lot of load on it in that position, general road forces acting vertically and back/forward from acceleration and braking  Hi Kiwi, Thank you for your concern  The rad mounting brackets are 3mm x 45 mm steel bar and one is mounted horizontally and the other vertical. I did that purposely to stop movement in the radiators as I too was concerned about movement. They are very secure, in fact much more secure than they were when they were fastened in the pods. In the pods they were just fastened by 4 bolts through the bottom of the pods into the rads and they were fine like that. There is very little room inside the pods for the rads to move anyway as the pods are quite a tight fit. I have now fitted the mesh and will add some more pics when I have polished the paint and fitted the pods. |
|
|
|
Post by carlyd on Feb 2, 2017 10:25:37 GMT
|
|
|
|
Post by nate78 on Feb 2, 2017 13:20:13 GMT
Excellent work, looks very good
|
|
|
|
Post by carlyd on Feb 12, 2017 16:12:35 GMT
I have never been happy with having my DASH2 fixed in the middle of the bonnet, and have attempted twice already to make a pod to have the DASH2 behind the steering wheel. The issue has been obtaining the correct position so I can see all the DASH lights etc through the steering wheel. I have finally done it (third time lucky). Everything works as it should too. I started by making a pattern out of card and then made it in 2mm alluminium which I then shaped. This is to slide over the top portion of the steering wheel cowl. 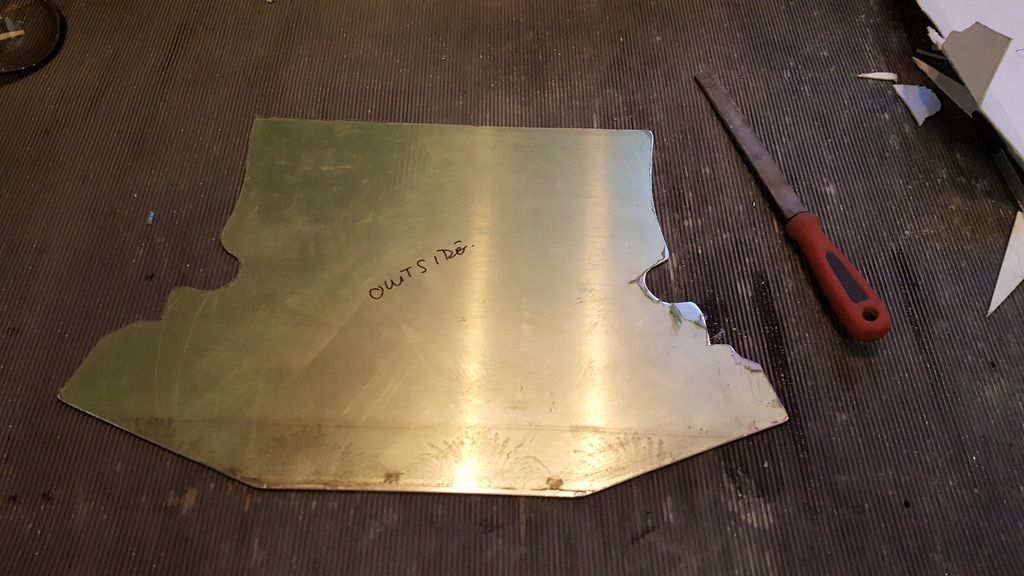 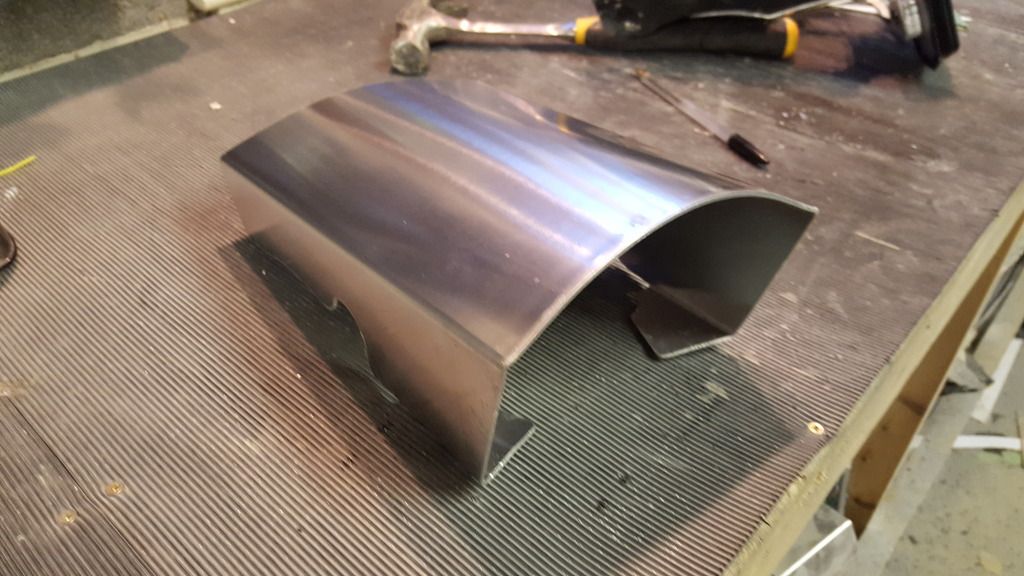 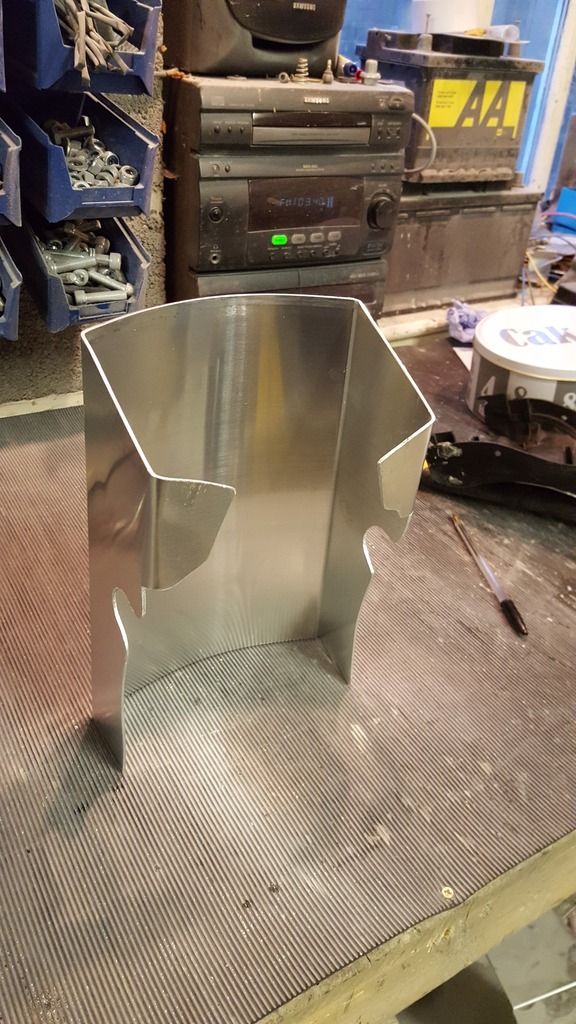 And here it is finished. 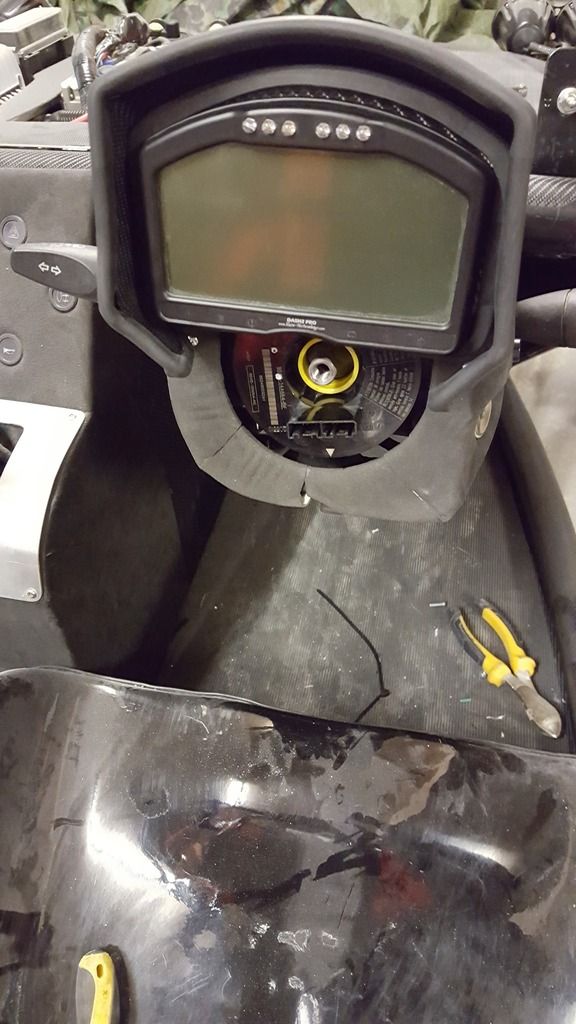 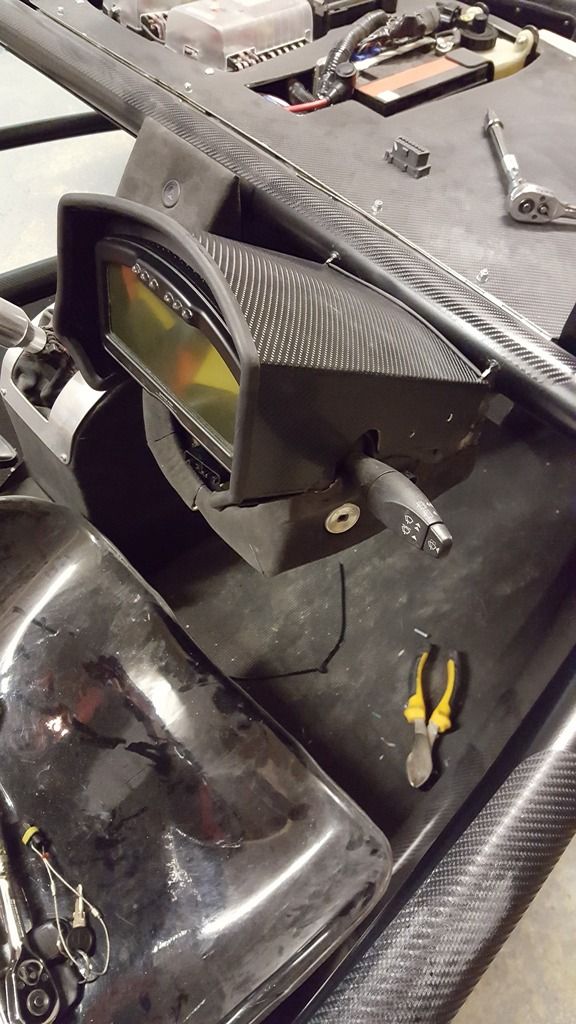 This is my view from the drivers seat. I can see the gear change lights at the top and all of the warning lights at the bottom. 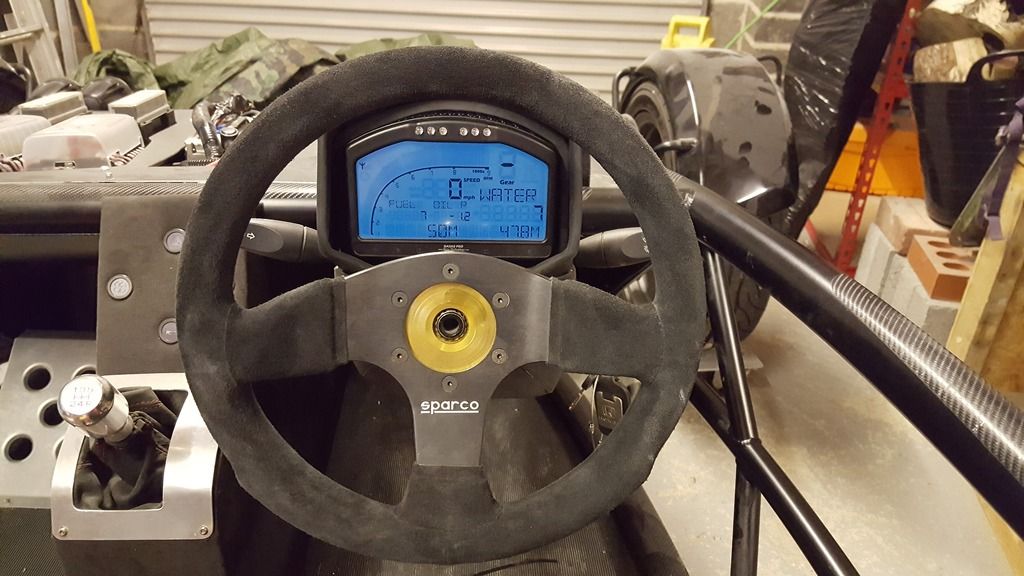 |
|
|
|
Post by carlyd on Feb 12, 2017 16:14:39 GMT
My final winter mod was swapping my side lights for driving lights. I would just never use side lights, but I plan to have the driving lights on all the time when I am driving, although they are operated from the light switch so I can turn them on/off whenever I like. 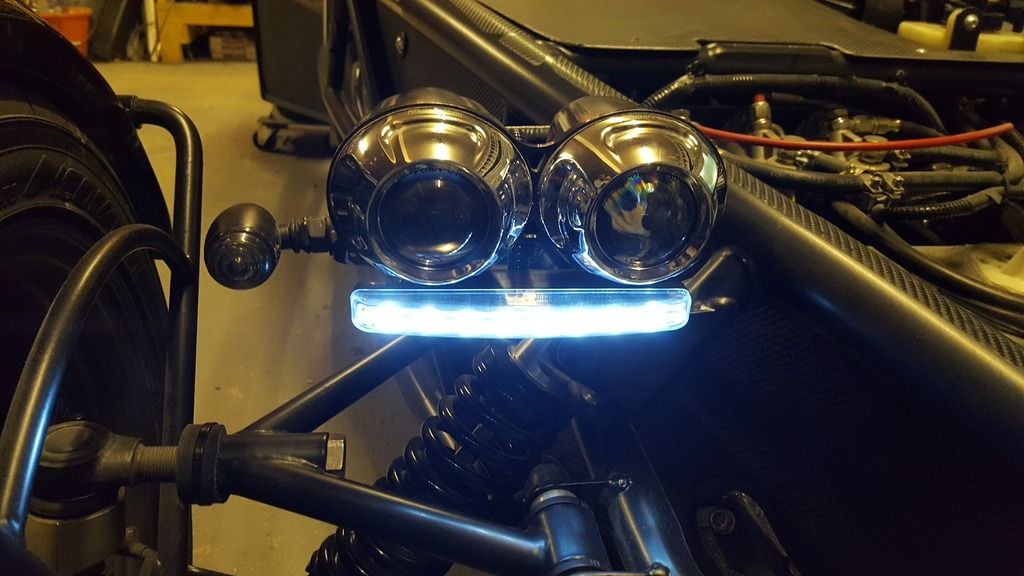 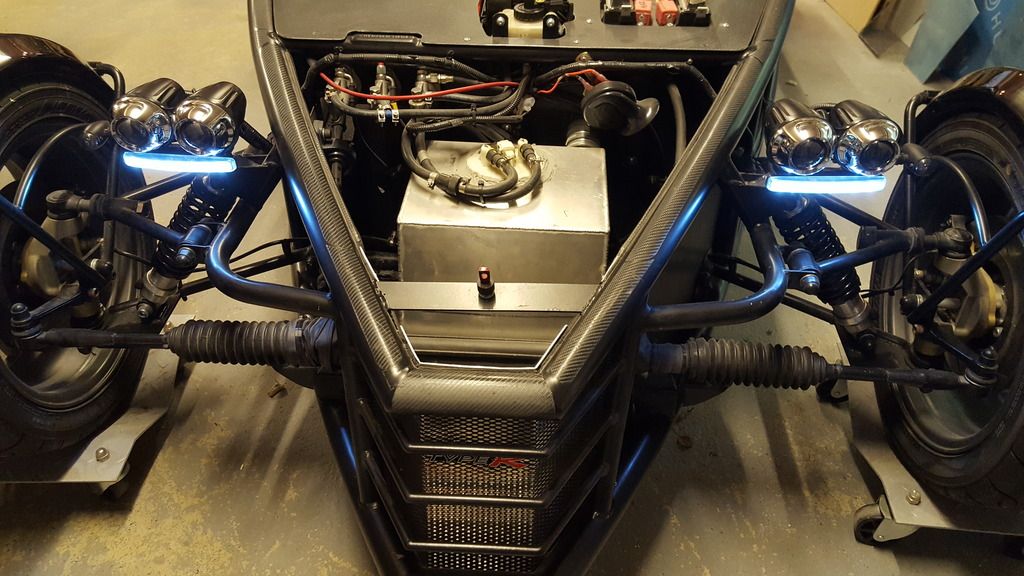 |
|
|
|
Post by carlyd on Mar 22, 2017 0:19:30 GMT
I took the rocket out for a blast and needed some fuel, so I thought I'd fill it up. The problem I had was that there isn't enough 'fall' on the fuel filler, so the pump would put 5 pence of petrol in and click off. After about 20 minutes I managed to get about £20 in... well I spent £20, I'm guessing about £15 went in the tank, the rest on the floor. Not good. So I decided to change the way I refuel by blocking the original filler hole in the tank and welding a top mounted one in. This means opening the bonnet to refuel, which is fine by me. This was the original setup. 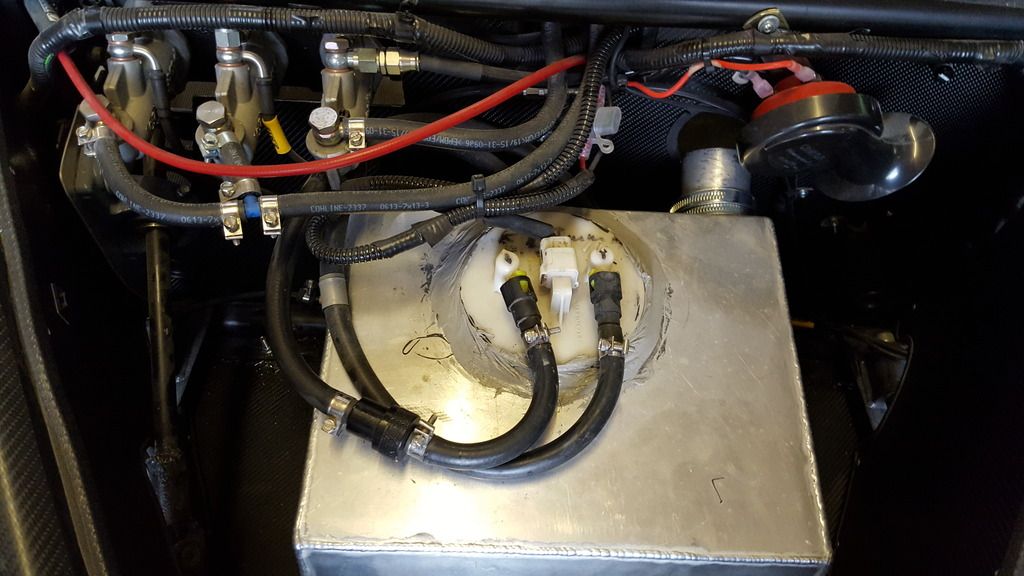 I cut the original filler off. 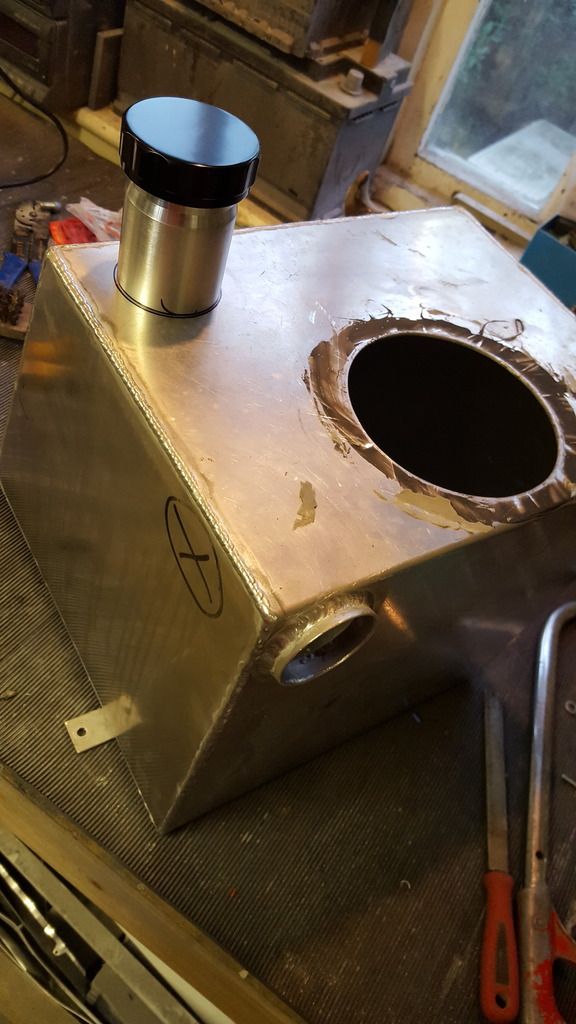 Had the new filler welded on. 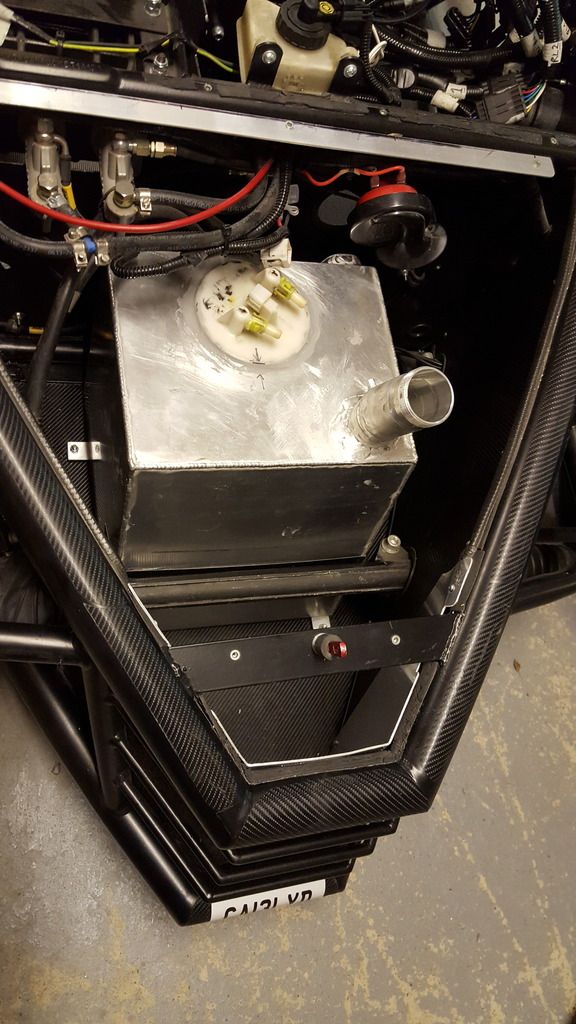 I also wanted to make it look tidy under the bonnet, but also if I spill a little petrol I wanted it to be easy to wipe off so I made this panel. 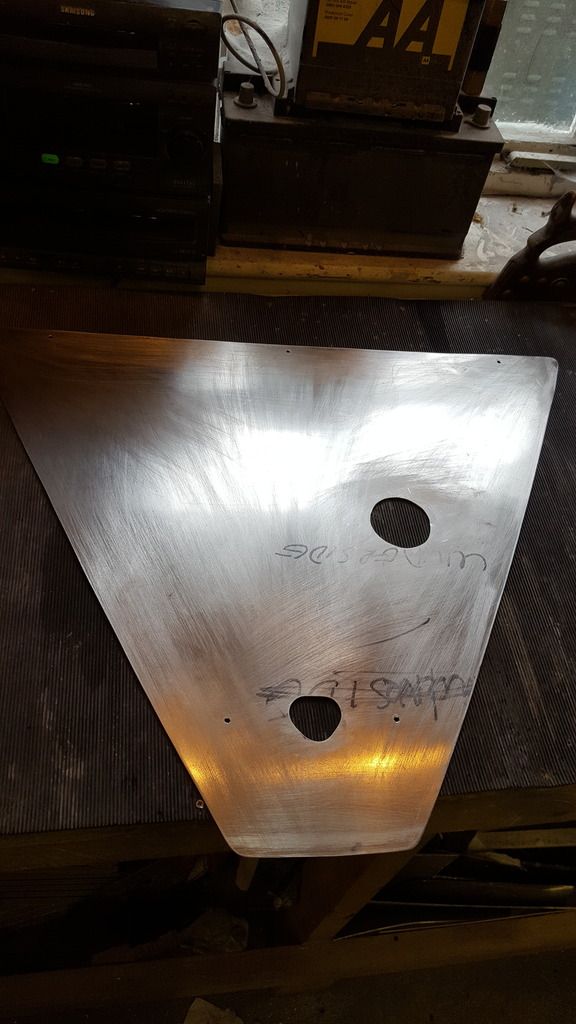 Wrapped in carbon and looks nice. 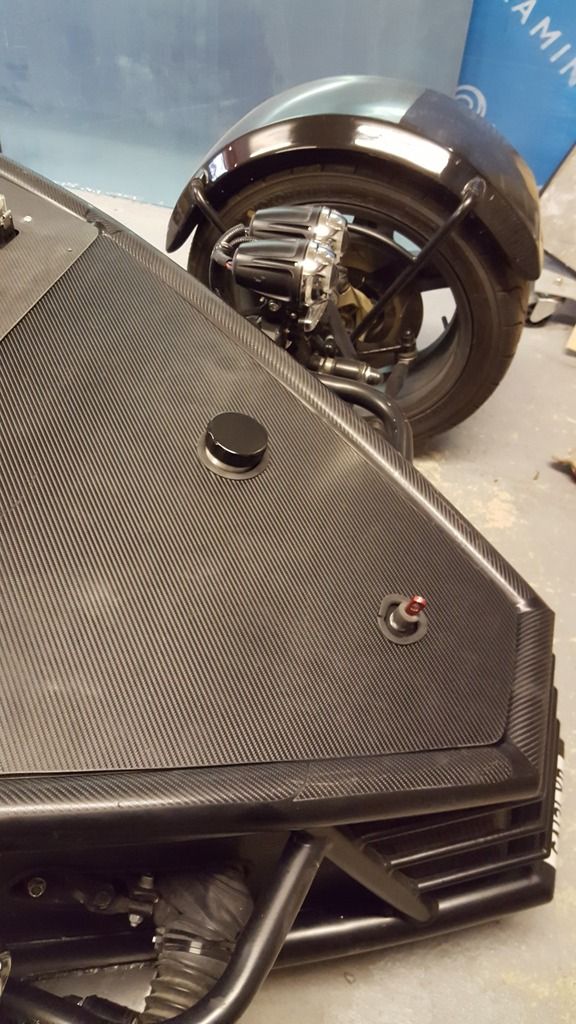 I could even drive it with no bonnet on now  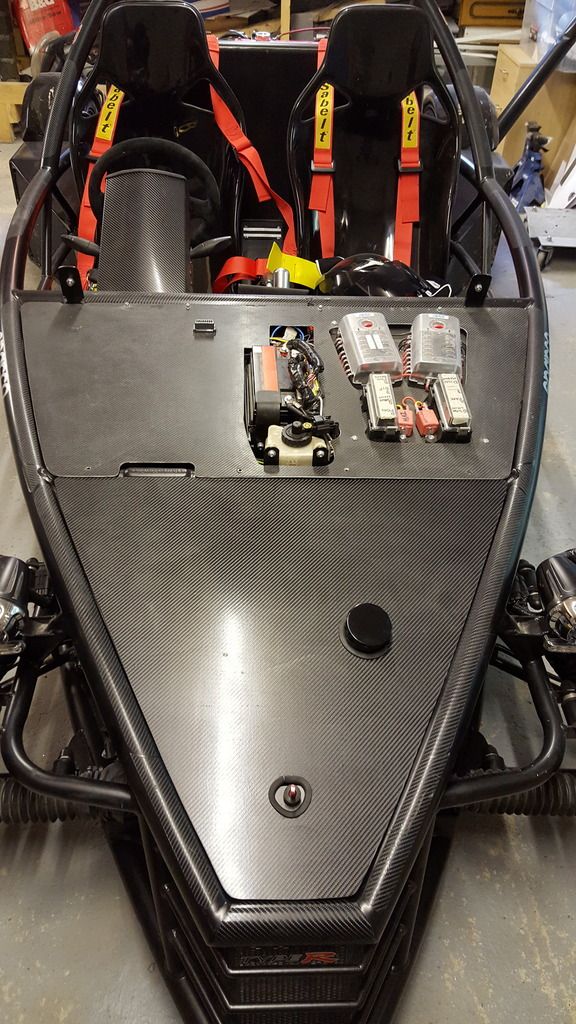 |
|
|
|
Post by jacksdad on Mar 24, 2017 16:16:07 GMT
very nice and neat work
|
|
|
|
Post by carlyd on Jun 19, 2017 15:14:34 GMT
I have decided to sell my Rocket. Please inbox me in interested.
|
|