|
|
Post by miket on Mar 17, 2017 17:02:18 GMT
As a note for the build log: Dropbox have been as good as their word - what was a Public folder of pictures has been made a Private folder as of today meaning that all previous pictures above this entry are no longer visible until I change each and every link either manually or with some code I haven't learned about yet.
|
|
|
|
Post by Fin on Mar 21, 2017 14:24:45 GMT
Here's some more on my firewall panels in case it helps future novice UK builders fabricating their panels... My approach:- 1. Fit tunnel (rivnuts). Remove. More info on this above. 2. Fit panels as required at top, outsides and bottom - but leave the side that are adjacent to tunnel. 3. Carefully trim front of tunnel to meet up to panels. 4. Mark outline of tunnel on panels, then make and bend tabs to fit inside tunnel. 5. Use tabs to pull tunnel and panels to a tight fit. I chose to fit the panels on to the sloping square-section verticals at the lower outside edges of the panels, rather than fit the panels in between the sloping rails. This meant the bottom lip of the panels didn't sit on the bottom horizontal chassis rails properly - so an additional bend needed to be made at the bottom of the panels (pics below). Tunnel RHS:-  Tunnel LHS:  Larger (passenger side) panel:-  Smaller driver side panel:-   Centre panel (I didn't have a large enough piece of ally sheet left from the floor and had to acquire some more):-  with tabs to fit inside the tunnel...  The tunnel is barely long enough to avoid gaps at rear and front...  ... but the tabs can be used to flex the panels to tighten the gap. So now I just have the issue of closing this gap at the meeting of the permanent & ally tunnels:-  I'm thinking about using an MX5 rubber gear lever gaiter (just because I have one). It would need cutting down a lot but might just work. I'll have to see if there's a thread that's gone down this route...  Just offering up the tunnel (which worryingly looks pretty good straight off), and about to template the passenger side. Been reading your advice, but the photos seem to be missing. Are they viewble anywhere else?? |
|
|
|
Post by scottmev on Mar 21, 2017 15:22:05 GMT
Yes as above please make tunnel build pics available as I am in the process of fitting tunnel so would be good to see and for some advice.
Cheers
|
|
|
|
Post by miket on Mar 21, 2017 16:44:56 GMT
Sure - just pending on getting the access to go back and edit older posts - apparently standard access is that we can only go back and edit our last post. If you get desperate I'll you new links and you can try match them to the right caption!
|
|
|
|
Post by Fin on Mar 21, 2017 20:19:40 GMT
If you get desperate I'll you new links and you can try match them to the right caption! When, not if! |
|
|
|
Post by miket on Apr 23, 2017 12:05:08 GMT
Started fettling rear lights and it looks like my reversing light might not be functioning - earth is okay so I need to follow the feed... does anyone know what the minimum ignition position is that should make reversing light live whilst I do testing?
|
|
fatboy
Full
 142.5 bhp on a almost stock 1.8
Posts: 197
|
Post by fatboy on Apr 23, 2017 18:09:37 GMT
it should be in the run position
also check the switch connector for corrosion as mine was all manky
|
|
|
|
Post by gwnwar on Apr 24, 2017 5:02:34 GMT
Backup lamps get the power from the meter fuse inside box. then power goes to and through the reverse switch on the transmission to the reverse lamps.. Use an OMH meter at the switch on the trans with shifter in reverse you should get a 0.00 reading. Also check that you have 12V to the switch and through it.. Check the wire run from the switch to the lamps for continuity 0.00 reading with OHM meter. if no good work your way back to switch..
|
|
|
|
Post by miket on Apr 24, 2017 15:01:44 GMT
Thanks George - I'll run through those next chance.
|
|
|
|
Post by miket on Apr 25, 2017 15:57:09 GMT
Reversing lamp fixed - thanks gents.
Next conundrum is IVA related regarding the rear fog lamp...
The IVA manual section 28 "Rear Fog Lamps" says:-
"Required Standard 4:
The rear fog lamp(s) must only illuminate when dipped beam, main beam or front fog lamps are lit (See Notes 3 & 4)".
So far so good - rear fog lamp only operates with dipped & main beam, not with side lamps.
"Note 3:
front fog lamps may be illuminated with the side lamps only".
Irrelevant for me - no front fog lamps - included for completeness only.
"Note 4:
Either of the following applies:
1) The rear fog lamp(s) may continue to operate until the position lamps are switched off, and the rear fog lamp(s) must then remain off until deliberately switched on again or,
2) An audible warning, additional to the mandatory tell-tale light, must be activated if the ignition is switched off or the ignition key is withdrawn and the driver's door is opened, whether the lamps in (RS4) are on or off, whilst the rear fog lamp switch is in the "on" position.
"
Problem is that my rear fog lamp's switch (from the donor) remains in the on position after the position lamps are switched off, such that the rear fog lamp comes again on next time I turn the position lights (main/dipped beam) back on - so I fail on option 1.
And there's no audible warning that the rear fog lamp is still on - so I appear to fail on option 2 also.
The MEV Build Guide
advises:-
"Check fog light only works with dip/main beam on. If you wire the rear fog to come on with the side lights then you will need a self-cancelling switch or a warning buzzer".
Which seems to be a looser interpretation of Note 4 option 2.
I don't know whether my Mk1 NA donor would have had an audible warning originally - i.e. that might be there but not working.
Can anyone help explain whether I'm missing an audible warning or just missing the point?
|
|
fatboy
Full
142.5 bhp on a almost stock 1.8
Posts: 197
|
Post by fatboy on Apr 25, 2017 17:32:05 GMT
all fine my rocket worked the same as your exocet no problems with iva the best way to think of it is that's how the mx5
worked and that would have been type approved so I would not be worried by the way what was the problem with reverse light
|
|
|
|
Post by miket on Apr 26, 2017 16:45:27 GMT
Thanks re IVA experience - that's reassuring. The reversing light had a poor connection - easily fixed  Today I mainly got distracted on to making up some tailored colour-scheme-coordinated mats from Aldi's finest (cheapest) car boot mats... 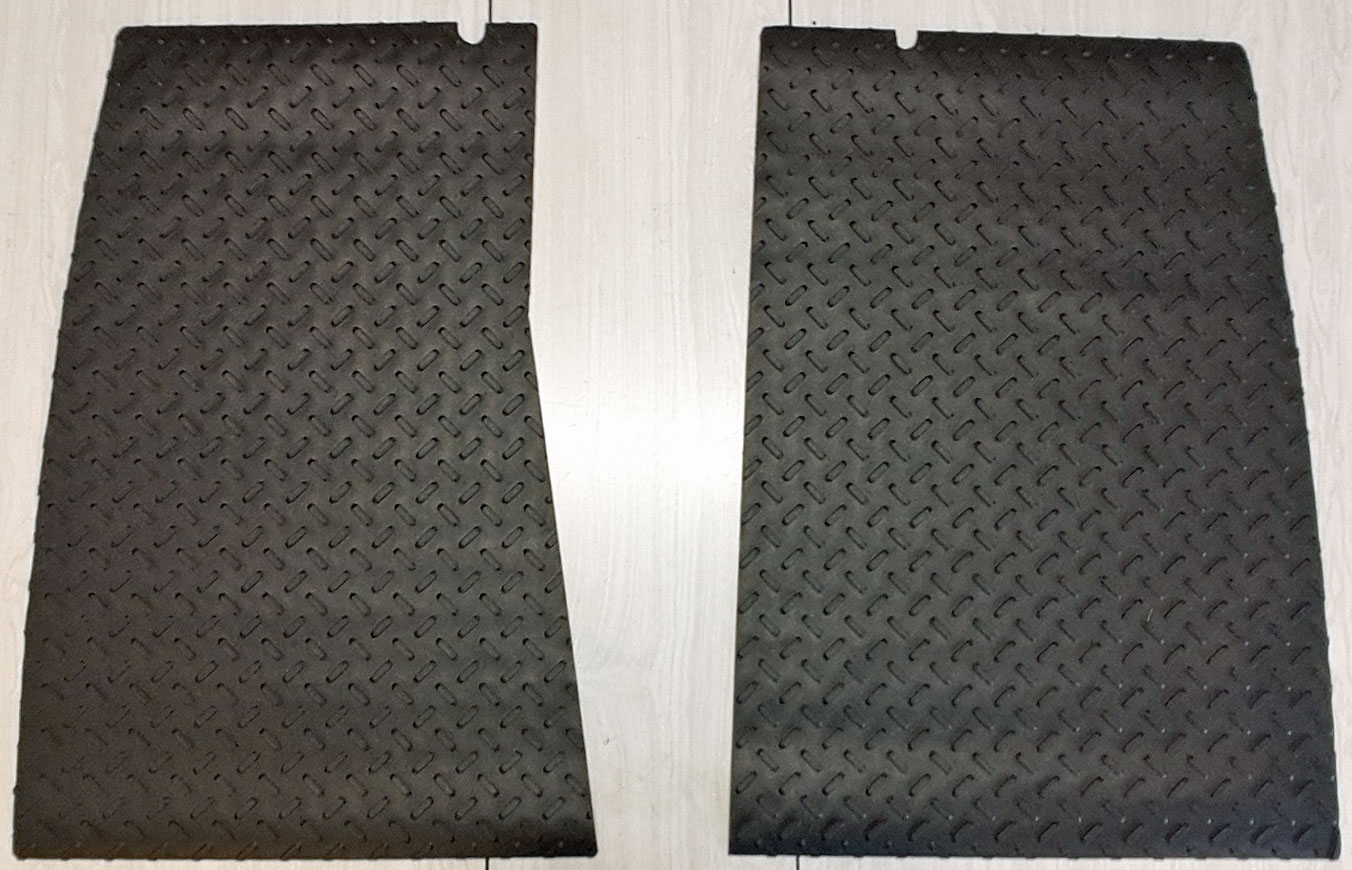 You know how sometimes foolish people lured in to the false sense of security of an easy task can, along the way, accidentally use their paper template upside down ... That. |
|
|
|
Post by miket on Jun 9, 2017 16:18:45 GMT
I decided that I couldn't live with an old donor exhaust silencer that stuck so far out of the back of the Exo and at an angle. It would have needed tools & skills I don't have to resolve, so I picked up a MEV SS rear silencer at Stoneleigh. I'm sure this started out as a budget build! Stuart advised to make brackets to hang it from out of 40x40x3 bolted to the rear subframe using the M12 bolt, and then use an 8mm bolt to go through the donor rubber hanger. I have the original donor exhaust on the car but it's knackered and I was able to pick up a used replacement for free a while back, so I prototyped the SS silencer on the original donor exhaust and will install with the replacement exhaust when gasket arrives. Brackets made and hammerited. My brackets are about 200mm long:- 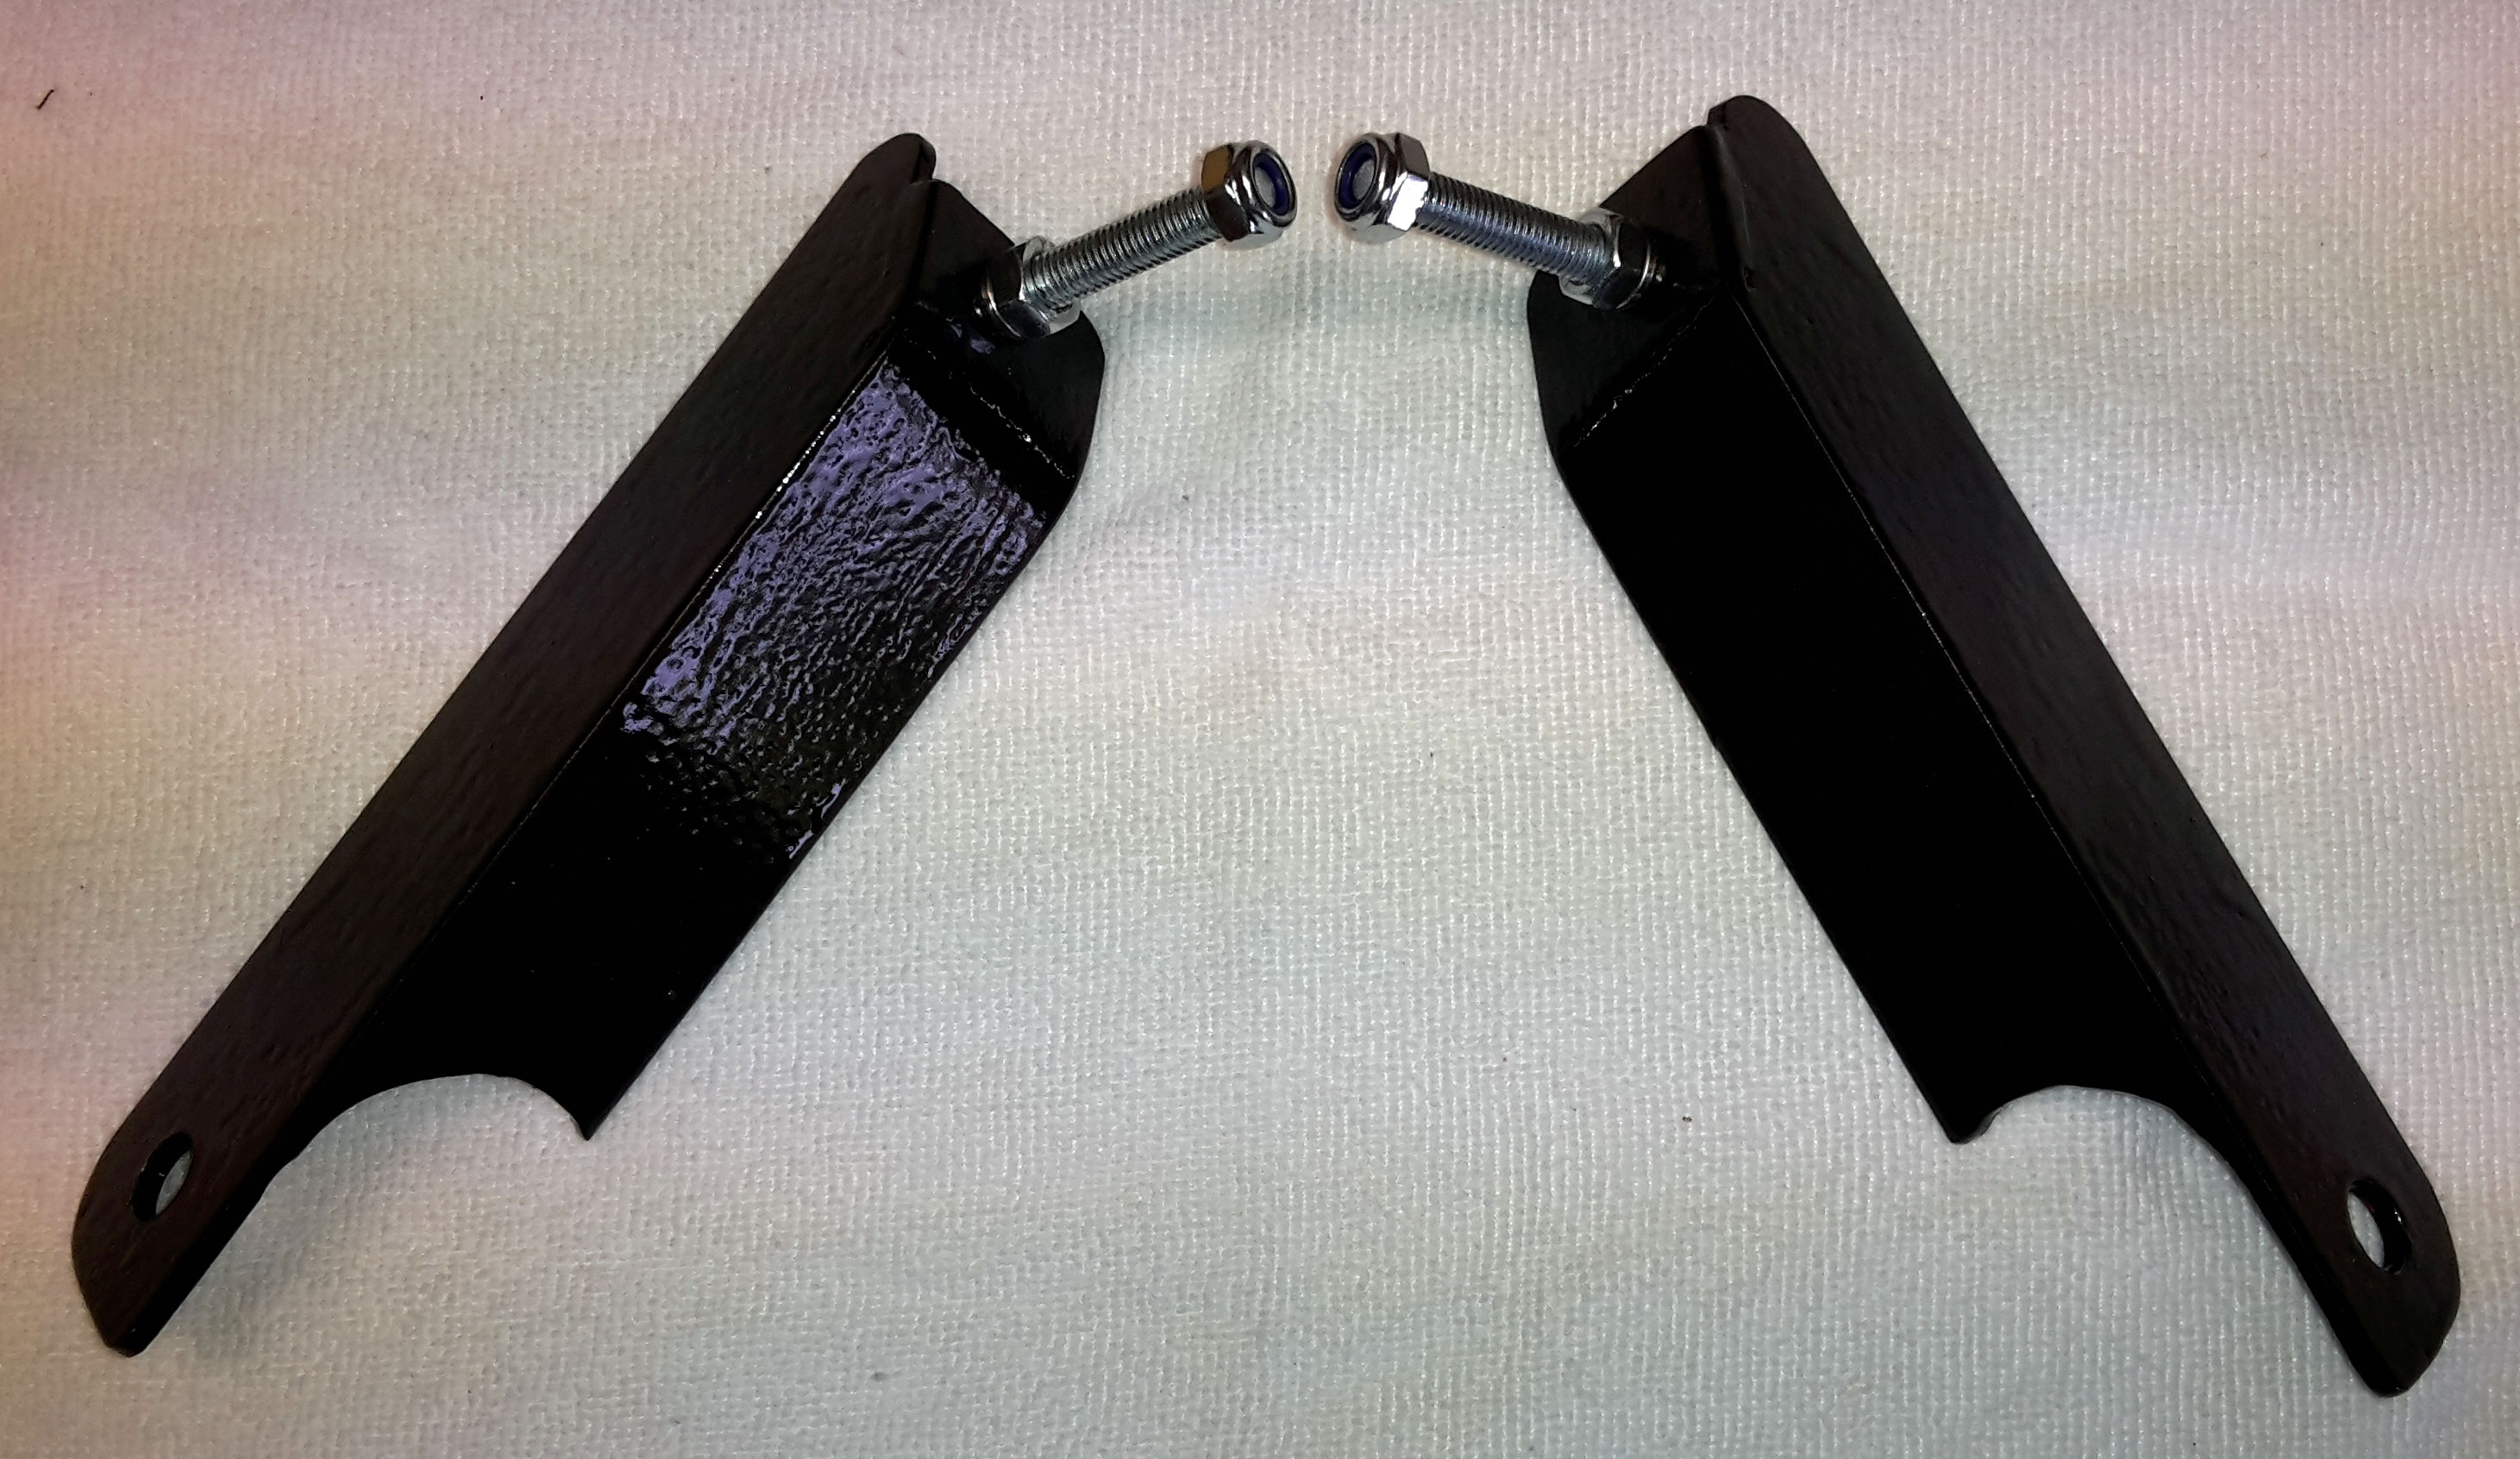 I now need to find out if joins need anything special by way of bolts/nuts - I'm sure I saw a copper exhaust nut being sold somewhere and need to know what that's all about. |
|
|
|
Post by mikeeyboy on Jun 14, 2017 10:48:39 GMT
What have you done for a fuel drip tray? Cheers
|
|
|
|
Post by miket on Jun 19, 2017 8:41:00 GMT
mikeeyboy - sorry about the big paws - was on hols. I bought some 1mm ally and over-engineered a tray with a small turned-up lip around all edges sloping to a 'spout' away from the exhaust. Shout if you want me to resurrect some pics in my thread.
|
|


