|
|
Post by erik on Dec 19, 2013 21:40:18 GMT
Hi Edward, The brackets look beefy enough for their task  After I added rubber and clamps on the left side of the front bracket the bracket itself became very rigid. Still i may opt cross brackets later if space permits on my version. As promised the pics of the tank and cover brackets. The cover brackets took me 3 hrs in total to get this far. I opted to raise the cover by 3mm to gain space for tack welding the brackets (and blowing until dizzyness for cooling) The cover is a bit blackened but easy to clean up. The light burned edge will be reinforced with CA later. The seam will give a good allround bead on the brackets too and will give the needed offset after schooping and powder coating. 1mm cardboard offset has been added for surface finish later as well. Fortunately, the brackets was a one time spot welding session thanks to the rare earth magnets holding the cover in place. For now it is spot on but I'm not sure if it will stay in position after final welding. i may reconsider to preheat the bracket area for final welding.  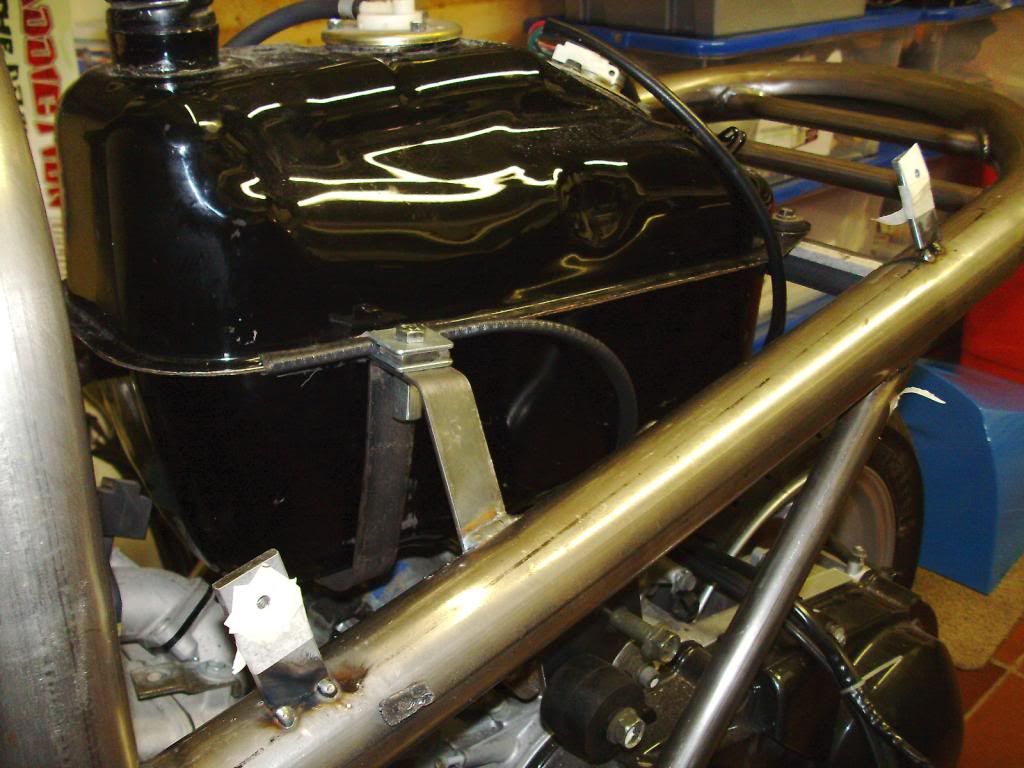 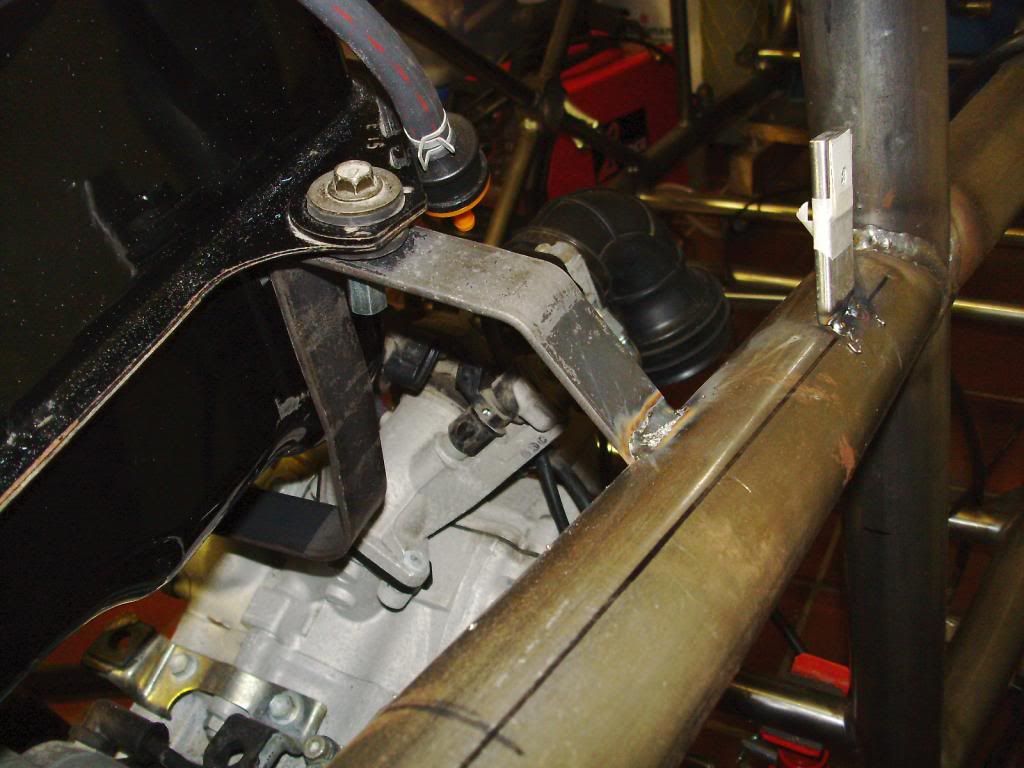 |
|
|
|
Post by edvb on Dec 20, 2013 2:17:52 GMT
Looks good Erik.
Yes it all takes time. I also spent about 4 hours fitting my seat to the new tunnel. I will need to remake a couple brackets one last time out of 12 gauge S/S but everything fits and I can slide the seat back and forth.
You are moving right along.
I did trim the lower front edge of the GRP tank cover so it would fit tighter to the roll bar tube. Right at the weld between the two tubes.
|
|
|
|
Post by erik on Dec 23, 2013 21:17:36 GMT
Been working hard on the project. 4hrs to fit the rad, 3 hrs to convert the original rad hose to suit the exo, 4hrs to find a good location for the coolant bottle. Have found a place for the batterie but need to order a narrower version before I can make the batterie bracket. You may find an other detail not found on exo's but it's an original an400 part steering column made bushes, perfect diameter! 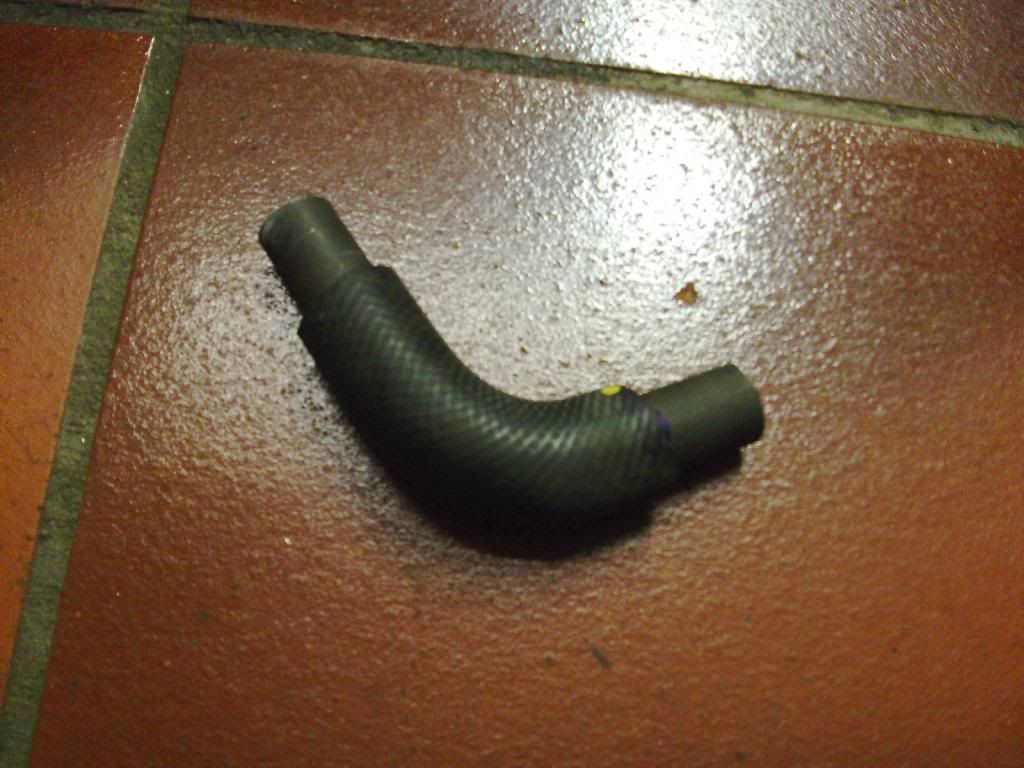 every an400 has a different bottle.square washers used for 4th tank clamp 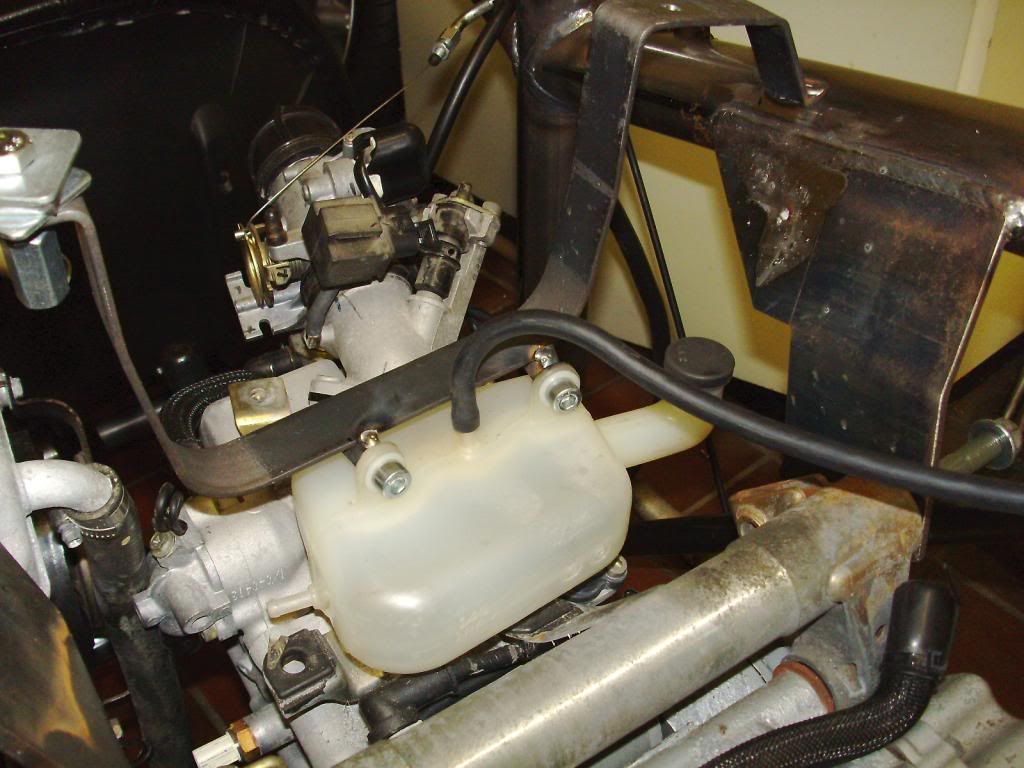 rad hose, all original An400 left over. only 3 pcs. Note fan is on original location. 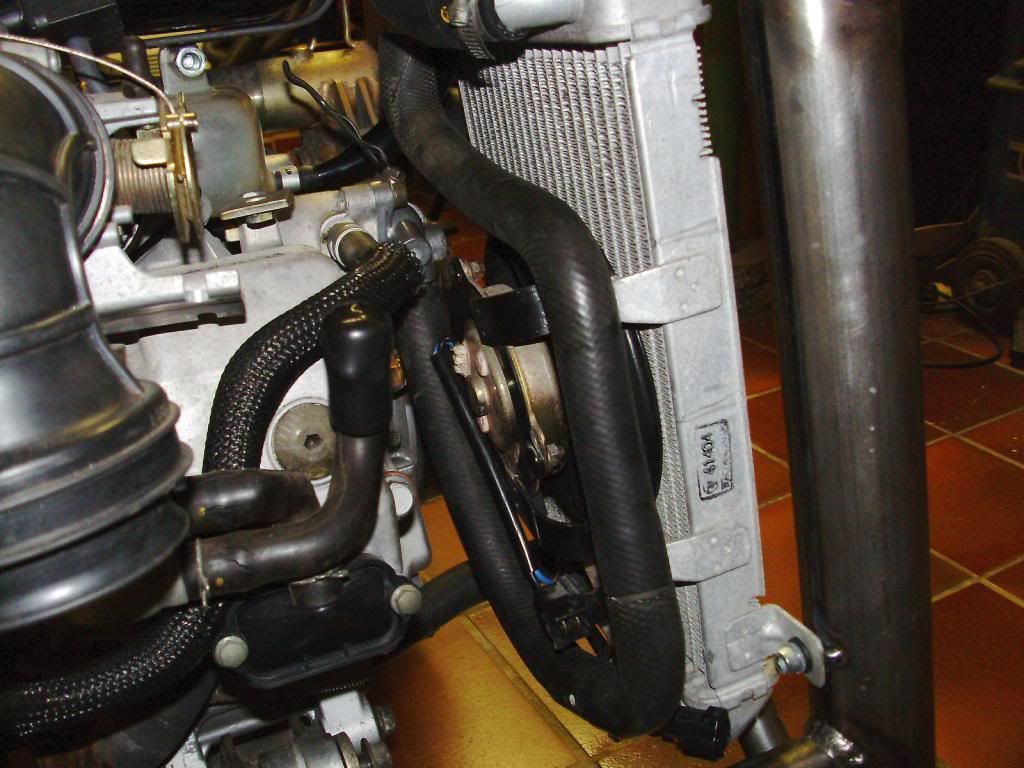 L-shaped rad cap hose cut from original part. No bracket needed. dump hose routed to coolant bottle. 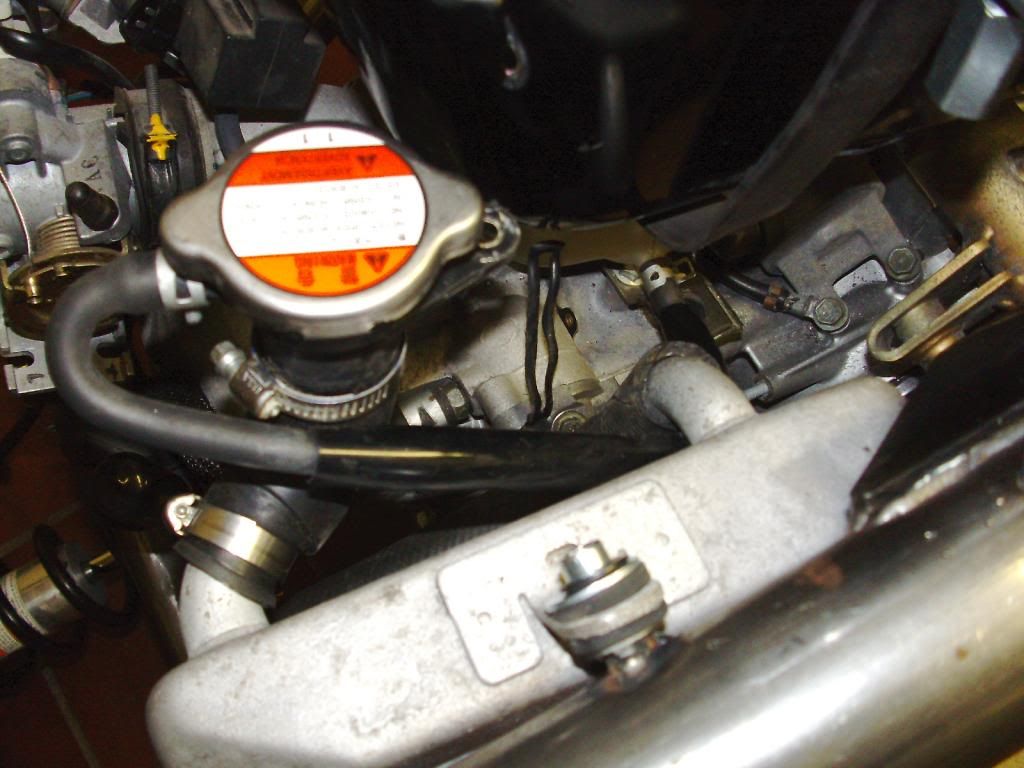 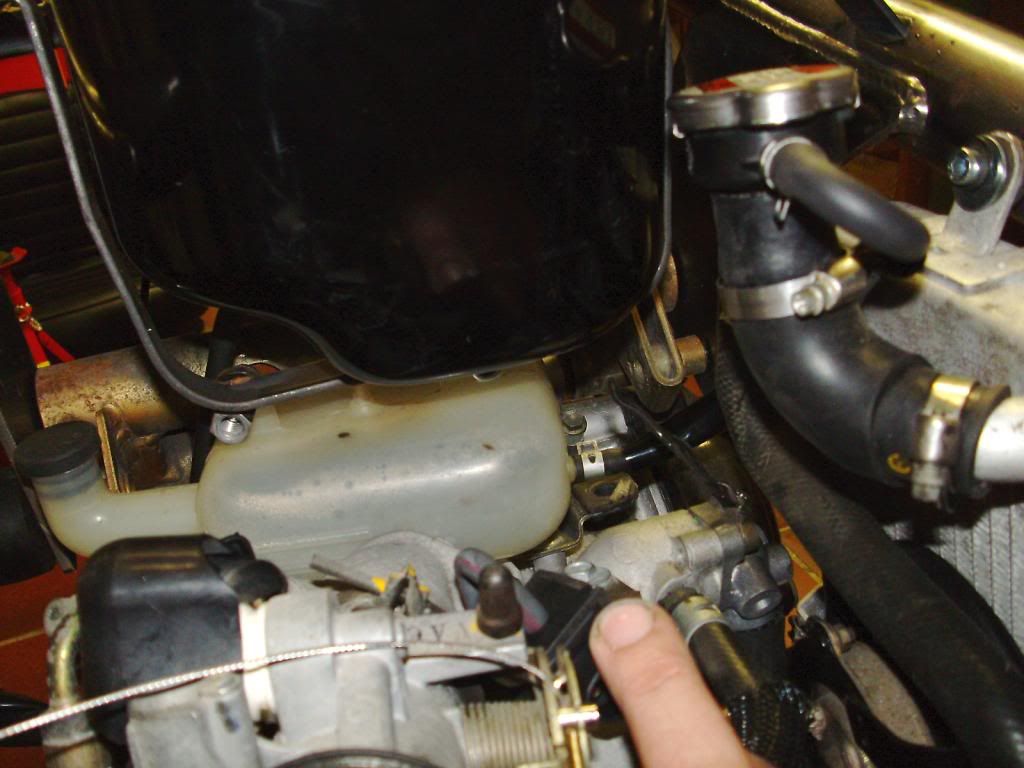 clean build;) rad mounts are extended nuts welded in the chasis. 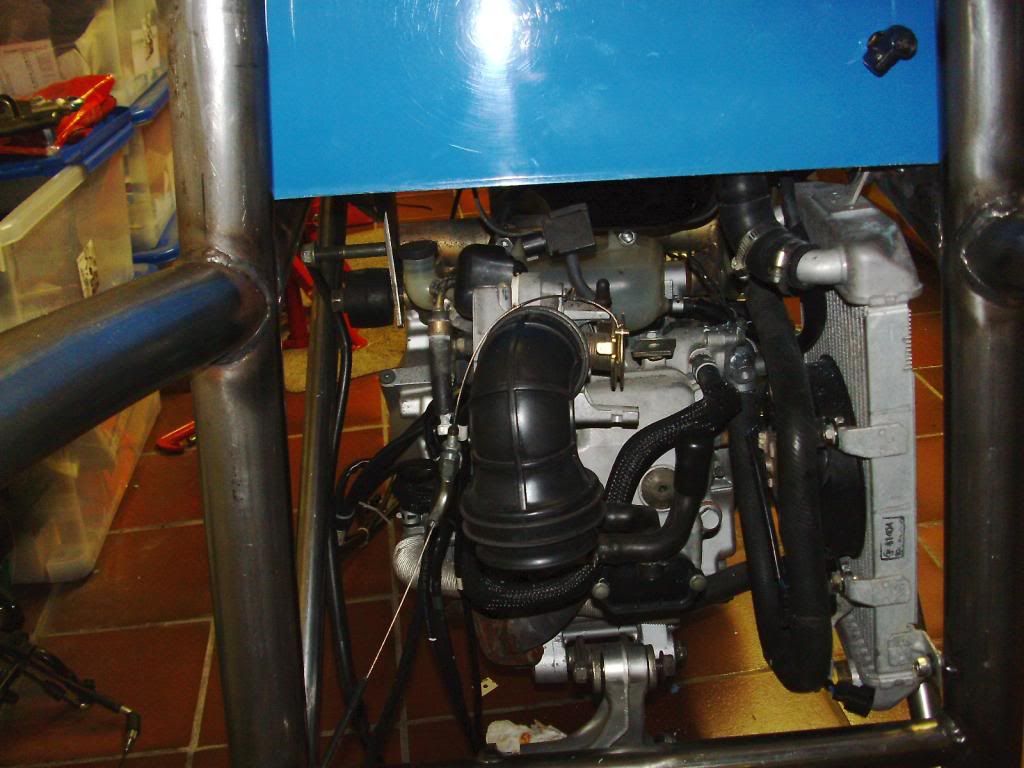 |
|
|
|
Post by erik on Dec 23, 2013 21:35:56 GMT
|
|
|
|
Post by edvb on Dec 24, 2013 4:32:53 GMT
Wow, Erik you are moving right along! All looks very nice. Be sure to compress the shock all they way once in a while to make sure you have enough clearance for the engine movement.
I also had a full day and my tunnel, rear lower aluminum bulkhead and rear shock cover are all fitted and screwed in place. What a lot of work that was in order to keep the seat as low as possible.
Are you finding this built easier than the Tr1ke or just different?
Have you decided how you are going to do your intake?
Have a merry Christmas as I will take a little break for a day or so.
Edward
|
|
|
|
Post by erik on Dec 24, 2013 5:45:41 GMT
Hi Edward, The tr1ke is a similar build , it took me quite some time to find good locations for the fuel pump (3 days) and connectors. The Exo is more space restricted and takes more time but I like the challenge I'll cut down the original airbox. There is a metal filter inside and fitting points for the sensors. I hope this one will fit too. I need to fit the batt and mass switch under the cover too ! off to work! Merry christmass! Erik |
|
|
|
Post by edvb on Dec 24, 2013 6:57:56 GMT
Yes space is limited. I probably spent a good three months to come up with a clean design using the 2005 Burgman 400. You have the same engine after looking at all the pictures so I know what you are going through.
Getting everything to fit and coming up with an even cleaner setup takes some time to complete.
Now that the last metal work is done it will start to be enjoyable after the parts are painted and the final assembly begins.
Edward
|
|
|
|
Post by erik on Dec 28, 2013 22:00:58 GMT
|
|
|
|
Post by erik on Dec 28, 2013 22:06:37 GMT
The original key switch mounting points are not used and may be of use to bolt a plate to it for loom parts to be attached. It may be usefull as cooling plate for the rectifier if desired. When the batterie mounts are welded in options will be reviewed.
br,
Erik
|
|
|
|
Post by edvb on Dec 28, 2013 23:55:41 GMT
Are you drilling a hole in the gas tank cover to get the keyswitch or can you insert it underneath? That was a great idea for your shock adjuster.
Got my parts painted so full bore ahead now:)
|
|
|
|
Post by erik on Dec 29, 2013 8:53:20 GMT
The key has been shown on previous pics progress is slow now. Just need to shop around and find a nice match of items. |
|
|
|
Post by edvb on Dec 30, 2013 10:38:53 GMT
Ok. I see how you did it.
|
|
|
|
Post by erik on Jan 4, 2014 21:17:54 GMT
|
|
|
|
Post by edvb on Jan 5, 2014 4:19:27 GMT
Hi Erik When I started working on windshield and started seeing some problems with maintaining the systems under the bonnet and also still having the air come underneath the fairing I thought there is a better way so that is where I ended up doing what I did. Your mount looks very sturdy. Are you going to get another trim cover or going to leave it the way it is? Are you going to use the stalks or are you going to use the stalks off the Burgman? It looks like you did a lot of welding already? If you keep that up you will surpass me on the amount of tabs I installed at the end  |
|
|
|
Post by erik on Jan 5, 2014 8:46:42 GMT
Yes, I need to remove the windshield assembly to be able to remove the bonnet so I guess this is a one time session BUT... It is still a lot less work as on the An400 i recon the hardware placed under the windschield have very low maintenance as like on the An400 and I might chose to locate some parts to be reached sideways. I'm not too concerned about this. I'll not add an other cover trim for the windschield assy. I am not too keen to use the stalks. It's very likely I will use the An400 switches as like on my tR1ke. Like this I think there would be minimum modificiations to the loom. I reconsider to keep the electronics in the front of the loom as designed. Because of this I haven't trimmed off the brackets just in case I need more fixing points. I'll trimm them off later on the bare chasis. Yes the mount is very sturdy and it isn'tt likely it will flutter now I have become very keen on the extended nut concept I used on the tR1ke and it's a great way to get massive mounts on a chasis without weakening. Biggest advantage is one can set the angles before tack welding unlike rivnuts and there is more thread inside to use and less possible wear. Rivnuts are made of a soft aluminium/steel grade and relative short thread inside (and one needs to bore big holes in the chasis). I know it's a bit more work but this did raise the value of my tR1ke. I guess the expert isn't keen on rivnuts. just going the extra mile br! erik |
|


