|
|
Post by buildityourself on Oct 17, 2021 18:58:35 GMT
been quiet? build stalled?
|
|
|
|
Post by casesensitive on Dec 10, 2021 10:02:23 GMT
Yeah, pretty much halted completely. Small child takes up all the time, Brexit effed any chance of registering the car. May be resurrected as a track-only project in the future. *longer version of Brexit moan* Only IVA available to us is the UK one, we don't yet have anywhere you can 'sit' an IE IVA, though there's technically a standard. Post-Brexit, if you 'export' your car, you face a gigantic tax bill when it comes back in and they seize your build while they wait for that cheque to clear. Registration would cost {whatever they value the car at, €5-30k} * (36% + 23% + 10%). It was always going to be expensive to register, but adding 23% VAT on that top takes it from difficult to impossible. Closed borders mean a relatively ok cost (~€700-€1,100 for transport, IVA and help with getting through test), now possibly involve a tough conversation about VRT, VRT and Duty when the completed car arrives back here. 2019 was my deadline and I missed it, so my Rocket will likely never drive on a road unless I win the lottery. If there's a silver lining, there's probably only 50 hours of work to get it on a track, and the registration cost would buy me a trackday every month for years. I was told to dismantle my scabby horrible old trailer though, so I'll have to make or buy a new one first. 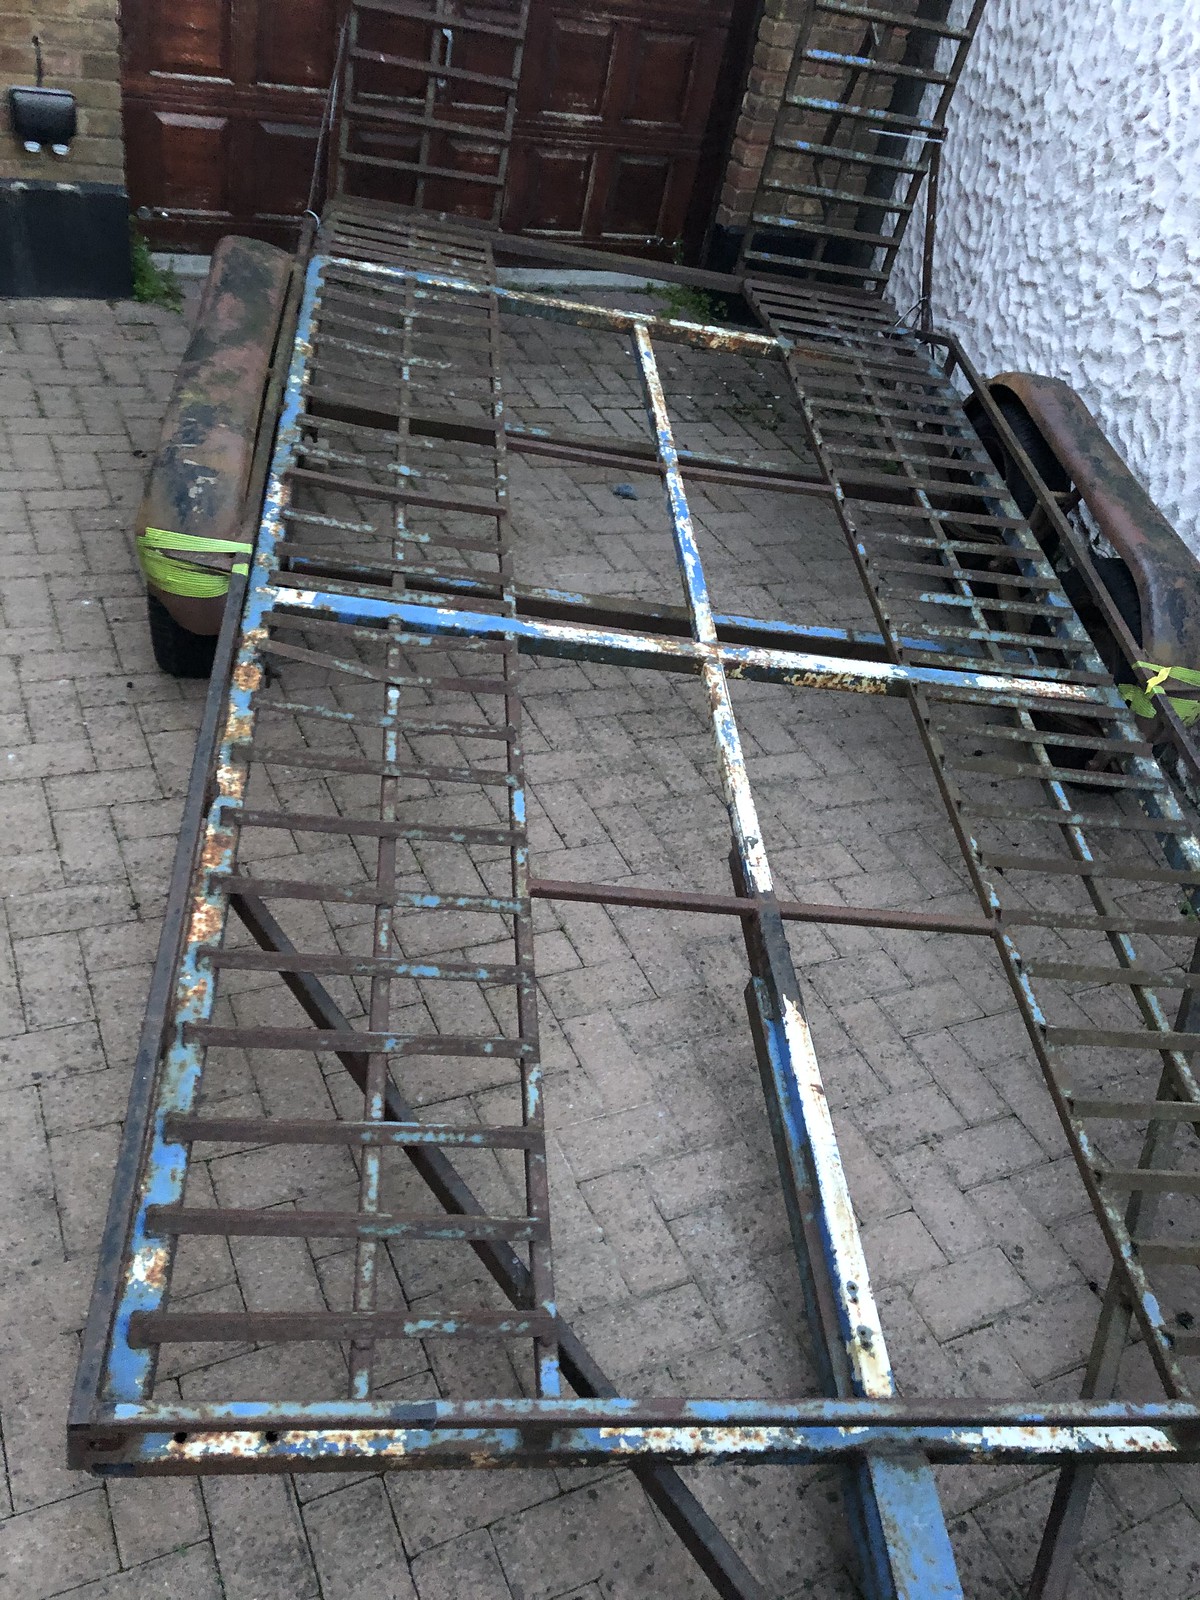 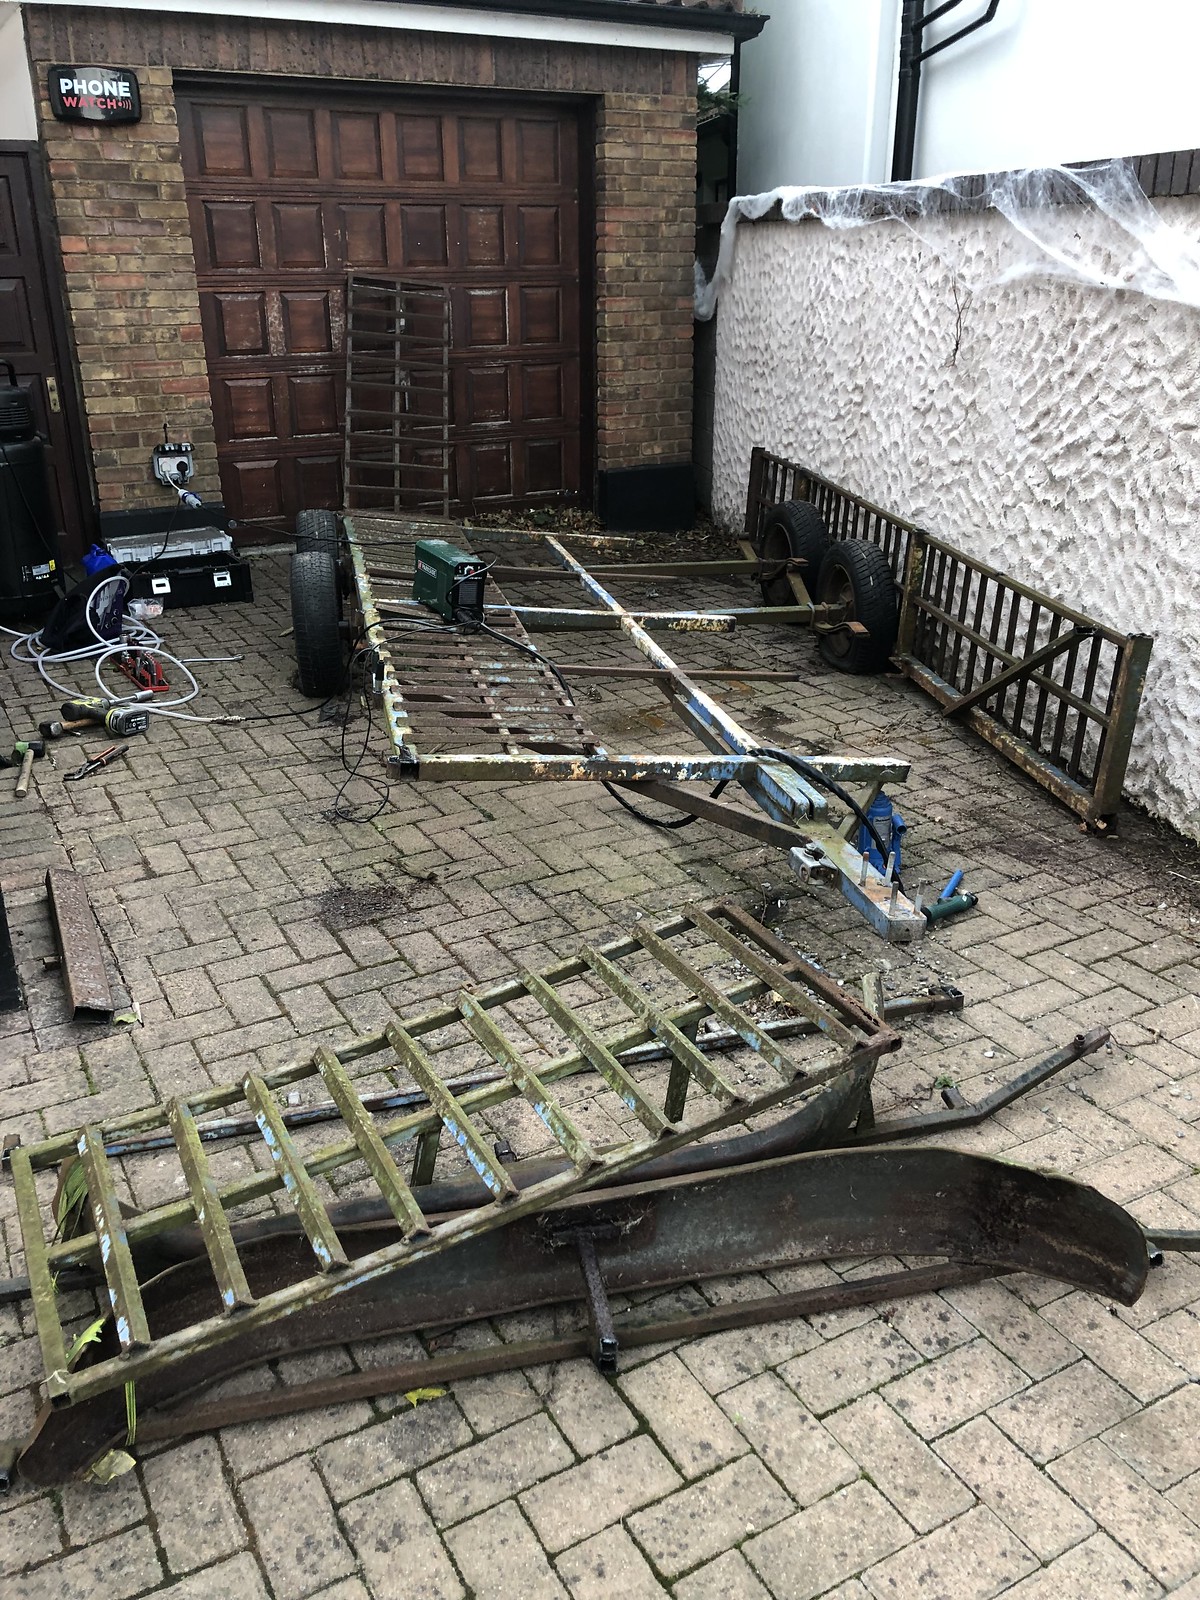 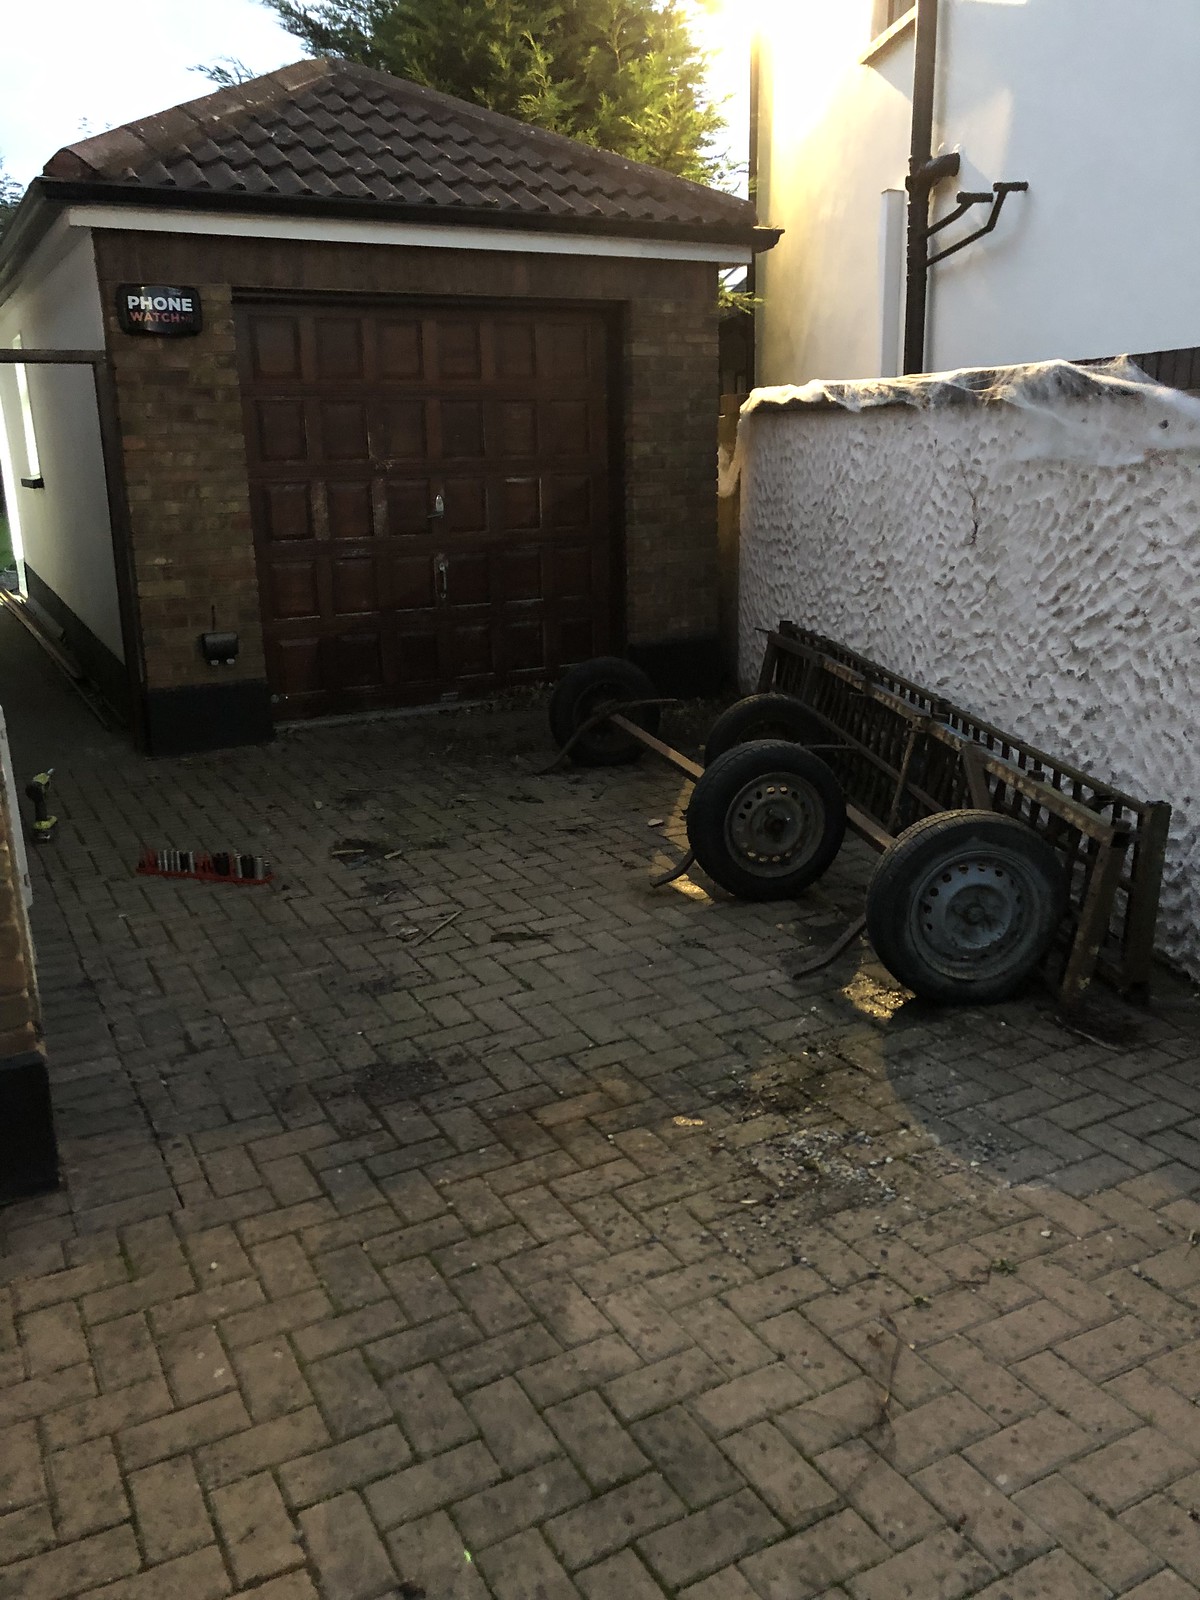 |
|
|
|
Post by casesensitive on Jan 13, 2022 13:14:48 GMT
Goodbye garage I The house attached to the garage I started my build at is about to leave family ownership after 65 years or so, and that means Granddad's hoarded crap added to mine had to go. Much stuffing of a Renault Trafic and trips to the recycling centre later, it's all over.  Not all bad news though, there was so much ad-hoc shelving and a few benches put together over the years that I got a literal shedload of wood out of it. That'll keep the gaff warm for a few weeks.  |
|
|
|
Post by casesensitive on Jan 13, 2022 13:51:46 GMT
|
|
|
|
Post by buildityourself on Jan 13, 2022 20:40:30 GMT
Some decently looking cable reels in that skip, I would have found a home for them as there is always an extra circuit needed. You should measure the narrow section of the barb connectors, they are likely to be 8mm and 10mm the oversize barbs are there to stop the hose sliding off under pressure even with clamps. Worth a grommet on the bulkhead holes, you don't want it cutting through the rubber hose and a fuel leak over the engine with a walbro pump pushing fuel through.  |
|
|
|
Post by casesensitive on Jan 14, 2022 14:24:56 GMT
Some decently looking cable reels in that skip, I would have found a home for them as there is always an extra circuit needed. Yeah, I've been keeping them since 2014 with just that thought, and I hate to think how many hours I spent stripping and untangling them only to send them to the recyclers. I even considered stripping them to recover the copper. But last year I built a lovely cable reel system with nice reels and uniform 11A and 30A lines in the ~10 colours I plan to use (purple with white stripe anyone?), rather than try to retain the Ford system verbatim. 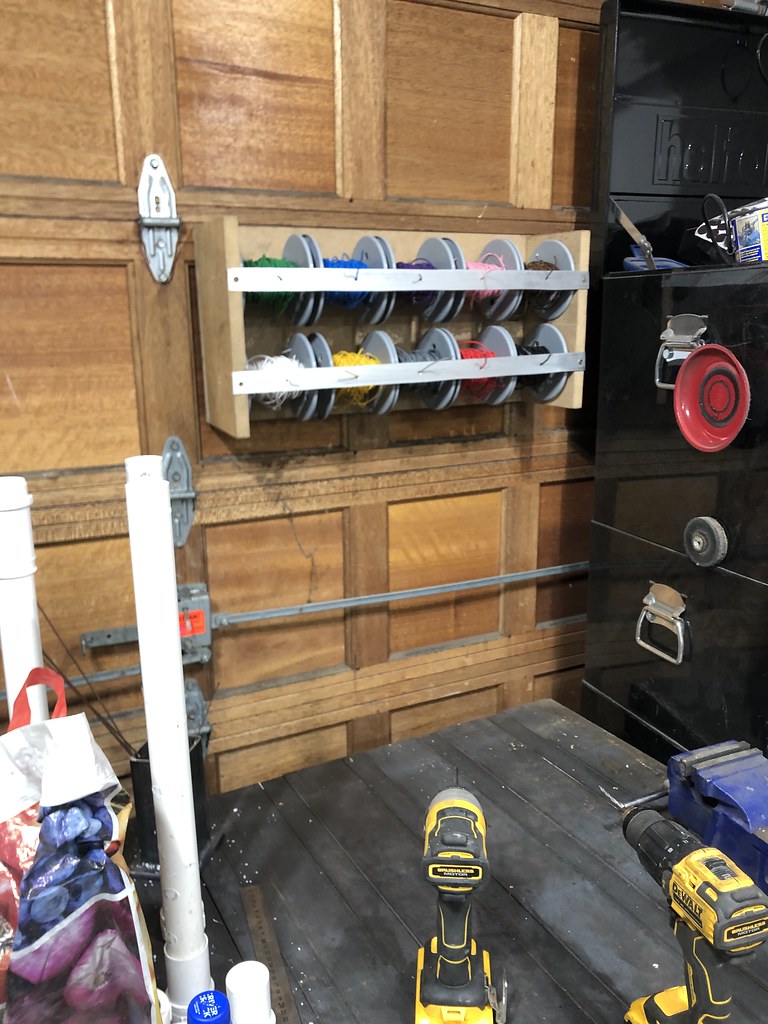 You should measure the narrow section of the barb connectors, they are likely to be 8mm and 10mm the oversize barbs are there to stop the hose sliding off under pressure even with clamps. Yeah, the barbs I had to hand are more like M6 and only some nasty Lidl jubilee clips are holding it together. I'll order proper M10-threaded M8 barbed hosetails and proper t-clamps from CBS now. It was very much a case of "woo hoo! Garage day! What can I make with what I have from the shelves. Good call though. Worth a grommet on the bulkhead holes, you don't want it cutting through the rubber hose and a fuel leak over the engine with a walbro pump pushing fuel through.  Yep, they're not pictured, as they've slid up the hoses behind the firewall, but they'll go back on, I promise :-) |
|
|
|
Post by casesensitive on Jan 30, 2022 20:03:44 GMT
Did about 90 mins in the garage during the week, tracking down fuel issue.
Test 1:
Pump wired up and very sketchily pulling fresh fuel via a short piece of hose from an old ribena bottle and into a jerry can, so the wiring and pump are good.
Test 2, same, but put the filter after the pump outlet and before the jerry can, lower pressure, but still good.
Test 3, introduced the existing, used-to-be-good fuel circuit, save for the fuel tank (don't want any of this crappy fuel going back in) there's definitely an issue between the rail and the return line, as there's little to no fuel coming back through the system and after a few seconds the least-tight clips let go giving me a lovely petrol shower. And the fuel has become orange. Tank and rail are aluminium, and the fuel filter is too, so where the hell is the rust coming from?
I'd hoped it wasn't the fuel pump, but it seems likely that it's the fuel pressure regulator, which costs even more. Going to bypass it altogether when I get a minute to confirm. There's no vacuum line going to it, but it should still limit flow to 3 bar. With the very shonky temp setup I have I can't hold the fuel in and out lines while looking at the fuel pressure gauge either, so I can't tell what it used to be.
In investigation replacing it, I note the ads from Demon Tweeks and CBS both suggest that the gauge only be used for setting up, and the outlet be bunged the rest of the time. Anyone else running a full-time analog FPR gauge?
Wonder if it got tired and died of continued use?
|
|
|
|
Post by casesensitive on Apr 20, 2022 13:39:24 GMT
My fuel system rebuild is going well, other than it doesn't actually work, but that's just a bug :-) Hopefully the next stage isn't remaking the whole lid arrangement, fingers crossed the community sends me a solution. Fuel system draws in air, not petrolproper clips and conduit 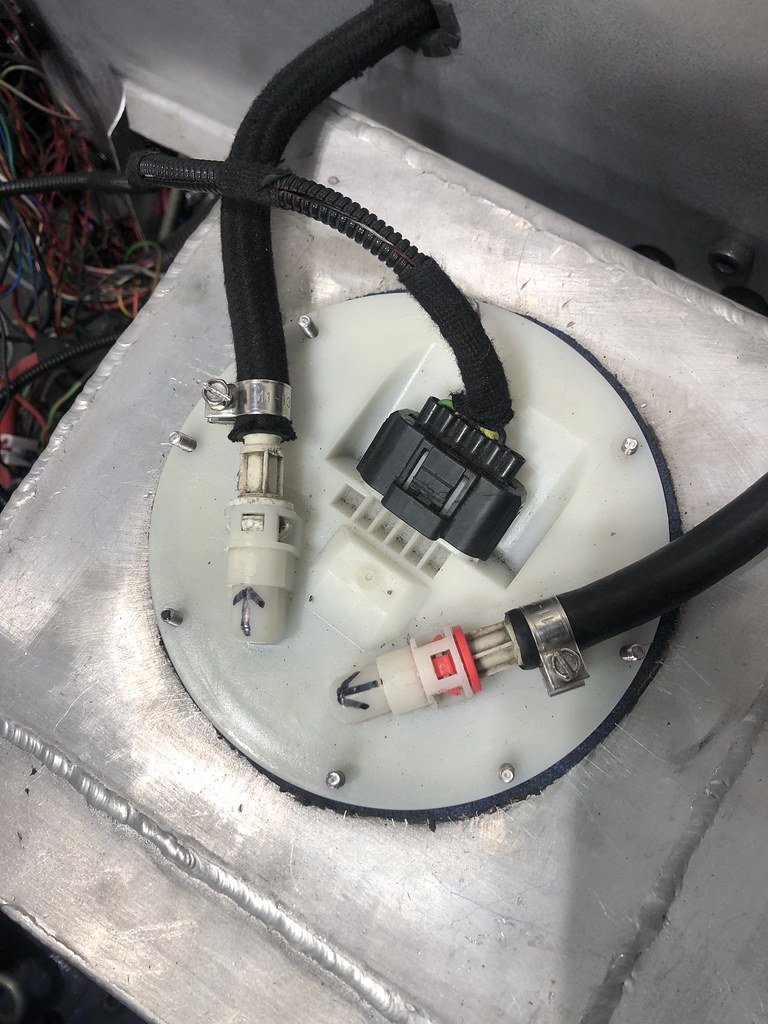 New no-longer-fake Systec FPR alongside the old one 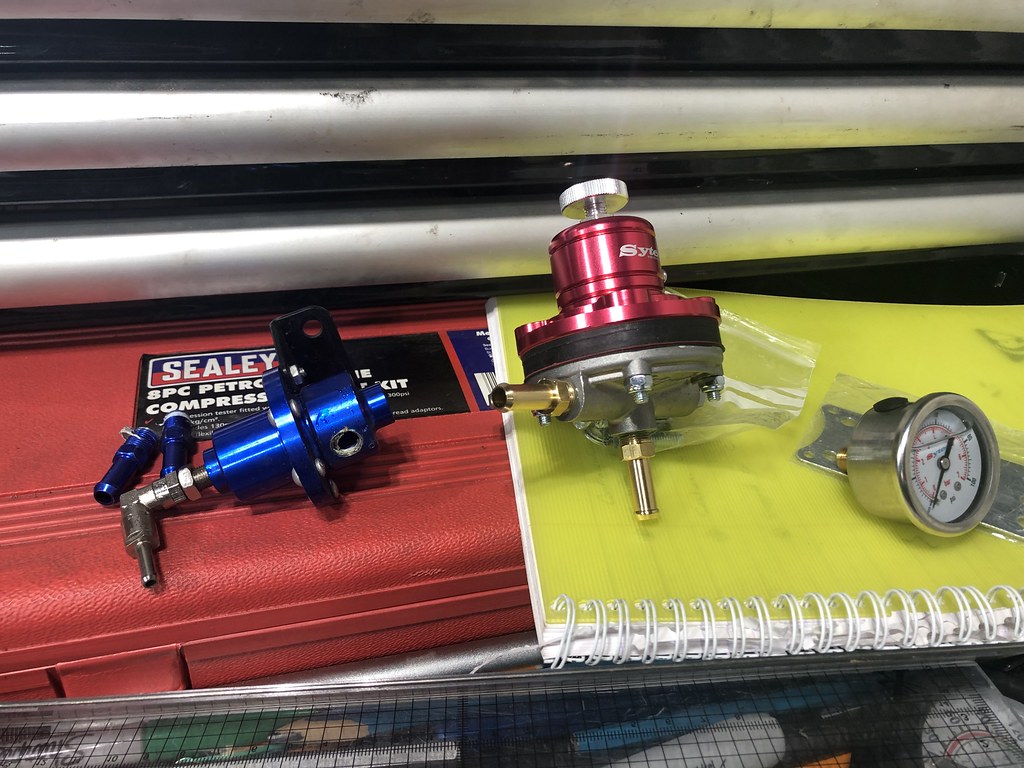 Swapped over the nicer anodised aluminium hosetails, cut and bent a little bracket out of some 2.5mm aluminium sheet  In place on the rail 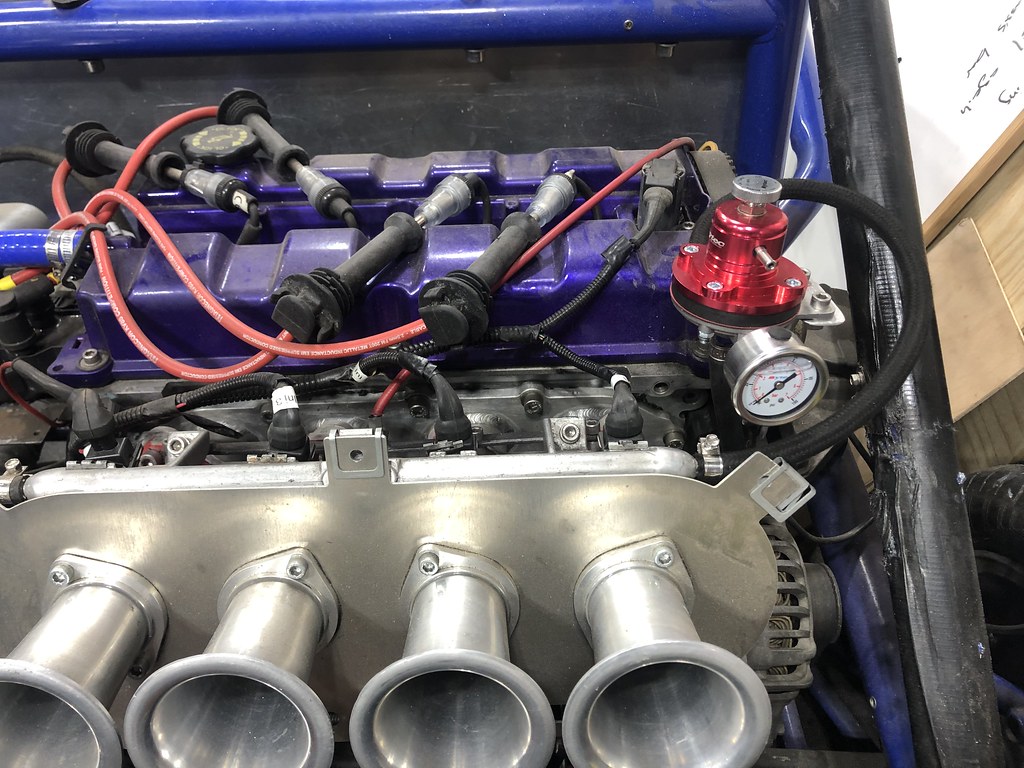 |
|
|
|
Post by casesensitive on May 5, 2022 8:49:20 GMT
Cheers for all the help lads, particularly kiwicanfly for trying to set me on the less-wrong path. Ok, parts starting to arrive. Proper AN6 90* swivel to a weld-on long tail bit which'll go through a new lid to be made. But first, the weld-on fitting has a 12MM OD tail and the fuel-proof hose from CBS has an 8mm ID, which can be made to fit with a good bit of heat, but I don't trust it, so I got a little bit of 8mm OD tube with 1mm wall to reduce it down. I roughedhoused it in the vice a bit, but I'll clean up anything visible before it goes on permanently. 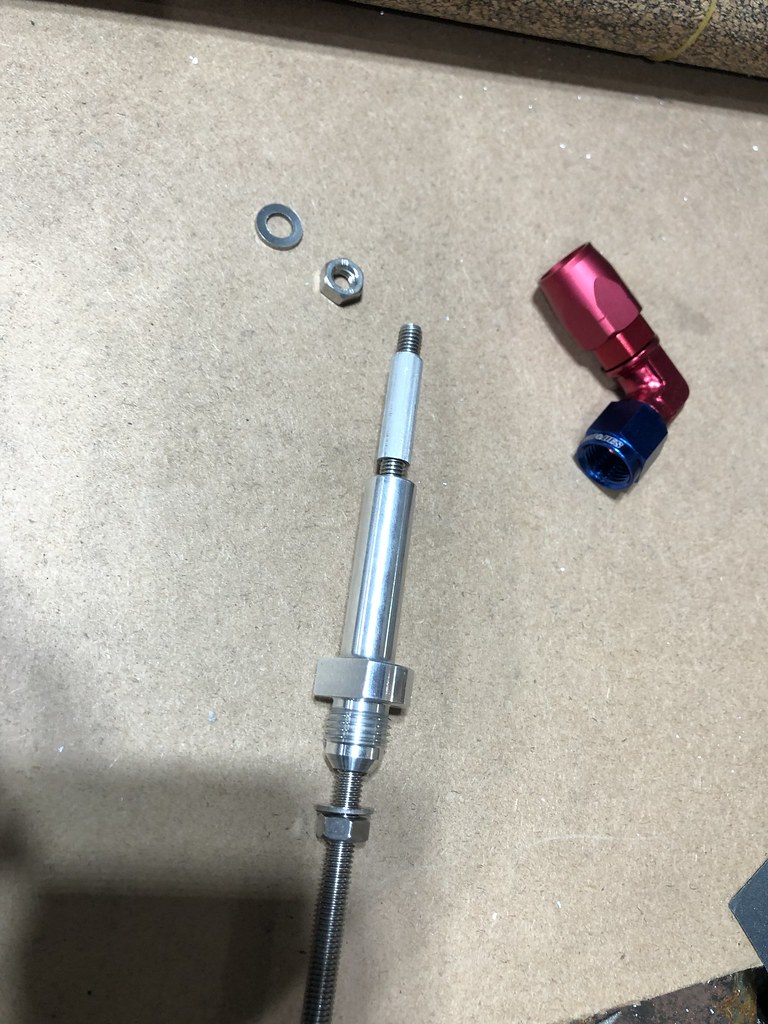 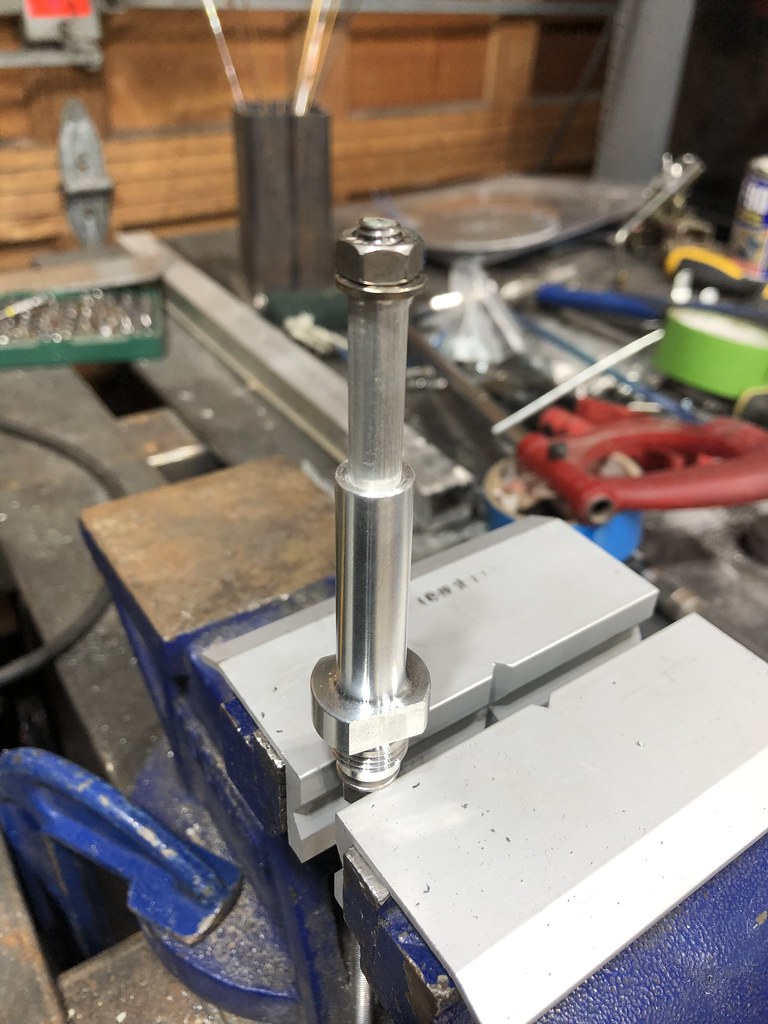 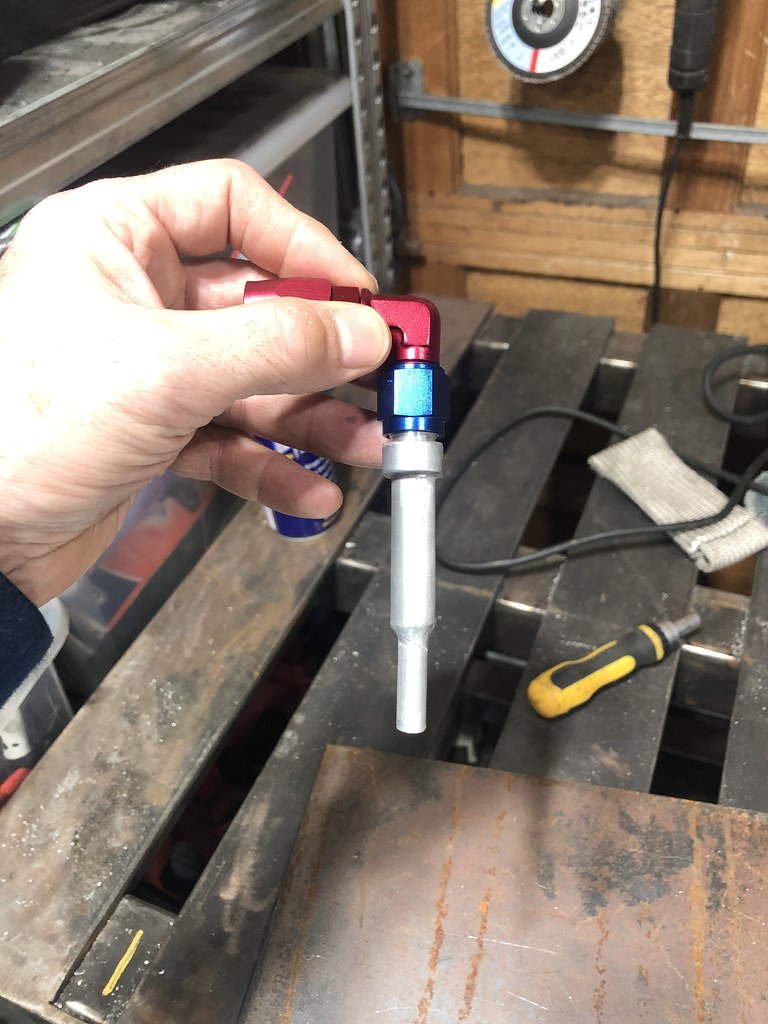  |
|
|
|
Post by casesensitive on May 5, 2022 9:00:59 GMT
For the lid I found some 3mm aluminium that I like, same sheet as the existing replacement 'ring' I made. I made some paper templates to scale, showing where the cutout for the weld-in wiring connector base and 12mm holes for weld-in AN fittings will go.  Used this to make an aluminium template/drilling jig out of 2.5mm. Good for centring holes, tracing around etc. Pillar drill has dropped dead due to lack of use, so I'm drilling these by hand with a little vertical guide when I remember to.  I've got a bit of 3mm mild steel plate I scrounged from a bin, and it'll be supplying the inner retaining ring, which will be cut in two pieces to go through the 'mouth'.  I'll thread the holes M5 (they're 3mm guide holes now), and 8x M5 bolts will be worked through with studs up. Arrow straight or its all for naught. Then I weld them in place so they can't rotate. I have 1mm cork gasket chaperone to keep mild and aluminium from being friends. So from top to bottom it'll go: - Nut
- nitrile / fuel proof Washer
- Aluminium lid
- Gasket
- Aluminium tank
- gasket
- steel retaining ring
- stainless steel bolt
I may need some sort of barrier grease for the stainless bolts as they pass through aluminum too, thoughts? |
|
|
|
Post by wishful4444 on May 5, 2022 14:54:39 GMT
"I may need some sort of barrier grease for the stainless bolts as they pass through aluminum too, thoughts?"
====================================================================
Could you use plastic/nylon spacer or bush?
|
|
|
|
Post by buildityourself on May 5, 2022 20:21:16 GMT
So from top to bottom it'll go: - Nut
- nitrile / fuel proof Washer
- Aluminium lid
- Gasket
- Aluminium tank
- gasket
- steel retaining ring
- stainless steel bolt
Maybe I missed how the lid is held in place, so I will ask the daft question. How are you going to hold the bolts inside the tank to tighten when the lid is in place? This was our solution to the same problem, should be cheaper for you as you can weld alloy, but the ring cost £25.  Still have an issue with this not being air tight as the plastic top bolted to it is too soft so bows between the bolt holes. |
|
|
|
Post by casesensitive on May 6, 2022 12:03:29 GMT
So from top to bottom it'll go: - Nut
- nitrile / fuel proof Washer
- Aluminium lid
- Gasket
- Aluminium tank
- gasket
- steel retaining ring
- stainless steel bolt
Maybe I missed how the lid is held in place, so I will ask the daft question. How are you going to hold the bolts inside the tank to tighten when the lid is in place? This was our solution to the same problem, should be cheaper for you as you can weld alloy, but the ring cost £25.  I could draw it but it'd nearly be as quick to go outside and make it! I have made a mild steel ring like you've got, but it'll be cut into 2 segments (think Terry's Chocolate orange) so it can go in. This goes under the lid, inside the tank. Holes all neatly lined up. M5 bolts, welded to the ring on the inside, facing up and pushed up through the holes in the tank, which go through the holes in the new lid. All sandwiched nicely with gasket. As the nuts are tightened up top, the bolt heads will no longer be able to rotate freely in the tank (which is tapped 2.5mm aluminium in my case, I replaced this bit from stock). |
|
|
|
Post by casesensitive on May 6, 2022 12:06:05 GMT
"I may need some sort of barrier grease for the stainless bolts as they pass through aluminum too, thoughts?" ==================================================================== Could you use plastic/nylon spacer or bush? I have cork gasket between the layers, and there will be a nylon washer up top on the nut. It's the threads that may present a vapour pathway, particularly as they'll go up theough untapped holes (m5 bolt through m5 drilled hole, rather than tapped) so I was considering coating the threads in something before putting them in. |
|
|
|
Post by casesensitive on May 6, 2022 14:55:38 GMT
This was our solution to the same problem, should be cheaper for you as you can weld alloy, but the ring cost £25.  Slight aside, that ring looks to be (cast?) aluminium, and the weld definitely is a tig weld of aluminium, if you can do that you can surely do DC steel-to-any-steel too? |
|