|
|
Post by buildityourself on Apr 7, 2019 19:56:13 GMT
|
|
|
|
Post by casesensitive on Apr 7, 2019 21:24:42 GMT
Before I get to the excellent replies on the fuel tank thing, I better finish off my intake, which is now mostly leak free. I think. Old stuff got a good clean, 600 grit rub down, wipe down with acetone.   All paper gasket was removed  I tried a thin bead, but ultimately it leaked, so I started again with a very thick one, which sealed but was a bit spilly, requiring a lot of clean up.  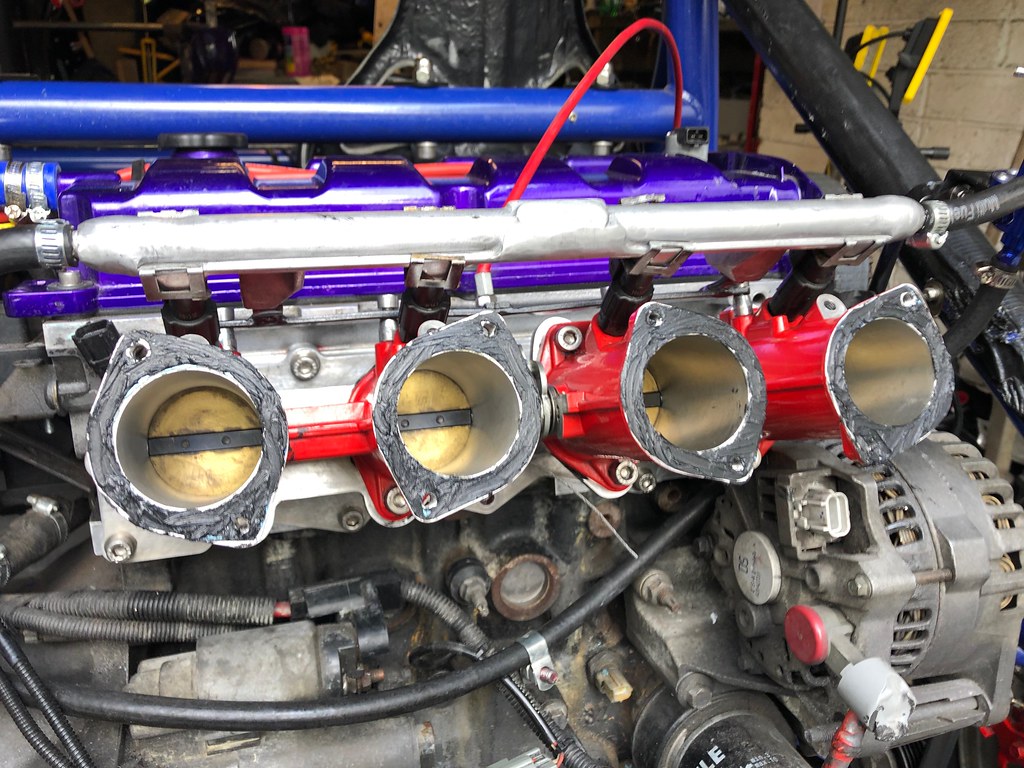 Even these perfectly well gasket-ed ones got an extra ring. 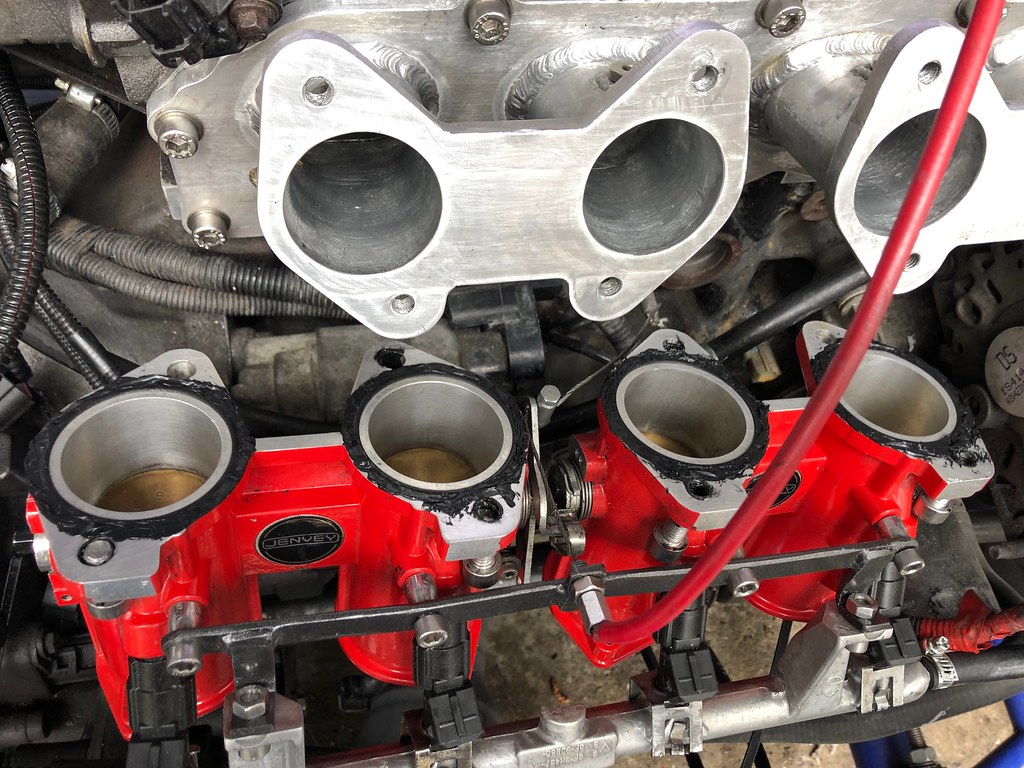 squished and excess cleaned off at very stage. 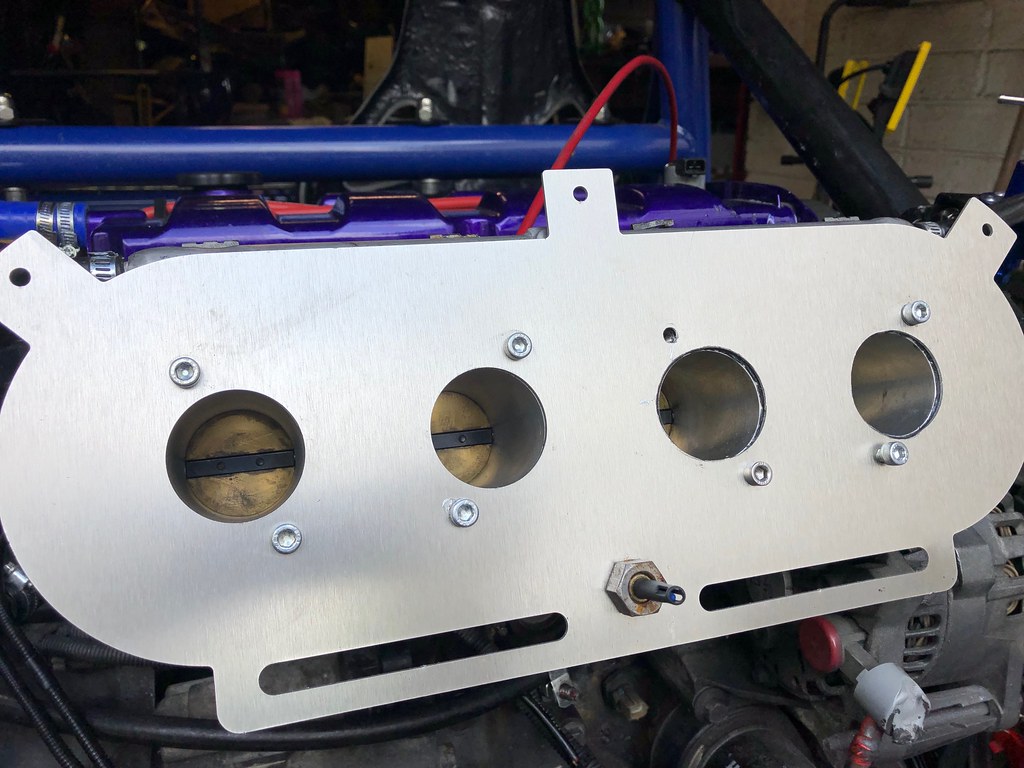 I went through a lot of kitchen roll, and at least 1l of acetone, which I put in a €3 sprayer from Lidl.  |
|
|
|
Post by casesensitive on Apr 7, 2019 21:33:15 GMT
I moved my battery forward but I haven't been able to start the car without a jump box since, so it looks like the '800A' jump cable from Aldi was garbage, once I stripped off the thick plastic, there was about 25-30A wire inside. Quell surprise... Down I popped to the local motor factor and bought 3m of red 300A cable of 12mm cross sectional diameter, bloody heavy stuff, massive bend radius, definitely not going to be the weak link. Bought these giant crimp-on connectors too. I didn't have crumping and used the edge of the vice for the first of 4.  The next three were done with a punch and giant hammer, which is definitely better.  Live was made ground with lots of the biggest shrink tubing I had   A decent bit of corrosion had built up on the inner front firewall where I've earthed my battery, I suppose this is to be expected. I will probably cover this in grease of some sort. |
|
|
|
Post by casesensitive on Apr 7, 2019 21:36:53 GMT
Final job for the day was to take the new Dominator 2s I picked up as indicators and bore them out to fit the not-quite H1 amber bulbs I got from Amazon US.  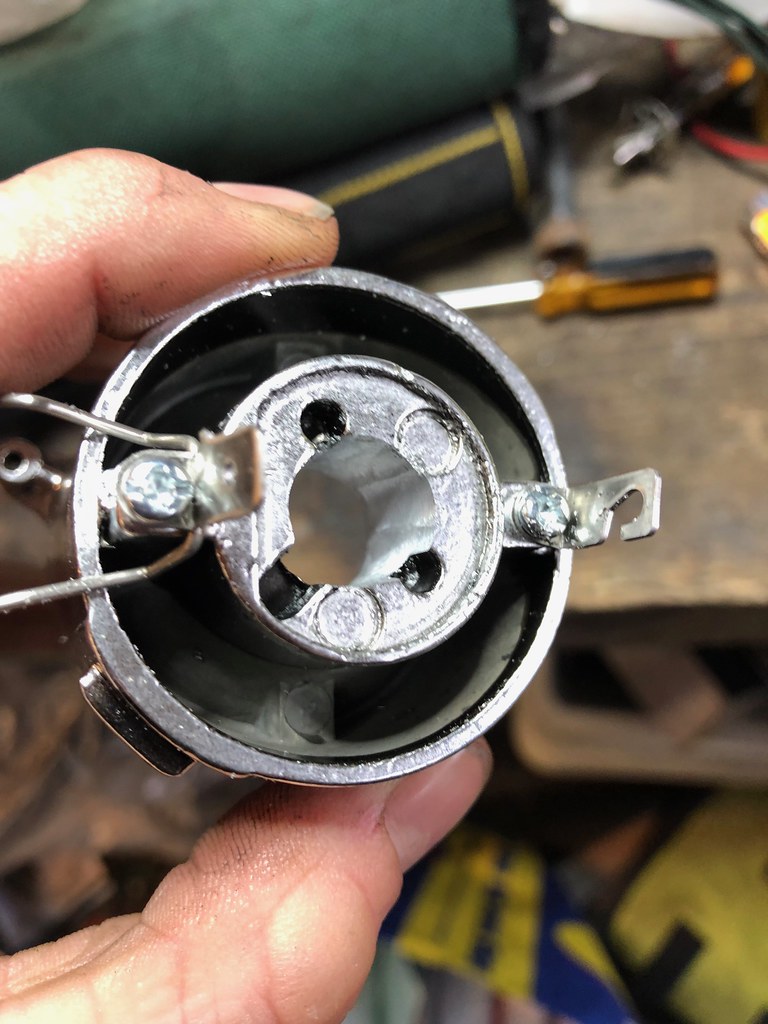 All done, now to make some sort of pod for them to all sit in. 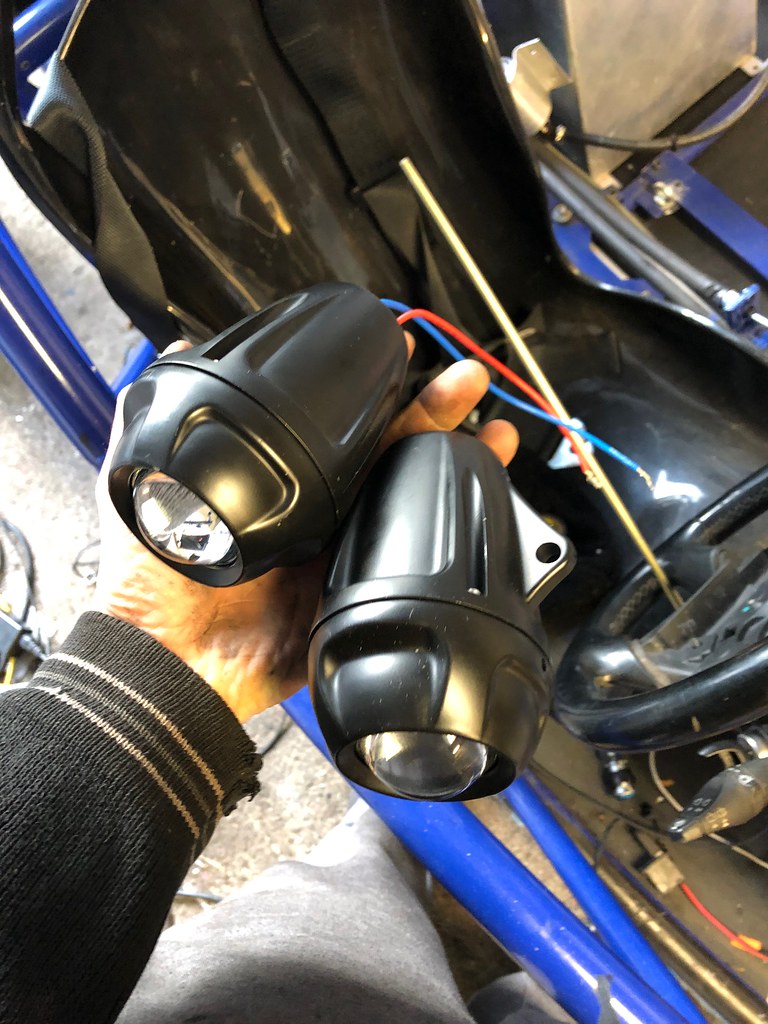 |
|
|
|
Post by casesensitive on Apr 7, 2019 22:06:07 GMT
Thanks, I had a look at that, but I'm nearly certain I binned the remainder of the focus tank years ago, so I don't think it'll work for me. |
|
|
|
Post by snowbird1 on Apr 8, 2019 14:37:52 GMT
I moved my battery forward but I haven't been able to start the car without a jump box since, so it looks like the '800A' jump cable from Aldi was garbage, once I stripped off the thick plastic, there was about 25-30A wire inside. Quell surprise... Down I popped to the local motor factor and bought 3m of red 300A cable of 12mm cross sectional diameter, bloody heavy stuff, massive bend radius, definitely not going to be the weak link. Bought these giant crimp-on connectors too. I didn't have crumping and used the edge of the vice for the first of 4.  The next three were done with a punch and giant hammer, which is definitely better.  Live was made ground with lots of the biggest shrink tubing I had   A decent bit of corrosion had built up on the inner front firewall where I've earthed my battery, I suppose this is to be expected. I will probably cover this in grease of some sort. Always difficult to get a good crimp on heavy cables, I've found a cheap brake flaring tool works well:  It might be a good idea to sweat some solder into the terminals and heat shrink over the whole joint to seal it. Your ground will be better if it has a metal to metal contact directly with the chassis, aluminium is notorious for corroding when in contact with other metals, especially when it has electricity flowing through it! |
|
|
|
Post by casesensitive on Apr 8, 2019 21:17:33 GMT
It might be a good idea to sweat some solder into the terminals and heat shrink over the whole joint to seal it. Your ground will be better if it has a metal to metal contact directly with the chassis, aluminium is notorious for corroding when in contact with other metals, especially when it has electricity flowing through it! Yep, that's a good idea, I'll do that. Still have loads of the solder paste. |
|
|
|
Post by casesensitive on Apr 14, 2019 23:37:54 GMT
Copied kiwicanfly 's seat belt mounting idea Where I hope they'll end up  Drilled and tapped 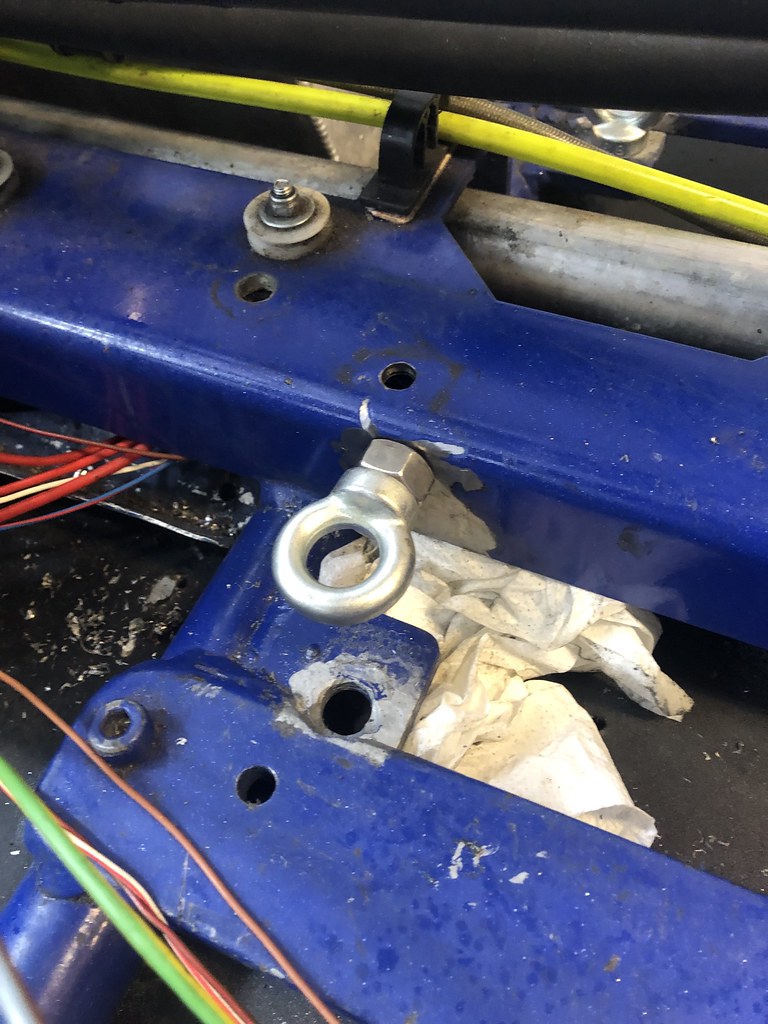  and welded the nut to the box section, checking the eyebolt still fits frequently  Cut two notches out of some 6mm angle for the passenger side, and cut a bevel into there edge to aid better weld penetration 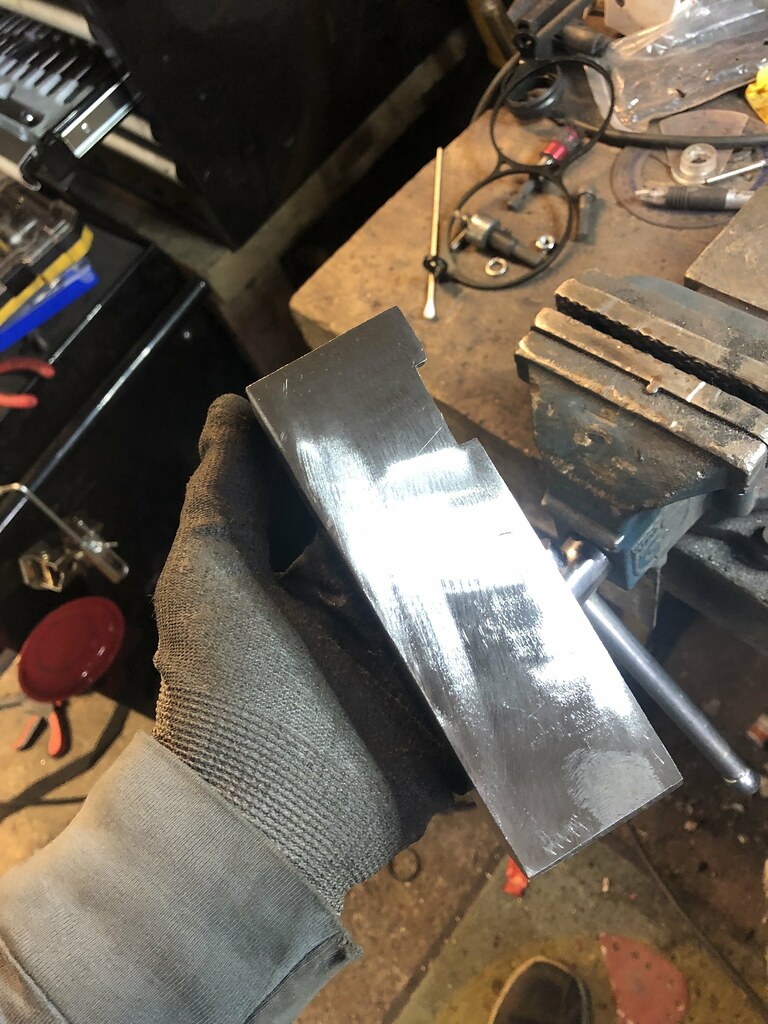 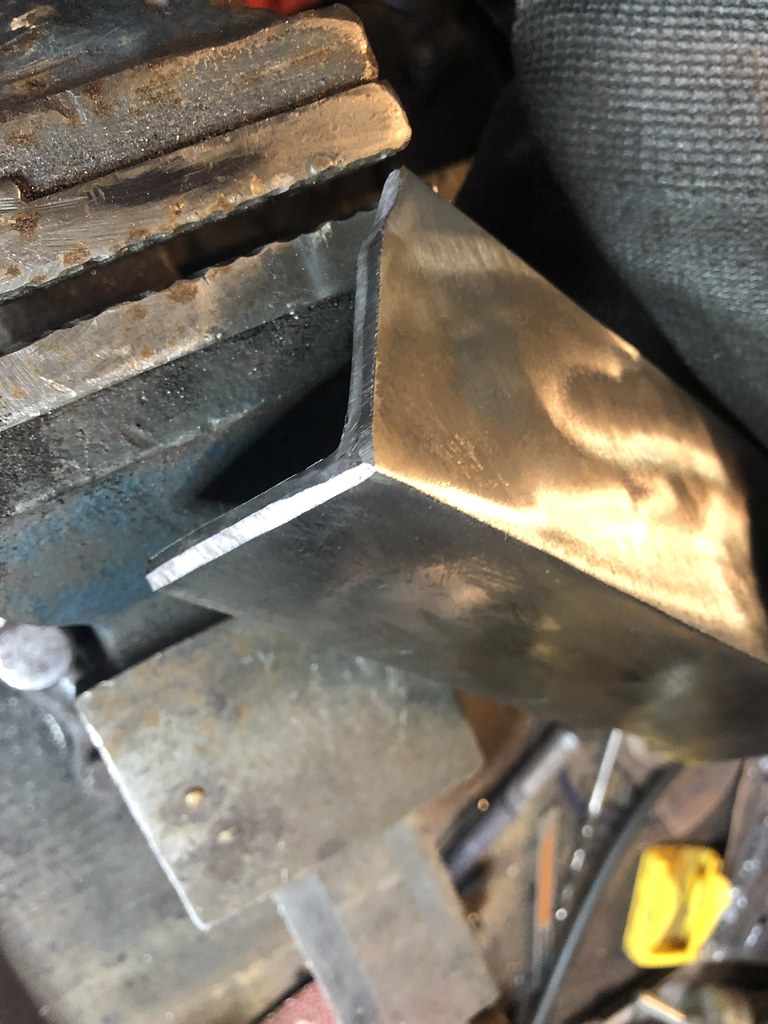 Welded two passes on the nut on the bench  Butt welded  Zinc primer and some paint   |
|
|
|
Post by kiwicanfly on Apr 15, 2019 0:13:54 GMT
Just double check your eye bolt angle, the hole through the eye should be perpendicular to the direction of pull, yours are closer to parallel although the direction of pull on a lap belt is not vertical. Pack it with washer if its not quite right. Bet you wished you had left the powder coating until you had finished building  |
|
|
|
Post by casesensitive on Apr 15, 2019 9:10:54 GMT
Just double check your eye bolt angle, the hole through the eye should be perpendicular to the direction of pull, yours are closer to parallel although the direction of pull on a lap belt is not vertical. Pack it with washer if its not quite right. Bet you wished you had left the powder coating until you had finished building  Oh sure, hadn't really thought about the angle of the eye bolt, that was its posed photo really, just for the 'gram :-) Yeah, my powdercoat has had several bad doings, but back in 2013 when I broke down the order of things, the floor being in looked to be a dependency for lots of other jobs, so it went on first. Didn't know about clecos then, only learned about them from your build's Mad Max phase. Couldn't weld then either (some would say I still can't!). My second build would be much neater! And I'd be divorced if I started again too, so I'd have loads of time, I'd knock through it in 18 months. This mess will be under the tunnel and out of the eyeline, so I wasn't as fussy about the finish. 120grit, 1 coat of zinc primer, 1 coat of sort-of-matched rattle can paint. |
|
|
|
Post by kiwicanfly on Apr 15, 2019 9:42:10 GMT
To this day I can't figure out why the cutouts are in the centre box section.
|
|
|
|
Post by carlyd on Apr 17, 2019 11:47:07 GMT
To this day I can't figure out why the cutouts are in the centre box section. Isn't it to allow gear selector cables to run under it? |
|
|
|
Post by casesensitive on Apr 19, 2019 21:32:42 GMT
To this day I can't figure out why the cutouts are in the centre box section. Isn't it to allow gear selector cables to run under it? Nah, they'd never fit, I can only assume it's to 'add lightness'. |
|
|
|
Post by casesensitive on May 6, 2019 11:11:10 GMT
This weekend saw a lot of little admin jobs, losing the garage shortly, so not much car building. Moving holesThe outer seat belt mounting positions just aren't compatible with the short eye bolts that go with the Willians harnesses, so they had to be moved. I need them to face perpendicular to the centre of the car so that the belt runs parallel.  The old RTR hole was backed with aluminium scraps, and most of the paint cleared off, good scrub with sandpaper and acetone, then puddle welded up. The 'notches' I had to take out of the seat rail support bar were reinstated and a longer seam weld added, then a new hole drilled and tapped for the eye bolt. I don't have the weird 7/16ths UNF tap, but an M12 x1.75mm provided a thread I couldn't yank it out with hands, plus the correct nut as supplied. Primed and painted, but not dry when I was leaving.  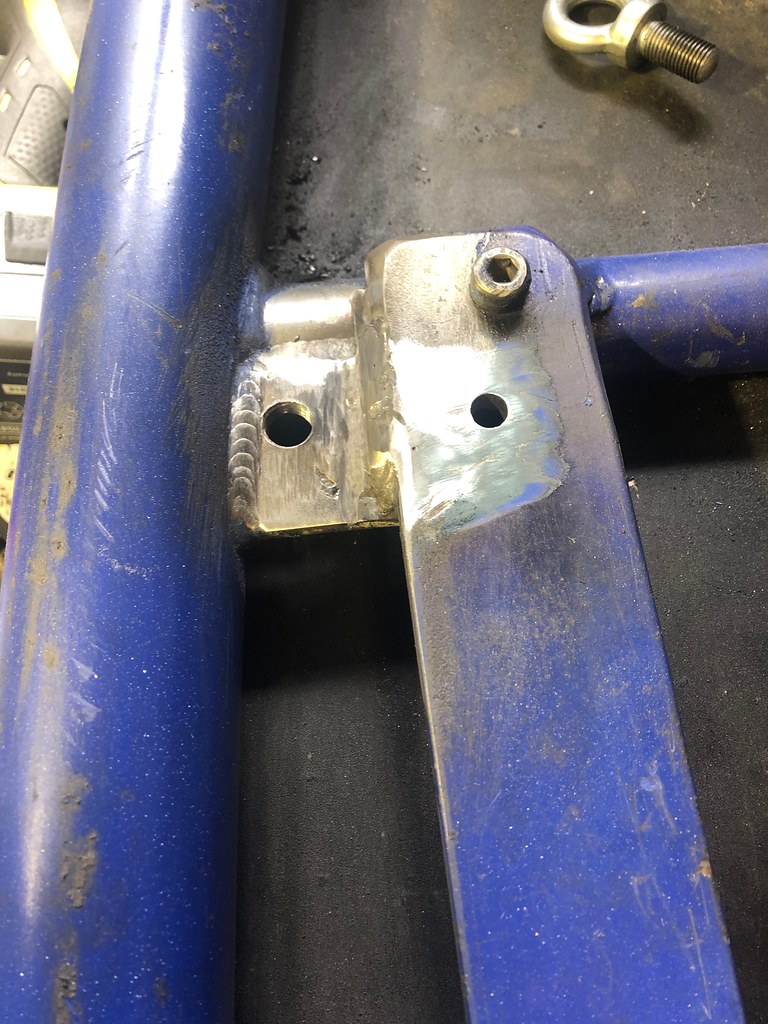 |
|
|
|
Post by casesensitive on Jun 2, 2019 9:04:49 GMT
Good and bad, this weekend was mostly bad. Dirty weather, so none of the outside jobs got done, and sort of wished I'd left my Rocket alone. Wasn't happy with the sealant gunk, so I set about installing M4 rivnuts in the tank lid. It didn't go stellarly. 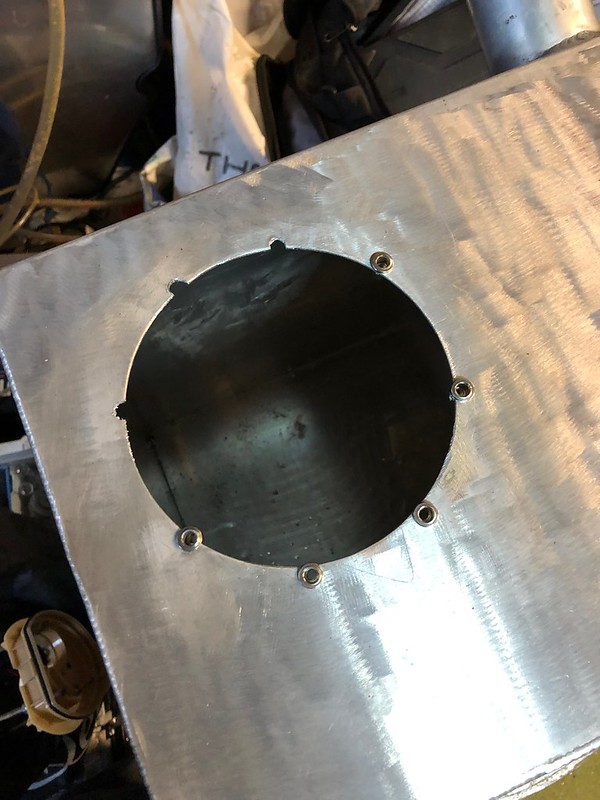 I tried doing an edge build up, or even tacking the rivuts to the aluminium sheet on a piece of scrap, and it just turned to mush. I hate aluminium sometimes. I'll more than likely have to use fuel-proof sealant again, but I think I'll wait till I'm all done. Traced an approximate diameter onto some free 3mm Al, and rough cut with my lidl plasma. Love that yoke.  Rasp and file round  Test fit. Pretty tight in places, <1mm in a few spots. Drilled 3.2mm with a vertical guide to ensure they were as straight as practically possible and tapped M4. 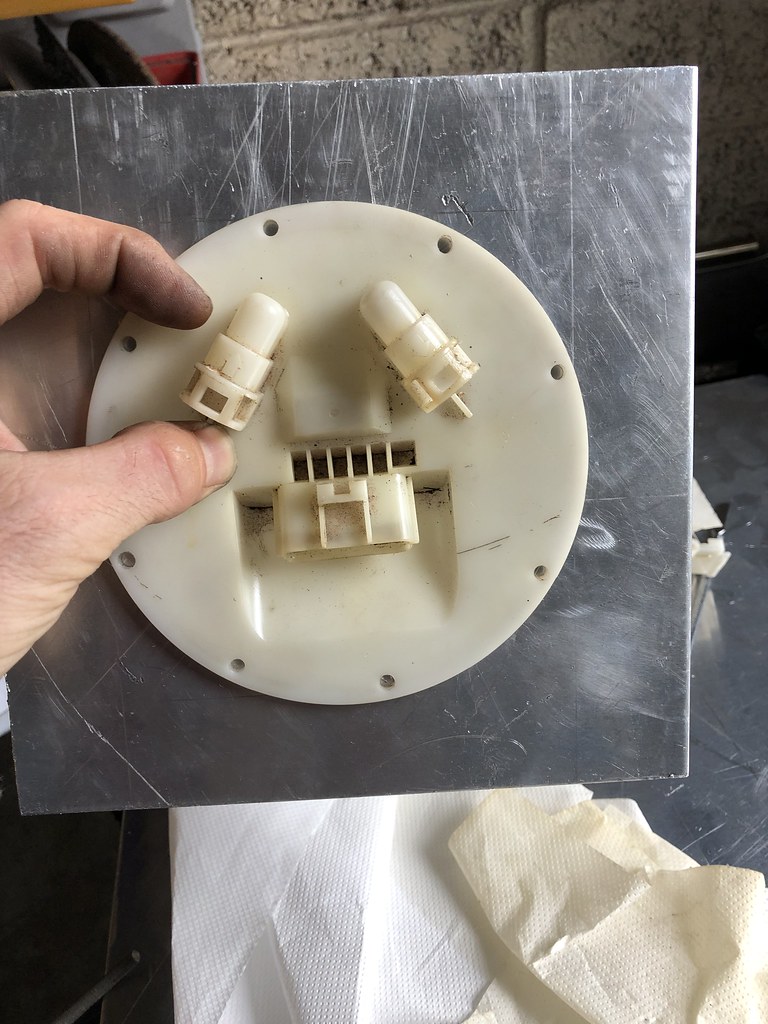 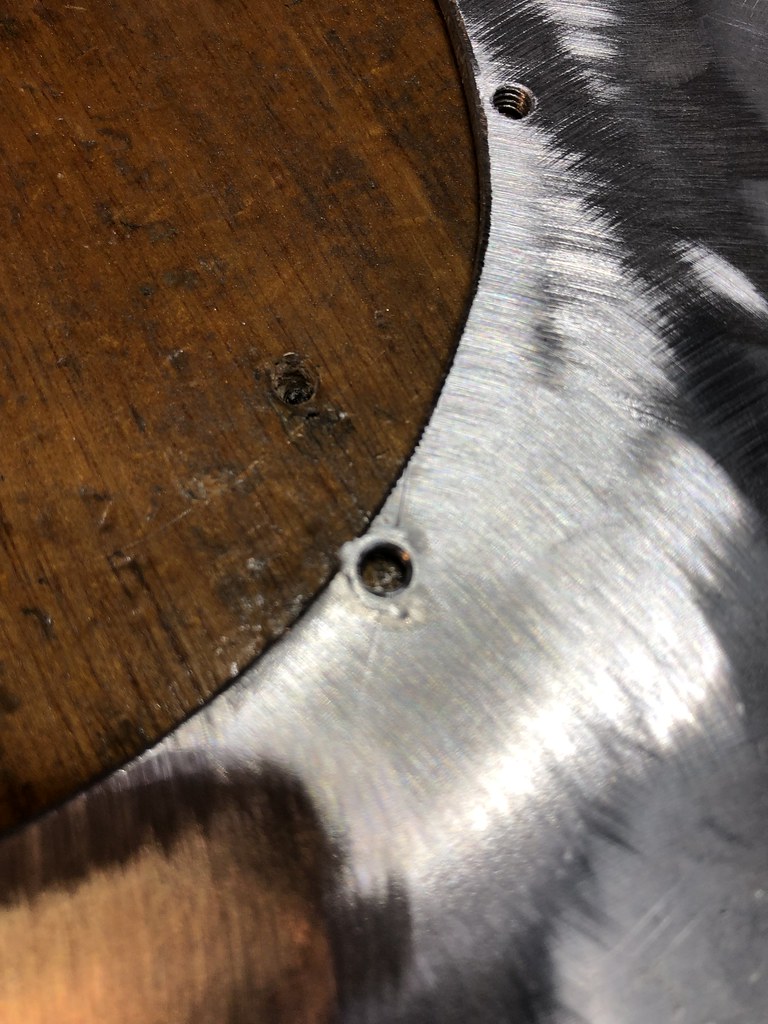 M4s screwed in from the underside  Lots of squashing later and it's a tight mechanical fit.  I do have the Ford rubber grommet but the fuel sender is from a slightly different tank and it's just a bit too snug. 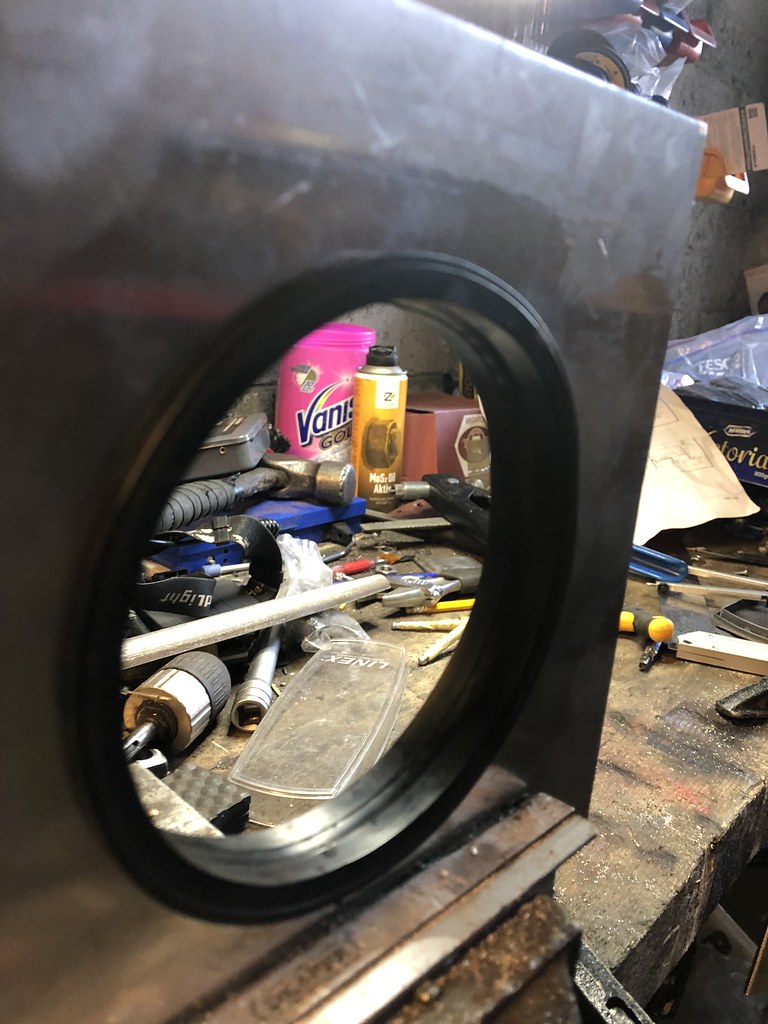 |
|