|
|
Post by jgilbert on Oct 16, 2014 19:17:10 GMT
Good update. Think the perforated EMU tray looks smart. Perforations will help keep the EMU cool as well. Thanks for the help with the Tacho?  |
|
|
|
Post by jgilbert on Oct 18, 2014 23:36:30 GMT
Trident, did you get your headlights sorted? Started to wire mine today. Works fine with no engine running, to late to fire her up and check with the engine running.
One thing I did notice was my headlights are live all the time (dip and beam) is this normal?
|
|
trident
Senior
   Improvise, Adapt and Overcome
Posts: 629
|
Post by trident on Oct 19, 2014 18:37:54 GMT
Trident, did you get your headlights sorted? Started to wire mine today. Works fine with no engine running, to late to fire her up and check with the engine running. One thing I did notice was my headlights are live all the time (dip and beam) is this normal? Yes i think it was poor connections as I had only done a temporary fix on the wires.. when i connected them the other day it was much better but still about a second delay for the replay flap to drop back to dip beam from main but again just a temp wire fix.. I'll probably add an extra earth to the chassis next to the lights when I finally fix them and I'm sure it will be fine. Hadn't noticed the lights were live all the time. Got the replacement calliper on friday, came next day so gave that a coat of paint and will fit it next week when I have some time… then I can driver her out for the first time…. about 5 metre !! |
|
trident
Senior
   Improvise, Adapt and Overcome
Posts: 629
|
Post by trident on Oct 21, 2014 15:50:36 GMT
So today I finished the brakes... Fitted 4 wheels back on ... Started the engine ..... Selected 1st gear and drove it out of the garage. Turned it around and drove it back in. Great feeling
|
|
|
|
Post by jgilbert on Oct 21, 2014 16:35:44 GMT
Nice, Landmark moment, looks like your well on schedule. I'm starting to panic!
|
|
|
|
Post by biggunz on Oct 21, 2014 18:39:57 GMT
Well done mate, must be a great feeling!
|
|
trident
Senior
   Improvise, Adapt and Overcome
Posts: 629
|
Post by trident on Oct 22, 2014 9:50:19 GMT
John, I'm still some way behind you I think with a big list of jobs still to do. Front wing stays just one of them which i think might be a pig of a job if they are same as yours. Hopefully though it will be finished in time for Stoneleigh. Shaun, Yes, I think I had a big grin on my face.  |
|
trident
Senior
   Improvise, Adapt and Overcome
Posts: 629
|
Post by trident on Oct 31, 2014 19:23:03 GMT
Not a huge amount of progress in the past week or so. I've been making the brackets etc for the fuse boxes along with finishing the tray and a cover that will ensure all the electrics and engine management unit stay dry. Cover will also make it look neat and tidy. Just need to get all these parts powder coated in the same silver as the chassis and then re fit everything. 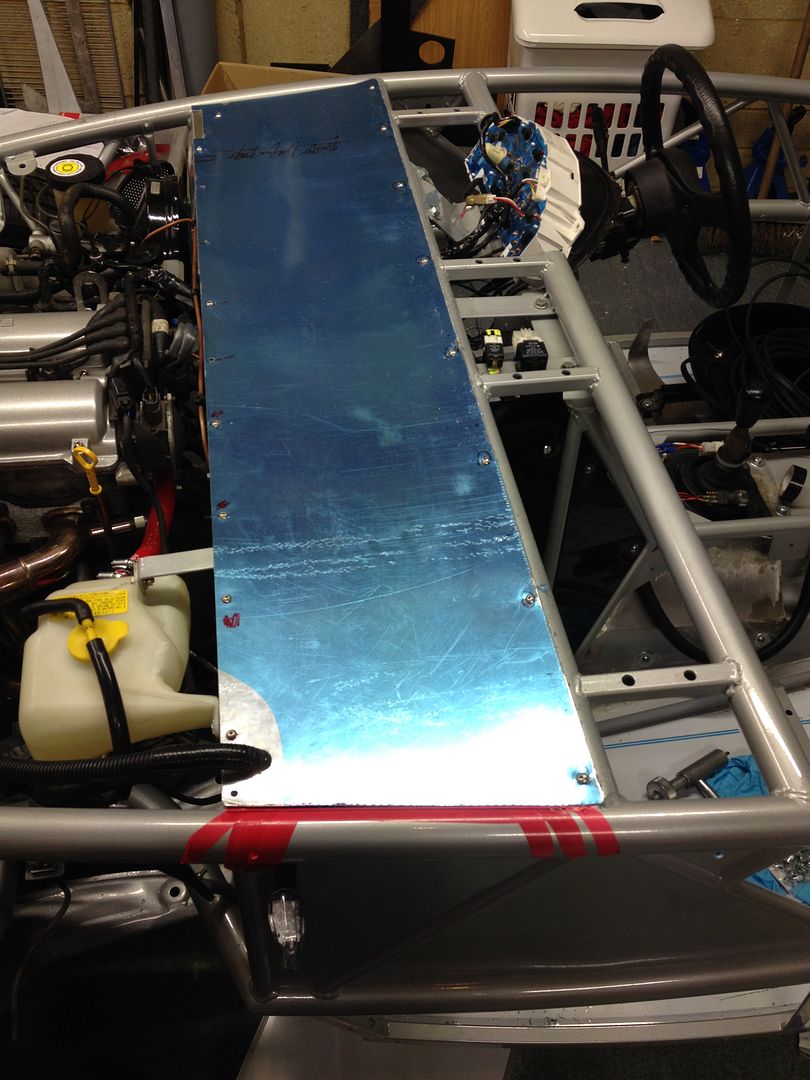 and with the dash fitted 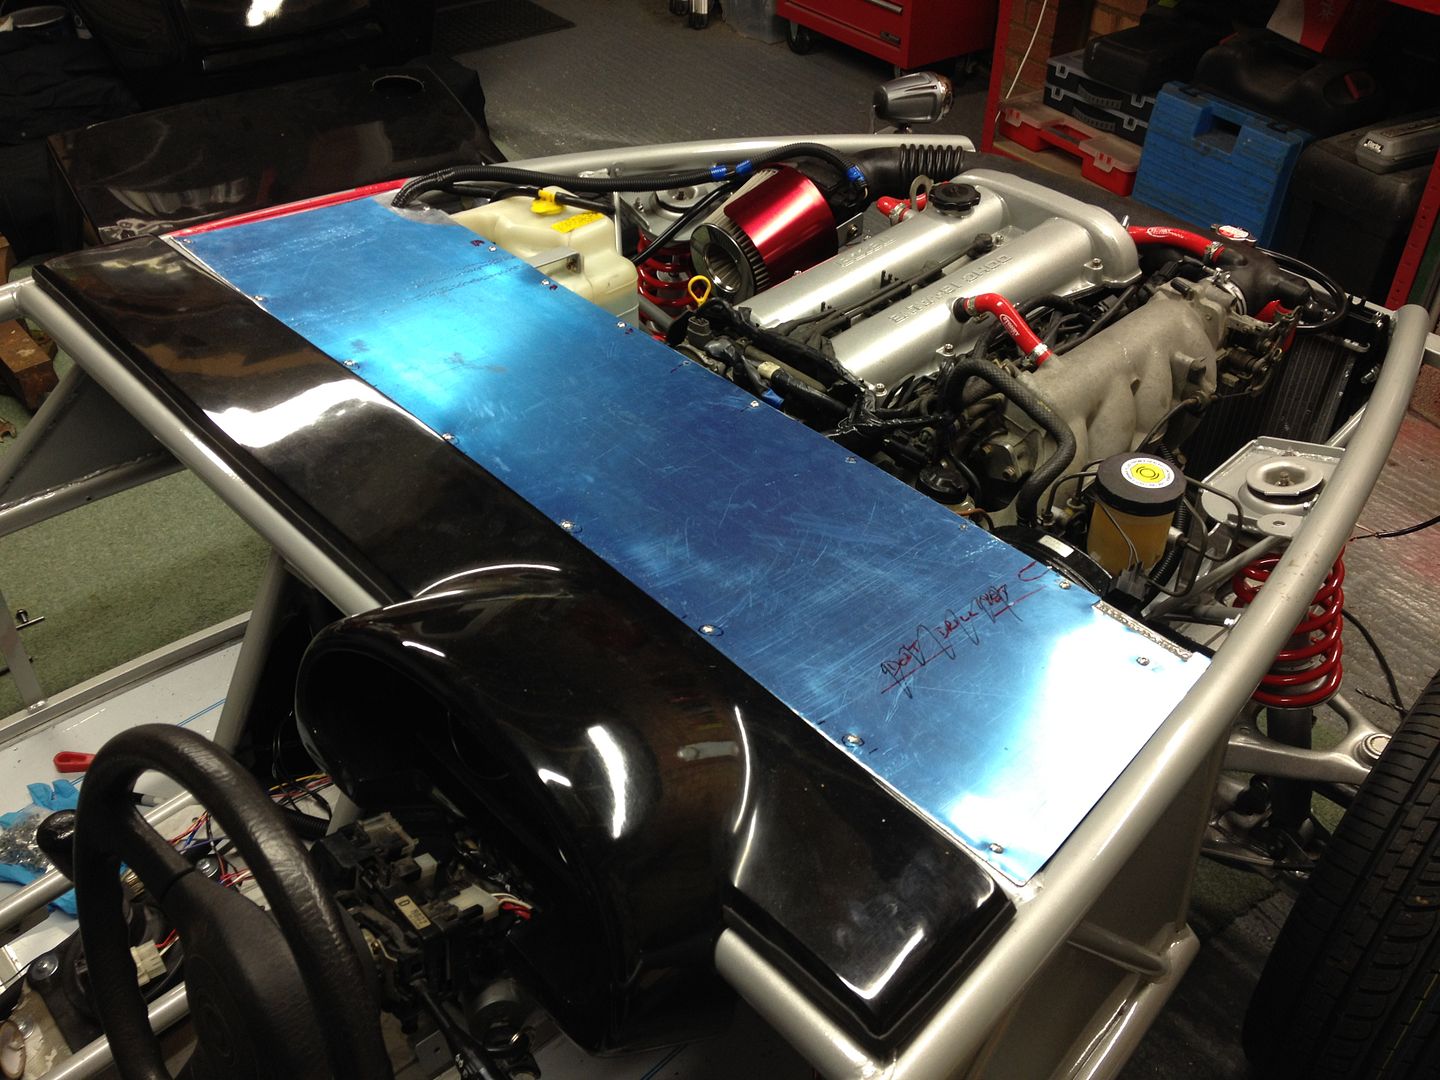 |
|
trident
Senior
   Improvise, Adapt and Overcome
Posts: 629
|
Post by trident on Nov 6, 2014 18:59:42 GMT
Dropped off all the extra brackets, electrics tray and the top cover at the powder coaters today. Until they are done sometime next week I can't do much more on the electric so I started to finish of the final nose cone and bonnet (hood for you guys in the states) fit. With the edge trim to the bonnet I gave the nose cone a little bit of felting to get a really nice shut line between to the two. due to the varying thickness of the fibreglass on the nose cone I had to use the dremmel to sand down the underside to get a even thickness where the two edges meet. Unfortunately my battery on my phone went flat so no close up photos at the moment… sorry…. just this one 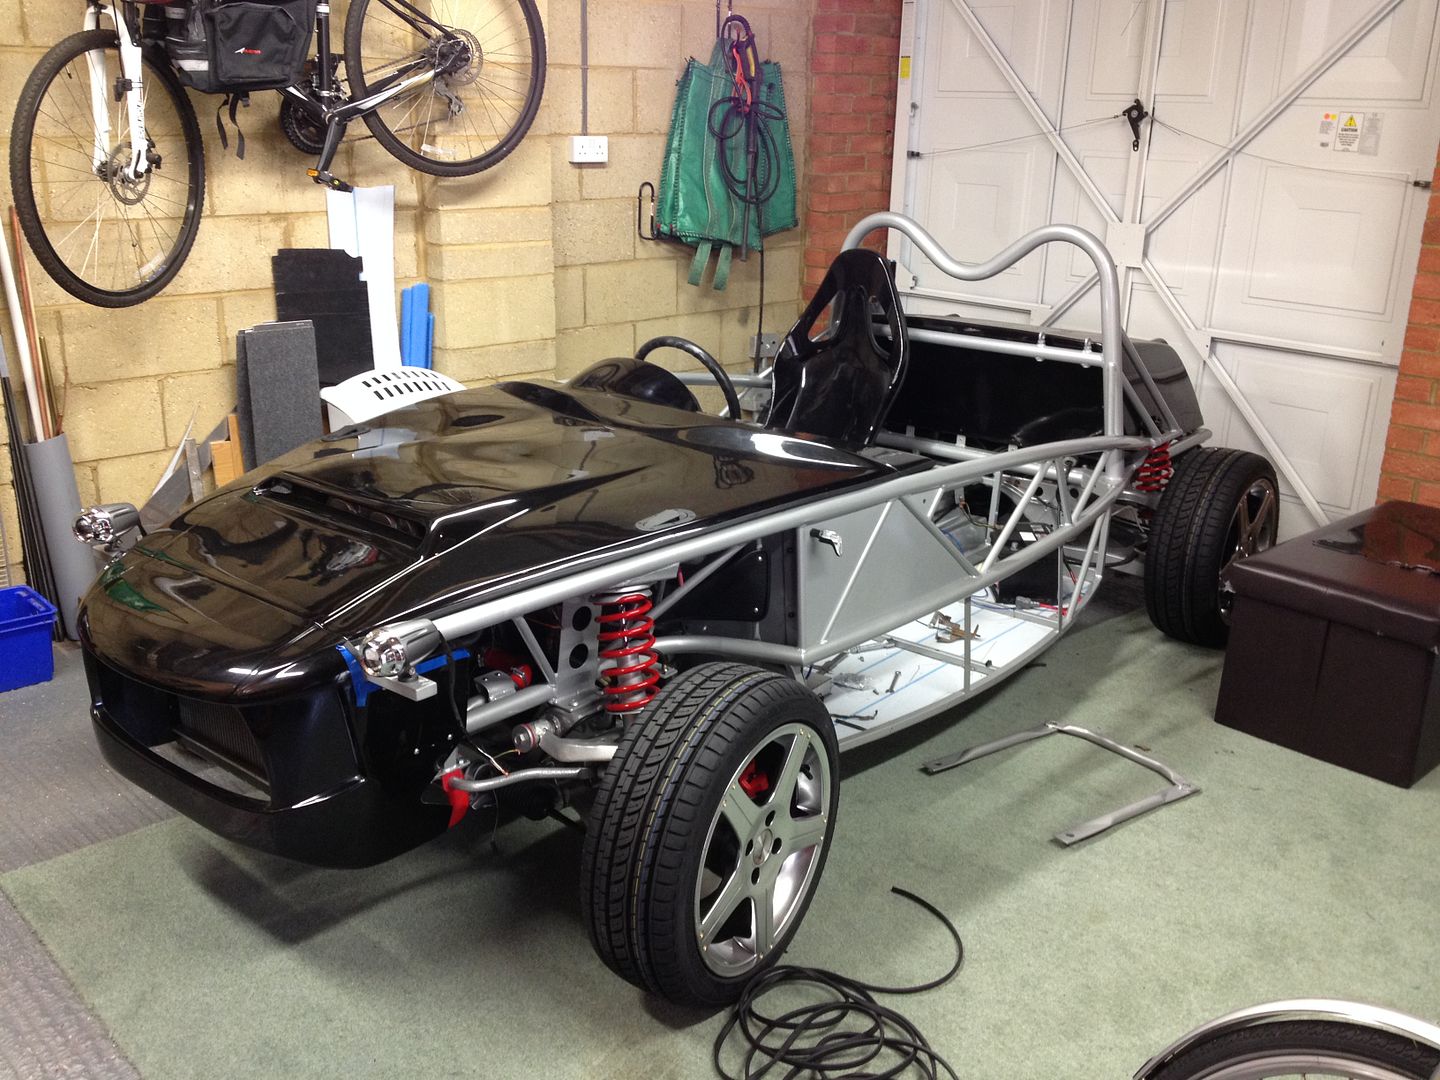 Next job is to fit the grill mesh.. In order that I can easily replace the mesh at a later date if it gets damaged i copied an idea from 'Scooby' that he posted a while back. Use cable tie mounts and then use cable ties to fit the mesh to the nose cone. Used some strong glue to make sure they stay in place as well. Once its dry all I have to do is cable tie the mesh to the nose cone. 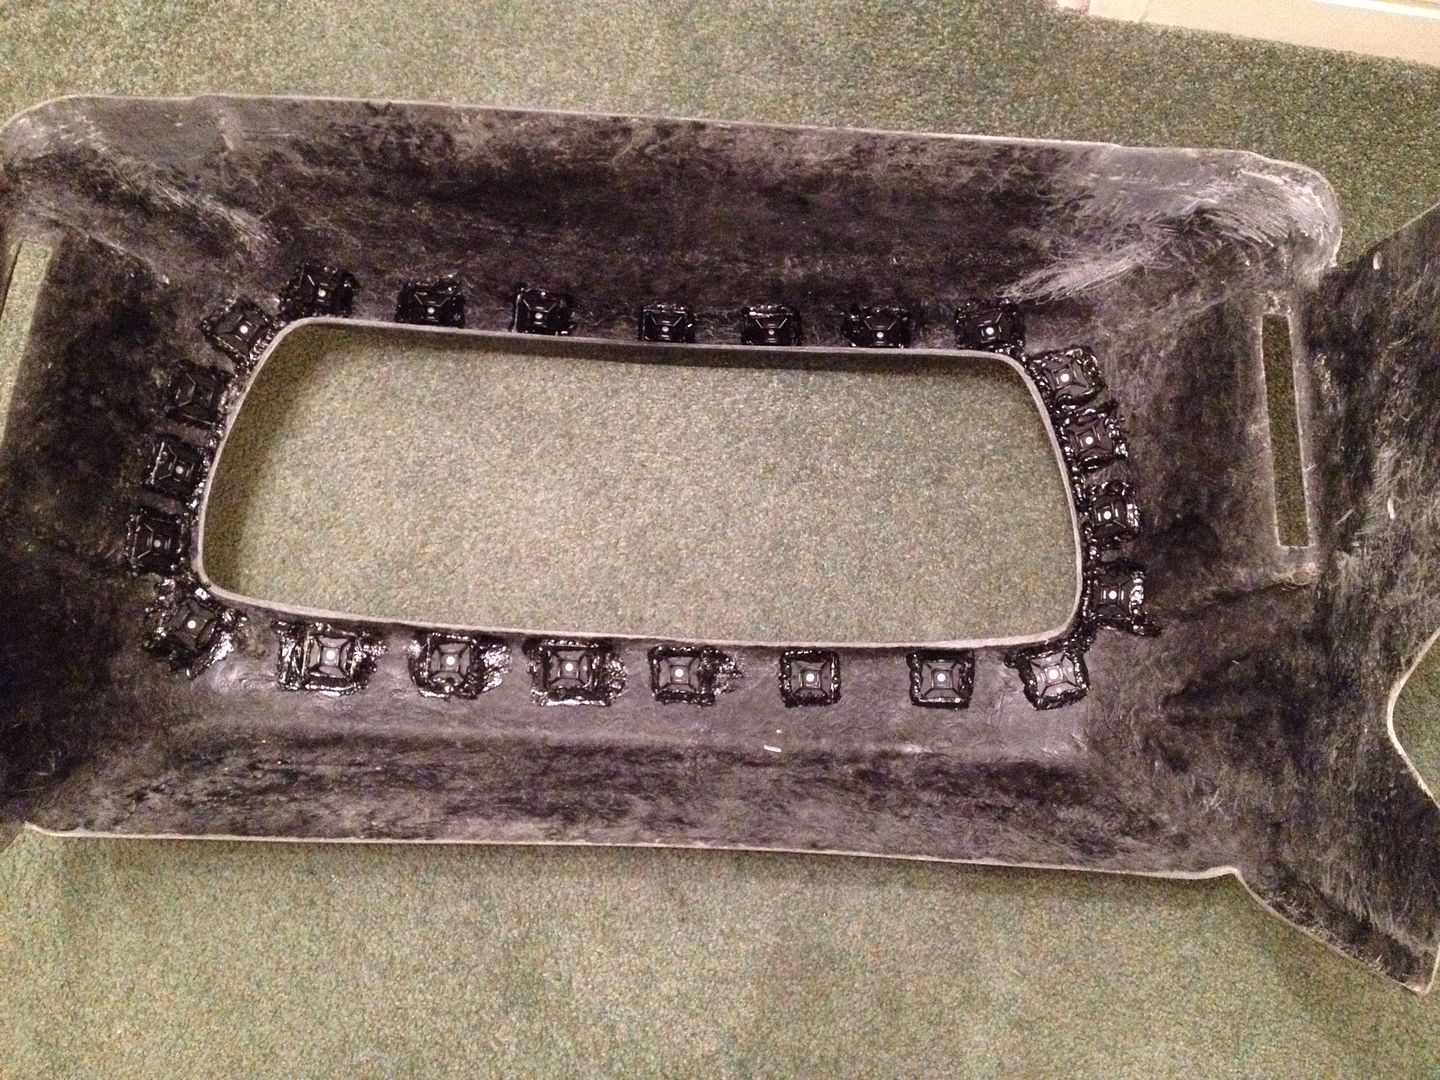 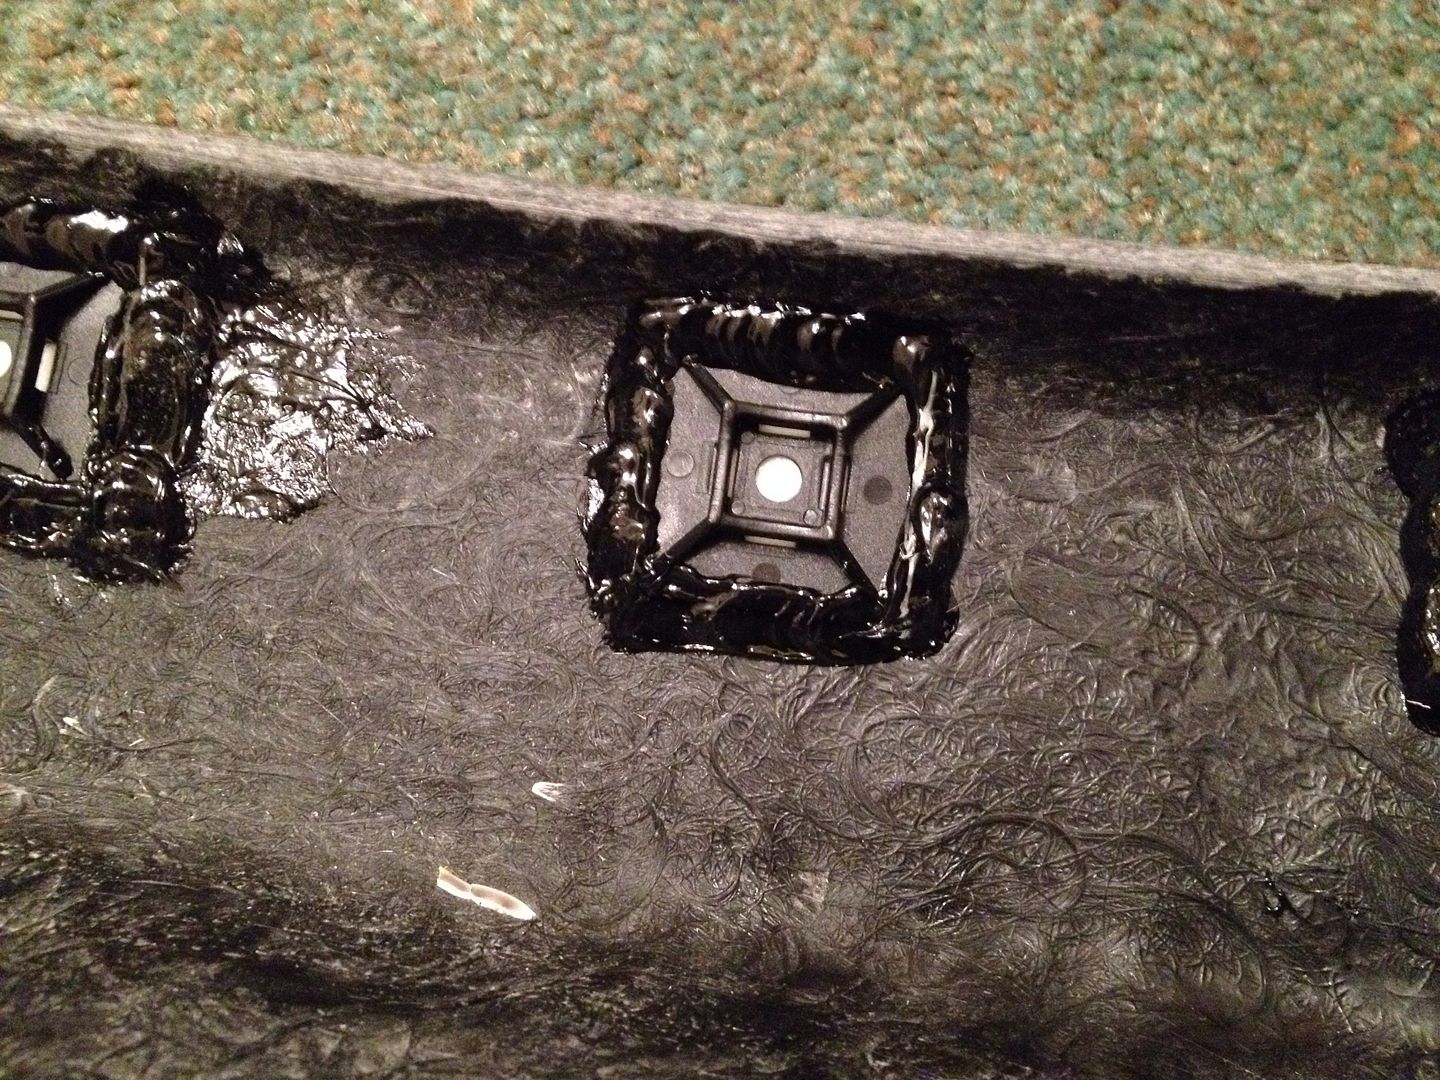 |
|
|
|
Post by biggunz on Nov 6, 2014 20:56:53 GMT
Looking really smart now mate, gonna use the same method for the mesh.
Shaun
|
|
|
|
Post by jgilbert on Nov 6, 2014 22:32:06 GMT
Agree looking smart.
Loving the clean workshop. What lights are you using in the nose cut outs?
|
|
trident
Senior
   Improvise, Adapt and Overcome
Posts: 629
|
Post by trident on Nov 7, 2014 17:28:33 GMT
John these are the lights I'm using on my car. I got them ages ago and cut the holes out not long after we picked up our kits. If I'm totally honest though I wish I had waited as I would have just used the stick on LED strips that you can get on the internet as the gap behind is not even on both side. The one in the photo sits closer to the chassis at the bottom allowing only just enough space. All that said though, they do look OK, it would have just been a lot easier with the stick on LED's and drill a small whole at the top for the wire. 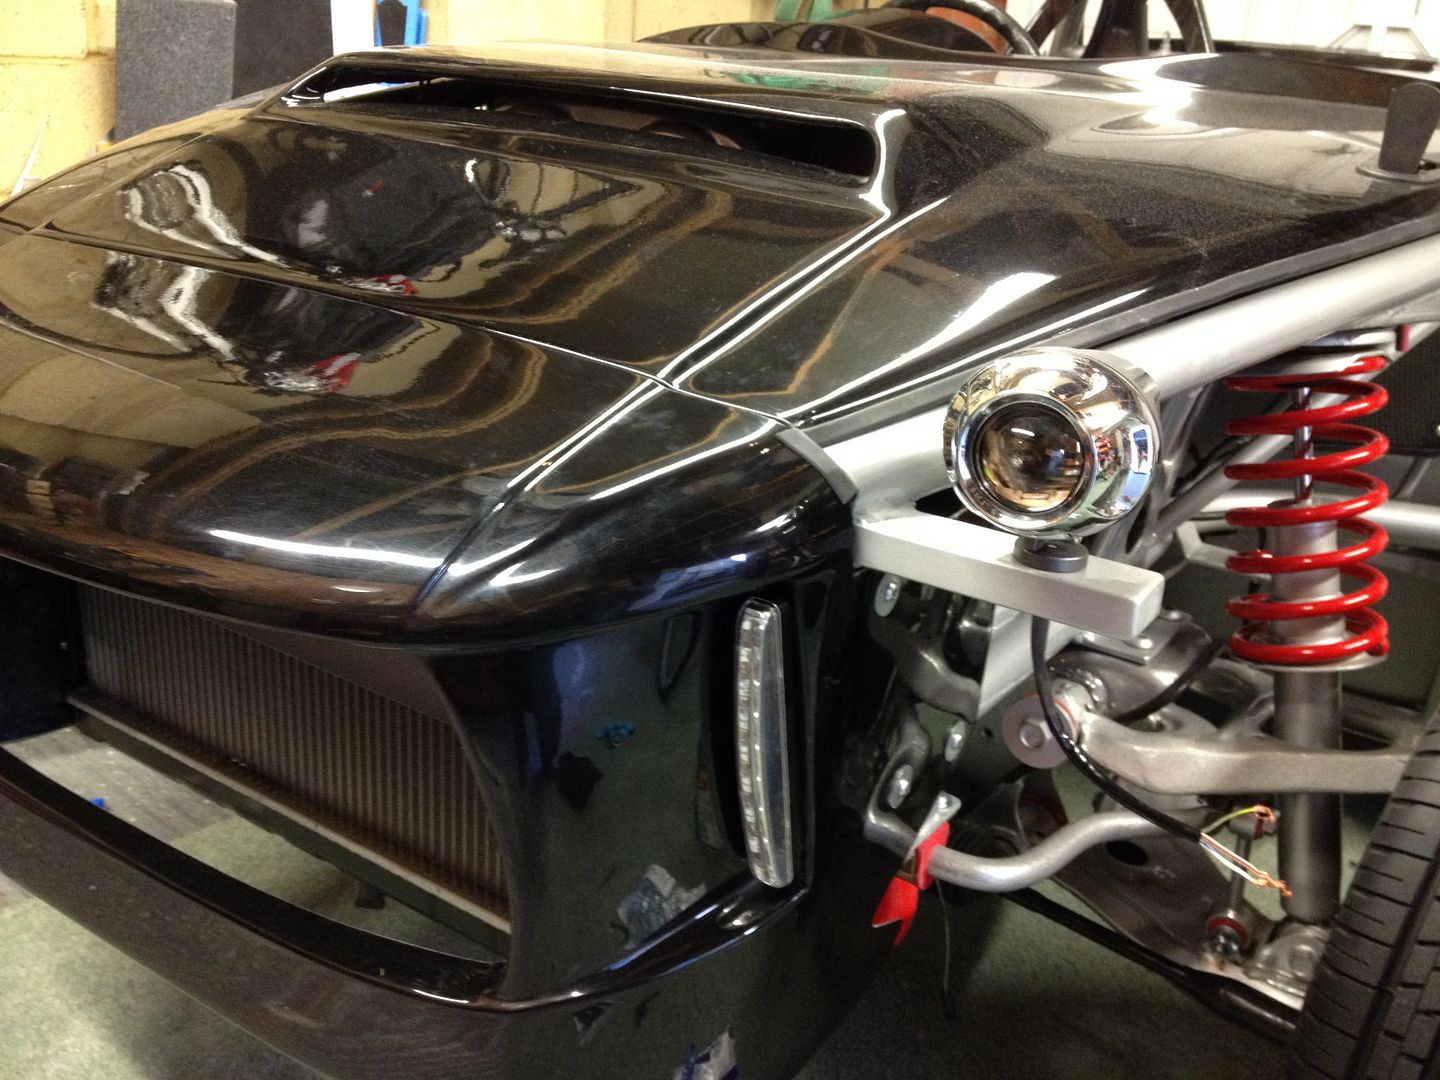 Here is a photo of the shut line between the two panels.. much filing and sanding was needed to achieve this. Nice tight flush finish. I won't be using edge trim along this top join. 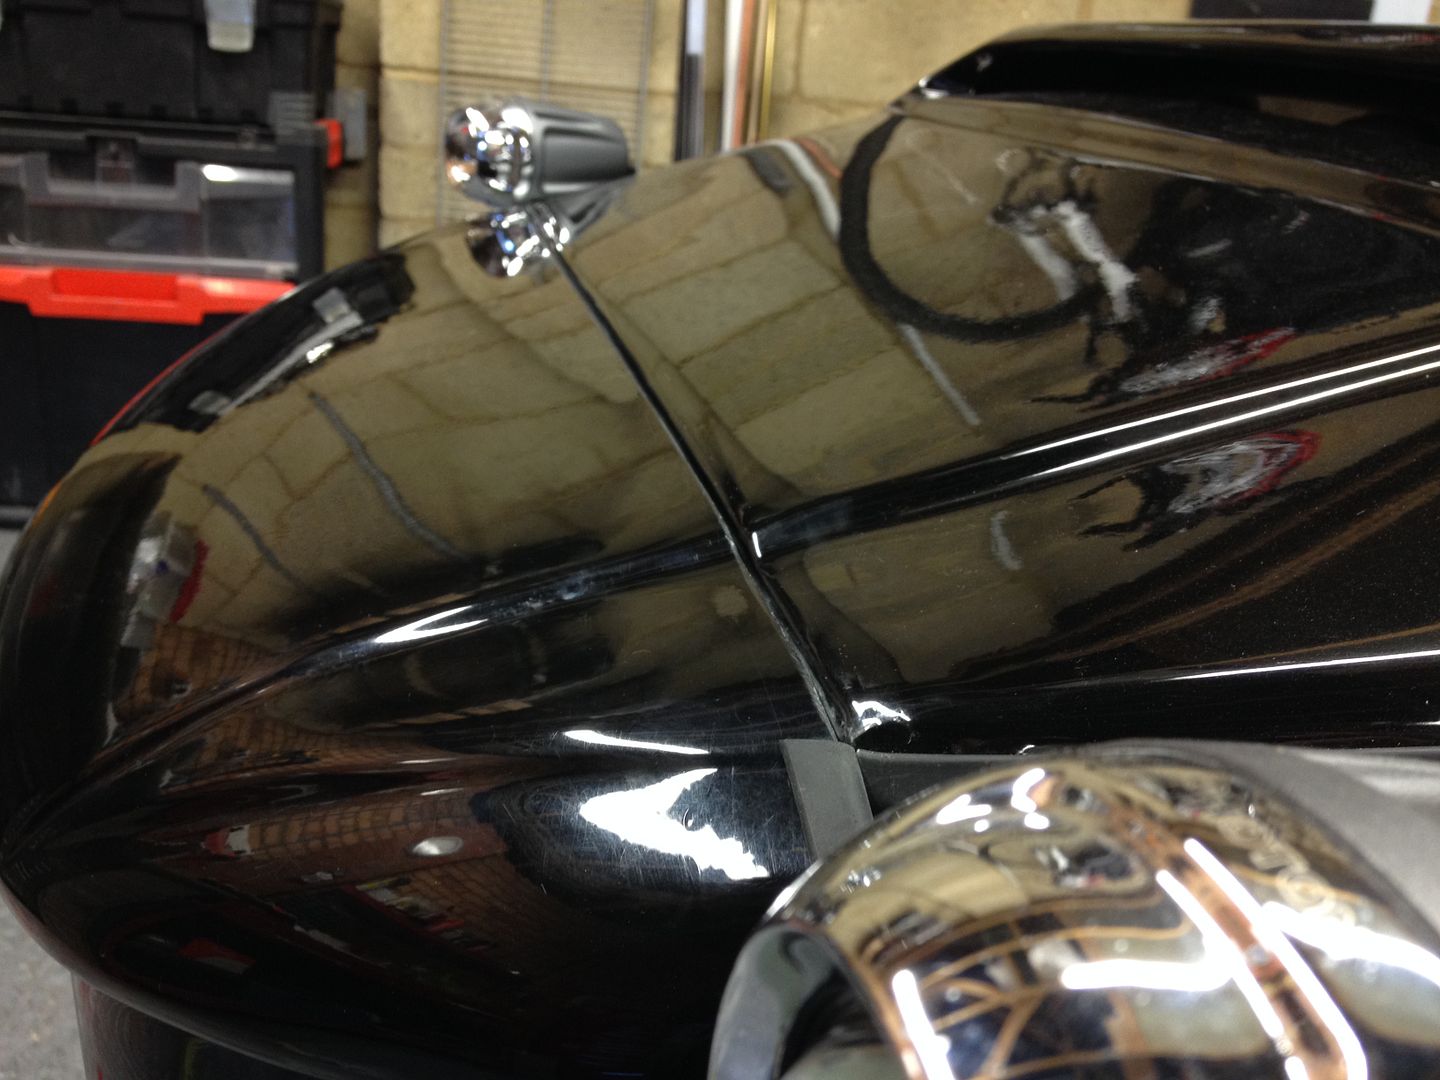 Unlike with the nose cone, I plan to bond the mesh in on the bonnet due to the heat from the engine and space available. I roughly shaped the mesh and will bond one side first, allow it to dry and then do the other side. 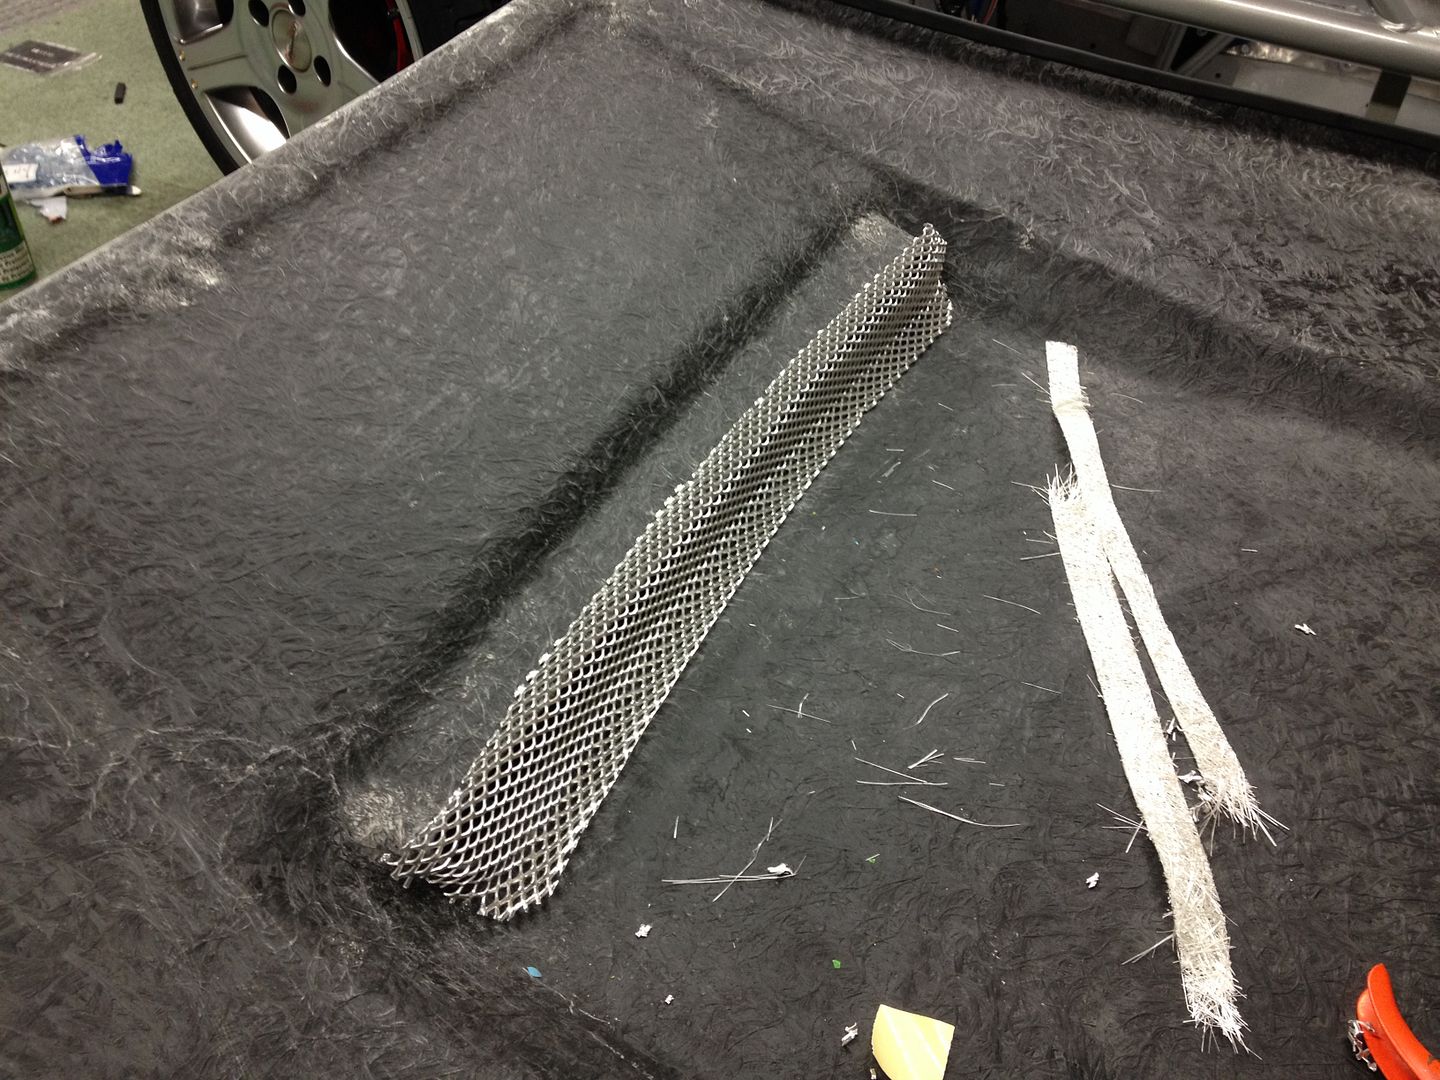 |
|
trident
Senior
   Improvise, Adapt and Overcome
Posts: 629
|
Post by trident on Nov 18, 2014 0:01:54 GMT
|
|
trident
Senior
   Improvise, Adapt and Overcome
Posts: 629
|
Post by trident on Nov 25, 2014 15:48:51 GMT
Looking for some conformation before I cut a wire…..
I'm looking at adding a starter button…… now is it the blue and black wire that I need to cut on the ignition and connect to the switch or am I wrong and it's one of the others..?
|
|
|
|
Post by snowbird1 on Nov 25, 2014 19:25:41 GMT
Looking for some conformation before I cut a wire….. I'm looking at adding a starter button…… now is it the blue and black wire that I need to cut on the ignition and connect to the switch or am I wrong and it's one of the others..? Yep, blue/black wire switched to batt+ will crank engine. Note the starter solenoid is energized directly i.e. no relay, make sure the switch and wires are rated for the solenoid current (sorry don't know what that is without checking but must be at least 30amps). |
|