|
|
Post by slugshot on May 28, 2013 22:20:28 GMT
Hi Andy
Mine went through the msva set up like this.
Ignition on, drls on at 100%, rear lights off.
Light switch first position, drls on at 100%, rear lights on.
Light switch 2nd position, headlight beam on, drls on at 100%, rear lights on.
The drls stayed at 100% with indicators flashing.
How mine are now
Ignition on, drls on at 100%, rear lights off.
Light switch first position, drls on at 100% but 50% when indicators are flashing, rear lights on.
Light switch 2nd position, headlight beam on, the drls drop to 50%, rear lights on.
The drls also drop to 50% when you flash the headlights.
Cheers
Kevin
|
|
|
|
Post by andy7b on Jun 22, 2013 19:01:13 GMT
Thanks for the info Kevin, I think I will go basic for the MSVA and then do driving lights afterwards.
The chassis, tanks and floor section went off to the powder people today and will hopefully be back later this week then I'm into my build properly :-) no more pictures as yet but won't be long now.
|
|
|
|
Post by andy7b on Jul 11, 2013 20:36:39 GMT
Been a bit busy the last week or so with work, the stuff arrived back from the powder coaters last Friday & it all looks great. I'm beginning to think that the MSVA in August is looking a bit optimistic but hey it's good to have a target :-) I've two of three sections of floor pans in, I'm leaving the front section off till the end for easier access later. The engine is in & shimmed along with the rear suspension to get the sprockets aligned. I'm just finishing off the water pipes now that I have the radiator fitted. Managed to find a Titanium exhaust system for after the MSVA so that should be a good weight saver. URL=http://s1285.photobucket.com/user/andy7b/media/image_zps566897a6.jpg.html[/URL] 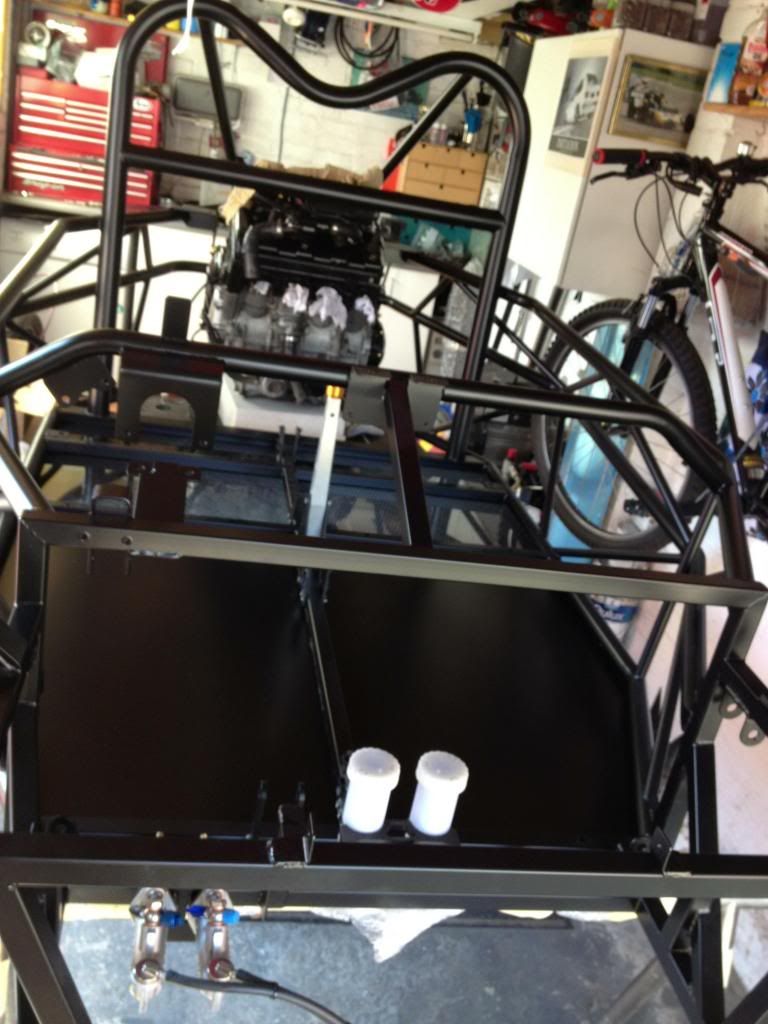 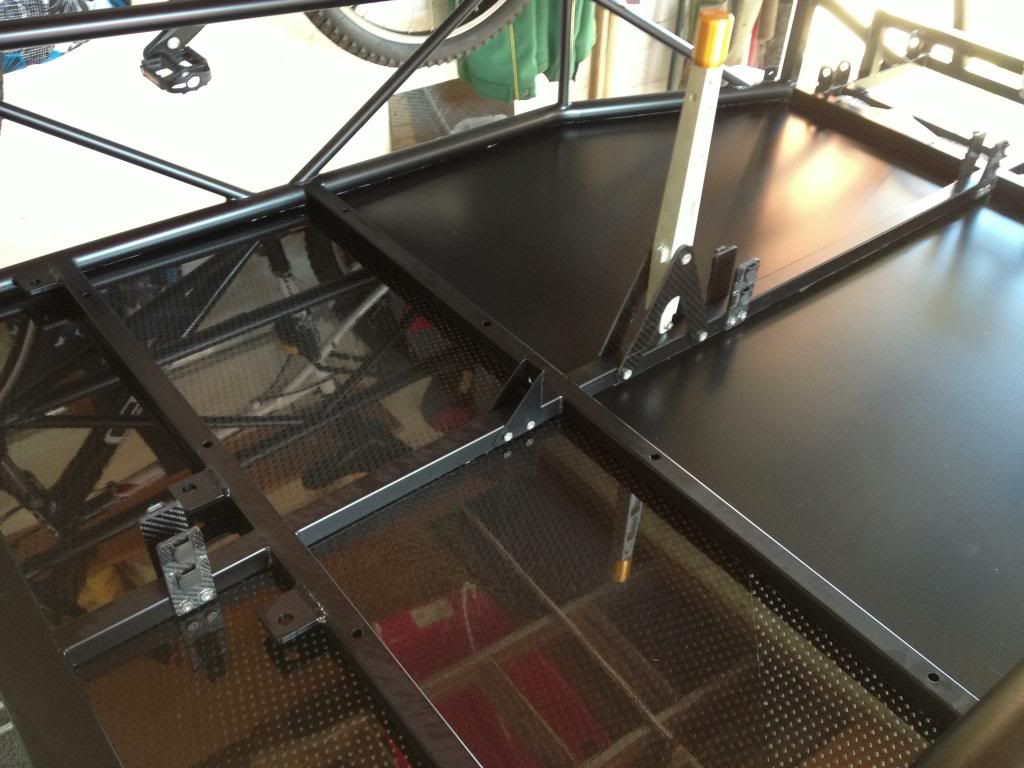 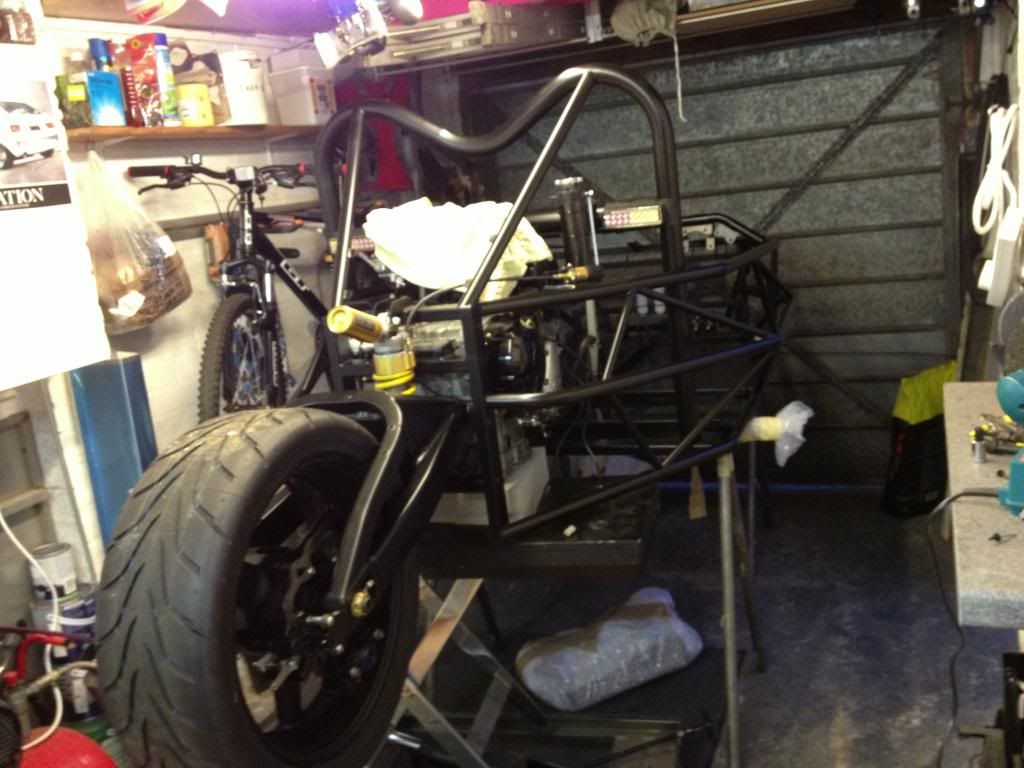 URL=http://s1285.photobucket.com/user/andy7b/media/image_zps2f629f6f.jpg.html] 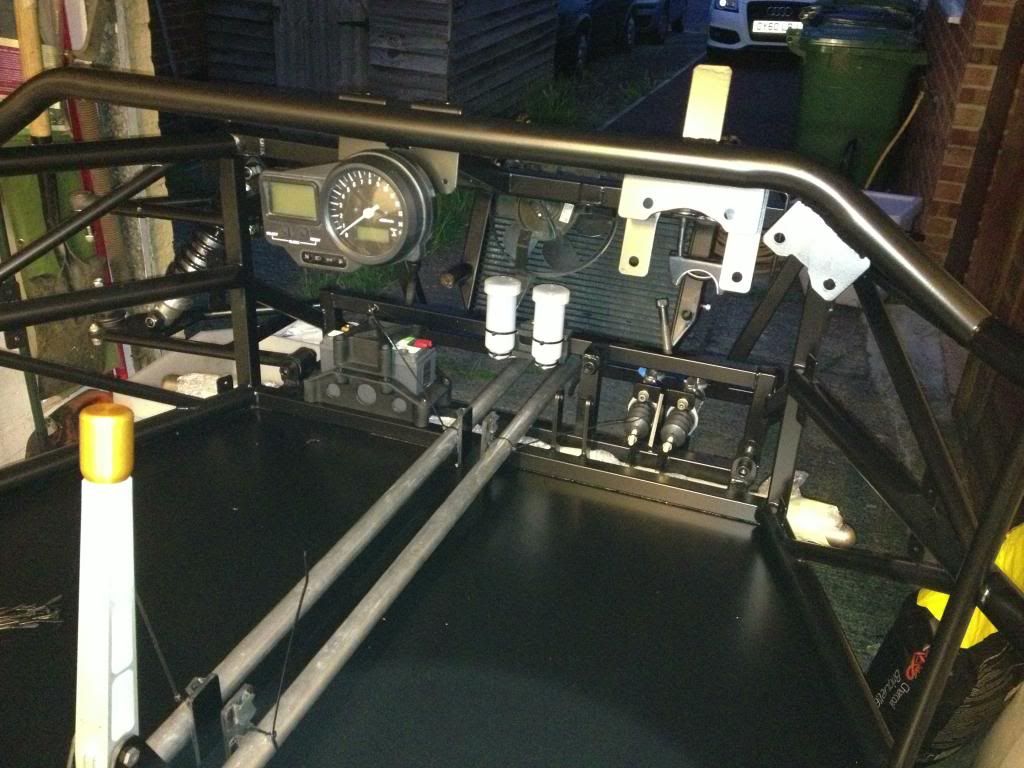 [/URL] 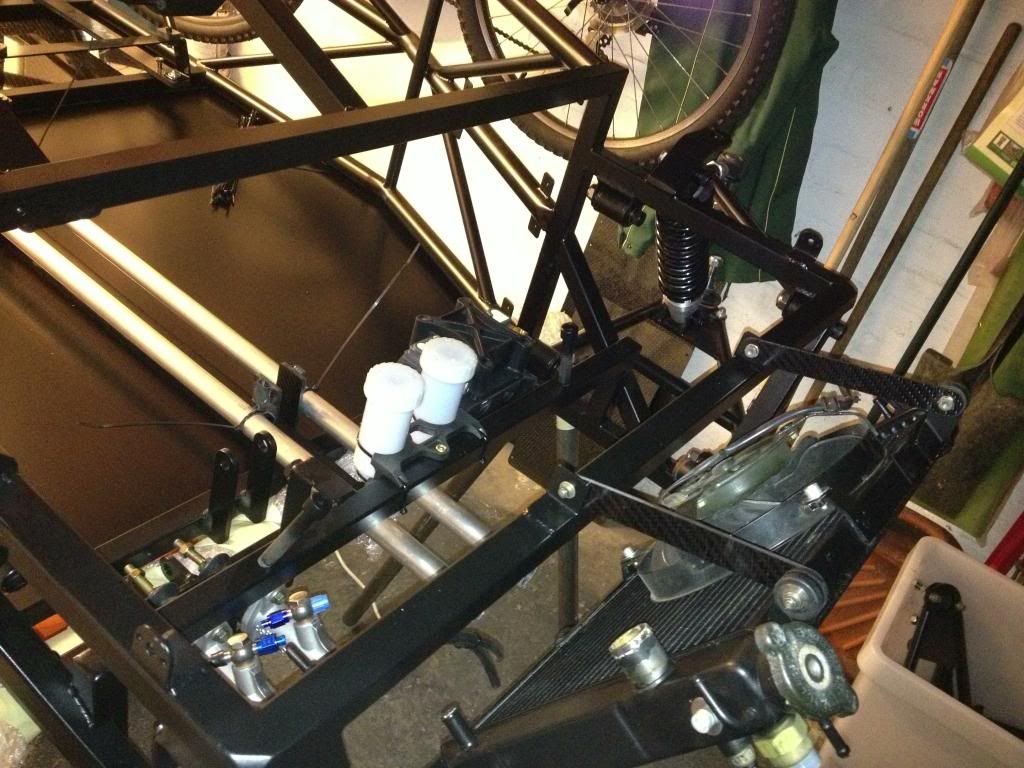 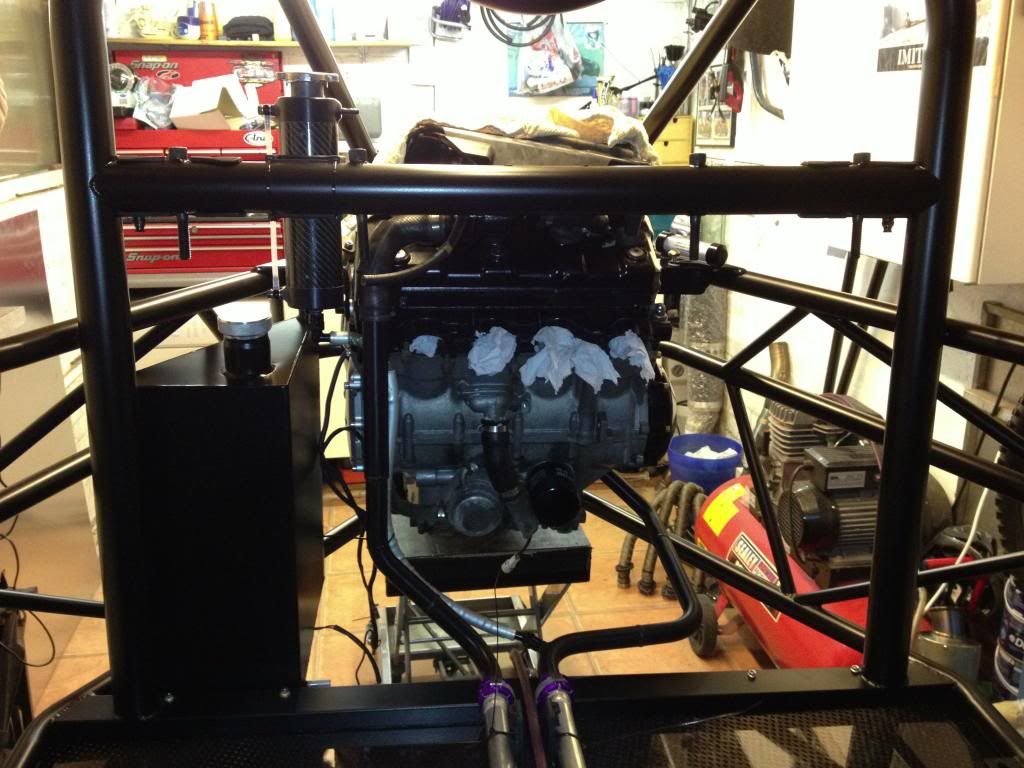 p |
|
|
|
Post by andy7b on Jul 14, 2013 21:23:30 GMT
|
|
|
|
Post by andy7b on Jul 19, 2013 21:15:29 GMT
Got some more done this week, all your pictures and videos from Curborough have helped me along fantastically in the hot weather :-) Made a sump baffle to make sure I don't get any oil surge and once fitted it was time to put her on the ground for the last time, the front brake pipes are about done just need a final swage then the rear one to do, got a bracket sorted for the choke up on the cross tube as it keeps the cable short and so weight down and also doubles as a support for the original Yamaha coil bracket, fitted a piece of bodywork to fill in below the air box and also mount the tail and number plate lights to and hide any bits on top of the engine. I have got a good pace going at the moment and I'm really keen on throwing it together and get driving but I'm resisting well as I'm really pleased with it so far and to rush the final bits would be silly, I was aiming for MSVA in August but I think mid September is more realistic. I will keep my pictures coming as I go and can't wait to have a blat up the road :-) 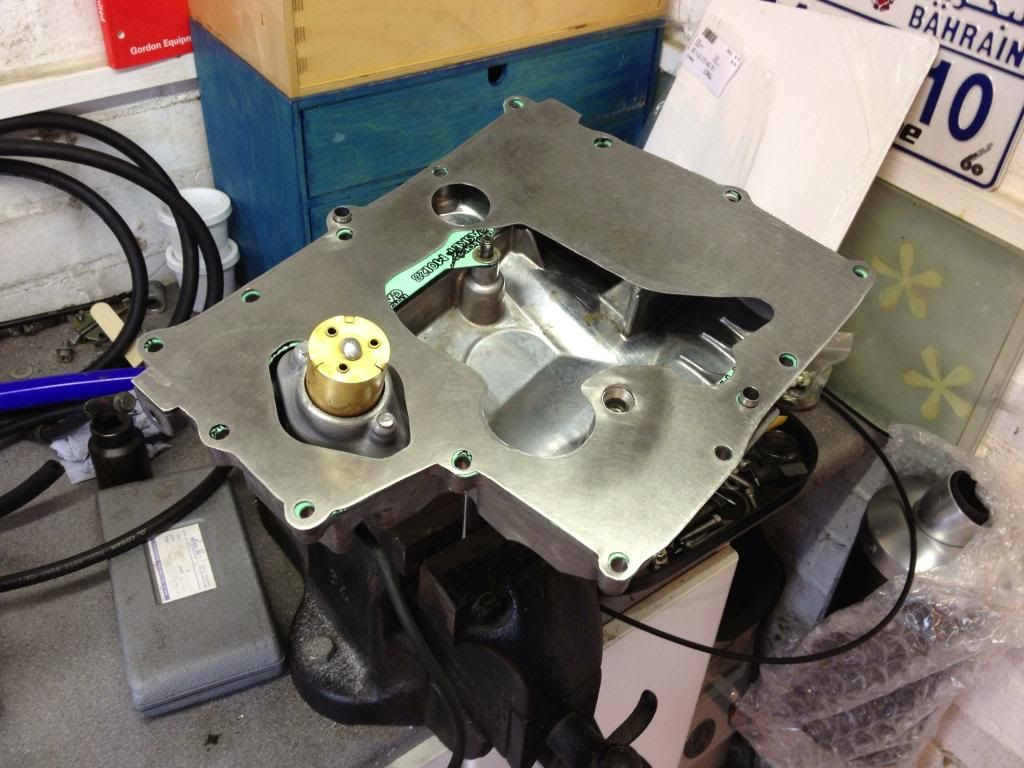 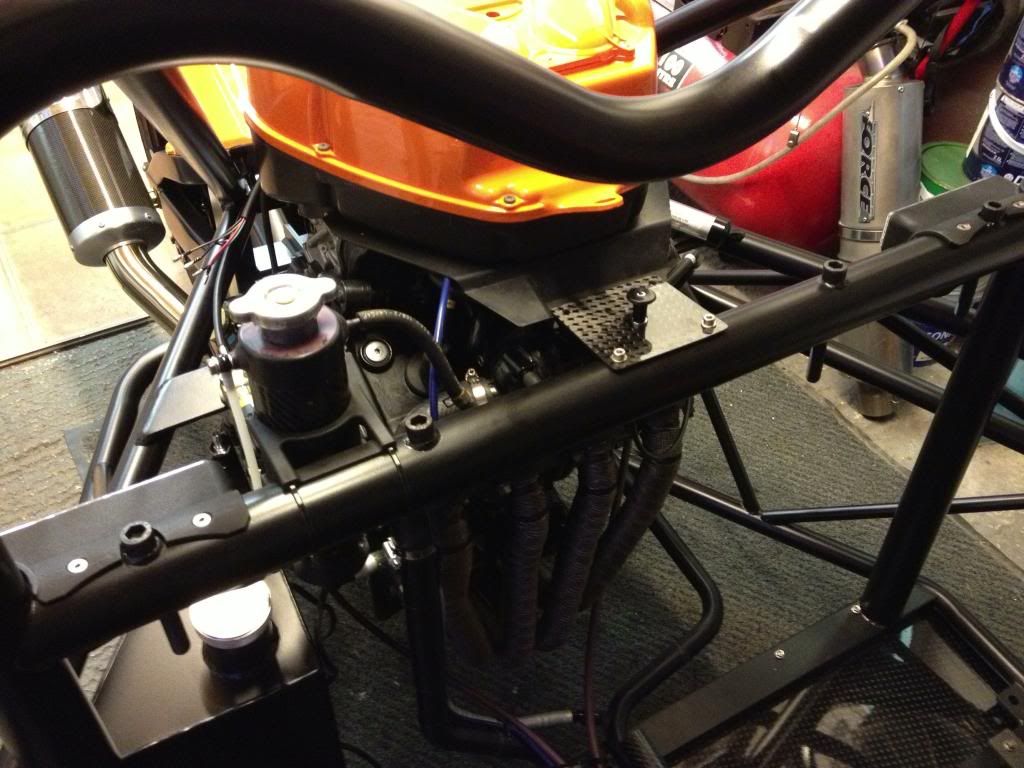 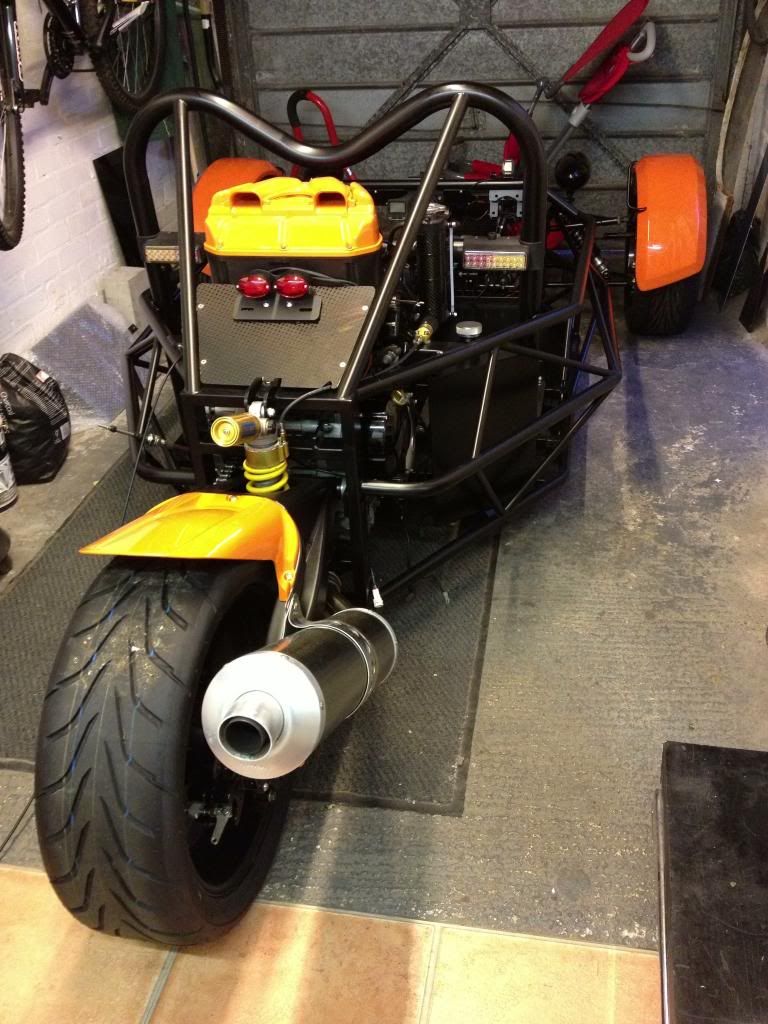 |
|
|
|
Post by andy7b on Aug 2, 2013 22:39:55 GMT
Hi all
The wireing has gone ok and the tr1ke was powered up 2 nights ago with resounding success. I am pleased to report that all lights work a treat and tonight I started her up for the first time, had a small fuel leak with a sticky float but didn't take long to sort and it ran up perfectly apart apart from I have a tiny water leak from an O ring in the top of the head, Will fix that next week. Because I've removed the EXUP valve the rev counter shows a fault code but I think I can fix that with a bit of wireing and some resistors:-)
The flash rate is also a bit quick so I need to find a flasher relay for LED indictors. Next on the job list is to fit the quick wrack and have a drive to see if all works ok.
|
|
|
|
Post by erik on Aug 3, 2013 8:36:03 GMT
I'm amazed you converted your loom this fast. Took me about 200hrs to finish mine LOL!!
Looks pretty nice now! The rear light clusters look like a treat on the chasis.
I'm looking forward to report andpics of the 1st testride.
good luck!
Erik
|
|
|
|
Post by edwinwl on Aug 7, 2013 10:51:22 GMT
Nice build and nice progress. I like your choke lever solution. Simple and solid!  |
|
|
|
Post by andy7b on Aug 7, 2013 21:16:13 GMT
I was well chuffed with the loom speed but I will confess I did have a friend helping me with it an we got it done in about 15 hours :-) new relay arrived today so the indicator speed is back to normal and ive run her up a handful of times an all is just fine, though I've had a few goes at setting the gear indicator and its not gone to plan as yet but I will get there. I stuck a load of ty rap saddles on tonight to get the loom in nicely and the loom wrap arrived today so thats next to do. More pictures coming I promise and I hope yor all enjoying the sunshine :-)
|
|
|
|
Post by andy7b on Aug 12, 2013 21:07:00 GMT
|
|
|
|
Post by paulh on Aug 12, 2013 22:44:27 GMT
looking good Andy. Good luck with the msva. great choice of colour too !
|
|
|
|
Post by andy7b on Aug 20, 2013 11:34:16 GMT
All goin well and VOSA have confirmed sept the 9th so I now have a deadline to work to. Did anybody fit covers over the lock nuts on the track rods at all? Wasn't sure if I need them.
|
|
|
|
Post by paulh on Aug 20, 2013 12:09:36 GMT
Mine was put through msva by rtr, they put plastic covers on quite a few nuts, but cant remember if they were on track rod ends. I also seem to remember Paul from rtr saying that if the front end was any more closed in it could cause problems with the way it is classified for msva. may be wrth checking with your side panels. Looking at the quality of your build I can`t see you having much trouble with msva.
|
|
|
|
Post by erik on Aug 20, 2013 16:02:31 GMT
All goin well and VOSA have confirmed sept the 9th so I now have a deadline to work to. Did anybody fit covers over the lock nuts on the track rods at all? Wasn't sure if I need them. You don't need nut covers on a trike. You do need them on a 4wheeled vehicle. the lock nuts on the track rods don't need to be covered but it will be great protection for street dirt. I used nut covers to keep the thread clean from rust. i didn't use track rod covers because it's quite a lot of work to install them afterwards. Good luck on your MVSA! I like yor batterie holder. where did you buy this one? |
|
|
|
Post by andy7b on Aug 20, 2013 20:41:27 GMT
Thanks for the help people and Erik the battery holder isn't bought I had it made at work.
I have also made a little plug in to get around not having a EXUP servo so just the dash left to make and I'm pretty much done, little drive up the road to check stuff one evening I think
|
|