|
|
Post by jgilbert on Jun 22, 2013 19:44:23 GMT
Only had an hour today so decided to connect a battery and see what happens. Engine turns over  Indicators work  Hazards  Back lights handbrake warning light and brake lights  Dash back lights  Only one possible issue. When I turn the ignition on the oil pressure gauge needle moves to half way ?? This is without engine running. Connection to sender is good. Don't understand why I should get a reading . Any ideas or suggestions. Thanks |
|
|
|
Post by PardonWhat on Jun 22, 2013 21:14:57 GMT
Mine does that too.
Mk2 1.8
Hmmm
|
|
|
|
Post by jgilbert on Jun 22, 2013 21:31:21 GMT
Mine does that too. Mk2 1.8 Hmmm Mines a mk1 1995 1.8. |
|
|
|
Post by mathew on Jun 23, 2013 13:46:20 GMT
Mine is a 1994 1.8 and also does that.
|
|
|
|
Post by PardonWhat on Jun 23, 2013 18:43:14 GMT
I guess out must be standard then. I've let the while loom unchanged apart for chopping off some redundant connectors.
Is you're rev still working ok coz mine is up the swanny...
P//
|
|
|
|
Post by jgilbert on Jun 23, 2013 22:27:09 GMT
Mine is a standard loom. The only change is that I've moved the battery position. Which means I've shortened the positive cable.
The bit that worries me is that surely the oil pressure gauge should read zero if there is no oil pressure. Not half pressure. So I'm thinking Its me that has got sometihing wrong?
|
|
|
|
Post by gwnwar on Jun 24, 2013 3:56:33 GMT
jgilbert.. the oil pressure gage is not a real gage as you have known them..'94 was the last year of the real gage..
'95 and newer are like an on/off switch any pressure will make gage read something.. If you want a real gage get a gage
from a 90 to 94 it has numbers on it and also get/use a sender from the 90 to 94..it is plug and play.. I can't remember the gage staying with a reading..Iam on holiday now so can't check mine.. Have you unplugged the wire from the sender does it still read.. also with it unplugged pull the connector from the cluster I believe it is the one with Y/R wire.. use ohm meter see if wire Y/R is grounded to frame it should not be.. plug only wire end on to the sender and recheck still should not be..if it is sender is bad..
|
|
|
|
Post by jgilbert on Jun 24, 2013 21:29:23 GMT
jgilbert.. the oil pressure gage is not a real gage as you have known them..'94 was the last year of the real gage.. '95 and newer are like an on/off switch any pressure will make gage read something.. If you want a real gage get a gage from a 90 to 94 it has numbers on it and also get/use a sender from the 90 to 94..it is plug and play.. I can't remember the gage staying with a reading..Iam on holiday now so can't check mine.. Have you unplugged the wire from the sender does it still read.. also with it unplugged pull the connector from the cluster I believe it is the one with Y/R wire.. use ohm meter see if wire Y/R is grounded to frame it should not be.. plug only wire end on to the sender and recheck still should not be..if it is sender is bad.. As ever gwnwar, thanks for the great help/advice. So my results, with a multi meter I tested the following; 1. unplug wire from sensor, gauge still reads. 2. dash connector R/Y down to earth, with sensor connector disconnected, no circuit 3. ditto with sensor connected, no circuit 4. dash connector to sensor connector no circuit  ? 5. sensor to ground, circuit So I surmise that the sensor is normally grounded ?? when there is pressure then this breaks the ground and gauge will read. What I don't get is why I have no circuit between the dash connector to the sensor connector, its just a length of wire, right ? |
|
|
|
Post by gwnwar on Jun 25, 2013 5:53:42 GMT
From what I can see the sender makes the ground circuit when under pressure..are you sure you were only touching the tab on the sender and not the sender case/body.. You should have a 0.0 OHM reading from cluster Y/R wire to the sender wire connector if not there is a break in the wire run. either wire or connector.. FYI the BK/Y wire power all the gages..
BK wire grounds all gages the Y/R is the trigger/signal wire for the oil gage..
|
|
|
|
Post by jgilbert on Jul 1, 2013 21:14:54 GMT
Oil Pressure Gauge - Mystery solved. So I was a bit phased by the oil pressure gauge reading, this is partly as a result of me not knowing my Ohms from my Amps etc. What I had been trying to do was test the circuit using a continuity test  Unsurprisingly, it was not making much sense. The only option seemed to be, replace the pressure sensor (another $10 that I didn't want to spend only to not solve the problem). So I decided to invest in a bit of homework and purchased the following book on Amazon ($11 from memory). 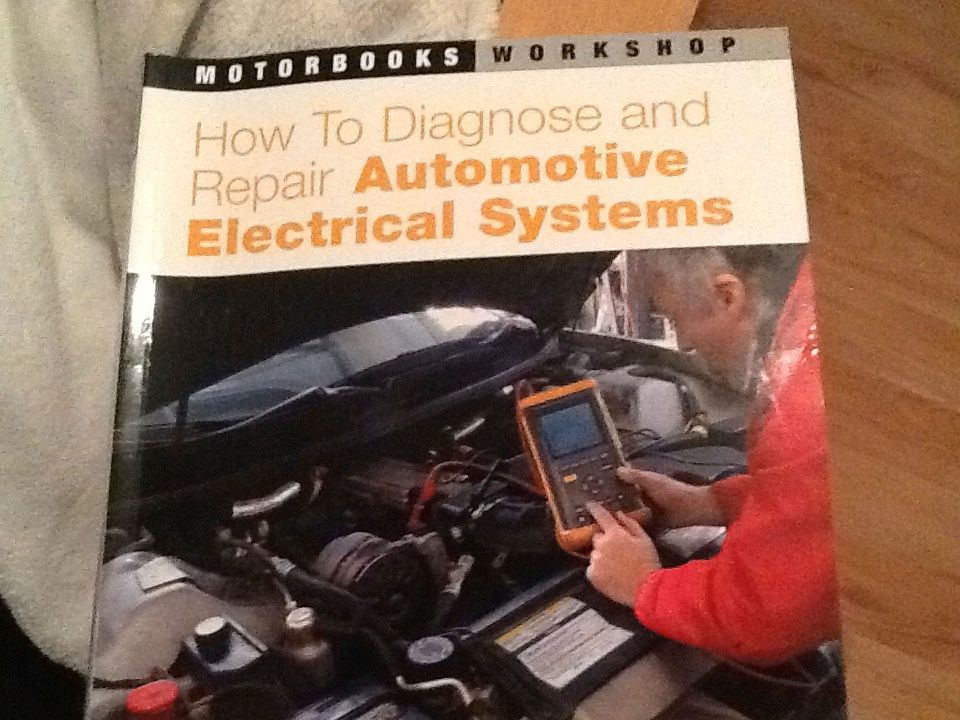 I've spend the past few days reading and trying to understand what I was doing wrong. The simply answer was I needed to carry out a voltage drop test on the circuit. 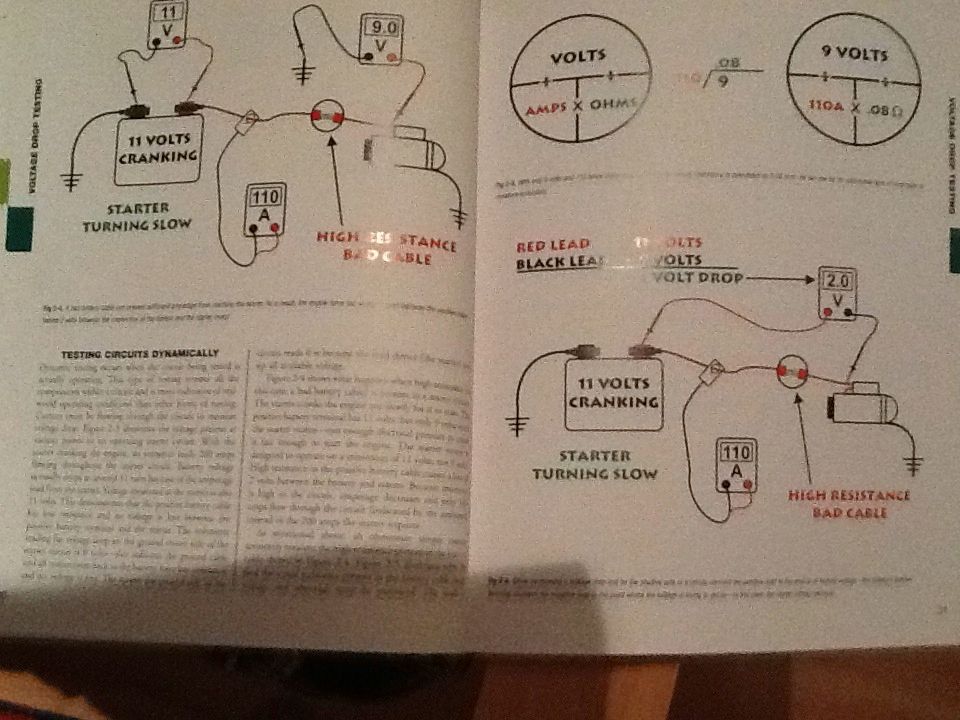 Having done this, and now having an idea what my multimeter is displaying allowed me to identify the problem. Dodgy connector between two of the looms  Having fixed this, guess what, the pressure gauge now reads zero with ignition on !!! as it should. As a check if I disconnect the Y/R wire from the sensor I get the original 'half' pressure reading. So morale of the story, I spent $11 to save $10 but I got the right result and feel better equipped for more electrical problems. The book in my view is really good if you have a very limited knowledge of car electrics, would defiantly recommend it. Forget continuity testing, its volt drop testing from now on. |
|
|
|
Post by gwnwar on Jul 2, 2013 5:22:14 GMT
Glad you got it all sorted out.. good investment in the book..
|
|
|
|
Post by jgilbert on Jul 3, 2013 21:17:38 GMT
Bit of a general update, We have been working on the dash pod and dash housing mounting, on and off for about a week. First job was to mount the Dash pod so I cut and welded a simple bracket to the steering column mounting that the instrument pod could be screwed to. 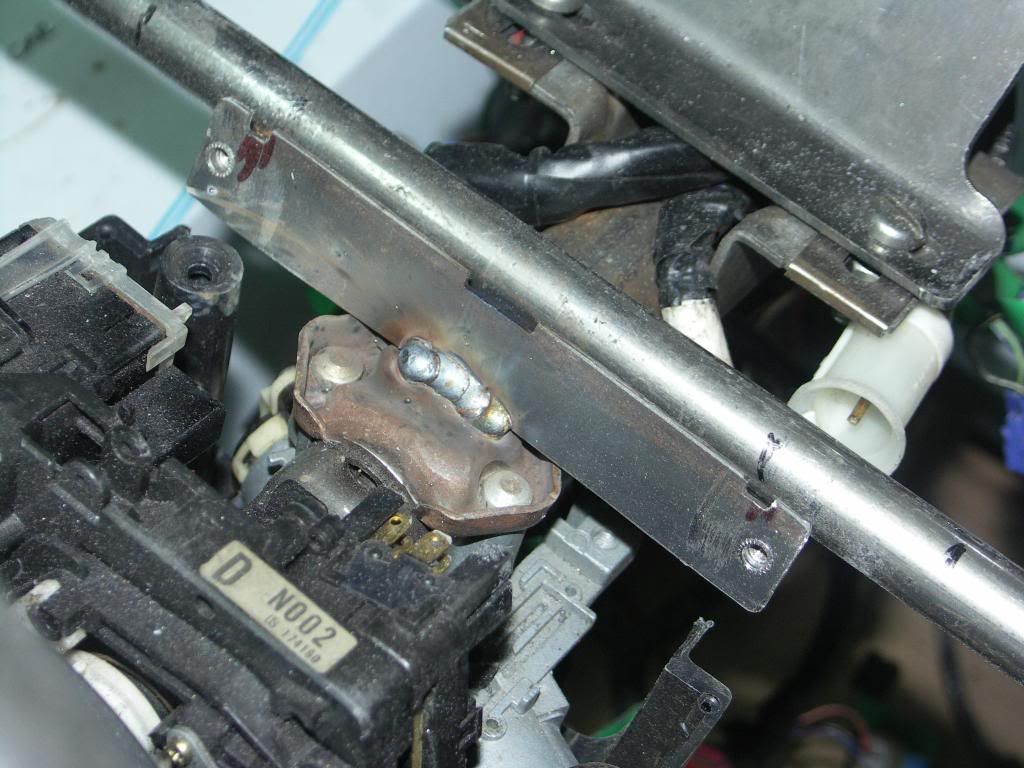 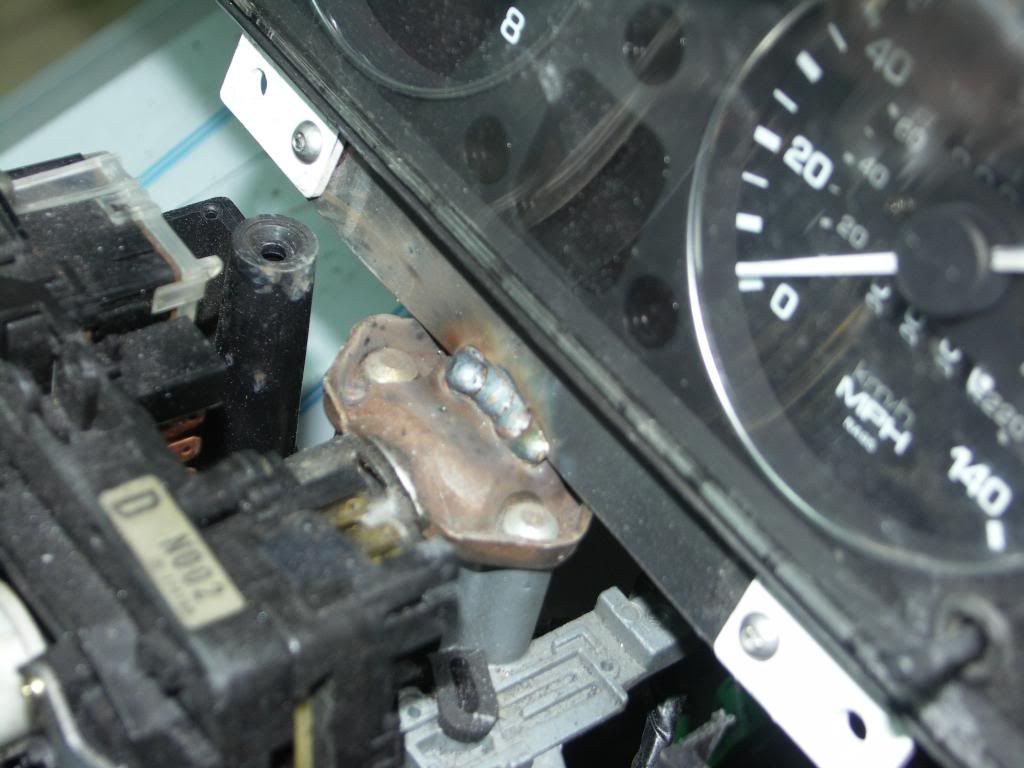 Then I cut my carbon fibre dashboard out to accept the dash, 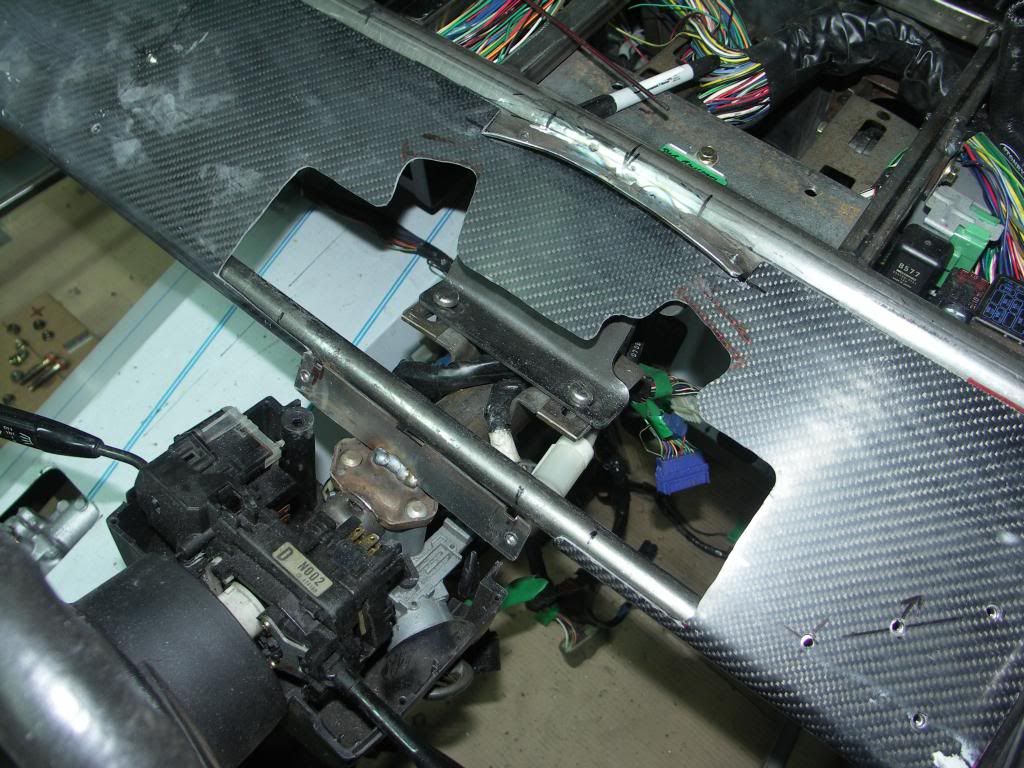 Next job was to trim the front of the pod so that it finishes level with the carbon fibre dashboard. Masking tape, measure twice cut once approach. Using a dremel I removed the underside pod mounting and then formed a strip of metal to the radius of the pod, 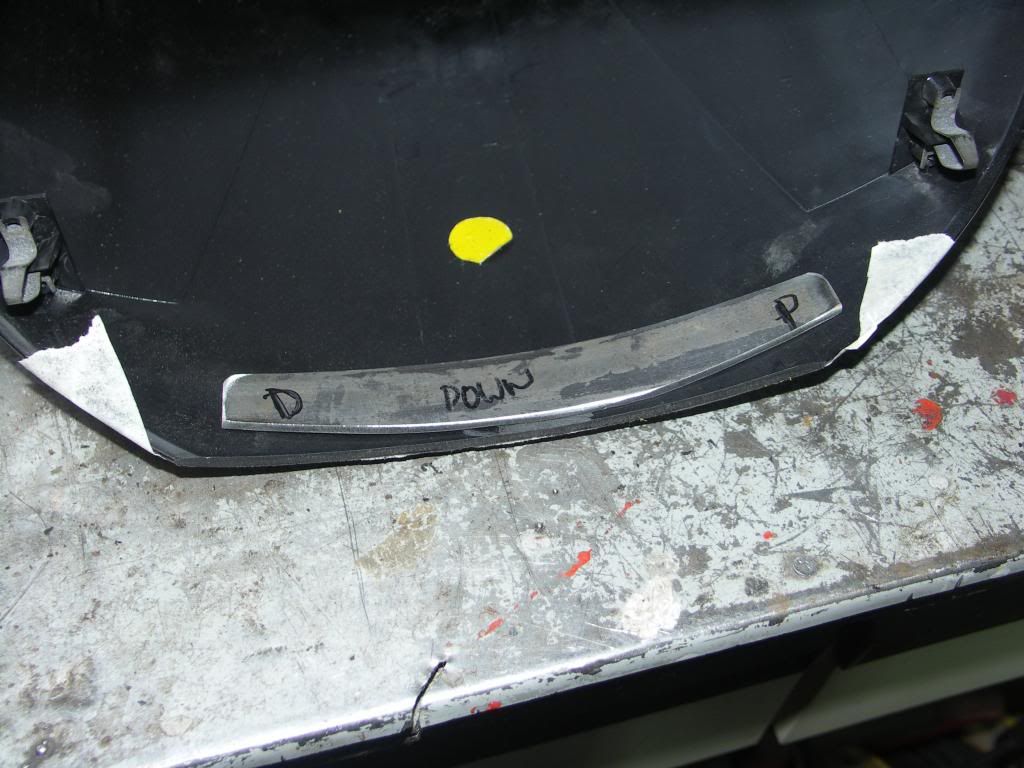 This strip was then welded on to the top chassis tube and drilled and tapped. 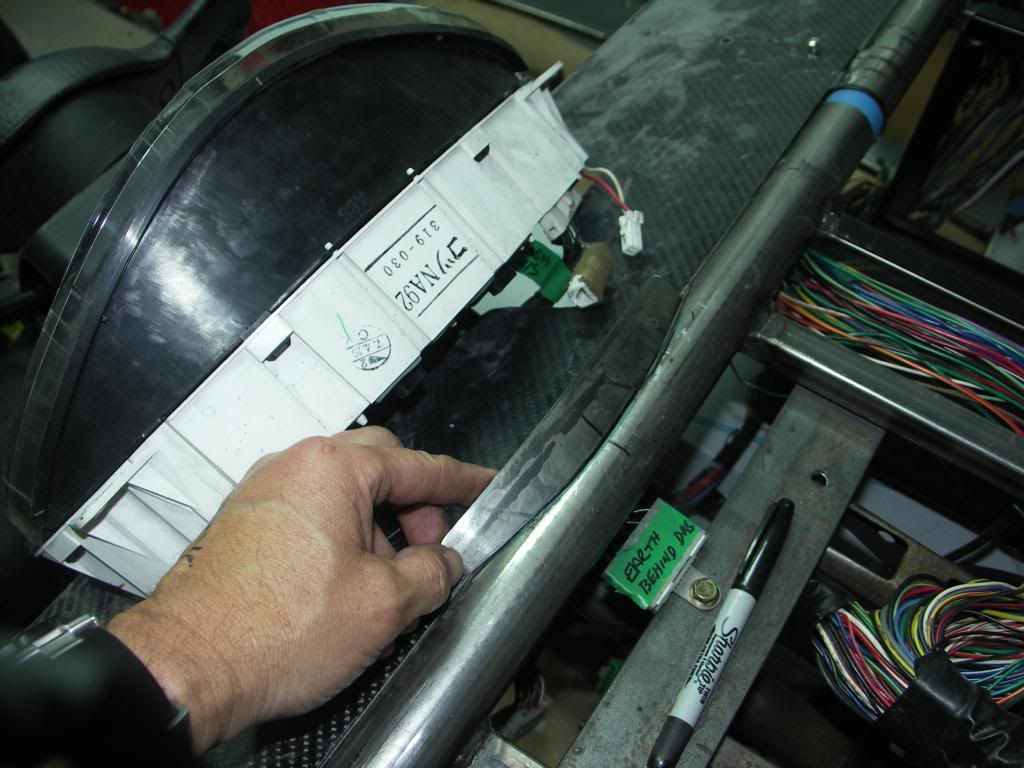 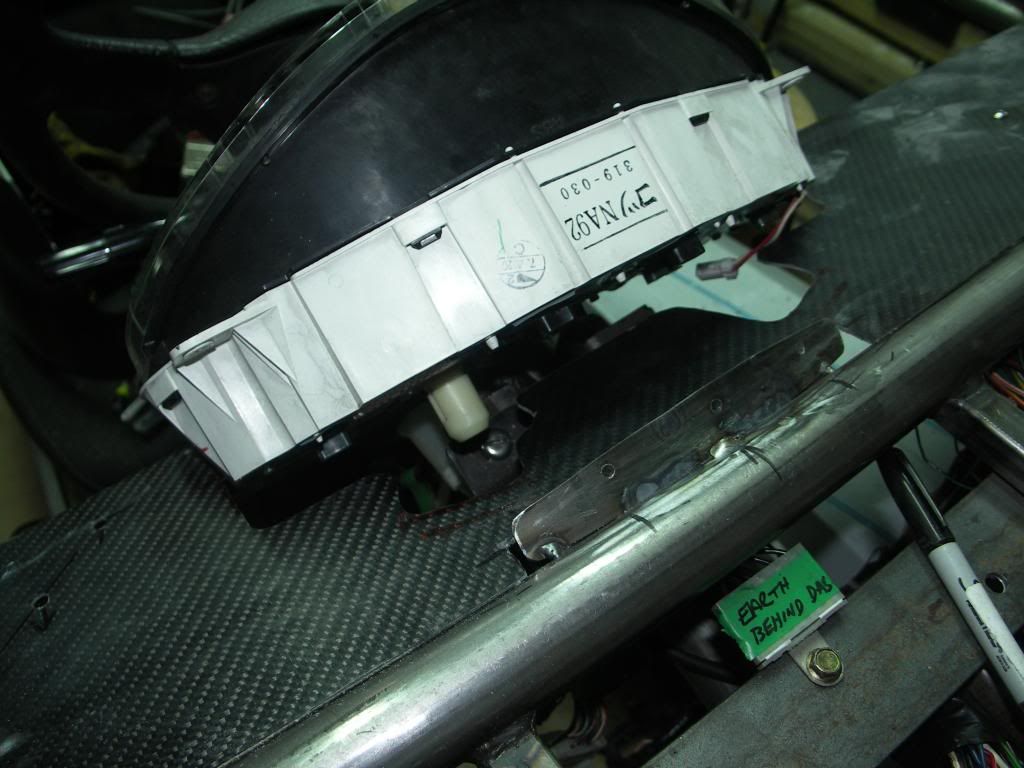 Then Luke made some templates out of card to fill in the side of the pod. We will use these to form some aluminium sections and fibreglass to the pod and then fill with body filler. 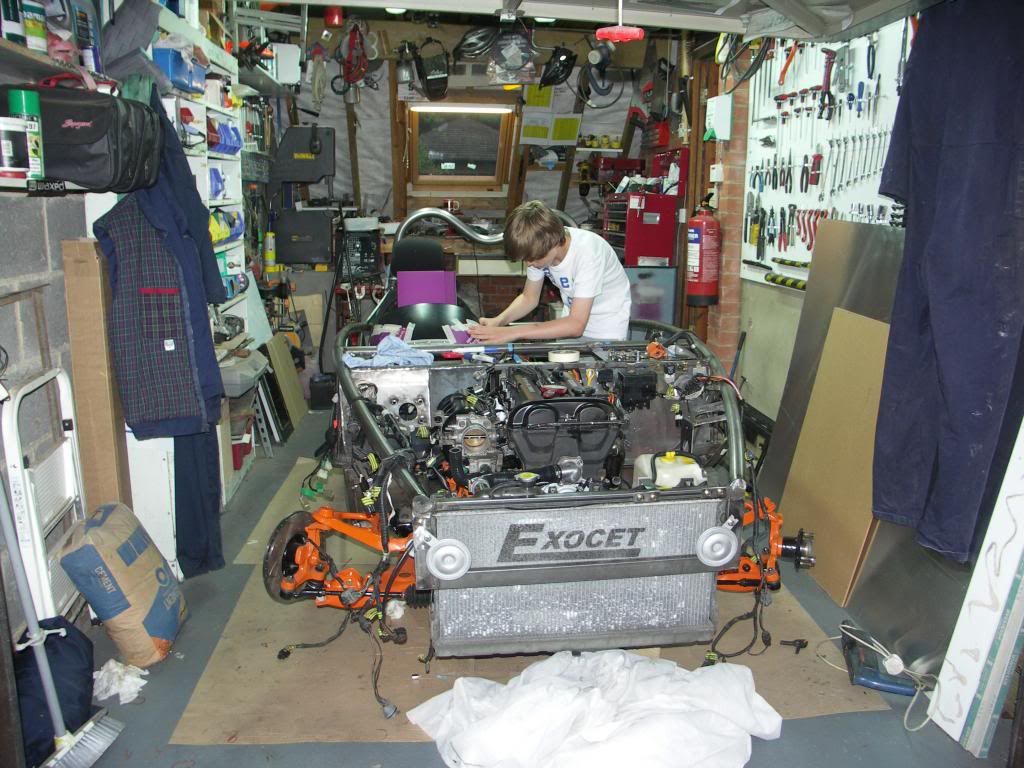 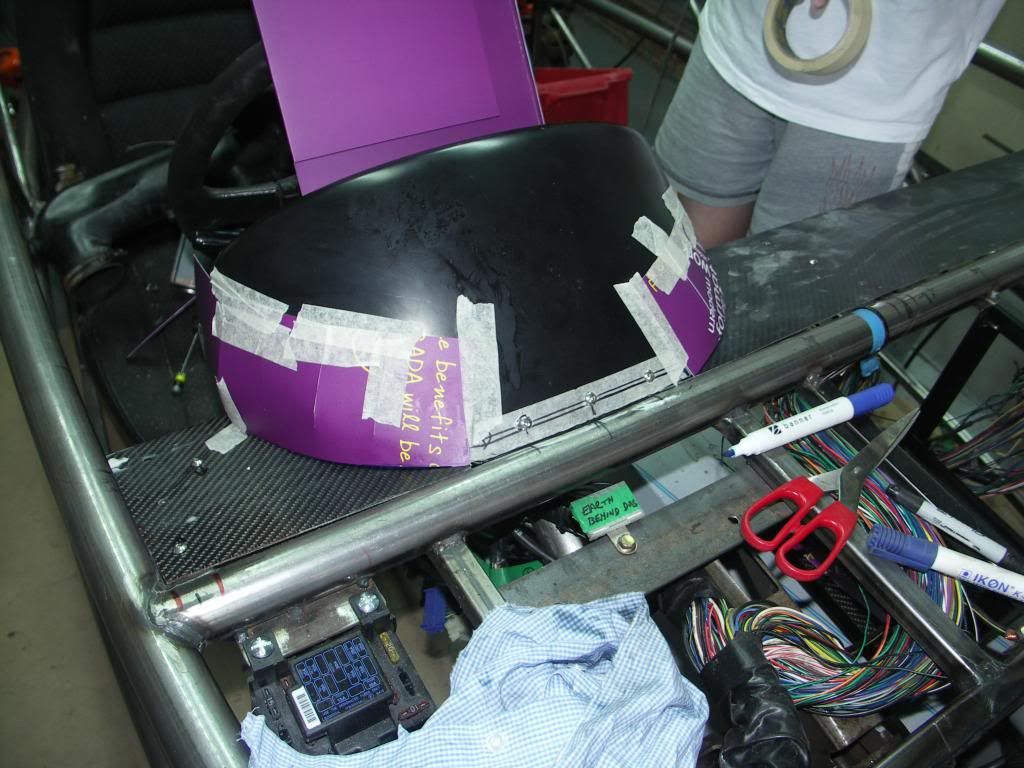 Picture of dash in position and so far all the electrics work !!! 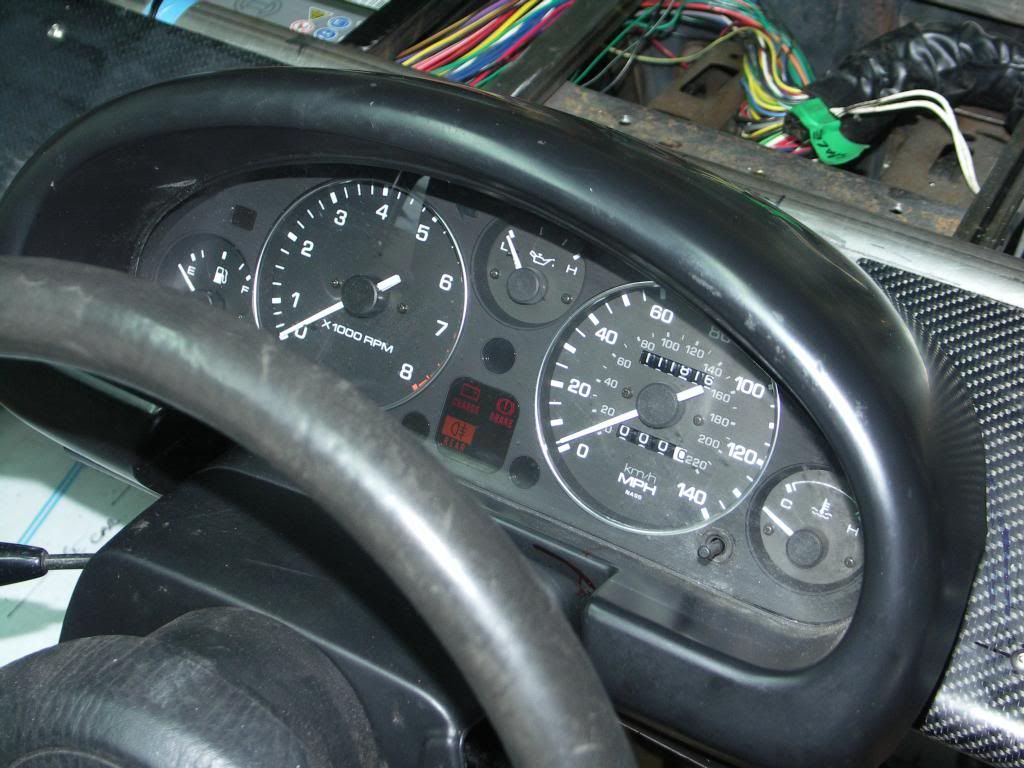 Air Filter also fitted tonight, fuel tank connected up. All I need now is engine oil and then I should be ready to see if she will start. Fingers crossed ! 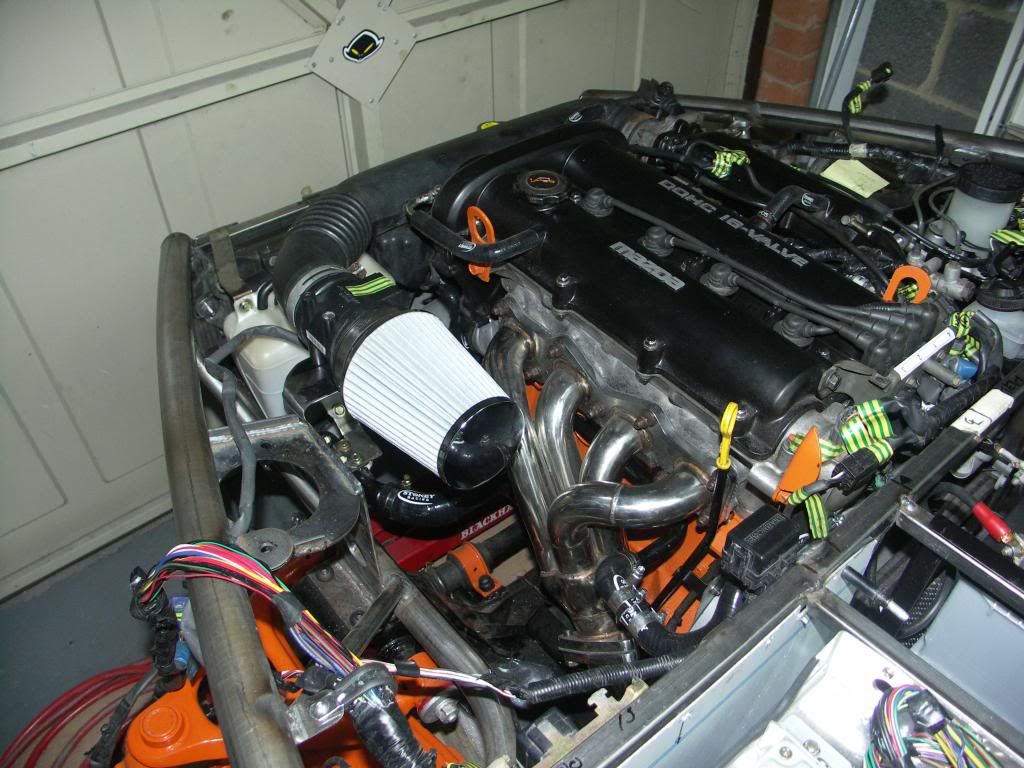 |
|
trident
Senior
   Improvise, Adapt and Overcome
Posts: 629
|
Post by trident on Jul 5, 2013 15:08:58 GMT
Excellent work John... are you going to wrap the pod cover in carbon fibre ? Also, c an I request that you so down a bit as your leaving me way behind...  |
|
|
|
Post by scooby1929 on Jul 5, 2013 20:08:52 GMT
Looking good John. Is that the pod off the mx5??
When you gonna start her up??
|
|
|
|
Post by jgilbert on Jul 5, 2013 22:22:41 GMT
Trident, Scooby
Thanks for the comments. Pod is the original, carbon wrapping? Would be good but I think it's a difficult shape to wrap, so may just paint it.
Plan is to shout 'fire in the hull' in true American Chopper style sometime tomorrow. Likely hood is it won't start. Only have a hour or two tomorrow as me and the boy are doing a triathlon on Sunday.
Purchased oil tonight, Halfords have a 20% discount on Mobile 1 oil at the moment and with a trade card it's even better. So if you need some nows the time!
Spent 15 mins tonight making some nice 'Cotten reel' spacers for between the pedals and the top chassis mounting. Photos to follow.
|
|