trident
Senior
   Improvise, Adapt and Overcome
Posts: 629
|
Post by trident on Dec 15, 2012 20:05:12 GMT
So do I really ;D as I passed on the idea from my build.  Any plans on up grading yours then Welshy1 ? |
|
|
|
Post by welshy1 on Dec 15, 2012 20:10:37 GMT
So do I really ;D as I passed on the idea from my build.  Any plans on up grading yours then Welshy1 ? To late as useual. Im stil building mine not touched it for a month or so really need to get cracking on with it but have lost motivation for it to be honest might get back on to it tomorrow. |
|
|
|
Post by jgilbert on Dec 15, 2012 22:08:38 GMT
Hi, in the spirit of trying to keep up some momentum. Spent Friday night melting bushes out you the wishbones. Very messy. So a limited amount of time on Sunday saw us playing with bits of the suspension. Can't say to much at the moment,however a bit of fabrication involved. I have a feeling I know what you are talking about ....   I think you do sir! |
|
|
|
Post by jgilbert on Dec 15, 2012 22:10:13 GMT
I have a feeling I know what you are talking about ....   I know what he is doing. Interesting. I'm not sure you do? |
|
|
|
Post by jgilbert on Dec 15, 2012 22:12:03 GMT
So do I really ;D as I passed on the idea from my build.  Any plans on up grading yours then Welshy1 ? So Trident when you going public ? |
|
trident
Senior
   Improvise, Adapt and Overcome
Posts: 629
|
Post by trident on Dec 16, 2012 22:36:32 GMT
I'll let you come out first... Interesting ...obviously not what I thought.. Can't wait!  |
|
|
|
Post by jgilbert on Dec 28, 2012 16:27:24 GMT
OK having been given time off the Christmas hospitality for good behavior, spend a couple of hours back on the build. Gearbox time. Gearbox was Jixer'd and then scrubbed using detergent before pressure washing. note the use of plastic bags and cable ties to prevent forcing water into the gearbox whilst jetting. 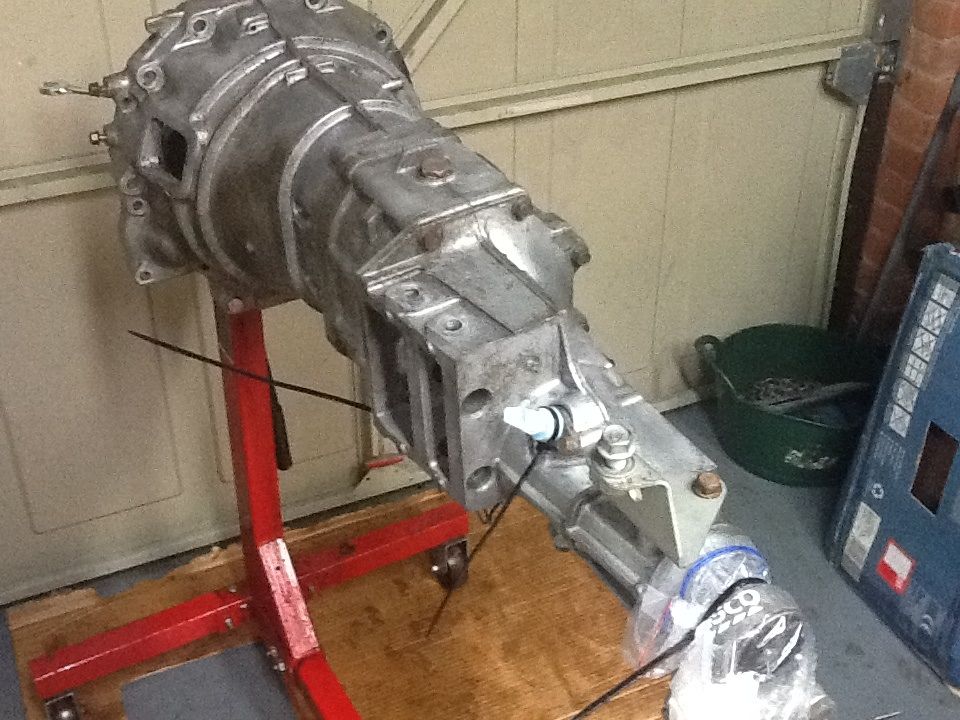 Decided to go with an acid etch primer and hammerite smooth following the answers to my Gearbox paint question. The afore mentioned paints. 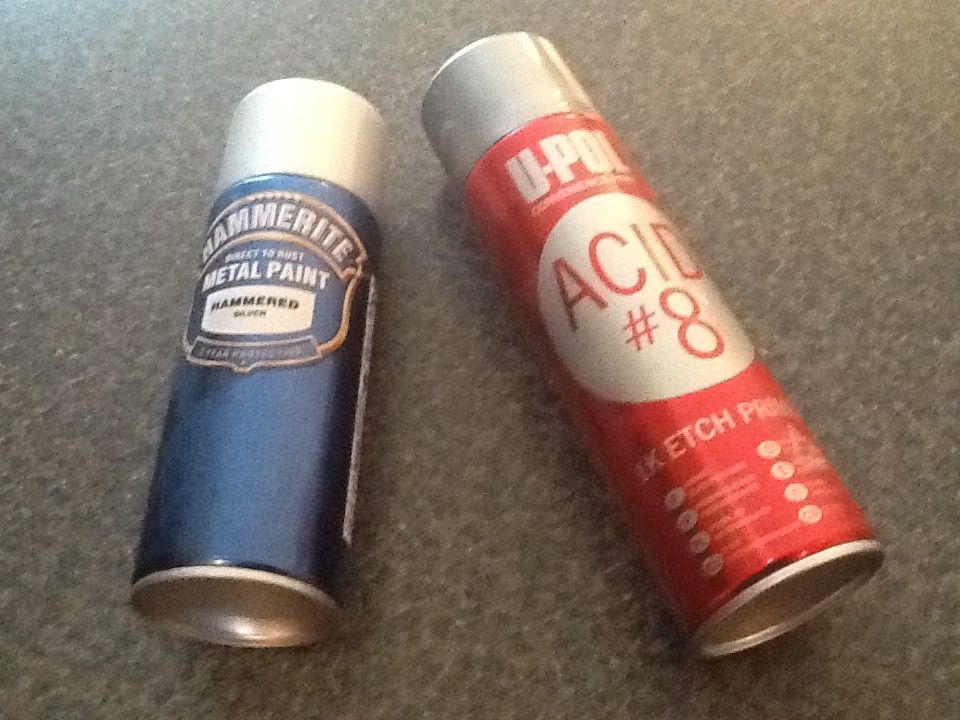 Pleased with the coverage of the primer. Only one coat needed, and it can be top coated after an hour. Primed G/Box below. 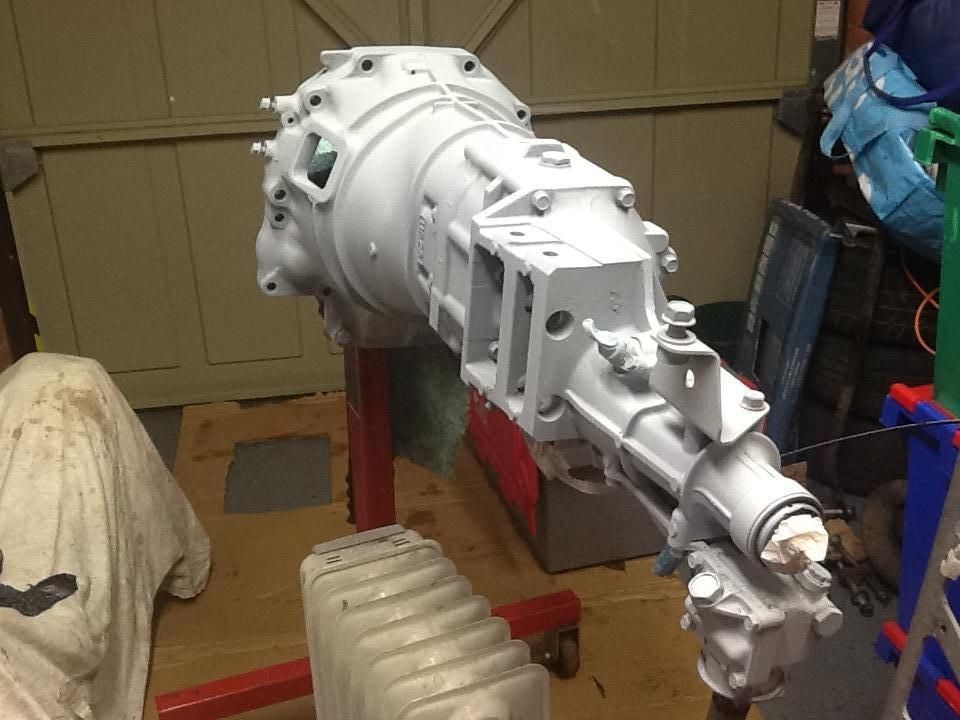 Then the topcoat. 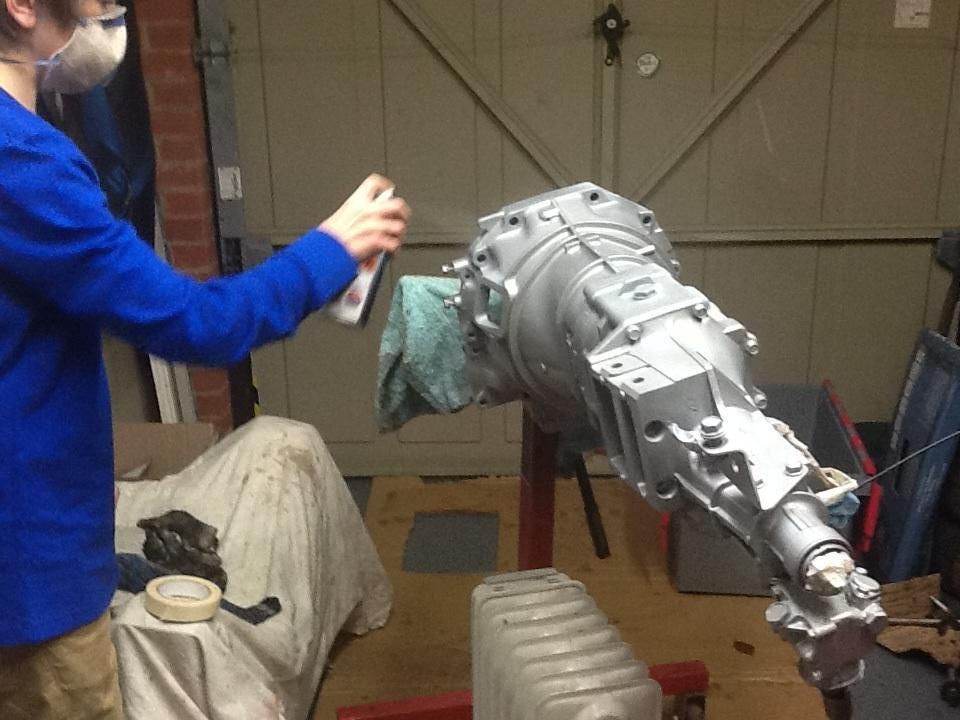 Close up, finish looks good, hopefully with the primer it should stick to the casting and last. 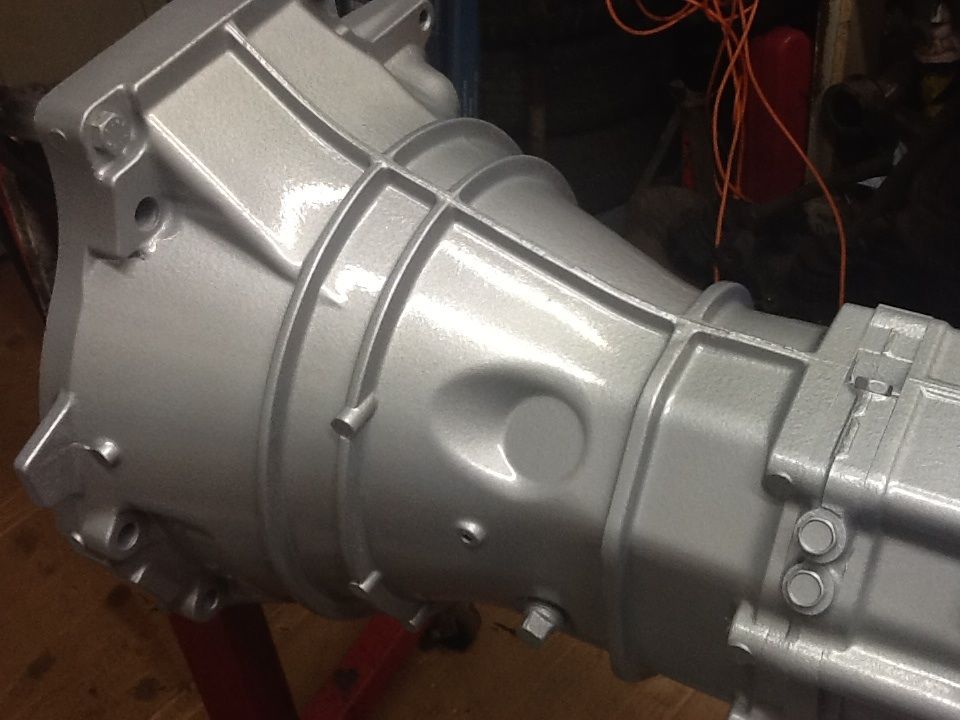 PPF aluminum backbone tomorrow. |
|
|
|
Post by iluvpies on Dec 28, 2012 19:39:40 GMT
Looks smart
|
|
|
|
Post by iluvpies on Dec 28, 2012 19:41:03 GMT
Looks smart
|
|
|
|
Post by gwnwar on Dec 28, 2012 20:05:25 GMT
Looks better then new.. Gloss finish will be easy to keep clean.. Are you planning to do the diff and housing the same.. would make a smart looking drive line..
|
|
trident
Senior
   Improvise, Adapt and Overcome
Posts: 629
|
Post by trident on Dec 28, 2012 22:04:59 GMT
Very Bling ;D It'll definately be smarter than mine.
|
|
|
|
Post by jgilbert on Dec 29, 2012 18:49:59 GMT
Further progress today. Thanks for the positive comments. They inspired more work. PPF in primer (as used on the G/box).  and top coated to match the G/box.  With the G/box done this free'd up the engine stand. So inlet manifold off, alternator off and I though I was all ready to lift the engine on to the stand. However, not as simple as I thought. I couldn't mount the engine to the stand with the flywheel in place, so had to remove this. Anyway, with the engine finally on the stand its ready for cleaning, painting and the timing belt change.  No major 'wet' oil leaks apart for the Can Sensor area.   Qus:  Is this likely to be the Cam Sensor 'o' ring? and where does this fit. Is it behind the press steel plate or where the body of the sensor mounts to head? any advice most welcome. |
|
trident
Senior
   Improvise, Adapt and Overcome
Posts: 629
|
Post by trident on Dec 29, 2012 20:52:30 GMT
It's where the body mounts to the head. check your e-mails I've sent you some info.
|
|
|
|
Post by jgilbert on Dec 29, 2012 23:31:20 GMT
It's where the body mounts to the head. check your e-mails I've sent you some info. Thanks Chris ! |
|
|
|
Post by jgilbert on Jan 4, 2013 22:07:40 GMT
Ok time for an update and more photos. This time of the engine clean up and rebuild. So following advice from others, I decided to concentrate on just replacing the cam belt (and tensioner and idler pulley), water pump, and o rings (can sensor and water bypass). So started with this   First job was to strip off all the ancillaries and seal all the holes that were left in order to stop crap entering the engine. I've found that masking tape lifts off after time and particularly if its exposed to degreaser/engine cleaner. So I ended up using heating and ducting aluminium tape. As the aluminium isn't porous the cleaners don't get through to the adhesive and it therefore maintains its adhesion to the mating surface. Simple process of tracing out the port shape using the old gasket.  and then applying to the opening in question. In the next photo you can see the exhaust ports 'sealed' using this method. Also the start of the engine cleaning process. Soaked in Jizer overnight, then scrubbed using detergent and hot water and finally a good going over with an electric drill fitted with a rotary wire brush and then brake cleaner.   Once this was done, it was time to prime the sump and block (I'm keeping the head in its cast aluminium finish).  In order to let the primer dry before top coating I then started the can belt replacement. My only advice would be to take lots of photos, the alignment marks on the Mazda are confusing to say the least. Even though I followed a manual step by step, I had to refer back to my photos several times !!!! As an example, I counted and marked the teeth on the old belt before removal, you can see my white marks and if you look closely red dots from a previous belt change   I've also included this photo, showing how I ensure all the bolts go back in the same place. Simple bit of cardboard with the bolts pushed through and marked. It might help someone if they haven't seen this method before.  Anyway, no major drama's fitting the water pump or belt. So back to the painting. Decided to paint the sump black. So this was masked up and top coated.  This was left for 48hrs and then masked up so I could paint the block a different colour.  The paint I am using is new to me. It's an enamel for plant and machinery so hopefully will stand the test of time. I started with a 10:1 mix ratio, enamel to thinners but found 5-8% gives a better coverage for the base coat and the 10% for the final gloss coat.  Base coat being applied. I favour using a small touch up gun to get in all the difficult areas without 'washing out' the high spots of the block with paint.   So the the final effect (cam cover still to be done), I'm pleased with the finish but Its certainly isn't subtle    Hope this post is useful to someone. |
|