Post by nitram on Jan 13, 2013 12:59:05 GMT
My last build post was in November and I’ve already slipped down to page 5. This really is a dynamic forum.
I had come to the conclusion that there were still a number of jobs that needed doing in the engine bay and under and around the chassis that would benefit from the chassis being taken off again. So, I undid the bolts (AGAIN!!!), raised the chassis by about 50cm and supported it in this position using some old table legs.
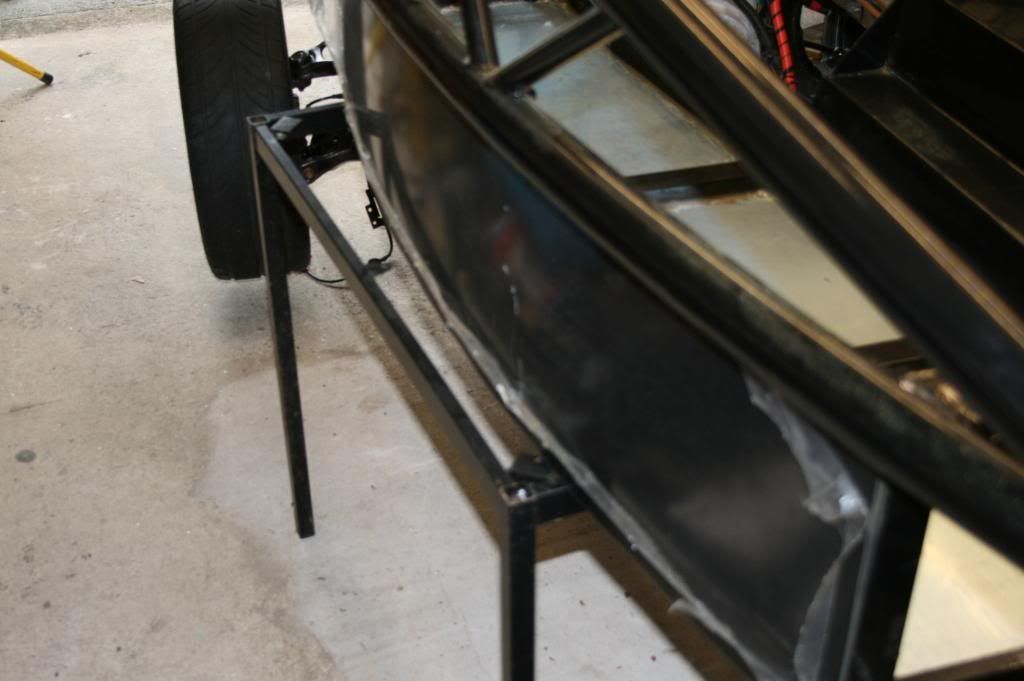
In my small garage I don’t have any spare weather-proof space to put the exo to one side, so this solution allowed me to work on different parts of the project at two different levels.
Cut, bent, clipped and flared rear fuel and brake pipes.
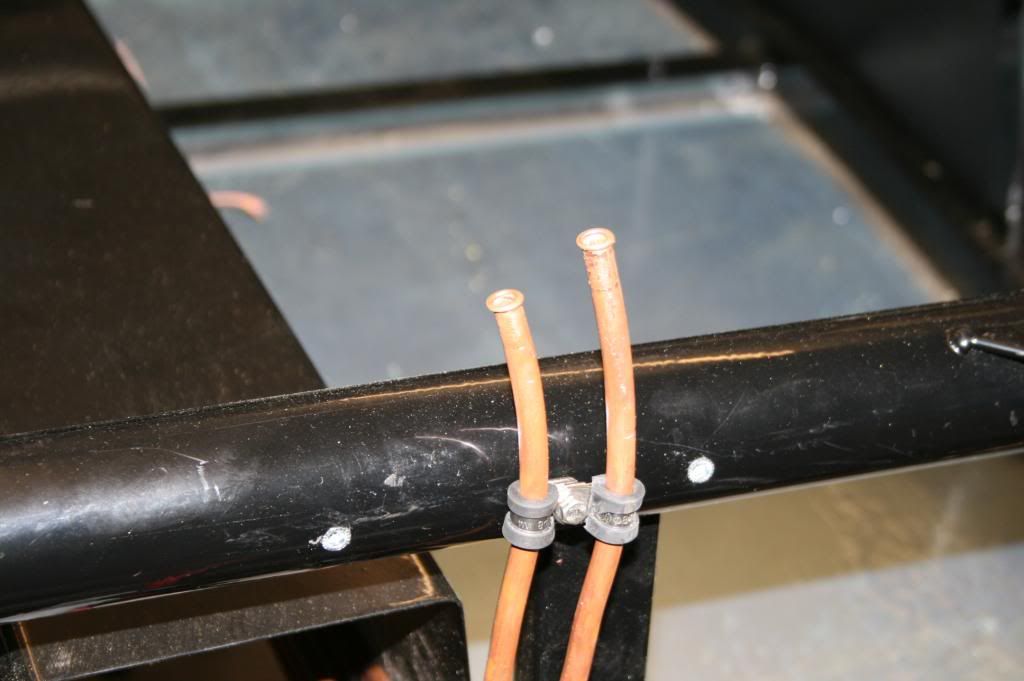
Manufactured and fitted rear transverse brake pipe.
Drilled and filed out hole for throttle cable.
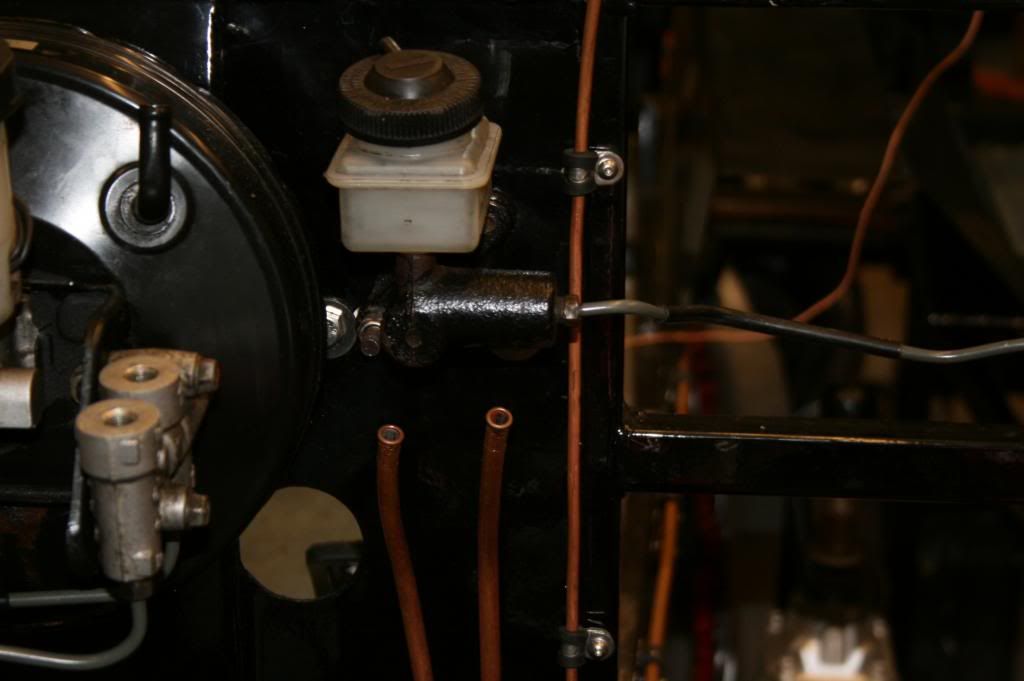
Shortened the clutch rigid pipe, by putting in a couple of bends, and connected this to the flexible pipe.
Fitted brackets for the expansion tank, ABS and PAS reservoir.
Cut, clipped and flared front fuel pipes.
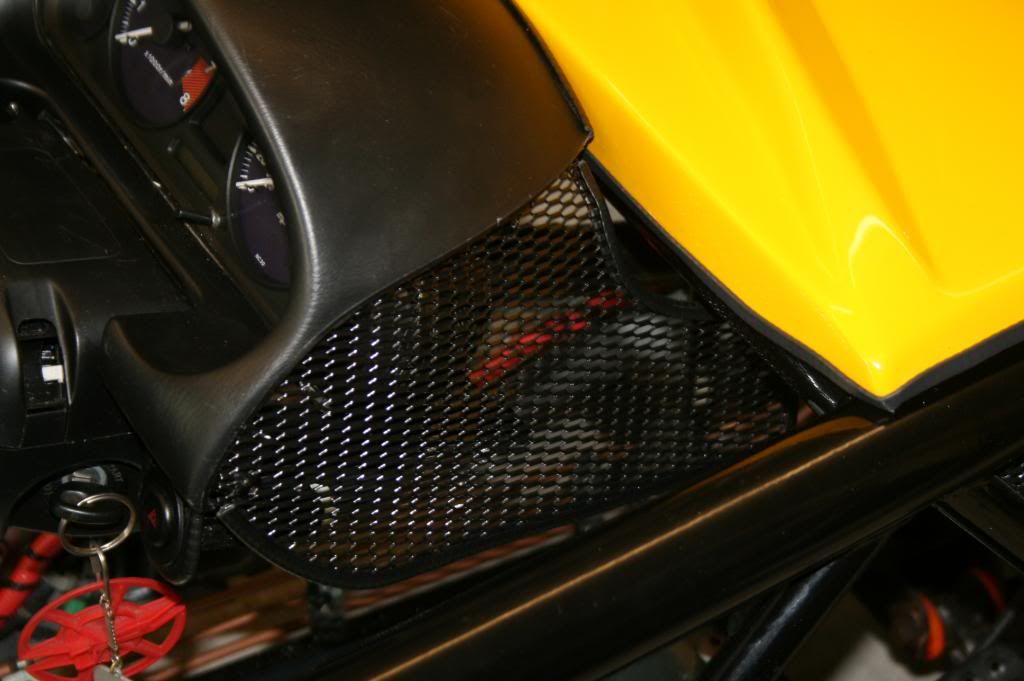
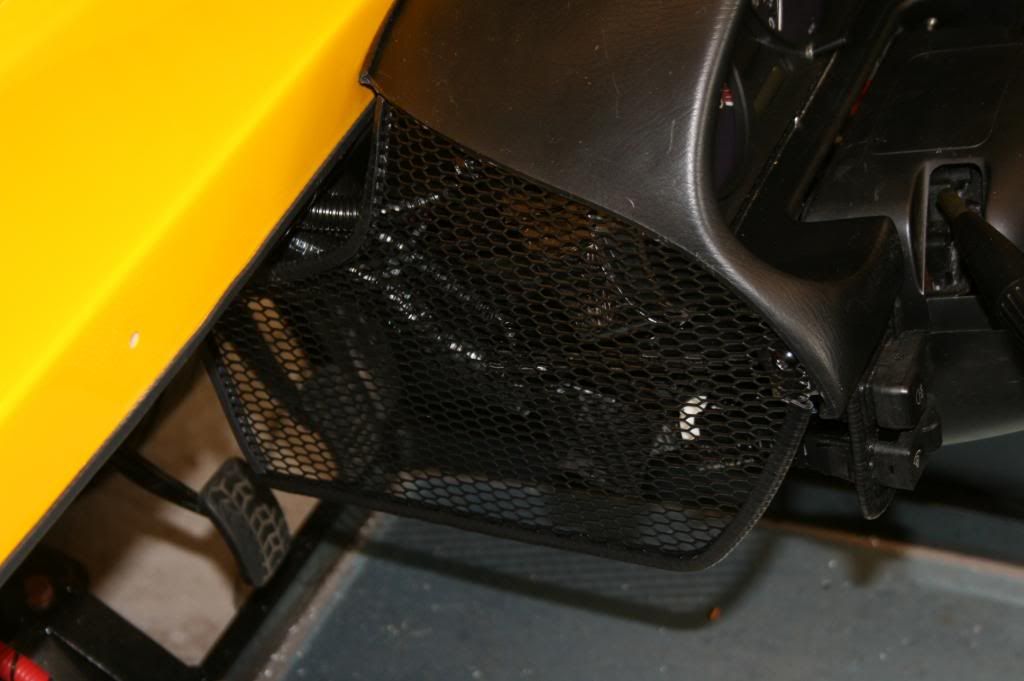
I’ve now got myself a little bit side-tracked. Looking at the factory demonstrators, the red car has the exo at the side of the engine semi-blocked-in with a silver grill (image 8 on the Exocet gallery). The purple demonstrator does not have this grilling. Although I have been convinced on other posts that a grill is not required for IVA purposes, I like the idea of concealing my grotty little engine bay from prying eyes. So with a bit of experimenting, I came up with a set of black aluminium grills.
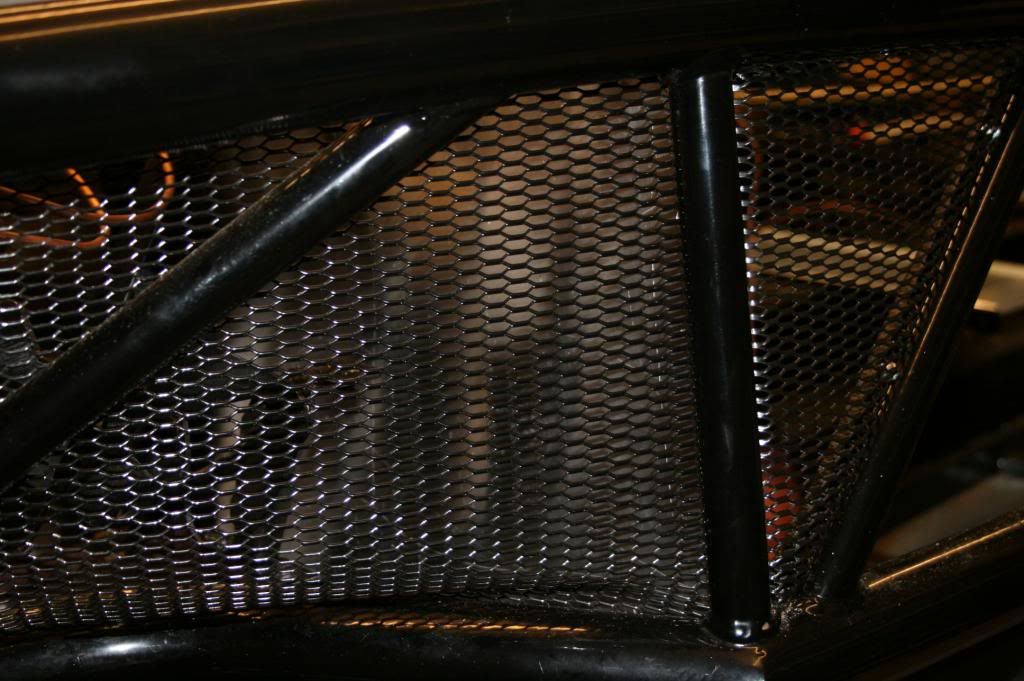
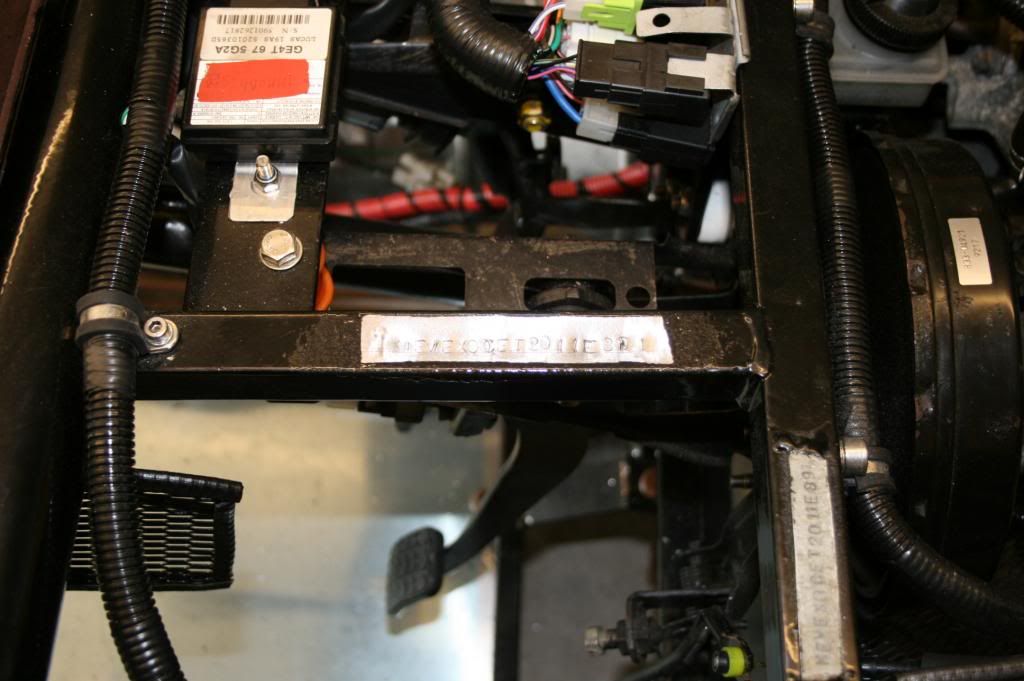
And from the inside
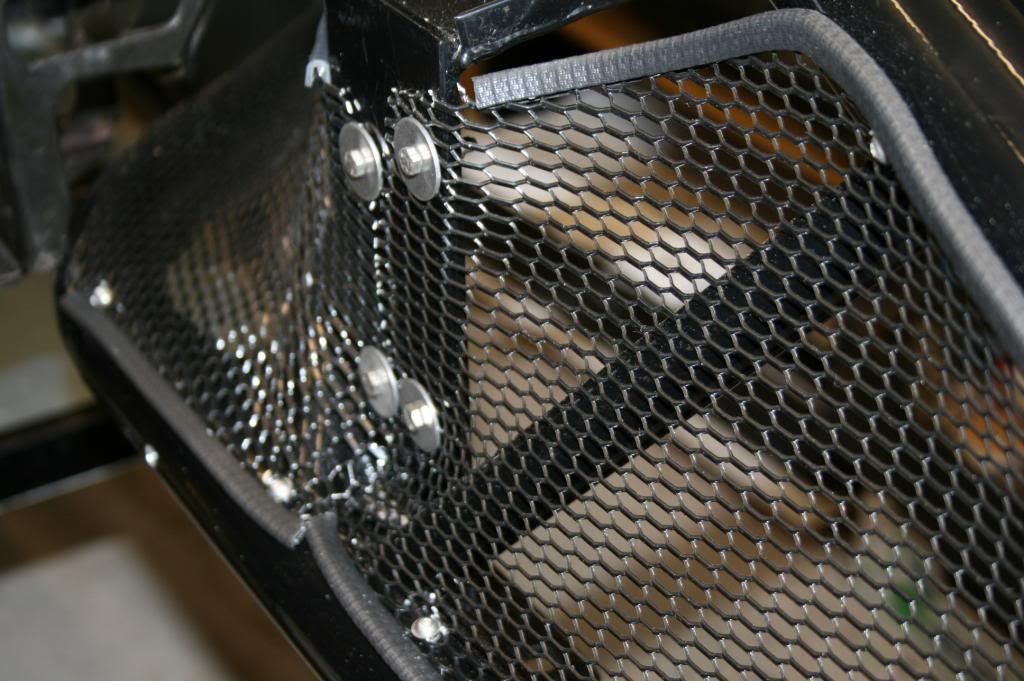
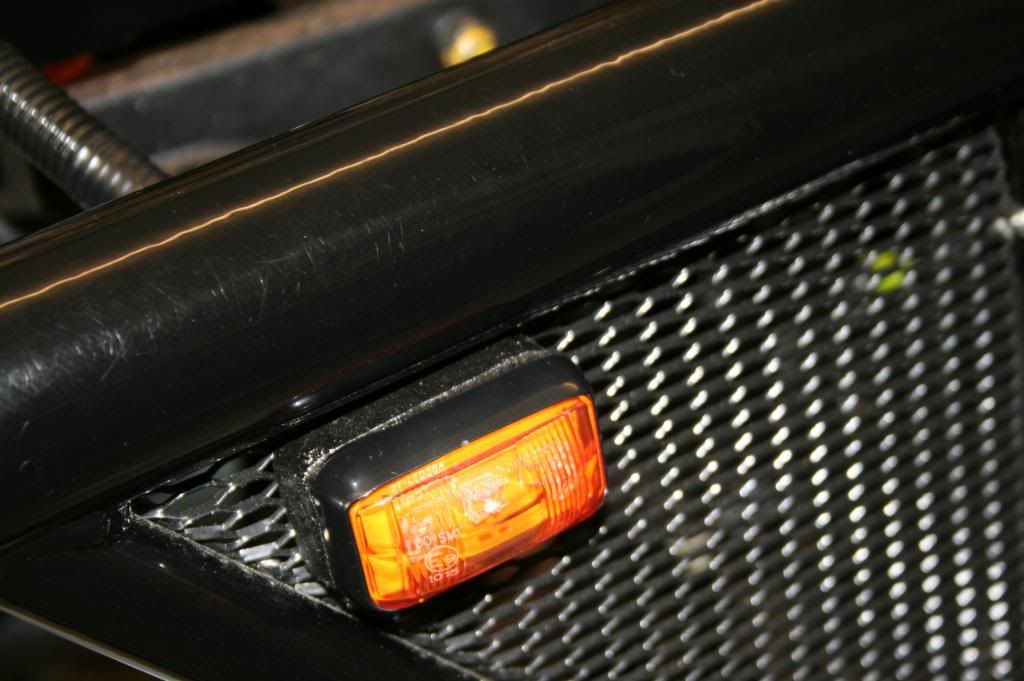
And then I thought I could extend the grill to the first little triangle in the thinggypit for mounting the side repeaters later
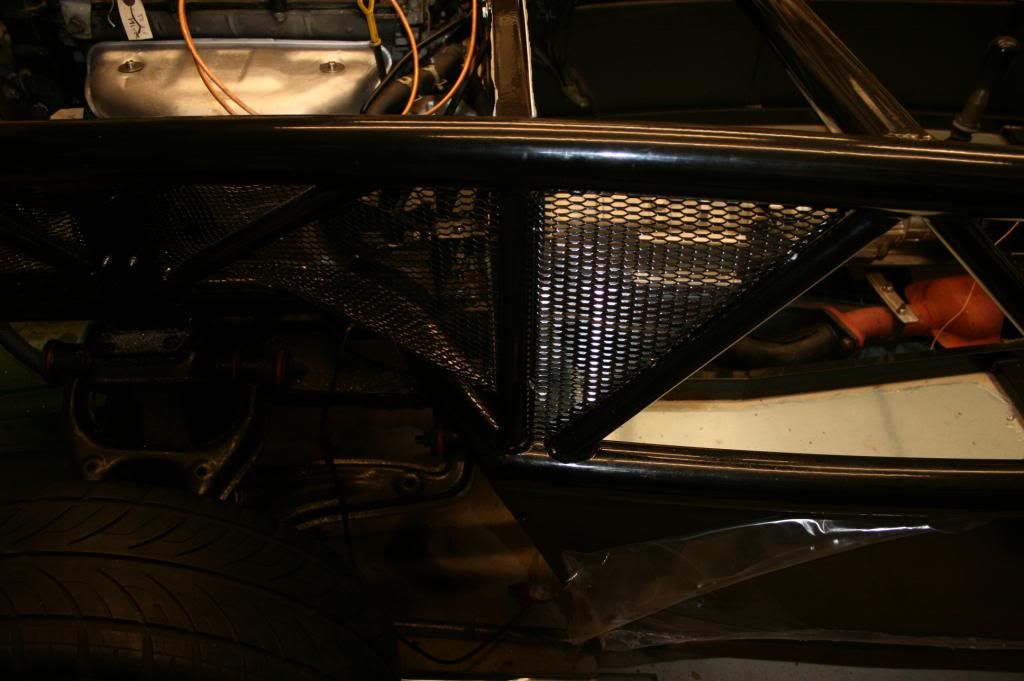
While I was in the metal bashing mode, I fitted the passenger side and centre front bulkhead panels
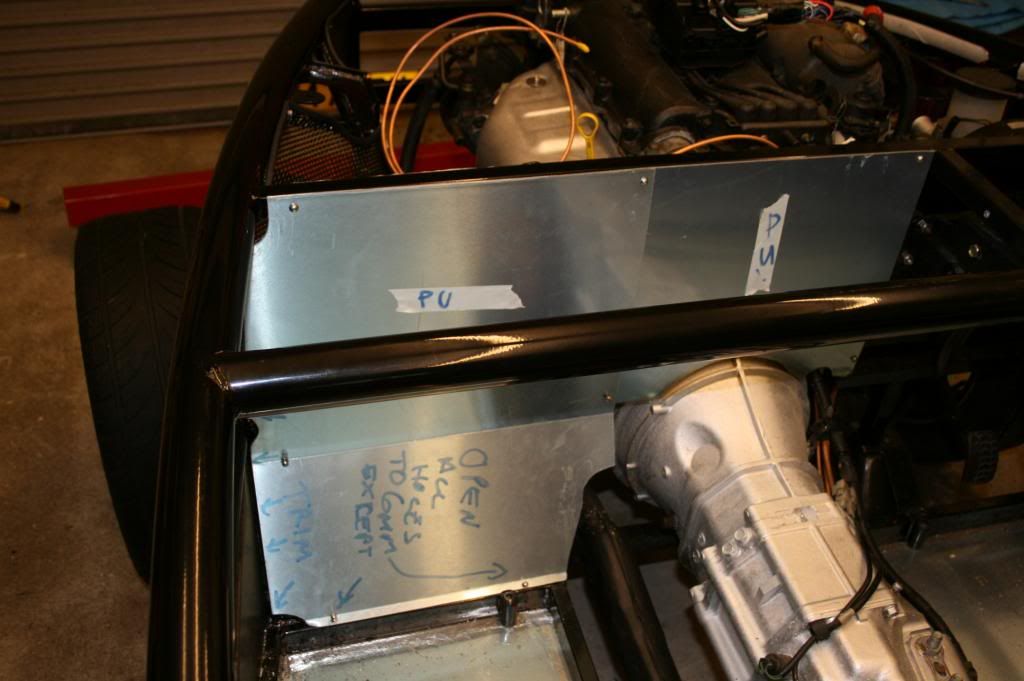
I also put in a number of smallish rivnuts in inaccessible places to take electrical looms later. The original PAS radiator refused to bend where I wanted it to go so I had to manufacture a new one and clip it in place.
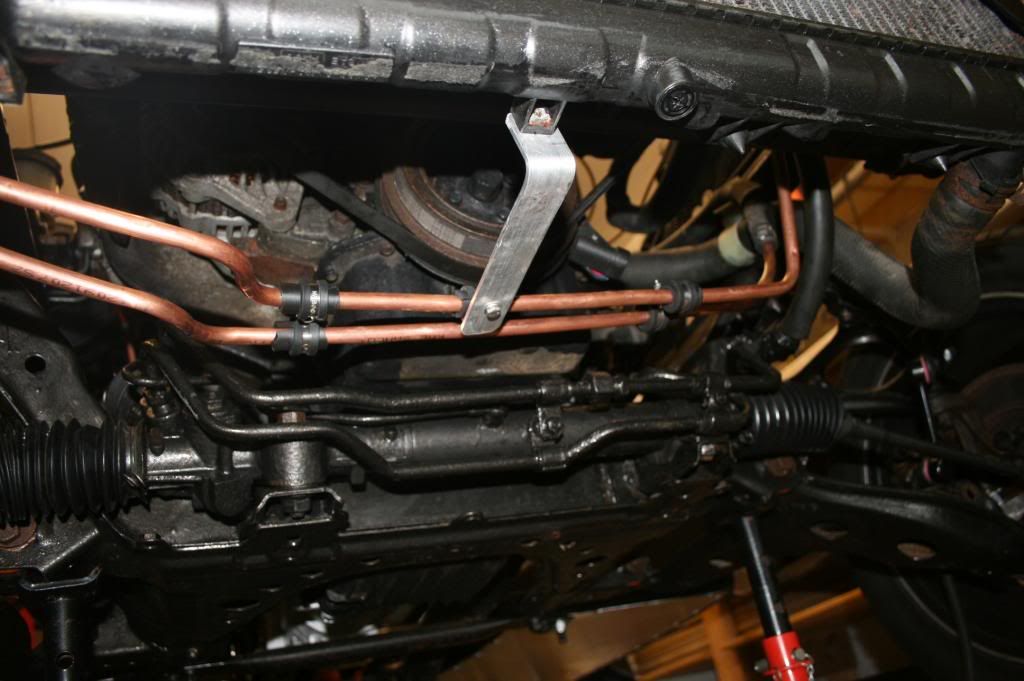
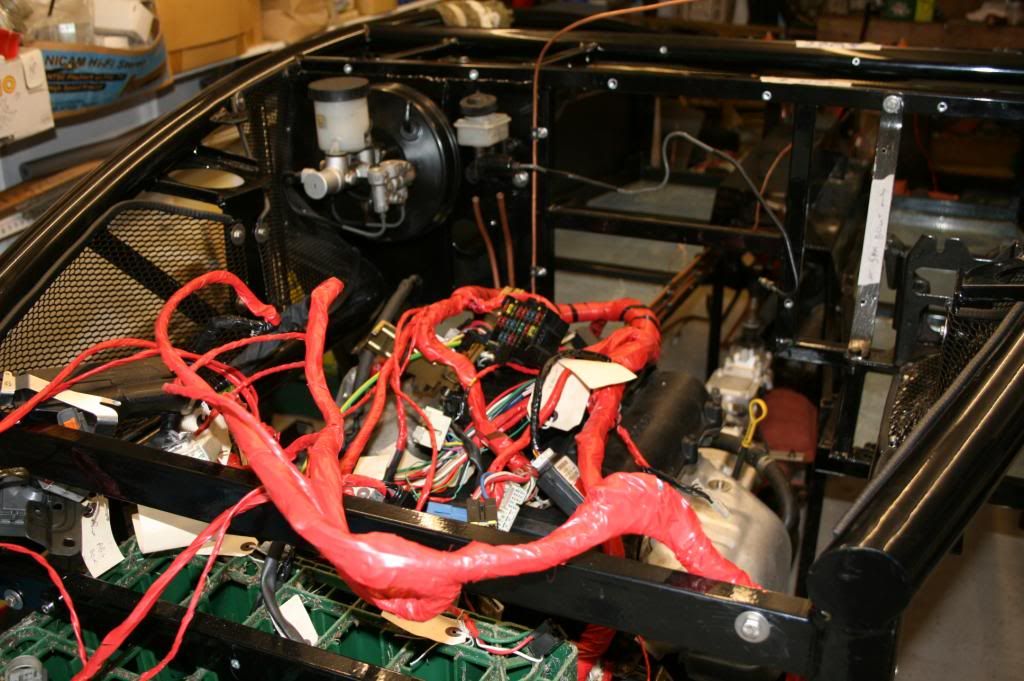
The perceived wisdom is that you don’t chop anything out of the electrical looms until everything is working again. But the looms in the Mk2 are bulky and stiff.
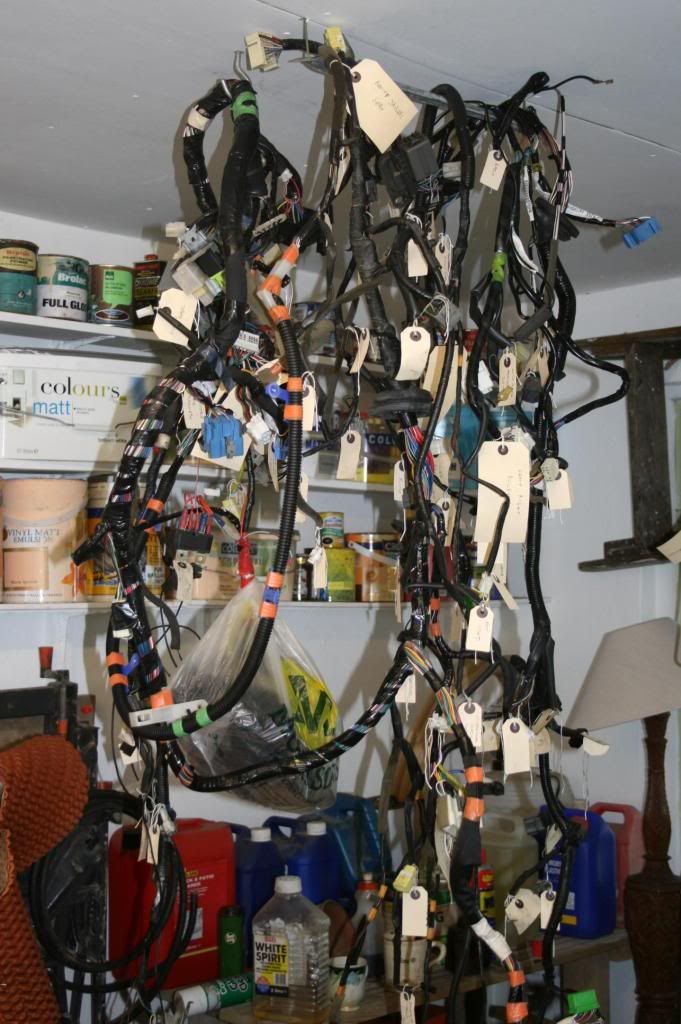
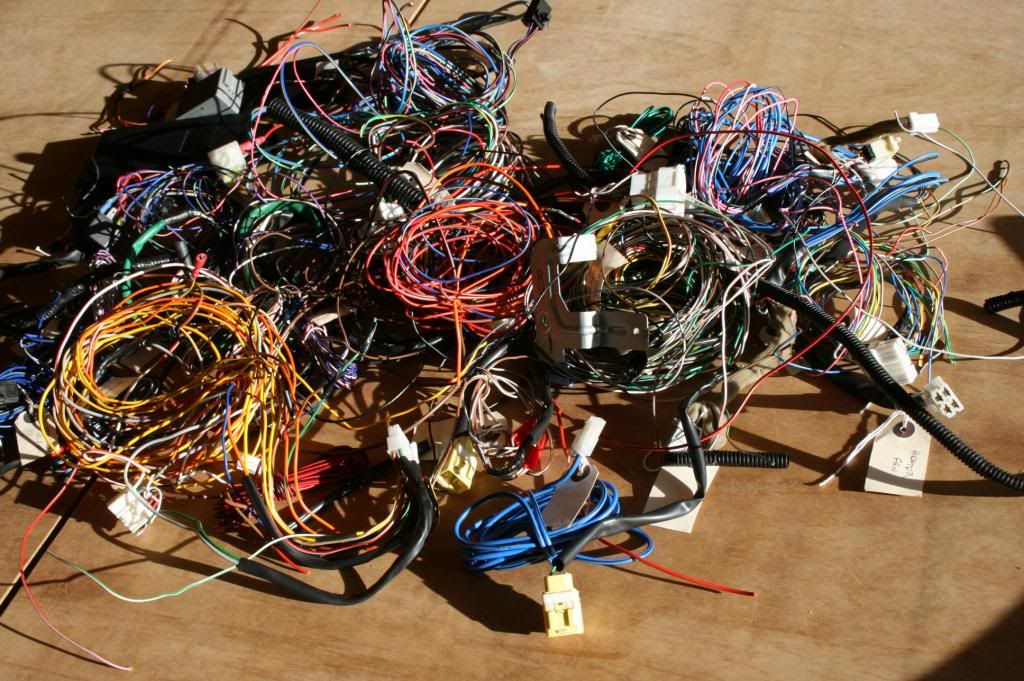
I tried but I could not get them to roughly sit where I would want them in the car. Additionally, my loom had previously had an aftermarket alarm clumsily grafted on and equally clumsily partially disconnected. An alarm is not required by the IVA, but, if it is fitted, it has to be working. So with the need to lose a lot of the bulk and a non-op alarm, I ignored perceived wisdom and started pruning. But I was very careful; I discarded the unwanted bits wire by wire, carefully checking the colours against the wiring diagrams and exposing the whole sections on the cabling to ensure I wasn’t snipping out any circuits that had been soldered in part way down a cable.
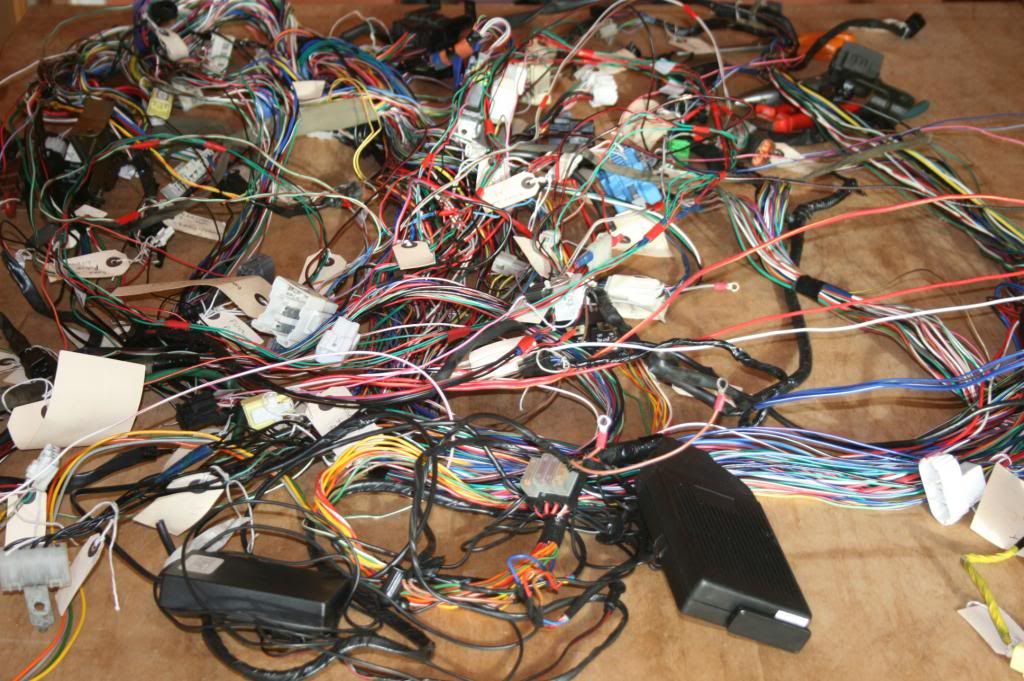
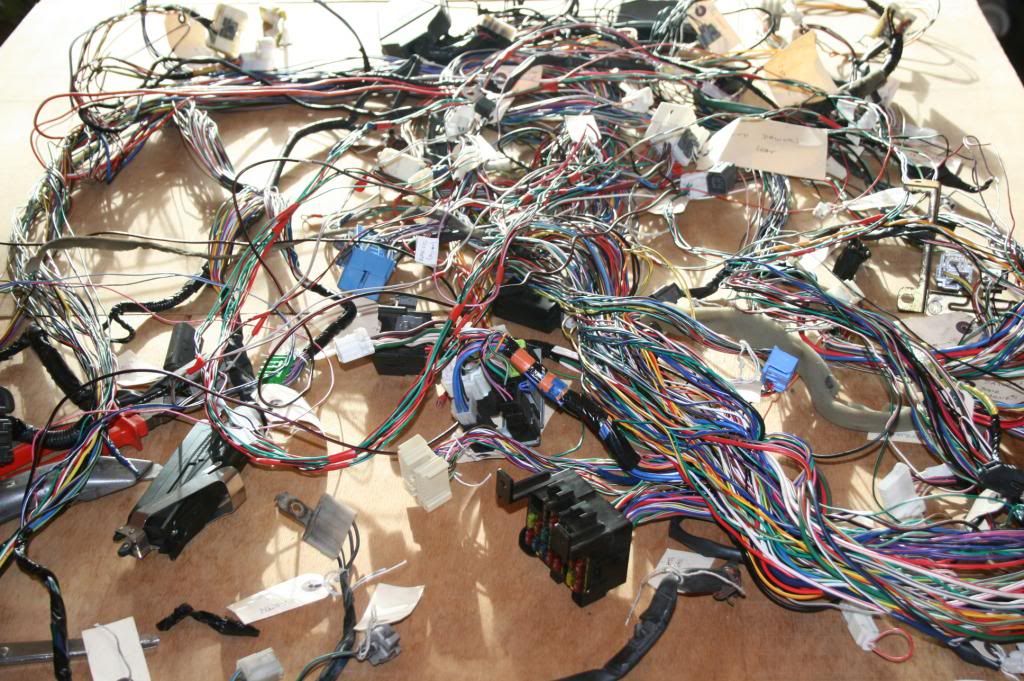
The old alarm …
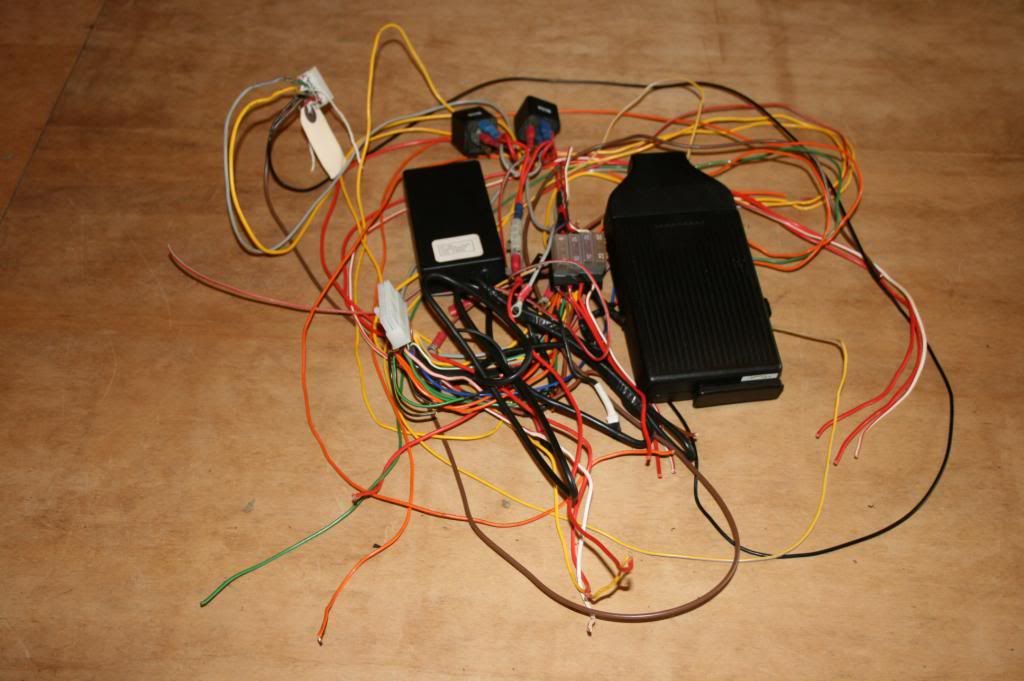
And the redundant circuits …
At this stage, a week before Xmas, the heat exchanger on my boiler blew up.
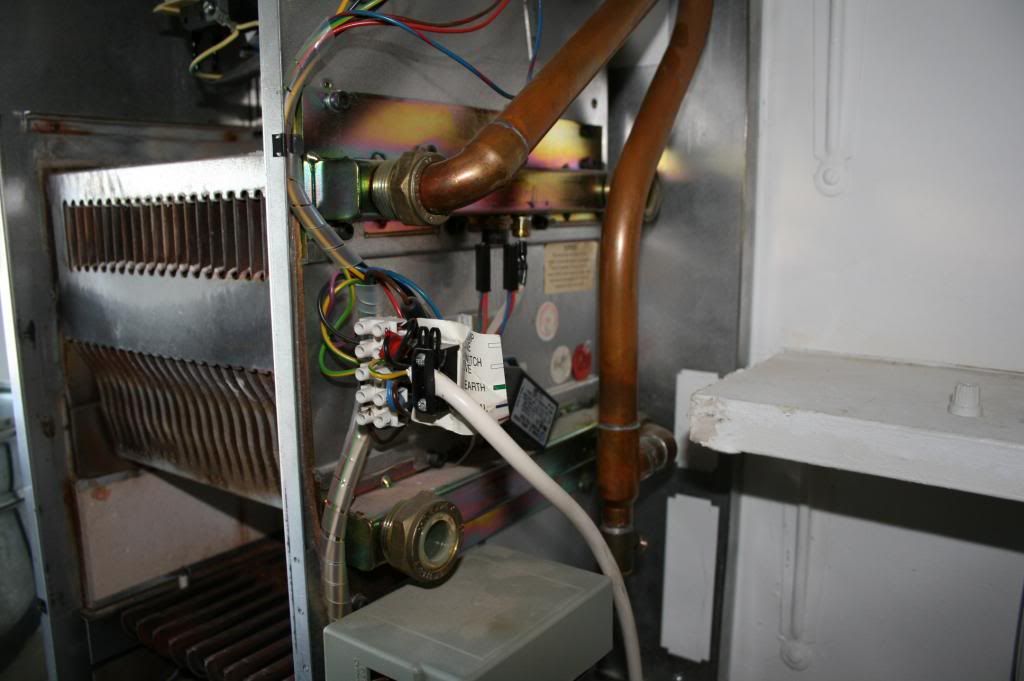
But that’s another story. The resulting electrical loom, now bound up with 1km of insulating tape was now much more bendy (bendier?) than before.
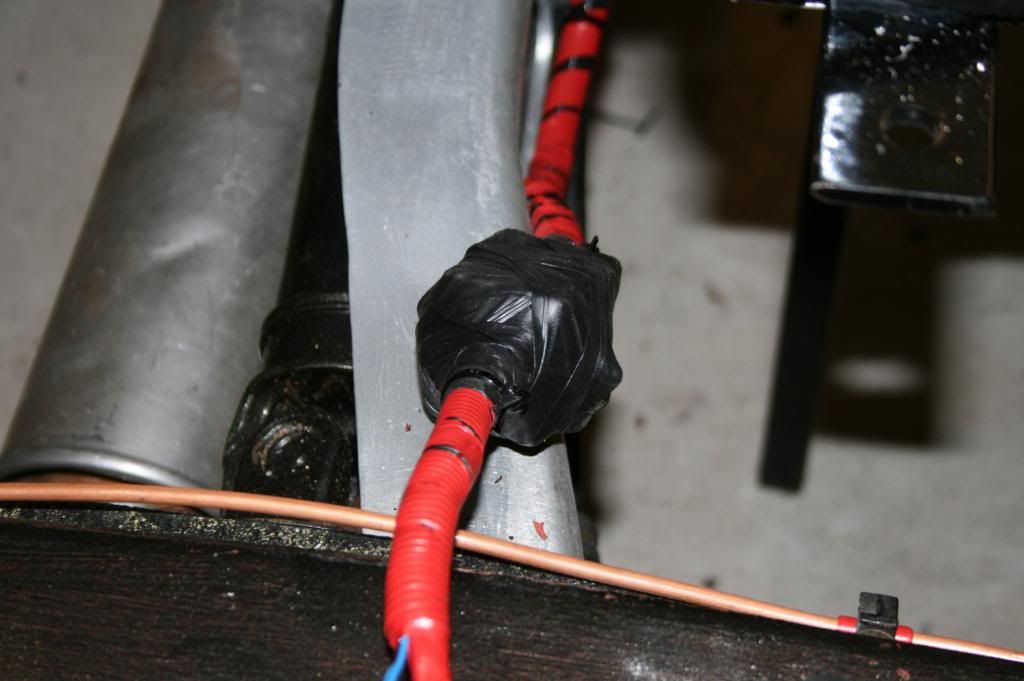
While the exo was still suspended above the running gear, I attached the second longitudinal loom to the frame (that’s the one that originally ran under the MX5 driver’s side carpet). This loom has a big connector just before the rear sub-frame. After experimenting with various waterproofing methods (like plastic Lurpack containers) I decided that the least bulky solution was to just tape the whole thing up with self-amalgamating tape.
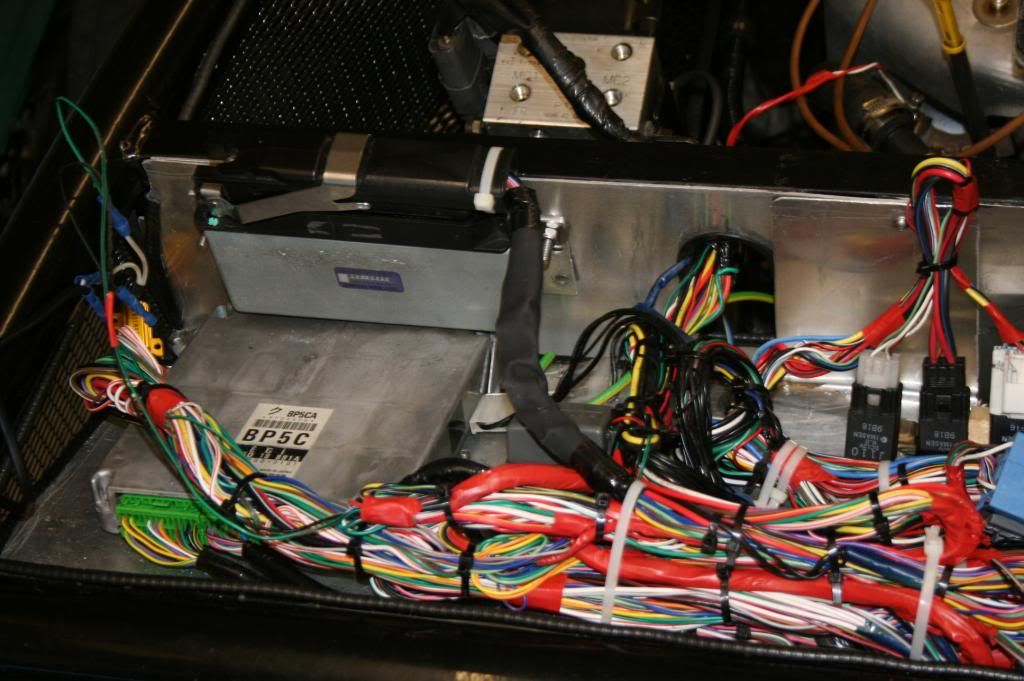
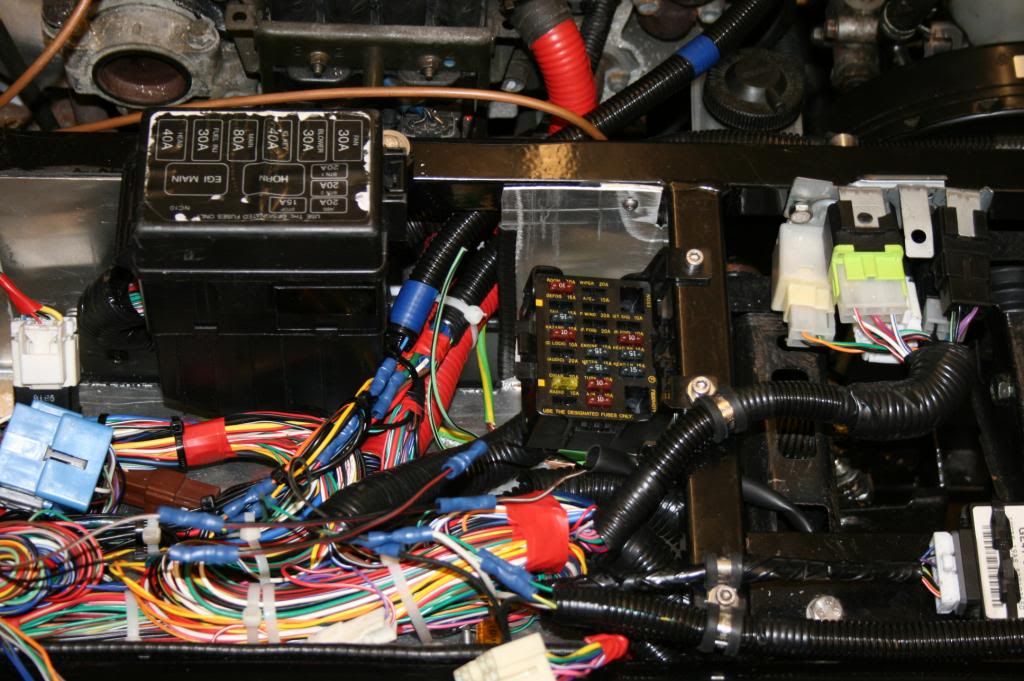
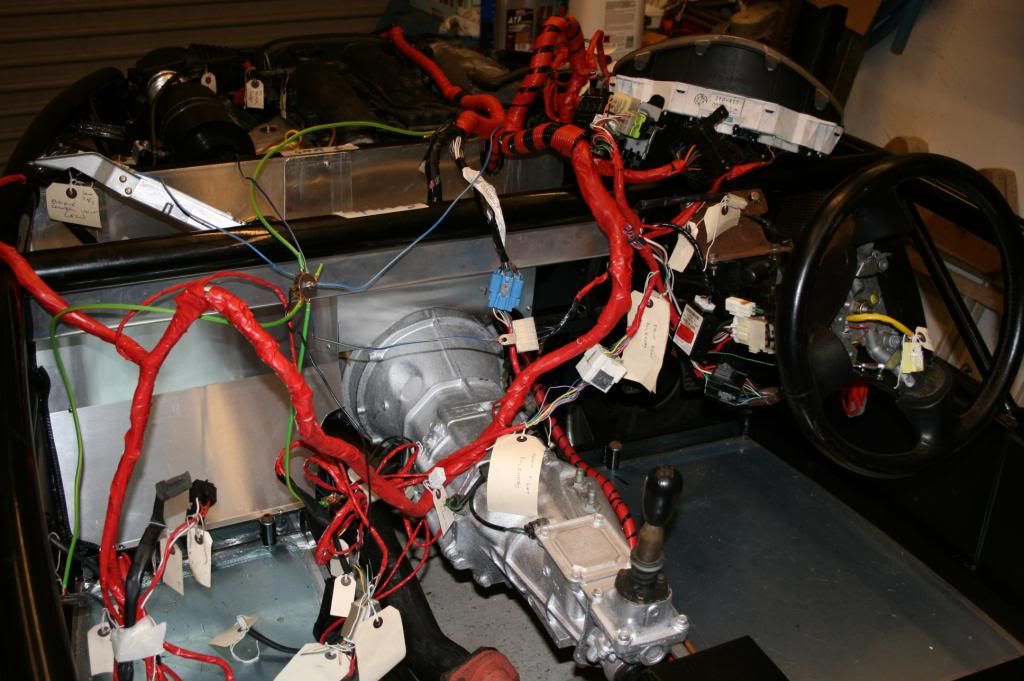
I was now able to lower the exo again and re-bolt it to the running gear. After manufacturing the obligatory electrical tray, I threw the loom roughly into position and connected up most of the plugs and sockets. At this time I have brought together all the earth points that I could find – the green and blue spider in this photo.
The moment of truth. Time to check the electrical circuits I have butchered and where better to start the audit than trying to start the engine.
I made some temporary fuel line connections to the fuel tank and remembered to put some fuel in the tank. I filled the radiator with coolant, topped up the PAS and turned the key. After some reluctance the engine started – made a bit of a fool of myself running into the street and shouting that the engine had fired up. Rev counter and oil pressure gauge OK but it’s running a bit rough, loads of exhaust fumes and with the charging light coming on after 15 secs.
I’m very pleased with the progress so far but realise that my knowledge of modern engine control systems is non-existent. A list of suggestions would be much appreciated.
I’ll report progress when (if?) I make any.
I had come to the conclusion that there were still a number of jobs that needed doing in the engine bay and under and around the chassis that would benefit from the chassis being taken off again. So, I undid the bolts (AGAIN!!!), raised the chassis by about 50cm and supported it in this position using some old table legs.

In my small garage I don’t have any spare weather-proof space to put the exo to one side, so this solution allowed me to work on different parts of the project at two different levels.
Cut, bent, clipped and flared rear fuel and brake pipes.

Manufactured and fitted rear transverse brake pipe.
Drilled and filed out hole for throttle cable.
Shortened the clutch rigid pipe, by putting in a couple of bends, and connected this to the flexible pipe.
Fitted brackets for the expansion tank, ABS and PAS reservoir.
Cut, clipped and flared front fuel pipes.

I’ve now got myself a little bit side-tracked. Looking at the factory demonstrators, the red car has the exo at the side of the engine semi-blocked-in with a silver grill (image 8 on the Exocet gallery). The purple demonstrator does not have this grilling. Although I have been convinced on other posts that a grill is not required for IVA purposes, I like the idea of concealing my grotty little engine bay from prying eyes. So with a bit of experimenting, I came up with a set of black aluminium grills.

And from the inside

And then I thought I could extend the grill to the first little triangle in the thinggypit for mounting the side repeaters later

While I was in the metal bashing mode, I fitted the passenger side and centre front bulkhead panels

I also put in a number of smallish rivnuts in inaccessible places to take electrical looms later. The original PAS radiator refused to bend where I wanted it to go so I had to manufacture a new one and clip it in place.

The perceived wisdom is that you don’t chop anything out of the electrical looms until everything is working again. But the looms in the Mk2 are bulky and stiff.

I tried but I could not get them to roughly sit where I would want them in the car. Additionally, my loom had previously had an aftermarket alarm clumsily grafted on and equally clumsily partially disconnected. An alarm is not required by the IVA, but, if it is fitted, it has to be working. So with the need to lose a lot of the bulk and a non-op alarm, I ignored perceived wisdom and started pruning. But I was very careful; I discarded the unwanted bits wire by wire, carefully checking the colours against the wiring diagrams and exposing the whole sections on the cabling to ensure I wasn’t snipping out any circuits that had been soldered in part way down a cable.


The old alarm …

And the redundant circuits …

At this stage, a week before Xmas, the heat exchanger on my boiler blew up.

But that’s another story. The resulting electrical loom, now bound up with 1km of insulating tape was now much more bendy (bendier?) than before.

While the exo was still suspended above the running gear, I attached the second longitudinal loom to the frame (that’s the one that originally ran under the MX5 driver’s side carpet). This loom has a big connector just before the rear sub-frame. After experimenting with various waterproofing methods (like plastic Lurpack containers) I decided that the least bulky solution was to just tape the whole thing up with self-amalgamating tape.

I was now able to lower the exo again and re-bolt it to the running gear. After manufacturing the obligatory electrical tray, I threw the loom roughly into position and connected up most of the plugs and sockets. At this time I have brought together all the earth points that I could find – the green and blue spider in this photo.

The moment of truth. Time to check the electrical circuits I have butchered and where better to start the audit than trying to start the engine.
I made some temporary fuel line connections to the fuel tank and remembered to put some fuel in the tank. I filled the radiator with coolant, topped up the PAS and turned the key. After some reluctance the engine started – made a bit of a fool of myself running into the street and shouting that the engine had fired up. Rev counter and oil pressure gauge OK but it’s running a bit rough, loads of exhaust fumes and with the charging light coming on after 15 secs.
I’m very pleased with the progress so far but realise that my knowledge of modern engine control systems is non-existent. A list of suggestions would be much appreciated.
I’ll report progress when (if?) I make any.


