|
|
Post by ecowindman on Feb 15, 2013 22:51:03 GMT
Hi Chris This might help explain 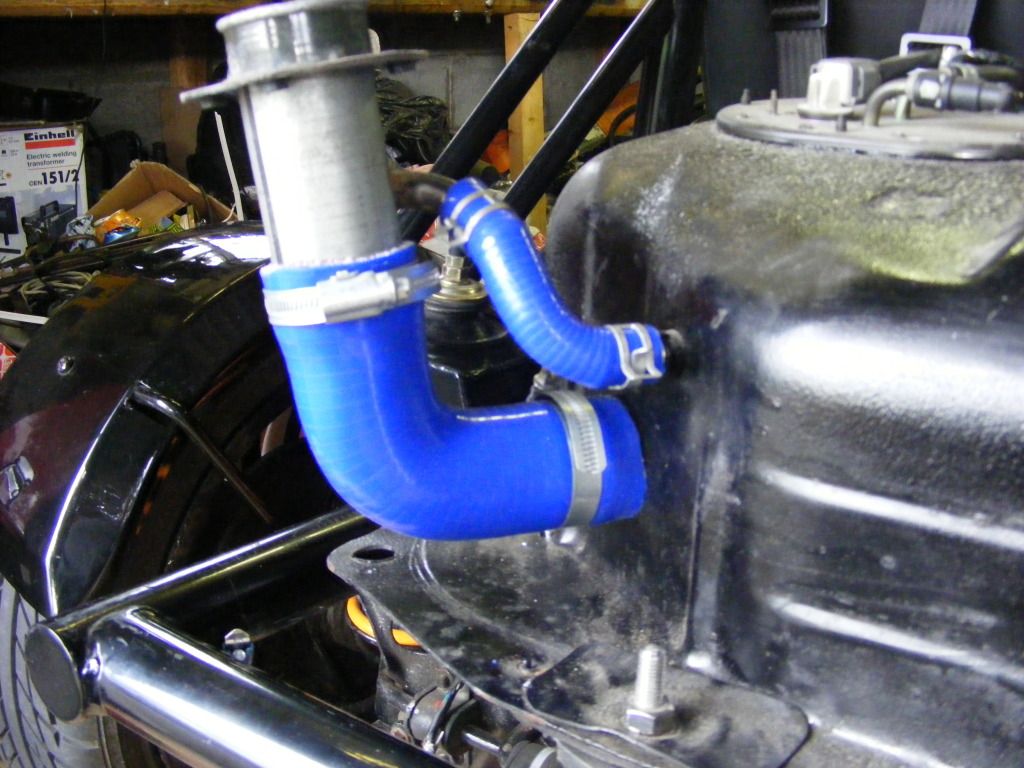 |
|
|
|
Post by scooby1929 on Feb 16, 2013 9:05:21 GMT
Thanks Geoff looks a fairly straight forward solution.
|
|
|
|
Post by gwnwar on Feb 16, 2013 16:30:52 GMT
Nice clean install. Were did you get the tubing..
|
|
|
|
Post by scooby1929 on Feb 22, 2013 14:47:49 GMT
Got a few hours on the car last night until i froze. I welded on 4 tabs at an angle for the fuel cover. 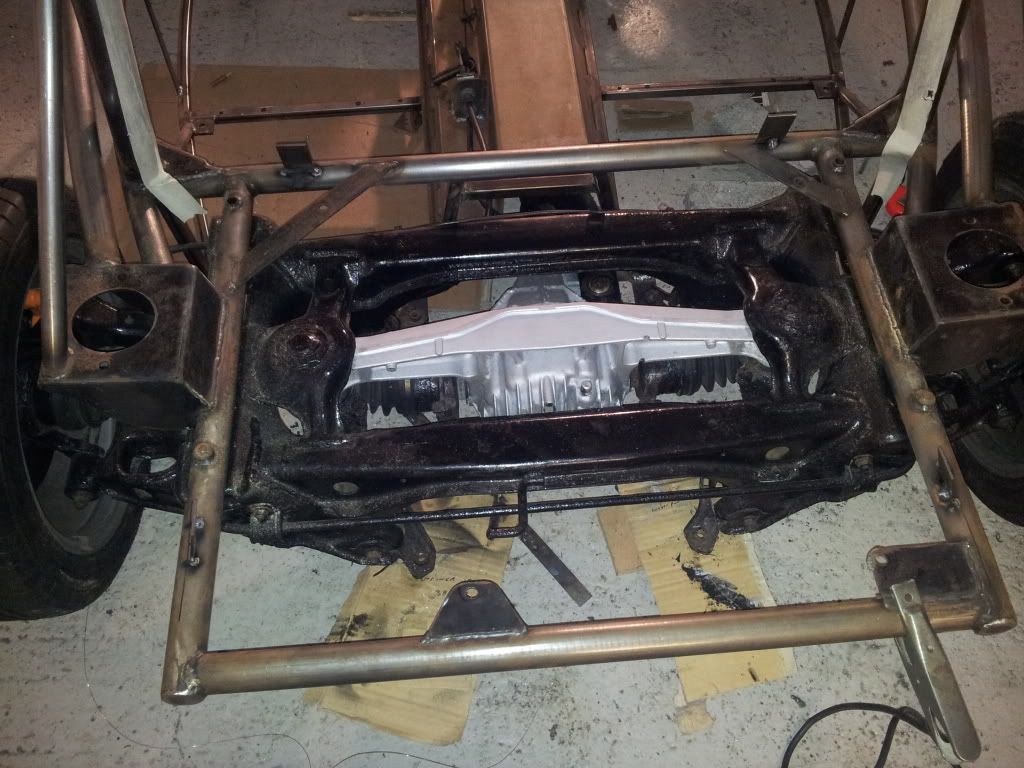 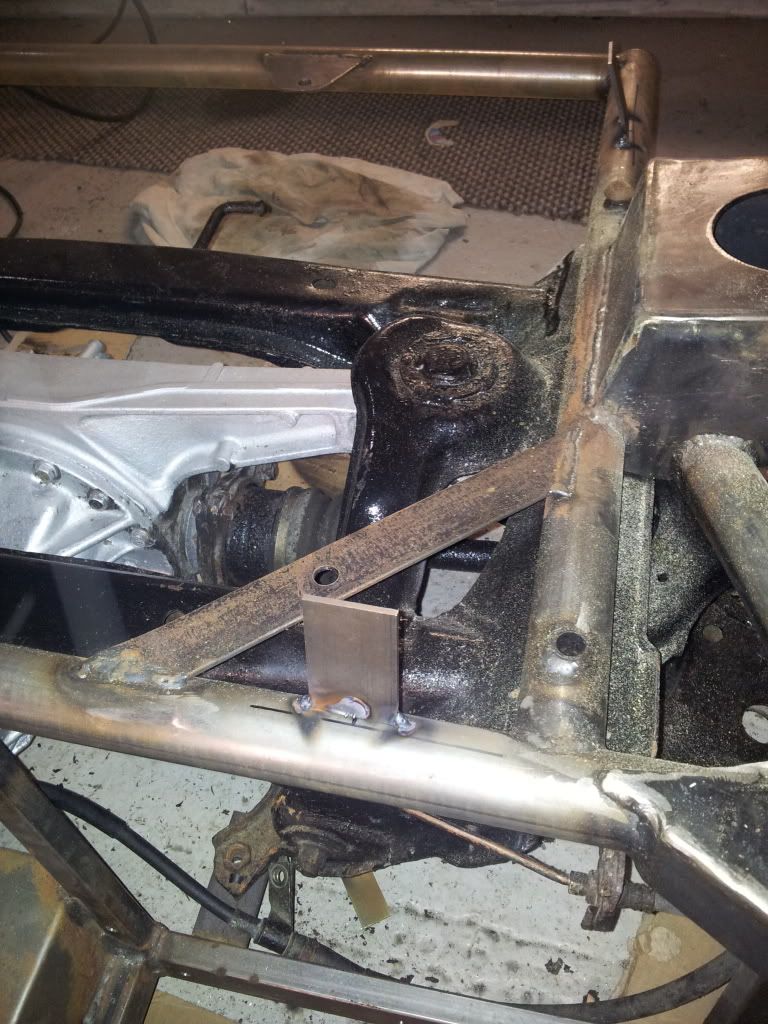 I then set the the fuel tank cover on and got underneath and tapped the brackets forward until they contacted the inside of the fuel cover. Next job was to make up 2 brackets for the front flexi hoses 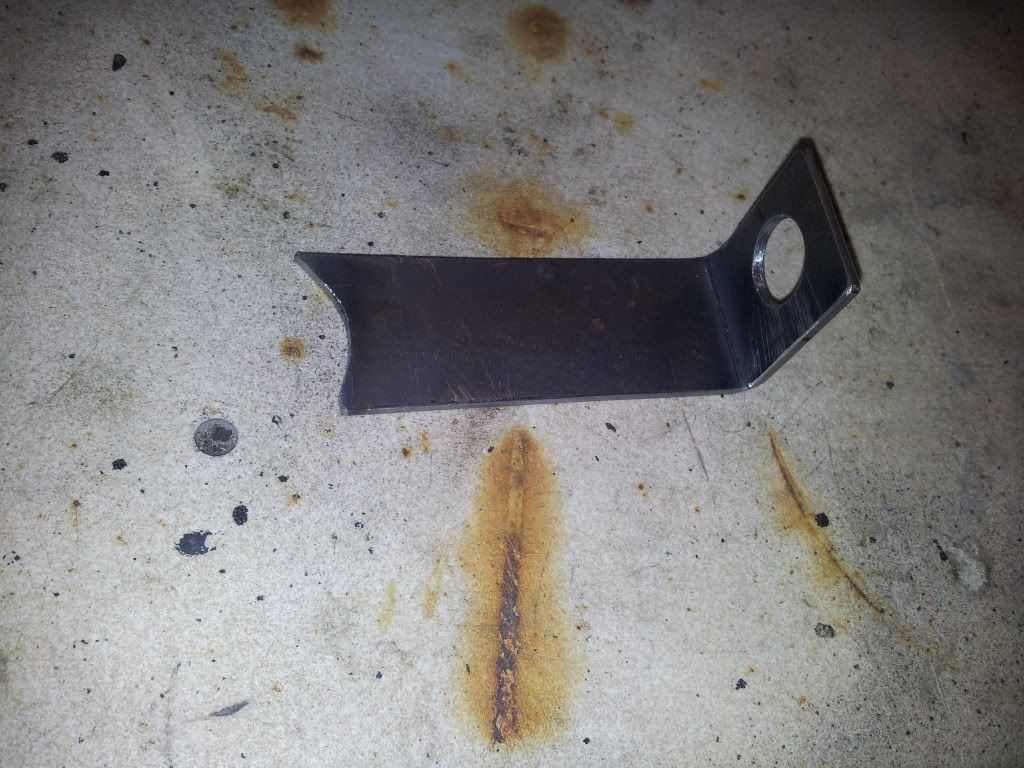 I had peviously worked out the exact location of these brackets by using my mk1 mx5 and measuring the distances from the upper wishbones. I then welded them on 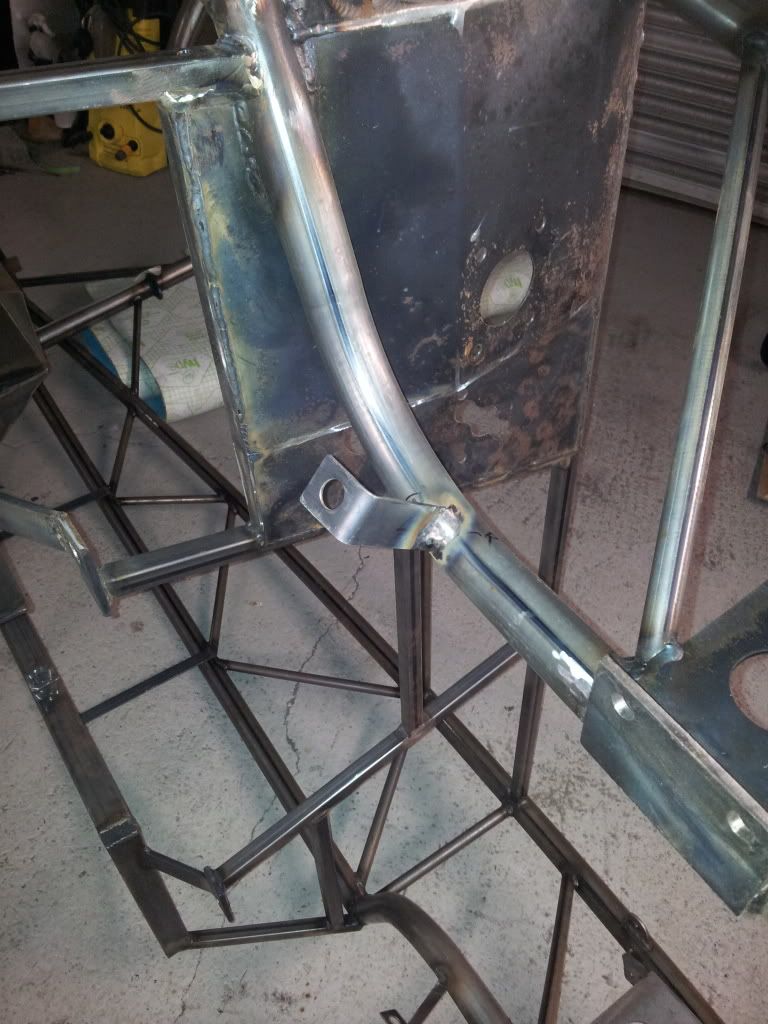 Tonights job is to drill off the holes for my fuel brackets that run along the tunnel then she is off to the shot blaster, zinc coating and finally powdercoat. |
|
|
|
Post by jgilbert on Feb 23, 2013 5:05:58 GMT
Chris, liking the bracket work for the rear cover and brake lines. Looks a proper job, have similar plans for our build. Easy to do when its a bare frame and will look neat when its all coated. Good Work.  No sure how you plan to attach your fuel lines but thats my next job. I'm using plastic copper pipe clips from screw fix. They are 15mm OD clips www.screwfix.com/p/double-hinge-clip-15mm-pack-of-50/20167I'm then using a 5mm s/s machine screw to mount these to my PPF. The only problem is you get a bag of 50. But for £8 its not bad value compared to p clips. Think Stubber's used a similar clip for his fuel lines. |
|
|
|
Post by scooby1929 on Feb 23, 2013 9:21:31 GMT
Jgilbert i will put a wee pic up later how i plan to mount my fuel lines. On my way now actually to drill the holes for the brackets.
Thanks for your comments
|
|
|
|
Post by scooby1929 on Feb 23, 2013 13:47:14 GMT
|
|
|
|
Post by gwnwar on Feb 23, 2013 20:35:04 GMT
Scooby.. for a little over kill you could run a piece of metal (flat or 90deg)between rivet head and clip bracket extending inward about an inch to protect the lower line in bracket.. I know over kill.. Like your detail work..
|
|
|
|
Post by scooby1929 on Feb 23, 2013 22:43:55 GMT
That's a good idea George. The mx5 brackets have 4 parts to them 3 for fuel (feed, return and cannister) and rear brakes. The one closest to the ground wont carry a pipe as I am not using the cannister
|
|
|
|
Post by scooby1929 on Feb 25, 2013 18:17:26 GMT
And so she is off to the powdercoater.... I also left the wing stays, roll bar and a few other bits and bobs to Just being boring and going high shine gloss black to go with my orange bodywork. 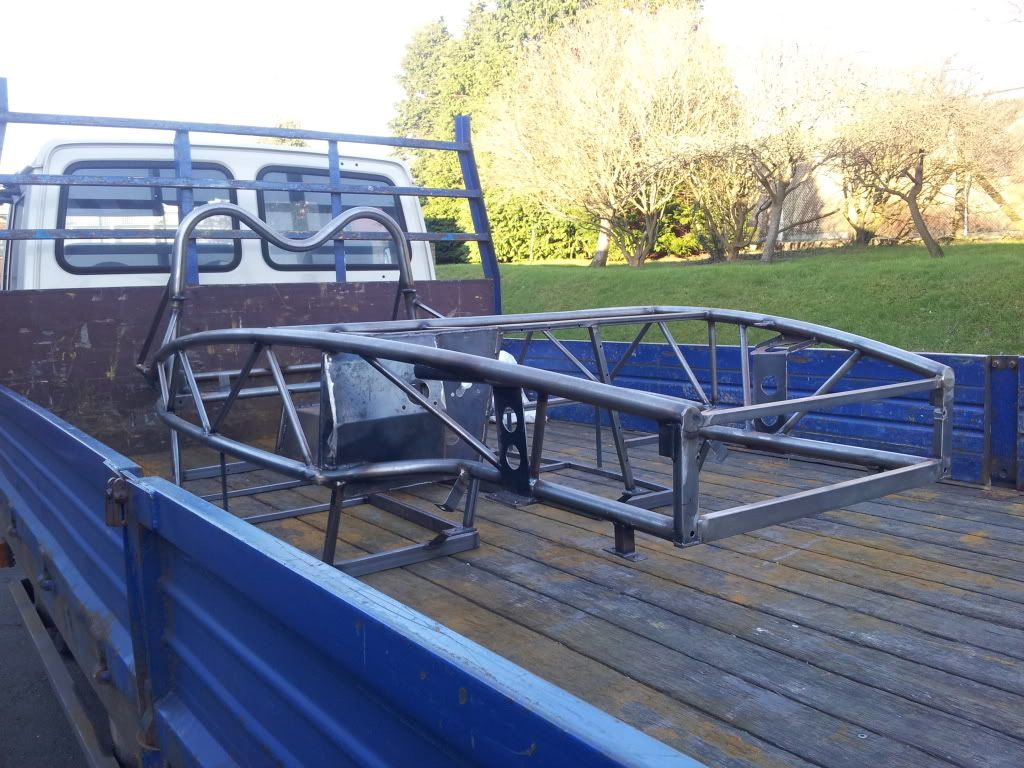 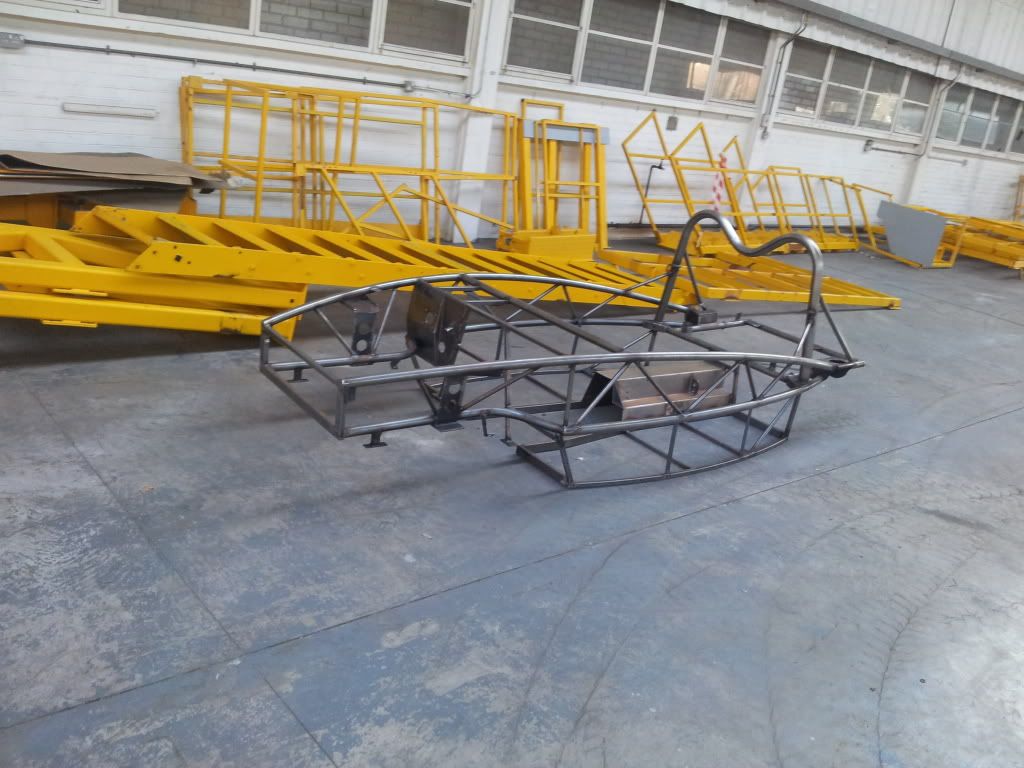 |
|
|
|
Post by scooby1929 on Mar 1, 2013 17:27:42 GMT
I thought nice day today what could i do... Before... 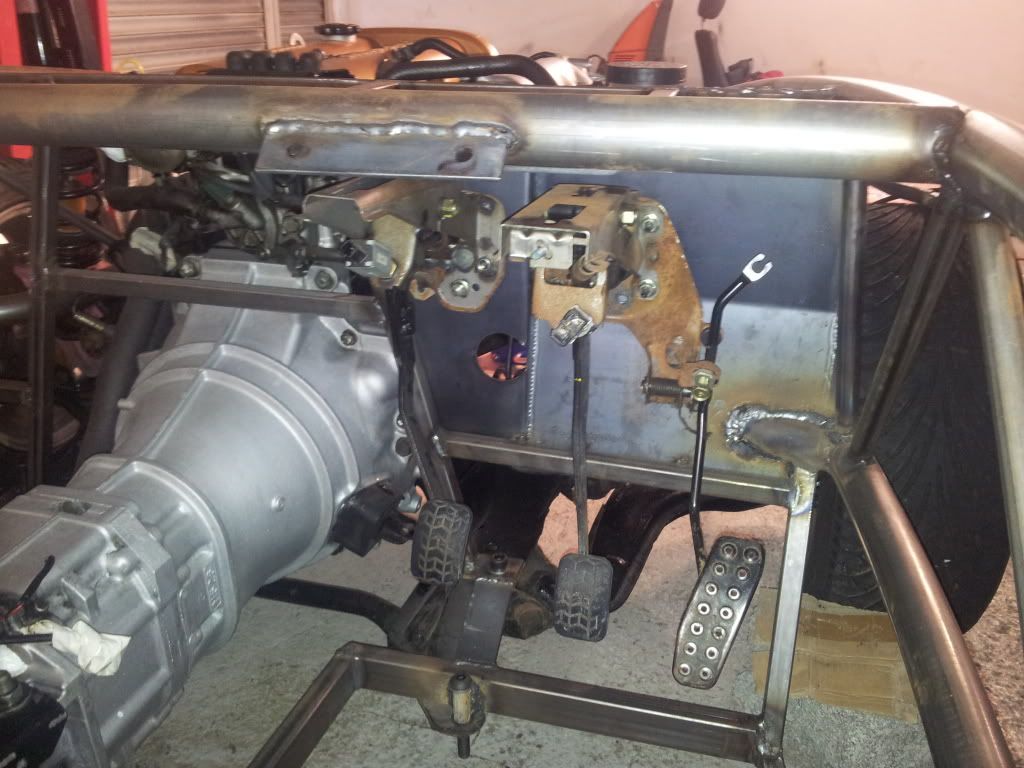 Treated the pedals to a few coats of paint I new this green bin would come in useful for something 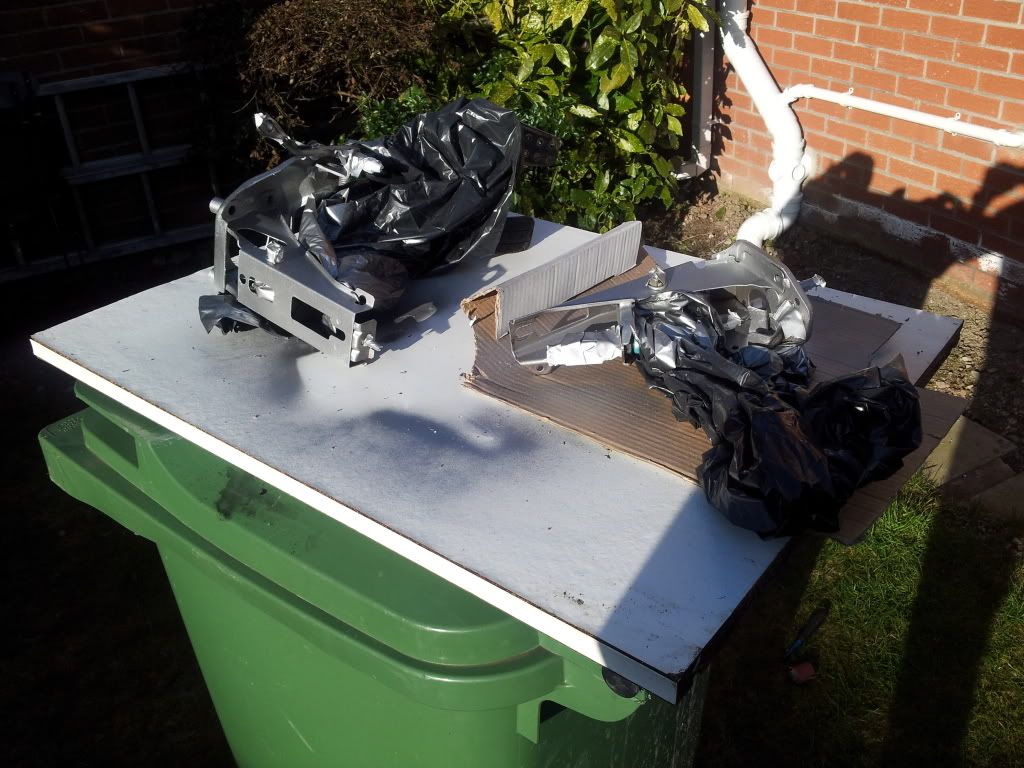 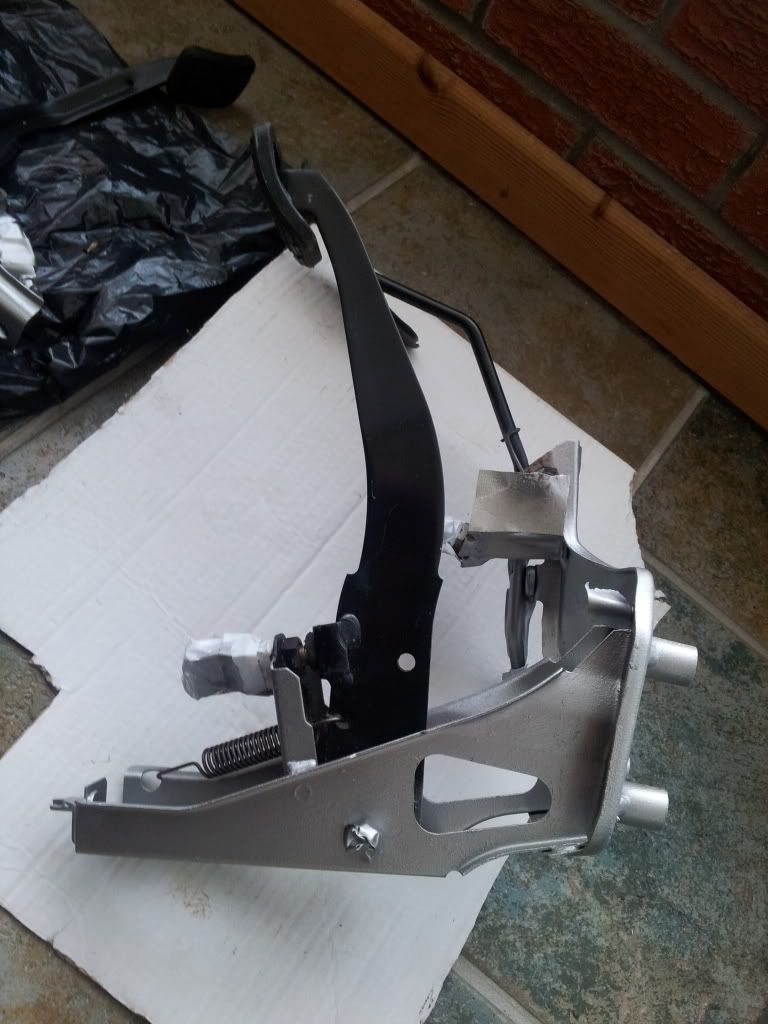 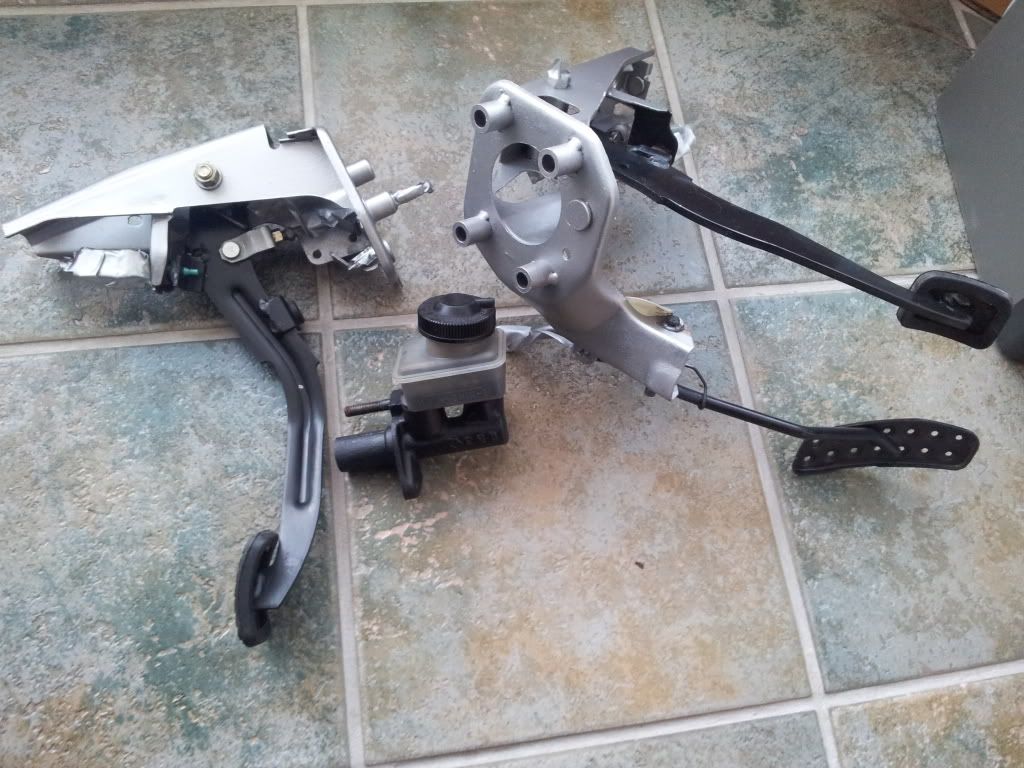 |
|
|
|
Post by scooby1929 on Mar 13, 2013 19:52:08 GMT
Fuel tank painted 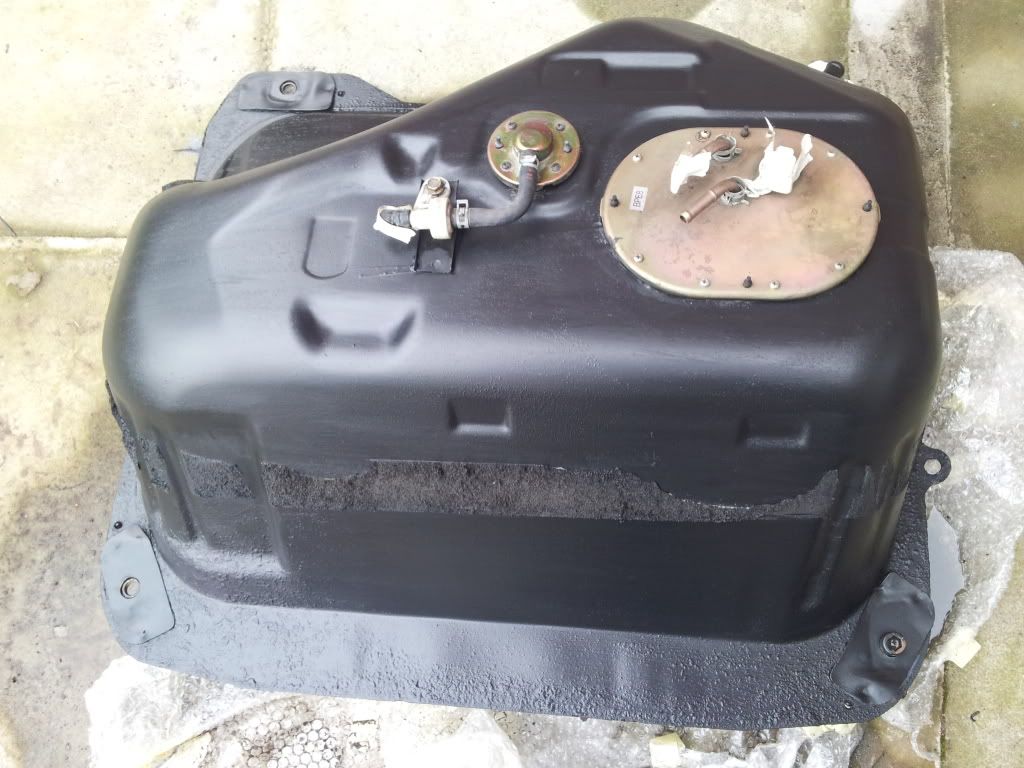 New clutch slave cylinder fitted 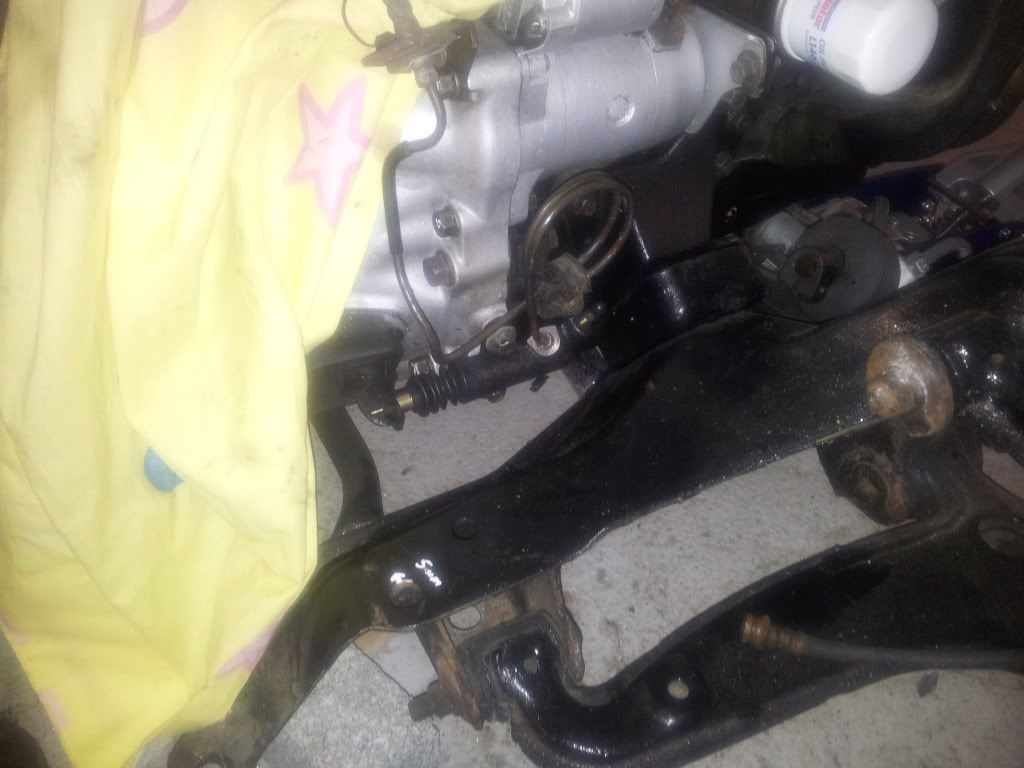 She is back from the powdercoater. Shot blasted, zinc undercoated and top coat 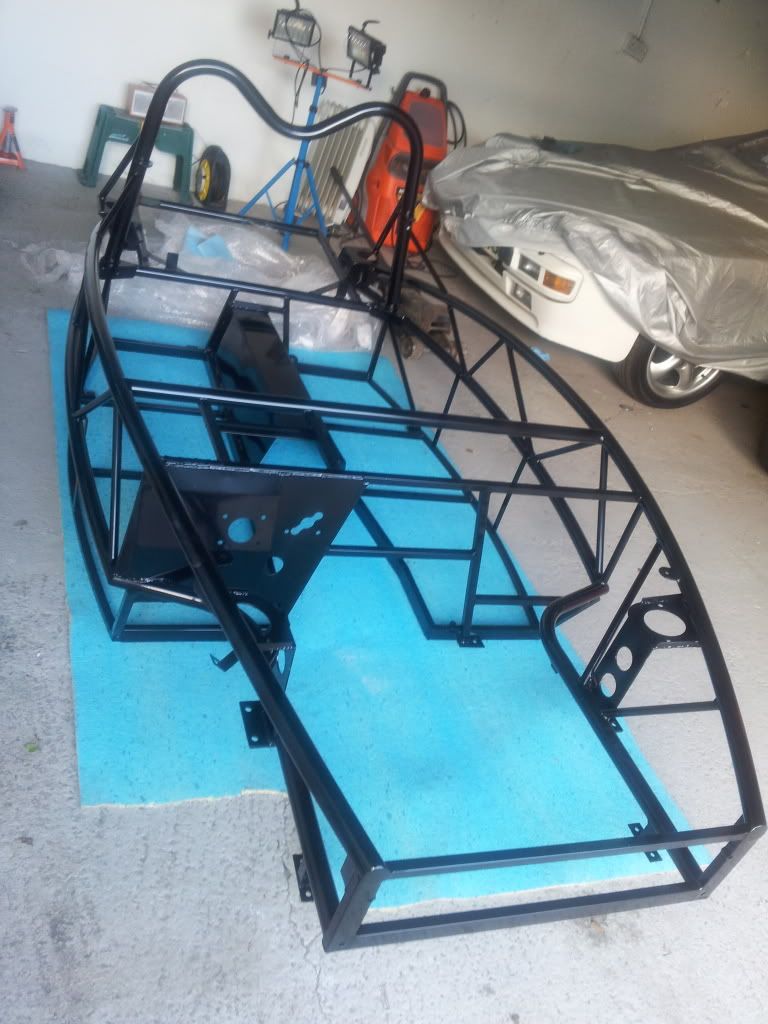 |
|
|
|
Post by gwnwar on Mar 14, 2013 1:46:12 GMT
Now the fun begins..again..
|
|
|
|
Post by scooby1929 on Mar 20, 2013 19:11:55 GMT
Really did not like the roll bar. The lugs are far to thin for my liking and also the lugs that they attach to on the frame are twice as thick. The bolt is also in single shear and there is also a moment due to the lug being offset. IMO with a large impact this bar could twist and shear off so to be on the safe side i welded on an extra lug and gusset plate BEFORE 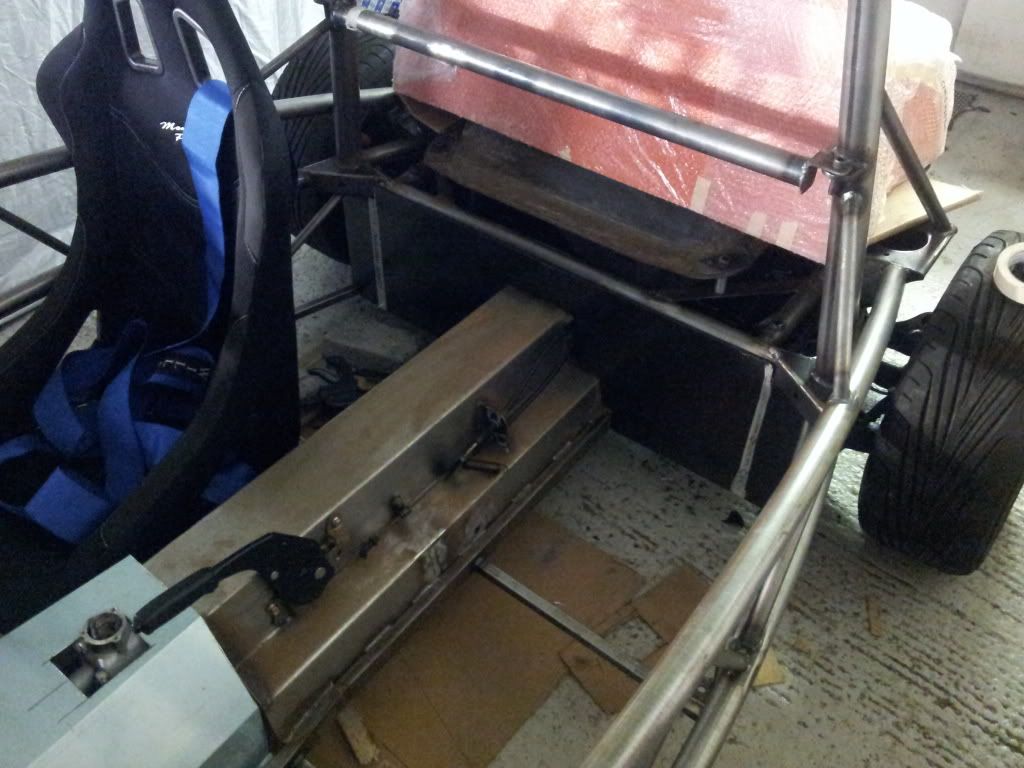 AFTER 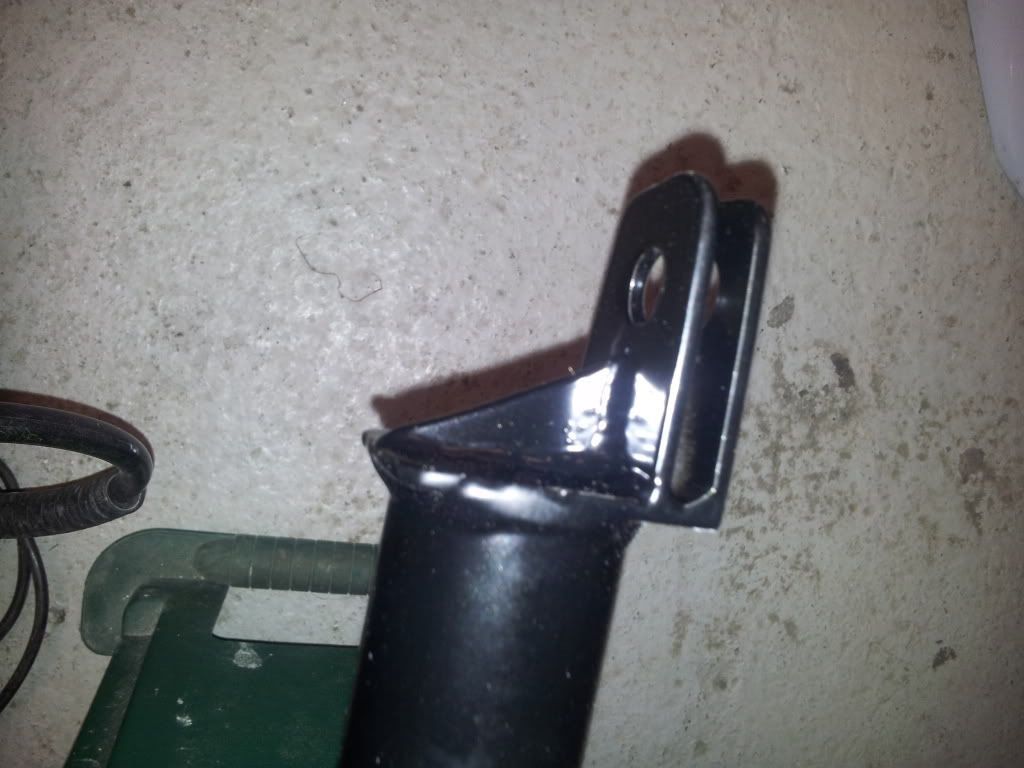 I got the floor rivetted in so big thanks to Andy888 for lending me his lazy tongs. Great tool. Talking of great tools i fitted all the rivnuts to my frame and the memfast tool is superb. Fuel brackets also fitted. I then bolted my frame onto the chassis. Side panels fitted and radiator. Its great to actually properly fit parts and freeing up space. 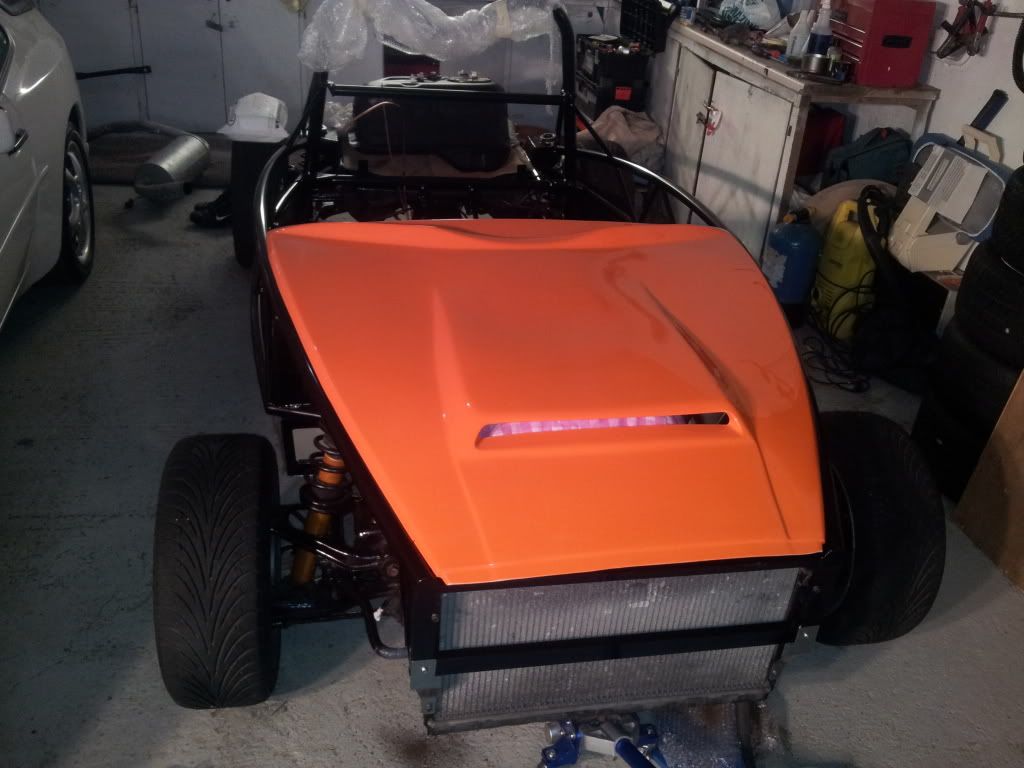 |
|
|
|
Post by jgilbert on Mar 20, 2013 21:01:40 GMT
Wow, looking very nice and great progress. Love the orange panels.
Agree the Memfast tool is good quality, don't know what I would do without one now. However, most favour tool is my new Cleco pliers and pins, may originally seen them on your build!
Great piece of kit.
|
|