|
|
Post by h5ngs on Nov 19, 2011 19:09:29 GMT
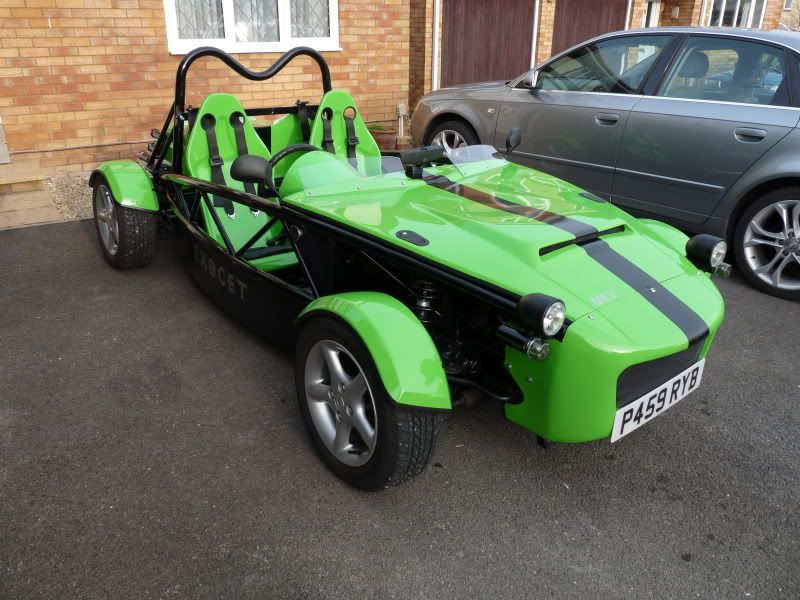
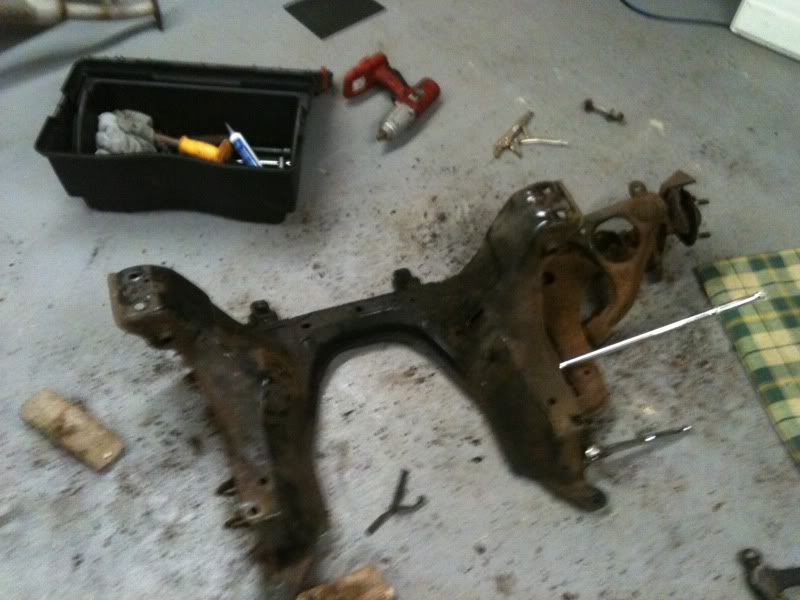
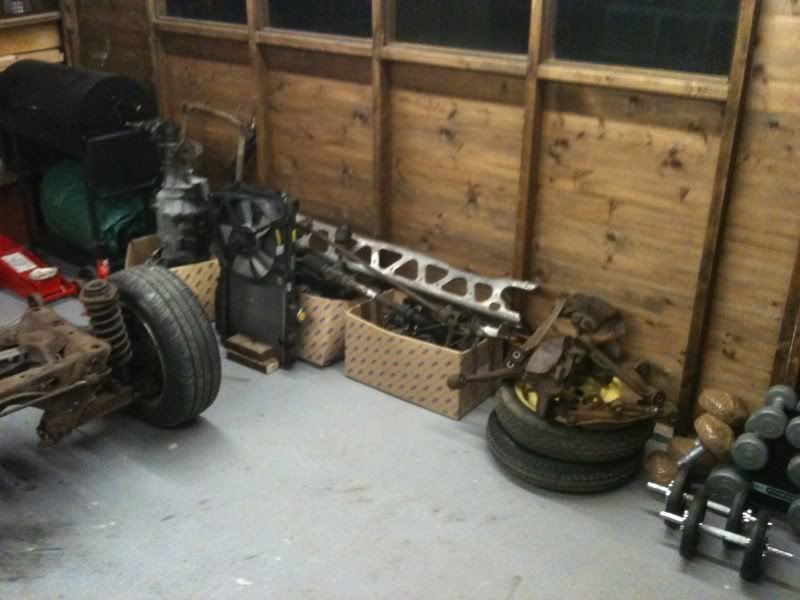
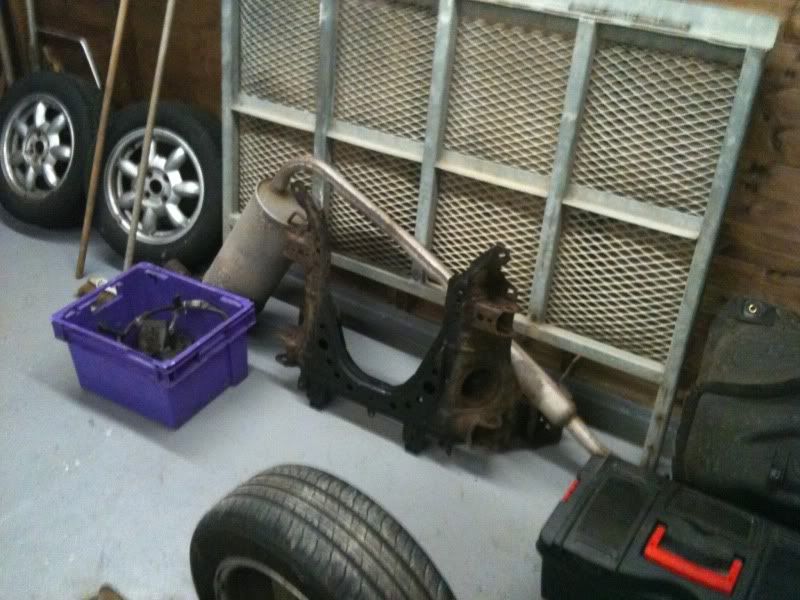
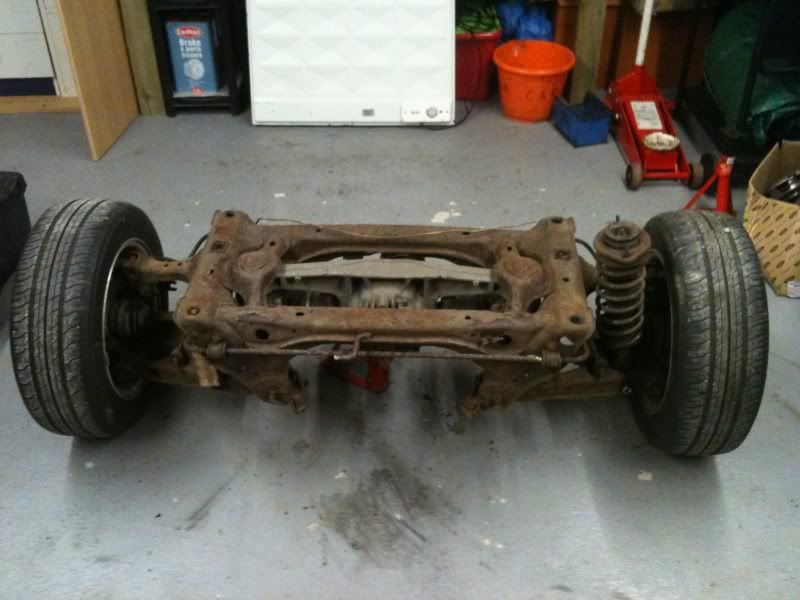
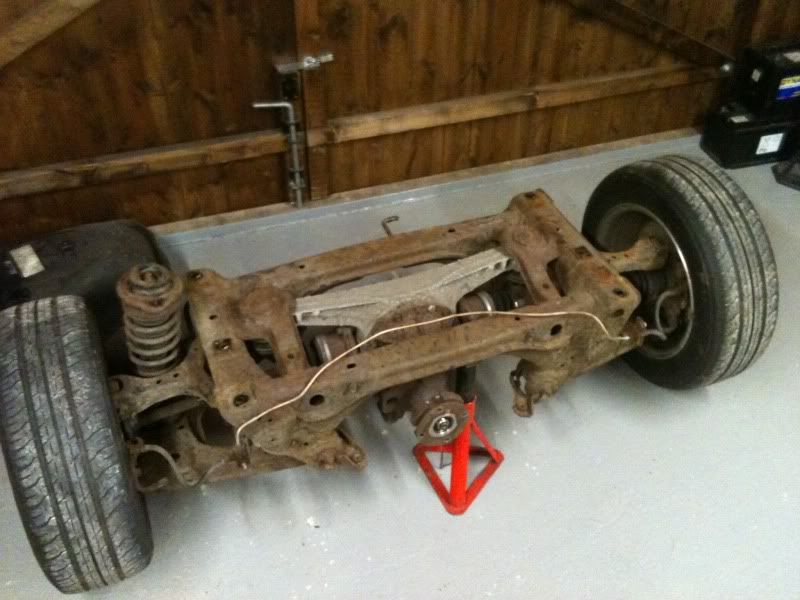
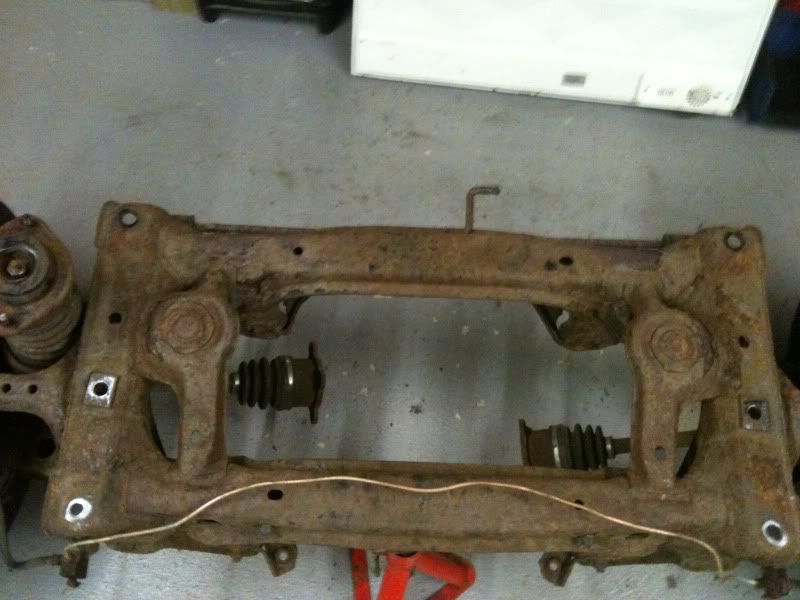
Well here goes i've eventually got to the point where my new workshop is almost complete and i have made a start on stripping down one of my donor cars. The car i got was already part stripped as my friend was swapping parts over onto his new 5 when i bought it off him. It already had no carpet, seats and centre console and a few other bits missing. Here is the car when i first got it.  When i got it i sold the roof, dashboard, hardtop brackets, mirrors etc... to help fund the project, i'm not using this car as my main build car i'm just stripping this one down to removed suspension as there in better condition that the 1.6 plus this one has a LSD being a 1.8 and chassis brace bars fitted. The car i'm using for the build is a 1.6 and i drove it for a year before i decided to start building a kit car.  Anyways here's some pictures of the car as of last night. All of the used parts i cant be bothered selling or wont sell were binned today to give more room and all metal parts not needed will be weighed in.        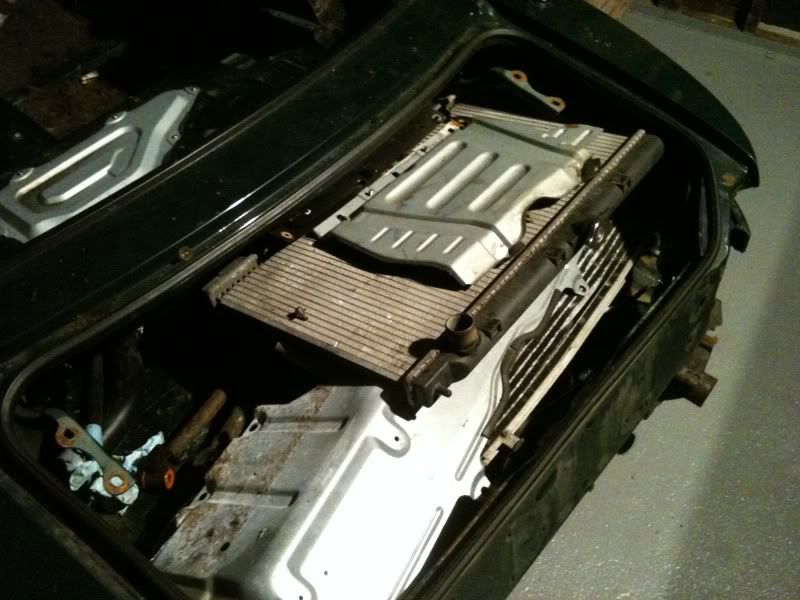 So parts removed last night were, rear bumper cover, front and rear bumper supports, full wiring loom, bonnet, plastic undershields and front bumper plastics, heater box, ecu and plates, bonnet cables, carbon canister (partly), drained coolant, airbox and pipework, fuel pipes and brackets for tank, So was a productive night, all done under the crappy lights and using a torch so hence the poor pictures, really all that's left to do is removed the radiator, few engine parts, doors, then underneath to remove hand brake cables, remove steering column and then unbolt the body and it should come off, still undecided if im going to split the front and rear subframe's then lift the front and roll it out then lift the rear and roll that out leaving me the body or lift it all in one go, as ill be doing it on my own probably the first option sounds easiest but we'll see. As for the body think a still saw will make easy work  haha Anyway ive enjoyed building my workshop now its time to enjoy the reason i started all this in the first place  |
|
|
|
Post by h5ngs on Jan 31, 2012 20:11:32 GMT
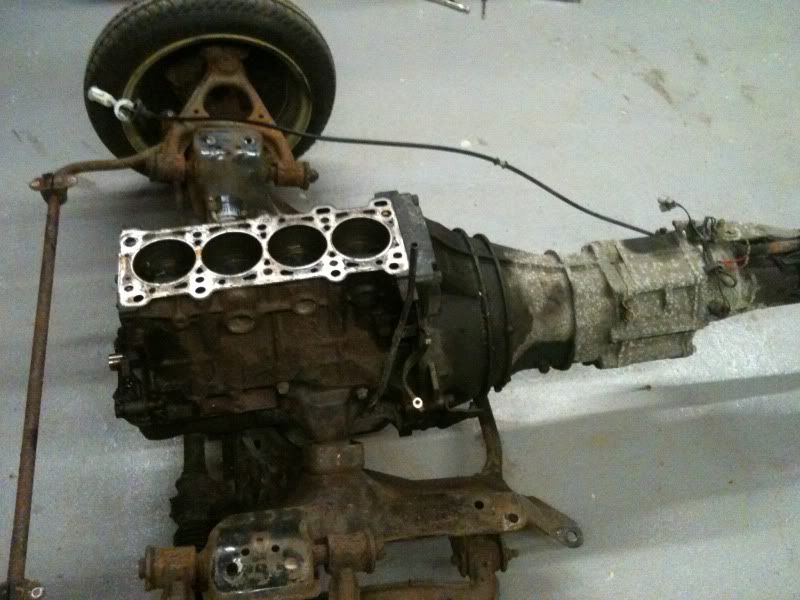
Ive been stripping more off the mazda recently so thought id update my build. As my garage is now all complete i can concentrate on my build threasd now  Ive stripped down all parts the off the engine and anything left on the body that i could find that was metal and weighed them in. I took off the engine ancillaries and head and scrapped them too.   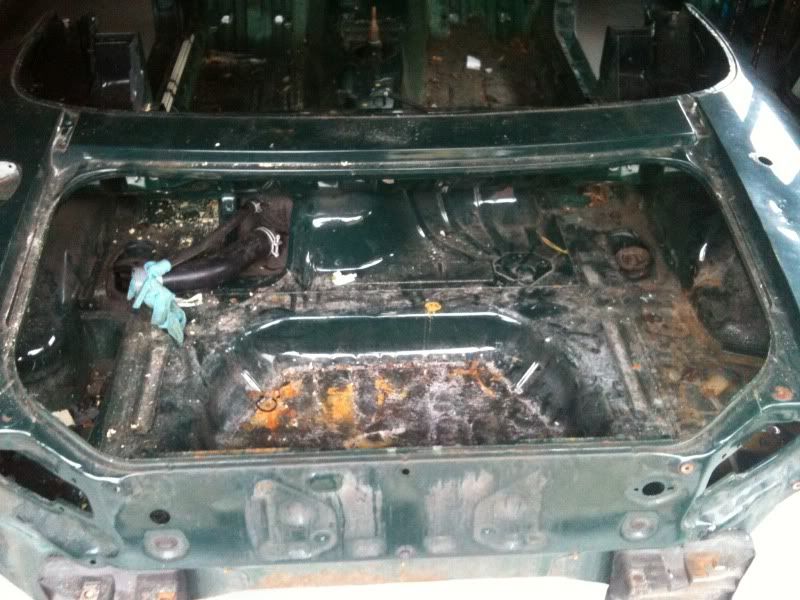    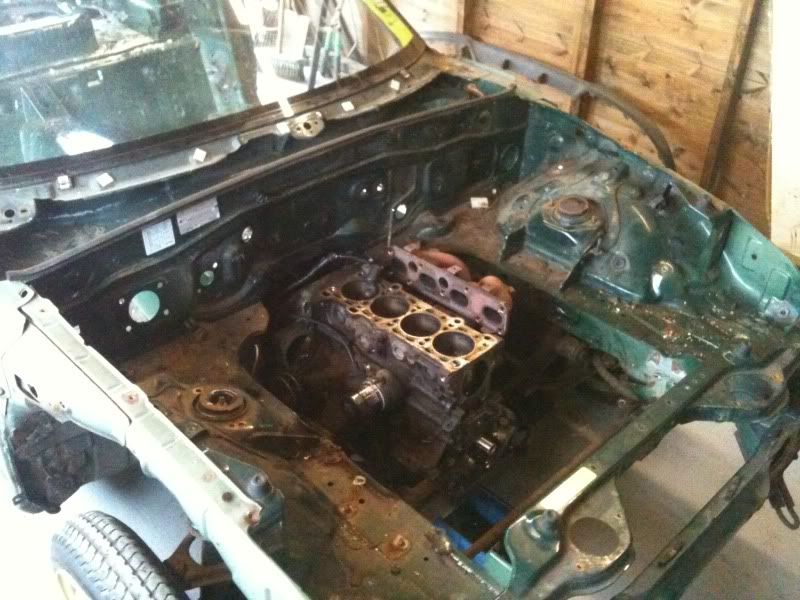 Once all that was done i started on removing all of the mounting bolts under the car and disconnecting fuel pipes and brake pipes etc.. Once removed i jacked the car body up and placed 4x4 blocks of wood in between the body and subframes and put wooden supports in the suspension to keep it from dropping.     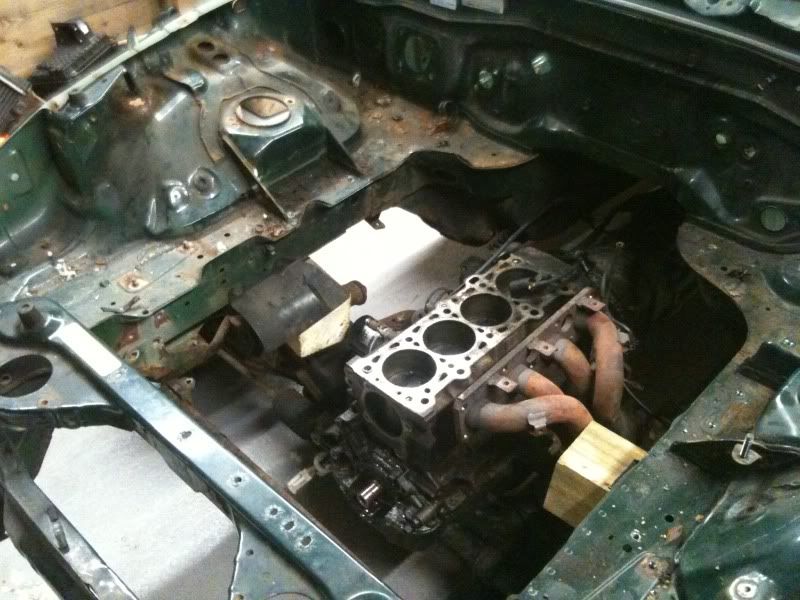 Now that the bodies completely free im just waiting on a trailer from my friend so we can put the body on and the engine block and weigh them in aswell. Once that is done im going to strip down all of the suspension parts and ive sorted someone to powder coat them for me. Its through a friend at work so getting it at mates rates and i think im going to get them done in satin black. These include: front and rear subframes, all 8 suspension arms, front and rear anti-roll bars, 4 drop links, PPF, front and rear lower brace bars, pedal box assemblies, clutch, brake accelerator etc, and any other parts i can think. All are being done at a great price of around £100 which i thought was a bargain. Ive also recently refurbed my first parts for the car in the form of some Koni damping adjustable shocks which i got off a friend for free when he upgraded and ive bought some new spring to go with them, so will build up the shockers when they arrive. So far ive bought new springs £25 silicone coolant hose set £50 wheel spacers 32mm £15 supercharger £200 bypass valve £25 JR AJFP £30 So far not spent a lot but as im going supercharged it will be slightly more expensive but will be worth every penny  Ill update as i go and i plan on taking lots more pictures when i strip down the red one  as you can see ive started on some with some parts i sold. 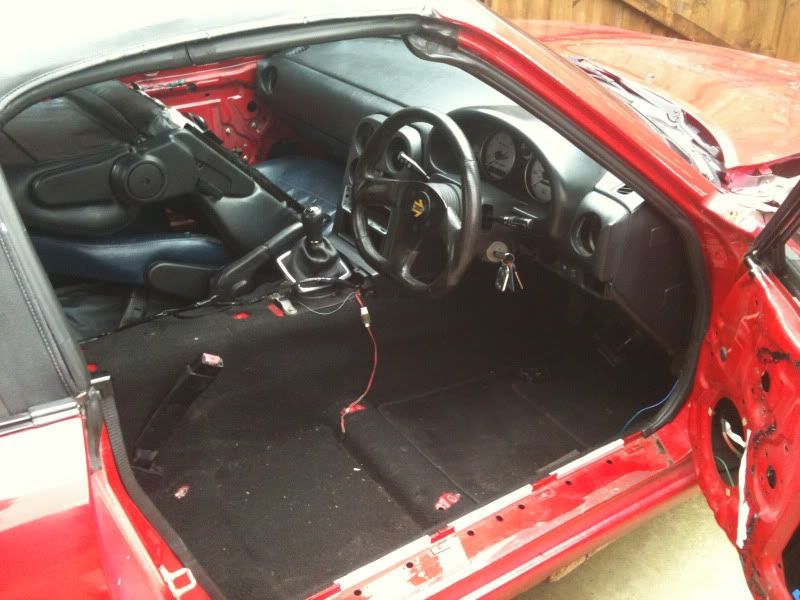   Hope you like any comments welcome Craig |
|
|
|
Post by sspogman on Jan 31, 2012 22:45:43 GMT
Looks like you're doing well there Craig.
That Momo wheel in the red 5 looks pretty good, should be a good option for the Exocet I would think?
Also, those alloys on the red car - are they standard 5 alloys painted black? I was thinking of doing the same for the time being and, if that is what they are, then it's now a done deal, I think they look great!
Cheers,
Steve.
|
|
|
|
Post by h5ngs on Jan 31, 2012 22:50:25 GMT
They are a set of BORBET alloys but look very similar i think to mazda ones, i think black wheels would look good on you green exocet better than silver ones
|
|
|
|
Post by John B on Jan 31, 2012 22:51:39 GMT
Looking good mate, what do you think the supercharger is going to set you back in total?
|
|
|
|
Post by sspogman on Jan 31, 2012 22:59:45 GMT
They are a set of BORBET alloys but look very similar i think to mazda ones, i think black wheels would look good on you green exocet better than silver ones Yes, I think you're right. Can't drive her anywhere at the moment due to a knee op last week, perhaps I should get someone to give me a hand to get the wheels off and get them painted up whilst I have some time on my hands.....  |
|
|
|
Post by h5ngs on Feb 3, 2012 21:43:05 GMT
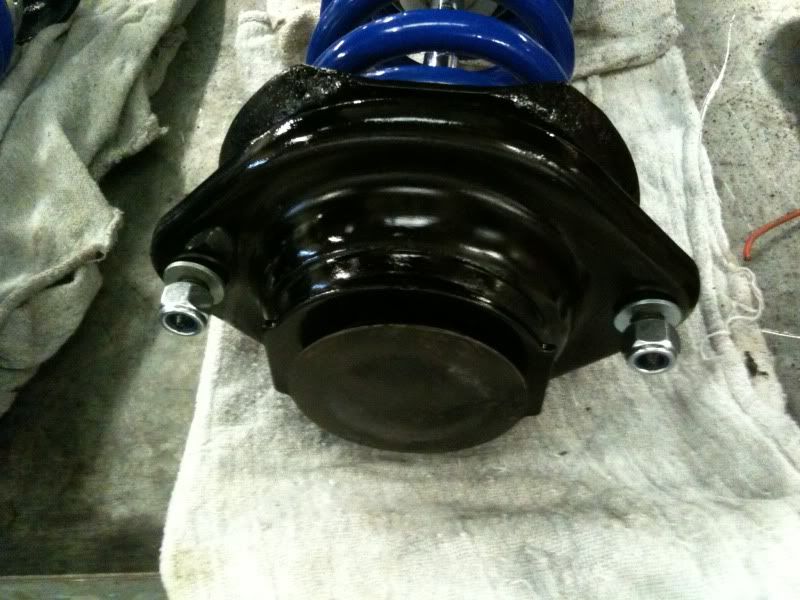
Ordered some new springs to go with my koni damper adjustable shock the other day ... now these will be to the disliking of some people on here who i know will say are very poor and a waste of time and money however i required some springs as most of mine on my two donor cars where snapped and standard replacements are expensive. I opted for a set of the ebay specials  the coilover sleeves. they were listed for a Chrysler neon but after a bit of searching i found out that they are a universal kit and just named for different models to sell them. They are actually ok quality, the spring are as i knew are very stiff, however they are brand new but i got them delivered for £25, and ive seen the same ones listed for an mx5 go for a lot more. They will do for the time being so i can build up the running gear and i will probably end up changing at a later date. Anyways here some pictures.     they are listed for fronts and rear and have different spring sizes, no idea of spring rates but nevermind, for the top mounts i scrapped the poly mounts which come with the kit and used the standard mazda parts, i cut the old worn dust boots off as they were knackered and used a circle exhaust to go around them to stop side to side movement on the spring  the kit comes with lots of rubber o rings and some flat seals to go on the bottom of the coils    Today i cleaned up the top mounts and got them painted up ready to put the two fronts together fully tomorrow   Ill get some pictures hopefully tomorrow of the completed front struts, main plan tomorrow is to get the body lifted fully off onto the trailer so i can get it weighed in on monday. |
|
|
|
Post by h5ngs on Feb 4, 2012 16:07:59 GMT
|
|
|
|
Post by h5ngs on Feb 4, 2012 20:58:05 GMT
|
|
|
|
Post by h5ngs on Feb 5, 2012 22:32:12 GMT
|
|
|
|
Post by gwnwar on Feb 6, 2012 5:04:40 GMT
Nice shop you built yourself.. In the pics of the shocks I didn't see any bumpstops on the shock shafts..
I know the car is light but i think you still need some.. never built one just starting to get bits together..
To check for LSD pull your stub axles if you can look stright through you have a LSD.. make sure you use the 1.8 flywheel and clutch unit (bolts right in) and 1.8 brakes on your build as they are larger in size..
|
|
|
|
Post by h5ngs on Feb 6, 2012 8:10:05 GMT
Yeah ive owned 5 mx5s so far and decided to build one of these  thank the garage build was pretty fun but im really enjoying doing the kit car now. The shocks are using the standard bump stops, the rubber cone part is the top. They use an integrated bump stop/dust cover but the dust covers perish so i cut the top of it off and kept the bump stop. Im also ordering some cheap dust boots like universal ones to go on the shocks. The red 1.6 already has the 1.8 brake upgrade and I removed the clutch and flywheel last night and kept them safe just going to change the spigot bearing on the flywheel. I'm also using the 1.8 injectors for my supercharger. Ill have to pull the shafts out when i take it to work and have a look, didn't really want to disturb the seals as they are fine and there are no leaks and don't want to cause any  i have 2 diffs which are the same with the rubber doughnut on the drive flange so ill check that one as the halfshaft seals are leaking on that one. |
|
|
|
Post by h5ngs on Feb 7, 2012 18:40:50 GMT
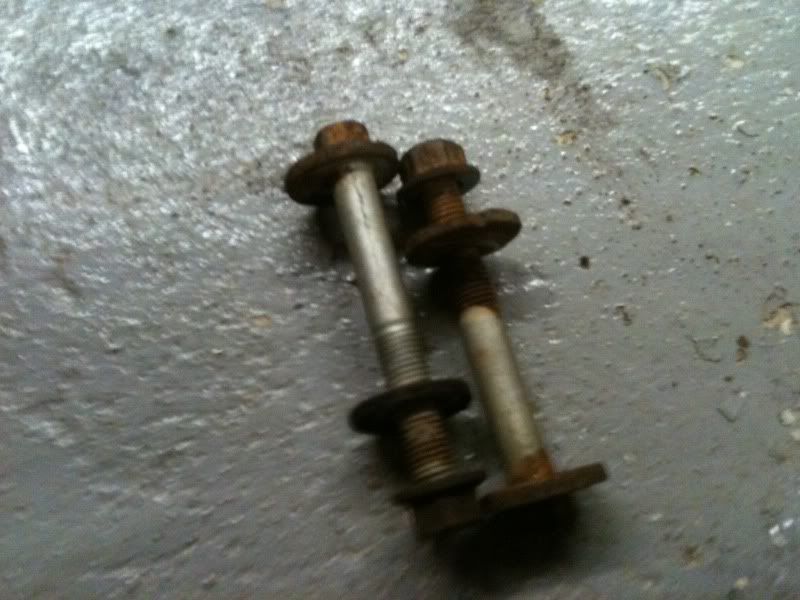
Well day off work yesterday went well. I got rid of the shell and engine block, then stripped down the rear axle. Encountered a few problems as in the main bolt for the rear was seized on both sides so took them to work today to press them out, presses the passanger side bolt out and all is good, then pressed the seized driveshaft out of the bearing. all good, pressed the bush out of the hub and all was good. Then i tried to press the bushes out of the arm ............. BAD IDEA as the damn arm split, so now i need another arm which ill have to take off my red 5 so not a problem just hope that one comes out. Started on the drivers side but i couldnt press the bolt out, i tried the gas bottles til it was glowing but no joy, ended up grinding the bolt off to get the lower arm off. then managed to press out the cut bolt out of the hub. So at least i got that part off. Decided against pressing the bushes out now im going to burn them out, unless anyone has any other ideas. Ill try and get some pics up later  |
|
|
|
Post by Stewart on Feb 8, 2012 11:13:54 GMT
I took them down a local garage and got them to do it with the Oxy torch. cost me £30ish for all the bushes - droplinks, diff, hubs etc and it was a hell of a lot easier, quicker and cheaper than doing it myself with a blowtorch. Took them about 45 minutes to do them all. In the EnergySuspension bush kits I sorted, it says to burn the bushes out rather than pressing them as there's a risk to bending/breaking the arms... as you've found out  Oh and  |
|
|
|
Post by stevieboy on Feb 8, 2012 11:28:32 GMT
I burnt all mine out at work, it took about an hour to do the whole lot, once the metal insert is out the bush can be pushed out with an old socket of same size. I would say though, don't be to hasty with the gun as you don't want to weaken the links with having them to hot.
|
|


 haha Anyway ive enjoyed building my workshop now its time to enjoy the reason i started all this in the first place


 haha Anyway ive enjoyed building my workshop now its time to enjoy the reason i started all this in the first place


