|
|
Post by casesensitive on Feb 4, 2014 17:49:01 GMT
Omex 710 for £400? Seems too good to be true, and may be a little old. No use for the VVT in my ST170 (starting to regret that decision somewhat).
|
|
|
|
Post by casesensitive on Feb 3, 2014 14:01:41 GMT
Rather than create multiple threads clogging this up, I'll put 'em in here, newest finds at the top DTA S80DTA S80 Pro£510 now. Edit: went for £673 Megasquirt for 2.0 Zetec w ITBs and loom, EDISMegaquirtSet up for 2.0 Zetec E with ITBs already, could be a goer. Edit: ended at £141 |
|
|
|
Post by casesensitive on Jan 31, 2014 15:27:22 GMT
Hi Geoff,
I picked up a couple of rolls of behind-the-rad-reflector stuff in Lidl there a couple of weeks ago with something similar in mind. I want to keep heat away from air filter, don't mind so much it heating up the bonnet.
Might be worth considering where it while go though, could get toasty in there for all those cables and pipes.
|
|
|
|
Post by casesensitive on Jan 30, 2014 22:26:37 GMT
Interesting alright, looks like a competitor to the Omex 200 (ignition not injection)
I went as far as sticking a cheeky bid on an Omex 600 loom, with a view to building the full set up with bike ITBs before reading that the 600 can't handle the VVT in my lump properly anyway.
I've gone back and forth between Megasquirt type setups a piggie-back Dastek unit, Omex 200/600/710, and now DTA S60 .. I think I'll just get it running first, do the hard stuff later!
|
|
|
|
Post by casesensitive on Jan 30, 2014 22:10:18 GMT
Indeed :-> God I love the internet. you will find it in a special place.. |
|
|
|
Post by casesensitive on Jan 30, 2014 11:50:32 GMT
Hi all,
I've found myself frustrated at the missing posts from the titular member; nearly every critically informative post or thread either has his valuable input missing or a reference to his thread, which is of course, gone.
Does anyone have his details that I might ask him for an archived copy?
A couple of people have mentioned printing his guide instead of the manual, suggesting that there's probably a static copy somewhere..
I've reached out to a user on YouTube who appears to be him, but he hasn't had a new video in over a year, so maybe that user account is disused too.
|
|
|
|
Post by casesensitive on Jan 22, 2014 13:38:33 GMT
|
|
|
|
Post by casesensitive on Jan 22, 2014 13:30:38 GMT
Mounting the seats more permanentlyIn order that I don't tear apart the cross-beams when I brake, I've reused some integral-washer nuts (M8) I lifted from the donor. They'll sit outside the floor. 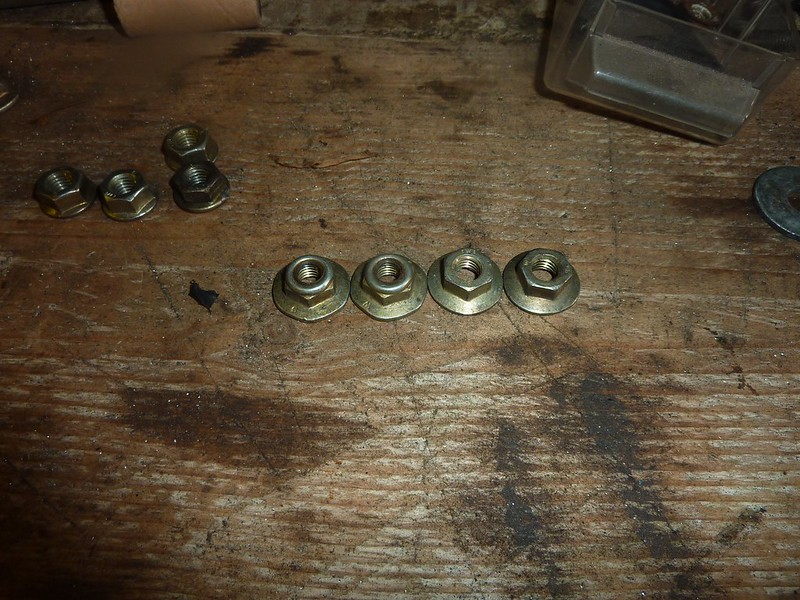 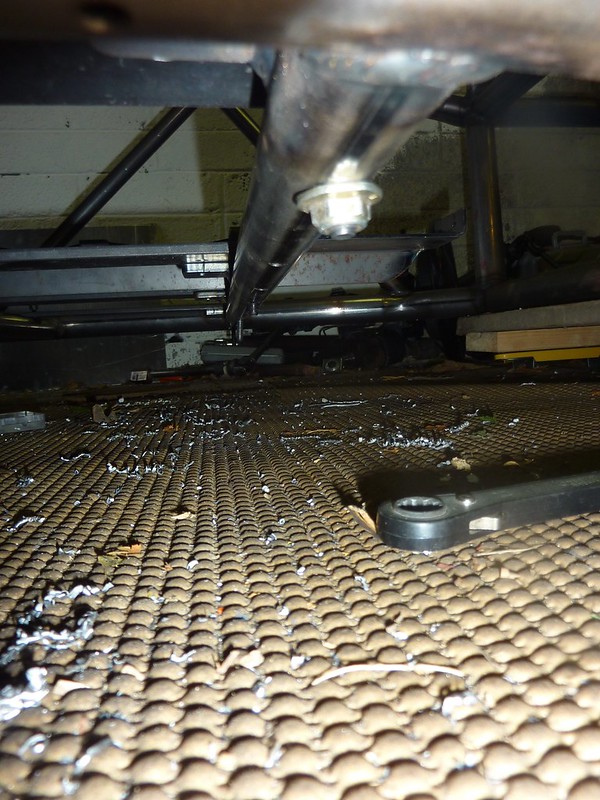 Hoping to pick up some 1mm rubber sheeting to cover the entire underside, but postage is more than the rubber (£27 v £22 for 3mx1.2m)! In addition to the 4 M8 bolts, I stuck 8 welds on each seat, and rounded down the rectangular bar to make it fit in a little better with its cylindrical neighbours. Heated the pieces up first, because the welder I've borrowed is puny (100A) and the mild steel bar is 8mm. 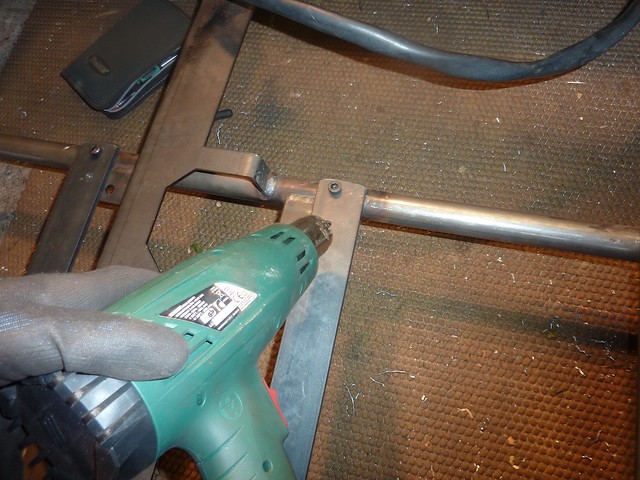 Won't win any awards, but I'm happy with it for now. 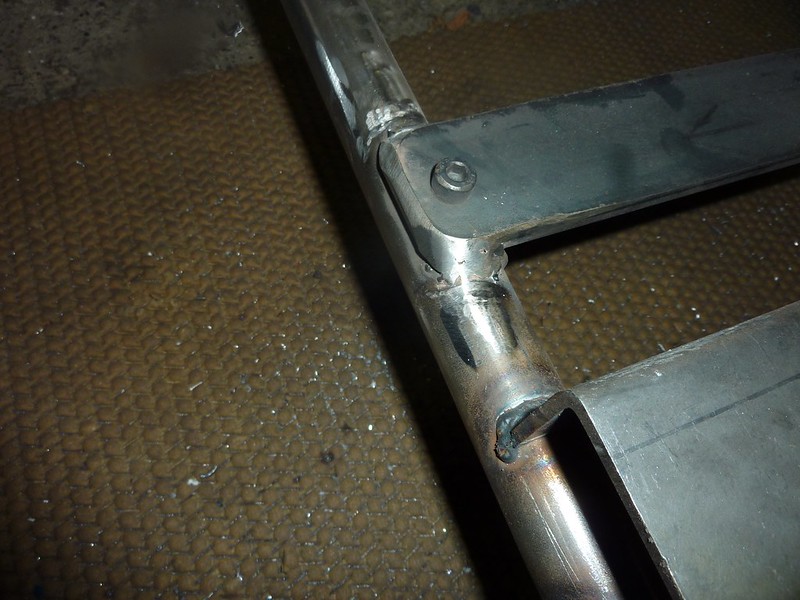 4 Sundays just extending my seat rails, this might take till I'm 40!
|
|
|
|
Post by casesensitive on Jan 13, 2014 22:58:43 GMT
|
|
|
|
Post by casesensitive on Jan 13, 2014 9:52:08 GMT
what have you got between the spacers and the seat? those will punch straight through the fibreglass after a couple of times sitting down. you will need something substantial to spread the load. Hmmm, nothing as yet.. The seats have 4 captive M8 nuts built into the base. the spacers are 12mm wide at the top, but I take your point, I should probably stick a washer or load plate in at the top. |
|
|
|
Post by casesensitive on Jan 12, 2014 23:48:51 GMT
If they don't look straight, it's because the seats weren't! I bought 'em off Fleabay, and I'd say I spent at least 4 hours compensating for the fact that the embedded female M8 'nuts' in the seats were wonky.
|
|
|
|
Post by casesensitive on Jan 12, 2014 23:38:27 GMT
Fitting the seats / rail extensionsSo my seat rails are slightly too short to span the provided bars, so I decided to buy some 8mm mild steel bars to go between them and act as a reinforcement. I've done pretty much exactly what jacksdad has done. I bought some 8mm internal diameter (12mm outer) stainless steel tube with a good thick wall to act as crush tubes and washers to raise the seats off the rails. 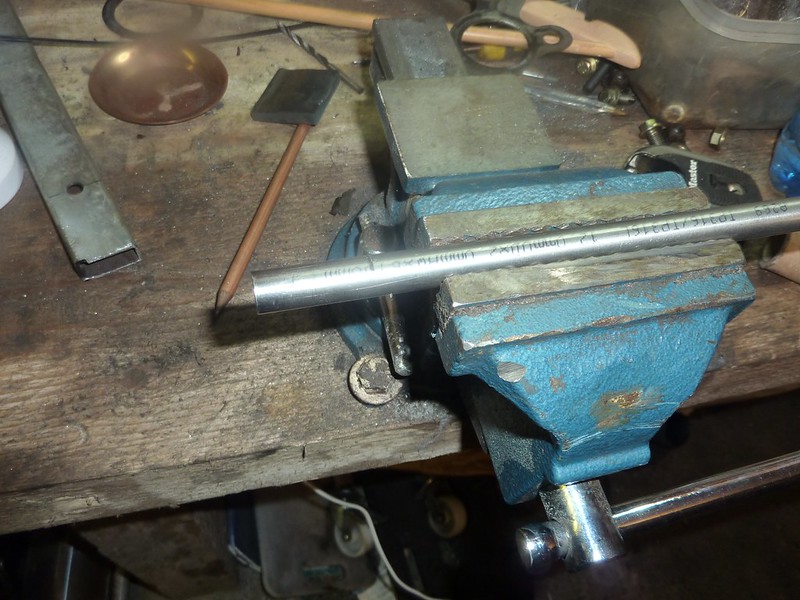 15mm spacers to lift seat off the rails 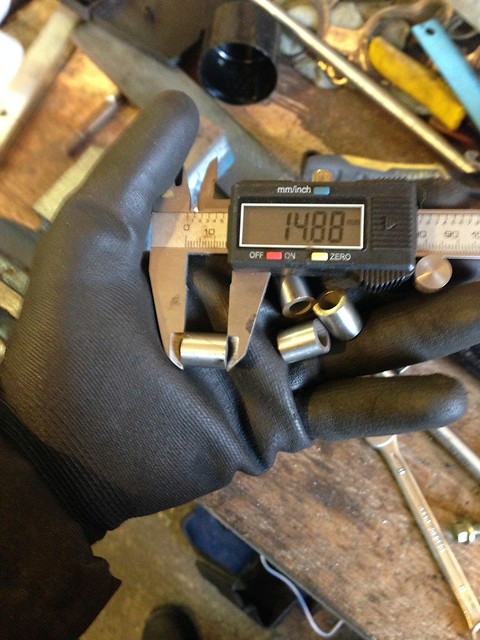 I laid out the bars to support the seat rails, with a small tack weld to hold it in place. If I was doing this again, I'd have just stuck with clamps. Ended up grinding the weld off anyway. 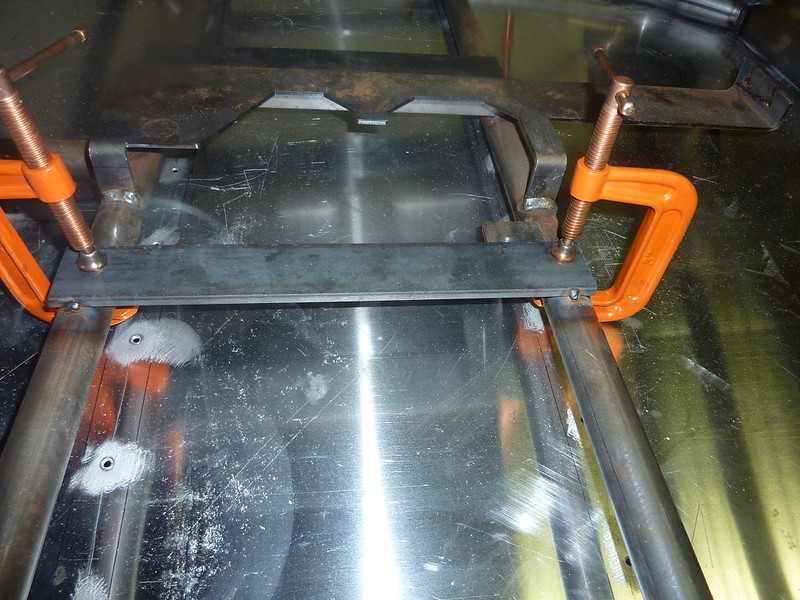 Washers lift the seat so the locking mechanism clears. 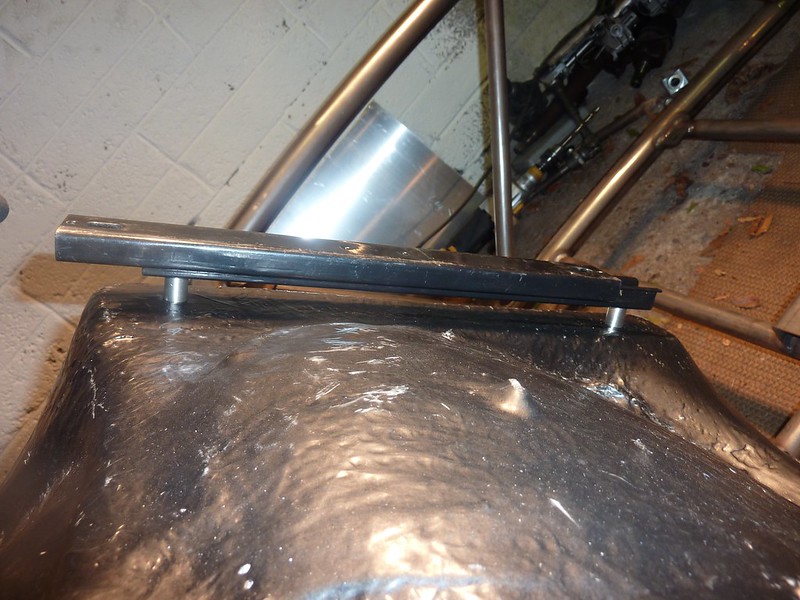 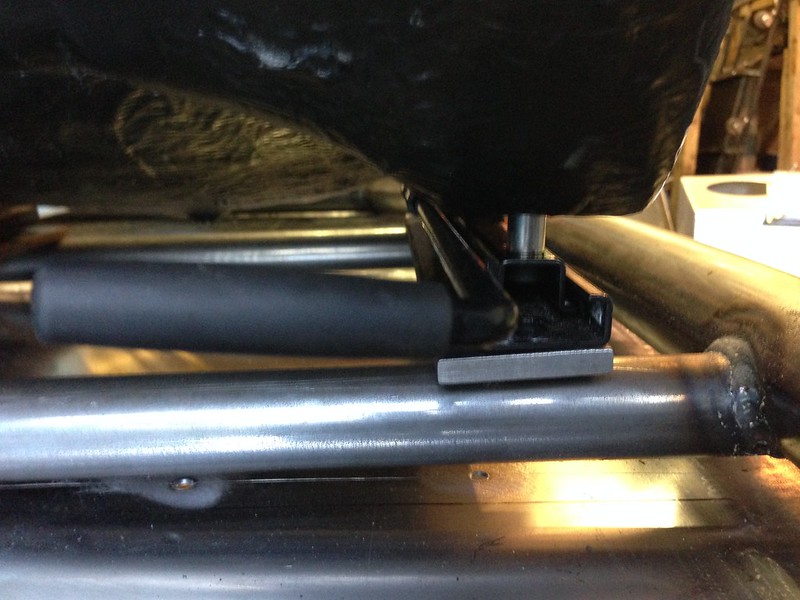 At Paul (madeye)'s suggestion, I cut up some scabby ol' 2mm angle, making 4x 30mm x 40mm and 4x30mm x 30mm (back and front) load spreaders. I drill them with the 3, 5 and cobalt bits as usual. 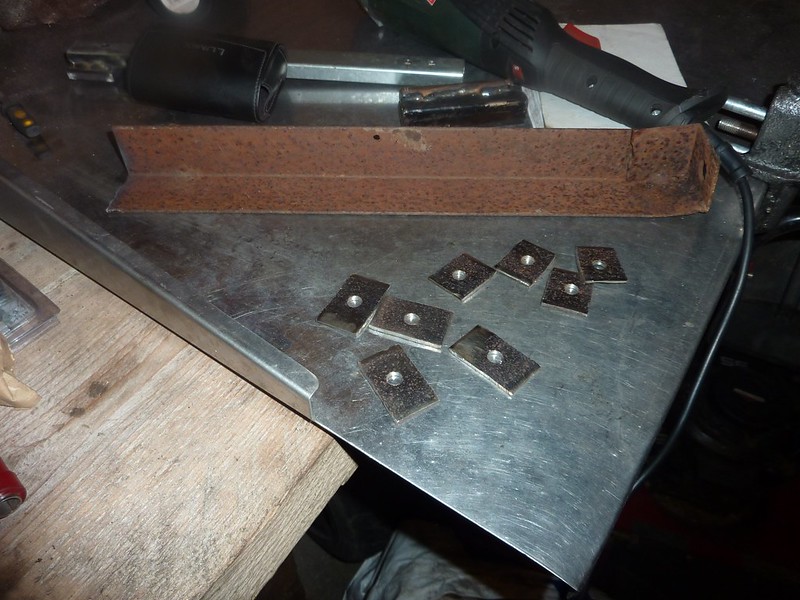 I stuck them in between the washers and the seat to help spread my lard more evenly, reckon they'll be fine. 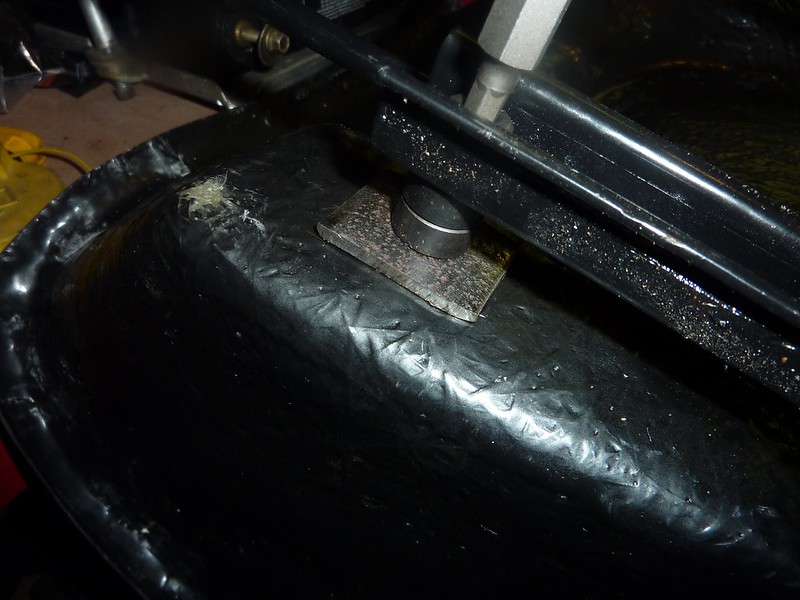 I have since sprayed the washers and spreaders black so the seat and rails looks as one. I then cut 8x 31mm lengths for the crush tubes, rounding the edges with a grinder to form a shape that'd match the inside of the support bar. I filed down the rough edges, and had to use a round file to deburr the inside so an M8 bolt would still go through. 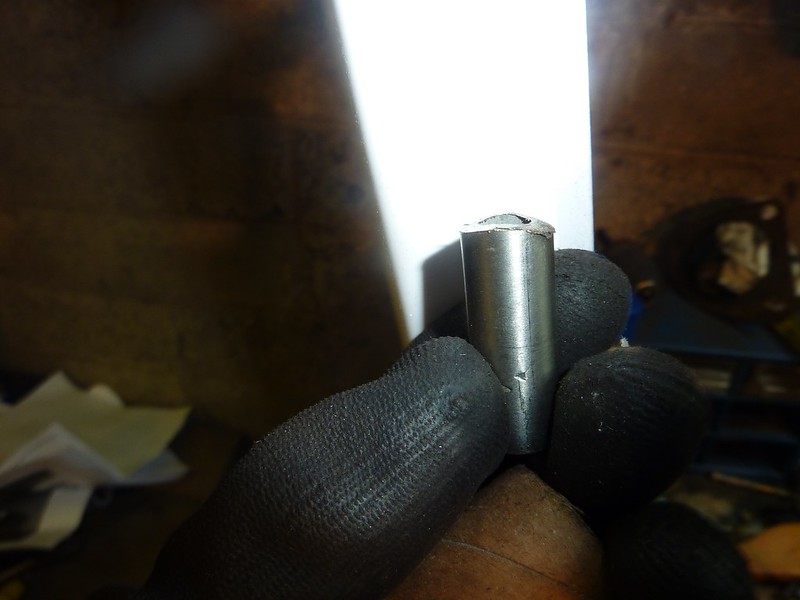 I marked the drill points with a punch tool, then drilled 3, 5, and 8mm holes right through the 8mm bar, into the cross-member and out the other side. I widened the top hole to 12mm so the crush tube would go into the tube without coming out the other side. To ensure it fit, I pushed an M8 bolt up through the lower hole, and dropped the crush tube onto it, and banged it home with a hammer. 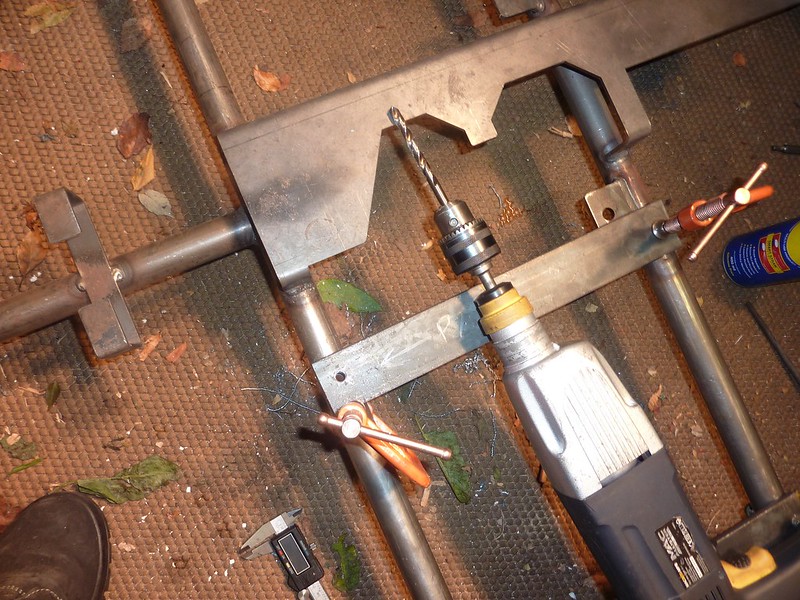 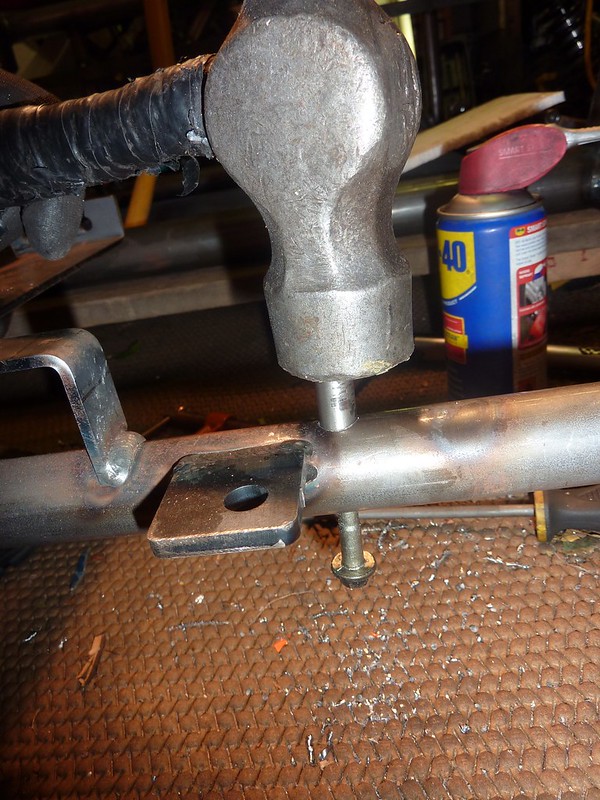 Note the mark on the upper side to let me know which way the chamfer on the inside goes 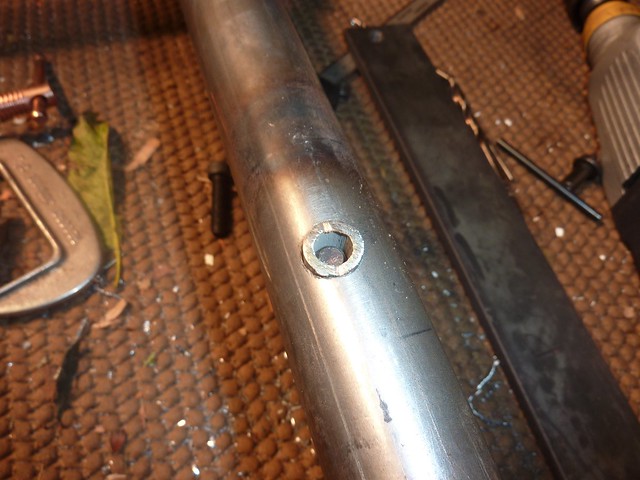 Flapper disc to smooth 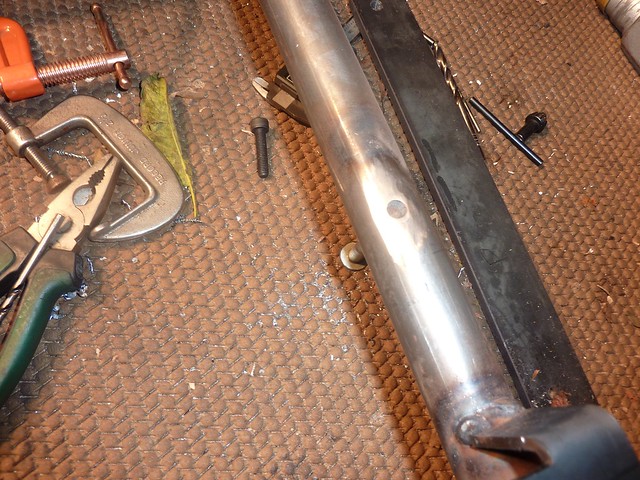 3 holes in each bar, 2 to the cross-members (front doubles as seat rail mount) and a rear hole for the seat rail 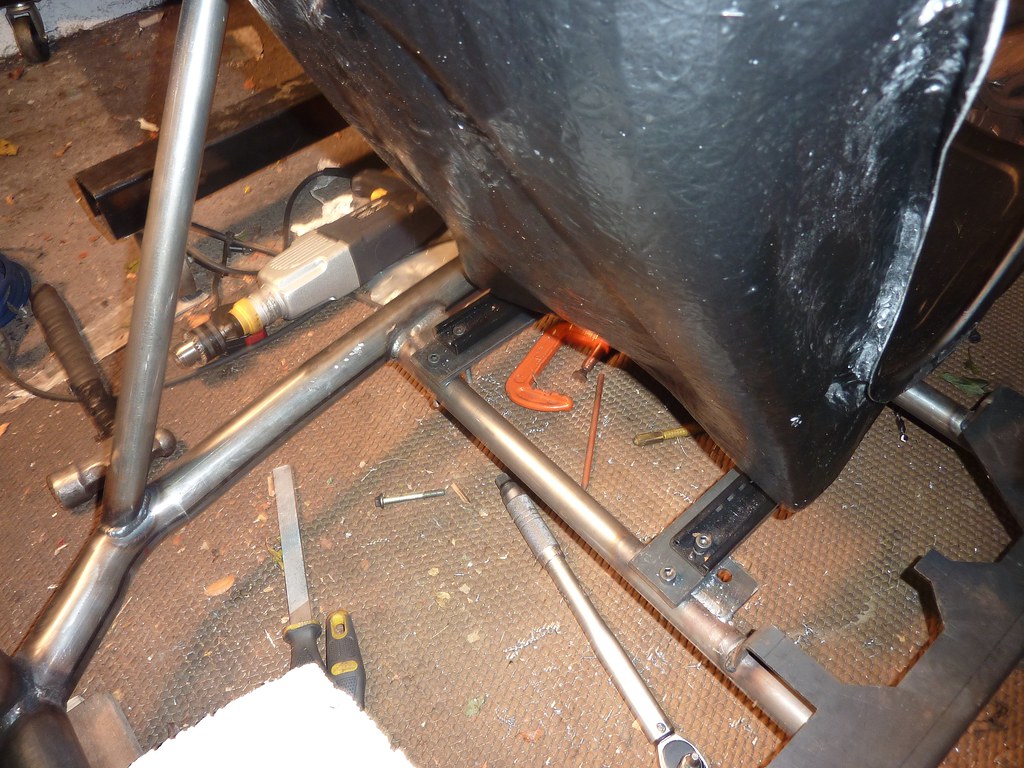 Both sides, with temporary bolts 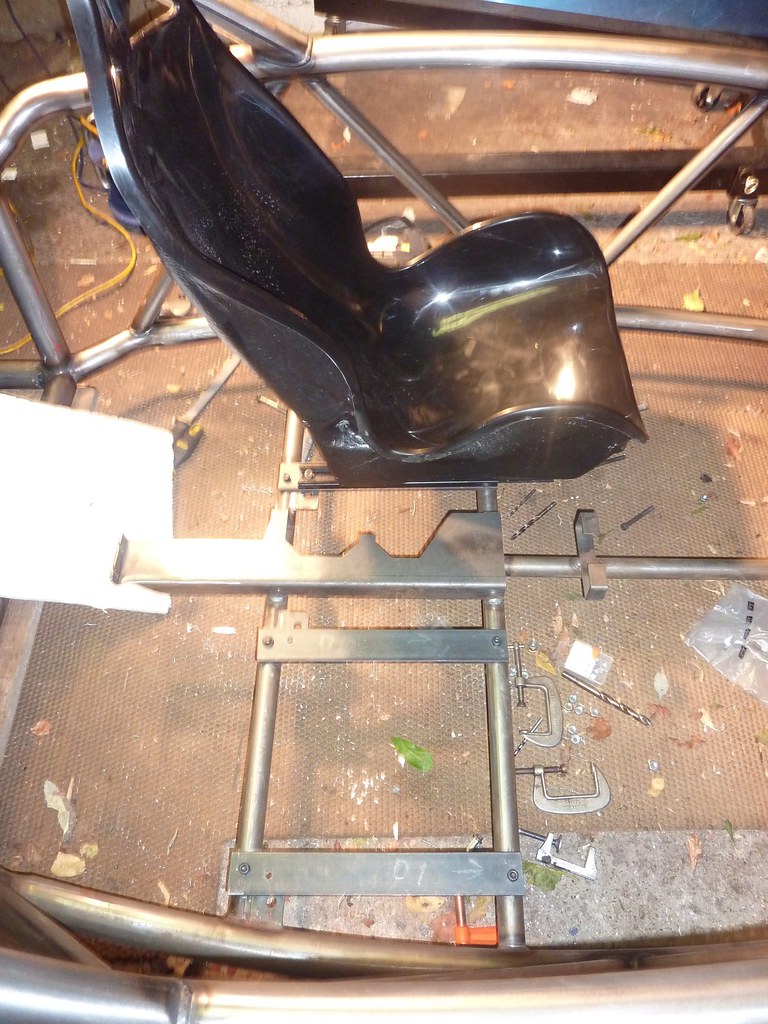
|
|
|
|
Post by casesensitive on Jan 12, 2014 22:32:18 GMT
Test fit of the engineThis one has me a bit nervous; when I ordered my kit, I was at pains to remind RTR that I can't fabricate new mounts or weld, so the engine and gearbox mounts would have to fit the ST170 engine and getrag mounts or I was up a smelly creek without a paddle. In short, it fits! Not much room for bouncing around, but it just about fits. In order to get it in, I found I needed to take off or loosen; - Take off the engine mount (right on Rocket)
- Take off the gearbox mount
- loosen the cover from torsion link (middle mount)
- drill out the engine mount receiver hole 12mm
Engine mount not fitting in its hole. Video of the process is a bit long to be bothered posted here, but I'll do a short version of it when I get a minute. And then straight out again, still a fair bit to go before it'll go in permanently! 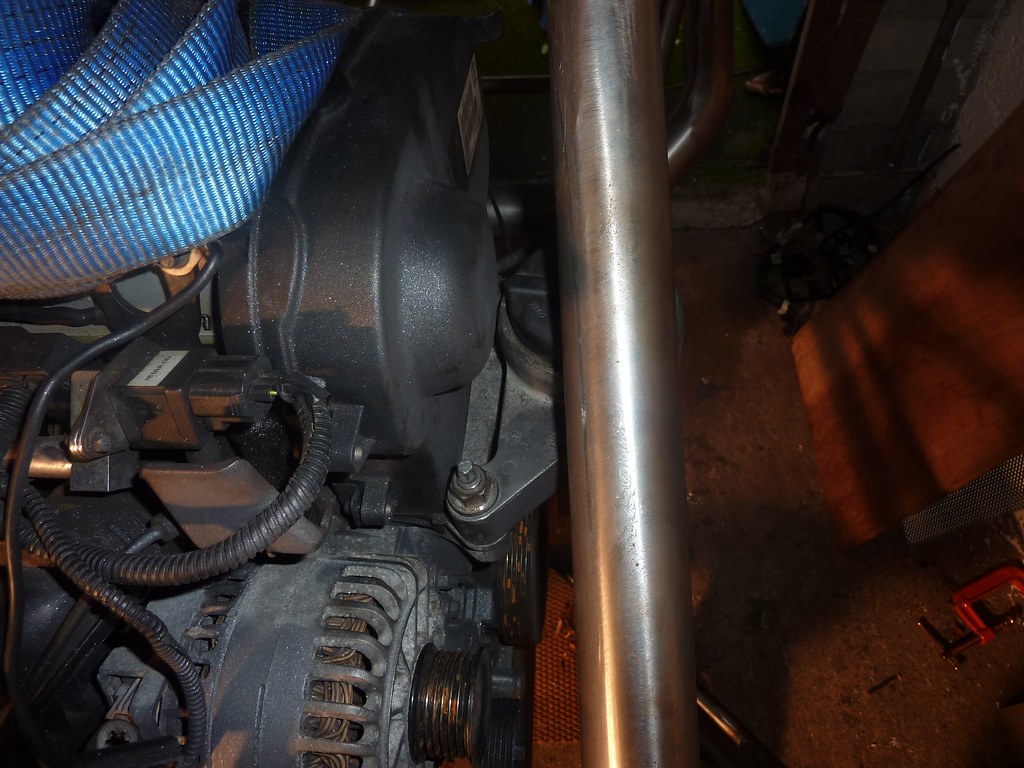 I undid these 2 13mm nuts a couple of turns to give enough room to get a bolt in 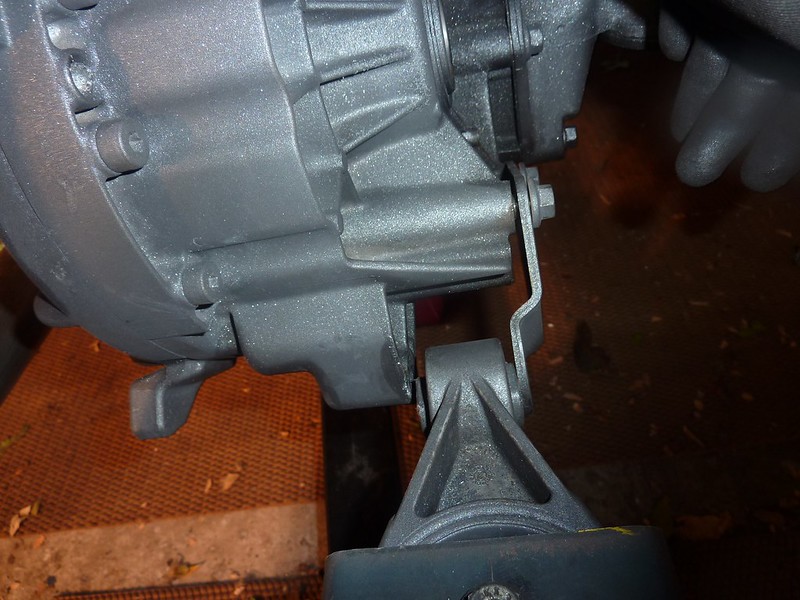 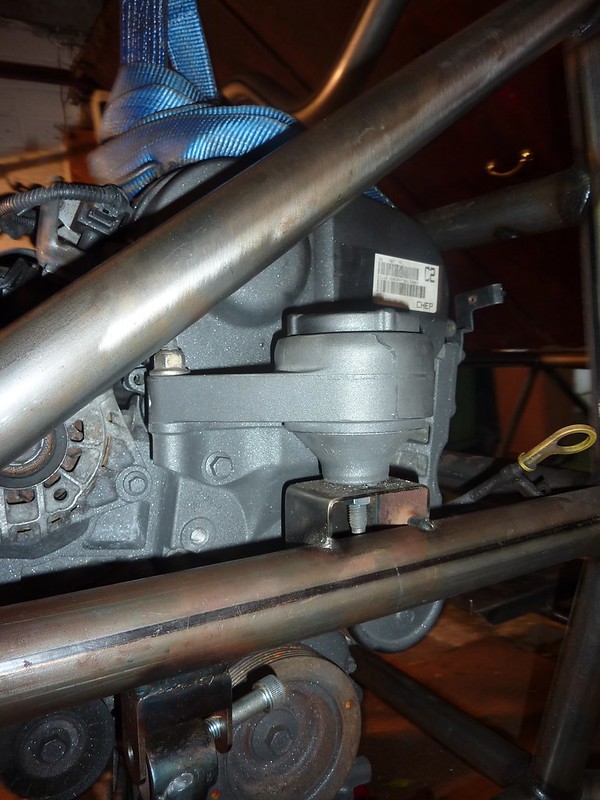 Bit tight 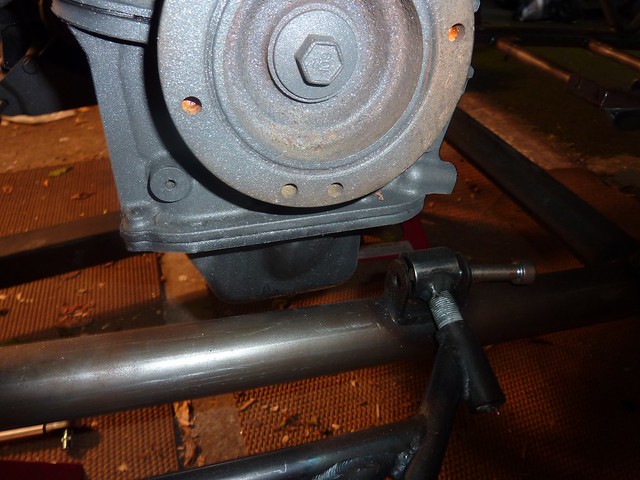 Almost certainly too tight (about 6/7mm) 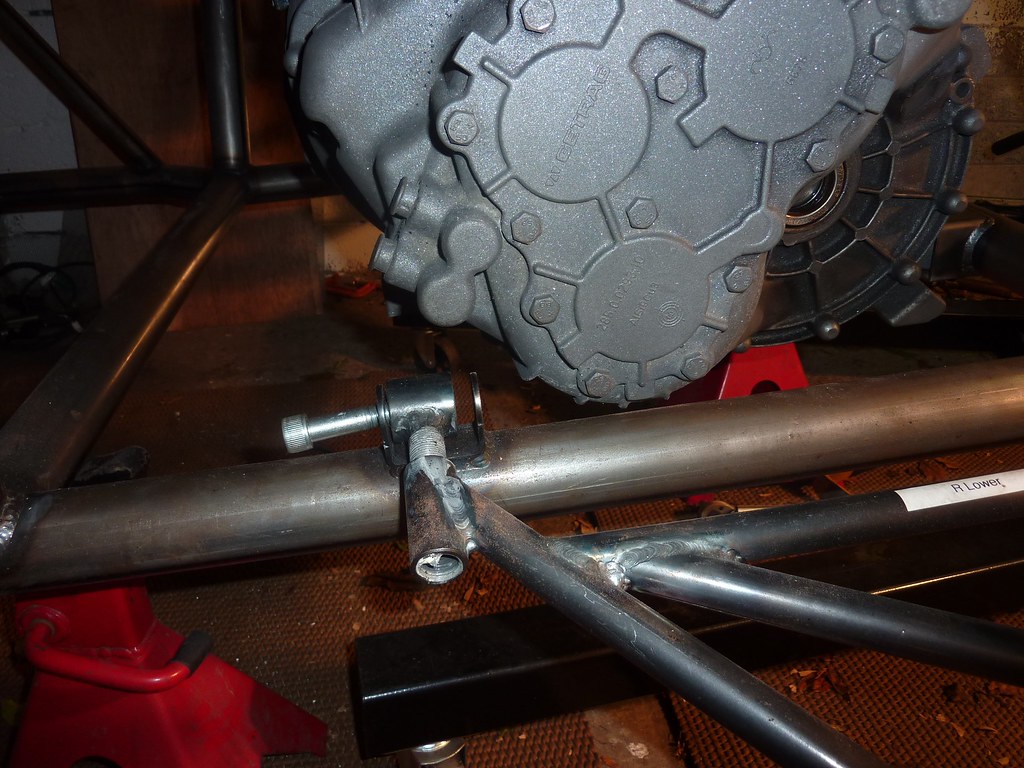 In! 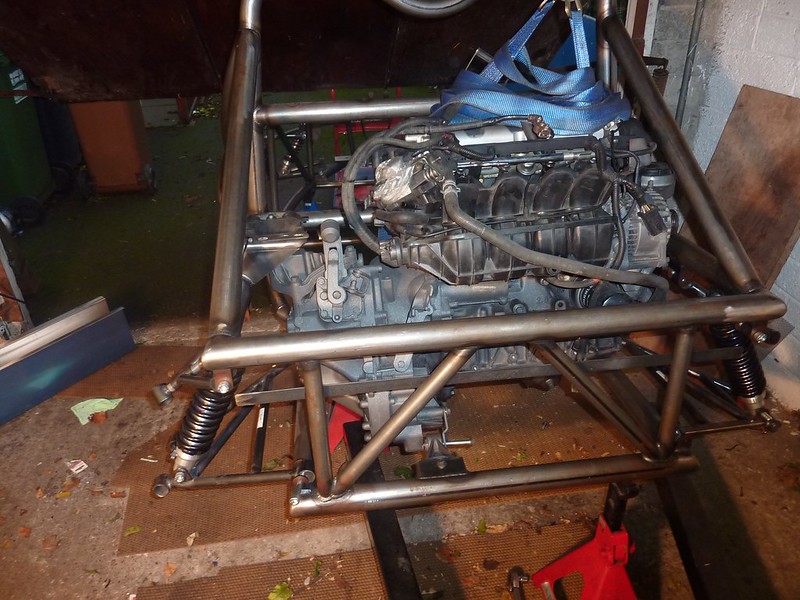
|
|
|
|
Post by casesensitive on Dec 23, 2013 12:59:36 GMT
|
|
|
|
Post by casesensitive on Dec 20, 2013 19:19:14 GMT
|
|