stubbers
Senior
 Exocet Number 306
Posts: 478
|
Post by stubbers on Oct 9, 2012 11:01:21 GMT
Cheers for that, im hopefully going to start it before chopping the loom.
Did you just remove the blocks or actually trace the wires back??
Rich
|
|
|
|
Post by mathew on Oct 9, 2012 11:16:49 GMT
I just cut the blocks. 3 in total but didnt leave enough length to solder the cables back together incase they caused a problem, which they did.
|
|
stubbers
Senior
Exocet Number 306
Posts: 478
|
Post by stubbers on Oct 9, 2012 20:05:04 GMT
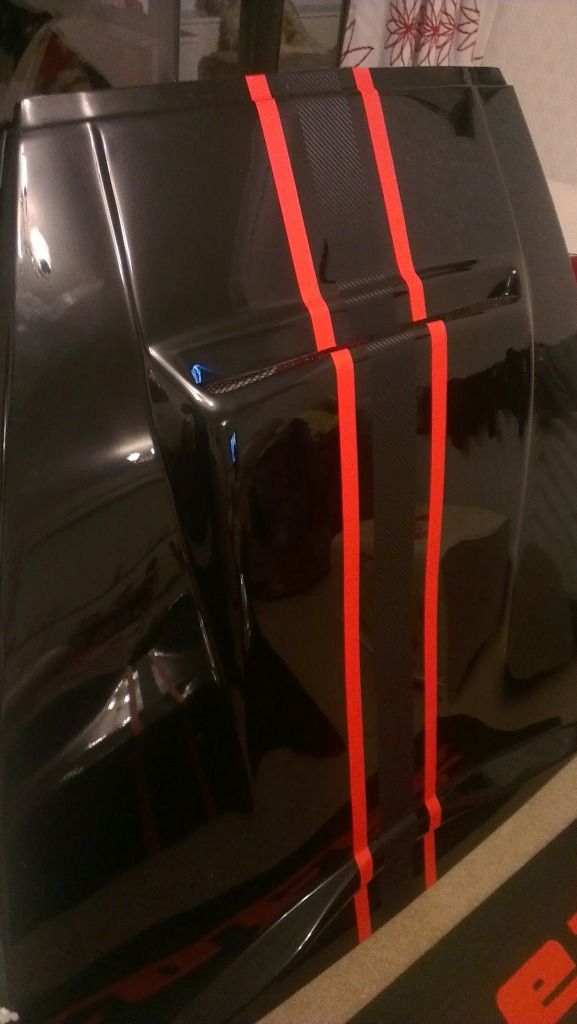
Today's update Worked a lot on the hinges last night and solidly fiberglassed them in, but unfortunately once this was in place followed by the nose-cone something didn't seem to fit right..... The bonnet is central, the nose cone follows the same lines of the bonnet but the nose cone is jamming on the n/s vertical support and loads of room on the o/s. This wouldn't bother me but its causing the n/s to lift and make a awful gap to the bonnet. N/S Tight 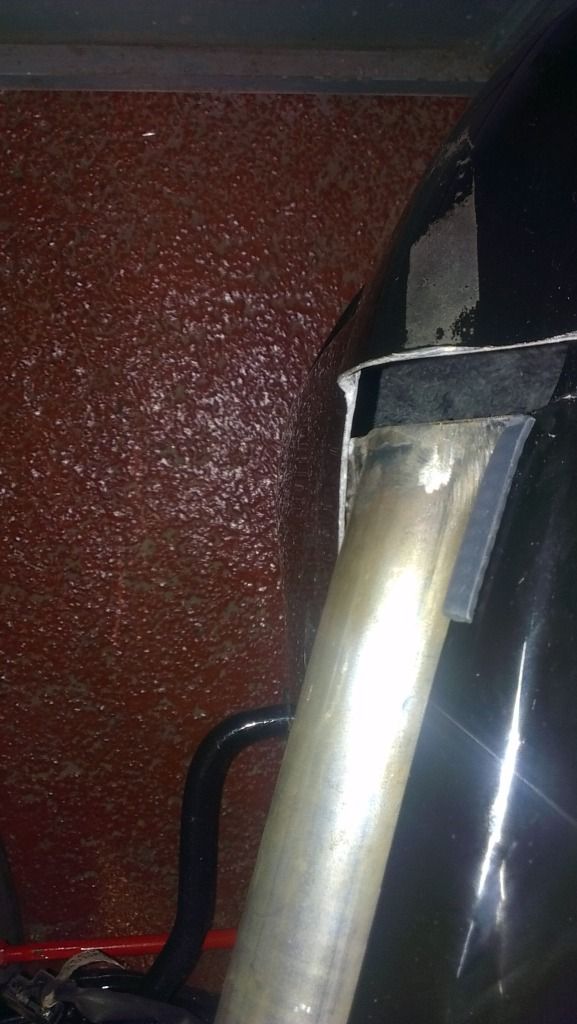 O/S Massive gap 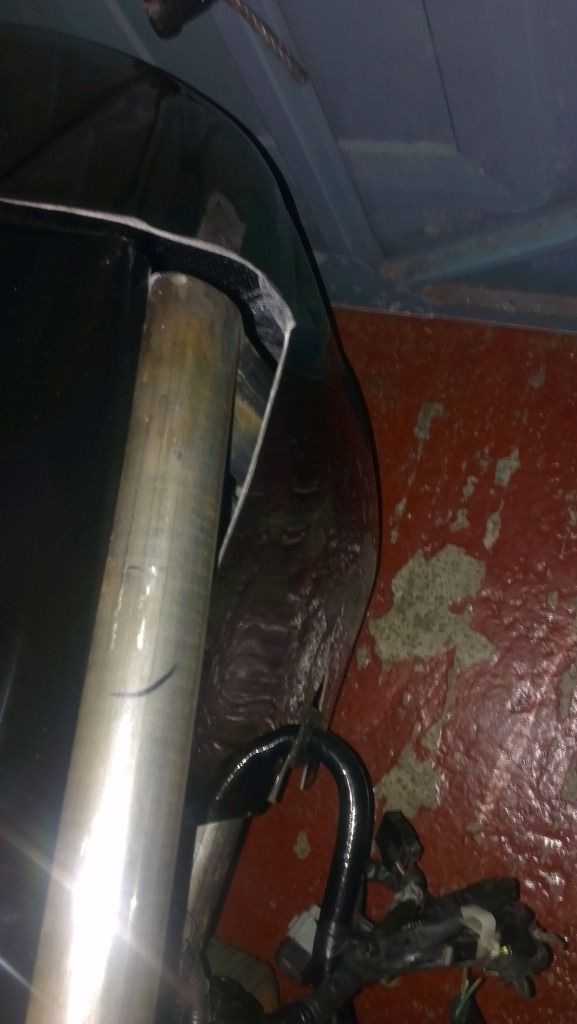 Will have to take a better look at this tomorrow in the light Not to be diss heartened I fitted the gauge pod i had put a bracket on last night. 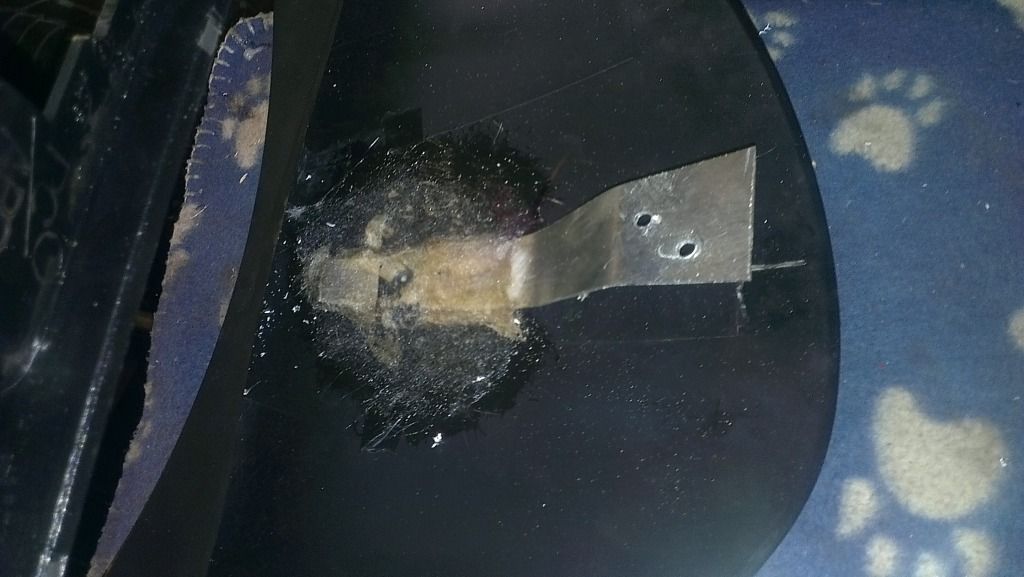 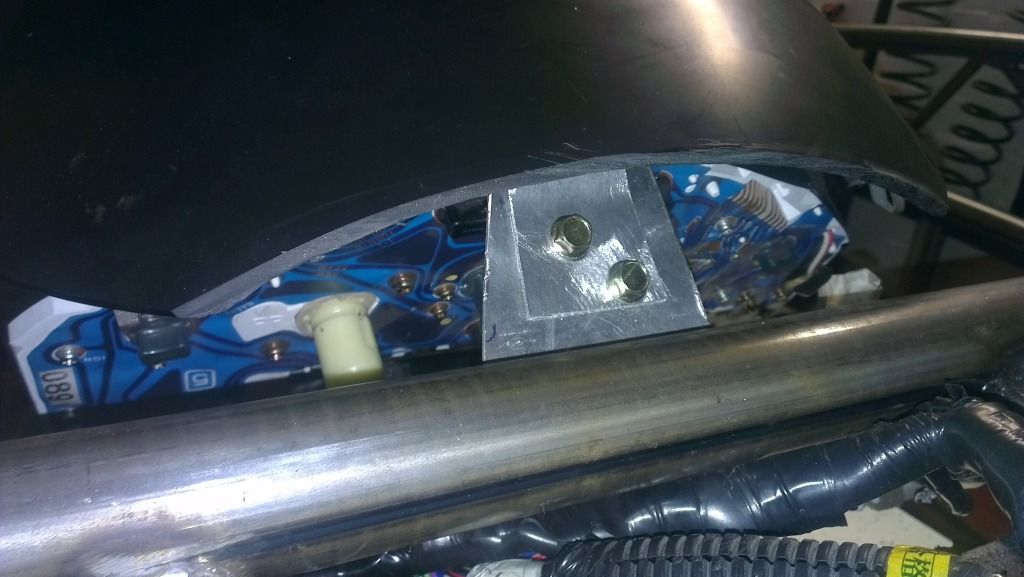 Trimmed the pod to suit the bonnet, the pod needs to be held on the front just to center it slightly, thinking just simple cable ties from the bottom mounting hole to the column bracket but this plan was cut short after my thumb lost an argument with the hacksaw  Oh btw HSS Irwin hacksaw blades are phenomenal!! Rich |
|
stubbers
Senior
Exocet Number 306
Posts: 478
|
Post by stubbers on Oct 14, 2012 20:16:09 GMT
Here are some photos that show the gaps a bit better. 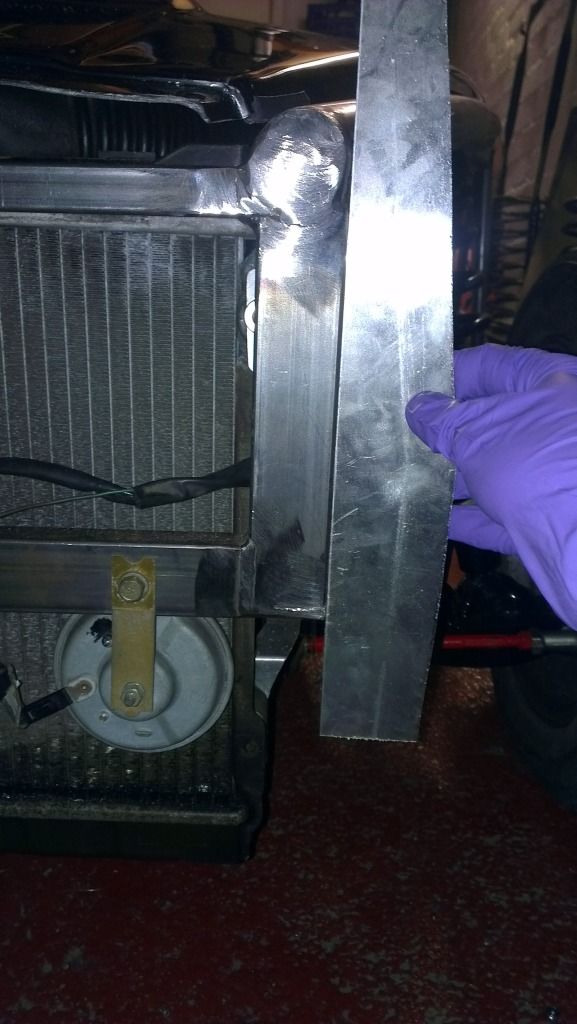 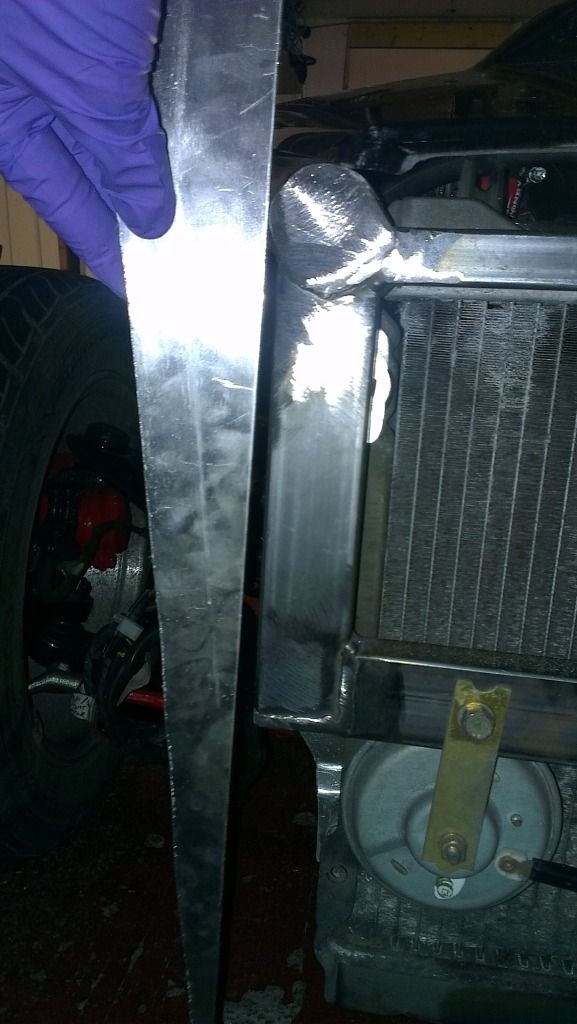 This is pulling the nose cone to the N/S all the time. So it looks like it will never sit exactly, if I have a gap between the bonnet and the nose-cone it is even but is still a gap. Anyone got a photo of how their nose cone fits with the bonnet. Next job on the list was to remove the dimmer switch, all I did was solder the red and black wires together and blank off the red with black stripe. Works fine now and dash board lights come on with the side lights. WARNING if you bridge the red and the red with black stripe you will blow a 10 Amp Fuse. 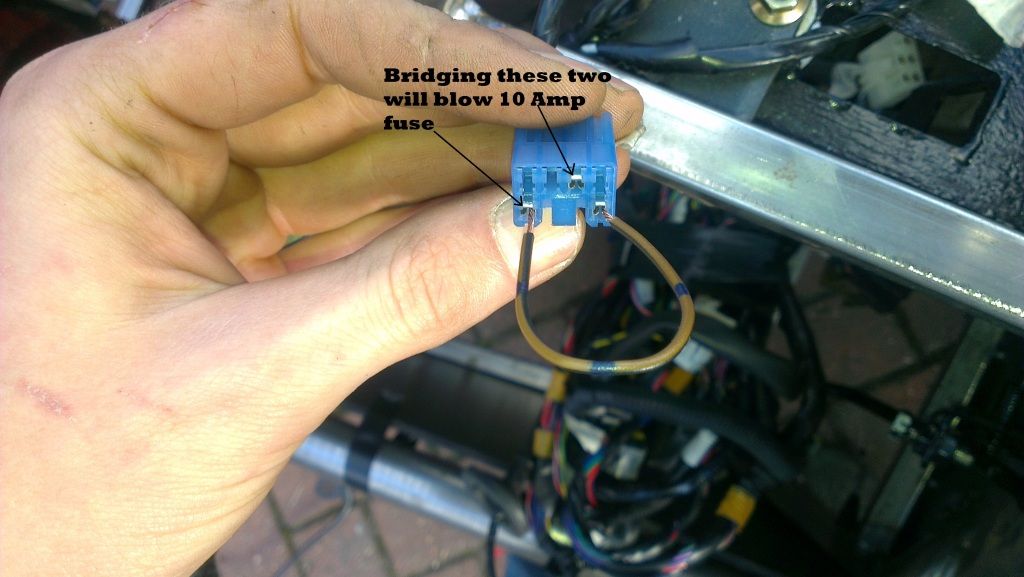 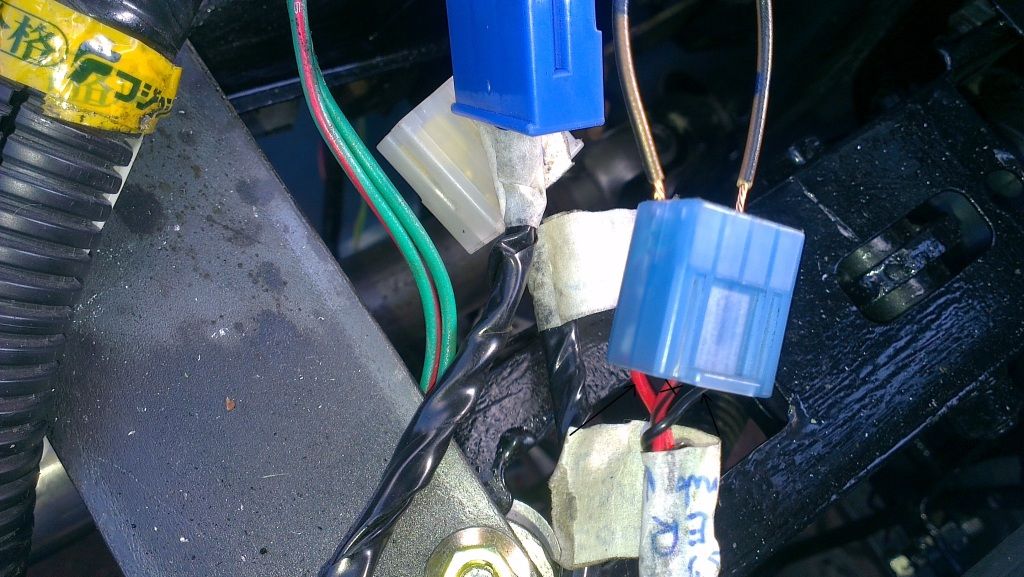 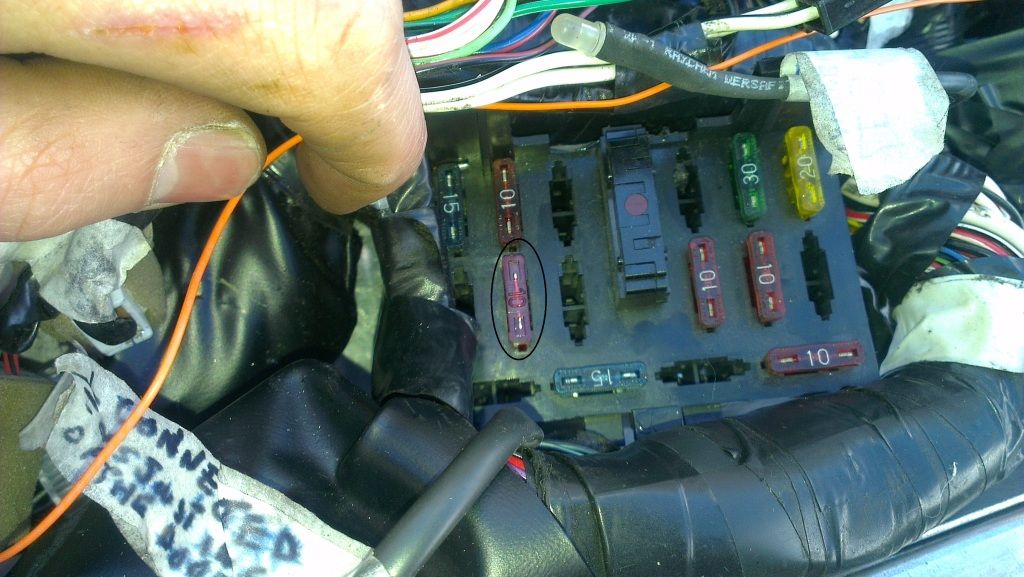 Fixed all the side panels in as well today. Have people trimmed the height of these to sit at the same level as the chassis or left them slightly lower as a ground clearance early warning? 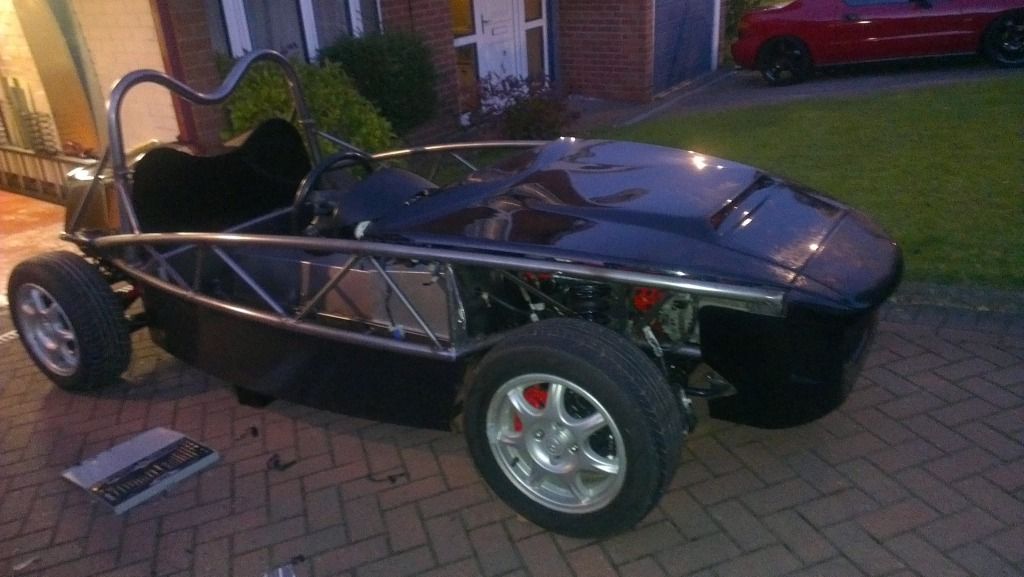 Rear bulk head trimmed and fitted. 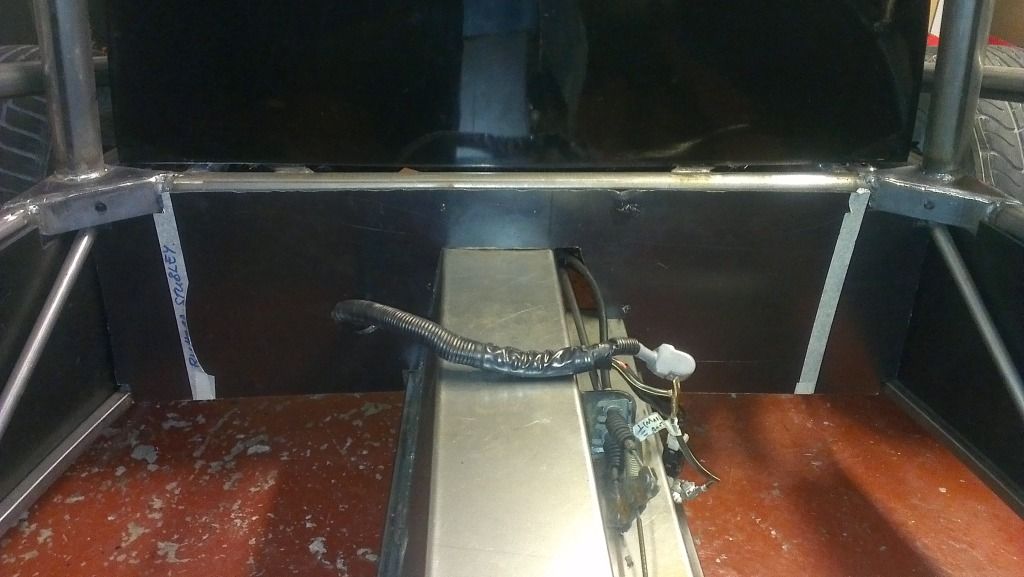 Passenger foot well, I plan to mark the overhang of the tunnel and form a lip around the back of the foot panel. all of this will be covered with rubber chequer plate too. 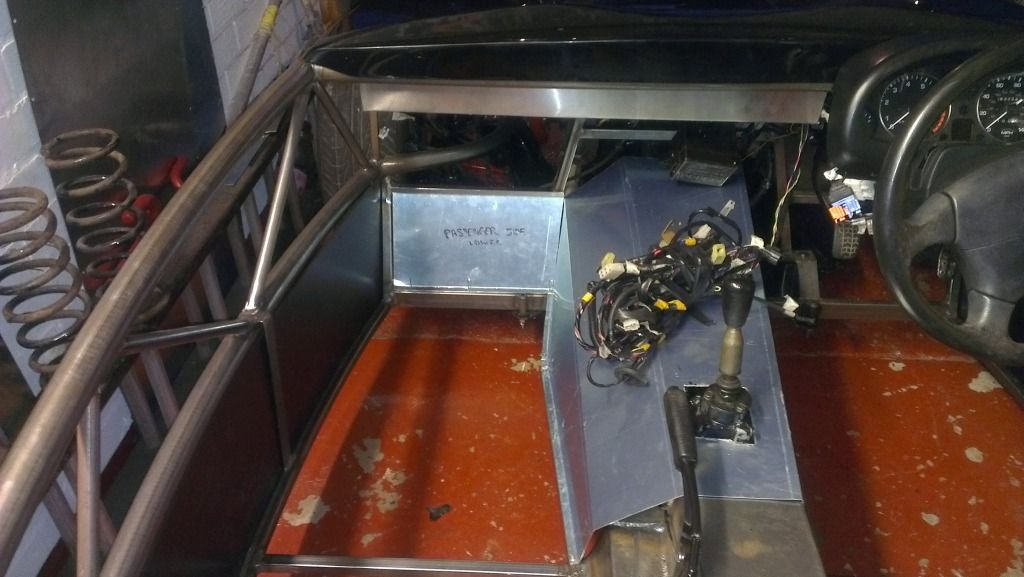 Rich |
|
|
|
Post by h5ngs on Oct 14, 2012 20:23:46 GMT
Looks good rich, starting to look like a completed car now, can i ask how you mounted the dash pod and did you have to cut the pod or the dash to make it fit?
|
|
stubbers
Senior
Exocet Number 306
Posts: 478
|
Post by stubbers on Oct 14, 2012 20:33:54 GMT
There are some photos above of the rear fixing, ill try and grab some photos of the front fixings tomorrow. The cover fits nicely on the instrument pod fine, I decided to cut the cover rather than the bonnet, figured it was cheaper to replaced if I messed it up  May also look at hot glue gun-ing the cover to the dash pod to eliminate any vibrations between the two. Rich |
|
stubbers
Senior
Exocet Number 306
Posts: 478
|
Post by stubbers on Oct 19, 2012 18:17:27 GMT
IT STARTS!!!!!!!!!!!!!!! After my blond moment of not connecting the main +ve supply to the rear part of the loom the fuel pump kicked it and started first time As there is only the cat on the exhaust its a bit loud but sounds very throaty!! I left it on tick over to try and get the fan to kick in it took a long time to heat up and kick in, suppose its a testament to MAZDA's engineering. Found it hard to believe how nicely it held 800 rpm on tick over but that may be because of no air con or power steering pump. Video is currently uploading and will follow shortly Rich |
|
stubbers
Senior
Exocet Number 306
Posts: 478
|
Post by stubbers on Oct 19, 2012 18:51:44 GMT
|
|
|
|
|
|
Post by Wayne Bale on Oct 27, 2012 21:55:53 GMT
Wow!
|
|
|
|
Post by gwnwar on Oct 28, 2012 4:13:56 GMT
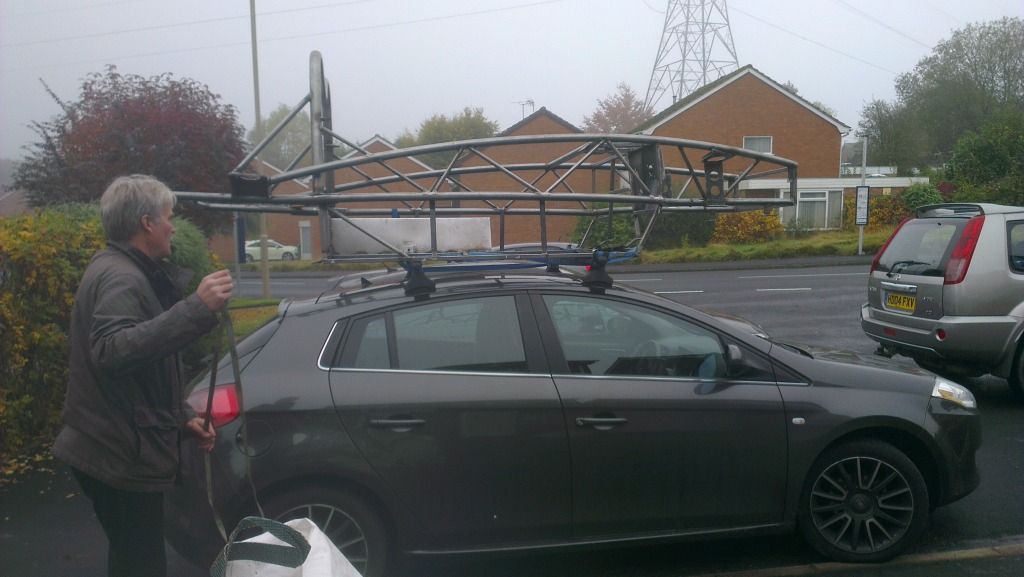
Nice job great looking don't change it.. Hope you didn't have to drive far with frame on car on tp rack..
|
|
stubbers
Senior
Exocet Number 306
Posts: 478
|
Post by stubbers on Oct 28, 2012 8:41:41 GMT
Nope, thankfully my powder-coater is only 1 mile away. It was nice and easy to lift on and well within the weight rating of the roof rack.
Rich
|
|
stubbers
Senior
Exocet Number 306
Posts: 478
|
Post by stubbers on Oct 29, 2012 20:01:43 GMT
So picked up my chassis today, £150 fot the chassis roll bar and 8 wing stays in glass black if anyone wants to know?? Was looking at mounting the fuel pipes and I want them well away from the floor if I ever ground it out, so I was thinking the outside of the ppf, cant see any reason why not. Any ideas?? 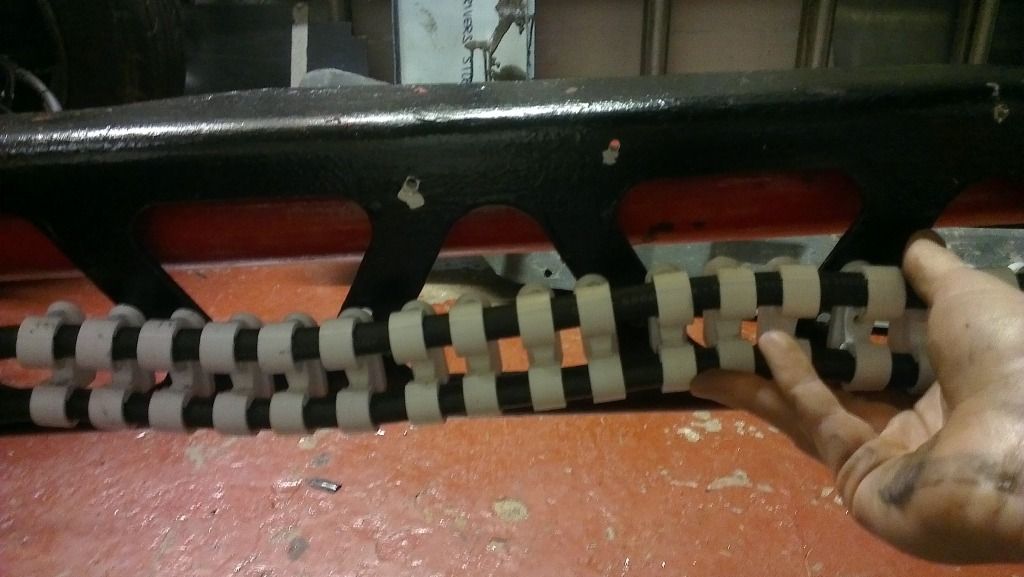 (No they wont be spaced that close together on the final build) The holes just above are for the wiring cable ties, i got some automotive cable ties with barbs on them which work nicely. Rich |
|
|
|
Post by gwnwar on Oct 30, 2012 2:24:09 GMT
If you want them up higher make some brackets and secure them to the inside of the frame so they are like 5"up into the tunnel.. The front tunnel cover will hide them and can still be removed if needed.. I would not mount the fuel and brake lines to the PPF..
|
|
stubbers
Senior
Exocet Number 306
Posts: 478
|
Post by stubbers on Oct 30, 2012 9:01:48 GMT
Cheers for that idea, just for my own curiosity what would of been the problem with mounting the fuel lines on the ppf??
Rich
|
|