|
|
Post by gwnwar on Sept 24, 2012 15:09:01 GMT
On the pedal end of the cable do you have the cable secured with the tabs on the plastic stay pushed into the opening of the pedal or just slid in between the stay end of cable.. You could also bend the top of the pedal back above the pivet point.. If you cut the spacers off the pedal unit that will move the unit closer to the firewall which will put play in cable.. The cable does belong in the lower hole.. Check valve is just pushed into the rubber hose cut it out.. Make sure the vac hose to brake master is low enough to clear the bonnet so not to bend it down and shut off flow..
|
|
stubbers
Senior
 Exocet Number 306
Posts: 478
|
Post by stubbers on Sept 24, 2012 15:40:06 GMT
Cheers for all the help guys,
I do like the idea of slightly bending the pedal to compensate for moving the spacers to the other side of the bulk head.
Yeah I had a quick look last night and its slightly touching so may have to take a few mm of the pipe to bring it down.
Rich
|
|
stubbers
Senior
Exocet Number 306
Posts: 478
|
Post by stubbers on Sept 24, 2012 22:07:56 GMT
So fixed the accelerator cable, did as advised and slightly bent the top of the pedal and it worked a treat. Now all re adjusted. After a bit of pondering and looking at other build guides went for the expansion bottle under the rad by the alternator, had a bit of a debate with my dad on the expansion bottle needing to be mounted at a specific height. My theory: as the water expands positive pressure pushes more water in the expansion bottle from the tube that goes to the bottom of the bottle. As the water cools down there is now negative pressure in the radiator pulling water from the base of the expansion bottle back into the rad. Hence its always pressure never gravity, the height is irrelevant? Anyway my mounts, quite happy with it tbh. 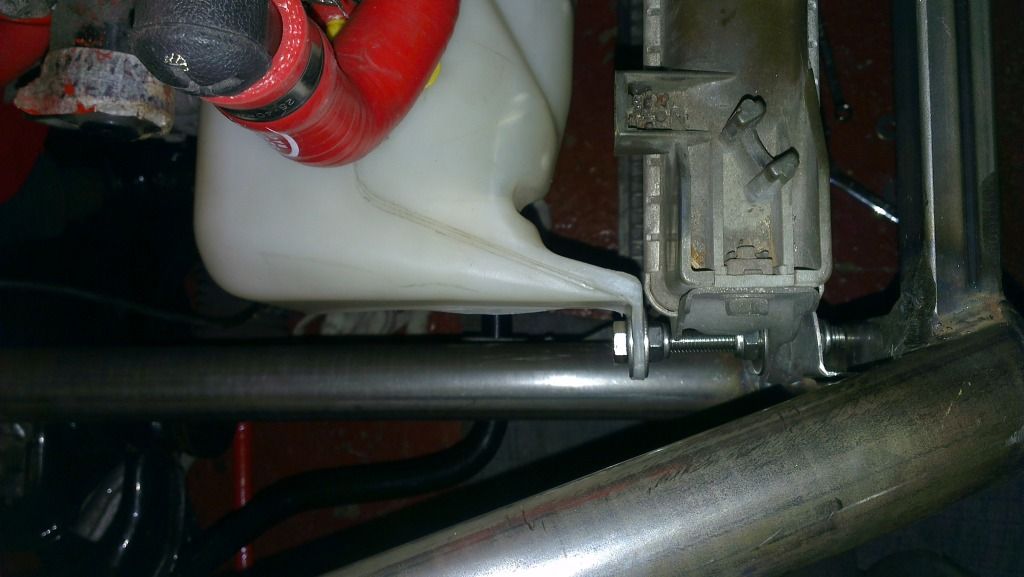 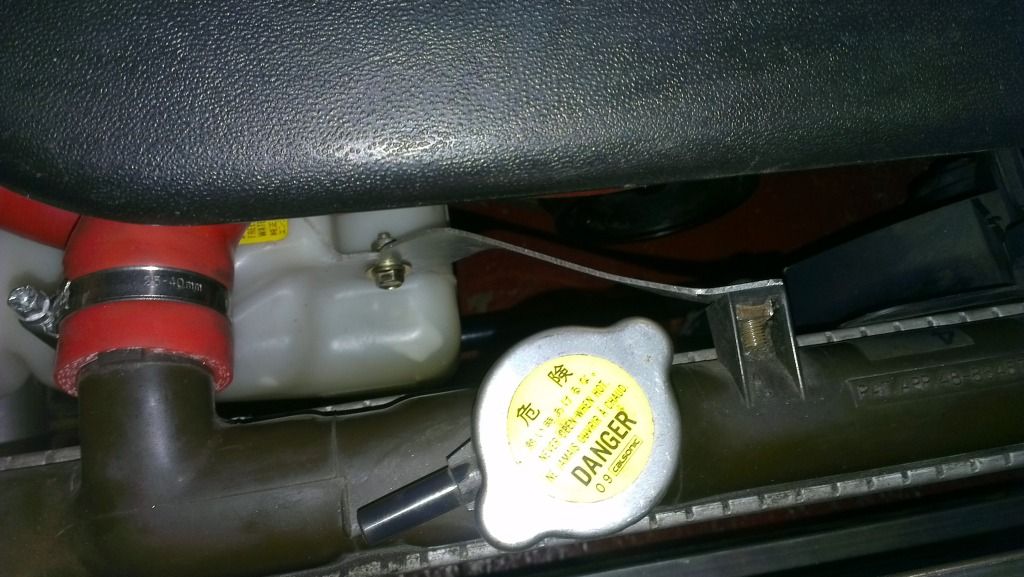 Next was fitting the check valve to the silicone after market hose. A bit of heat into the hose and a tad of wd40 and it slid in okay. Removing the old one 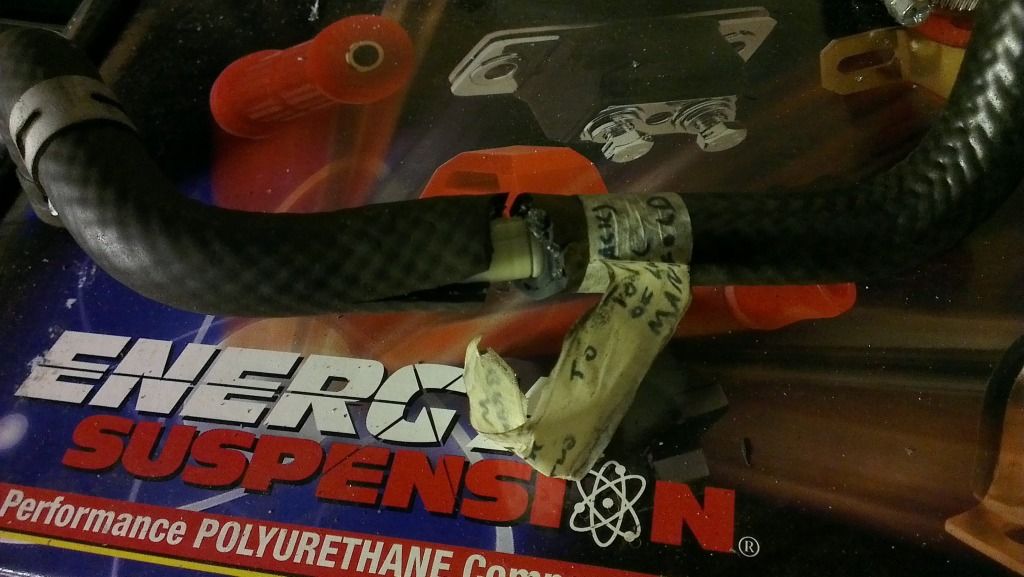 The placement of the valve now. 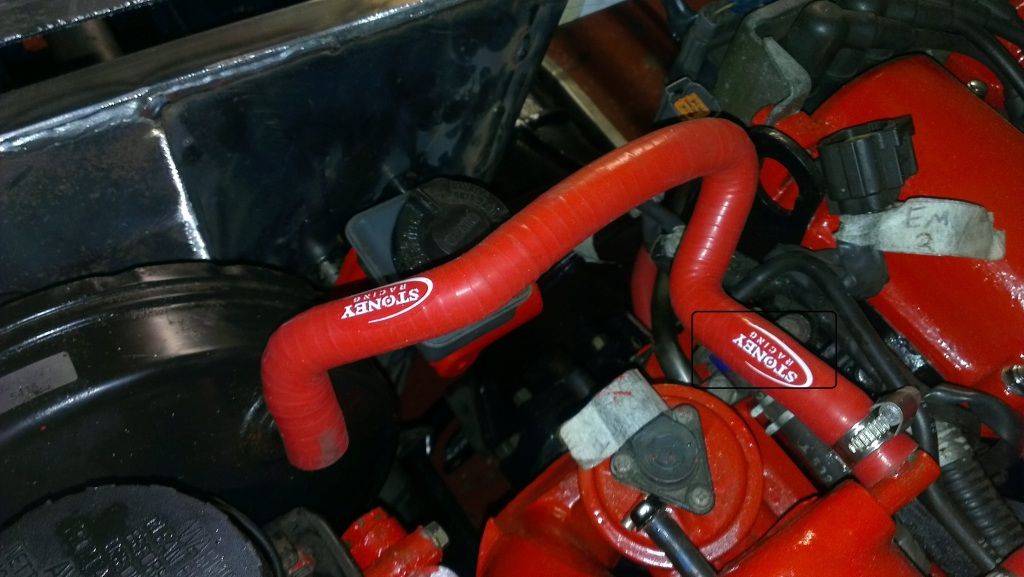 Its so pressure can escape out of the master cylinder and not return back in, could anyone confirm this please? Looked at making the tray for all the electrics, quickly mocked up a basic template. 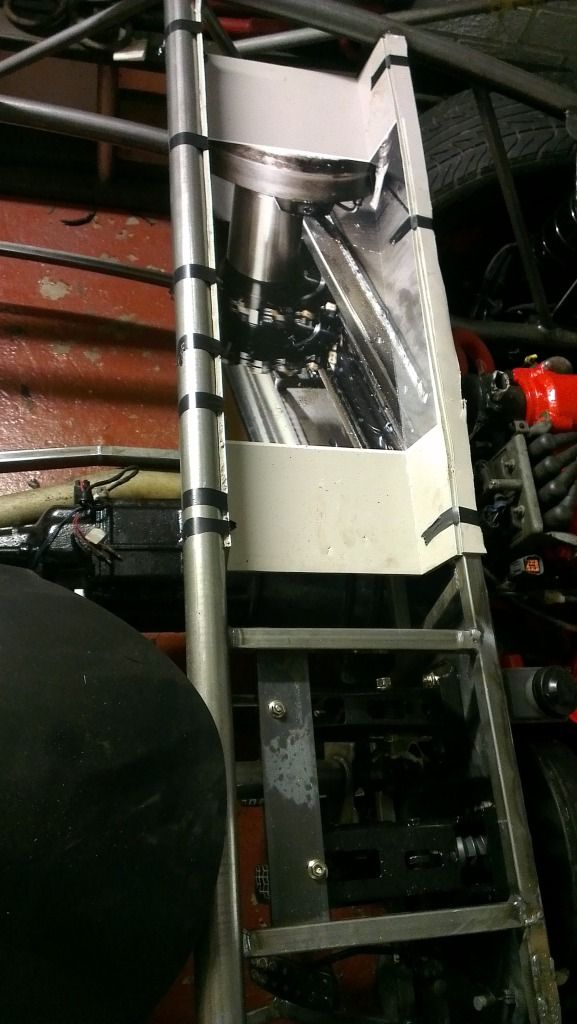 Thinking about a stainless 180 degree pipe then the air filter off the MAF for a cooler air supply, any thoughts?? Gotta love the photoshop/paint skills  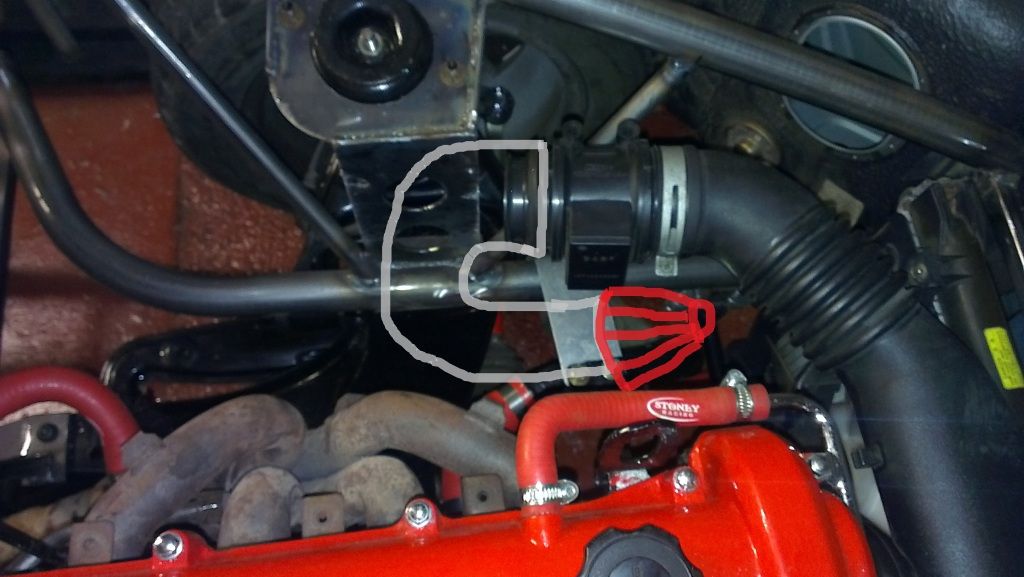 Sorry about all the reading everyone Rich |
|
|
|
Post by gwnwar on Sept 25, 2012 4:11:22 GMT
Check valve.. you only want air flow toward the engine.. NOT into the boost unit.. If it goes both way or not at all replace the check valve.
|
|
stubbers
Senior
Exocet Number 306
Posts: 478
|
Post by stubbers on Sept 30, 2012 21:21:20 GMT
So this weeks update, Skipping ahead to today after fitting the wiring loom and battery, turned the key, dash board lights up and aftermarket imobliser works so looks like my earthing has worked Just need fluids and fuel lines before i try and start it!! Back tracking a few days, first job was fitting the handbrake and cables. Where has everyone else routed the rear hand brake cables, ive routed mine the only possible way due to the length. 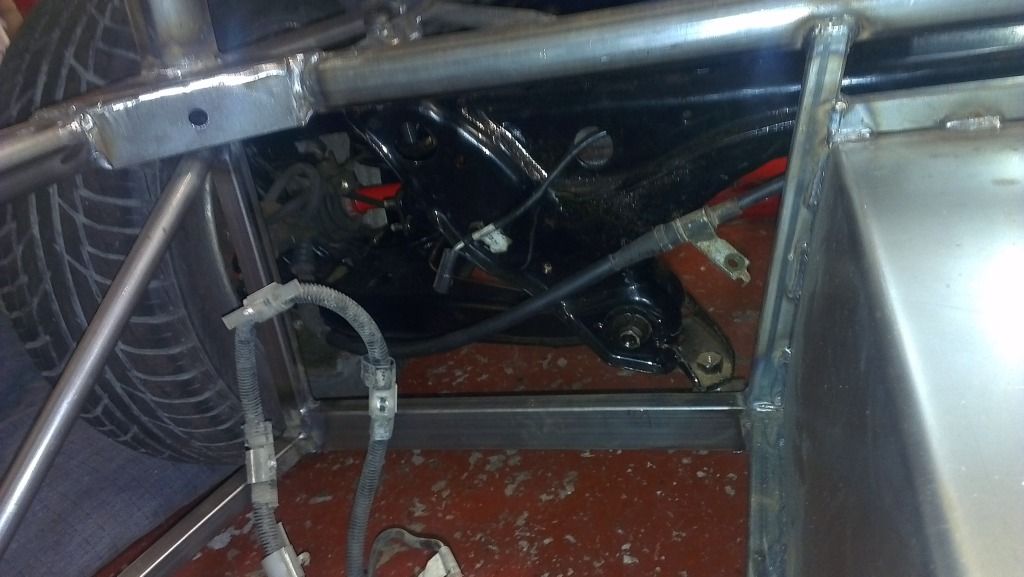 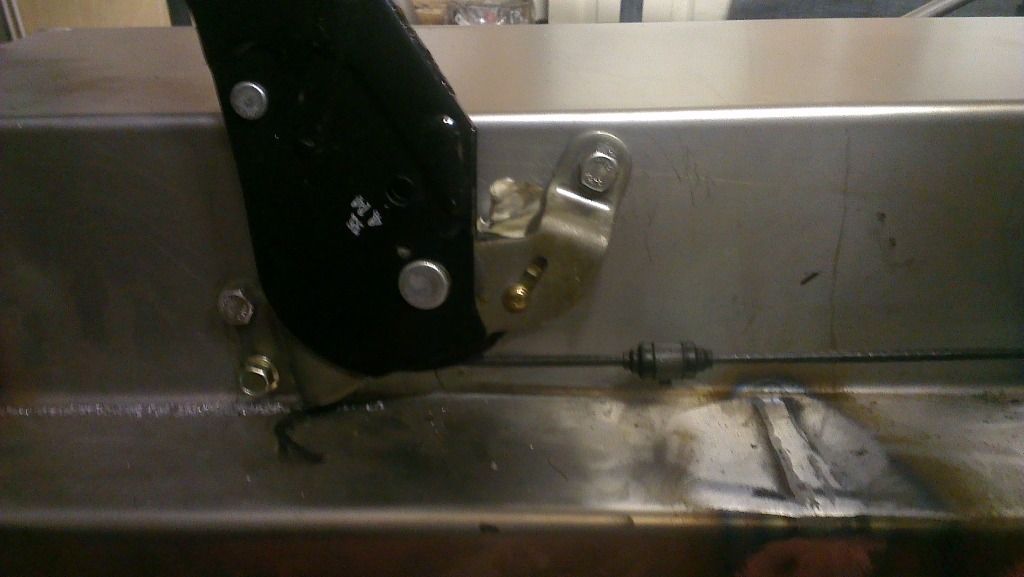 Next was making a tray for the electrics, managed to make it out of the rest of the floor offcuts, really happy i managed to keep the large rubber gromits that came off the doner and managed to fit them in. Will eventially put a lid on it aswell. 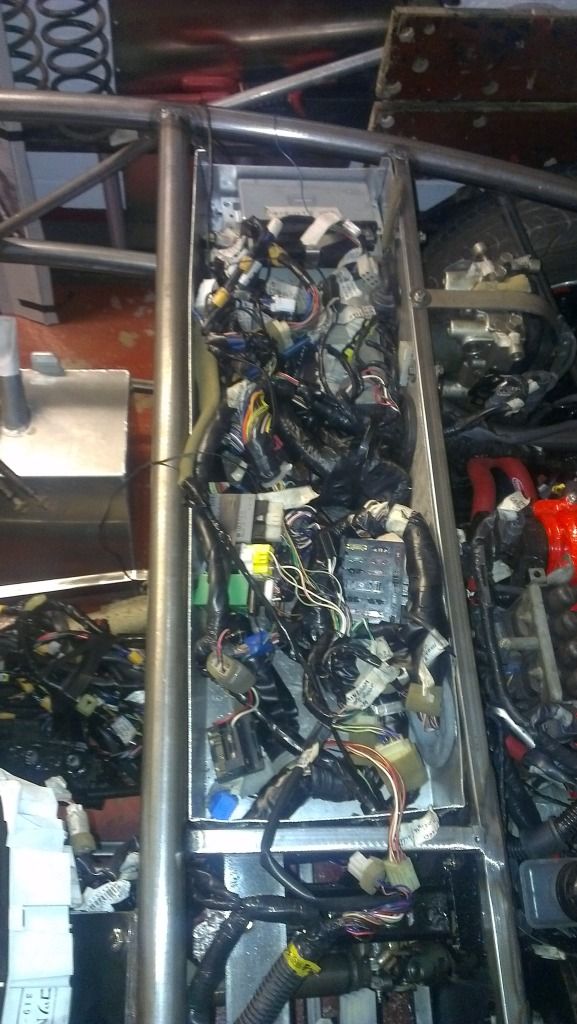 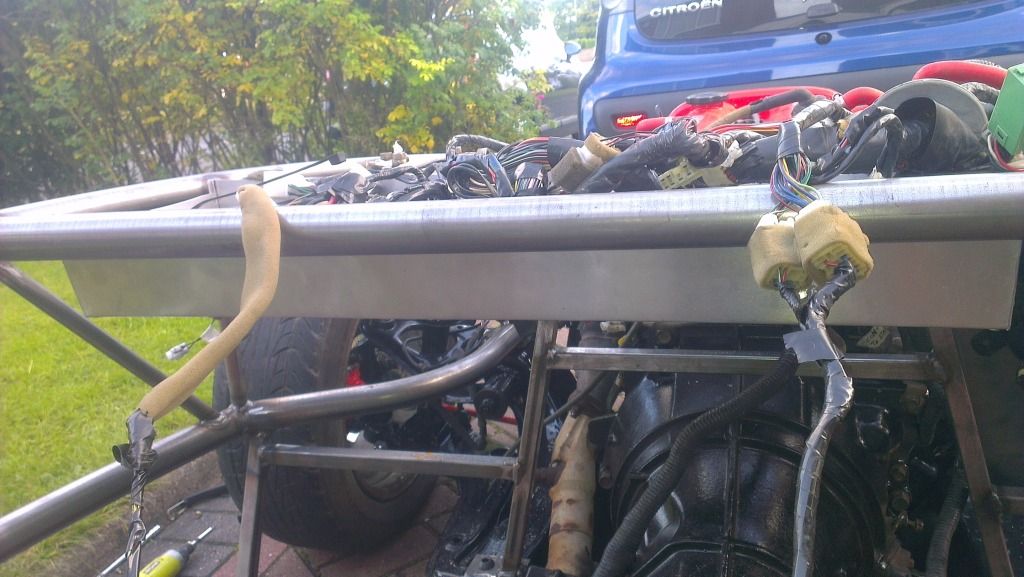 As you can see the wiring loom is in, but i layed it out next to the car first which made the job much easier. 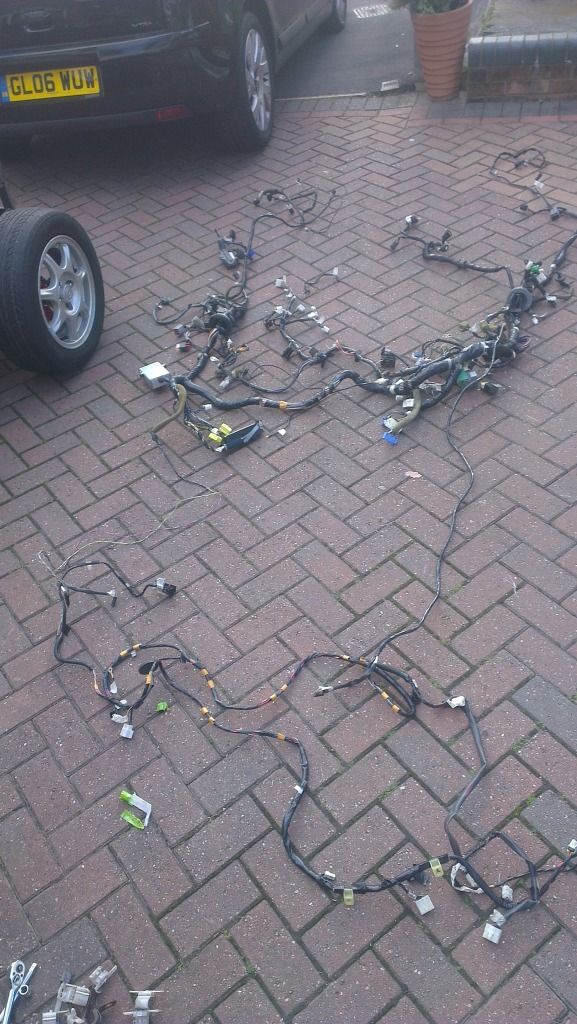 Ive also looked at fitting the nosecone. I has some bolts with flat plates welded to them so i fiberglassed them onto the nosecone.  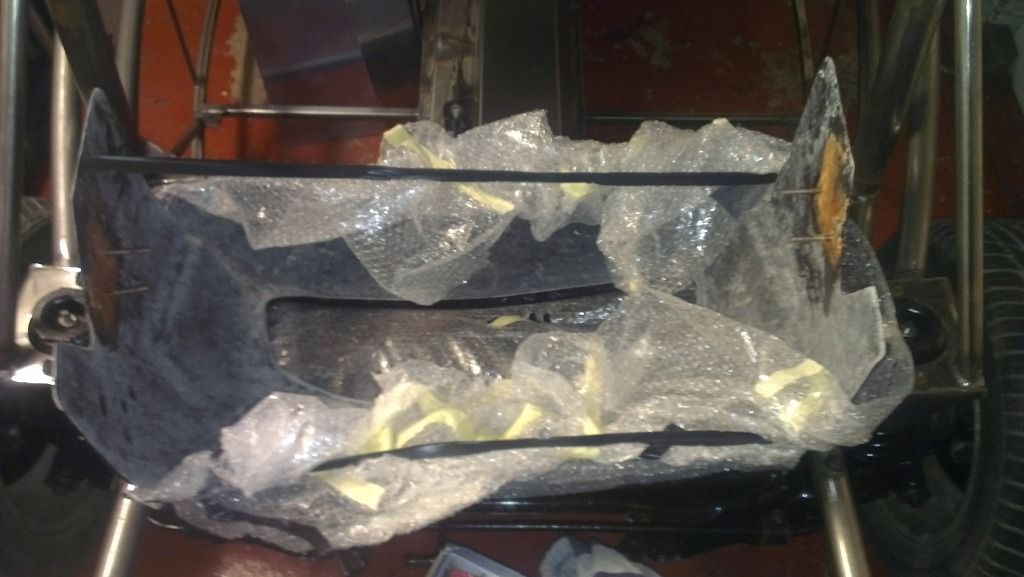 The bolts go eaither side of the tubing and a plate clamps it all down. Oh i plan on getting rid of whats not needed from the wiring loom when the chassis is off at the powder coaters. For example the power stering pump connection comes off a main (trunk) and forms it own (branch) with nothing else on it. Can i just cut the "Branch" off where it meets the "trunk" and tape it all up to stop shorting. I dont plan on stripping all the casing off and tracking it back just getting rid of the clutter mainly. Rich |
|
stubbers
Senior
Exocet Number 306
Posts: 478
|
Post by stubbers on Oct 7, 2012 20:22:42 GMT
Right so another weekend of working on the car, still working on the bonnet hinges the first 2 the pivot point was too far forwards and catching onto the nose cone hopefully will be third time lucky but only managed to do the one side before I ran out of resin. The bolts in the nose-cone work really well and shakes the car rather than moving so happy with that.  The next task was the dreaded clocks, to top bracket was once again fiberglassed onto the top (I bloddy love the stuff you can bond anything to everything!!) then trapped the rest in between the steering column attachments. Cant even shake the clocks now!!   Painted the grills as well  I love the mev in it I painted a large area red then cut out a paper mev logo from the internet, made a template from masking tape, taped over the areas i wanted left red and then painted the rest black, removed the tape and hey presto What adhesive are people using to attach the grills?? Rich |
|
|
|
Post by welshy1 on Oct 7, 2012 20:47:31 GMT
Looking good so far on the grill i used a hot glue gun to bond the grill on hasn't fallen of yet and is rock solid. For the wiring if you don't want to trace all the wires back then it's fin to cut the blocks of and tapeof the exposed wires.
Looks like your doing the same as me building it first then painting/powder coating what colour your doing the frame.
|
|
stubbers
Senior
Exocet Number 306
Posts: 478
|
Post by stubbers on Oct 7, 2012 21:11:44 GMT
Cheers will try glue gun tomorrow.
Yeah I dread to think how baldy scratched it would be if I had it powder-coated first.
Well my plan has been black all along, but been wondering today what a candy red frame would look like.....
Rich
|
|
|
|
Post by h5ngs on Oct 7, 2012 21:21:00 GMT
Looks good how are you attaching the dash pod, that's one of my issues at the moment its just being a pain. With the pod fitted have you got it sat under or over the bonnet? I like the badge on the grill and i think a candy red frame would be very nice indeed with black panels and black wheels |
|
stubbers
Senior
Exocet Number 306
Posts: 478
|
Post by stubbers on Oct 7, 2012 21:24:38 GMT
I haven't mounted it yet but i will have to cut about 1" off the back so it ends just before the bonnet as mine will hopefully hinge up then blank it off. Will have a look tomorrow in more detail, as this is all in theory.
The idea of a candy red frame is growing more and more on me. Hmmmmmmm
Rich
|
|
|
|
Post by welshy1 on Oct 8, 2012 17:45:19 GMT
Candy red would look nice. One of the members on here photoshoped one with a good frame on my thread could ask him to do one in candy red.
|
|
|
|
Post by scooby1929 on Oct 8, 2012 20:40:16 GMT
Is it safe to leave the frame for so long before it gets painted?
|
|
|
|
Post by welshy1 on Oct 8, 2012 20:49:51 GMT
As long as it's not expossed to water then only surface rust will form on the frame in my case it was 4 months from picking my kit up to being in paint. Aslong as the frame is cleaned and preped shouldn't have any problems.
|
|
stubbers
Senior
Exocet Number 306
Posts: 478
|
Post by stubbers on Oct 8, 2012 21:19:38 GMT
I wiped the whole thing down with wd40 and a rag as soon as I got it home, and I keep a eye out for any surface rust forming.
The powder coaters acid dip the parts before powder-coating anyway.
Rich
|
|
|
|
Post by mathew on Oct 9, 2012 10:52:32 GMT
For the wiring if you don't want to trace all the wires back then it's fin to cut the blocks of and tapeof the exposed wires. I done this and the car would no longer start. Ended up having to buy a replacement loom which strangely enough seemed like a blessing in disguise as the new loom seems a different layout to my other and seems to 'fit' better. I dont even need to form a tray either which was my original plan. |
|


