|
|
Post by hammy3601 on Mar 29, 2018 6:15:36 GMT
Hi mate, way back in your thread you talk about the difficulty in getting the driveshafts pressed fully home. How did you do it in the end? Cheers John I think I was just being a bit too gentle with them! A bit of not-so gentle persuasion saw them pop in fairly easily in the end... Yep, cheers. Mine are now in and it was the same story mate. |
|
|
|
Post by browno on Apr 21, 2018 21:14:29 GMT
It has been a few weeks, so it's time for another update! First job was to fix my rear bulkhead with a combination of a good bead of tiger seal and some rivets - as seen here in progress... 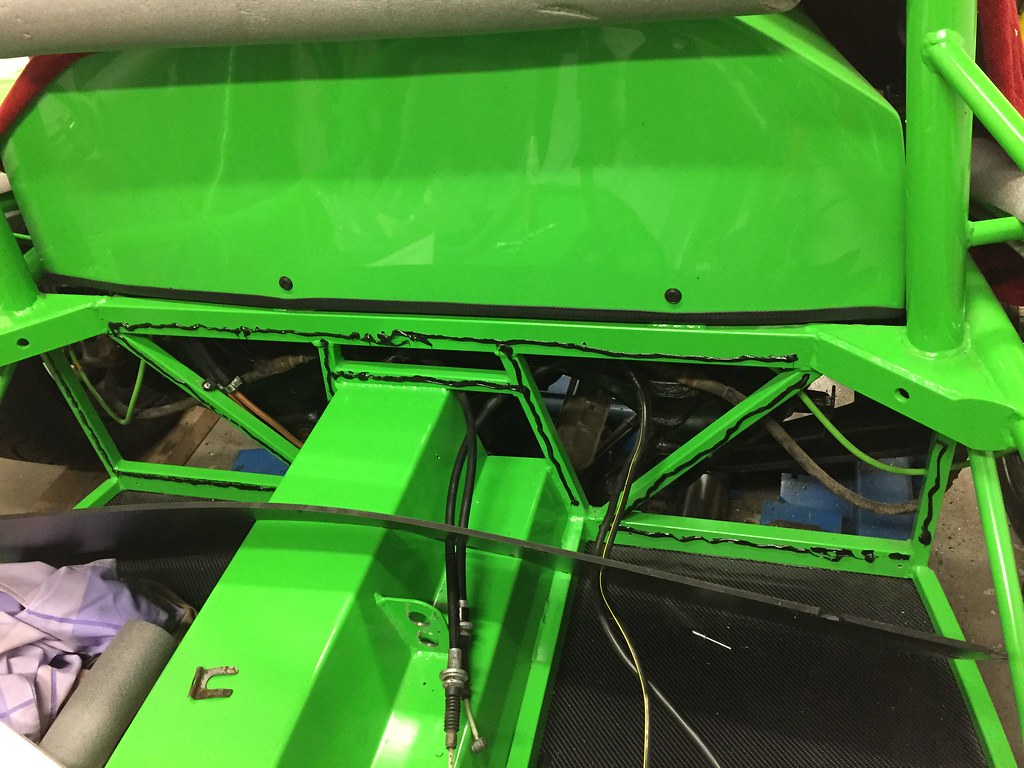 Untitled Untitled on Flickr Next up (after some trimming and double checking fitment!) was to fit my side panels, which I secured using LOTS of tiger seal! I used a full tube across the bottoms which was then allowed to go off (and a further bead added on the inside and outside of the bottom edge to fill out the space), and then 2/3rds of a tube for the top edges. I added edge trim along the bottom, front and rear edges after fitting, and along the top edges (glued on), before then securing the top with a (mostly) neat bead along the top edge. 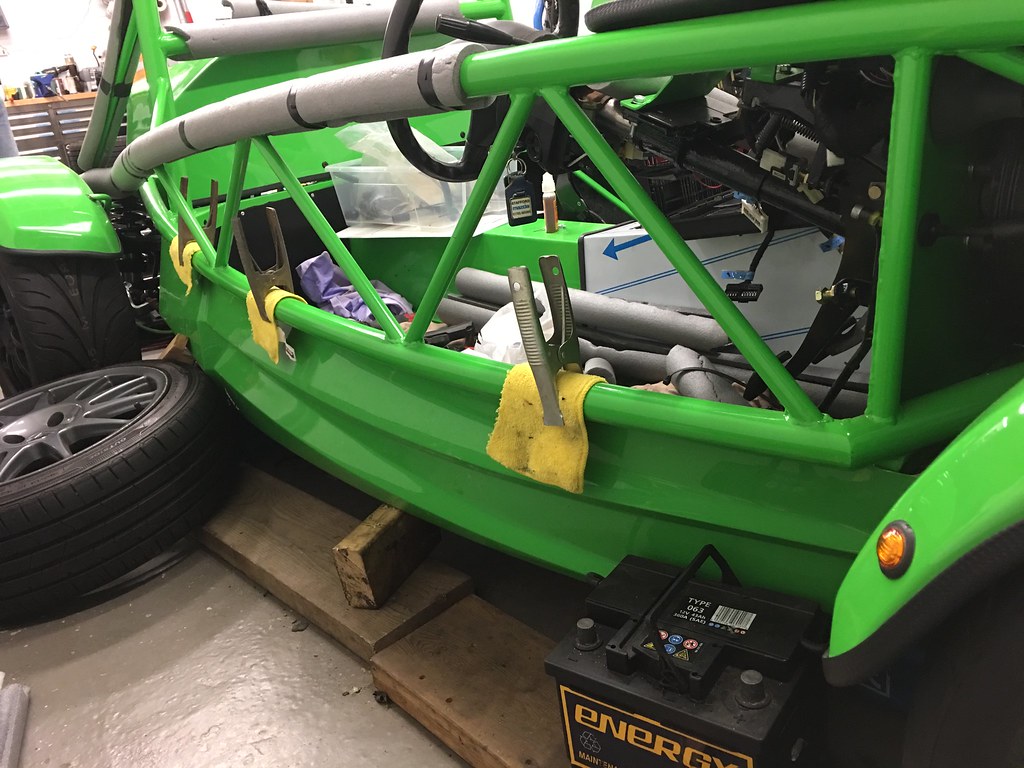 Untitled Untitled on Flickr 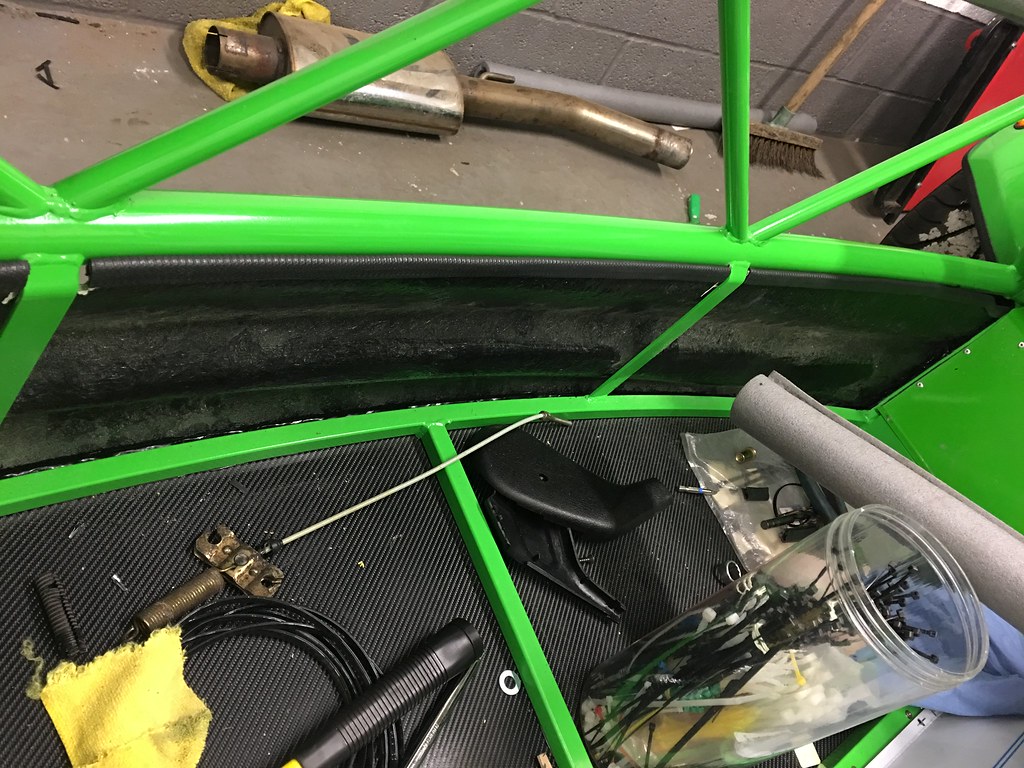 Untitled Untitled on Flickr 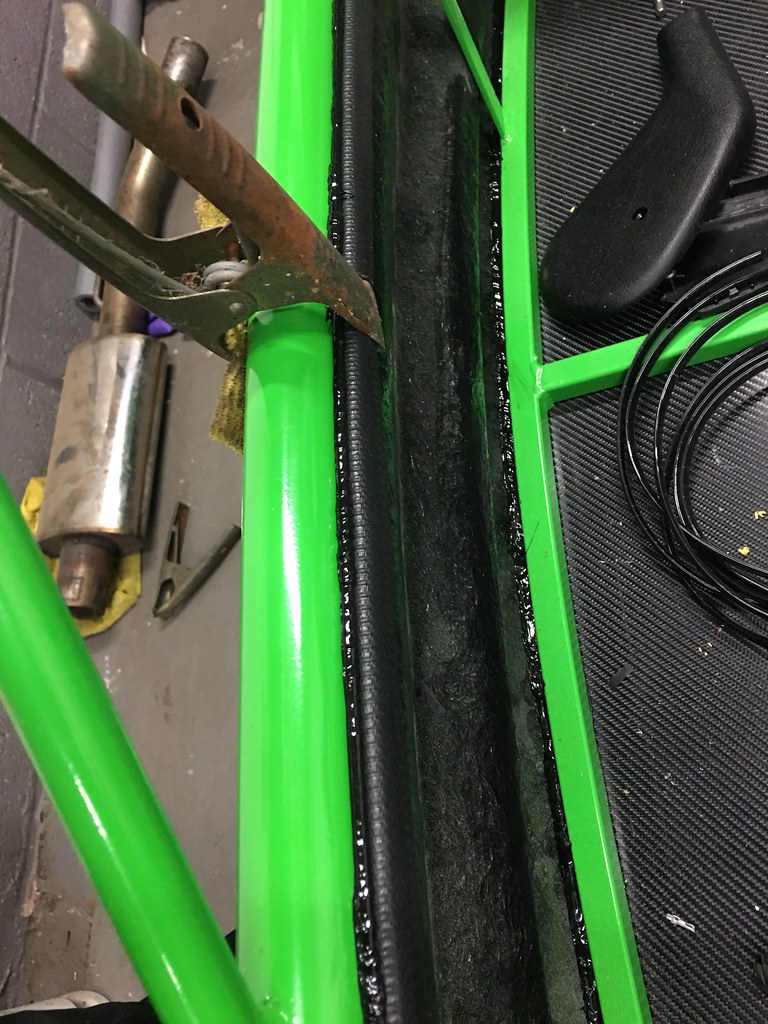 Untitled Untitled on Flickr 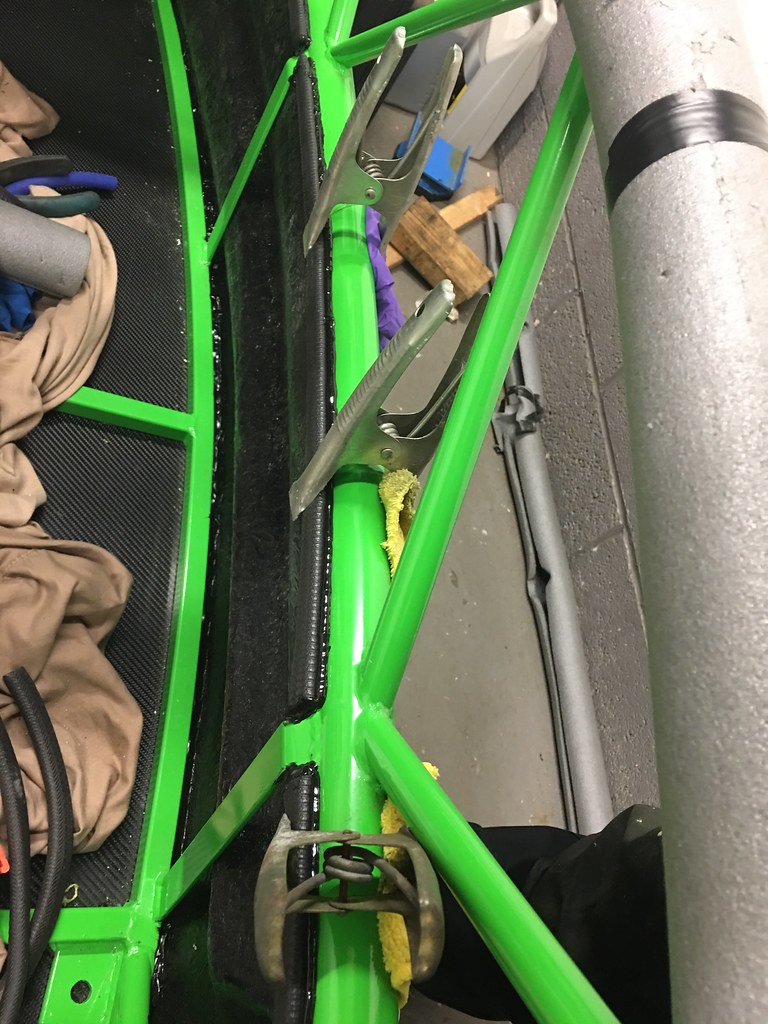 Untitled Untitled on Flickr I then added a bit of identification... 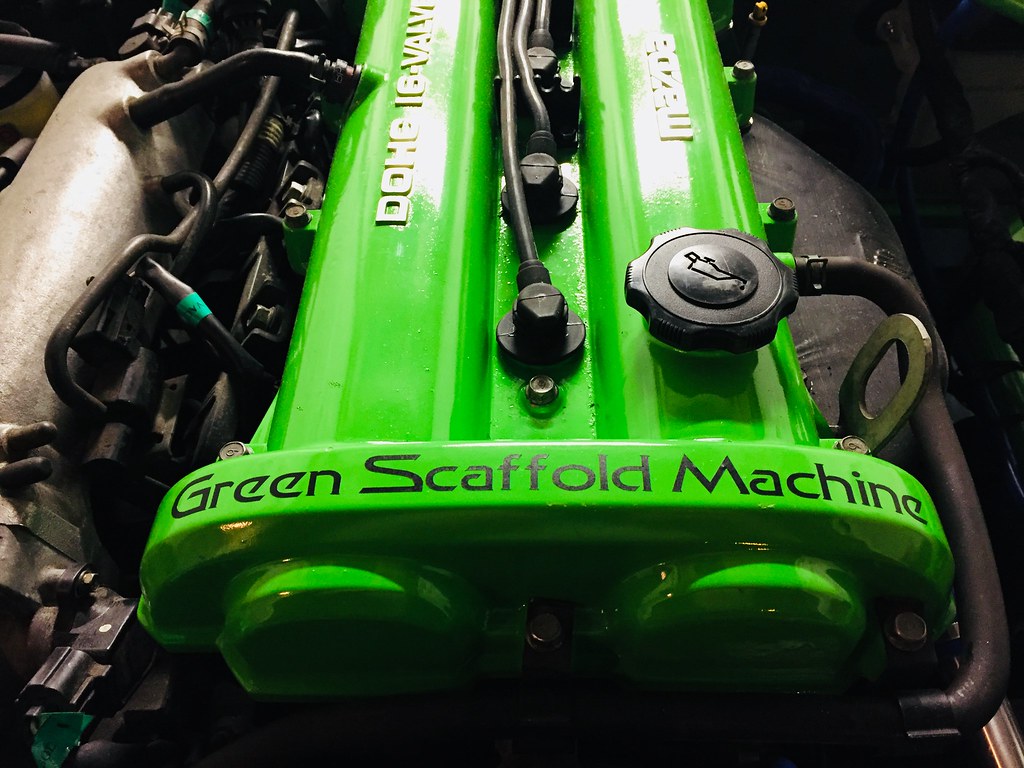 Untitled Untitled on Flickr I have then been doing a whole series of smaller jobs (changing the oil and filter, torquing bolts and sorting a blow in the exhaust), which aren't so photogenic! I have also bought a battery box, which is positioned ready to be bolted in, but I have been diverted by trying to get my seats in and fitted up. I had sold my donor seat runners along with the seats, so needed to buy a set of runners, which turned out to be mk2 runners, so needed a little tweaking to allow them to fit. Having fitted the runners and edge trimmed the seats, I spent some time playing with position and adjustments, I got the drill out and made the necessary holes which have allowed me to test fit my seats. I now need to get some shorter bolts to final fix them, and to cut out the holes for the harnesses (which I have the lower eye bolts prepped for). 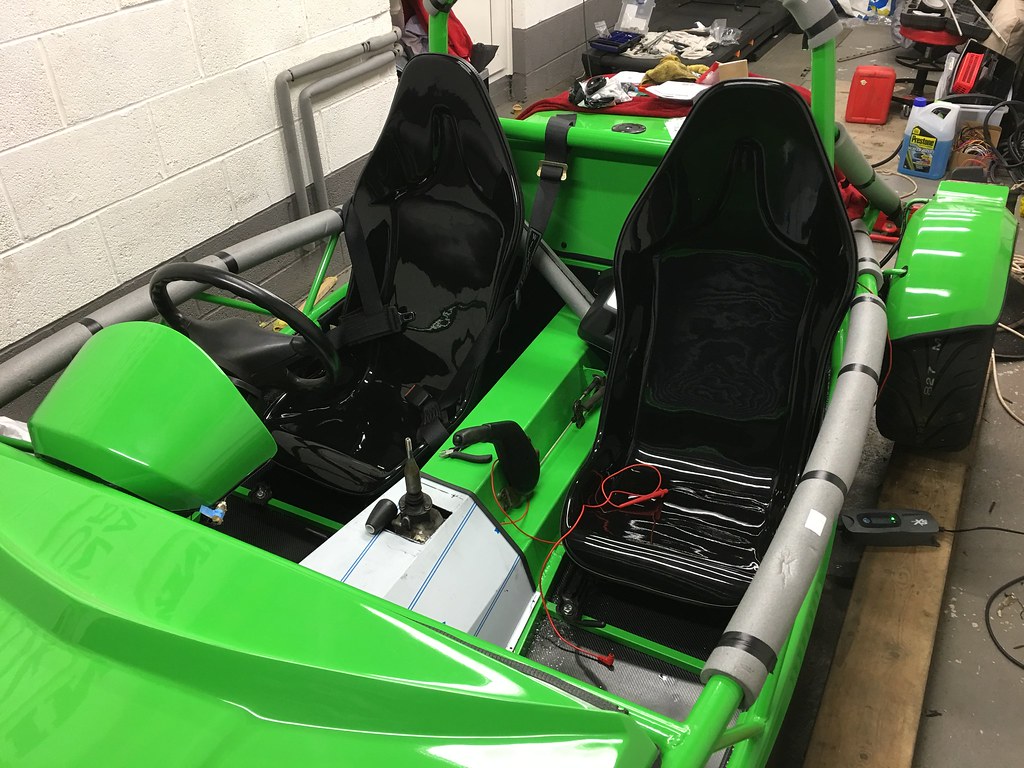 Untitled Untitled on Flickr 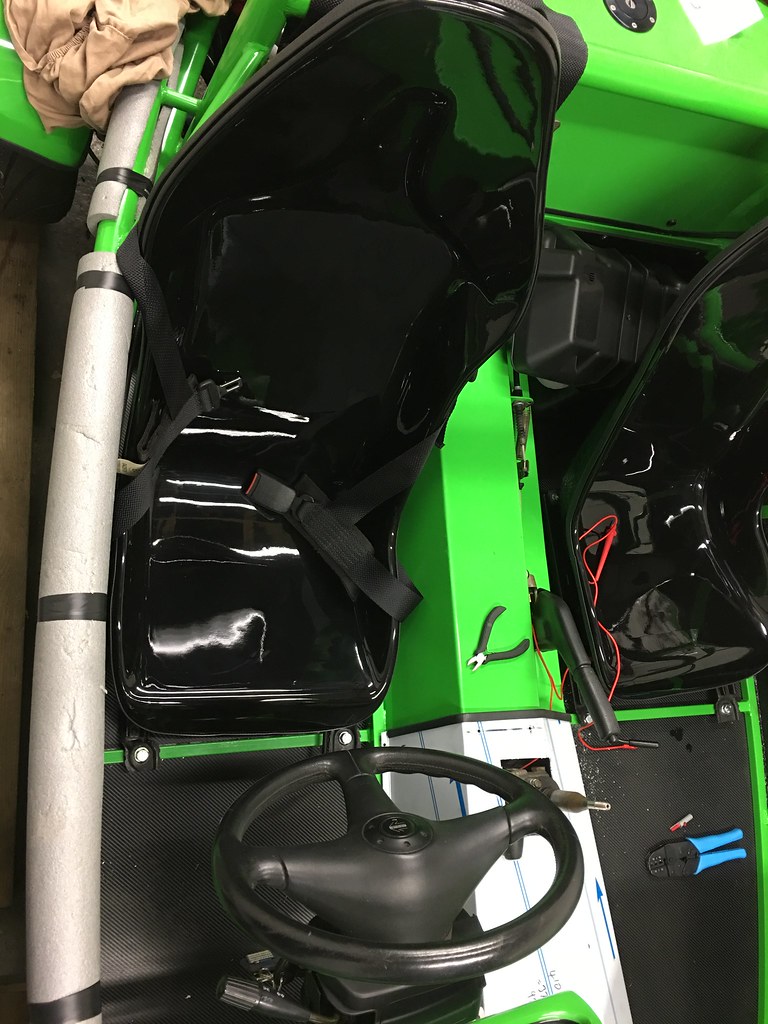 Untitled Untitled on Flickr Next jobs are to fit the battery box and then I am into final prep for IVA, where I plan to take it for a pre-check at a mate's garage with MOT bay, so we can check brakes, lights and emissions. I think that I am going to be ready to submit my paperwork very soon to get it ready for the road! |
|
|
|
Post by browno on May 31, 2018 10:55:33 GMT
Time for a quick interim update - I haven't disappeared off the radar, just been too busy to update my thread! I have been busy trying to get some of the awkward jobs ticked off the list, and am progressing well - so much so in fact that in a fit of madness, I submitted my paperwork to apply for IVA!
I still have some more jobs to do - but a much condensed list (and some of those that will wait until after IVA). Having spoken to DVSA, I am now booked for test on June 20th, so much work to be done to get everything sorted and finished in time!
I will update further with my progress (although there are a lot of jobs done, many of which aren't really worth photographing or don't look much different!) - but just wanted to give a brief update...
One essential that has taken 3 goes so far is making the bracket for the instrument binnacle - trying to get something that looks right, is easy to fix in place, and holds the binnacle steady, so far seems to be elusive, but I have a plan!
|
|
|
|
Post by aterro on Jun 1, 2018 6:11:47 GMT
Looks epic dude.
You’ve not got long to get this ready so get cracking!
The seat bolts, do the go all the way tube, ali floor and then nyloc on other side?
|
|
|
|
Post by jason82 on Jun 1, 2018 6:31:54 GMT
Good luck mate ! Is yours the first G Type going for iva then ? I have read tons of threads & can't find another at this point of the build ?
|
|
|
|
Post by hammy3601 on Jun 1, 2018 14:49:35 GMT
Good luck mate ! Is yours the first G Type going for iva then ? I have read tons of threads & can't find another at this point of the build ? I think its a 2017 not Gtype but with Gtype side panels. Am I right Browno? |
|
|
|
Post by browno on Jun 1, 2018 22:42:30 GMT
Cheers guys - Definitely busy cracking on with the time I have for Iva - I reckon I should be able to get my list closer to done by the end of the weekend, and then will have some time to check everything out in plenty of time!
Seat bolts do indeed go all the way through and have nylocs underneath, so should be all ok.
Hammy is correct too - mine isn’t a g-type, but a 2017 model with the g-type side panels - which I think do finish the car off nicely.
|
|
|
|
Post by browno on Jun 9, 2018 22:47:59 GMT
It has been a while again, so it's time for another update... So, after last time, I carefully considered the placement and shape of the harness holes before taking the plunge and chopping into the seats, which I then finished with edge trim. 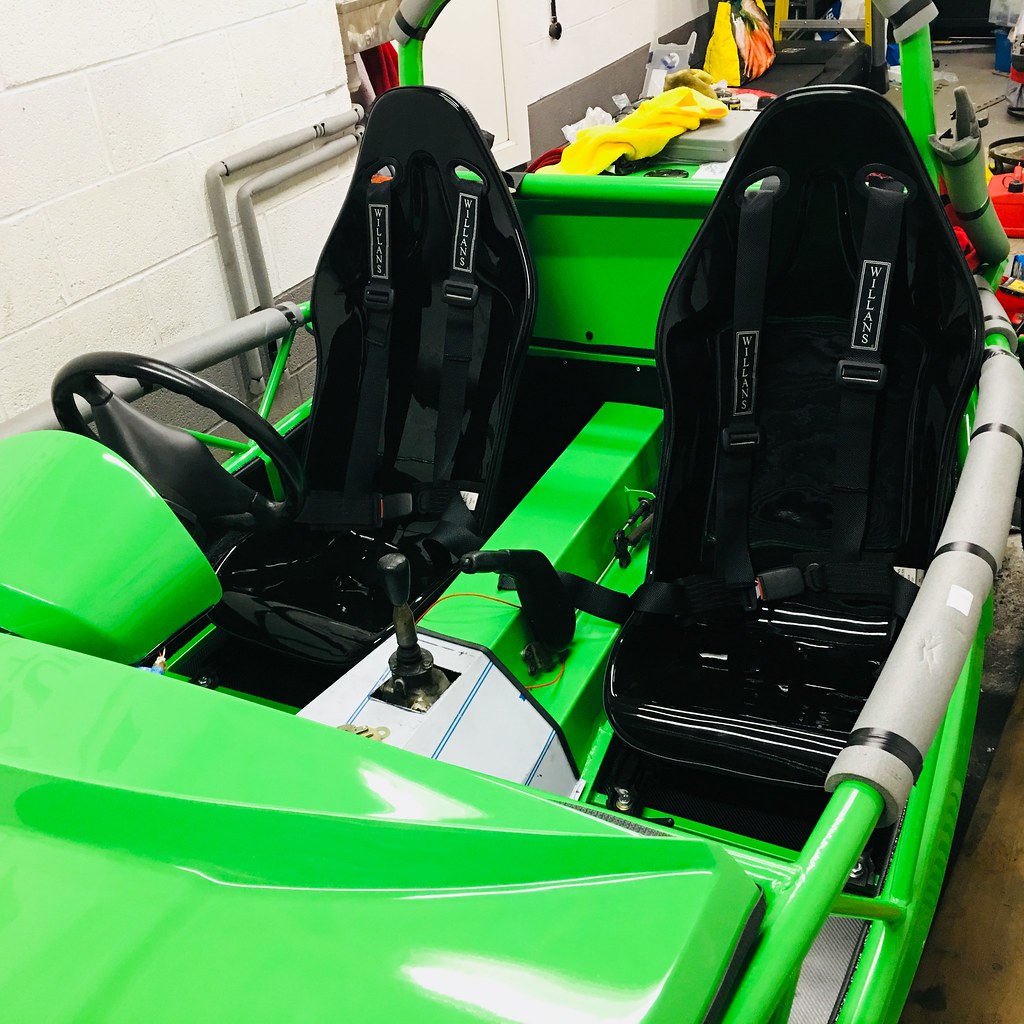 Untitled Untitled on Flickr Next on the list was to tidy up the gap between the bonnet and the dash rail, so I used the now redundant black side panel material to make up a lid that covers the top of the tray and neatens up the rear edge (which I have since finished with some wide edge trim). 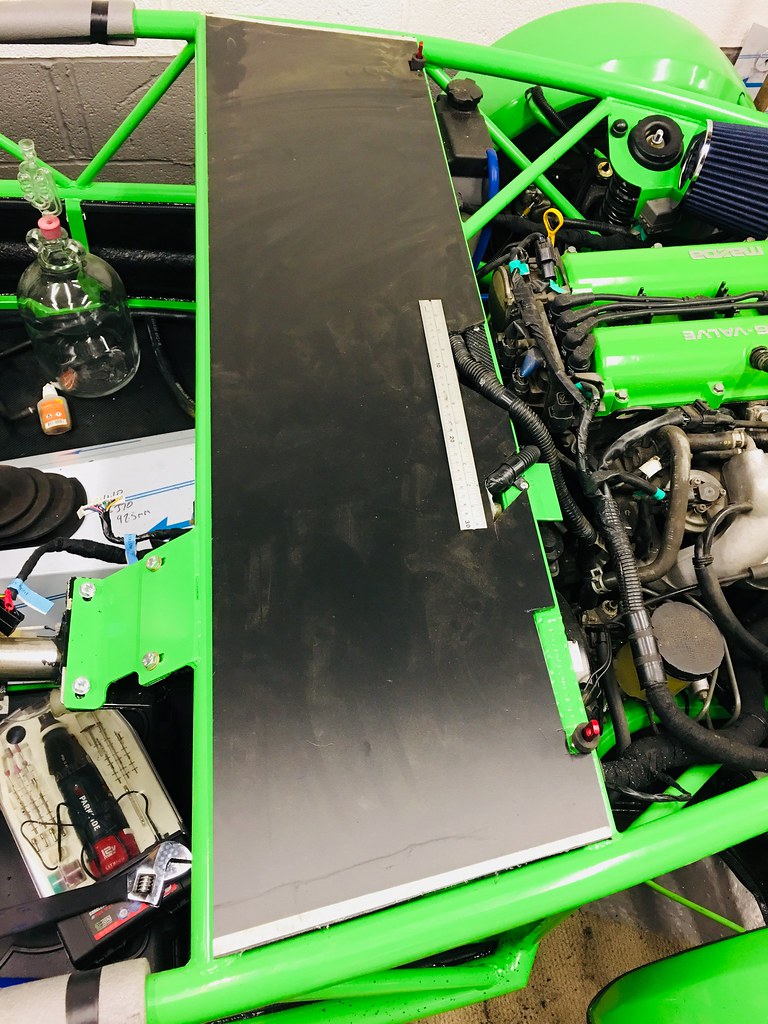 Untitled Untitled on Flickr 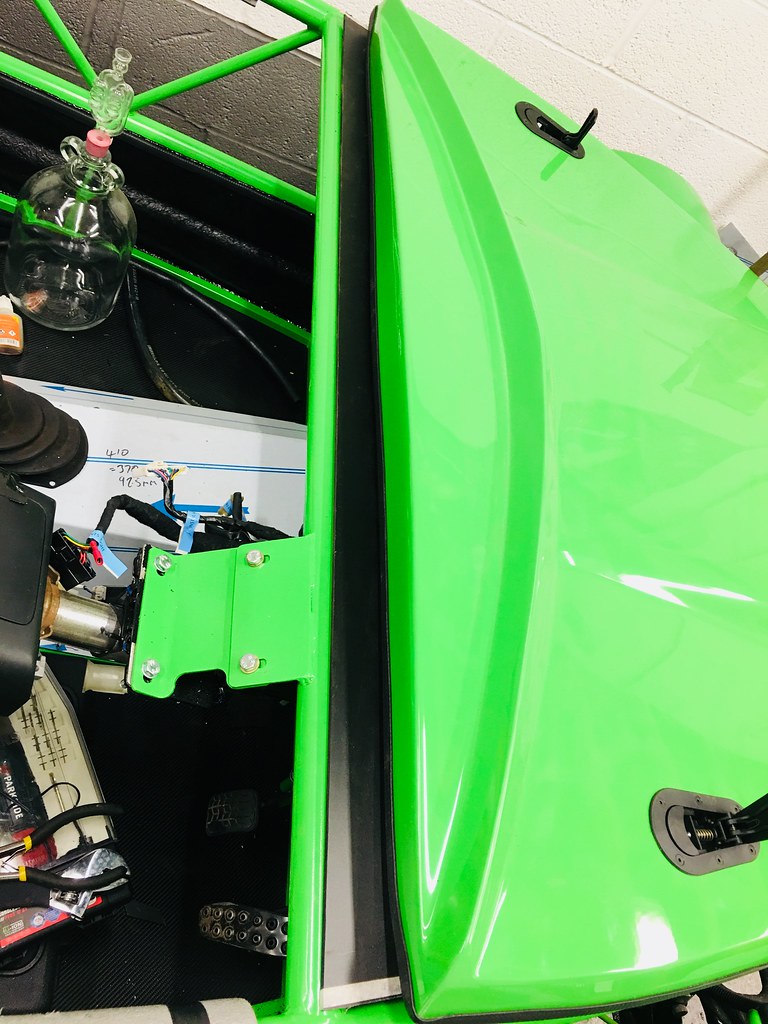 Untitled Untitled on Flickr Next up was fitting the instrument binnacle, which took a few goes to get a bracket that worked: 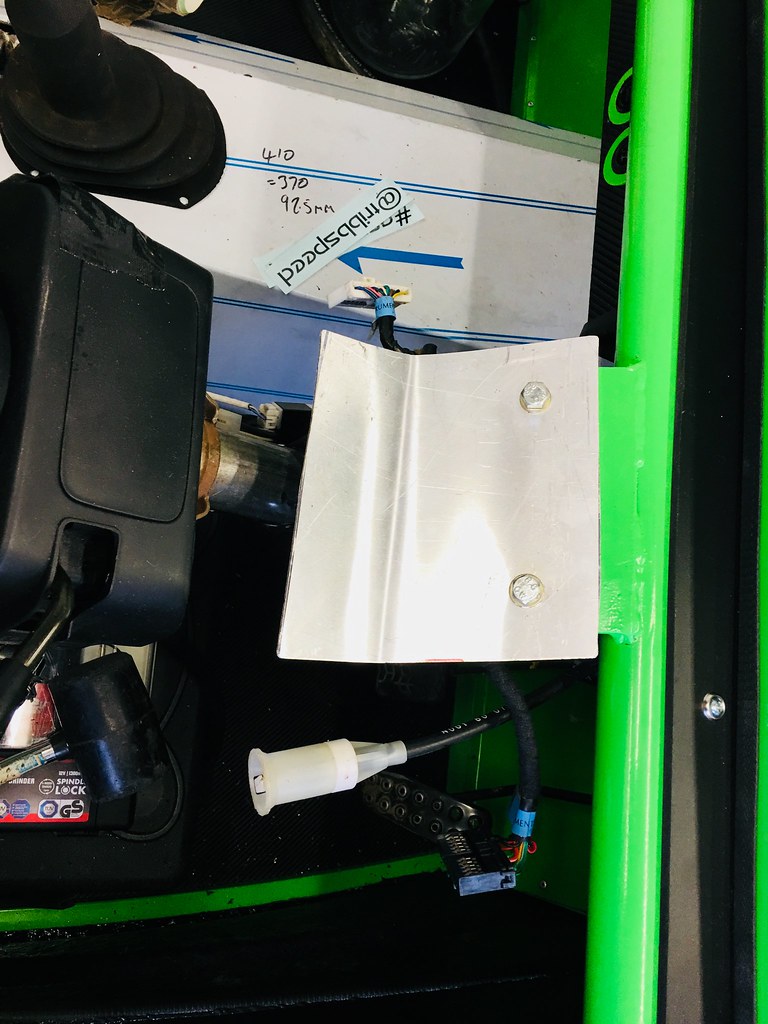 Untitled Untitled on Flickr Version 1 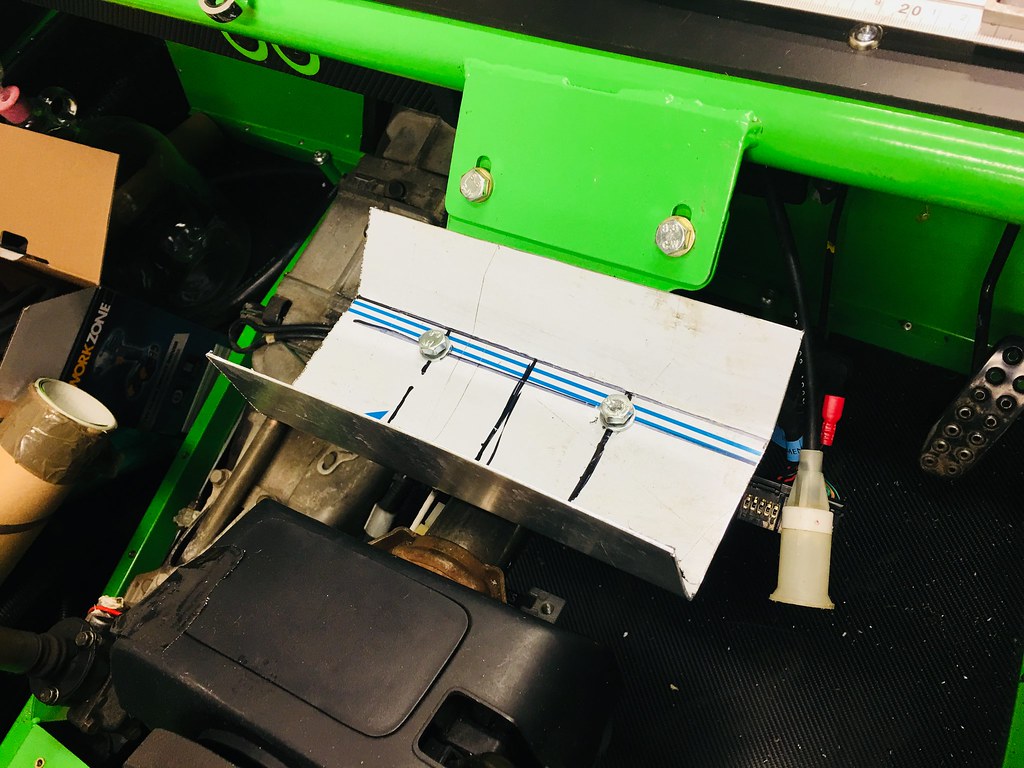 Untitled Untitled on Flickr Version 2... Finally version 4 did the trick fixing on the front tabs and with an additional bracket from the rear of the housing to the dash top rail - so with the original MX5 instrument cluster stuck into the MEV GRP housing, I could fix it into place. 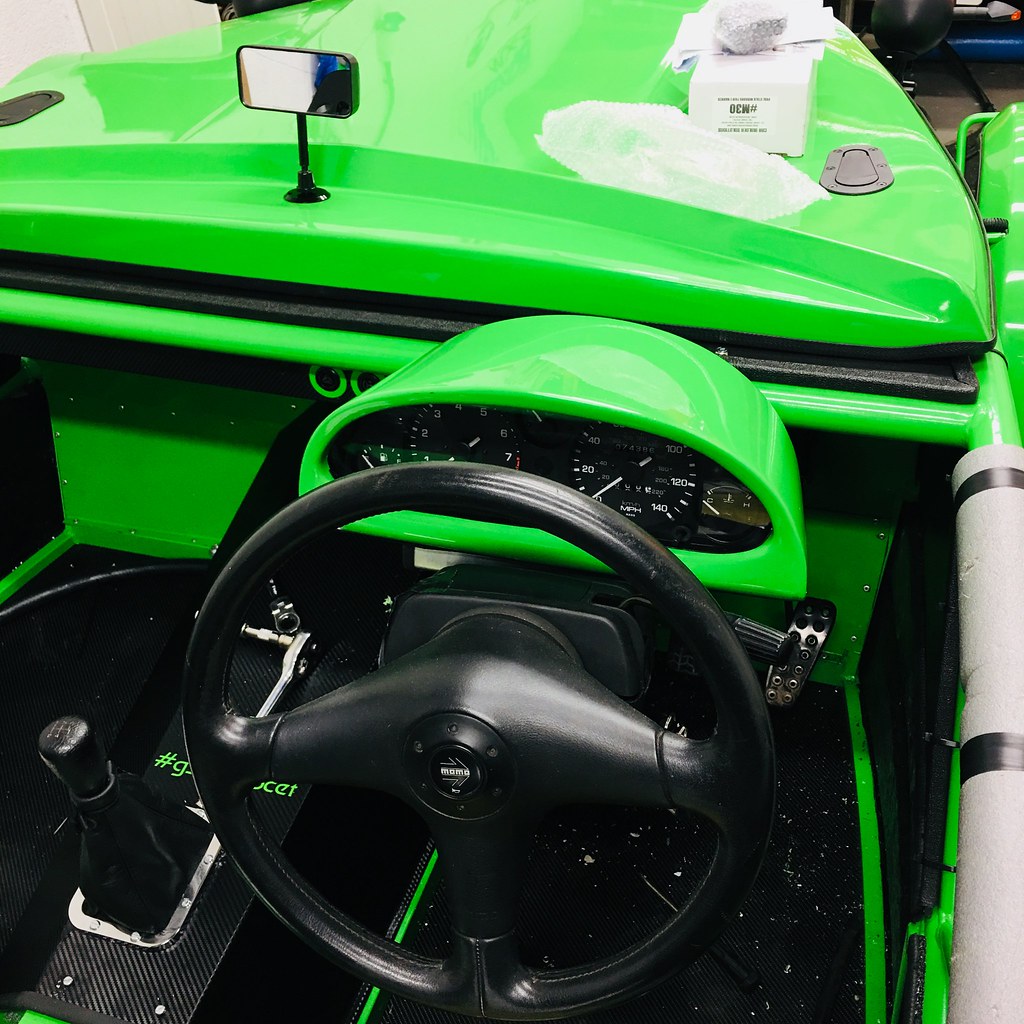 Untitled Untitled on Flickr 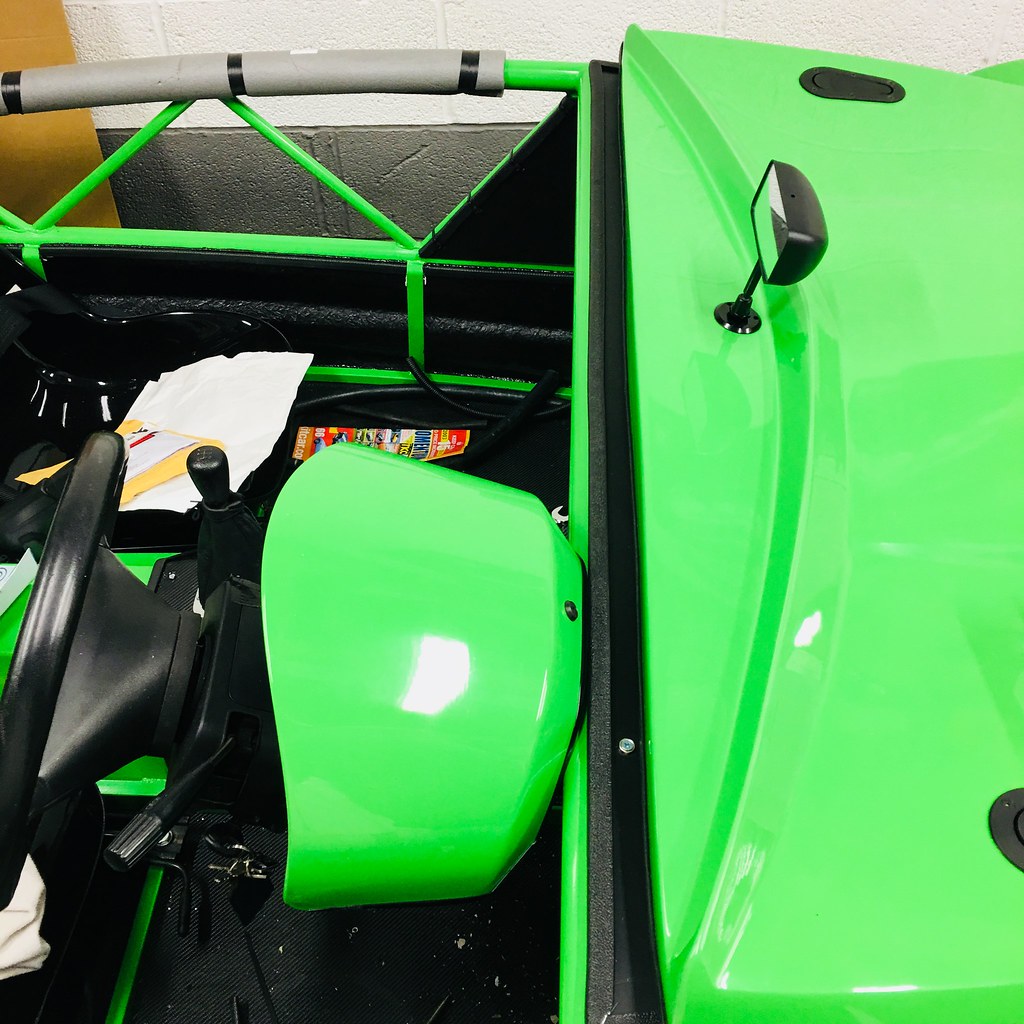 Untitled Untitled on Flickr Then, I have added some infill panels on each side to help with edges for IVA - again using some of the plastic side panel material, just cable tied into place. 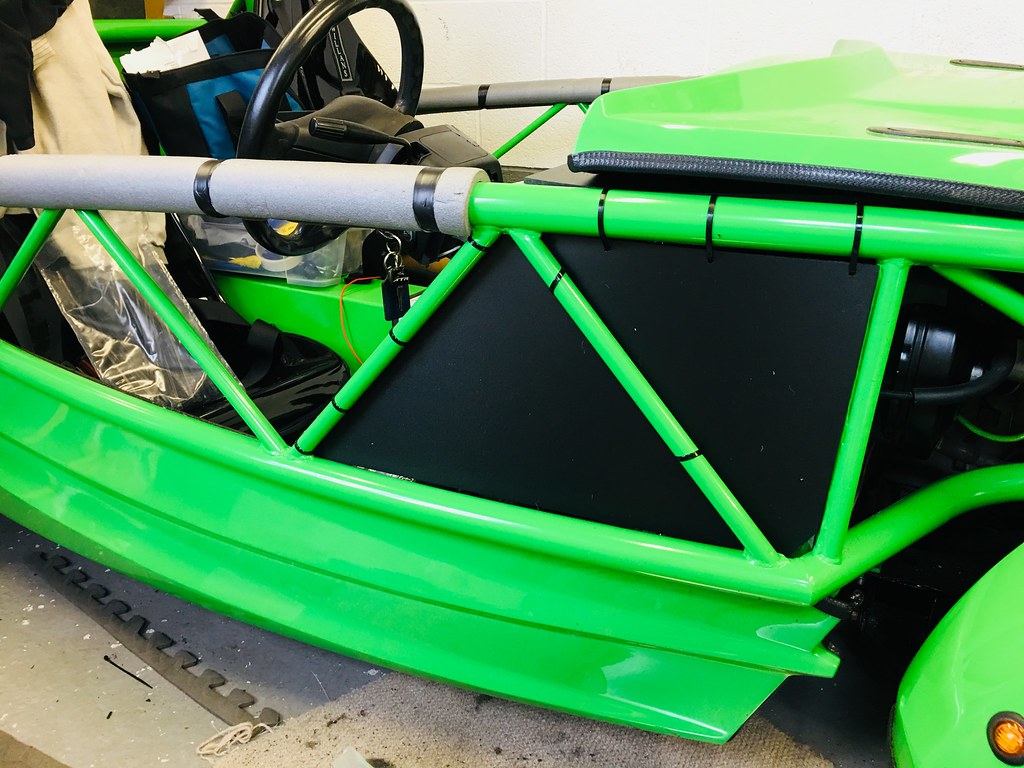 Untitled Untitled on Flickr I have also done a whole load more smaller jobs - mounting the back box, wrapping and fitting the transmission tunnel and starting to work through all the edges that need trimming for IVA. On that note, I now have a deadline - with the IVA test now booked in for June 20th, so I have a self-imposed deadline to work to, which I think is do-able, as long as I can get it up to my mate's garage for a pre-check of brakes, lights and emissions, just to be sure, but there is certainly going to be a need for some serious garage time for the next week or so! |
|
|
|
Post by hammy3601 on Jun 10, 2018 8:01:02 GMT
Looking good mate! 12 days to go...... I hope it all goes well. Im looking forward to seeing photos of it outside and all put together
|
|
|
|
Post by aterro on Jun 10, 2018 9:00:53 GMT
Could the nose come not come any further back to bulkhead?
|
|
|
|
Post by hammy3601 on Jun 10, 2018 17:24:47 GMT
Browno, how many bonnet catches are you running? Is it just two and does it seem secure?
|
|
|
|
Post by browno on Jun 10, 2018 22:05:01 GMT
Cheers guys - looking forward to getting it sorted, and the list is slowly decreasing, so I am getting there!
The bonnet is as far back as it will go currently (hitting the radiator, which is itself as far back as possible). Having chatted to Stuart at Stoneleigh I have some thoughts on how I might be able to move it back, but will leave that until after IVA, as it will take some reworking.
I am using a pair of aerocatches and a pair of button latches further forward (see previous page for pics) - I think it definitely needs all 4 as without the front pair, the front end would be fairly insecure...
|
|
|
|
Post by browno on Jun 11, 2018 23:04:36 GMT
Lucky escape tonight! I had decided that I was going to swap my mini and exocet in the garage (tandem garage, with the mini closest to road behind exocet and wanted to swap over so exocet can go on my lift). I moved out the mini then fired up the exocet and started moving forward - and immediately smelt fuel! Engine off, then ask my brother if he can see anything, and there is a small lake under the car!
It appears that I have a pair of leaking injector o-rings (which thankfully didn’t manifest on Saturday when I sat it idling for a while, or for the IVA, which I guess would have cost me a full retest fee). So another job to get done before Saturday when the plan is to get the brakes, lights and emissions checked...
We did swap cars over (by pushing the exocet!) - and have managed to fit some modesty grilles to the sides of the engine bay, so another job done at least!
I think it is going to be a busy week - wish me luck!
|
|
|
|
Post by hammy3601 on Jun 12, 2018 7:49:46 GMT
Wow, like you say lucky to find out now and not at IVA!!
|
|
|
|
Post by jason82 on Jun 13, 2018 17:50:33 GMT
Long time, no update! I haven't forgotten about my build - but have in fact been busy doing various things in the garage - only some of them on the Exocet. After the previous update, I had started templating a wiring tray to hold the ECU and electrics neatly - so I cut out a sheet of ally and got it folded in the workshop at work - which left me with a neat tray that just need a little adjustment to fit into place: 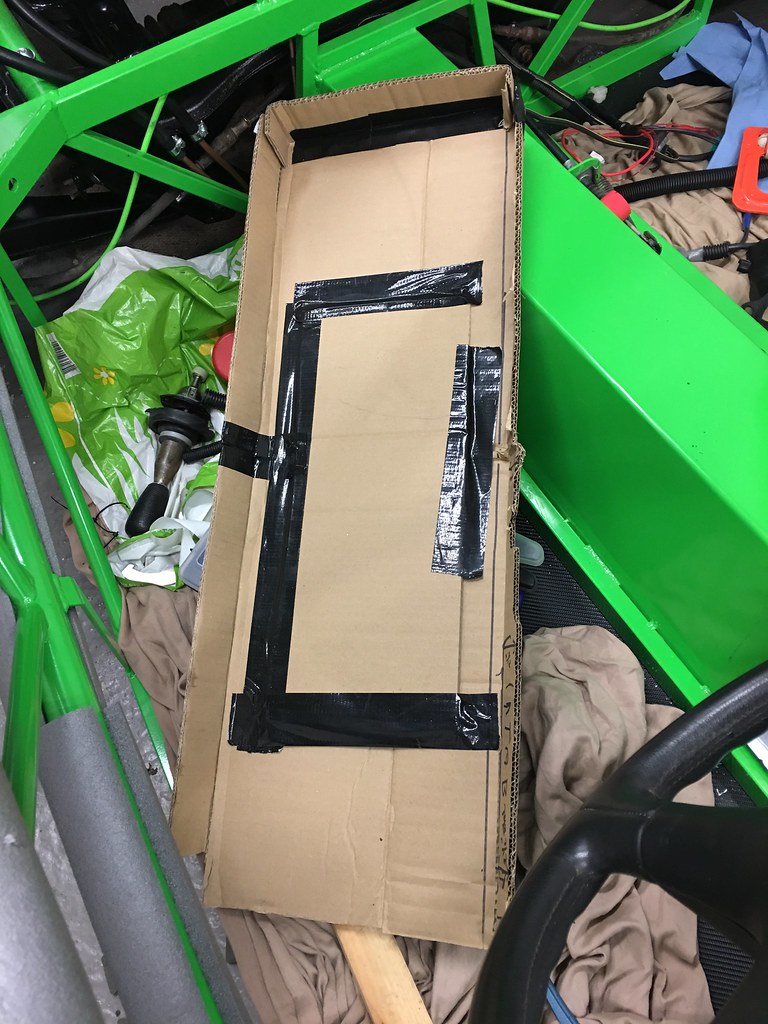 Untitled Untitled on Flickr  Untitled Untitled on Flickr  Untitled Untitled on Flickr Then I took a break away from the Exocet as I wanted to finally get my mini sorted and running right - this has been a very long (23 year!) build, that I finally got MOT'd in March, but needed to get setup - so took it off to Peter Burgess to get sorted on his rolling road. It was a very steady drive over with a badly set engine meaning I couldn't drive over about 35mph without serious spluttering! Having worked his magic (and had a good chat), Peter has transformed the drive - and it now has a whole 51BHP (ish!) and drives much better, pulling happily now. This meant that I could take it out for its first proper drive - and then put it to bed for winter!  Untitled Untitled on Flickr video on the rollers: and since that, I have been starting to work on the Exocet electrics - firstly plugging the loom back into the key areas to get the engine to fire again, and then starting to strip out the unneeded wiring... so I currently have a car covered in large amounts of multi-coloured spaghetti - and lots of removed wiring! 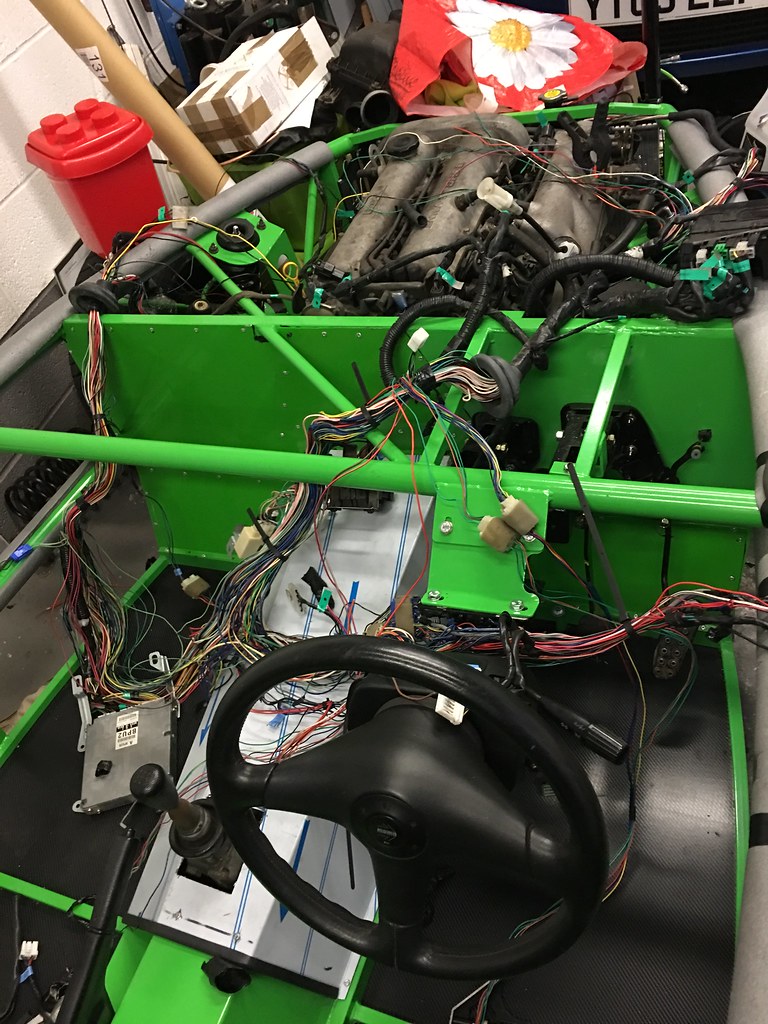 Untitled Untitled on Flickr 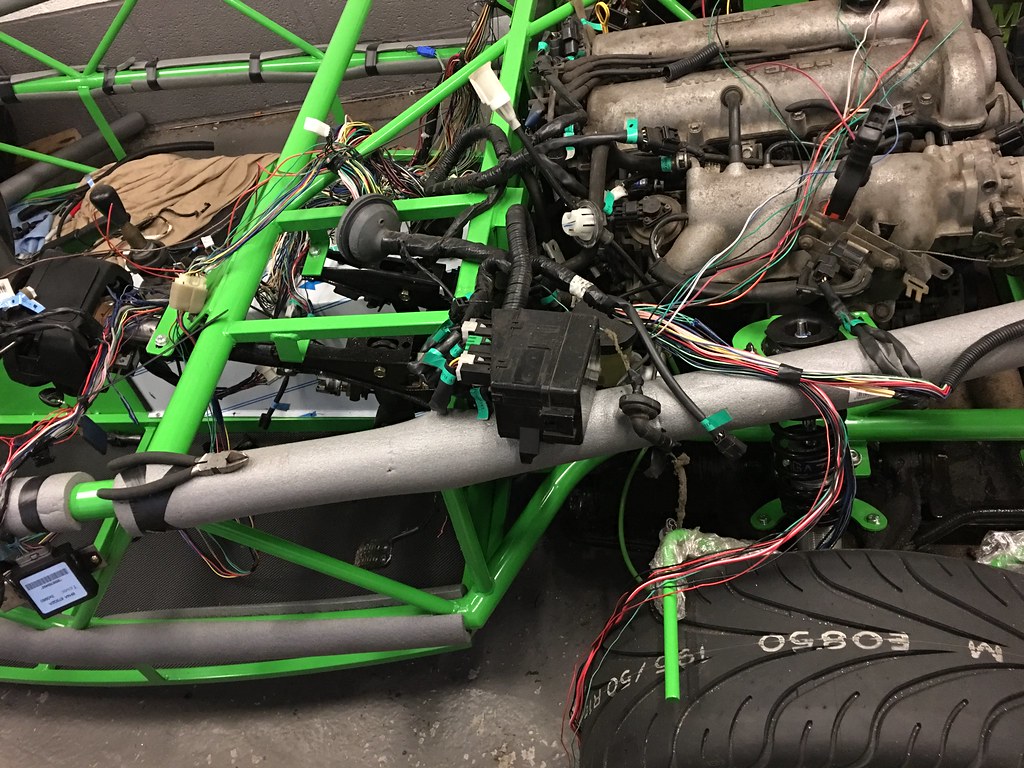 Untitled Untitled on Flickr  Untitled Untitled on Flickr So I have now removed all of the wiring that I can see is unneeded (and that I dare remove!) and the engine still fires - so that's good! Next is to re-wrap the loom and then begin getting everything refitted and neatened up. However (as ever, there is always a challenge!), my brother has caught the trackday bug and has bought himself a clio 172 cup which we need to fettle a bit - and so that has been taking up some garage time too! I know that this was a while ago, but you were unsure what tray depth to go with, now that it's all buttoned up, how deep is your wiring tray ? And are you happy with the depth ? Cheers Jas |
|