|
|
Post by kiwicanfly on Jan 29, 2018 21:18:17 GMT
If you break a tap again and the hole cant accommodate a bigger bolt you could use helicoils.
Kits are expensive but sometimes there is no option.
|
|
|
|
Post by browno on Jan 30, 2018 9:34:28 GMT
Thanks guys - definitely glad I got it out! Spring washers are on order (and I may just threadlock too to be sure!)
Helicoil was the back-up option if the re-drill didn't work!
|
|
|
|
Post by browno on Feb 14, 2018 23:32:05 GMT
So, last time I was sorting out my rear wing mount, which I (eventually) got into place and so it was time to try and fit the wings... 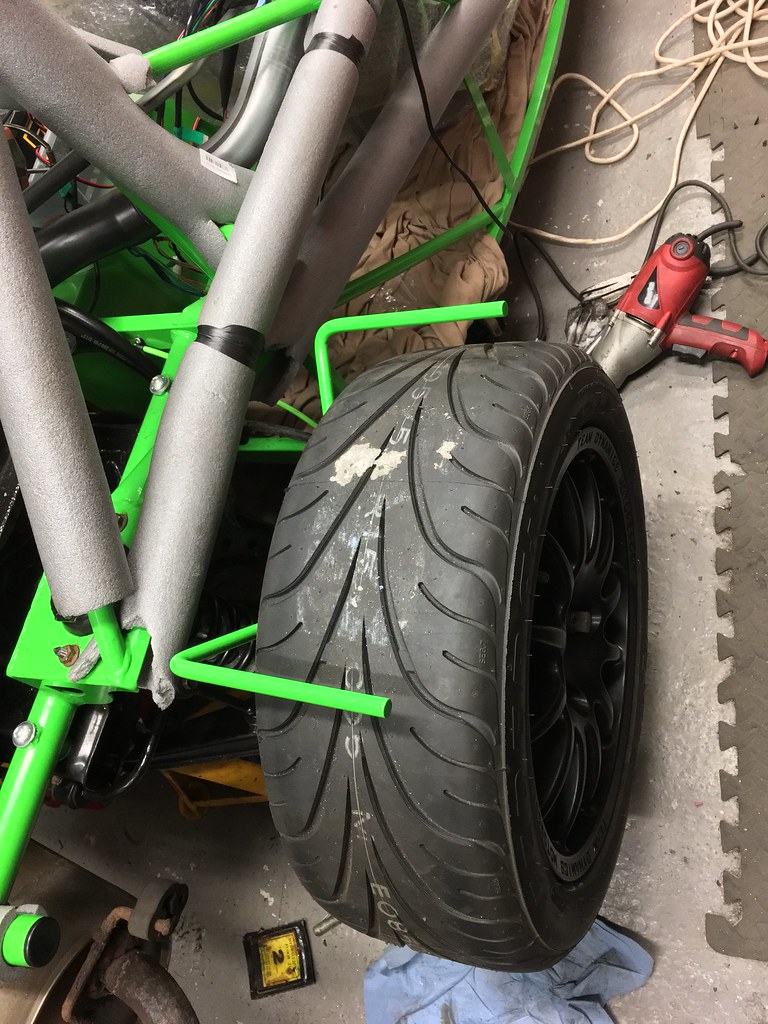 Untitled Untitled on Flickr So the first job was to mount the rear light into the wing (with some edge trim to fill in any gaps), which I thought looked like a good start. 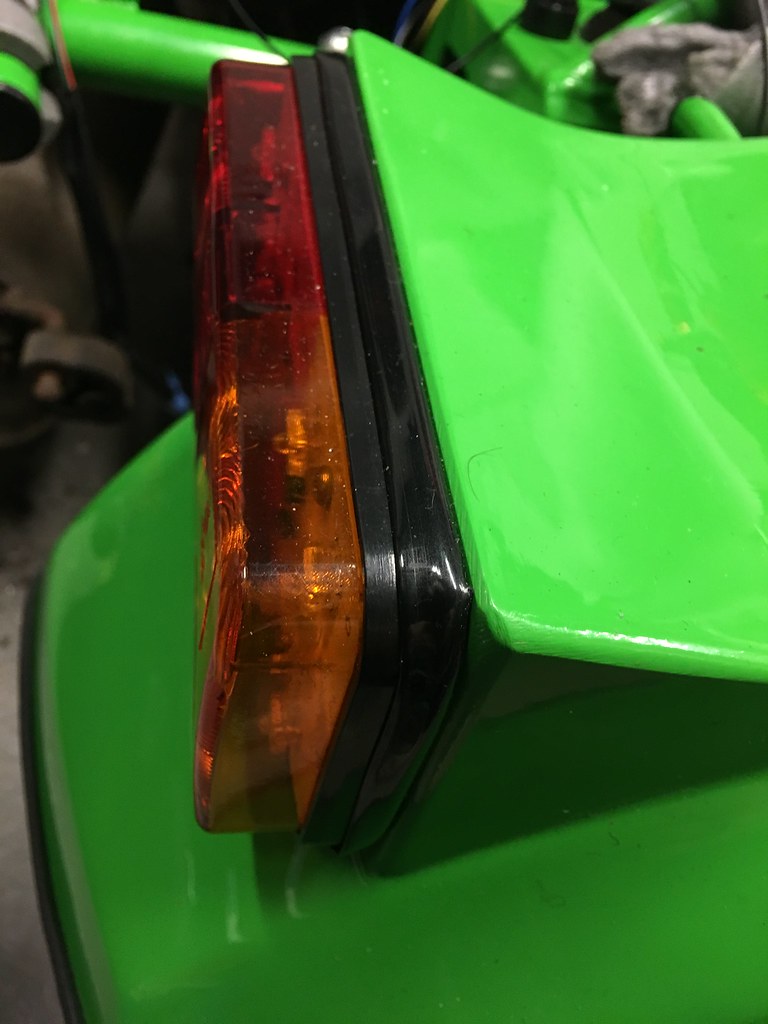 Untitled Untitled on Flickr then we could mark and drill the holes for mounting and get some tiger seal applied to fix it in place... 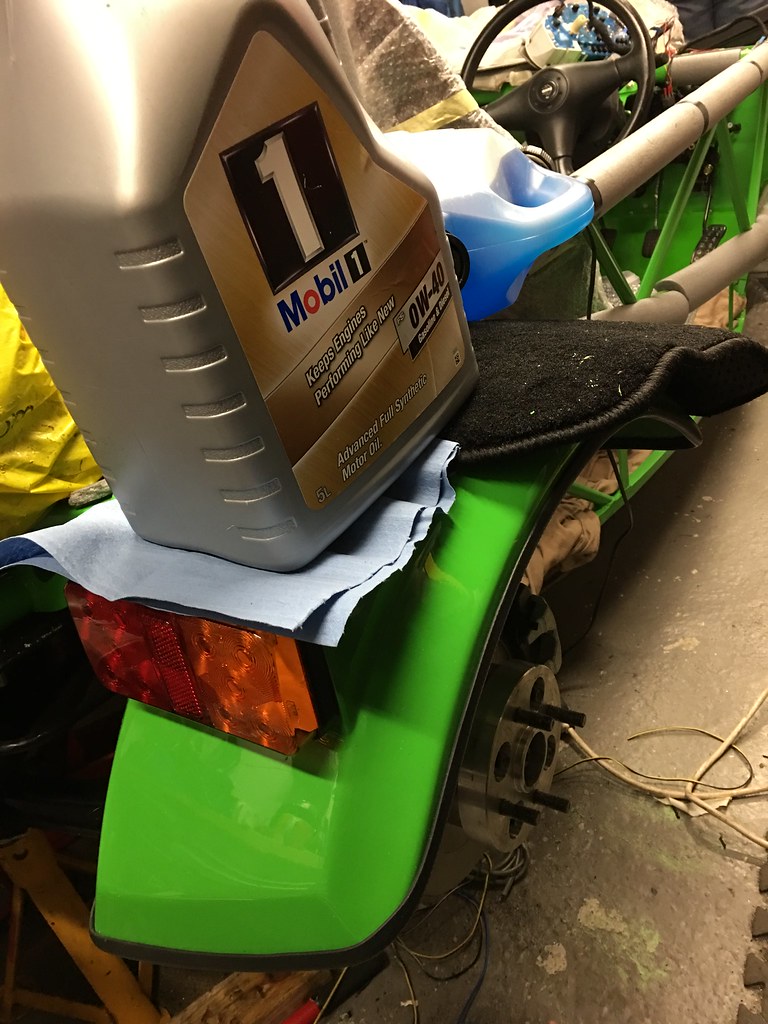 Untitled Untitled on Flickr The only slight downside is that having put the wheel on, I had put the wing about 5-10mm too far into the stay and the tyre is catching slightly on the outside of the wing - so i need to redo the mounting again - and of course the remaining three. In the meantime, I decided to move onto other things, so I have also bought LOTS of edge trim - figuring I will need plenty for IVA, I have ordered a 50m reel (which took some finding - but I discovered Rejel do 25 and 50m reels) - which has cost me about the same as buying 20m by the metre, and means I can trim everything and more ready for the IVA man. One thing that I had been wondering about was mounting the headlights - and I wanted to work out a mount that looked neat and tidy - so having sketched a few things up, I got some Aluminium bar machined up with a radiused end and suitable holes for mounting the lights and to bolt through to the frame - I did have to do a rethink on the dominator light threads having originally made (what I thought was) M8 thread, and realising the lights didn't fit - I then measured and rethreaded to the correct 3/8" UNF thread for my lights. This then allowed me to test-fit, which I thought looked a good start before then painting the mounts up and fitting the lamps: 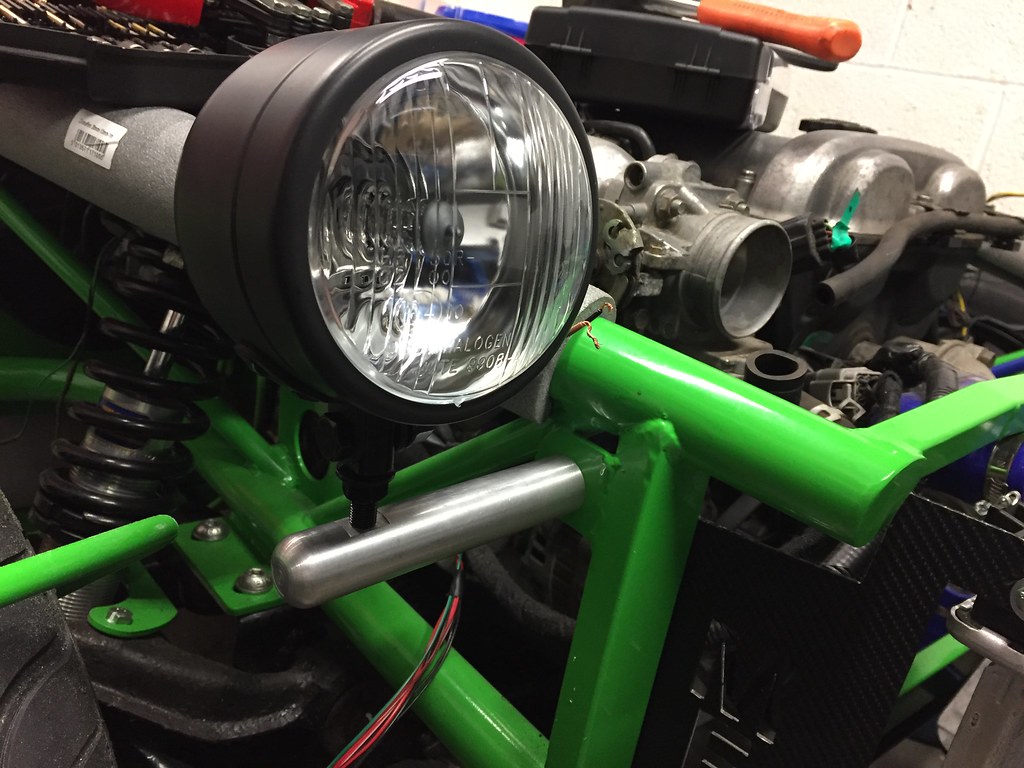 Untitled Untitled on Flickr 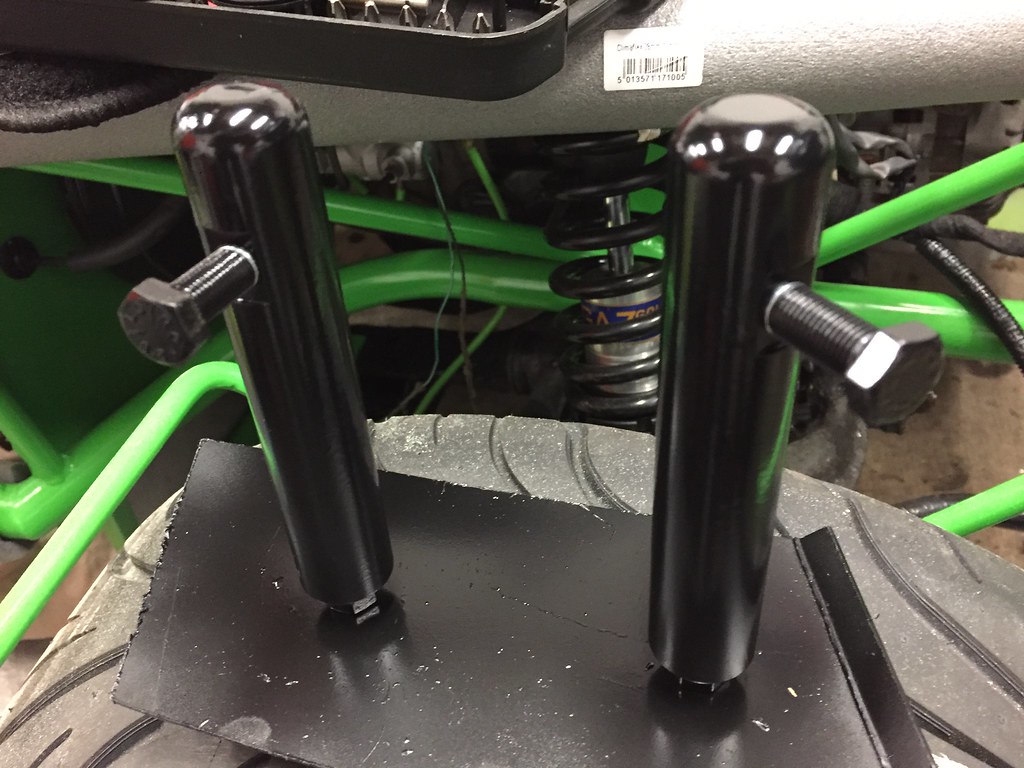 Untitled Untitled on Flickr Then I added my indicators onto the sides of the lights and started wiring as neatly as possible, and I am very happy with the result - and something that I think is a nice touch at tidying up the front end. 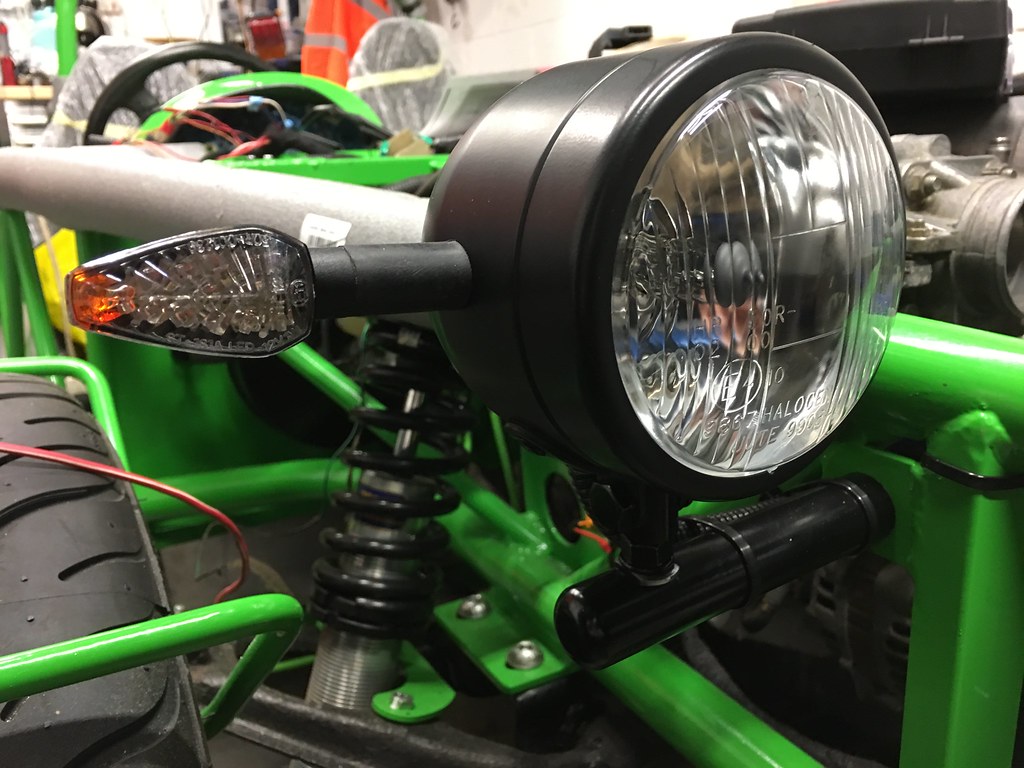 Untitled Untitled on Flickr  Untitled Untitled on Flickr  Untitled Untitled on Flickr So I am happy with my progress so far - and have done a few other bits including mounting my header tank properly (if there is one thing I will change at some point, it will be to get rid of the blue hoses, and get something more in keeping with the green and black of everything else...)  Untitled Untitled on Flickr |
|
|
|
Post by hammy3601 on Feb 20, 2018 0:49:50 GMT
Looking good, I like the light brackets
|
|
|
|
Post by aterro on Feb 20, 2018 17:56:20 GMT
Love the mounts. Got any more left over? Ideally 2 😂
|
|
|
|
Post by Stiggy on Feb 20, 2018 18:25:20 GMT
nice alloy light mounts! I assume they are clear of wings on full lock and full suspension travel?
|
|
|
|
Post by jason82 on Mar 3, 2018 21:36:28 GMT
Excellent thread ! With you only being in Bristol I may need to kidnap you .😂
|
|
jim
Newbie

Posts: 9
|
Post by jim on Mar 4, 2018 15:39:43 GMT
Excellent thread. Love the green colour. Well done mate.
|
|
|
|
Post by browno on Mar 4, 2018 22:27:38 GMT
Thanks for all the comments - I am really pleased with how the light mounts have turned out - something that I would happily turn out for others if only I had easy access to a lathe and mill! They do clear everything when moving the wheels lock to lock and with the wheels loaded and unloaded (they are approx 120mm total length for reference). Unfortunately, Jason, I am not in Bristol, so not too close - I am up in Derby... Afraid that I have been busy tinkering for the last few weeks - so am overdue another update to the thread! I have been making more progress - although I am now getting into some of the fiddly bits that are really taking quite a bit of time and thought to get right (and even then, some things are taking a couple of attempts until I am really happy that they are up to standard. First job for this instalment was to clean out the garage (and get my brother's clio out!) then I could move the exocet forward on to my lift for the first time (and in fact the furthest it has so far moved since being on it's wheels). 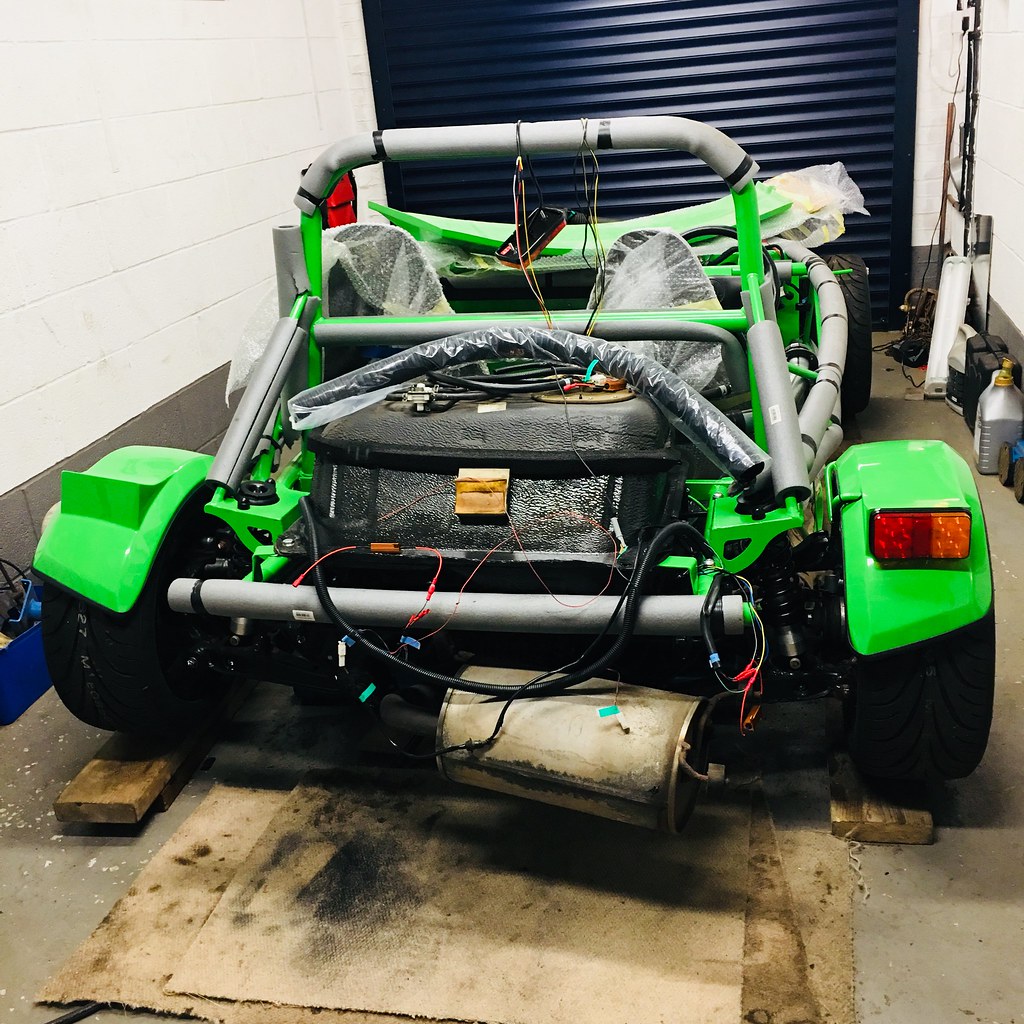 Untitled Untitled on Flickr 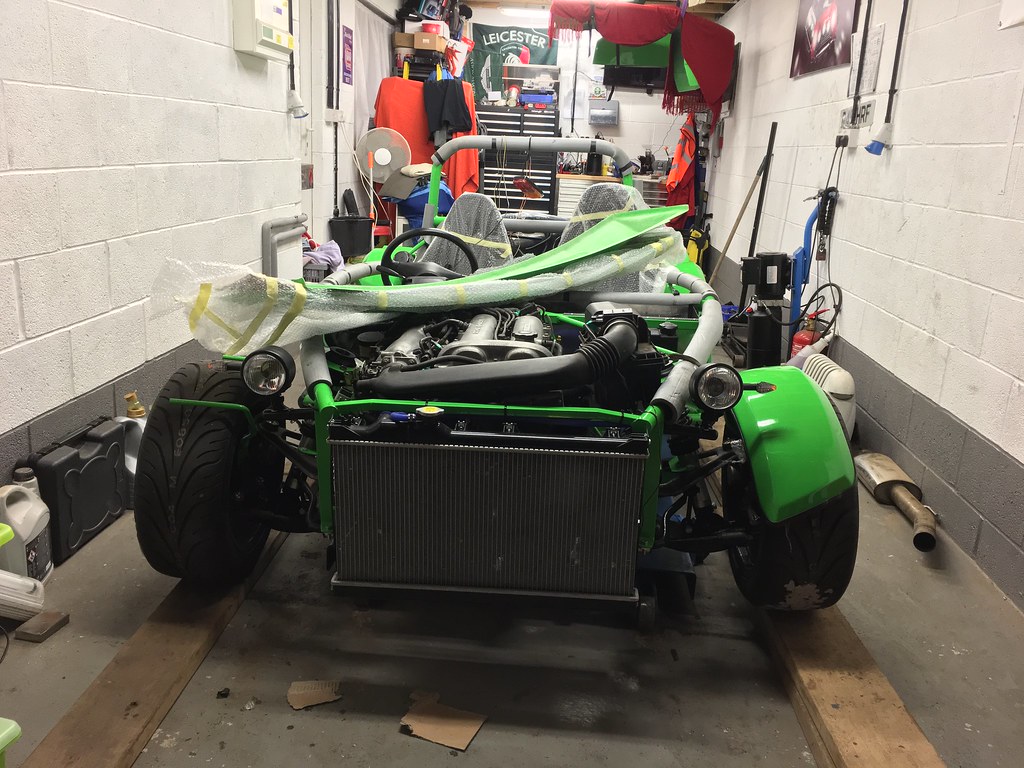 Untitled Untitled on Flickr And to go with the wings being sat in place, we also offered up the next addition - which is a pair of new g-type side panels from MEV, which I saw and thought would finish off the sides rather more neatly than the standard black plastic panelling, and so I sent my brother over to Mansfield to pick them up for me. 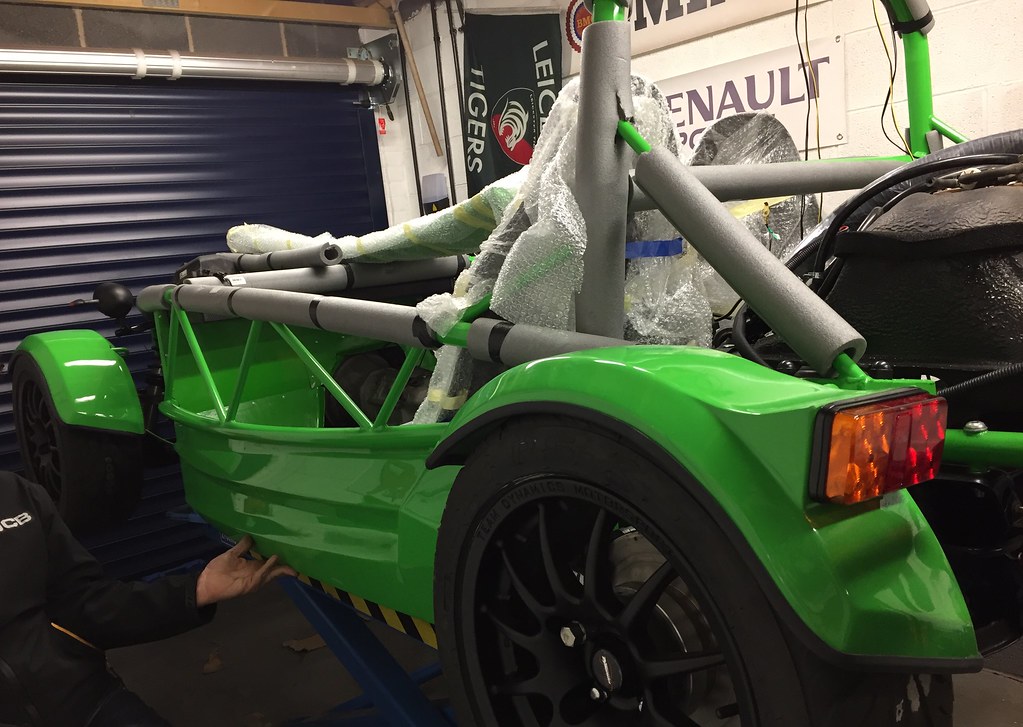 Untitled Untitled on Flickr The next job was then to actually drill the remaining three wings and offer them up into place: 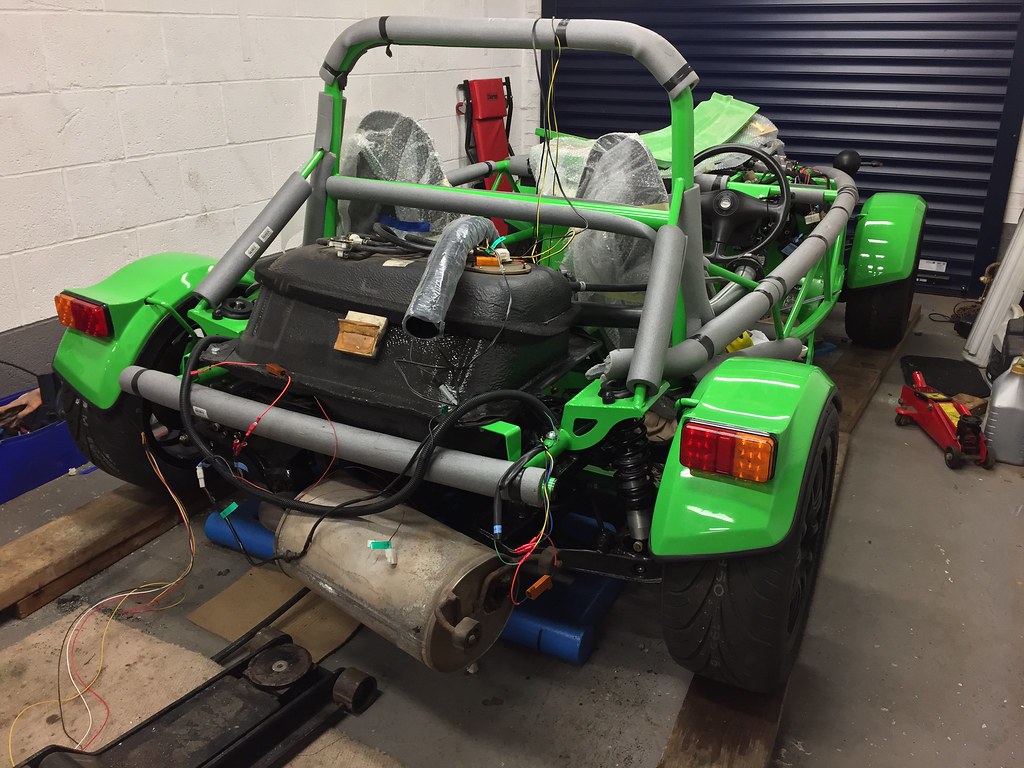 Untitled Untitled on Flickr and then tiger seal them into place with some suitable load on each wing... 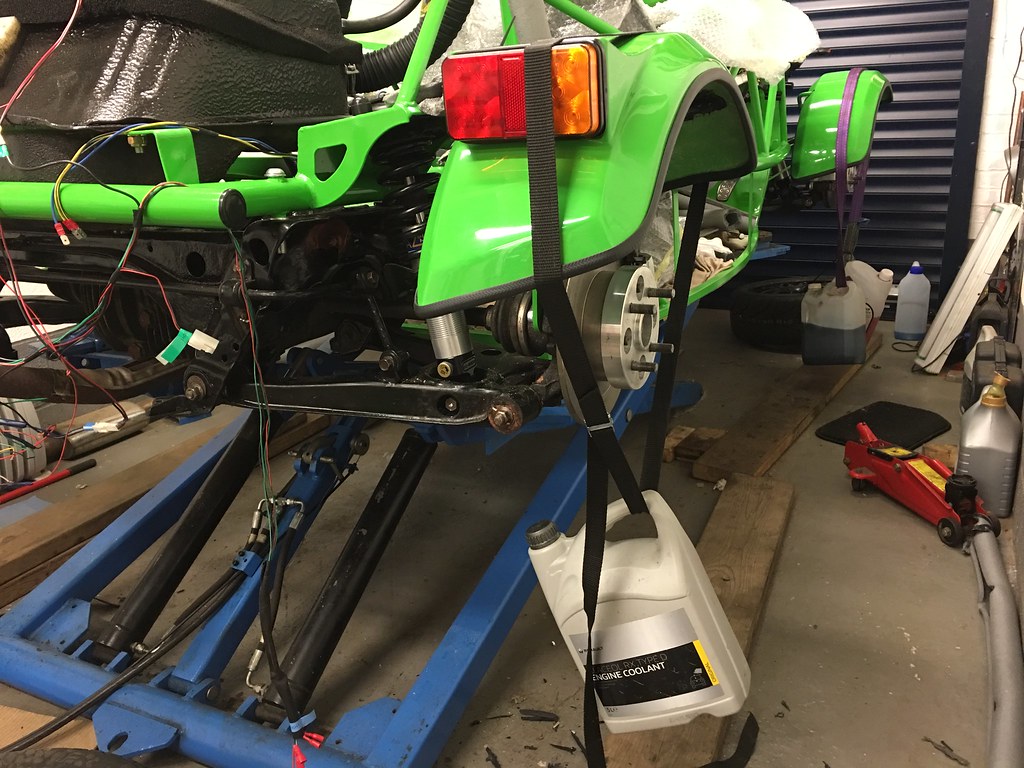 Untitled Untitled on Flickr Next, we carefully measured, marked, measured again and then cut out and mounted the fuel filler and fog/reverse lights in the rear tank cover. 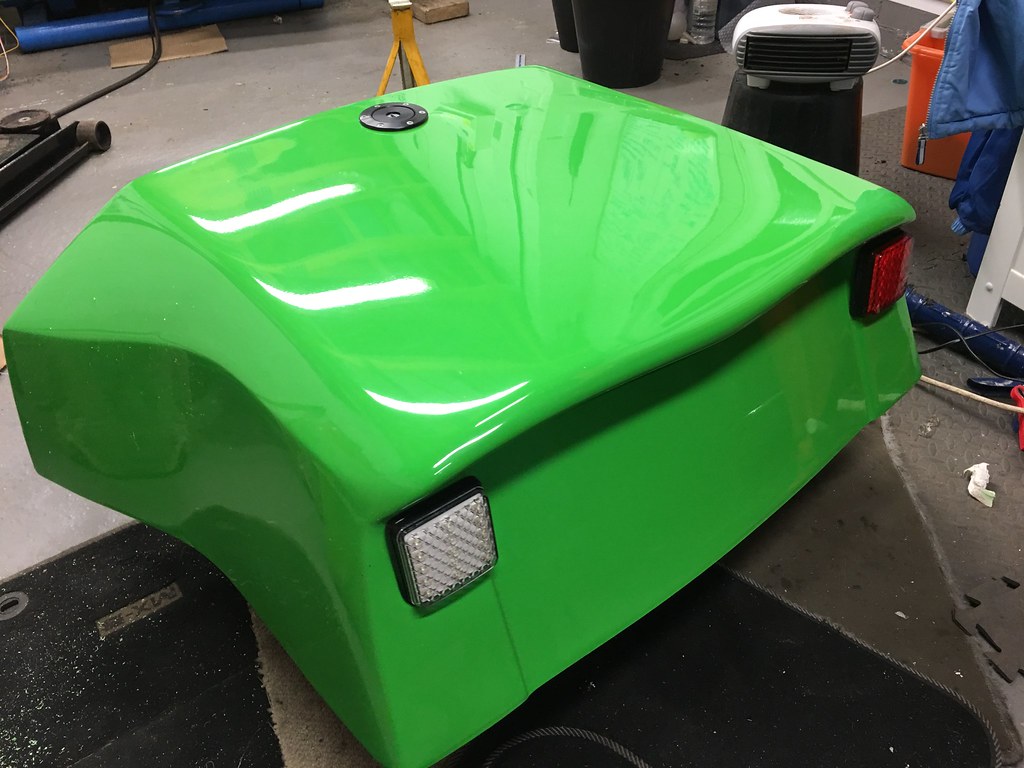 Untitled Untitled on Flickr Which meant we could then test-fit the cover onto the rear end to see how it is all going to look (I have ordered a number plate light, but think it may be too small to light the whole plate - time for some more IVA manual checking and shopping, I think). 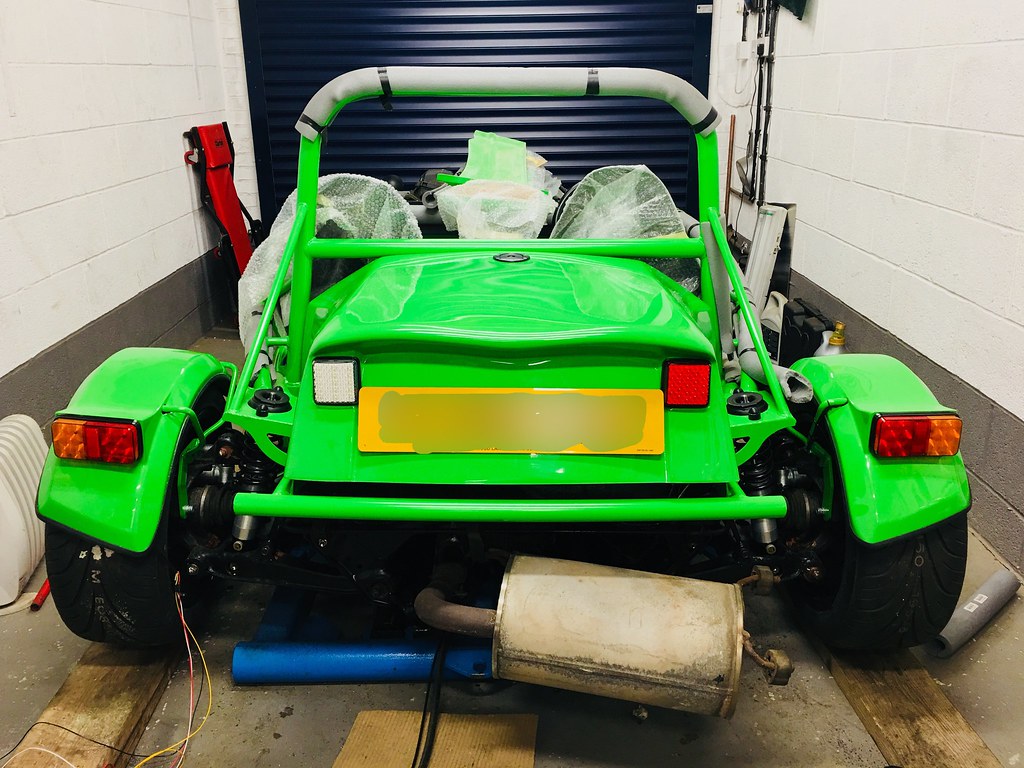 Untitled Untitled on Flickr Before the cover can be properly fitted, the pipework and wiring all needed tidying up  Untitled Untitled on Flickr and then getting the fuel filter mounted - using the tank mount which also doubled up as a good earth point. 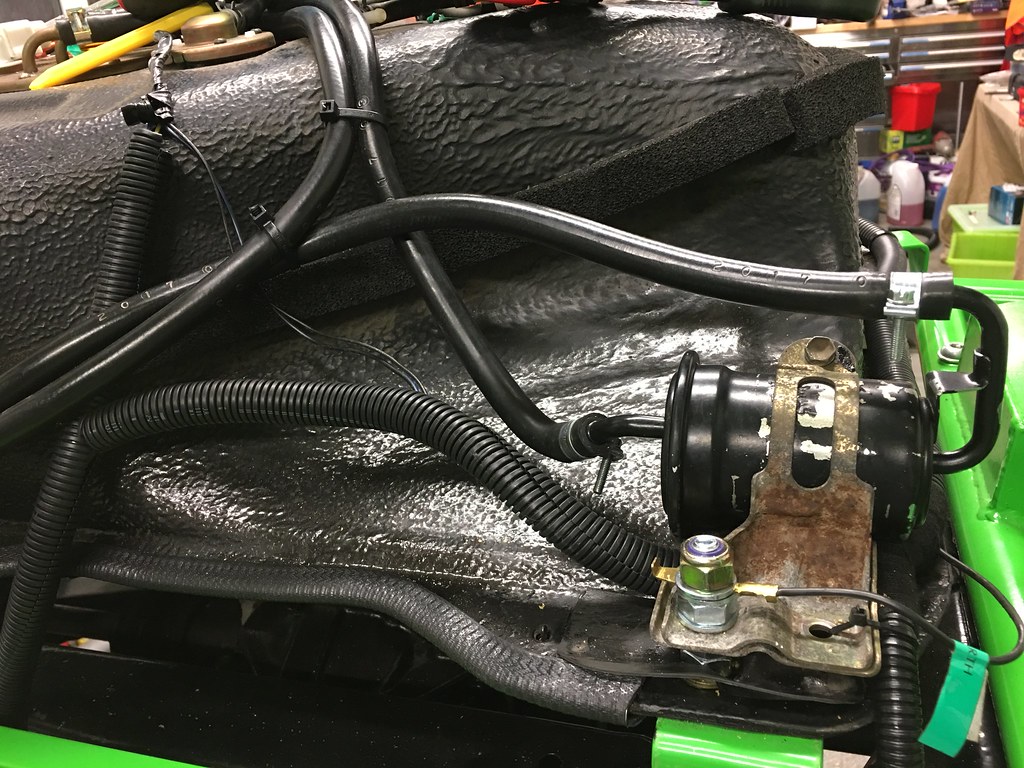 Untitled Untitled on Flickr In the meantime, I have been wondering what to do about an exhaust, and after a bit of an eBay session came up with something that will at least provide me with a solution that's neater than the big standard box hanging out the back, but that isn't too expensive to replace when I eventually go turbo and might want to replace the whole system (as I currently have the less-used 475mm cat). 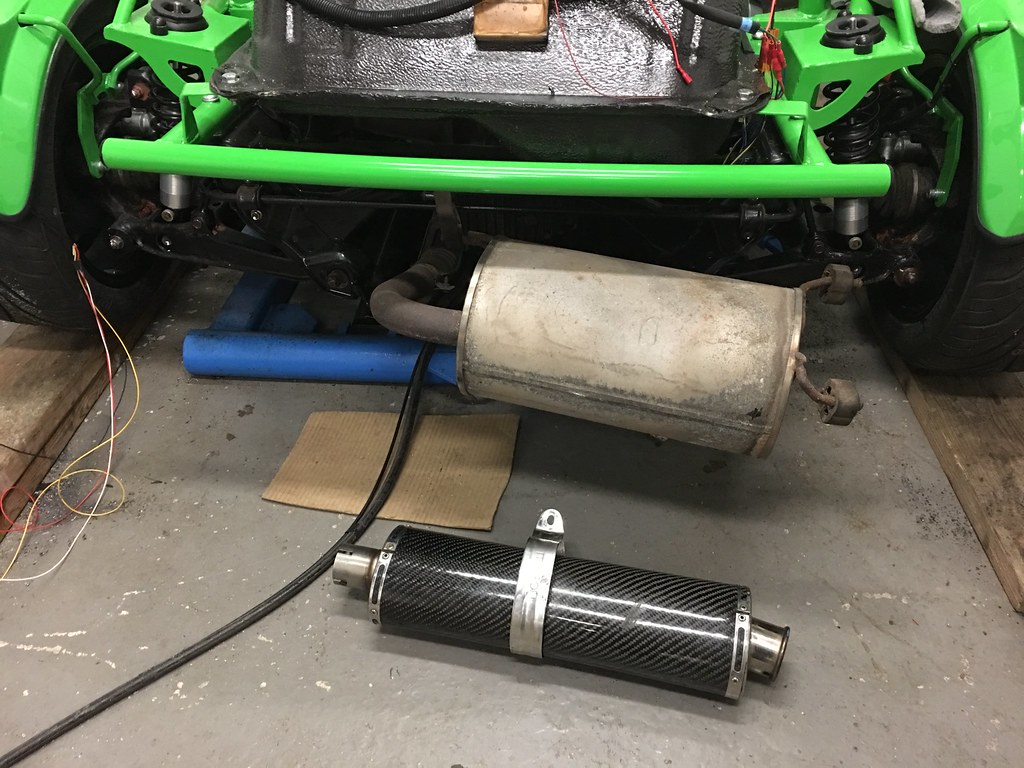 Untitled Untitled on Flickr and with a bend and some clamps (and some highly secure cable ties) I could test fit it, and I think it looks pretty tidy. 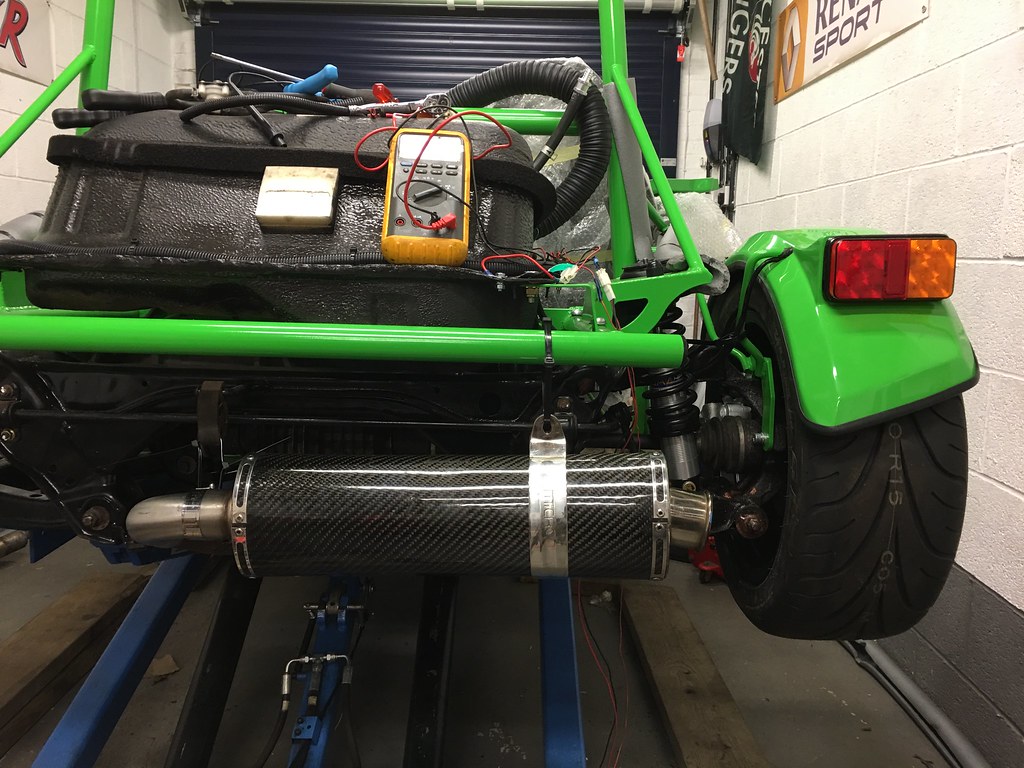 Untitled Untitled on Flickr So there is some more work to do, next major job being to get the rear cover fitted and sorted, which I hope to get onto this week. |
|
|
|
Post by hammy3601 on Mar 5, 2018 18:47:57 GMT
More great work and am loving the all green colour! A couple of questions.... what tyres are they? and does the filler flexi hose easily reach your chosen filler cap position? Thats where I was hoping put mine too.
Cheers
John
|
|
|
|
Post by sheffjohn on Mar 5, 2018 18:54:04 GMT
More great work and am loving the all green colour! A couple of questions.... what tyres are they? and does the filler flexi hose easily reach your chosen filler cap position? Thats where I was hoping put mine too. Cheers John Federal 595rsr at a glance ! Really good tyre at very sensible money. |
|
|
|
Post by browno on Mar 7, 2018 7:27:05 GMT
Cheers guys - the flexi hose is flexible enough to reach the filler on the tank - but is still relatively stiff, so doesn’t just drop into place, needing a bit of manipulation to get it to sit properly under the rear cover.
The tyres are indeed federal 595 RSRs - I have them on my MX5 mk3 and have found them really good on road and track especially given the reasonable cost. The one drawback is that they are a very square profile (they are a ‘wide’ 195 profile) - so are quite a tight fit in the front arches, but do fit!
|
|
|
|
Post by hammy3601 on Mar 25, 2018 10:00:23 GMT
Hi mate, way back in your thread you talk about the difficulty in getting the driveshafts pressed fully home. How did you do it in the end?
Cheers
John
|
|
|
|
Post by browno on Mar 28, 2018 22:37:17 GMT
Hi mate, way back in your thread you talk about the difficulty in getting the driveshafts pressed fully home. How did you do it in the end? Cheers John I think I was just being a bit too gentle with them! A bit of not-so gentle persuasion saw them pop in fairly easily in the end... |
|
|
|
Post by browno on Mar 28, 2018 23:10:05 GMT
So, it has been a little while since I last updated - so here is the latest instalment in my build! The first job from last time was to get a number plate light fitted - which started out with some careful marking and positioning... 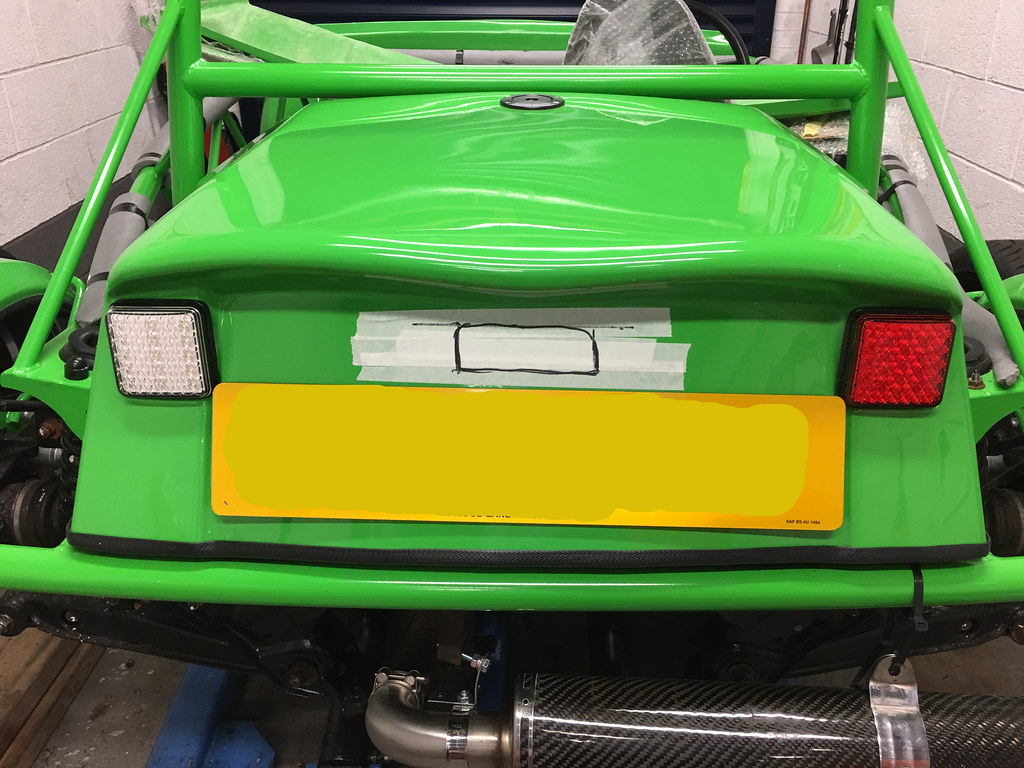 Untitled Untitled on Flickr and got the lights in the cover all connected up and tested: 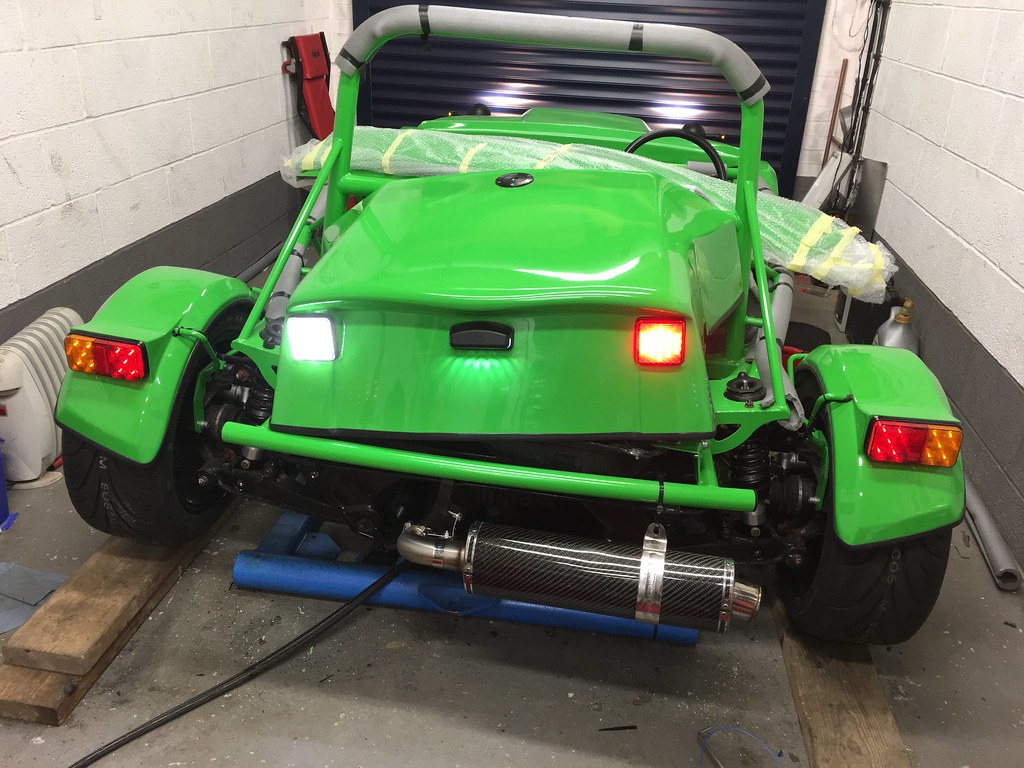 Untitled Untitled on Flickr so I could then secure the rear cover into place (the silver screws have since been replaced with some nice black allen-head bolts and countersink washers) 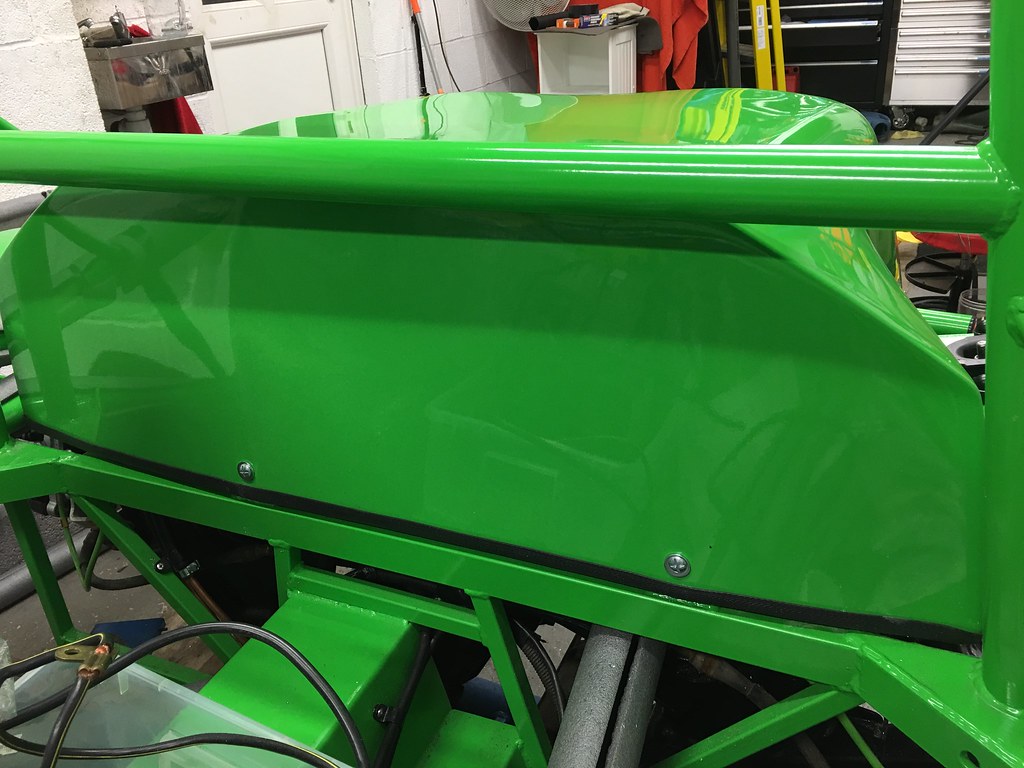 Untitled Untitled on Flickr then I fitted the side repeaters into the cycle wings and wired those in 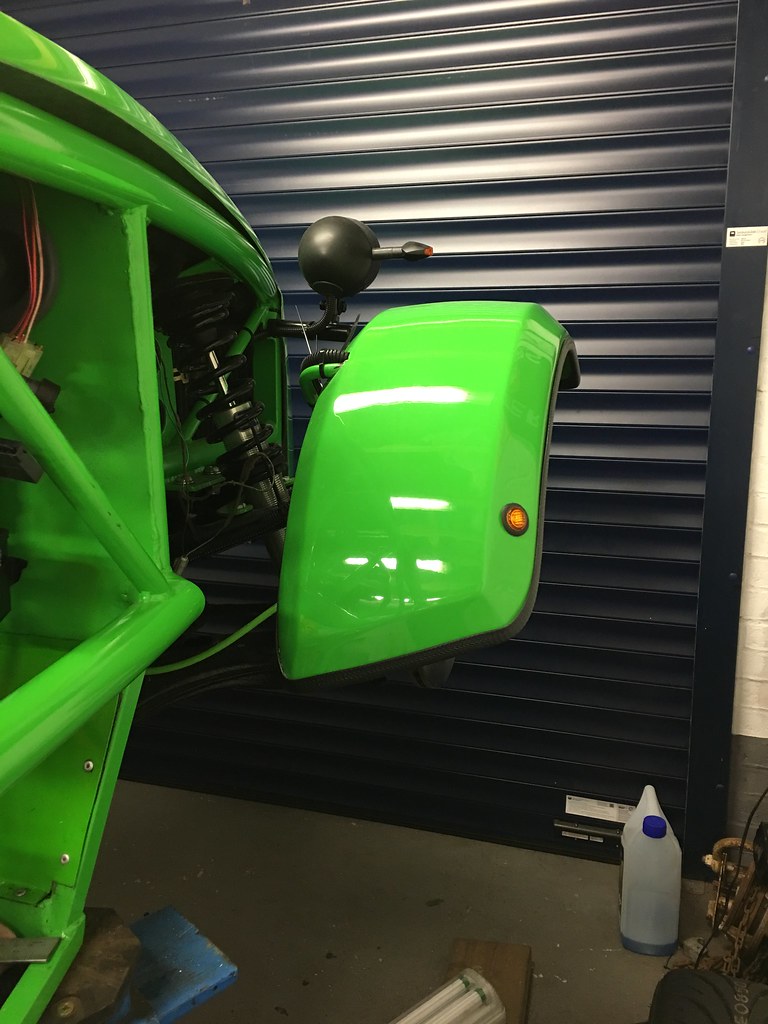 Untitled Untitled on Flickr Next were some painting jobs to get out of the way: Priming and painting the cam cover: 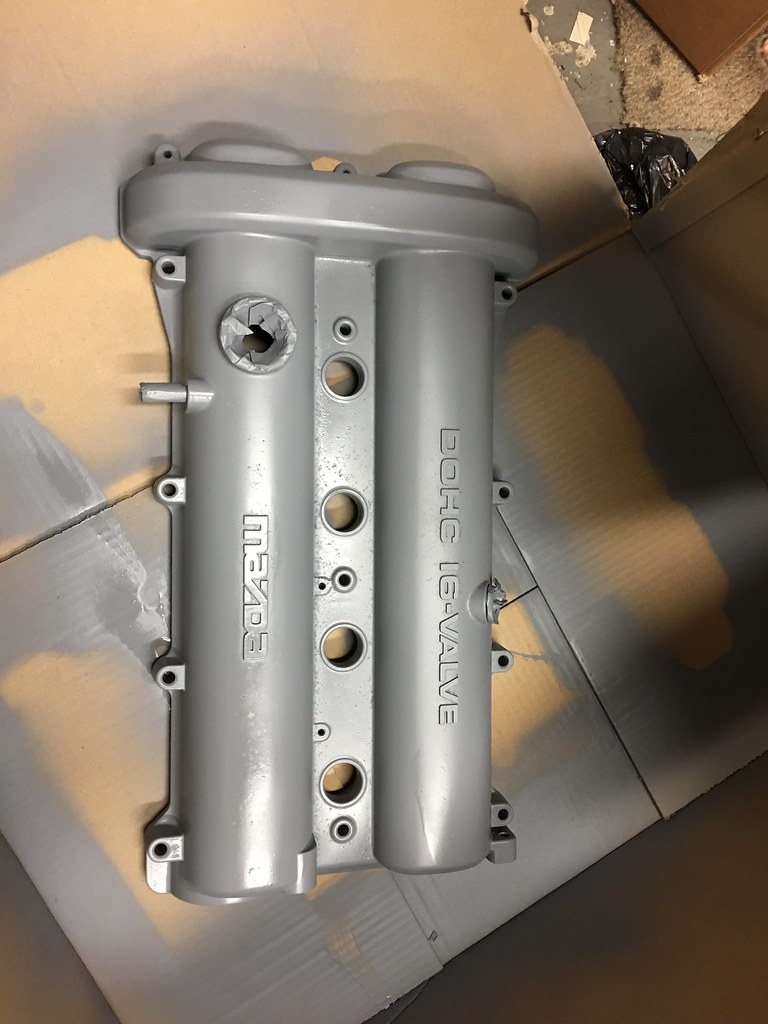 Untitled Untitled on Flickr 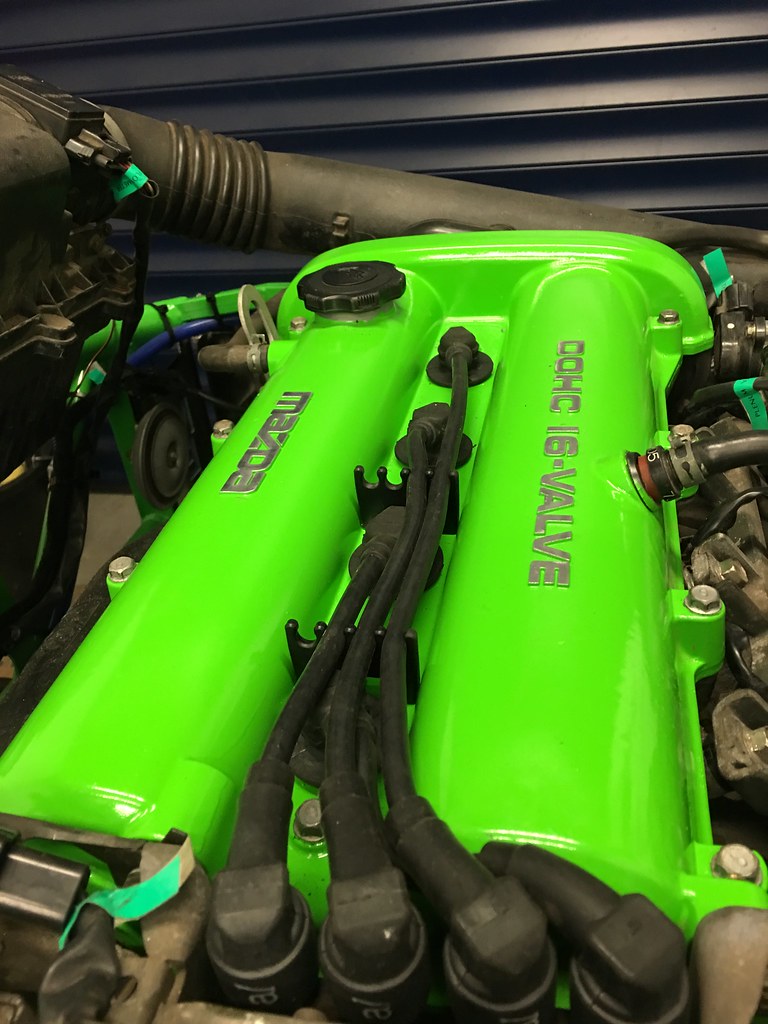 Untitled Untitled on Flickr and a coat of black gloss over the backs of my GRP seats to finish them off 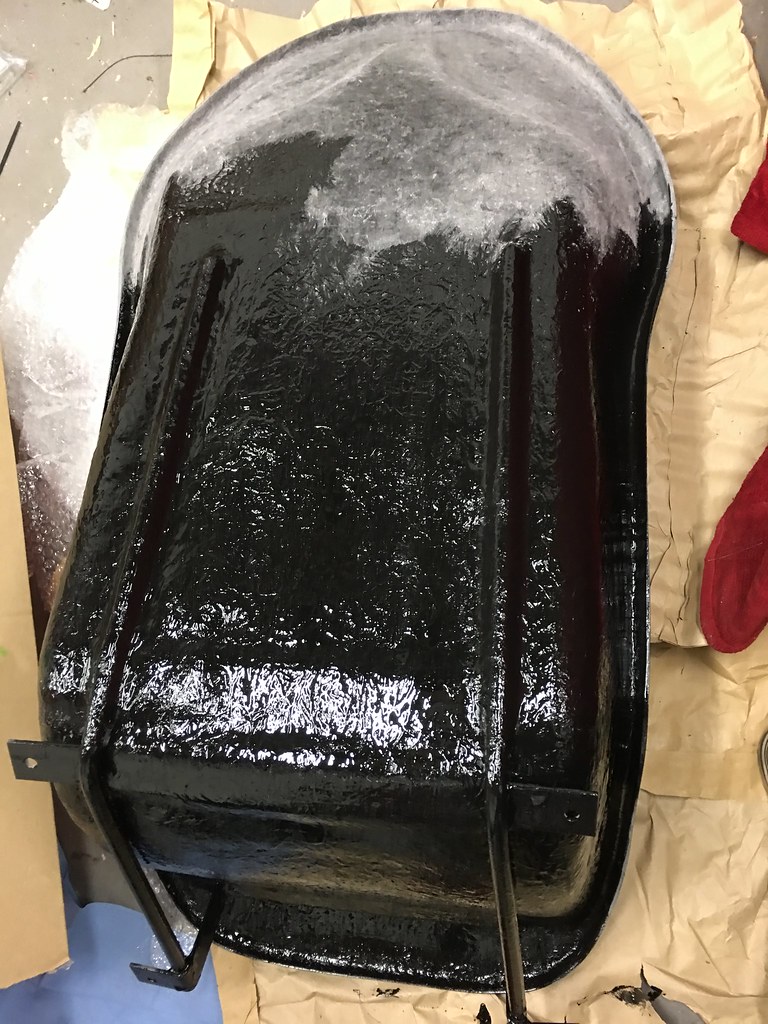 Untitled Untitled on Flickr Fitted my fog and reverse light switches (with rings due to a *slight* error with the initial drill placement). 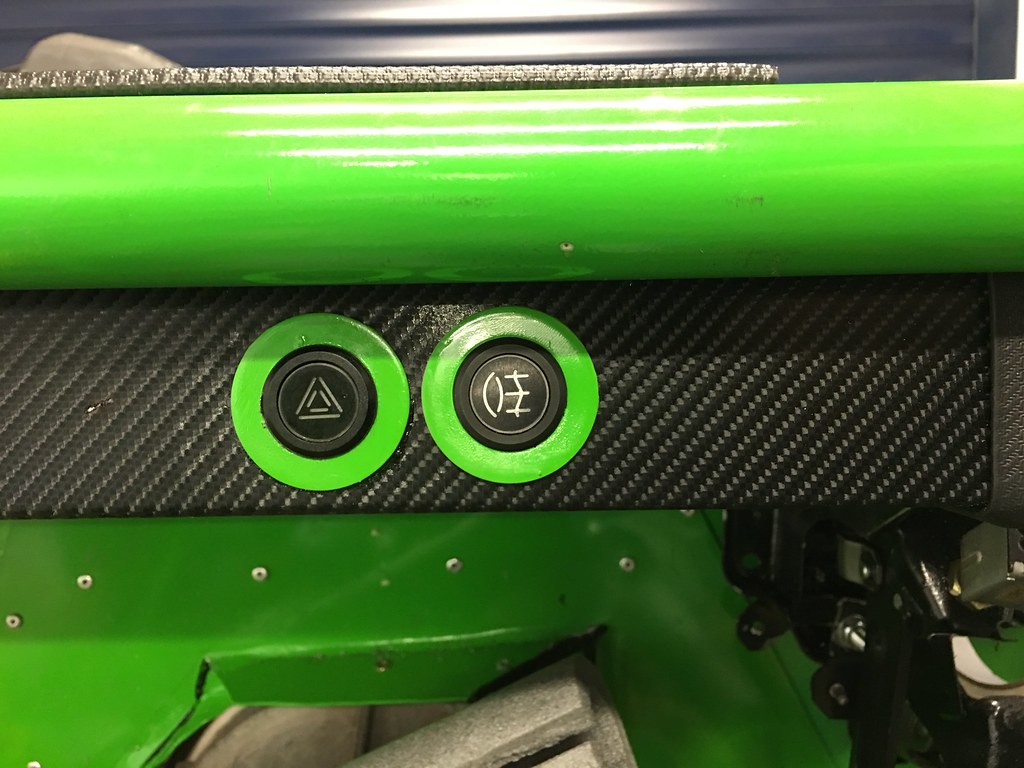 Untitled Untitled on Flickr Next was a bit of cardboard templating and cutting out the rear bulkhead ready to be fitted:  Untitled Untitled on Flickr and then the bit I hadn't been looking forward to - fitting the nose. Unfortunately, even with the radiator moved as far back as possible (the fan housing is hard against the frame) and the inside of the bonnet contacting the radiator, there is still a gap of about 20mm between the back edge of the bonnet and the top bulkhead rail - which is a shame, but something I can't see a way around without further modification - so I will address the gap somehow instead. Nervously cutting out the openings for the aero catches: 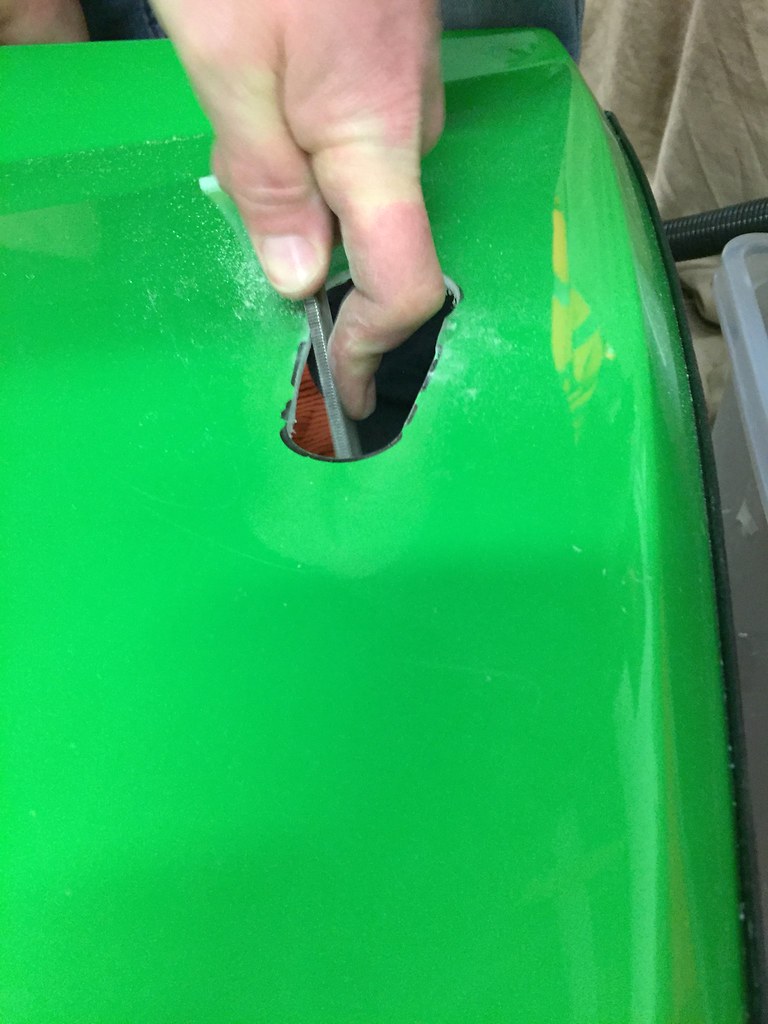 Untitled Untitled on Flickr and fitting them 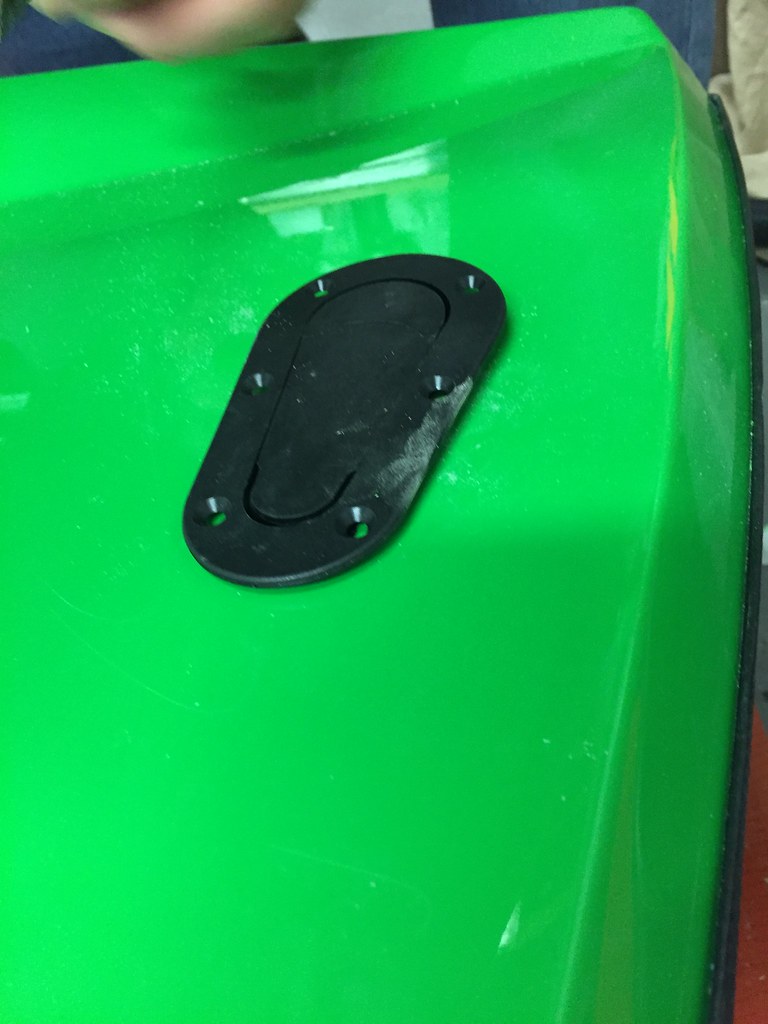 Untitled Untitled on Flickr and bonnet fitted (but with a noticeable gap) 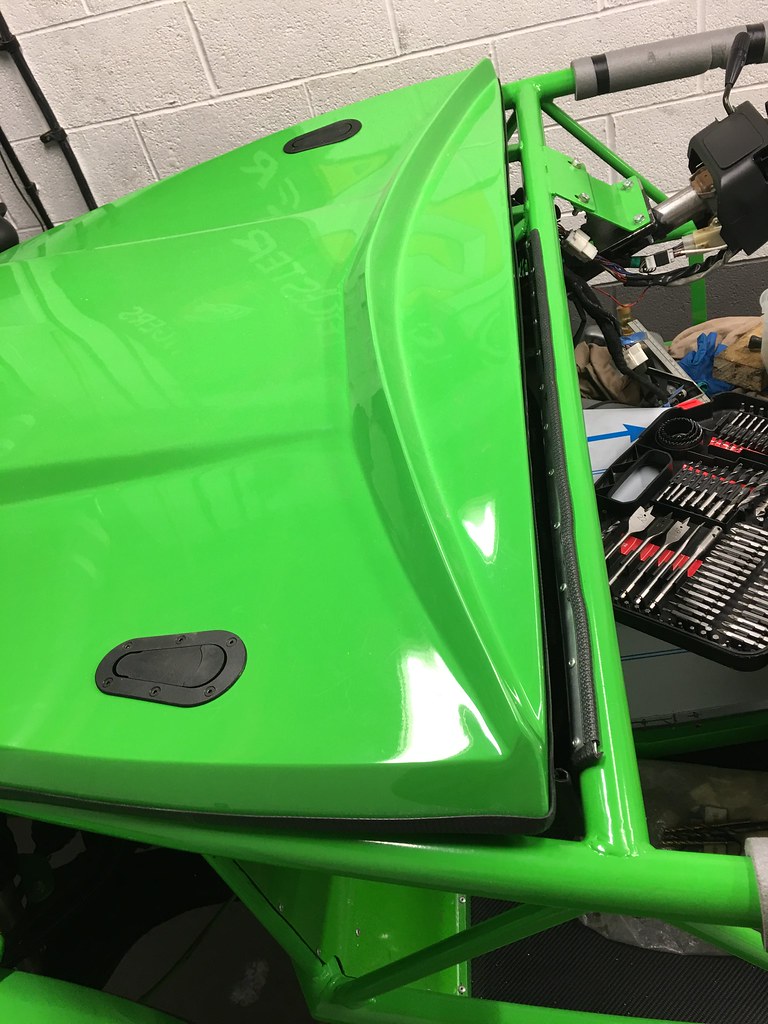 Untitled Untitled on Flickr finally, I have added a couple of push-button pins onto the front end to secure that - and everything is nice and secure. 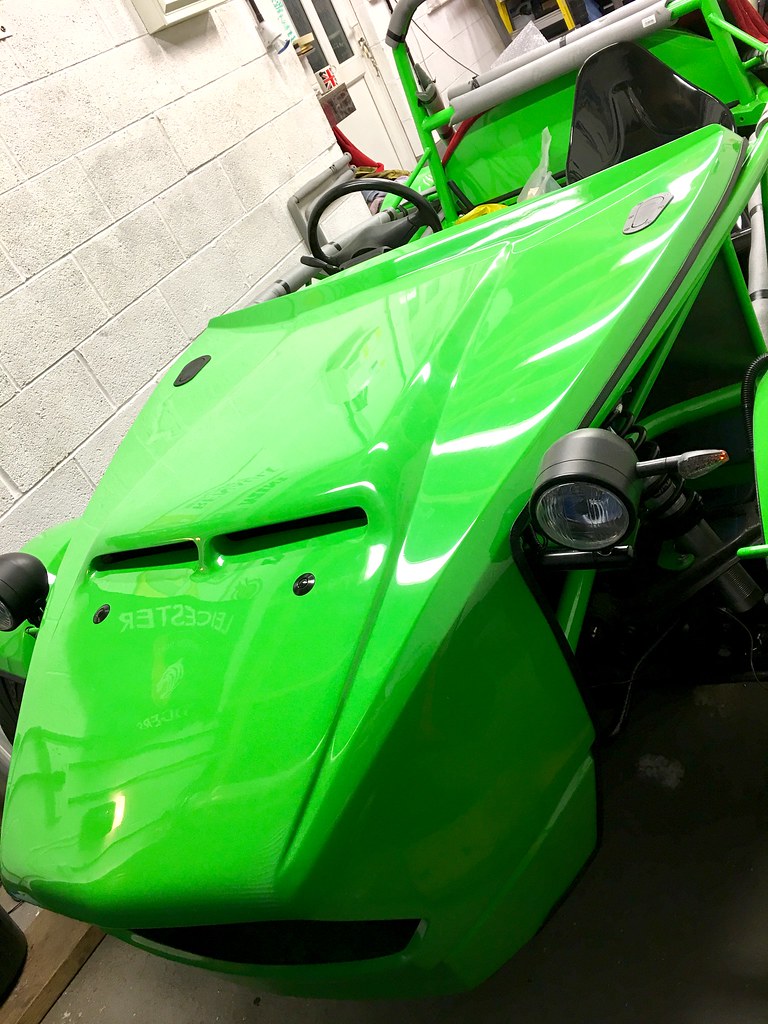 Untitled Untitled on Flickr I have tonight started to trim up my side panels ready to fit them up - so hopefully I can get them and my seats all fitted up very shortly. I am pleased with how it is coming together and am managing to tick off some of the jobs that I wasn't looking forward to as well! |
|