|
|
Post by fasteddie on Dec 1, 2010 17:18:56 GMT
[img src="[/img] ![]() i1139.photobucket.com/albums/n553/fasteddie1947/CIMG1251-1.jpg i1139.photobucket.com/albums/n553/fasteddie1947/CIMG1251-1.jpg"]Just following similar minded people I will start a new thread of my build ably assisted by good mate Steve the gruffalo. We are having our scissor lift set into the garage floor this weekend so while thats happening we will start the destruction of the M reg donor in the other half of the garage. photo`s to follow.http://i1139.photobucket.com/albums/n553/fasteddie1947/CIMG1250-1.jpg |
|
|
|
Post by fasteddie on Dec 18, 2010 15:12:40 GMT
Picked up chassis and panels ect, from Stuarts workshop yesterday(17th December) nightmare journey back home to Surrey but now well on the way to beginning the build in ernest. Mx5 nearly stripped, photos to follow.
|
|
|
|
Post by fasteddie on Mar 9, 2011 19:17:51 GMT
still unable to upload photos??? chassis at rolling road stage, drivers seat fitted, steering and pedalds fitted, new rear calipers 1 recon front caliper, new discs and pads all round, new stainless exhaust but still stuggling with fuel filler cap and connection to tank, any help out there?
|
|
|
|
Post by sscrow on Mar 9, 2011 22:43:06 GMT
Hi Eddie, I bought 500mm of flexible fuel filler hose and a new filler cap and neck so that I can mount the opening on the top of the rear cowling. Have a look at car builder solutions website and go through the categories, after seeing what they had on offer gave me a good couple of ideas to solve problems.
Sean
|
|
|
|
Post by fasteddie on Apr 2, 2011 15:43:43 GMT
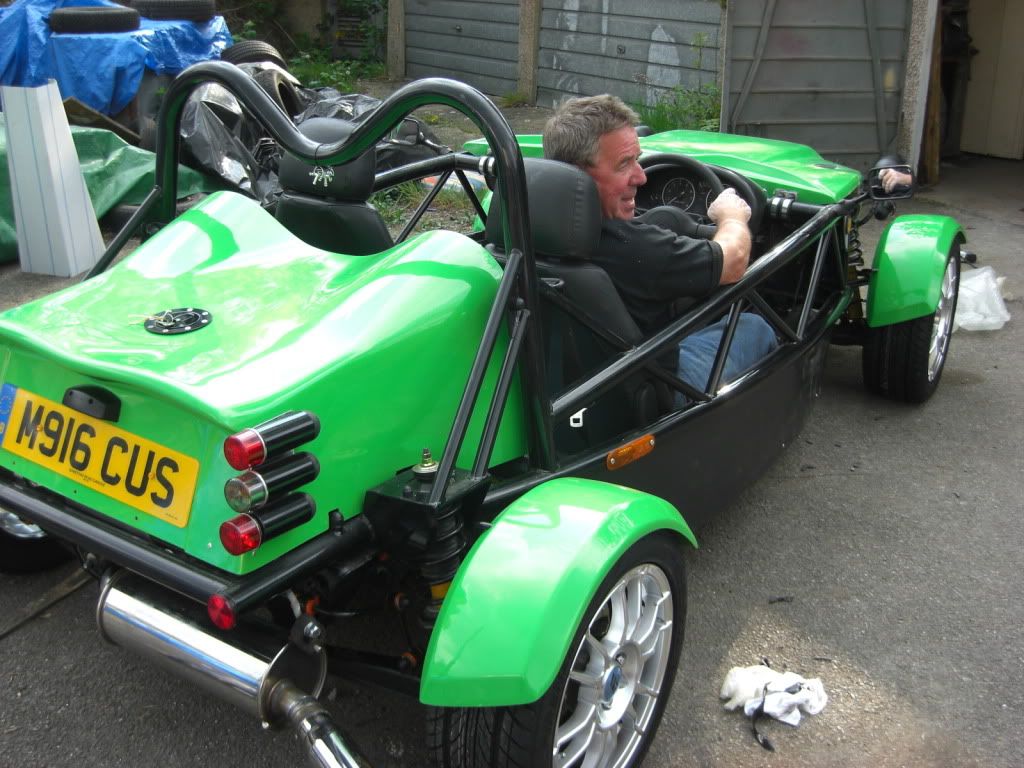
Thanks Shaun, Iv`e already gone down the road of deciding that a nice areo cap in the centre top would look far more professional. I achieved that by constructing a direct connection to the tank top using rivnuts ect. Any body reading this make sure you wash out the tank with warm soapy water first to reduce the risk of DEATH.
|
|
|
|
Post by fasteddie on Apr 2, 2011 15:48:01 GMT
mudgaurds fitted (almost). electrics nearly completed. Solid fuel lines clipped to underneath, new exhaust on but sticks out about 12" from rear (not sure if this will be an IVA issue) reading through the294 pages of the manual. 2/04/11
|
|
|
|
Post by fasteddie on Apr 6, 2011 18:32:17 GMT
Car started today, great news as i had stripped out old imobiliser wiring and left loads un connected so I now feel confident about ripping out loads of other wiring. New exhaust fitted and S/S end pipe come out at an angle behind R/H wheel at 30Degrees. All brake lines and clutch line in so getting down to nitty gritty. Also handbrake fitted but will have to re-route so as to miss rear GPR unit
|
|
|
|
Post by fasteddie on Apr 13, 2011 16:27:50 GMT
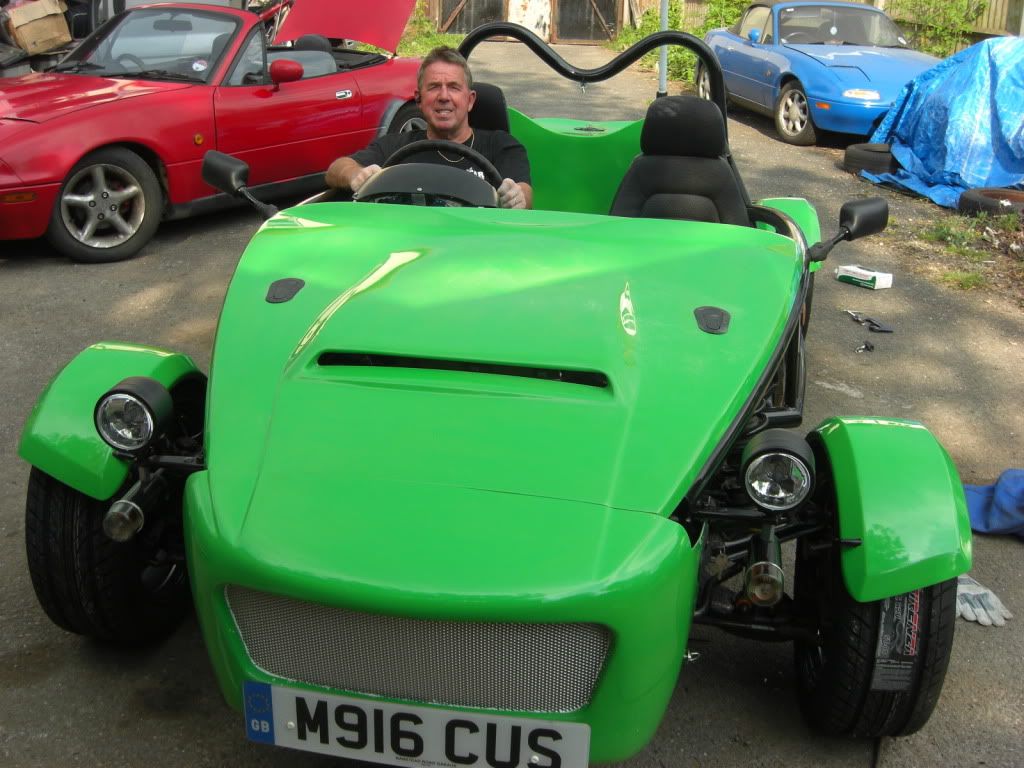
Bonnet and nose cone fitted using aero latches and D Duzes fastners giving a slightly more polished finish than the jig saw knob by our Lord and Master. I will attempt to upload some pictures if I can get my head around photobucket.
|
|
Deleted
Deleted Member
Posts: 0
|
Post by Deleted on Apr 14, 2011 19:43:32 GMT
eddie,
photobuckets easy, sign up, click 'upload photos' and select the ones you want. in another window, have your thread open then when you click reply, (next to 'share' and 'print' on the bottom of the threads box and not the quick reply window at the bottom of the whole page) write your text and click the picture image in the title bar when you want to add a pic which add
{img}{img}
into the text. simply go onto the photobucket page, (where the photos have now uploaded) click on the text in the 'direct link' box under the photo, copy this and paste to the mev reply thread inbetween the two .{img} {img}.
eg
{img}photoname{img}
this then add the pics.
Easy!
|
|
|
|
Post by fasteddie on Apr 15, 2011 17:19:20 GMT
Hi Alex, thanks for the info on photo bucket will give it a try so that others can see all the hard work that we are putting into the project and how close we are to the finishing line.
|
|
|
|
Post by fasteddie on May 11, 2011 17:45:31 GMT
|
|
|
|
Post by Kevin Patrick on May 11, 2011 17:54:53 GMT
Nice! 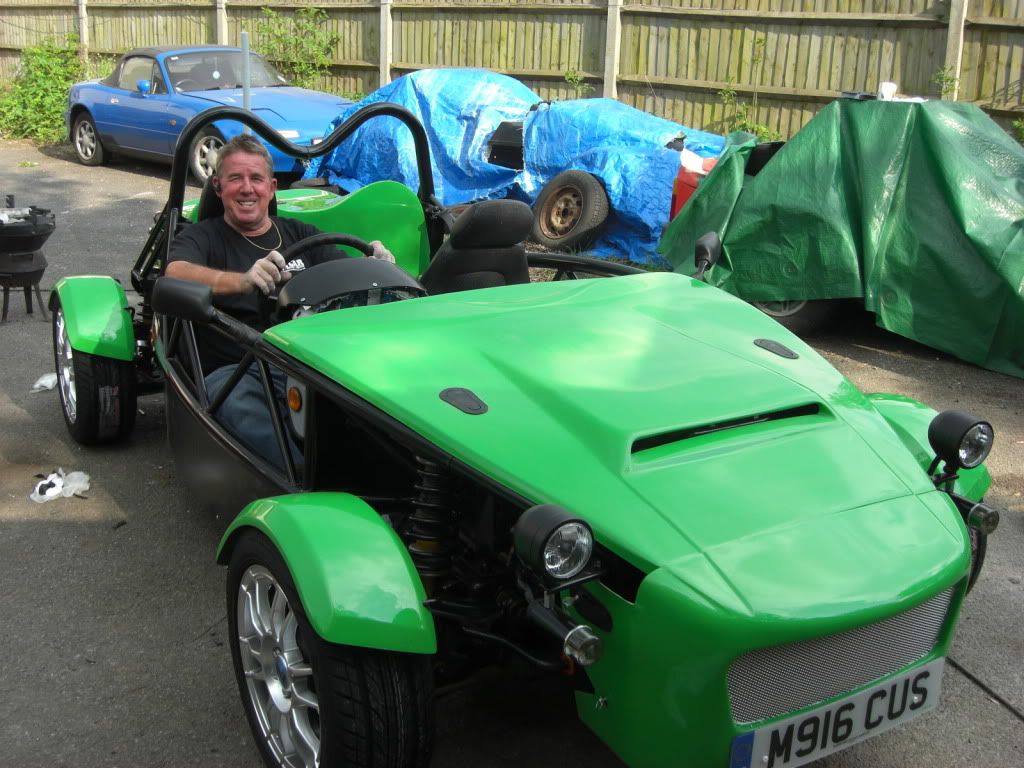 |
|
|
|
Post by tlight on May 11, 2011 20:08:11 GMT
Looking good!! 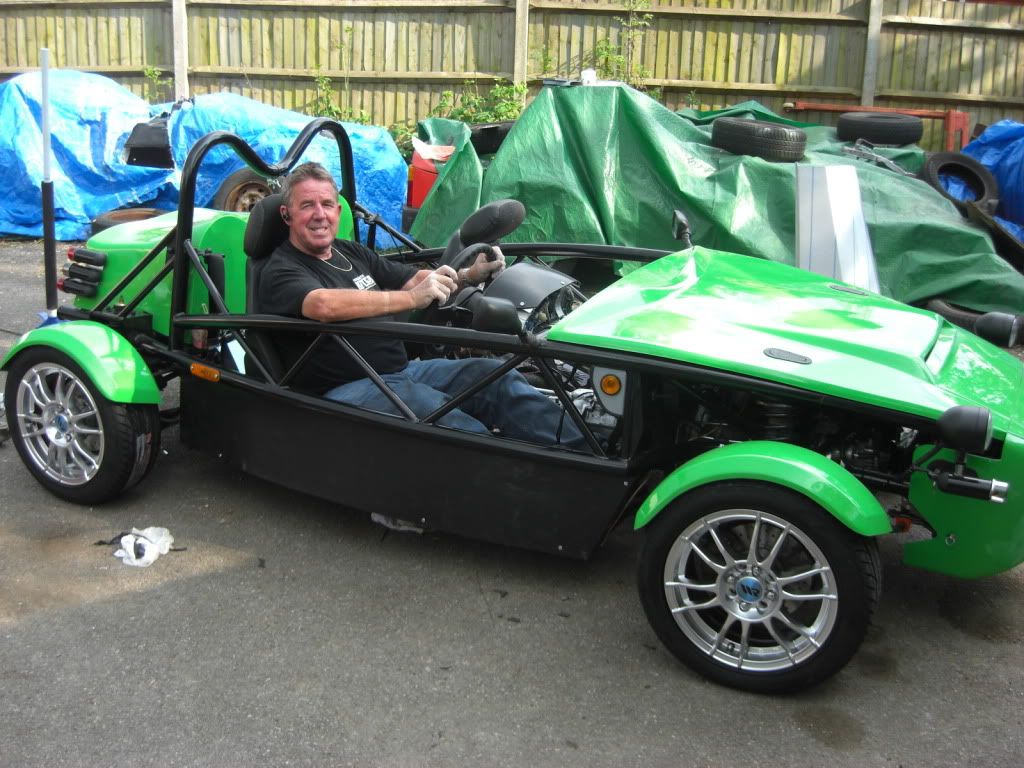 |
|
|
|
Post by Stiggy on May 11, 2011 21:24:49 GMT
Looking good Eddie, love the filler cap position, a bit of a pain to do that but it looks well worth the effort. Make sure the stop tail lights are at the bottom so they are a max of 400mm from the edge of the wing. If higher it maybe less, as the body leans in.
|
|
|
|
Post by fasteddie on May 12, 2011 9:41:01 GMT
Thanks for the suggestion on the lights Stuart but I`m sure the distances are as required by the IVA manual. Am I missing something?
|
|