|
|
Post by johnp on Sept 16, 2016 12:03:03 GMT
This may sound like Neanderthal man's opinion on quantum theory but: if this problem is restricted to the nearside could it be that the repeated generations of large amounts of heat have fused the parts to the extent that there is no longer a 'fault' line to be exploited in separating them; in essence they are now irrevocably one part, to be lived with or replaced. The parts were not inanimate - heavy use forced them to form an unbreakable alliance. Like I said - Neanderthal.
|
|
|
|
Post by Fin on Sept 16, 2016 12:57:17 GMT
Perfectly valid theory @johnp! I personally favour a delusional previous owner whose right-hand drifting skills were not quite a match for Vin Diesel, and who repeatedly "kerbed it", thus driving the shaft firmer & deeper. Academic either way, as I have conceded defeat and taken the other suspension parts & brake calipers to be blasted and/or powder-coated. Good deal @ £110 (cash) so quite happy.
|
|
|
|
Post by Fin on Sept 17, 2016 14:55:33 GMT
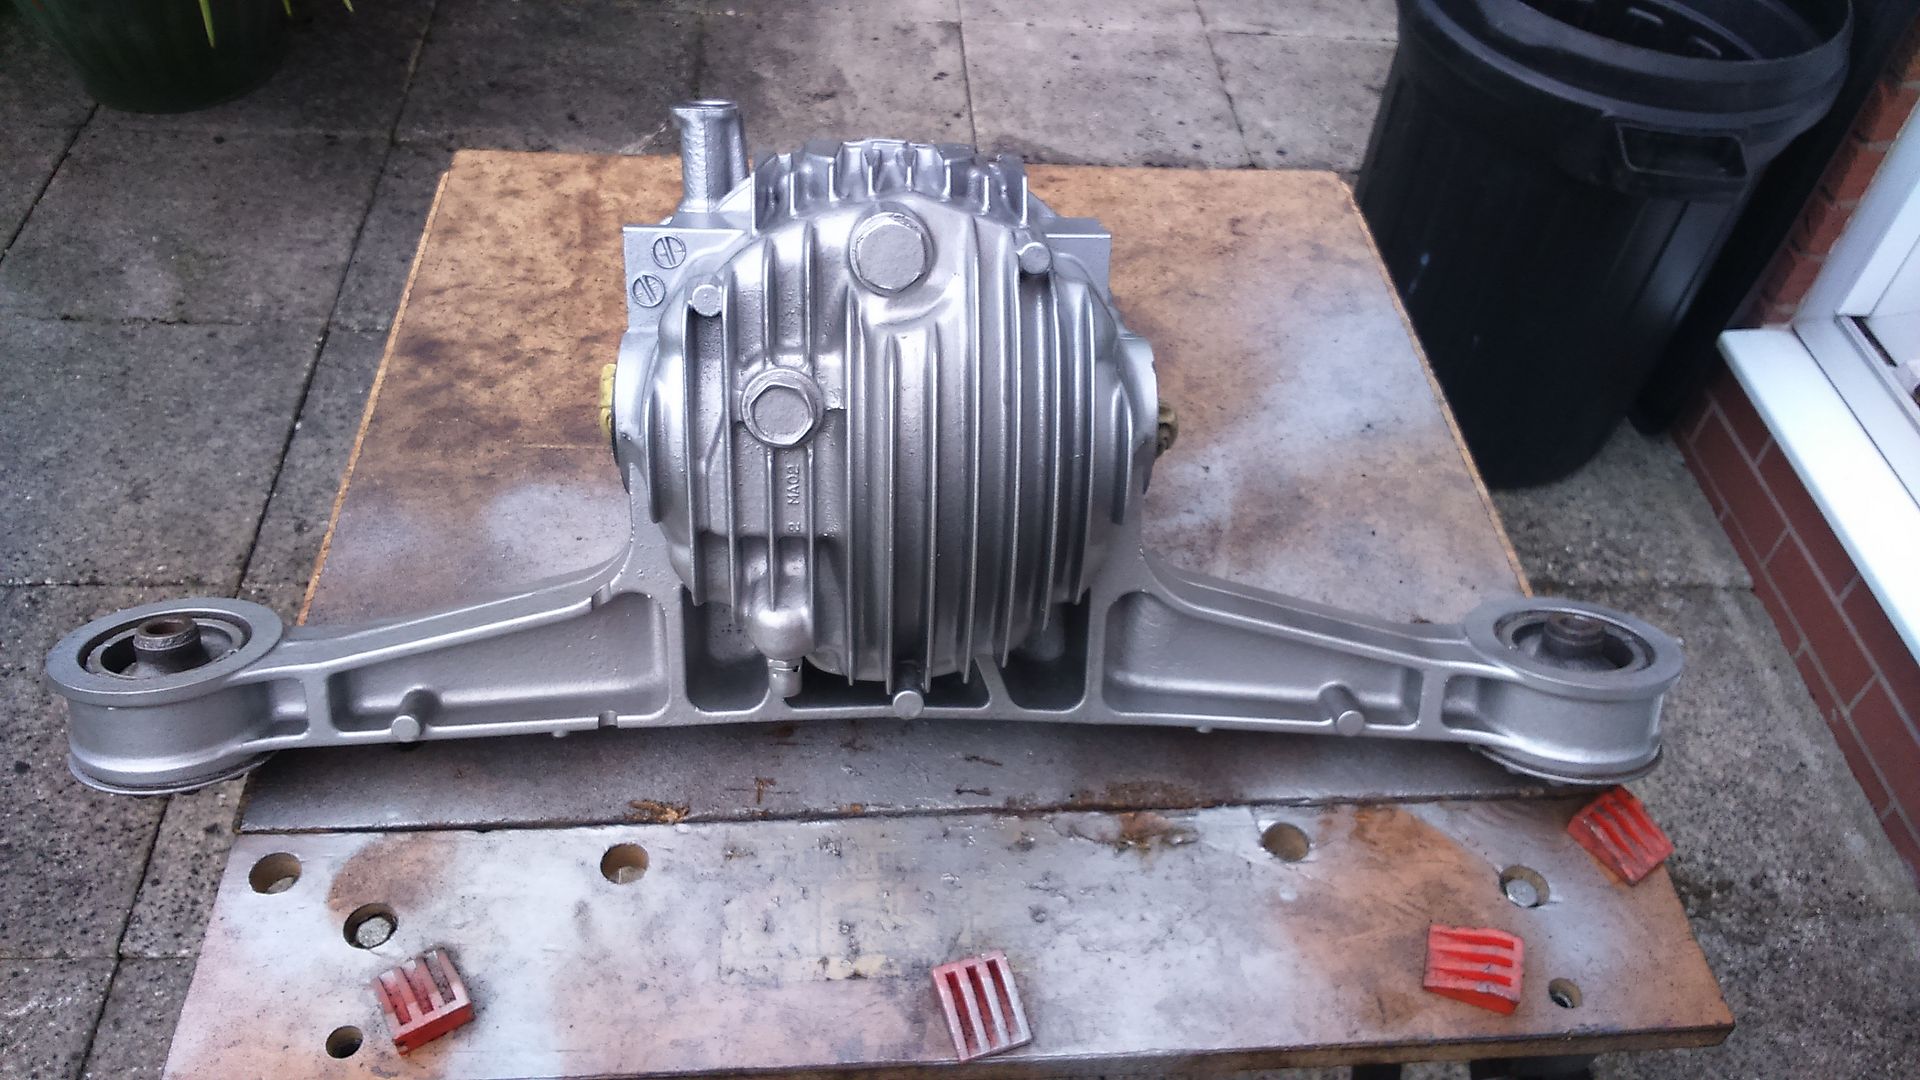
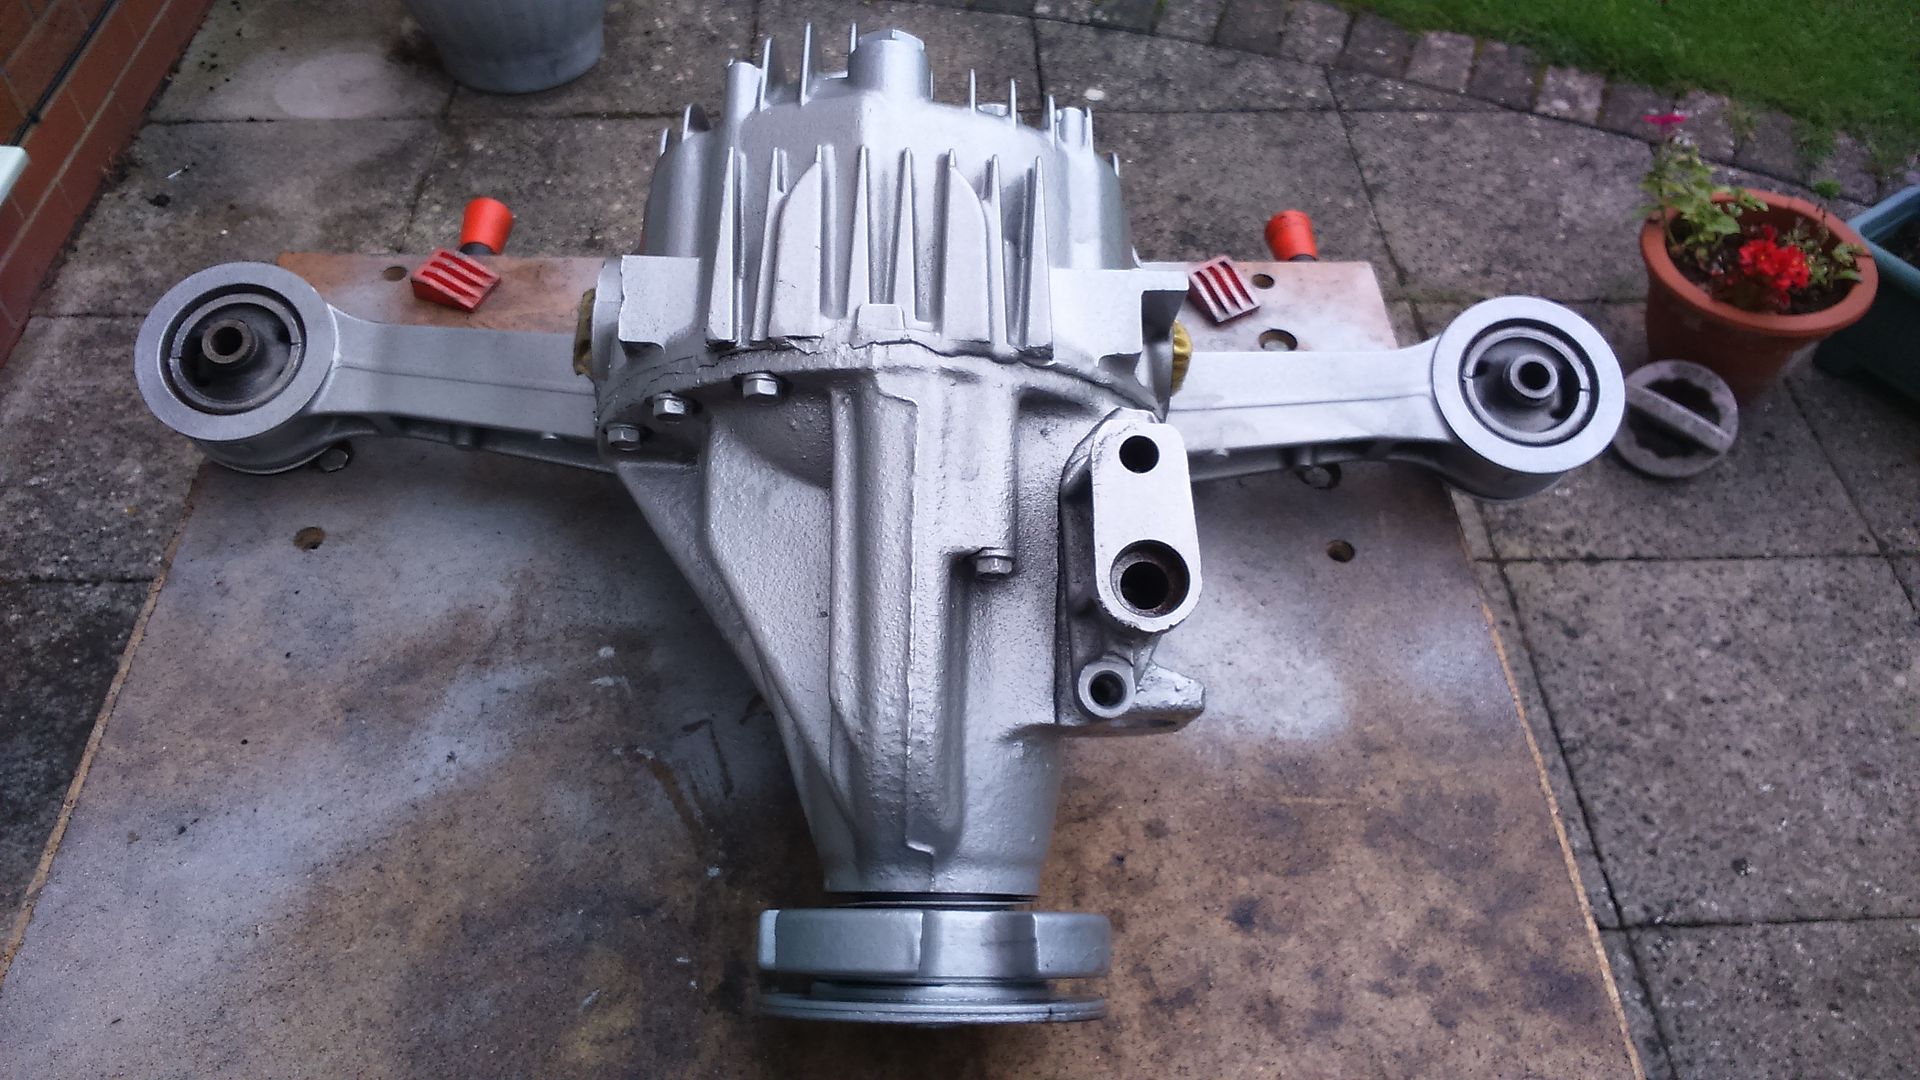
A different diff  Nice job Luke  |
|
|
|
Post by Fin on Sept 24, 2016 16:01:01 GMT
ADVICE PLEASE
The general consensus on the build seems to be assemble the skate, and drop the chassis over it. That said, there seems to have been some problems with alignment. As my build is from separate components, is there any benefit (or downside) in assembling the sub-frames to the chassis, then the diff & PPF/prop, suspension & wheels, then the gearbox/engine?
Secondly, my cam belt has about a half inch up/down play across the top. Is that too much?
|
|
|
|
Post by p5curly on Sept 24, 2016 20:34:53 GMT
You may want to build the skate and drop the frame as if it's mis aligned you could end up with the car crabbing
As for the cambelt you may want to check the manual to see correct free play
|
|
|
|
Post by gwnwar on Sept 24, 2016 22:41:45 GMT
Timing belt deflection.. 22 ft lbs down pressure looking for 8.5-11.5mm or 0.35-0.45in. I would rotate engine CW 1 full turn then check.. You could also loosen the center bolt for the tensioner just enough to let the spring take up any slack and retighten it..
Don't add any pressure to the spring action with finger or tool just the spring.. If you do the belt might start to sing to you.. when running.. Did you replace the belt?? Do you have 19 tits BETWEEN the dots on the cam gears?? If the belt ever did break it won't
hurt the engine..
|
|
|
|
Post by Fin on Sept 25, 2016 9:34:50 GMT
Did you replace the belt?? Do you have 19 tits BETWEEN the dots on the cam gears?? If the belt ever did break it won't hurt the engine.. Thanks. Haven't touched the belt, and really want to stay well away from it. Used to have a 16V Astra GTE and the engine blew at speed on the motorway after the belt went, but that was an "interference" engine, and boy did it interfere. Have heard that you can (easily) replace the belt by splitting it in half lengthways, removing 50% and then slipping the new belt on in conjunction without interfering with the relative positions. Will read up on the dots and cam gears, but it may be a case of the 20th looking for the other 19! |
|
|
|
Post by gwnwar on Sept 26, 2016 6:12:11 GMT
If you are going to do the timing belt and water pump read both write ups below.. If you replace the seals use piece of plastic from a plastic bottle wrapped around the serface of the cams and crank so you don't nick it up.. I have a "Lislе" seal remover works great.. Check eBay for one. Get torque specs for your engine.. do the rotation for tensioner adjustment and final check.. and www.miata.net/garage/timingbelt.html |
|
|
|
Post by Fin on Sept 28, 2016 11:17:00 GMT
Now comes the moment of truth (and I can already see we've thrown away/misplaced/carefully filed something we need!!)  |
|
|
|
Post by Fin on Oct 1, 2016 16:33:15 GMT
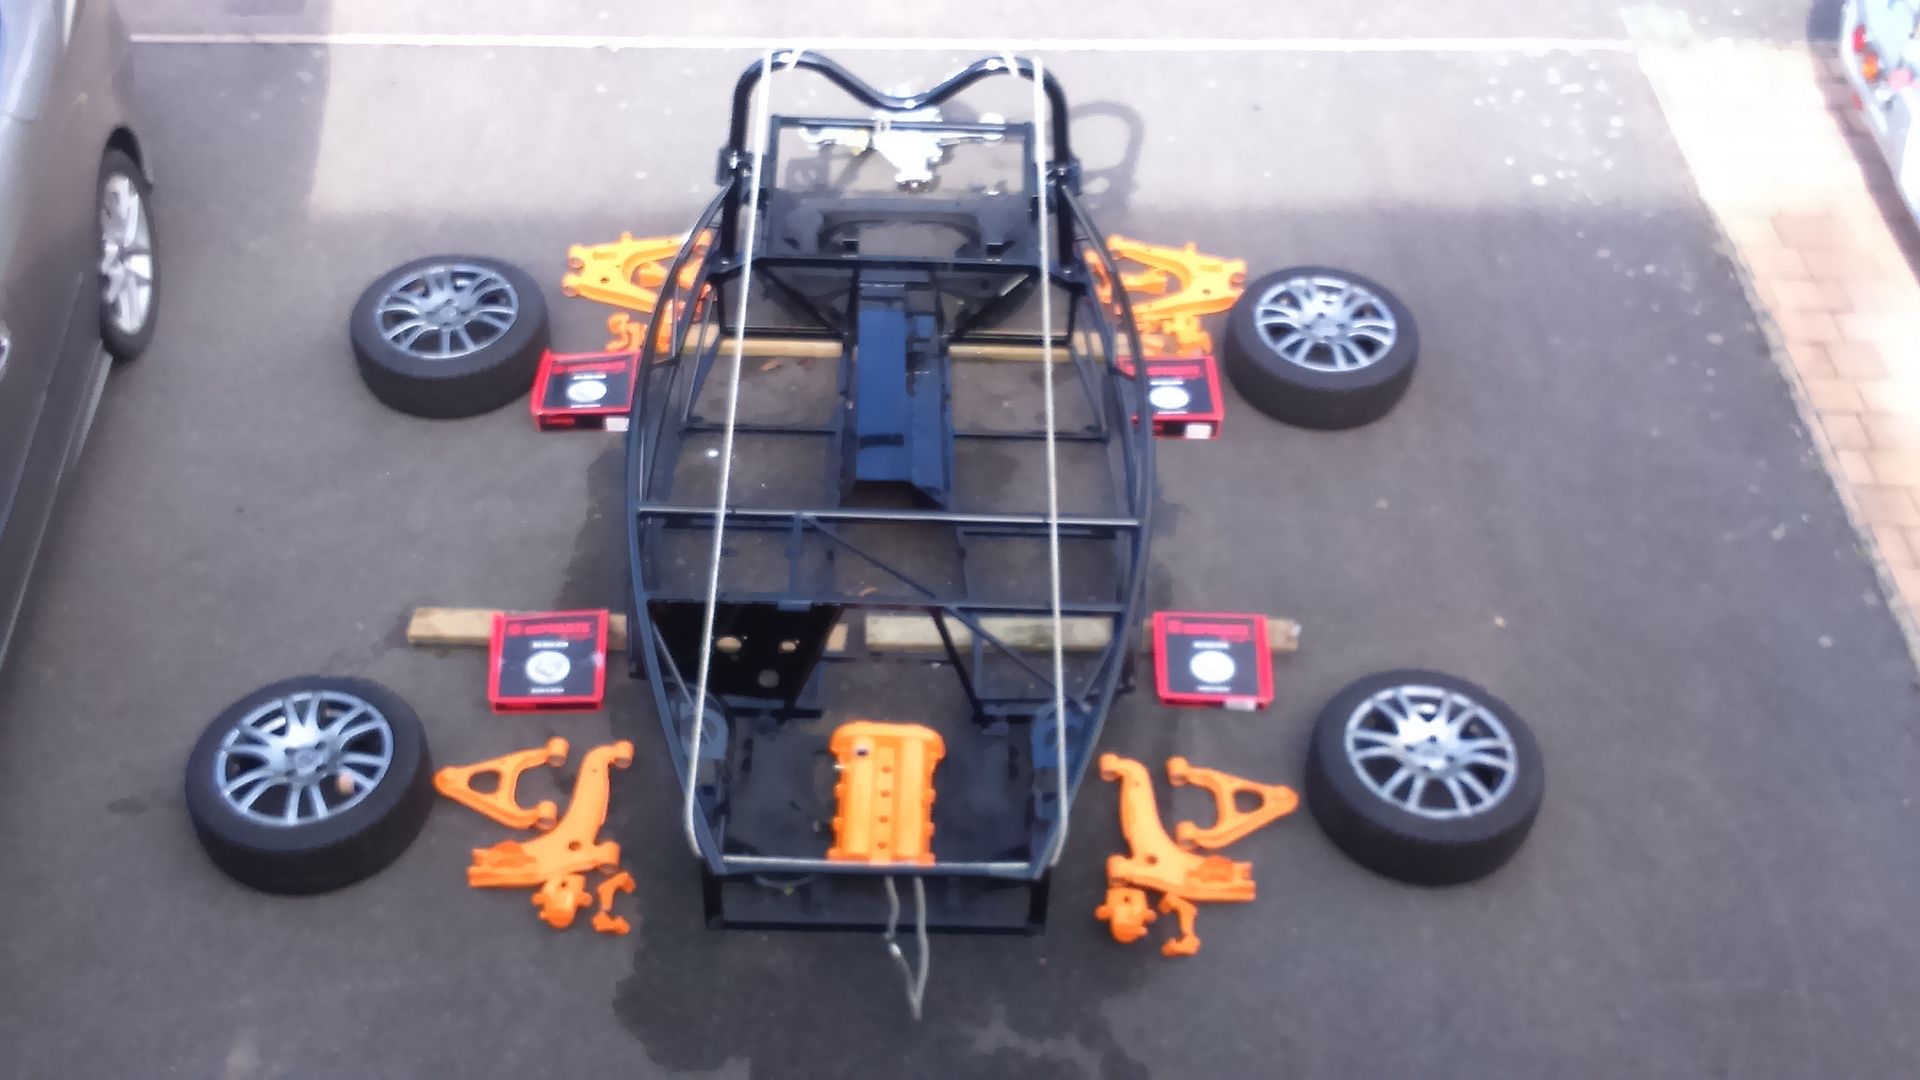
Had hoped to progess a bit more today assembling the control arms, but ended up on de-greasing & rust-removal duties for most of the day. Luke got the springs, and propshaft primed & painted, and then ran out of Hammerite with no refills at the shop! Missing one suspension control arm bolt; two large castle nuts and two shock absorber nuts and split washers. Hope we might be lucky at the MX5 Owner's Club Rally tomorrow.
Have had teh cam cover powder-coated in orange, and it looks good - too good for teh rest of the dirty engine, but that's another story. Anyway, want to pick out the MAZDA and DOHC 16 Valve lettering out in contrasting black. Got some black Humbrol enamel paint to experiment with on an inconspicuous part, but wondered if anyone had any suggestions? As my painting and calligraphy skills are lacking, I was wondering about some kind of heat resistant putty/plasticine which could fill the indented lettering and then set hard and smooth flush with the surface.
|
|
|
|
Post by timbo on Oct 1, 2016 19:12:00 GMT
Use Hammerite, a small brush and a steady hand and you should be fine.
|
|
|
|
Post by Fin on Oct 2, 2016 15:42:08 GMT
|
|
|
|
Post by gwnwar on Oct 2, 2016 20:41:36 GMT
Put a piece of wide painter tape that really seals but pulls off easy over the lettered spot..
Then cut out the letters with a razor knife..paint (very small artist brush), dry, remove tape..
Just paint the bottom of letter cut out not the sides so no chance of paint on top of cover..
|
|
|
|
Post by Fin on Oct 2, 2016 22:43:27 GMT
Put a piece of wide painter tape that really seals but pulls off easy over the lettered spot.. Then cut out the letters with a razor knife..paint (very small artist brush), dry, remove tape.. Just paint the bottom of letter cut out not the sides so no chance of paint on top of cover.. Thanks. I'd thought of cutting out a template like that with masking tape, but wasn't sure if you'd get "bleed" under the tape from the paint on the side wall, or whether you could spray it with an airbrush. Hadn't considered just painting the bottom like a shadow effect, and not sure how it would look as all the ones I saw today were fully covered. Might experiment. |
|
|
|
Post by freshp5 on Oct 3, 2016 13:46:48 GMT
You got any photo of rocker cover
|
|