|
|
Post by p5curly on Aug 21, 2016 6:24:30 GMT
Get a can of brake and clutch cleaner wipe out the major grime then spray that in and wipe it out
|
|
|
|
Post by miket on Aug 21, 2016 6:44:02 GMT
I used compressed air to get the calliper pistons out using just my (pedal) bike track pump and the accessory for inflating airbeds! It took about 40 psi then came out like a bullet so best to have a safe flight path ready.
|
|
|
|
Post by Fin on Aug 21, 2016 18:49:55 GMT
Lazy Sunday afternoon with Luke achieving engine separation. Kit comes tomorrow, and still so much to do before we can get the running gear back together. 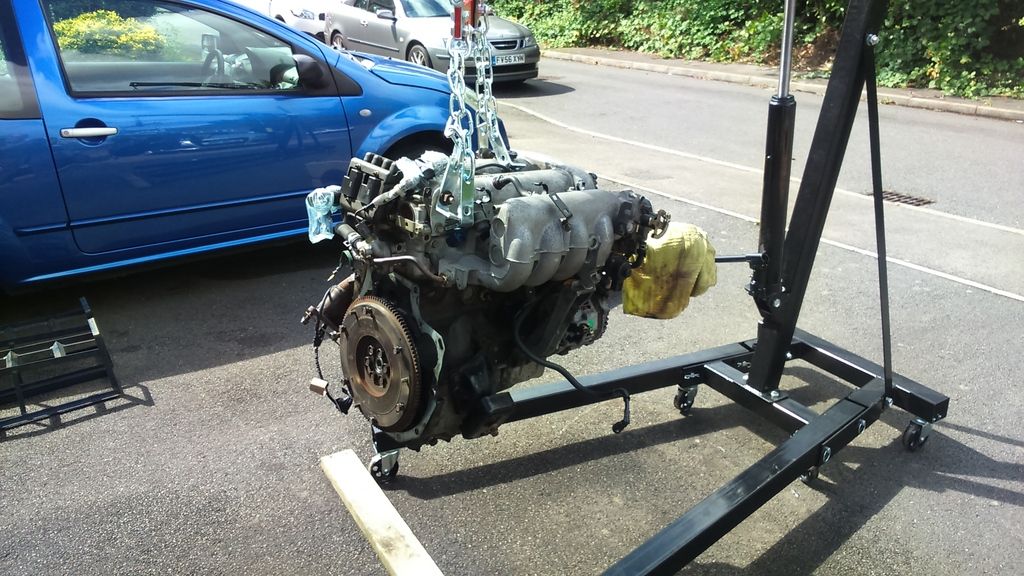 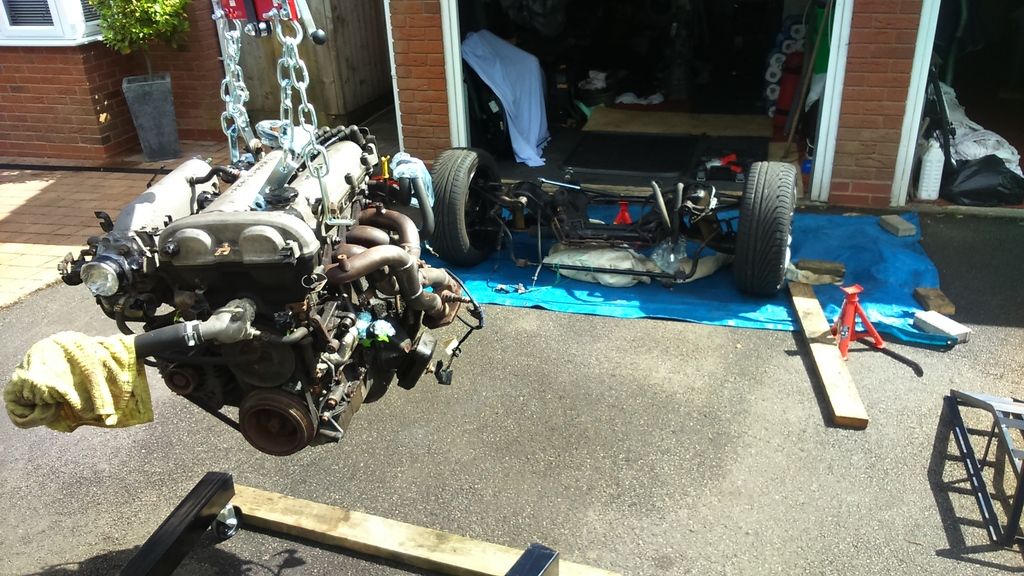 |
|
|
|
Post by Fin on Aug 22, 2016 19:48:59 GMT
Just arrived 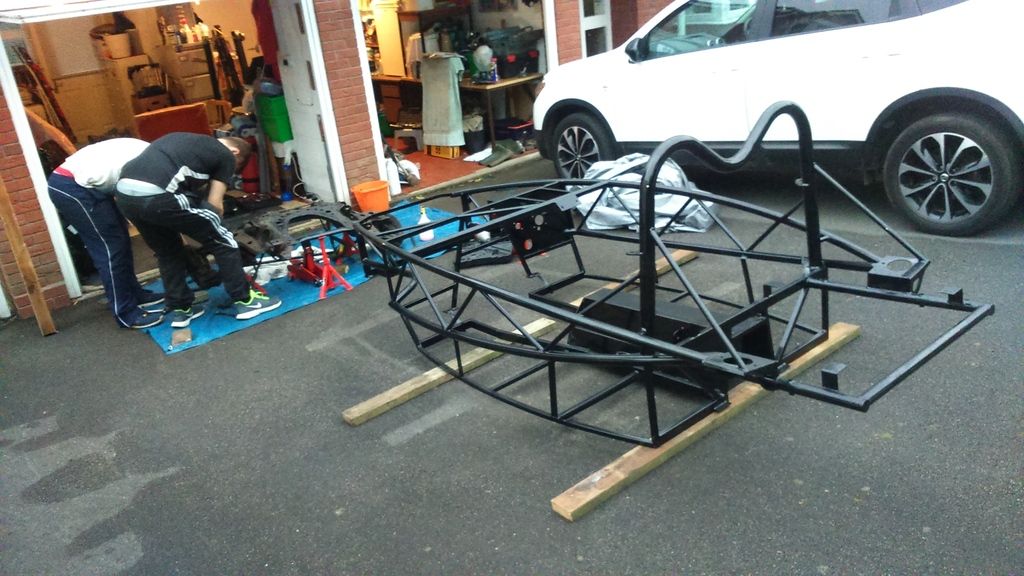 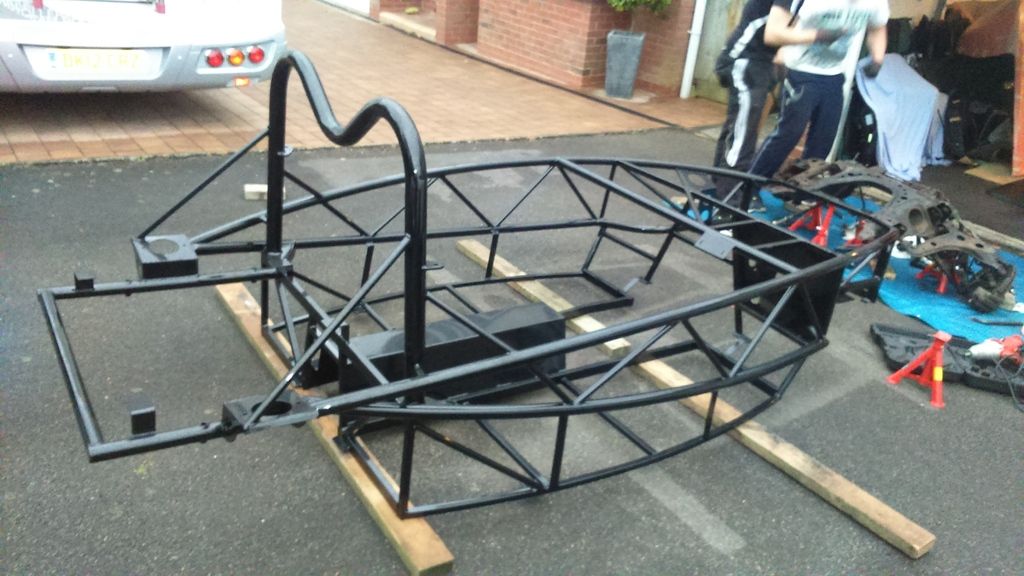 |
|
|
|
Post by h20boynz on Aug 22, 2016 19:50:21 GMT
You're in business now! Well done  |
|
|
|
Post by mscott on Aug 23, 2016 8:18:15 GMT
Wow, so shiny  I wish my chassis looked that good after around 5 years of racing.. Looking really good guys, keep up the good work and shout if you need anything. Your making great progress, the end is in sight !! |
|
|
|
Post by Fin on Aug 23, 2016 10:21:52 GMT
Your making great progress, the end is in sight !! Should have gone to Specsavers!! |
|
|
|
Post by Fin on Aug 27, 2016 19:15:11 GMT
Slow progress over the last couple of days, fighting battles with castle nuts and embedded/corroded split pins that refused to yield. Even when they finally came loose, the ball joints were still locked solid, and resisted repeated onslaughts from hammer and crowbar. With my vocabulary of Anglo-Saxon curses exhausted, I had to resort to Machine Mart this morning for a ball joint separator! Mistakenly, I was of the impression that it would be the ball joint that would separate!! 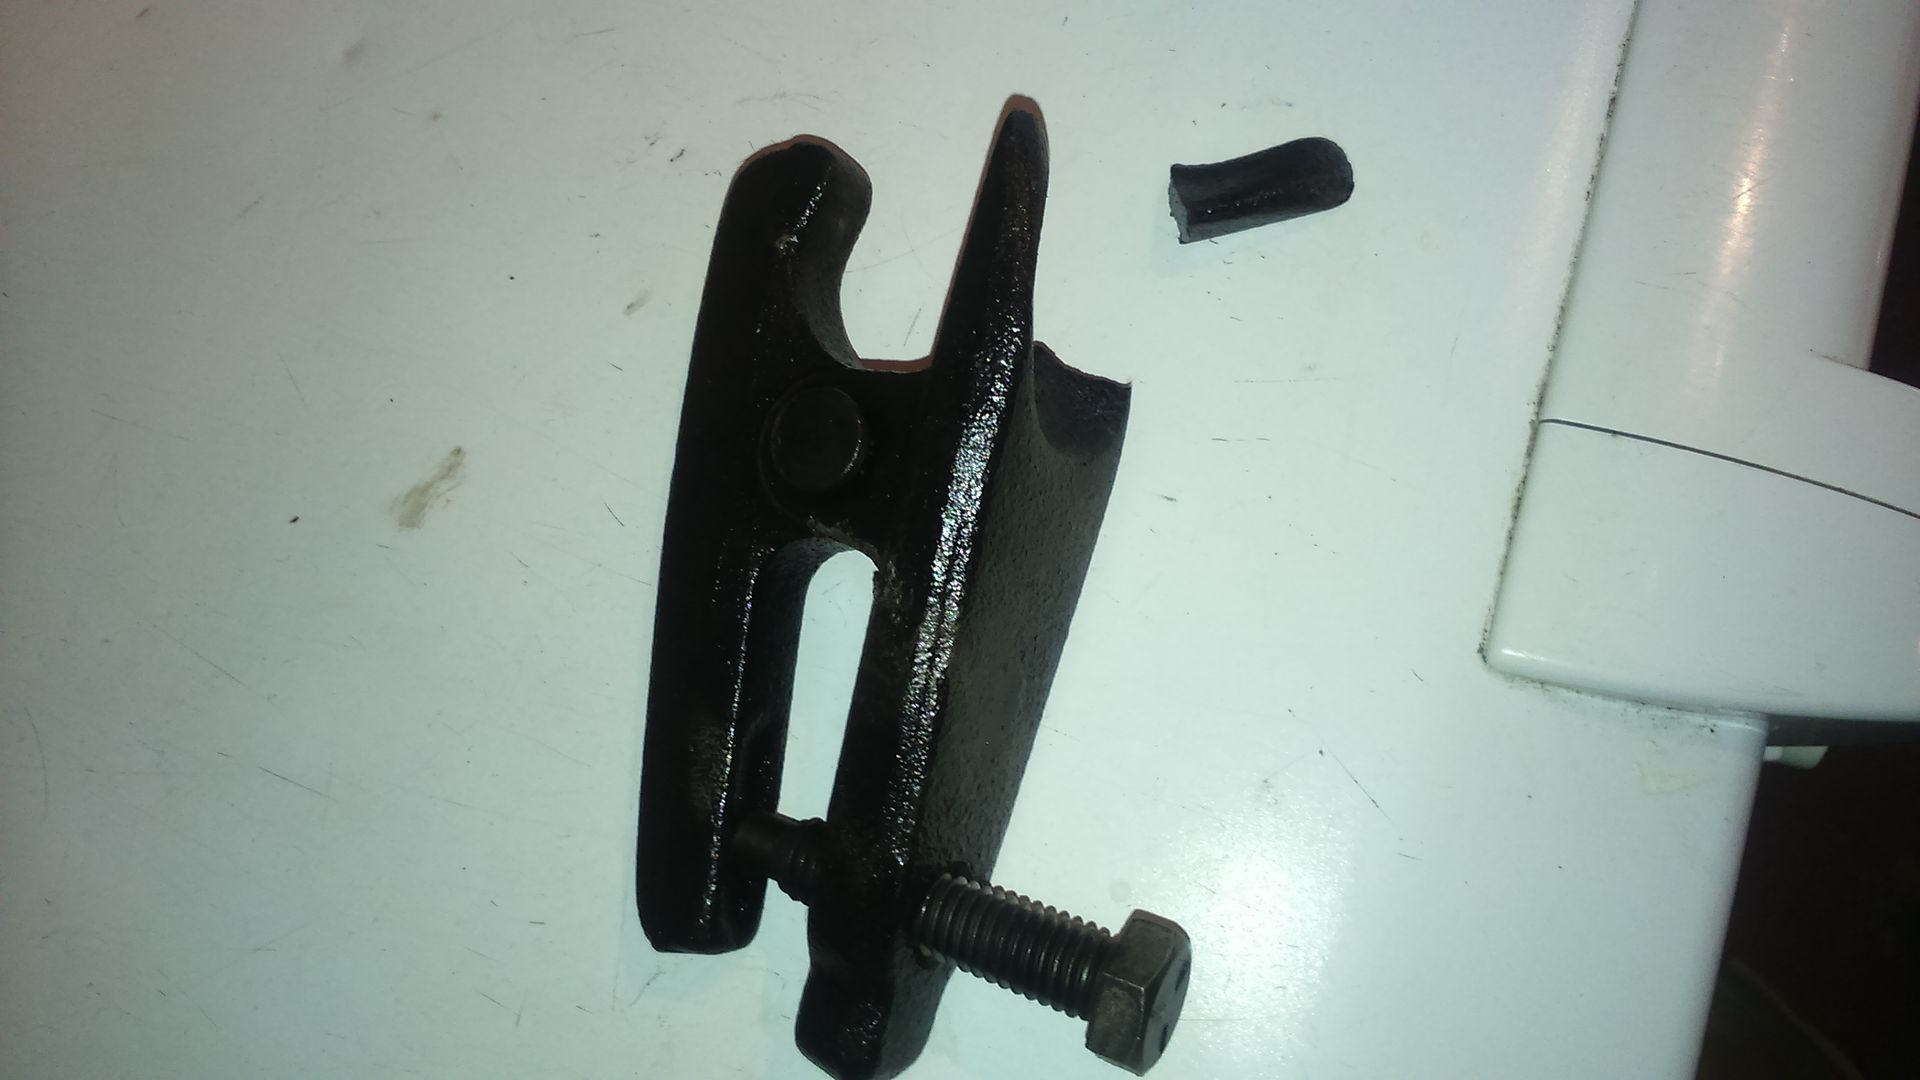 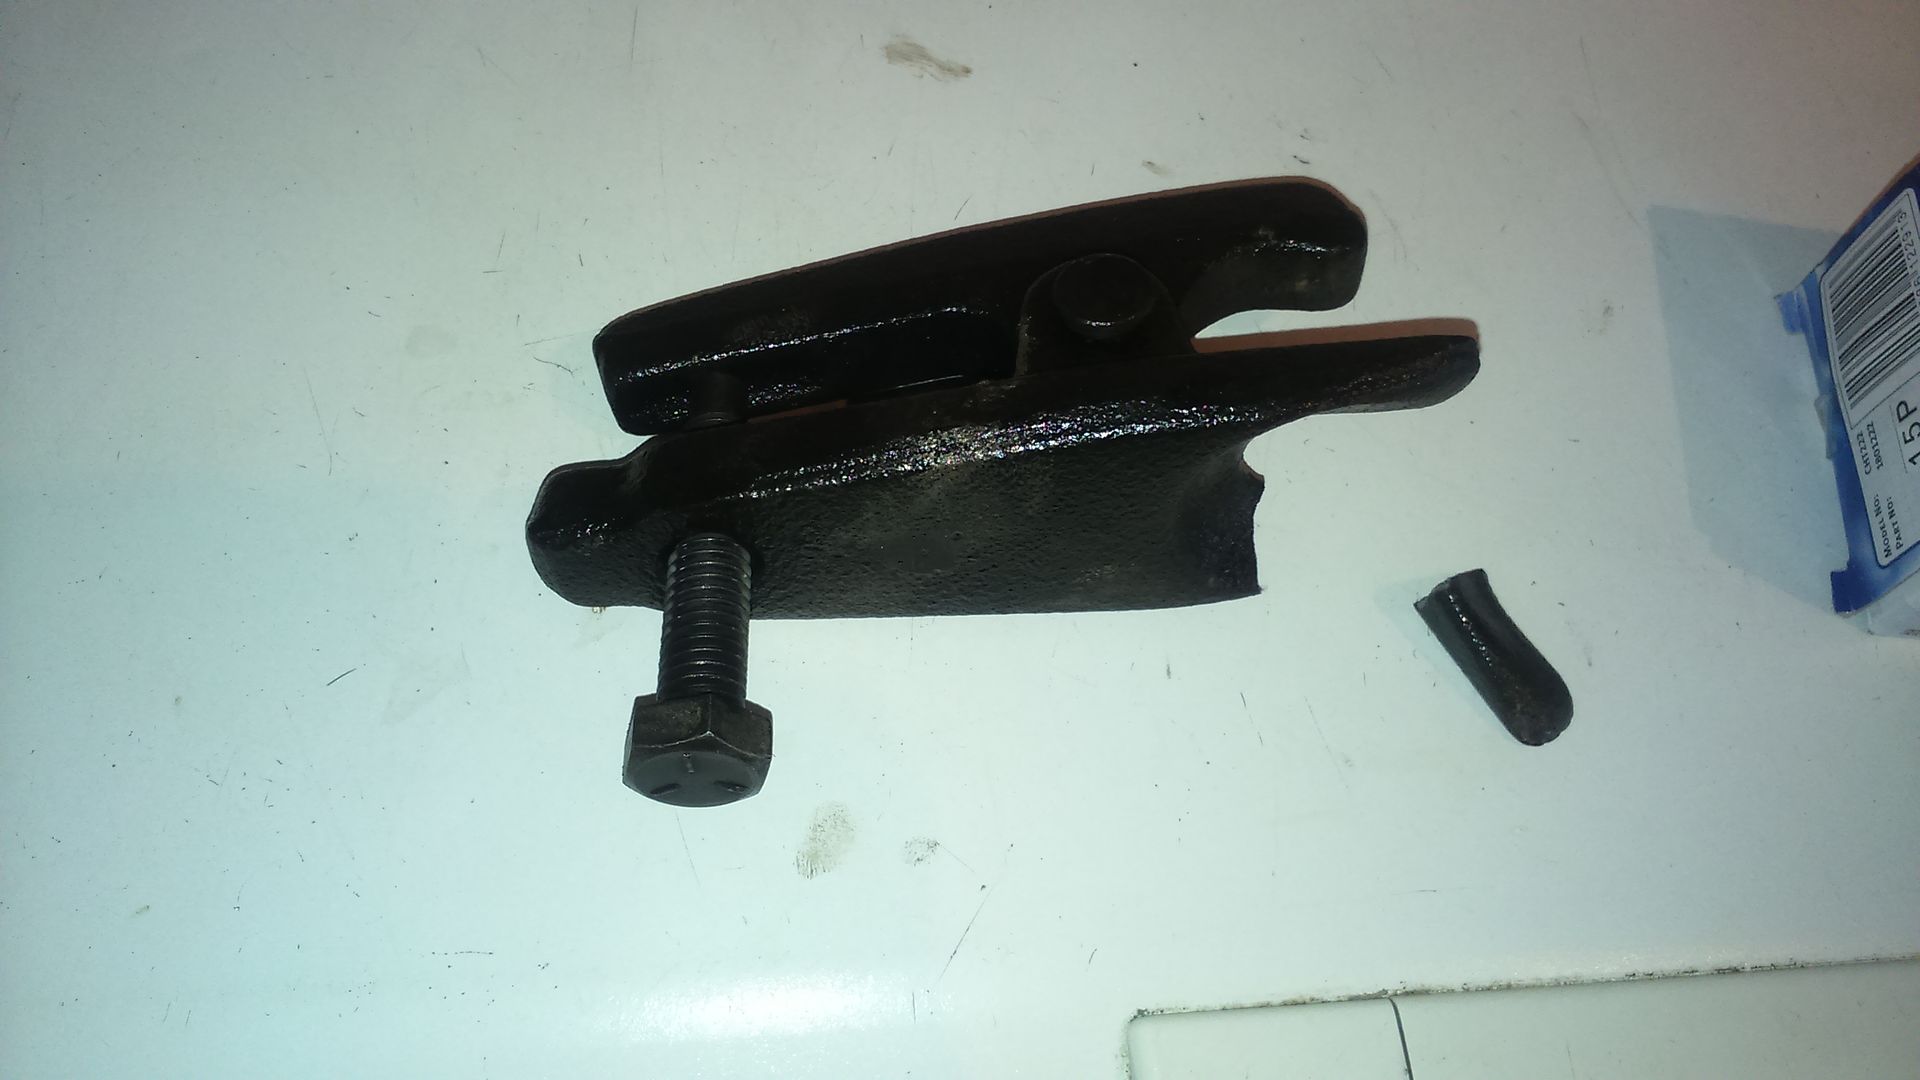 It was then I discovered further Anglo-Saxon curses long forgotten. After a quick trip for a replacement, Luke again flexed his muscles, but we were both astonished by how much force was required. There was no indication of imminent movement, apart from one where the tip of the thread to the hole collapsed, and when they did go, they went with such a resounding crack that it scared the bejesus out of us both. I was convinced the metal had sheered again, but finally we achieved separation. We had to cut the drop-links from the ARB as they were just spinning, and we ruined one ball joint, but all wishbones/control arms are now free with just the corroded & crumbling dust shields to remove. Plus the ABS sensors which are stuck like poo to a blanket. Finished of by de-greasing and cleaning the front sub-frame just to end on a small victory. |
|
kenyon
Junior
  Just starting out
Posts: 29 
|
Post by kenyon on Aug 27, 2016 22:24:35 GMT
Wow this is really flying. Giveen the age of the car and the rate that they seem to rust seems like relatively smooth sailing. I'll be following this, good luck with the rest fin!
|
|
|
|
Post by Fin on Aug 28, 2016 9:53:50 GMT
Wow this is really flying. Giveen the age of the car and the rate that they seem to rust seems like relatively smooth sailing. I'll be following this, good luck with the rest fin! Thanks kenyon, and good luck with your ambitious turbo build. As everyone else has already said, folk on here are remarkably friendly and a fount of knowledge, but as with undoing rusted nuts, when facing a problem, I've found sometimes it helps to just walk away and come back fresh another day. |
|
|
|
Post by NJ. on Aug 28, 2016 13:33:46 GMT
Be carefull with the abs sensors when removibg. They arent cheap if u break one... also the fronts are almost impossible to remove without breaking so I left them in and shot blasted/painted around them. Also as george mentioned to me, the ball joints sperate easier if u hit them with a ball peen hammer when using the splitter.
|
|
|
|
Post by Fin on Aug 31, 2016 18:13:22 GMT
Well, these castle nuts were made to withstand siege! You know that lovely moment when you are exerting max pressure on a ball joint, and there's that satisfying "crack" when it separates? 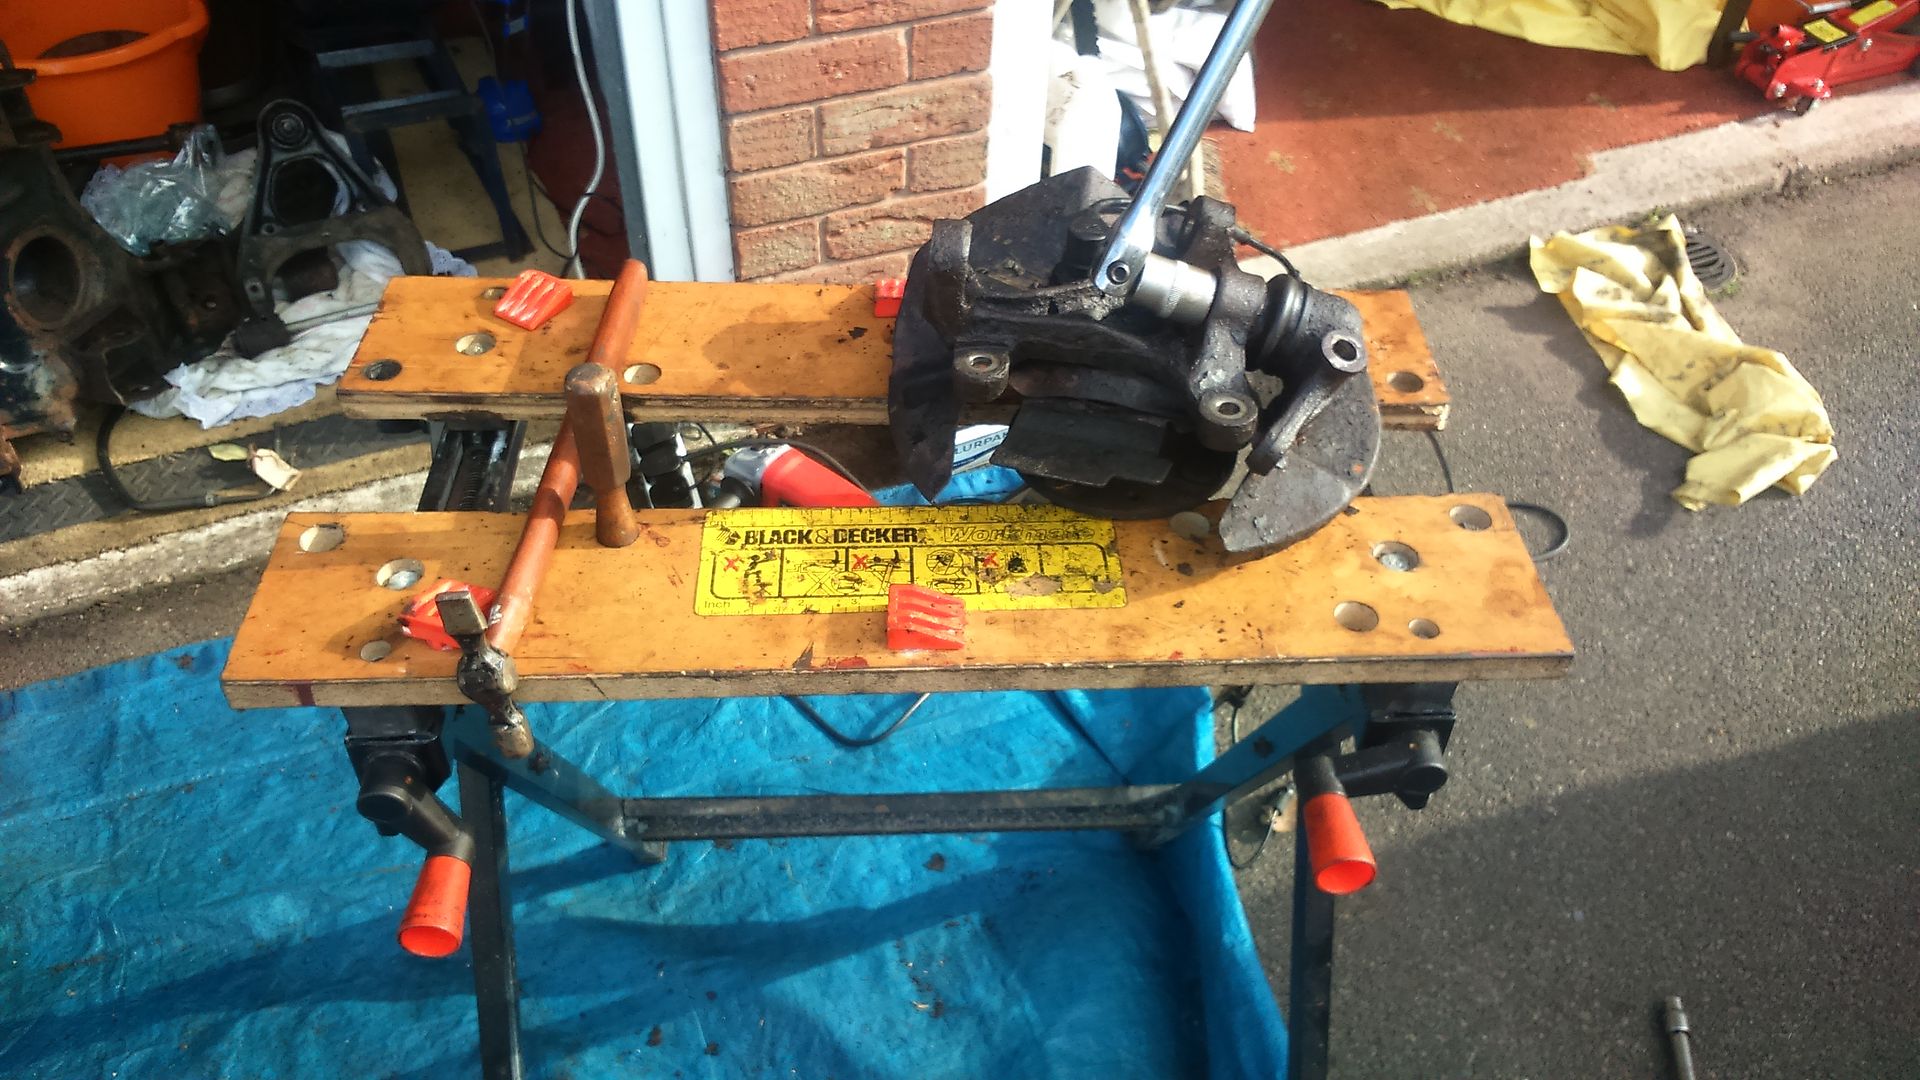 No, me neither! 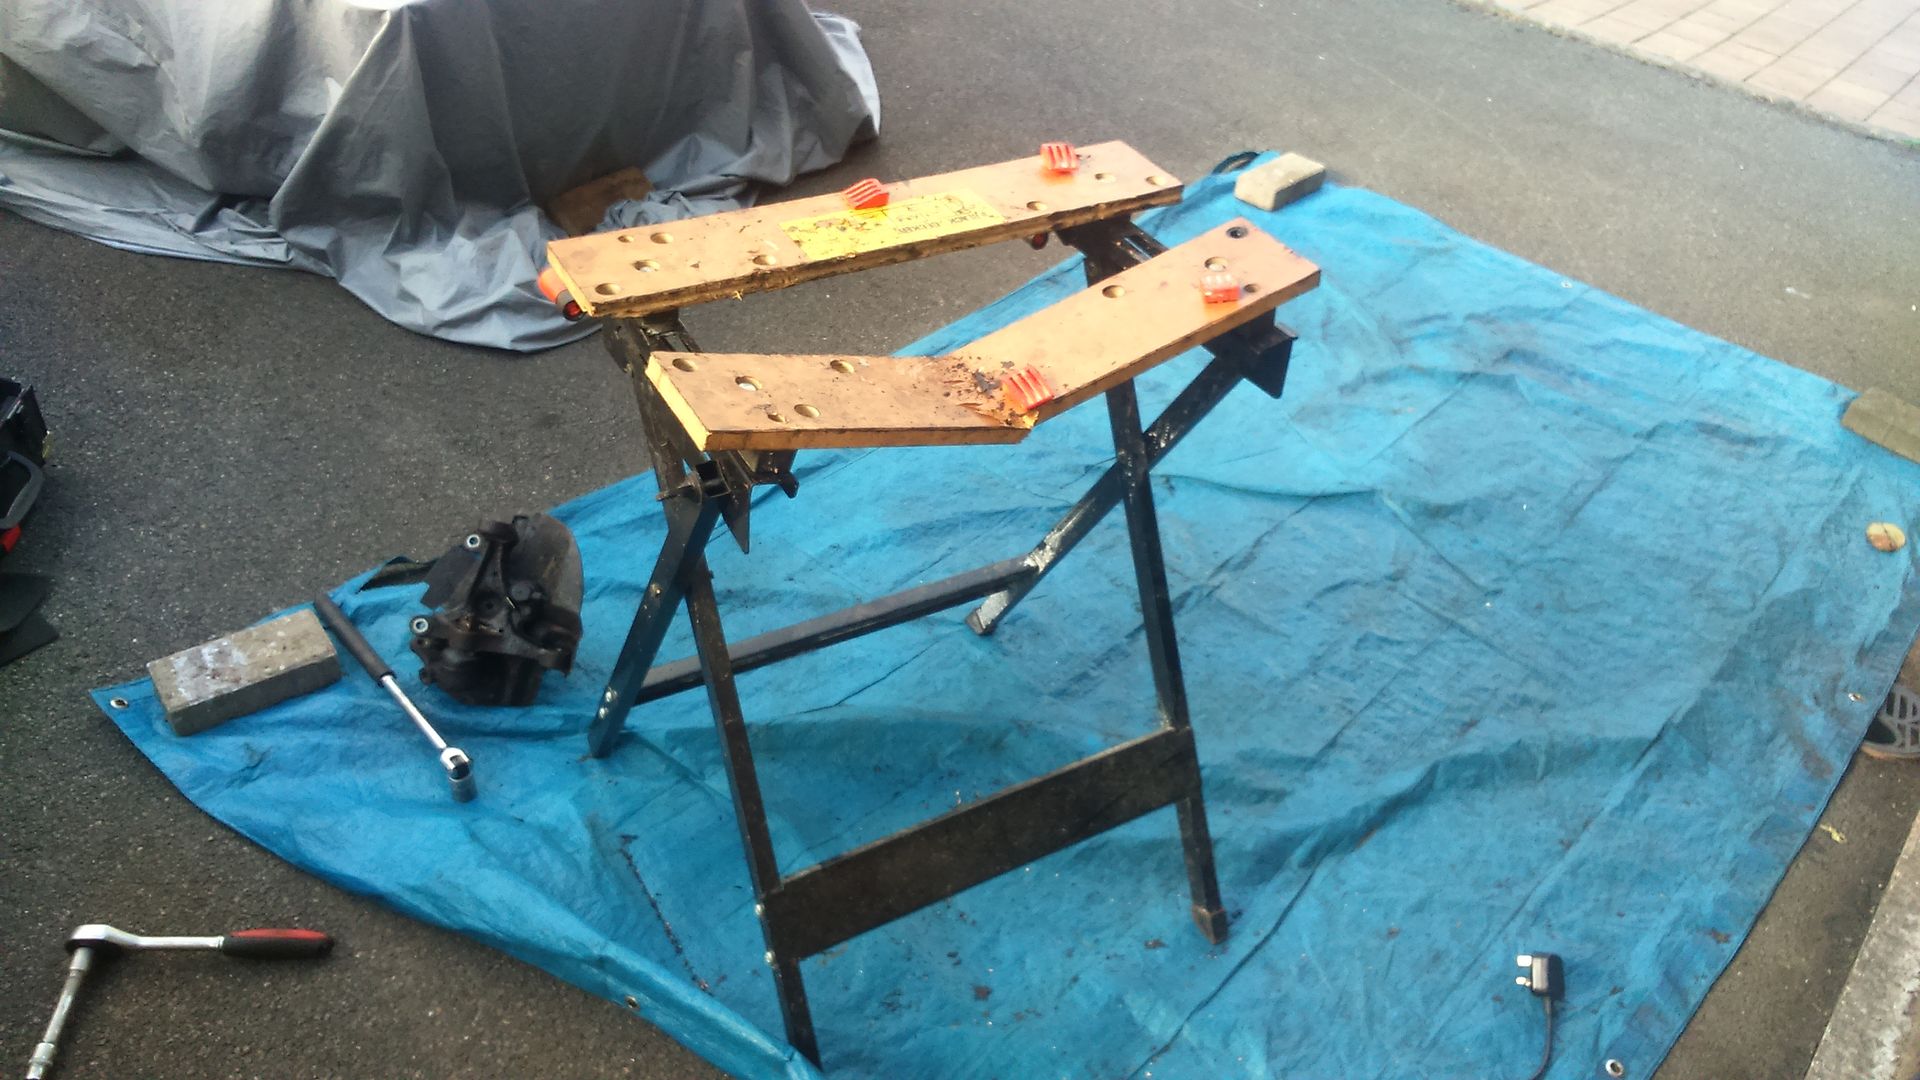 The ABS sensors are untouchable, and I've just clipped the wires off and will leave them in. Have a horrible feeling I heard mention of their holes being used to secure the mudguards, but I still cannot get them to shift. Had to buy a 29mm socket (rear's 32mm) to strip the front hubs right down to get rid of the crappy remains of the dust-guards, so everything is bathing in rust-remover. 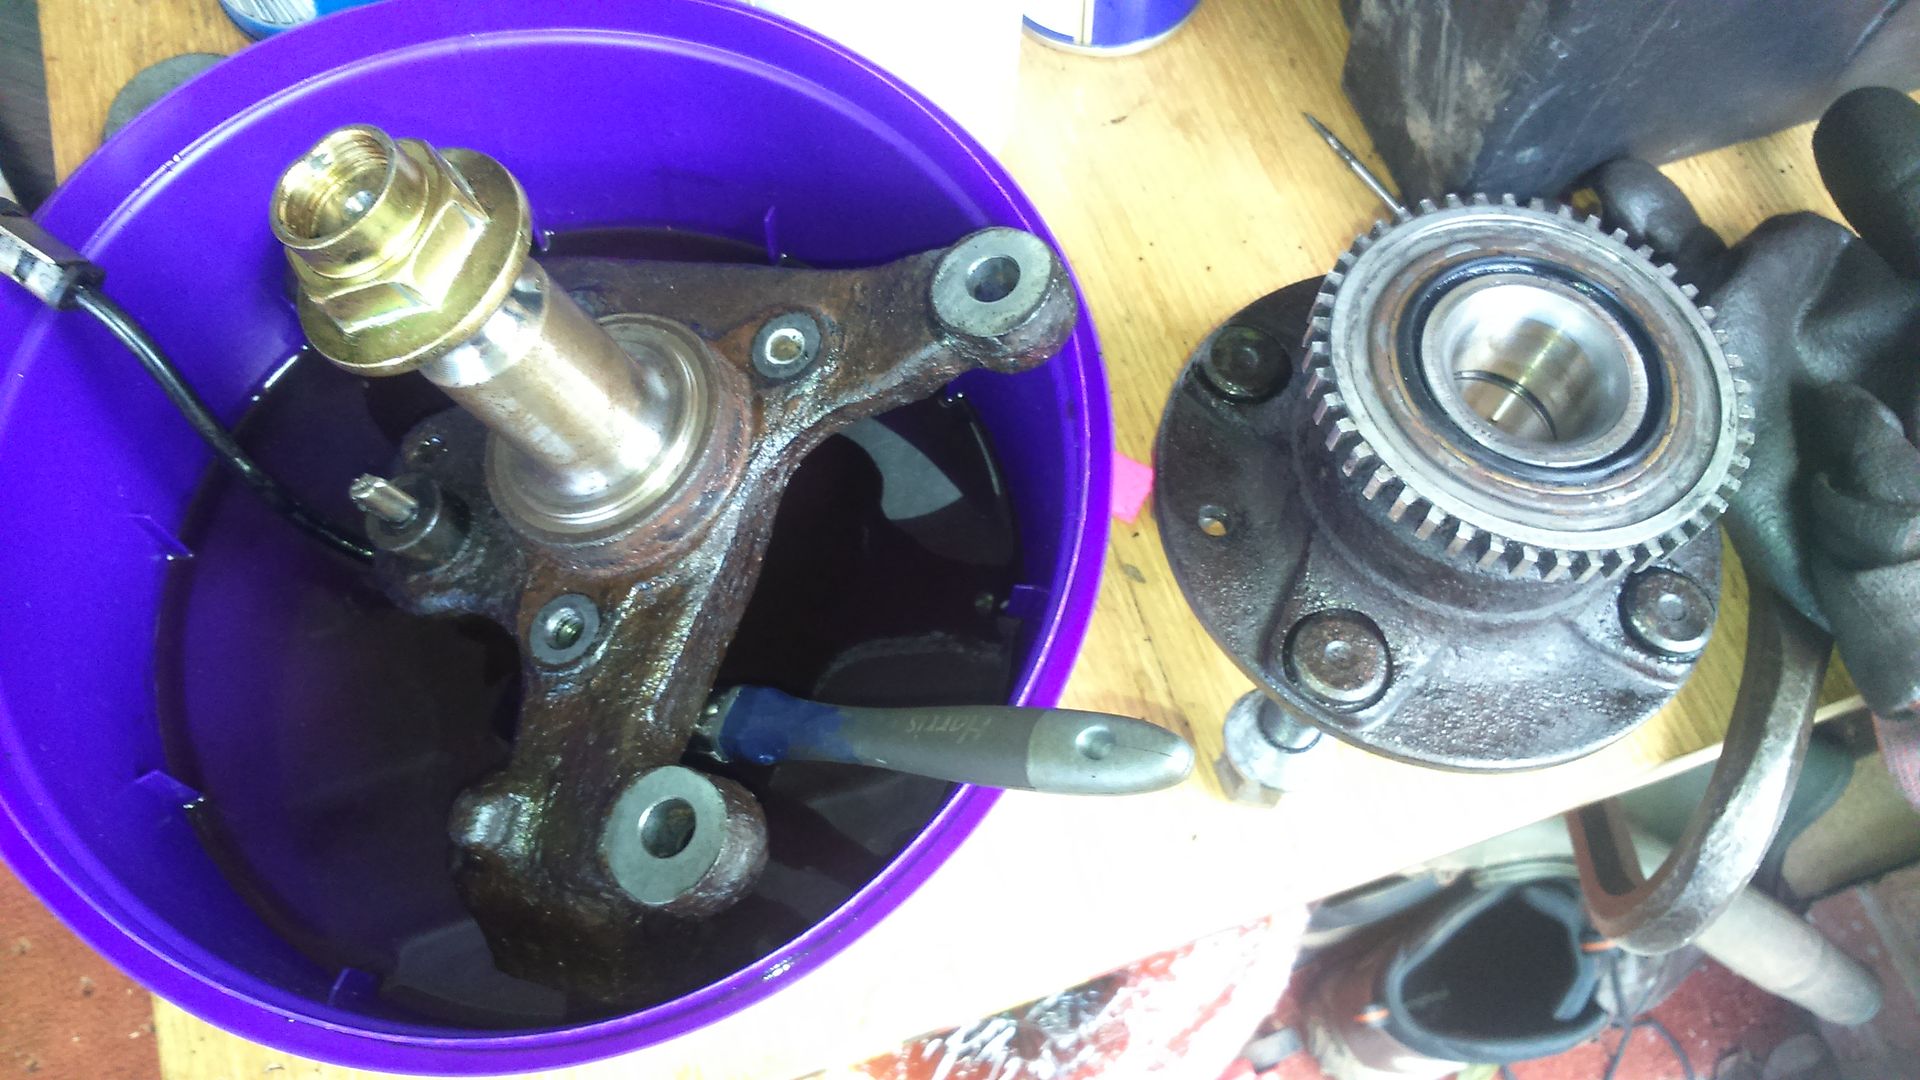 Given I can't remove the pressed ball joint at the apex of the upper wishbone, I may just have to clean and polish rather than blast and powder coat. Guy at the shop said it'd take a BIG press. They'd have to be Hammerite Hammered Silver though, as I got a job lot, and I'm not sure how good that will look as opposed to black, or the preferred orange. Any advice on re-assembling the hubs, in terms of greasing? Carefully cleaned the muck from around the seal, but couldn't see much evidence of lubrication, except internally in the bearing itself. There was also copper grease outside on the dust-cap. Will have to go buy a torque wrench for tomorrow. On a more positive note, the new brake seals and rear piston have arrived, to will reassemble later for a positive end to the day. |
|
|
|
Post by miket on Aug 31, 2016 19:06:34 GMT
Are you planning to get a torque wrench that'll do the hubs?... on my Mk1 they were 200Nm and I had to borrow one that was man enough 'cos my wrenches give up way before that.
|
|
|
|
Post by Fin on Aug 31, 2016 19:46:19 GMT
Are you planning to get a torque wrench that'll do the hubs?... on my Mk1 they were 200Nm and I had to borrow one that was man enough 'cos my wrenches give up way before that. I'll check the rating tomorrow, and bulk up on spinach tonight. |
|
|
|
Post by kiwicanfly on Aug 31, 2016 19:56:54 GMT
A good quality lower range torque wrench would probably be a better investment overall with a borrowed one or getting a bloke to do it for beer on the big torques.
You'll never find one that will do the whole range required.
|
|