|
|
Post by lukiez on Aug 11, 2016 23:03:06 GMT
The metallic oil and metal on the magnet could be a sign of a problem with the gearbox if it's excessive - did you drive the car before stripping it down? If no issues changing gear or unusual noises it may be okay for now but be on the lookout.
For the drive shafts the boots don't need cutting unless already split or damaged, to get them out the diff lever them out a pry bar is good for this.
The long bolt on the bottom will come out depending on how much rust and crud have settled in there, it looks like it's started to come out already so you may be in luck and can just unwind it. You can tap it out but be careful not the damage the end or the threads.
As for strip down, it's not any harder than what you've already stripped. If needed make a note or photo how it came apart - I put small punch marks to identify the left from right and placed items in separate bags or take away boxes with labels for later.
I can recommend having it all shot blasted as it gives a nice clean surface to paint on, in fact people often think it's been powder coated! - I only got the sub frames powder coated as you would need to press out all the bushes on the wishbones hence I painted them instead. The mx5 bushes are pretty robust, so it's worth checking them and keeping if they are in good condition - PU bushes can make the ride harsh if you live in an area with poor road surfaces in my opinion
|
|
|
|
Post by Fin on Aug 12, 2016 7:46:52 GMT
The metallic oil and metal on the magnet could be a sign of a problem with the gearbox if it's excessive - did you drive the car before stripping it down? If no issues changing gear or unusual noises it may be okay for now but be on the lookout. For the drive shafts the boots don't need cutting unless already split or damaged, to get them out the diff lever them out a pry bar is good for this. The long bolt on the bottom will come out depending on how much rust and crud have settled in there, it looks like it's started to come out already so you may be in luck and can just unwind it. You can tap it out but be careful not the damage the end or the threads. As for strip down, it's not any harder than what you've already stripped. If needed make a note or photo how it came apart - I put small punch marks to identify the left from right and placed items in separate bags or take away boxes with labels for later. I can recommend having it all shot blasted as it gives a nice clean surface to paint on, in fact people often think it's been powder coated! - I only got the sub frames powder coated as you would need to press out all the bushes on the wishbones hence I painted them instead. The mx5 bushes are pretty robust, so it's worth checking them and keeping if they are in good condition - PU bushes can make the ride harsh if you live in an area with poor road surfaces in my opinion Thanks lukiez. Should have taken a photo as I don't know what's excessive. Drove lovely, so I'm hoping it's all good. Punch marks are a good idea. Was already boxing everything by corner, and taking photos as to which side was nut and which bolt. Not (yet) sure about the condition of the bushes, as I have nothing to compare them to, but am leaning towards leaving them alone |
|
|
|
Post by gwnwar on Aug 12, 2016 7:50:05 GMT
The side shafts will pop out of the rear with a very long screwdriver or pry bar. Has for the lower control arm bolt can you get it to turn with wrench. If it rotates that is half the battle.. They have been known to rust solid in place or get bent enough that they won't come out.. If that's the case cut it on both sides of the upright. Bolt is soft to much beating with the BFH will mushroom the end.. Put nut on enough the cover threads try brass hammer while using impact on bolt head end..if it starts to move remove nut and drive it out with a drift pin while turning it. lots of lube like plaster not wd40..
|
|
|
|
Post by h20boynz on Aug 12, 2016 7:56:55 GMT
The side shafts will pop out of the rear with a very long screwdriver or pry bar. Has for the lower control arm bolt can you get it to turn with wrench. If it rotates that is half the battle.. They have been known to rust solid in place or get bent enough that they won't come out.. If that's the case cut it on both sides of the upright. Bolt is soft to much beating with the BFH will mushroom the end.. Put nut on enough the cover threads try brass hammer while using impact on bolt head end..if it starts to move remove nut and drive it out with a drift pin while turning it. lots of lube like plaster not wd40.. +1 to the above. One of my lower arm bolts was quite bent but I managed to free it with a breaker bar to get it turning and then alternating drift pin and rotation to get it out. Took some serious effort but came out eventually. |
|
|
|
Post by Fin on Aug 12, 2016 8:00:53 GMT
The side shafts will pop out of the rear with a very long screwdriver or pry bar. Has for the lower control arm bolt can you get it to turn with wrench. If it rotates that is half the battle.. Thanks. Bolt rotates, and may just be trapped by the weight of the arm, so I'll exert a bit more force on it. On the next three, would you start at the top and work down, or bottom and work up? |
|
|
|
Post by Fin on Aug 13, 2016 10:21:19 GMT
Thanks to p5curly for calling in yesterday and offering help and assistance. Much appreciated, as is the offer of help from by Mikey Scott. Great to have a ride too - the neighbours are still wondering what hit them!
|
|
|
|
Post by mscott on Aug 13, 2016 15:03:39 GMT
Hi Fin, PM me your address and I'll pop over Sunday the 14th and see where you're at !! What time works for you (and your neighbours  ) ? |
|
|
|
Post by p5curly on Aug 13, 2016 16:03:33 GMT
I am glad freshp5 trip to yours was worth it
|
|
|
|
Post by Shane on Aug 13, 2016 17:37:35 GMT
Getting there quick mate, about the powered coat vs hammerite, believe me, im not expert and your frame is a million time cleaner then mine, i just took a wire brush to it and then slapped on 2 coats of hammerite and it gave the finish you saw on my photos however as mine sat outside over winter (under cover) surface rust has formed again so will touch up when its running  Obviously, shot blast and powder coating is the best option but its time vs money vs confidence in what your doing and I wasnt confident, was impatient and wanted to spend the money on other things (shiny new alloys, seats, harness etc)  Im at the stage now where I just want to get it running and will worry about it looking pretty later but thats my preference there is nothing wrong with taking your time at this stage and it gets done when it gets done! Take a look at this build if you want to see how far you can go its one of my go to builds  - mevowners.proboards.com/thread/3197/project-exocet-john-lukes-build |
|
|
|
Post by Fin on Aug 13, 2016 19:41:02 GMT
Getting there quick mate, about the powered coat vs hammerite, believe me, im not expert and your frame is a million time cleaner then mine, i just took a wire brush to it and then slapped on 2 coats of hammerite and it gave the finish you saw on my photos however as mine sat outside over winter (under cover) surface rust has formed again so will touch up when its running  Obviously, shot blast and powder coating is the best option but its time vs money vs confidence in what your doing and I wasnt confident, was impatient and wanted to spend the money on other things (shiny new alloys, seats, harness etc)  Im at the stage now where I just want to get it running and will worry about it looking pretty later but thats my preference there is nothing wrong with taking your time at this stage and it gets done when it gets done! Take a look at this build if you want to see how far you can go its one of my go to builds  - mevowners.proboards.com/thread/3197/project-exocet-john-lukes-buildI saw the video on YouTube. It's looking good, no wonder you're getting excited. Was going to take Dave's advice, and re-assemble & follow your route, especially as I'm stuck on this bottom control arm bolt, but looking at the bushes, it seems to me they're fairly perished and crumbly, at least on this O/S rear. Going to buy Thor's hammer tomorrow and give it some stick, and hopefully press on to component level. Then I'll either shot-blast and powder-coat; shot-blast and paint; wire-brush and paint! Pick any one from three  I'd read that (impressive) build last year, and will go back and read again. |
|
|
|
Post by Fin on Aug 13, 2016 19:46:27 GMT
I am glad freshp5 trip to yours was worth it Hang on, I'm confused now  Dave = freshp5? freshp5 = david.fleet.399 on Tapatalk? p5curly = Dave's brother & Jamie's dad? 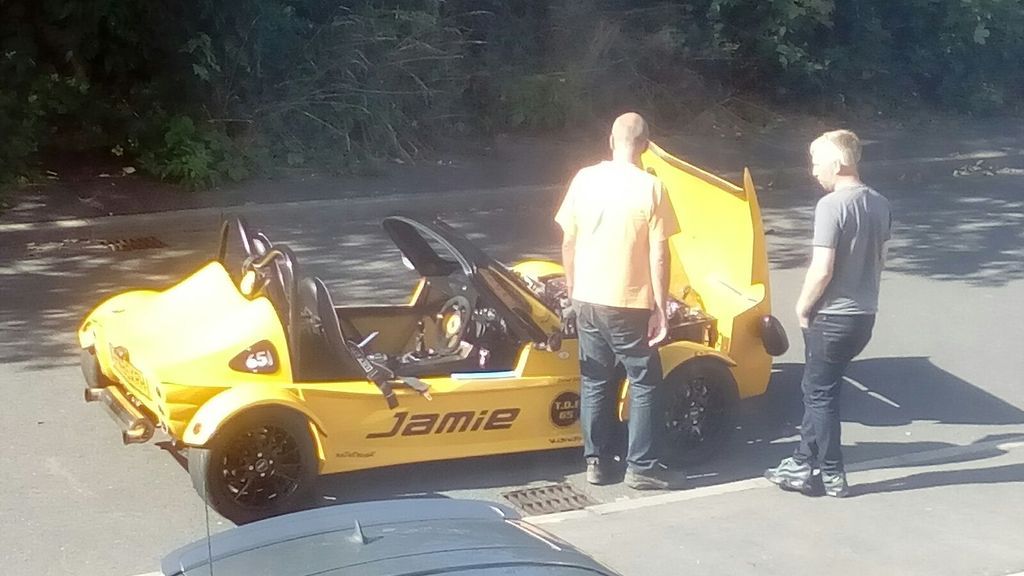 |
|
|
|
Post by Fin on Aug 14, 2016 18:49:36 GMT
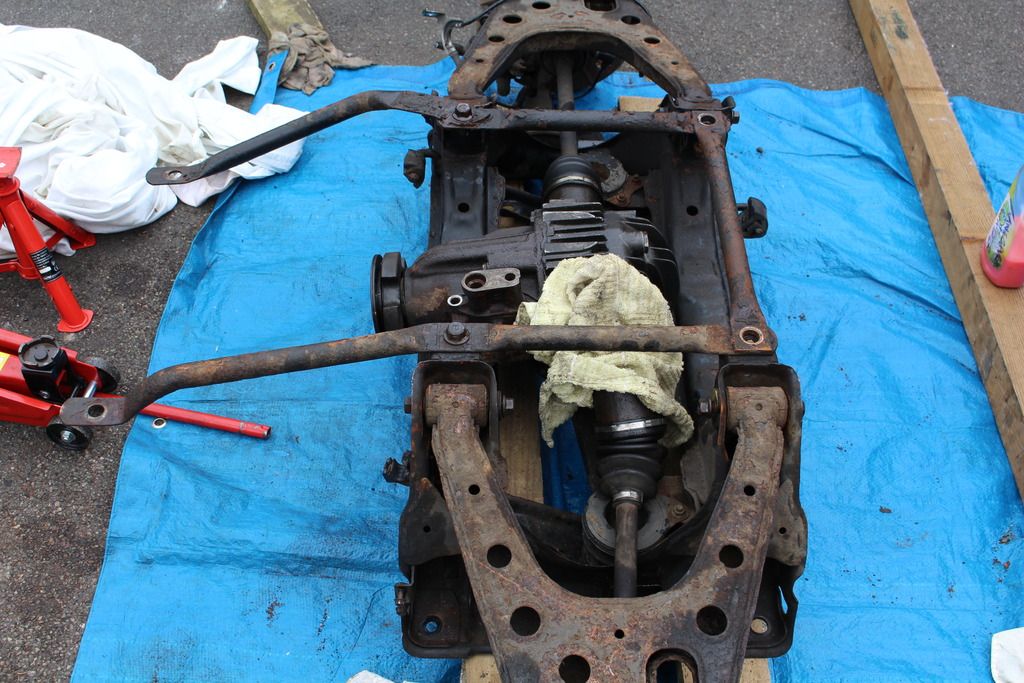 Good day today. The arrival of a 4lb hammer, coupled with Luke balancing on the end of a breaker bar like Tom Daley on a 10 metre board FINALLY defeated the lower control arm bolt, and the O/S suspension unit quickly became a collection of pieces. The N/S quickly surrendered to the same brutality, with the other wishbone and half-shaft throwing themselves lemming-like onto the rapidly expanding "to clean" pile. 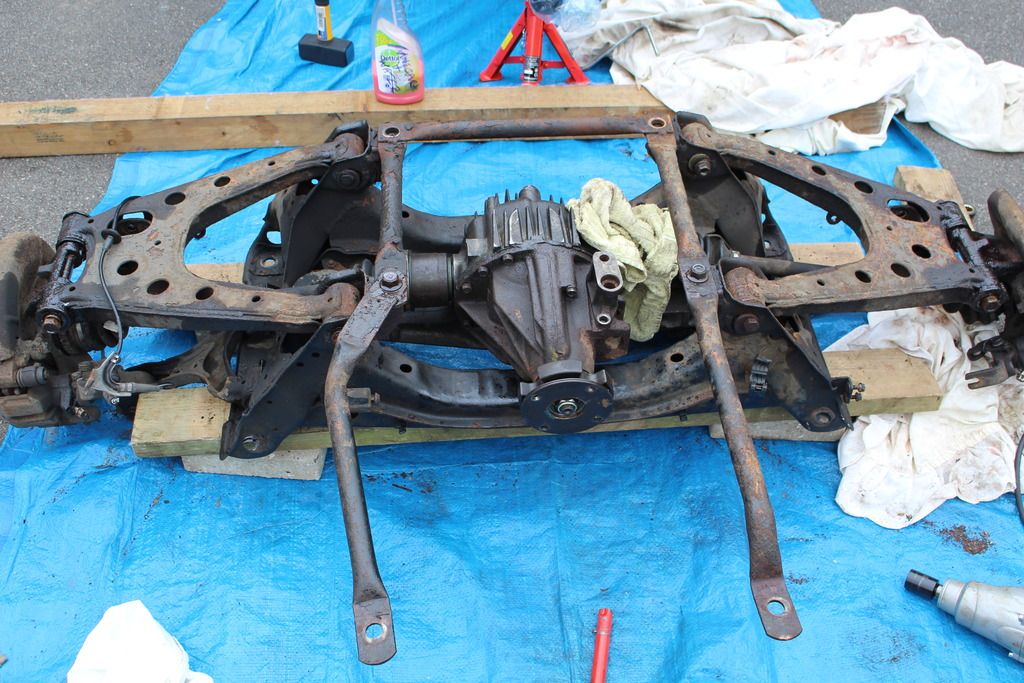 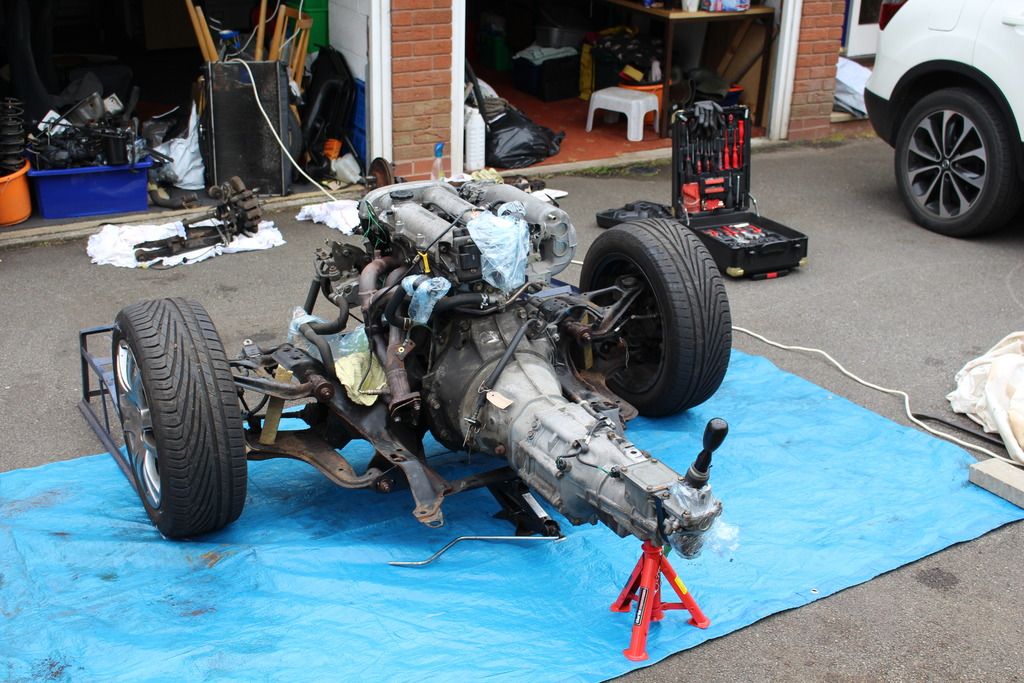 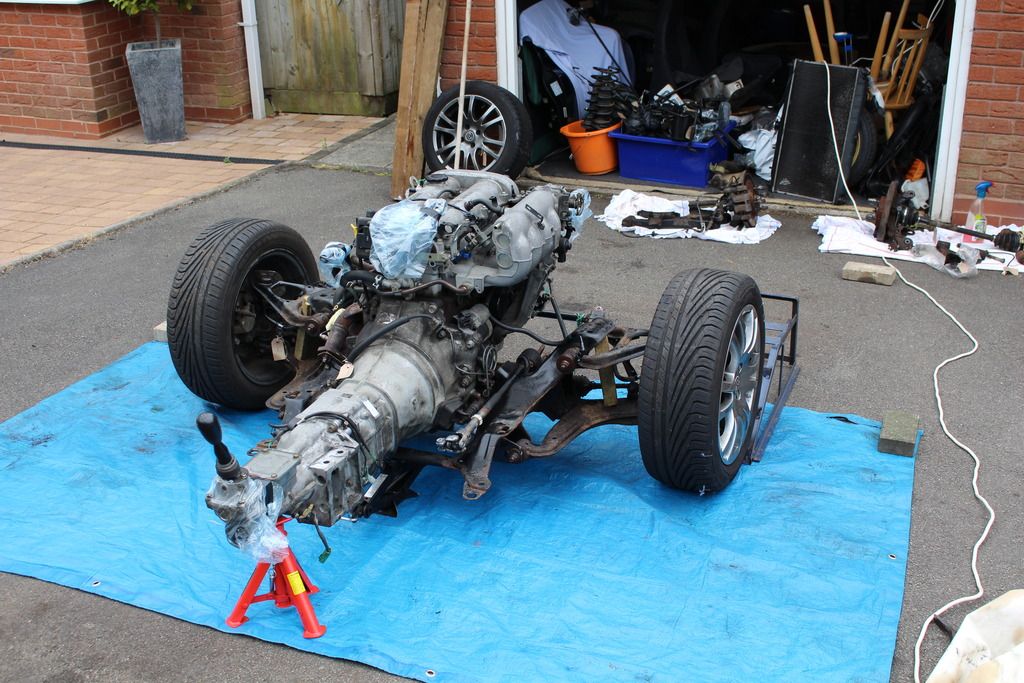 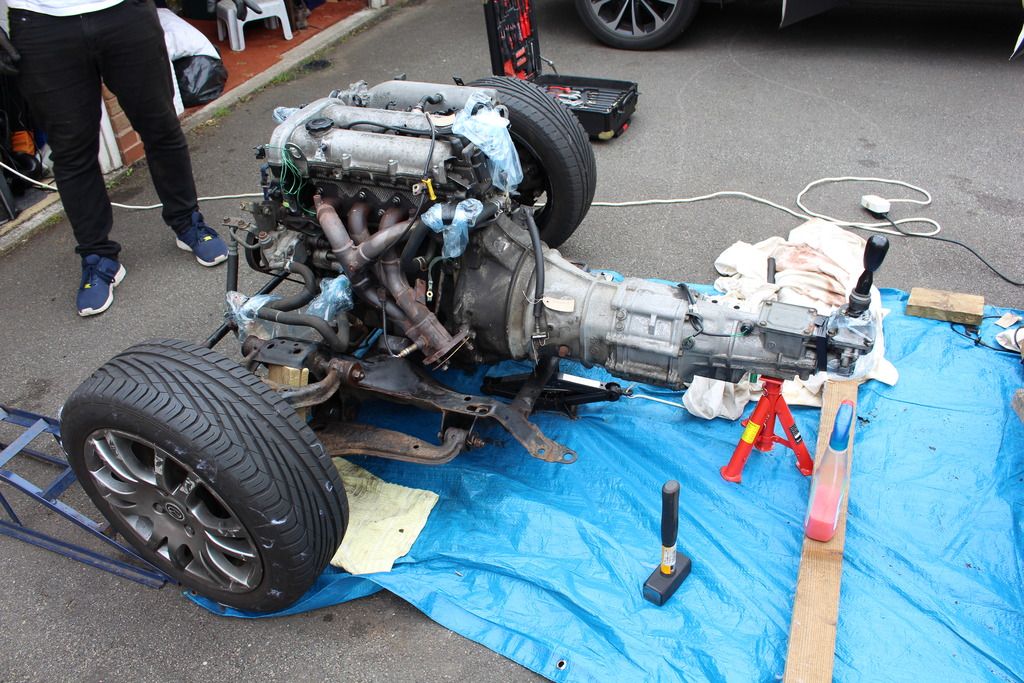 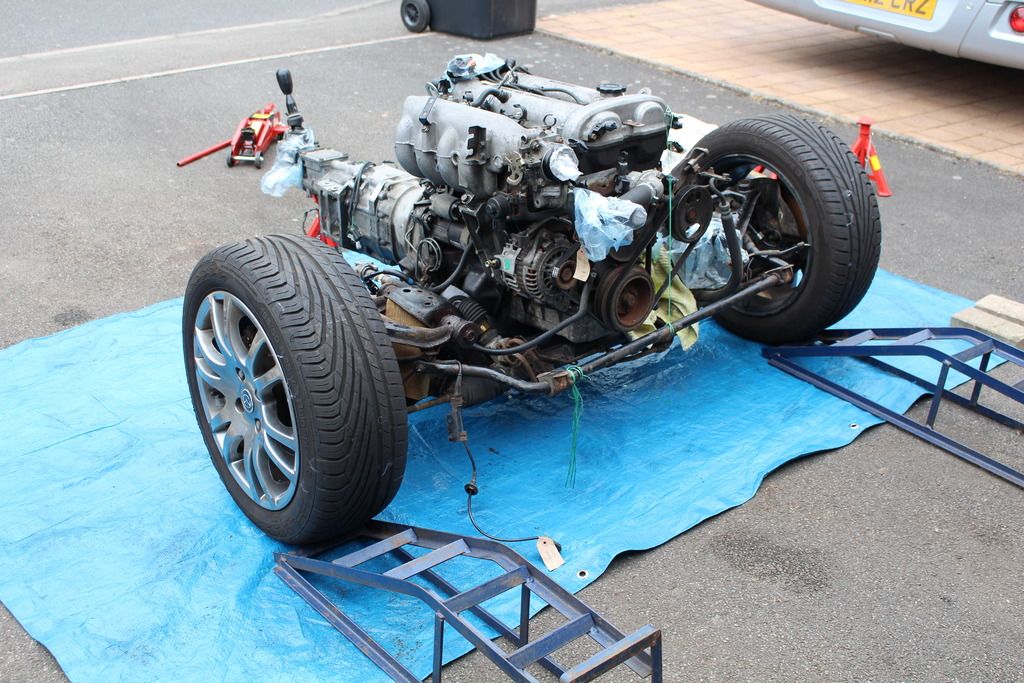 Not an objective opinion, but the 50/50 Acetone/ATF mix seems to work. This afternoon saw the kind visit of Micky Scott, who offered lots of advice, (welcomed) promises of help, and encouragement to "take the gearbox off, and behind that's the clutch, so check that, then behind that's the flywheel.................." Rest of the power-steering off tomorrow, followed by the front roll-bar (those drop-link nut are a pain) and then gearbox off, engine off and front suspension disassembled for pricing by shot-blaster. Aim to de-grease gearbox, sump, engine block (to paint silver/black/silver) and spray & detail cam covers and intake manifold. |
|
|
|
Post by Fin on Aug 17, 2016 18:41:47 GMT
Figured that if I was thinking of painting things myself, I'd better get some practice, or else all my money would be heading the way of the powder-coater. Thought about using the garage, but then thought I'd try sheeting off an area outside and using that instead for improved ventilation. 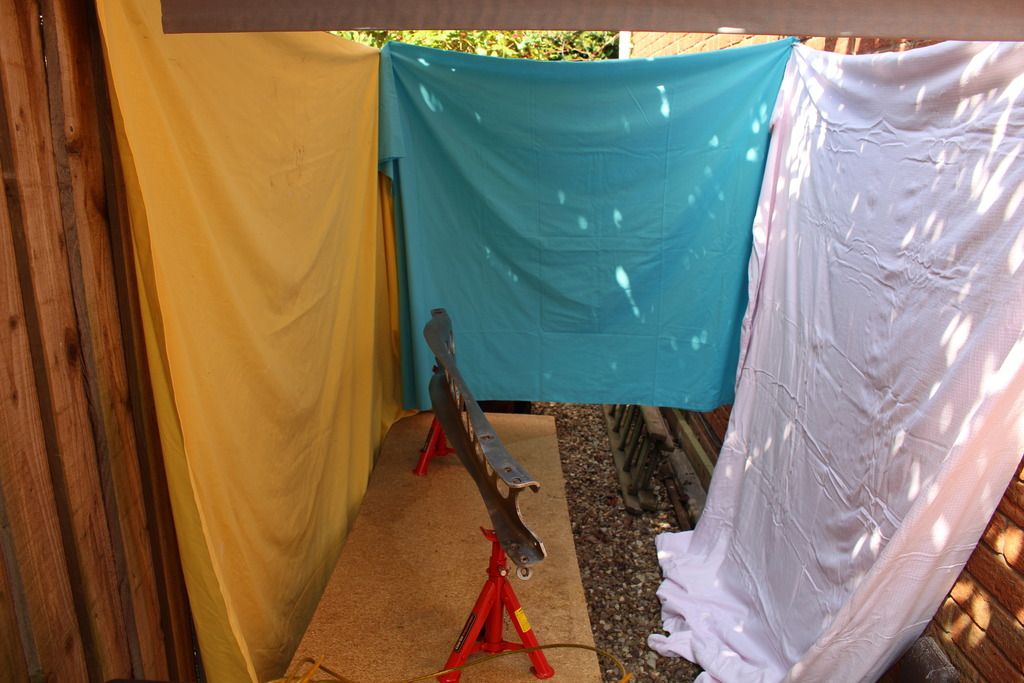 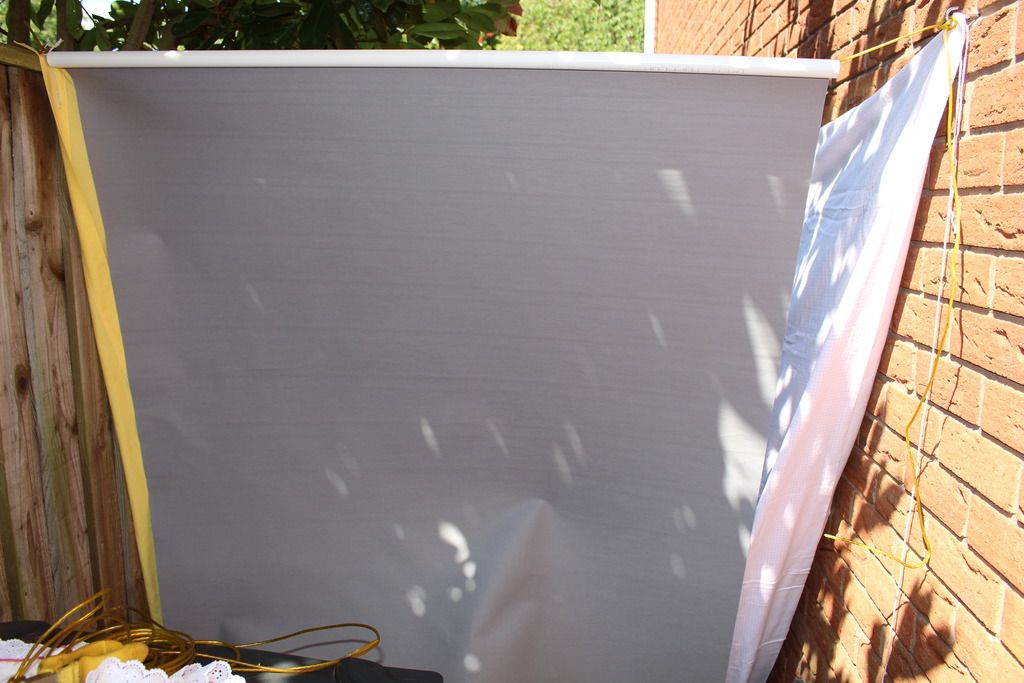 Knew all those years in the Scouts would pay off! Anyway, de-greased the PPF as I figured I'd start with that as it couldn't possibly look any worse, plus, out of sight, out of mind! I first tried to string the PPF between 2 axle stands, but then decided to string it up about waist-height. Cleaned off the de-greaser with hot soapy water & a metal Spondex, and let it dry in the sun before applying a coat of white primer. Tricky as it kept spinning over, and I wasn't sure whether to do one side first and then turn-over, or both sides as I went along. Anyway, when it had dried, I applied a coat of Hammerite Silver (Hammered) and left it to dry. 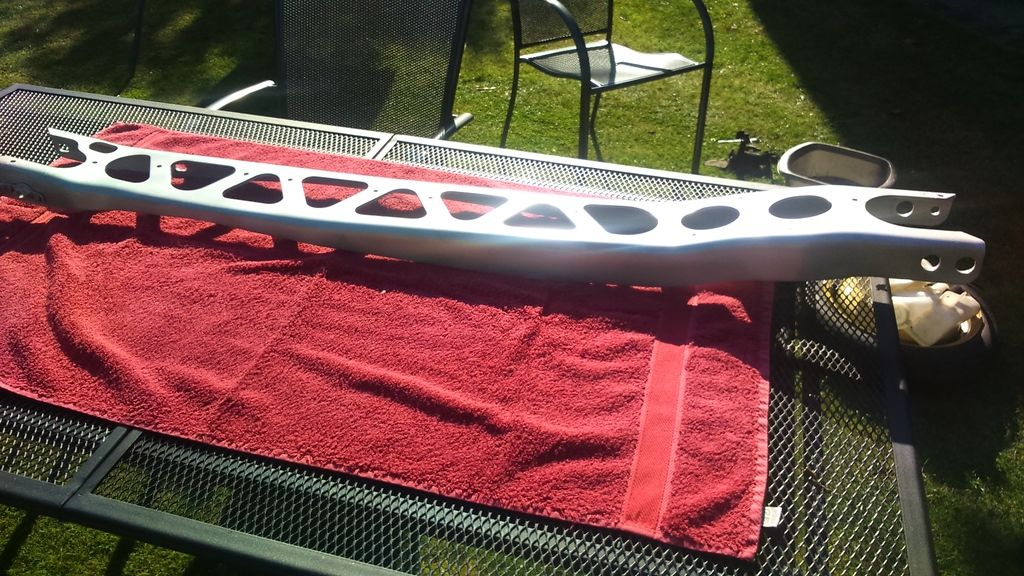 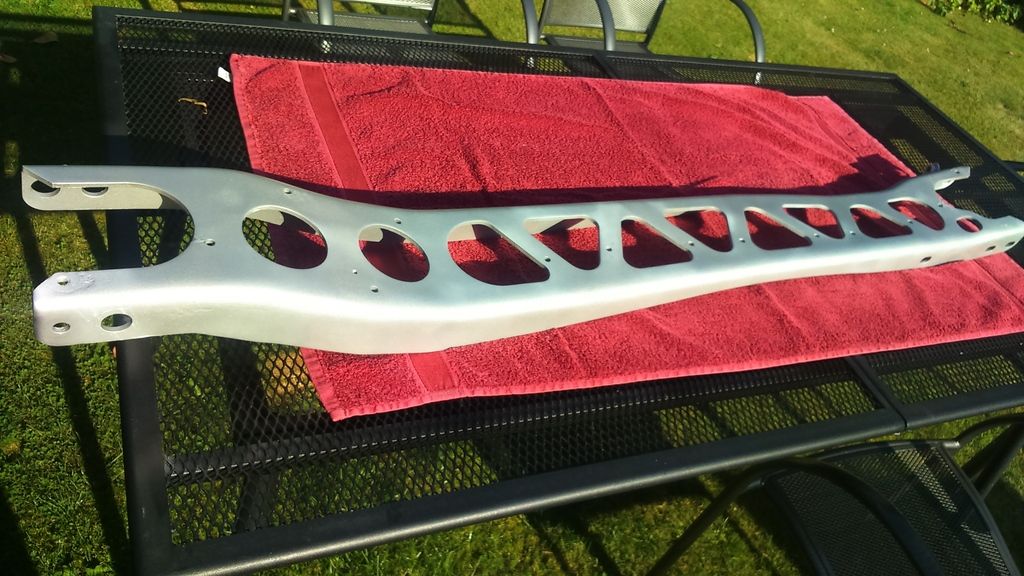 Well, a couple of mistakes, and not quite as good as I'd hoped, but maybe something stationary like the gearbox will be easier. Also, need to be smoother and not keep going back to bits. Finally on spraying, should i do the bolts as well? If so, before assembly, or just the heads that show after assembly? Took the brake calipers off, and noticed the rear N/S piston seal was badly perished, so I figure I should replace all round. My question is, there appear to be 2 kits - one with just the seals (9/10 per wheel) and some which seem to include the piston. Which would be better, replace only what I can see is perished, or do the pistons as well? |
|
|
|
Post by Stiggy on Aug 17, 2016 19:30:36 GMT
shiny black chassis kit now in our shop awaiting you!
|
|
|
|
Post by lukiez on Aug 17, 2016 20:01:48 GMT
Took the brake calipers off, and noticed the rear N/S piston seal was badly perished, so I figure I should replace all round. My question is, there appear to be 2 kits - one with just the seals (9/10 per wheel) and some which seem to include the piston. Which would be better, replace only what I can see is perished, or do the pistons as well? well that depends on the state of the piston, if its corroded or pitted then you need the one including the piston, if the rest of the seals are ok you'll be fine however you might want to lift up the dust covers to check the pistons - if they need changing don't be tempted to only change the piston, since moisture has got in then the seal is likely to be letting it in. avoid using copper slip/grease on the rubber as it causes it to swell - either use brake fluid or rubber grease. some seals must be installed the correct way round (if they have a 'lip' or 'skirt') , if you're unsure or not confident on attempting the repair i'd suggest a part exchange unit since the braking system is a safety critical component you don't want to fail on you ah, just spotted its the rear caliper, watch out if the piston is seized when screwing it out - the adjuster grub screw is a softer metal and is very easy to strip if you force it - you can buy them if you do damage it, I realised after I had rebuilt it which delayed putting it on the car |
|