|
|
Post by Fin on Mar 27, 2017 16:56:09 GMT
Sadly, I haven't the technical knowledge to turbo or supercharge, so I am hoping these 2 Wacky Races boosters might just give me an edge   |
|
|
|
Post by Fin on Apr 1, 2017 18:52:09 GMT
Well, a hacksaw is a fine tool, but a file is even finer! Couple of hours spent offering up, marking, cutting and filing until the passenger firewall & section over the tranny tunnel all fitted. Couple of bolt holes still need opening up a bit and aligning, but it's all starting to come together. Would have preferred the whole thing to have been in one piece, but the passenger side wasn't wide enough to cover the trapezium shape over the tunnel, so had to insert another plate. All rivnutted, so removable, and was thinking of using some rubber/PVC draught excluder strip as a gasket to stop any rattles. Just need to fold the firewall edges into the tunnel and rivnut the overlap for stability.  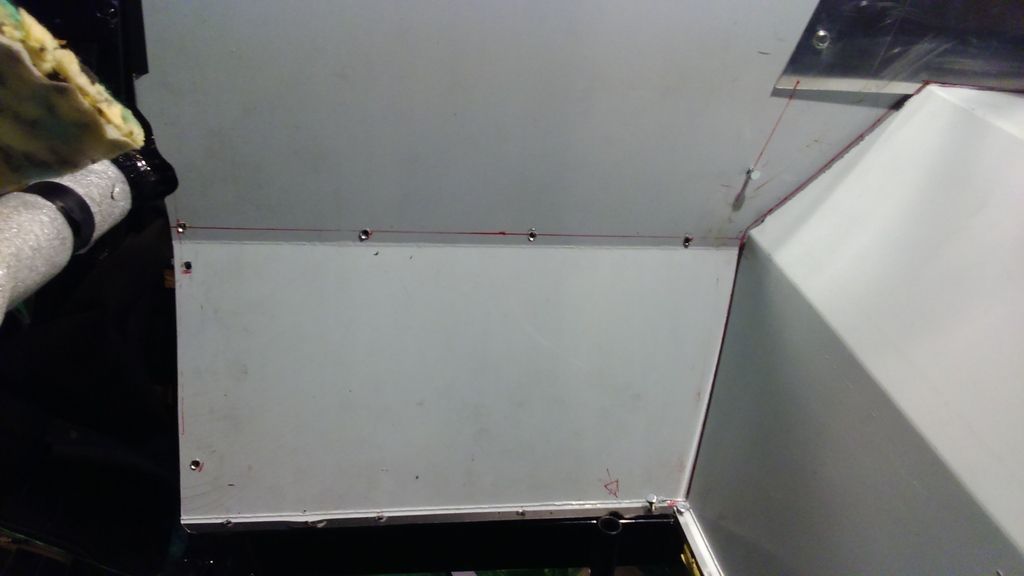 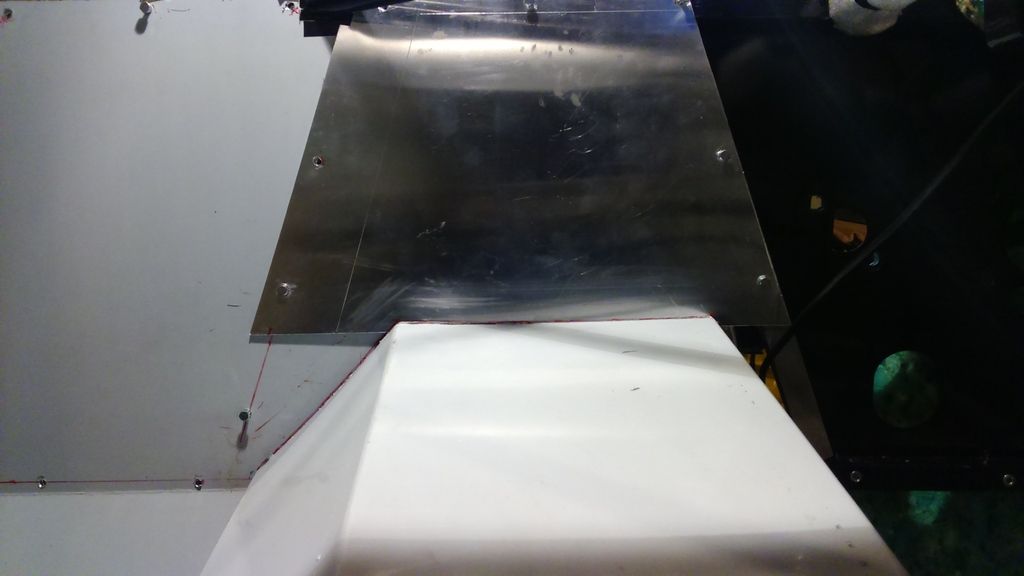 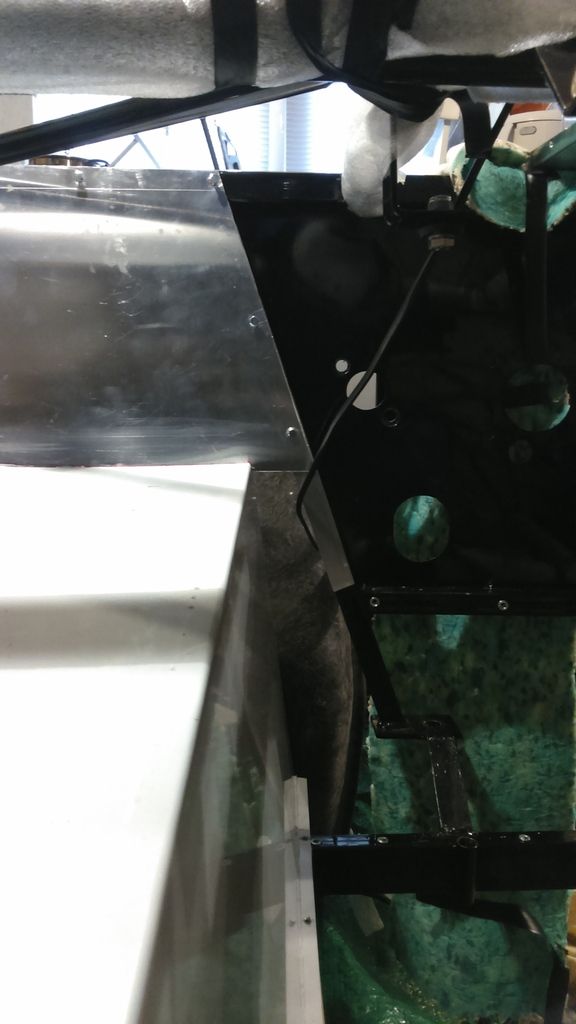 |
|
|
|
Post by Fin on Apr 20, 2017 19:11:41 GMT
Last couple of weeks, I don't seem to have achieved much. It's mainly been spent rivnutting and tidying stuff up. Got a quote for £60 + VAT for powder-coating the floor, tunnel and firewalls both sides, so will probably go with that for durability rather that carbon-wrapping. Drilled the seat rails, and loose mounted with M8s. Also made 2 cardboard and 2 hardboard templates for the rear bulkhead. Bit of a PITA, but eventually got the fit I wanted. Once the powder-coating is done, I can get the floors permanently fitted and the seat cross-rails drilled through with the final rivets. On the seats, I'm planning on glassing the MEV GRP bodies to the MEV frames. Any thoughts on a couple of bold through the seats and into the frames for added security?? 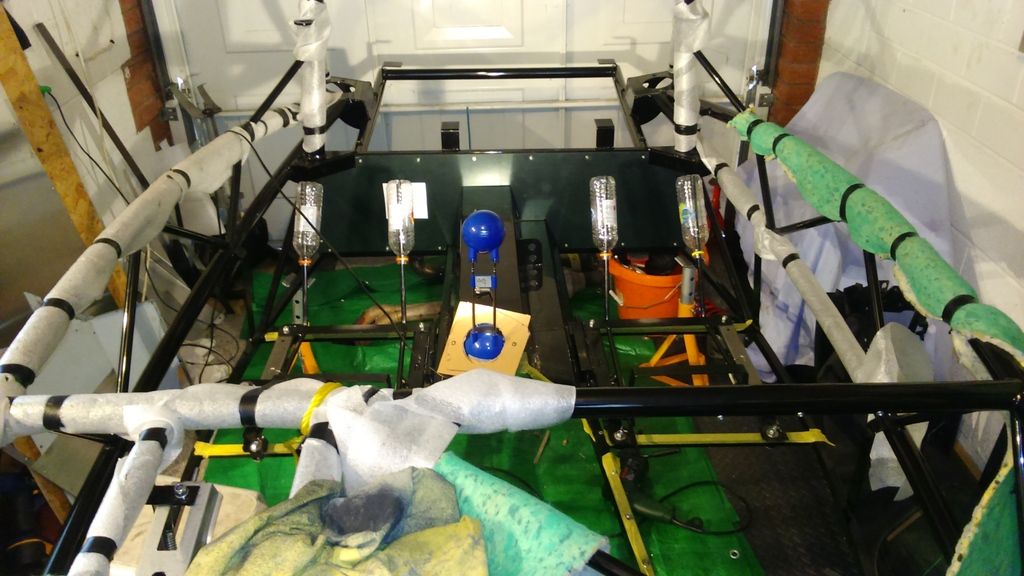 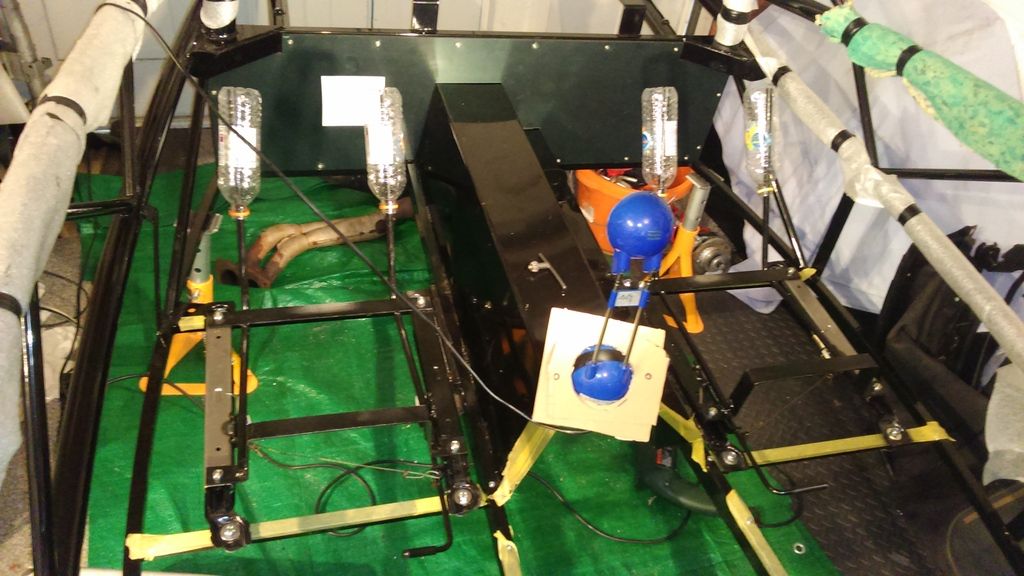 |
|
|
|
Post by Fin on Apr 28, 2017 18:19:10 GMT
Collected the interior panels from Langley Coatings (recommended), and pleased with the finish. £60 for 7 pieces seemed reasonable, although I may eventually carbon-wrap the tunnel to brighten things up a bit 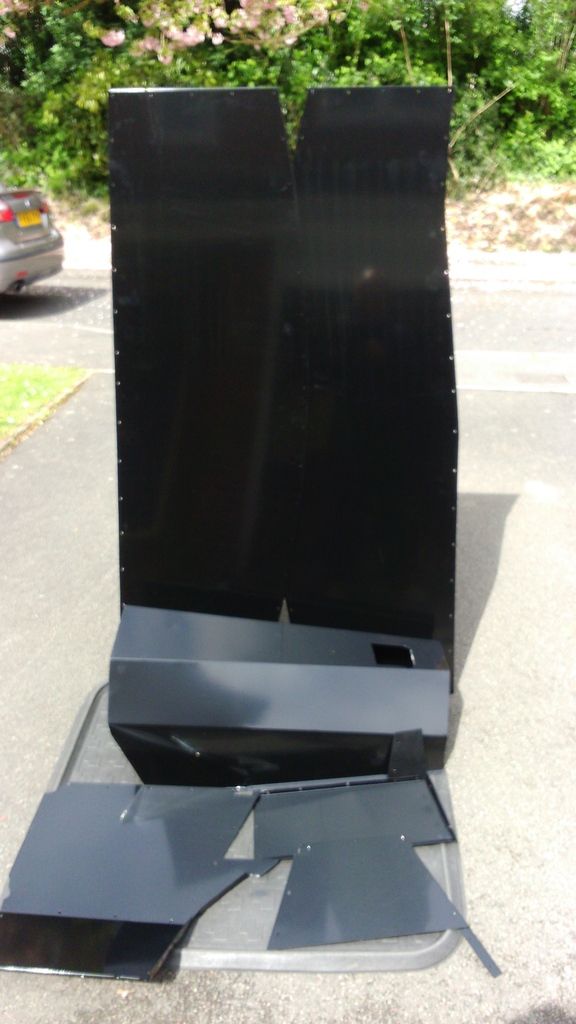 Had bought a £2 sheet of hardboard from Homebase as a template for the side panels, which I naively thought would be pretty easy to fit & trim. Hadn't realised the chassis flares up at the back, so measuring was a bit more complicated than the two rectangles I was expecting. Not quite sure how far up inside the round chassis bar I want the top to go, so decided to look at examples on Sunday before I started slicing! Mounted (again) the floor panels, and drilled the seat rail mounts through the floor. Whipped it off, rivnutted the cross spars, and the re-mounted the floor and the seats. Put the bolts underneath, with penny washers, and the nylocks inside. Appreciate this way if anything comes loose, a bolt could fall out, but figure the lower profile of the bolt head is less of a "snag" on humps & bumps. 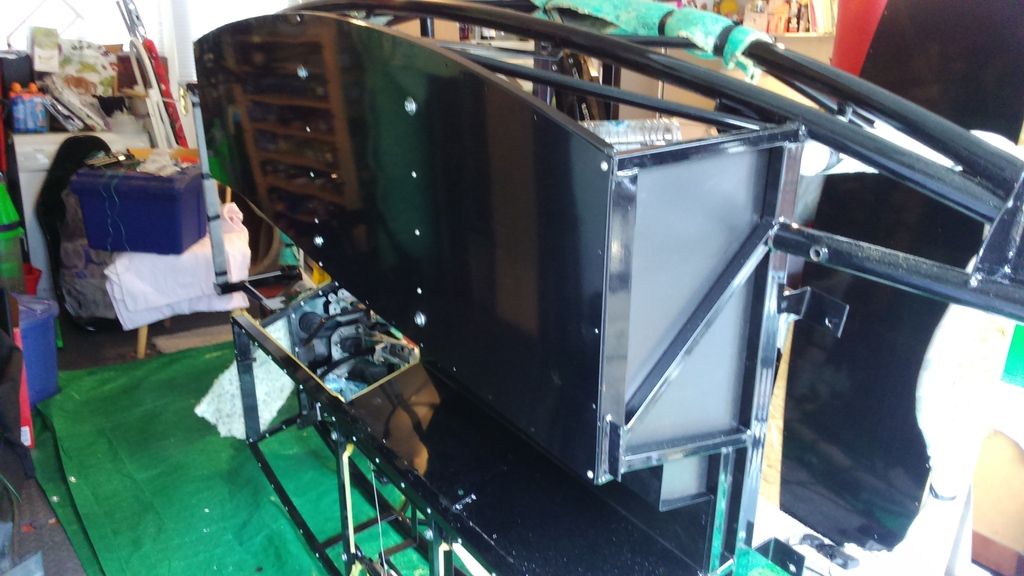 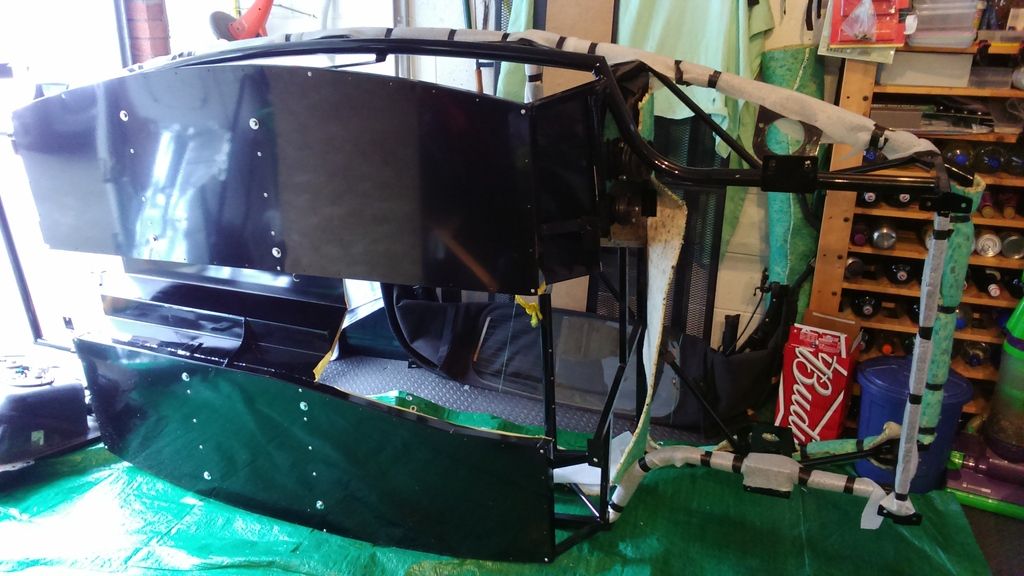 Had folded lips on both driver & passenger panels, so they would fit inside transmission tunnel. Popped in a couple of rivnuts, and got quite a pleasing result. Whether it will fit as easily in situ tomorrow is unlikely 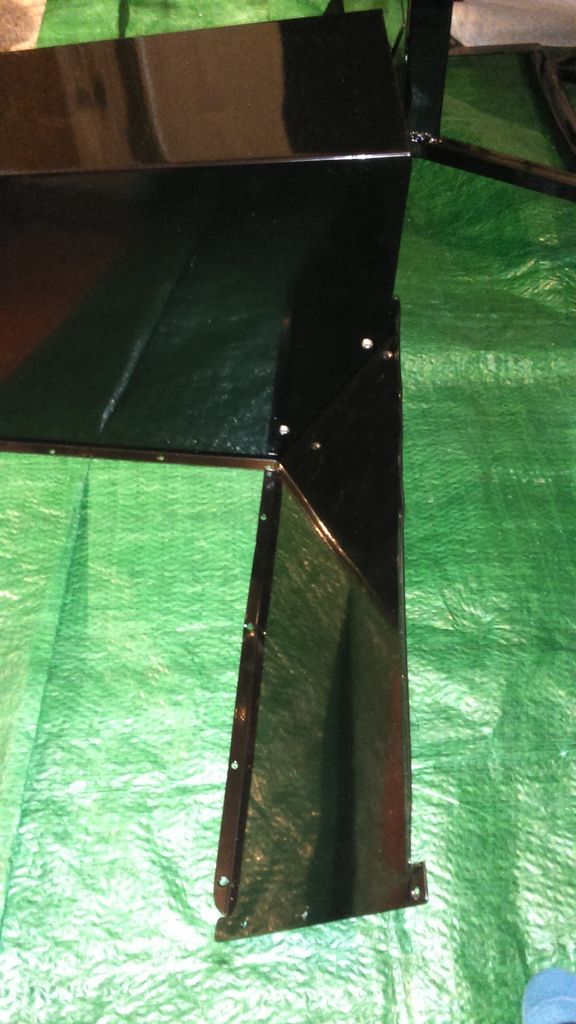 Just waiting on the M10 nuts for the fuel tank, and then can get that mounted tomorrow, along with the integral drip tray. Have sprayed it silver, and will take loads of photos in case the nice IVA man wants to see under the boot! |
|
|
|
Post by scottmev on Apr 28, 2017 18:43:18 GMT
Any pictures of the drip tray?? I need to do mine but unsure how big to do and where to fix.
|
|
|
|
Post by Fin on Apr 28, 2017 19:06:25 GMT
Any pictures of the drip tray?? I need to do mine but unsure how big to do and where to fix. I'll upload tomorrow, but this is a shaped integral one that came with the Mk2.5 donor. Plan on using the donor exhaust for IVA, but having rotated the tank 180 degrees, I may need to add more. |
|
|
|
Post by Fin on Apr 29, 2017 16:39:18 GMT
|
|
|
|
Post by p5curly on Apr 29, 2017 19:14:48 GMT
So is that a original drip tray or one that you have had made
|
|
|
|
Post by Fin on Apr 29, 2017 19:16:00 GMT
So is that a original drip tray or one that you have had made Original |
|
|
|
Post by p5curly on Apr 29, 2017 19:22:18 GMT
Are you doing stoneliegh over the weekend
|
|
|
|
Post by Fin on Apr 29, 2017 19:26:19 GMT
There tomorrow
|
|
|
|
Post by Fin on Apr 30, 2017 16:07:42 GMT
D'uh! So the chassis goes onto the petrol tank, not the tank onto the chassis.  |
|
|
|
Post by Fin on May 15, 2017 18:18:48 GMT
"I'm busy doing nothing, working the whole day through!", well that's how it seems as I'm spending time but getting nowhere fast. All the powder-coated panels and tunnel are in place, padded with adhesive foam strip, and Tiger Seal PU. As is the floor. Rivnutted the brake line in place, and wrapped it with clear cable wrap from Maplin. shane just found some triple BMW fuel line clips, so might opt for those rather than drilling another run of P-clips. 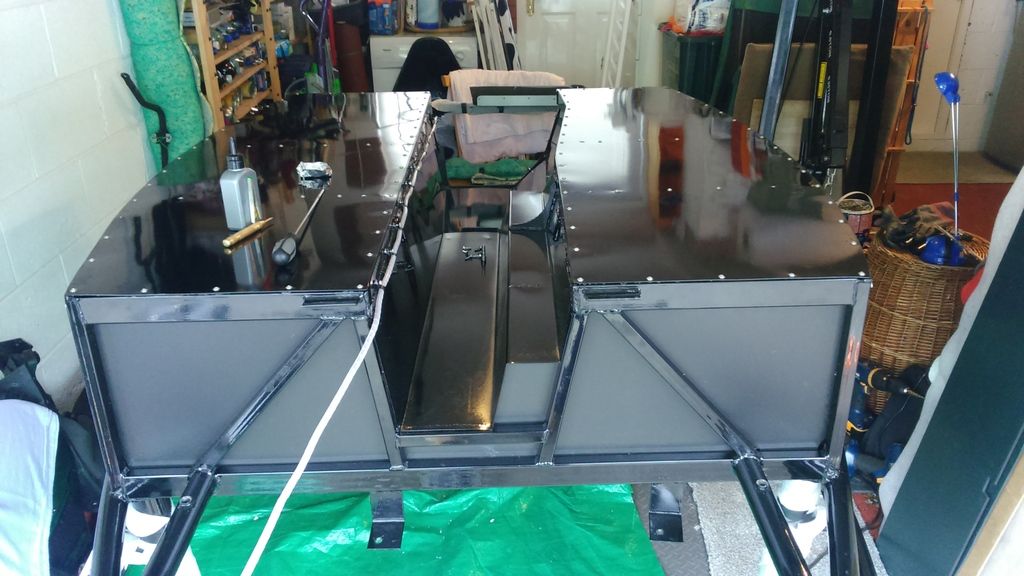 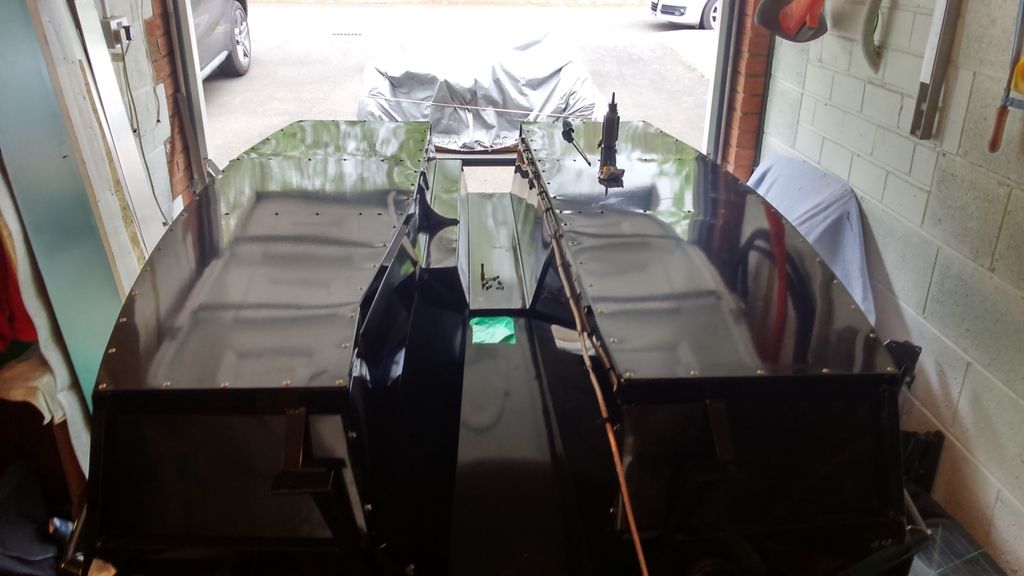 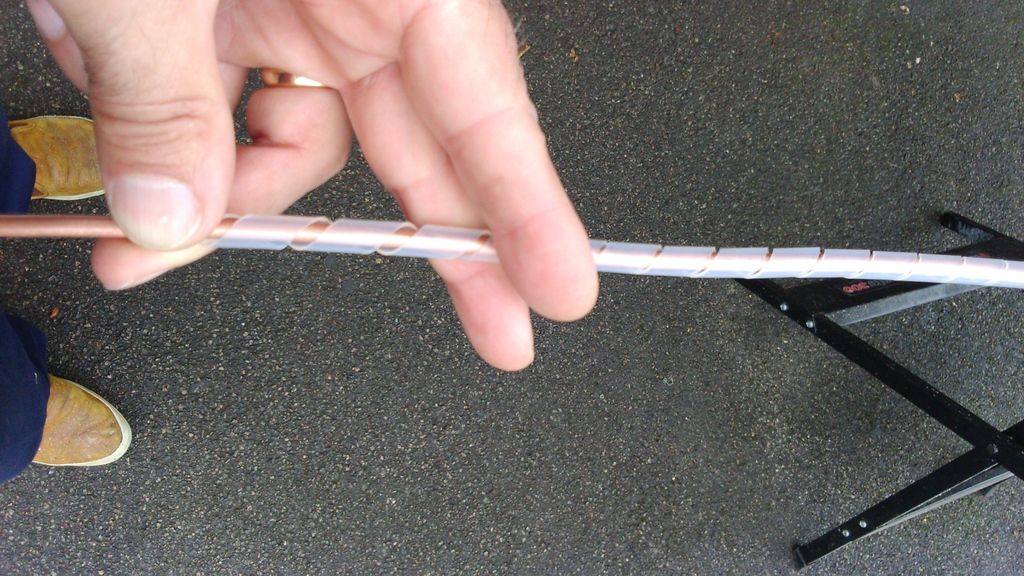 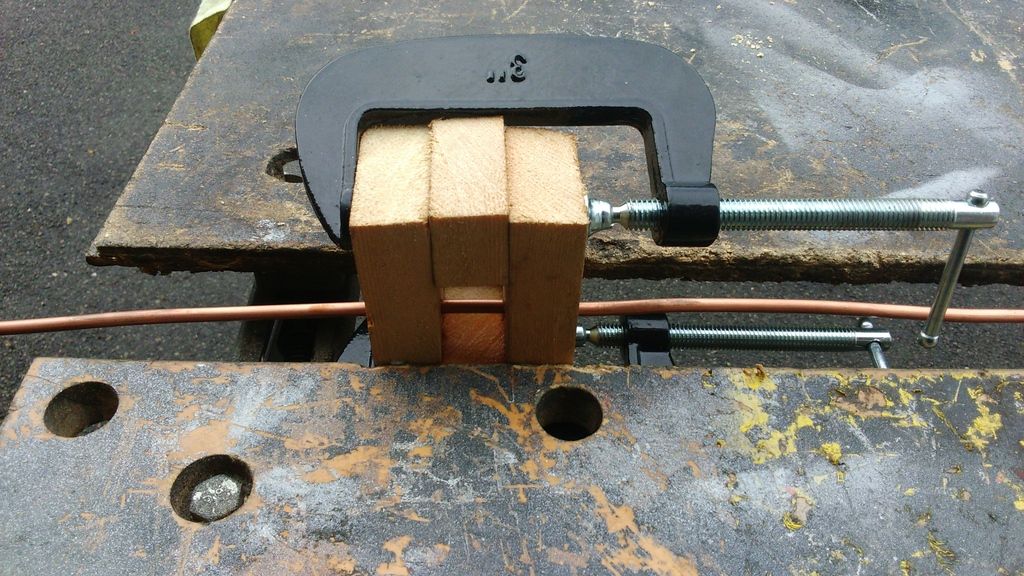 Mounted the MEV radiator mounts and bonnet hinge, and sat it as far down as it would fit so there was clearance for the cap, so hope the pivot point is high enough for the bonnet to sit flush. 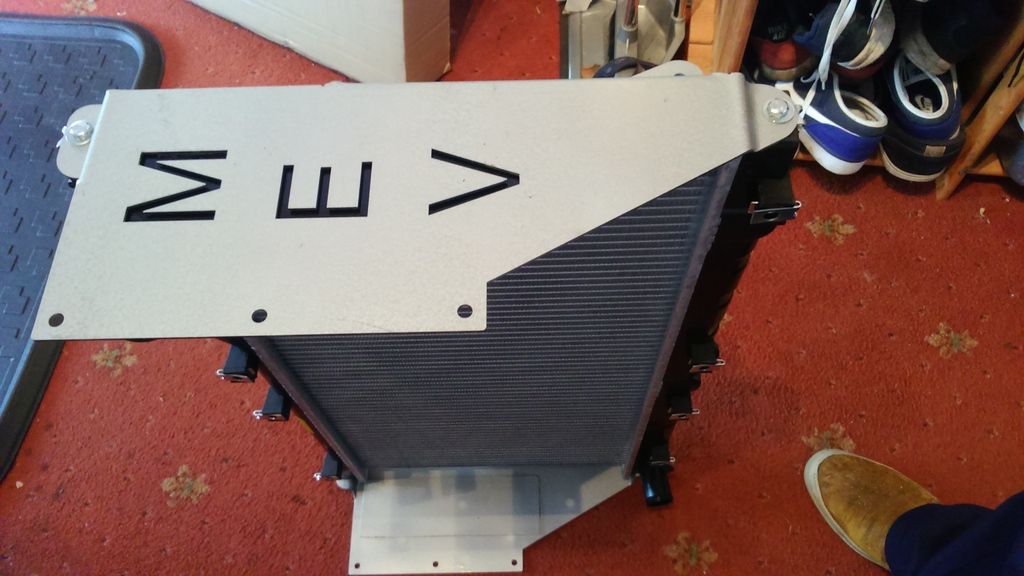 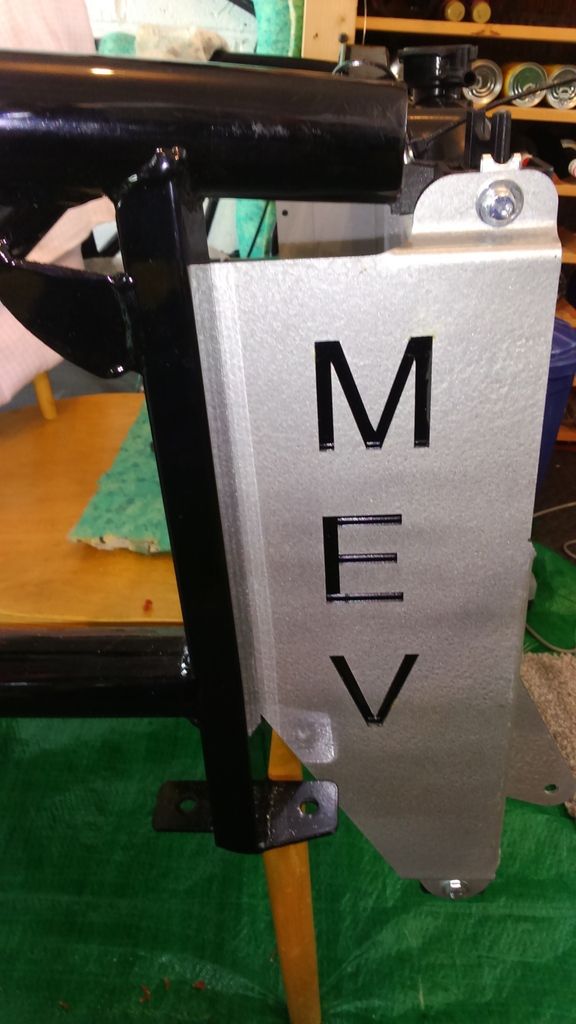 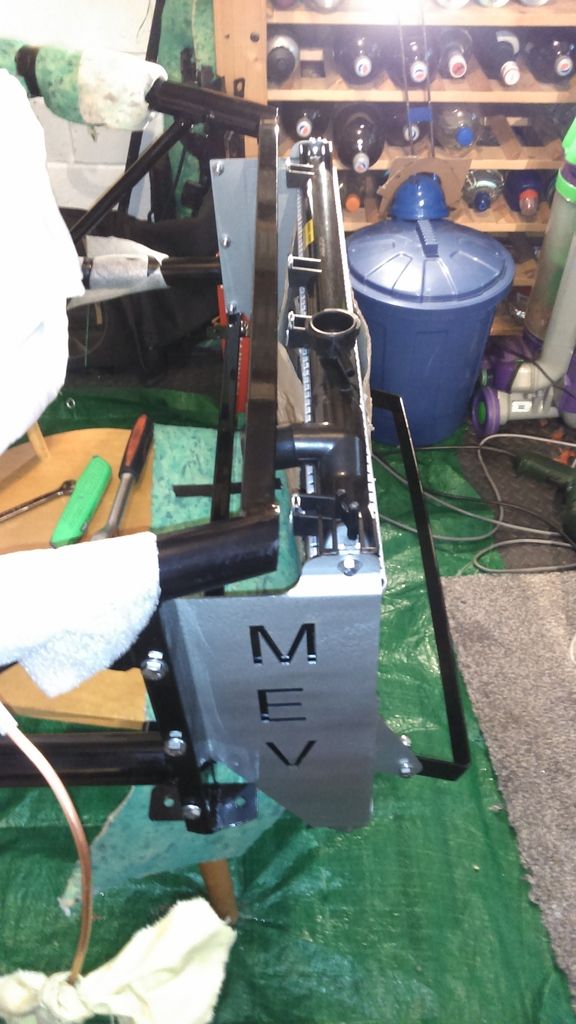 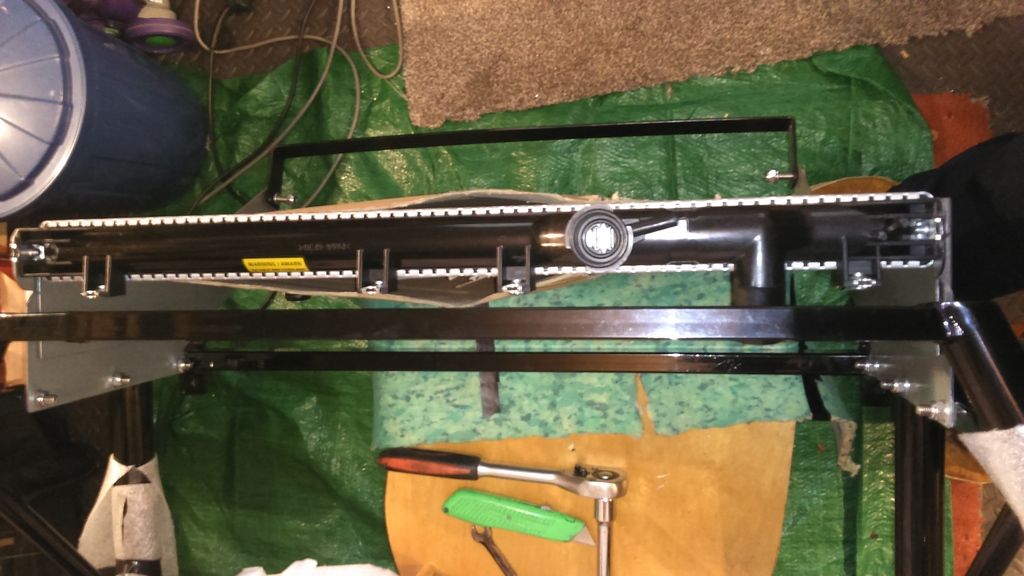 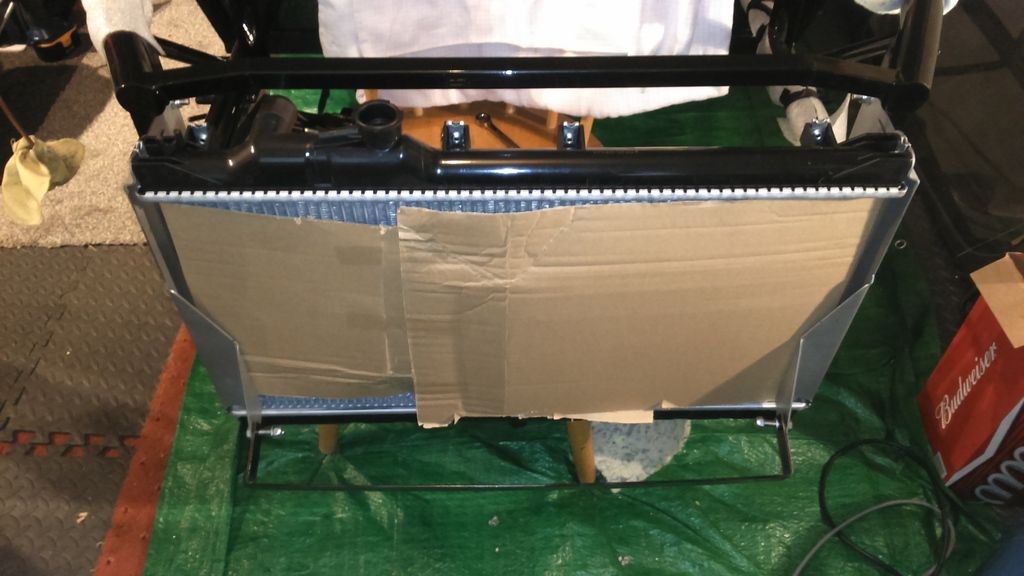 On which, I hung the petrol tank underneath the brackets to give height to get the boot over. Mounted with M8's with 2 x penny washers & 2 x rubber tap washers, it seems OK. I need another pair of hands, but even a quick test showed it wasn't going to fit between the roll-bar uprights. Also, I've seen some builds where chunks of the GRP have to be carved out to fit the shock mounts. Mine is only a fraction off fitting between. So, little in fact that is seems a waste to even carve out a notch. Might be clearer with another pair of hands & eyes, but just maybe, by lowering it, I no longer need to rotate it 180 degrees? Question: Does it mount OVER the upright angle bar mounts so it sits on the horizontal chassis bar? Mine doesn't look likely! 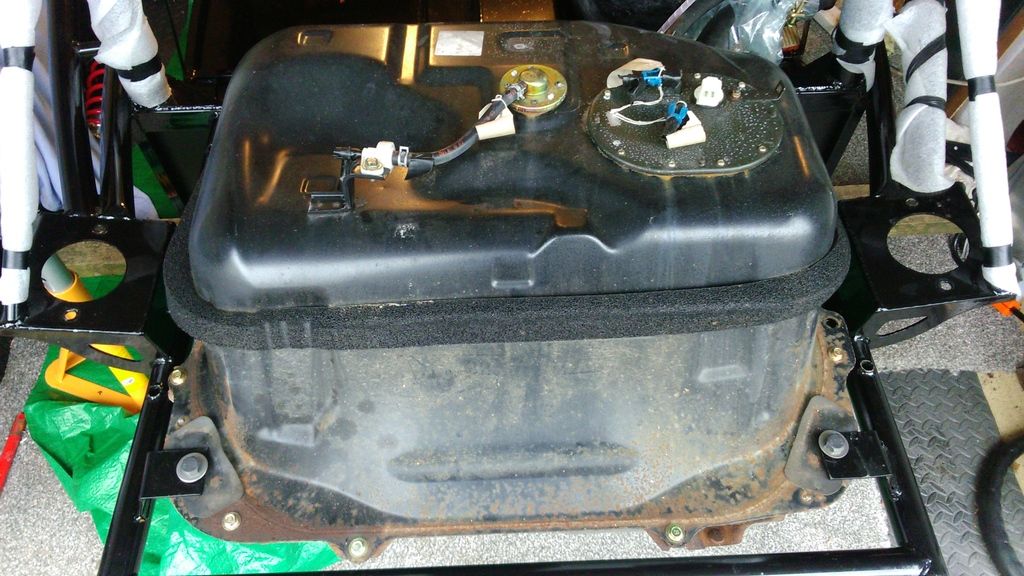 Plan B (mount inside to out) 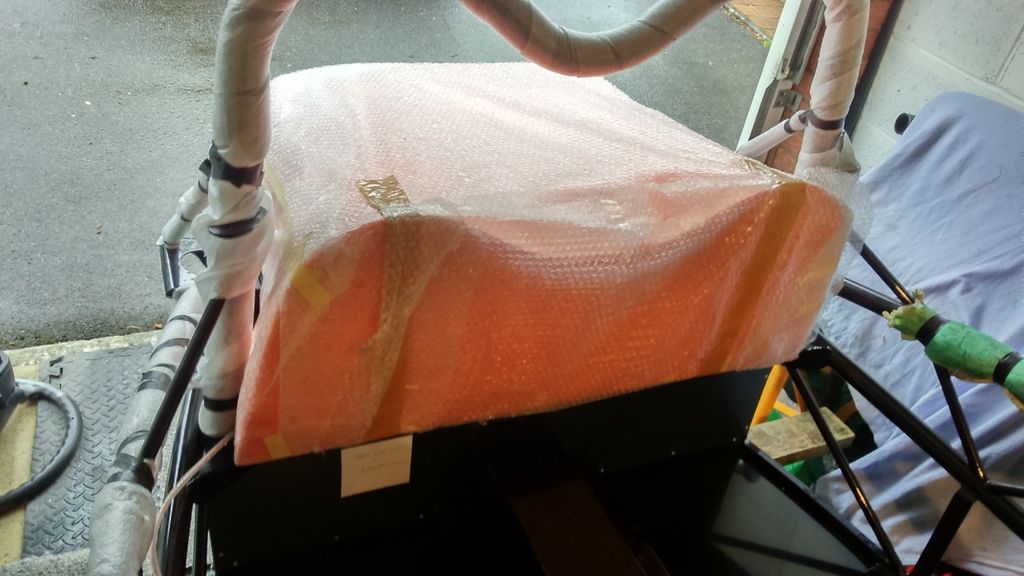 |
|
|
|
Post by Fin on May 20, 2017 18:54:44 GMT
Fuel lines arrived and done. Fabricated a bracket to take 3 p-clips, a bit of thread lock, and job done. 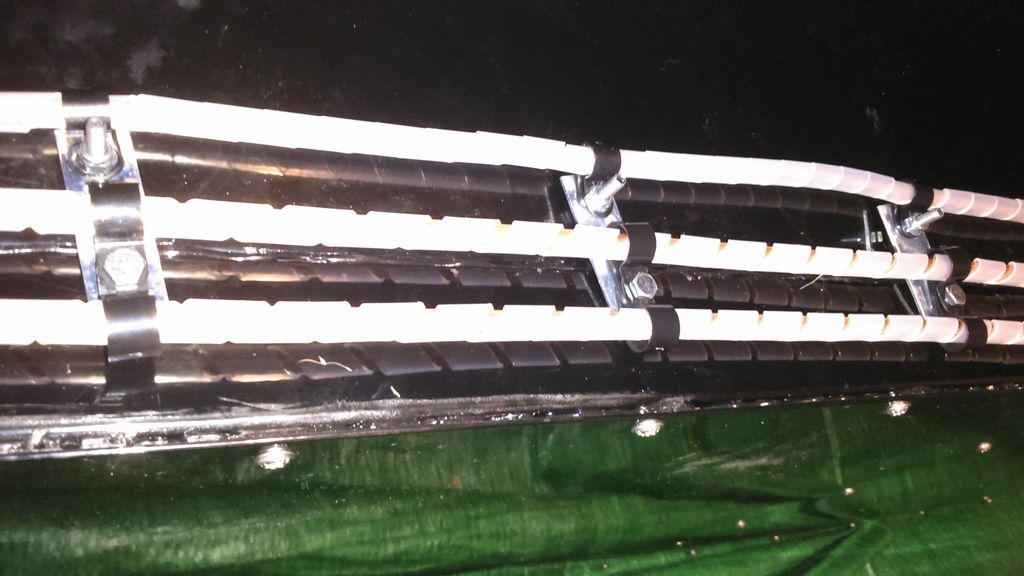  |
|
|
|
Post by miket on May 21, 2017 9:09:04 GMT
Are you still having rear tank cover concerns? ... cutting a piece out of it for the shock mounts is normal and intended - so that it sits on the main chassis tubes front, back and the rear part of the sides. Also a small notch for the subframe bolt. The way the shock mounts slant inwards makes it tricky to measure easily - shout if a pic of the optimum cut-out shape would be handy.
|
|