|
|
Post by Fin on Oct 30, 2016 10:20:56 GMT
And your (sic) an Editor too  |
|
|
|
Post by Fin on Oct 30, 2016 18:09:53 GMT
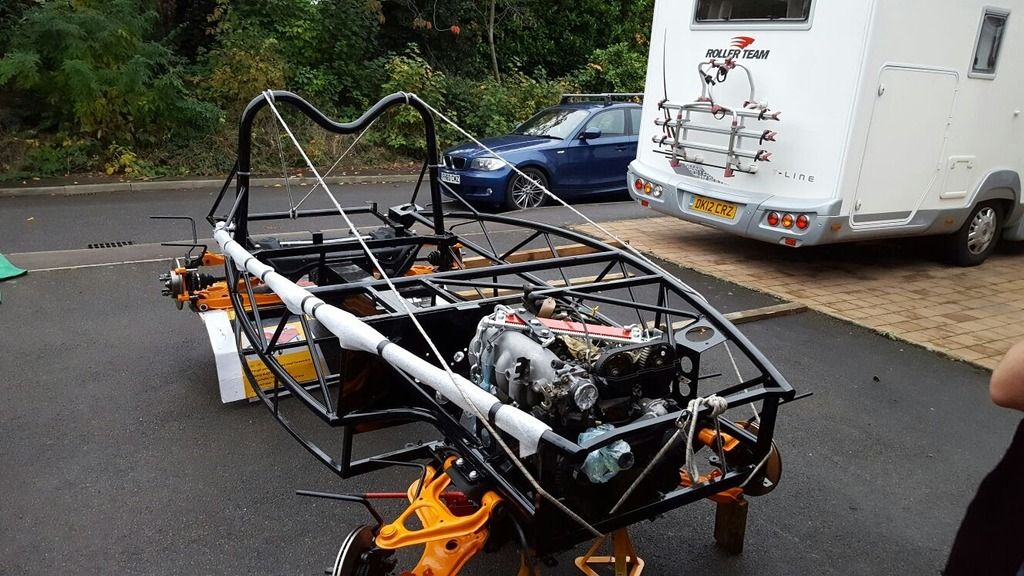
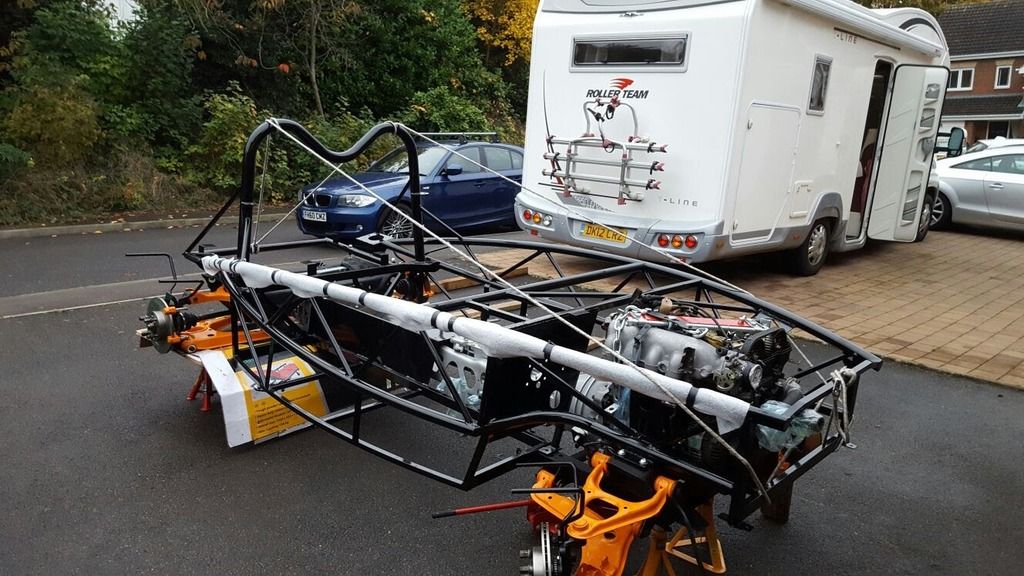
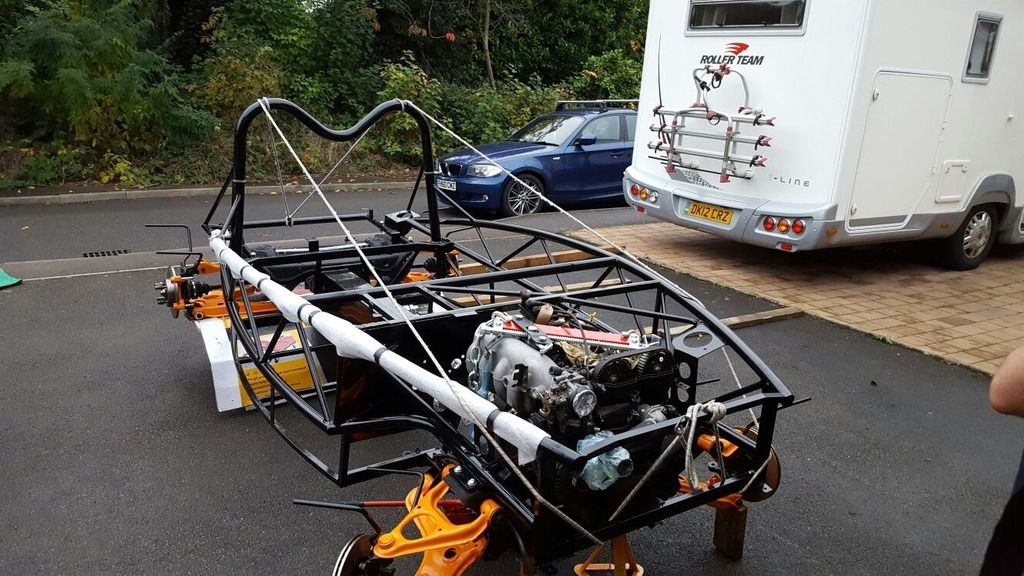
Top meets bottom! Just needing a bit of a tweak to get the rearmost of the front 6 bolts located. Anybody tell me what torque rating they should be please??    Have a suspicion that the tricky stuff is just beginning! |
|
|
|
Post by gwnwar on Oct 30, 2016 21:32:24 GMT
Get any set of wheels on now and 8" wood 2x4 blocks between sub frames and lower shock mount point so you ca roll it around.
Might have to loosen (not remove) the 3 PPF bolts on the transmission so you can move engine and sub a little to line up holes.
Looking good like the colors.. What's with the rope wife using it as a wash drying rack..
|
|
|
|
Post by Fin on Oct 31, 2016 8:58:02 GMT
What's with the rope wife using it as a wash drying rack.. Haha, just elasticated cord to keep the car cover taut, so the rain runs off and there are no huge sagging puddles collected. Got the 2x4's ready and am going to use the donor wheels temporarily, but need some spacers first. 32mm?? Will have a tweak with the PPF today (seem to have a triangular Z shaped angle bracket left over anyway) and hopefully get the holes lined up. Frame will be on and off, but what is the torque setting for the ten bolts so I can add it to my list? Guessing it can't be too high, given the bolt head isn't hexagonal for a socket, but domed with an internal Allen key fixture. |
|
|
|
Post by Fin on Oct 31, 2016 16:24:49 GMT
Can anybody offer any advice on where I should get spacers to use with the original donor alloys?
I've stumbled across these
"GRAYSTON UNIVERSAL WHEEL SPACER KIT 4 STUD M12 X 1.25 32MM THICK
Grayston Universal Wheel Spacer Kits are an economical way of increasing the track width. Each kit consists of a pair of aluminium spacers and pack of extension studs - these simply screw into the existing mounting holes, and then the spacer fits over. The original wheel bolts are then used to screw the wheel into the newly mounted extension studs. Available in a range of thread variations to suit most applications.
4 Hole kits suit PCD patterns of 94mm to 118mm. Kits contain 2 spacers and 8 extension studs."
|
|
|
|
Post by p5curly on Oct 31, 2016 16:34:43 GMT
Get on to freakyparts buy proper ones
|
|
|
|
Post by Fin on Oct 31, 2016 16:46:57 GMT
Get on to freakyparts buy proper ones I'll probably do that when I decide what to do about possibly replacing the alloys, but looking for something quick 'n easy so I can at least move it about. Will these do short-term? |
|
|
|
Post by gwnwar on Oct 31, 2016 16:48:04 GMT
+1 for Freaky parts..(he is member)
|
|
|
|
Post by p5curly on Oct 31, 2016 17:17:44 GMT
The rally design ones are a cheap option but I would not use them after Iva you only have to see in my blog what happened to ours
|
|
|
|
Post by Fin on Nov 5, 2016 14:45:33 GMT
|
|
|
|
Post by p5curly on Nov 5, 2016 17:52:54 GMT
We had the same problem with those spacers wrong pitch thread
Looking good though
|
|
|
|
Post by Fin on Nov 14, 2016 17:07:02 GMT
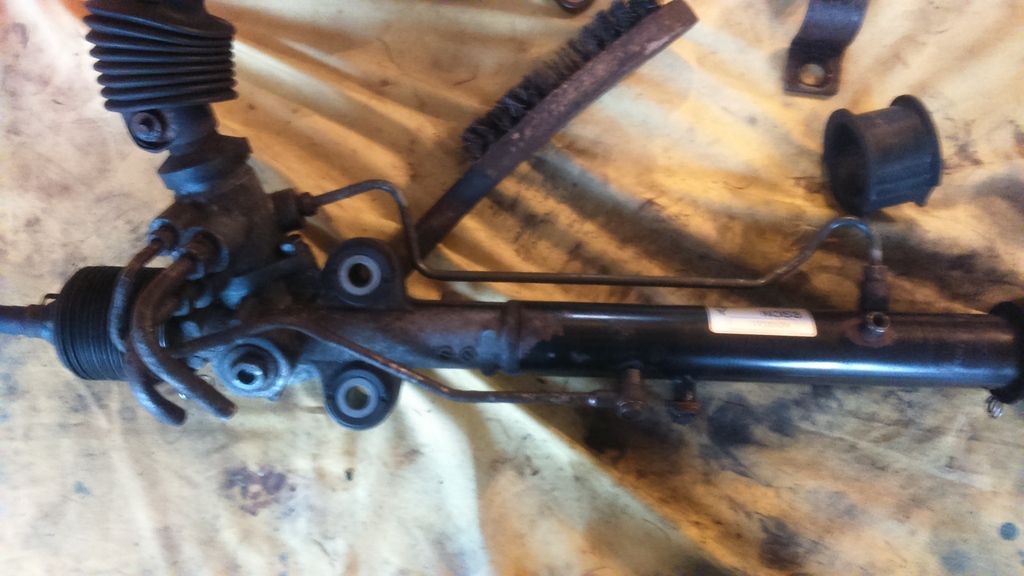
Well, no major progress, just a series of small jobs and tidying up prior to being able to get the steering rack, pedals and steering wheel mounted. On which, when de-powering the steering rack, it seems as if you drain it, and then use a length of hose to loop the feed & return pipes, which I have already cut-back. But what about the third pipe adjacent to the feed & return going to the banjo mount on the front middle of the rack, plus the one at the back of the rack that goes into a valve to the right of the label, again in the middle of the rack?  Have also been meaning to get on with highlighting the recessed lettering on the orange cam cover. Bought some Frog Tape, but it looks unlikely that I'll be able to cut out the outline sufficiently neatly to get the end result I want, so i bought some black Milliput epoxy resin putty, and intend to experiment using this to fill the lettering and thus contrast against the powder-coating. It's a heat-resistent, hard-setting modelling and bonding putty, but I don't yet know how smooth and "finished" the surface will look, so will practice one some expendable embossed metal to see how it comes out. |
|
|
|
Post by buildercg on Nov 14, 2016 17:26:36 GMT
On which, when de-powering the steering rack, it seems as if you drain it, and then use a length of hose to loop the feed & return pipes, which I have already cut-back. But what about the third pipe adjacent to the feed & return going to the banjo mount on the front middle of the rack, plus the one at the back of the rack that goes into a valve to the right of the label, again in the middle of the rack? (Sorry, PhotoBucket link not currently working) My donor came with a depowered, looped rack. I found that in certain positions the wheel would try to "jump" during turns in either direction, usually about 1/2 way through a turn. I fully depowered the rack using the instructions on Flying Miata's website. Although I have yet to drive the car with this modification I can already tell that the steering is less "jumpy". It also gives a cleaner look to the rack. |
|
|
|
Post by Fin on Nov 14, 2016 17:29:17 GMT
On which, when de-powering the steering rack, it seems as if you drain it, and then use a length of hose to loop the feed & return pipes, which I have already cut-back. But what about the third pipe adjacent to the feed & return going to the banjo mount on the front middle of the rack, plus the one at the back of the rack that goes into a valve to the right of the label, again in the middle of the rack? (Sorry, PhotoBucket link not currently working) I fully depowered the rack using the instructions on Flying Miata's website. Doesn't that guide involve some welding? |
|
|
|
Post by buildercg on Nov 14, 2016 17:36:49 GMT
Doesn't that guide involve some welding? No, welding the spindle is optional. I don't have access - nor the skill - to use the correct type of welder and I didn't perform the step. I have a small amount of play in my steering now (though I had some with the looped solution as well) so I may find someone in the future to perform the welding, but even without driving the car the steering feels much better fully depowered than it did with the looped solution. |
|