|
|
Post by R2S on Feb 10, 2017 11:16:28 GMT
Fin
Car is in workshop 8 miles away so cant tell you what diameter shock is a moment but will measure tomorrow, in the meantime I too thought I was going to have a problem until I sat the car down on the wheels. I set lower wishbone adjustment to centre (I basically set all adjusters to their mid position) and when in place everything fits and shocks dont contact upper arm at any time through full travel.
Springs are set with no pre load.
Shocks/Springs Gaz Gold Pros
|
|
|
|
Post by Fin on Feb 10, 2017 11:40:00 GMT
Mine are 50mm so possibly bigger than yours look, but the upper mount is still over one inch off centre with the wheel up or down. Hadn't thought about the cam bolts as mine aren't "set" just finger tight in place. Will have a tweak. Thanks
|
|
|
|
Post by stevednorris on Feb 10, 2017 16:53:53 GMT
Hi Fin,
I've got a feeling the Exocet and Replicar chassis are different, I don't know of anyone having shock clearance problems on the Replicar, I stand to be corrected.
Steve.
|
|
|
|
Post by Fin on Feb 10, 2017 17:08:43 GMT
Hi Fin, I've got a feeling the Exocet and Replicar chassis are different, I don't know of anyone having shock clearance problems on the Replicar, I stand to be corrected. Steve. Ah, that might explain it as I can't get within 30mm. Just trying not to have to cut the powdercoating but will have to bite the bullet. Will do the rear first though |
|
|
|
Post by tojeiro on Feb 12, 2017 14:21:47 GMT
Electrics time, might need some help as the loom was partially disconnected when I bought the donor. Most bits are labelled at 95% connected but got a few unlabelled items. This one is on rear loom near to fuel pump connection, looks like earth with a capacitor but electrics is not one of my strong points. 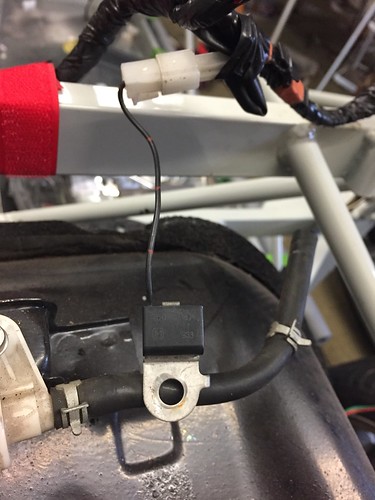 by -Tojeiro 74- by -Tojeiro 74-Been using my other MX5 as a guide but can't see this one easily. Where does it go, can I just ground it to a suitable area on the chassis. |
|
|
|
Post by tojeiro on Feb 12, 2017 21:50:01 GMT
Got the elbow through the post last week, did have to make a couple of extra turns on the tap to get the position right. Nice and solid repair and leak free. 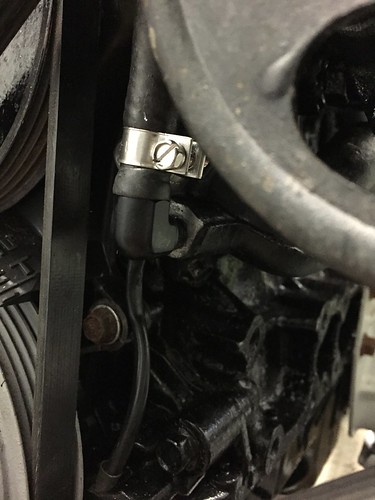 (null) by -Tojeiro 74- (null) by -Tojeiro 74-Radiator mounts done and radiator fitted. 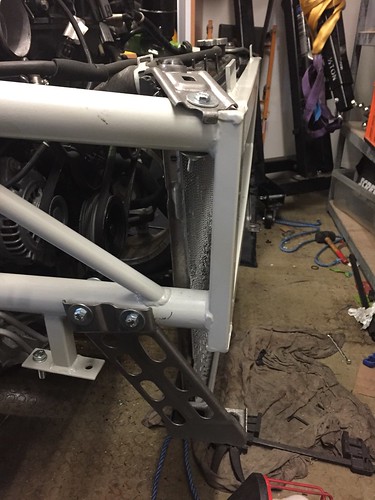 (null) by -Tojeiro 74- (null) by -Tojeiro 74-Front earthing point was beyond saving. Bought a bag of earthing lugs from Screwfix that give a very secure clamp finished of with a bit of heat shrink. 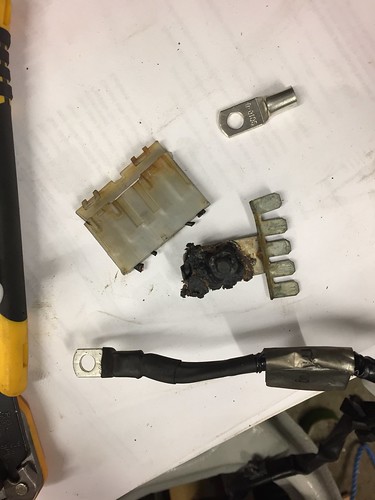 (null) by -Tojeiro 74- (null) by -Tojeiro 74- |
|
|
|
Post by gwnwar on Feb 12, 2017 21:51:12 GMT
Not a 100% but I think unit by fuel tank it is a noise suppressor/static for radio with the fuel pump running..
Ground repair should help a lot. Nice job..
|
|
|
|
Post by tojeiro on Feb 12, 2017 22:06:07 GMT
Thanks gwnwar, doesn't seem to make any difference as the car runs without it connected. Guess I'll tape it to the side of the loom at the moment. Another question, what do I put on the end of the pipe from the rollover check valve, do I plug it or does it need a breather? 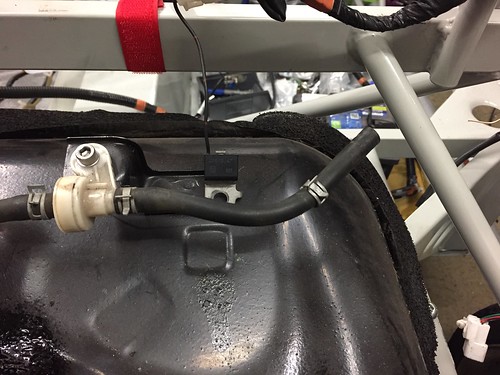 by -Tojeiro 74- by -Tojeiro 74- |
|
|
|
Post by R2S on Feb 14, 2017 14:41:35 GMT
Apologies I updated a previous comment and the system simply uploaded it again as a new post, removed it as it isn't relevant to your build but was in answer to query by Fin. |
|
|
|
Post by tojeiro on Feb 16, 2017 23:06:06 GMT
Got two spare vacuum connections, is this a result of the charcoal canister removal or have I missed something? 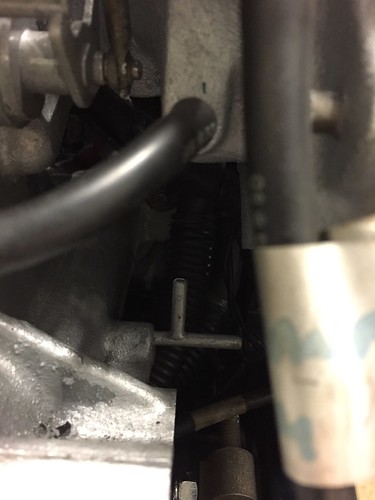 (null) by -Tojeiro 74- (null) by -Tojeiro 74- |
|
|
|
Post by R2S on Feb 18, 2017 17:56:31 GMT
Couldn't tell where that is from picture but if its under inlet manifold my 98 doesn't have it?
|
|
|
|
Post by snowbird1 on Feb 19, 2017 15:48:56 GMT
The vacuum diagram for the '99 shows one vac line connected to the VICS and the other capped off.
|
|
|
|
Post by tojeiro on Feb 26, 2017 21:39:19 GMT
Thanks Snowbird, I obviously couldn't find the other port since it is in the middle of the inlet manifold which is nigh on impossible to get to once bolted to the head. I have no idea how I missed this but putting it down to a combination of building haste and buying a donor that was partially disassembled, in fact only a google search based on your advice helped me find where it was. 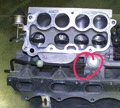 by -Tojeiro 74- by -Tojeiro 74-After 1hr fighting and cursing with a pair of long pliers, mirror and torch to see between the manifold runners I realised that I needed some extra hands so dragged my 13 year old daughter out to the garage to hold the mirror and torch. After almost conceding to remove the manifold I got my daughter to try reaching up with her smaller hands, success, managed to get the pipe on just enough to then push it fully on with the pliers. What could have been a frustrating day in the garage turned to one of elation, although no doubt it will cost me some pennies next time my daughter needs something. |
|
|
|
Post by tojeiro on Feb 26, 2017 22:26:41 GMT
So here is an update on the wiring situation, generally been much better easier than I expected but suppose Replicar is easier since you have more space to hide wires than on an Exocet or Rocket. Main challenge was loom entry to engine bay and the related fuse box access issue. I looked at a few positions but space on the firewall is limited so after some stripping back of loom tape and seeing what could be re-routed or extended I decided to route onto the inside. Once the loom tape was removed I only needed to extend two wires to get a lot of extra options on position. 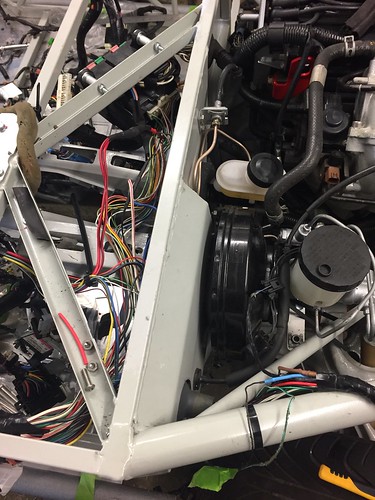 by -Tojeiro 74- by -Tojeiro 74-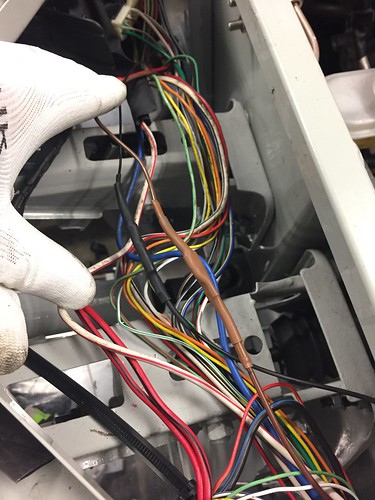 by -Tojeiro 74- by -Tojeiro 74-And with re-taped loom and relocated relay bracket 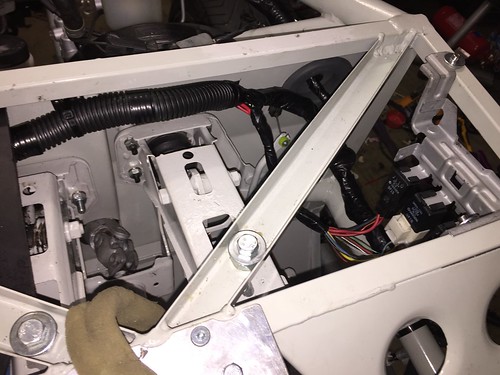 by -Tojeiro 74- by -Tojeiro 74-Other jobs done:- - Handbrake with 3 new cables
- Fuel tank mounted on rubber bobbins
- Coolant flush and new antifreeze
 Got engine running Got engine running 
|
|
|
|
Post by tojeiro on Feb 26, 2017 23:54:24 GMT
Phototrash took some weird amount of time to process the video but finally...  Battery light coming on, suspect alternator as it didn't look that clever when it was off the car. Will do some detailed checks but need to wait on Amazon for new multimeter as the LCD has just gone on my last on. |
|